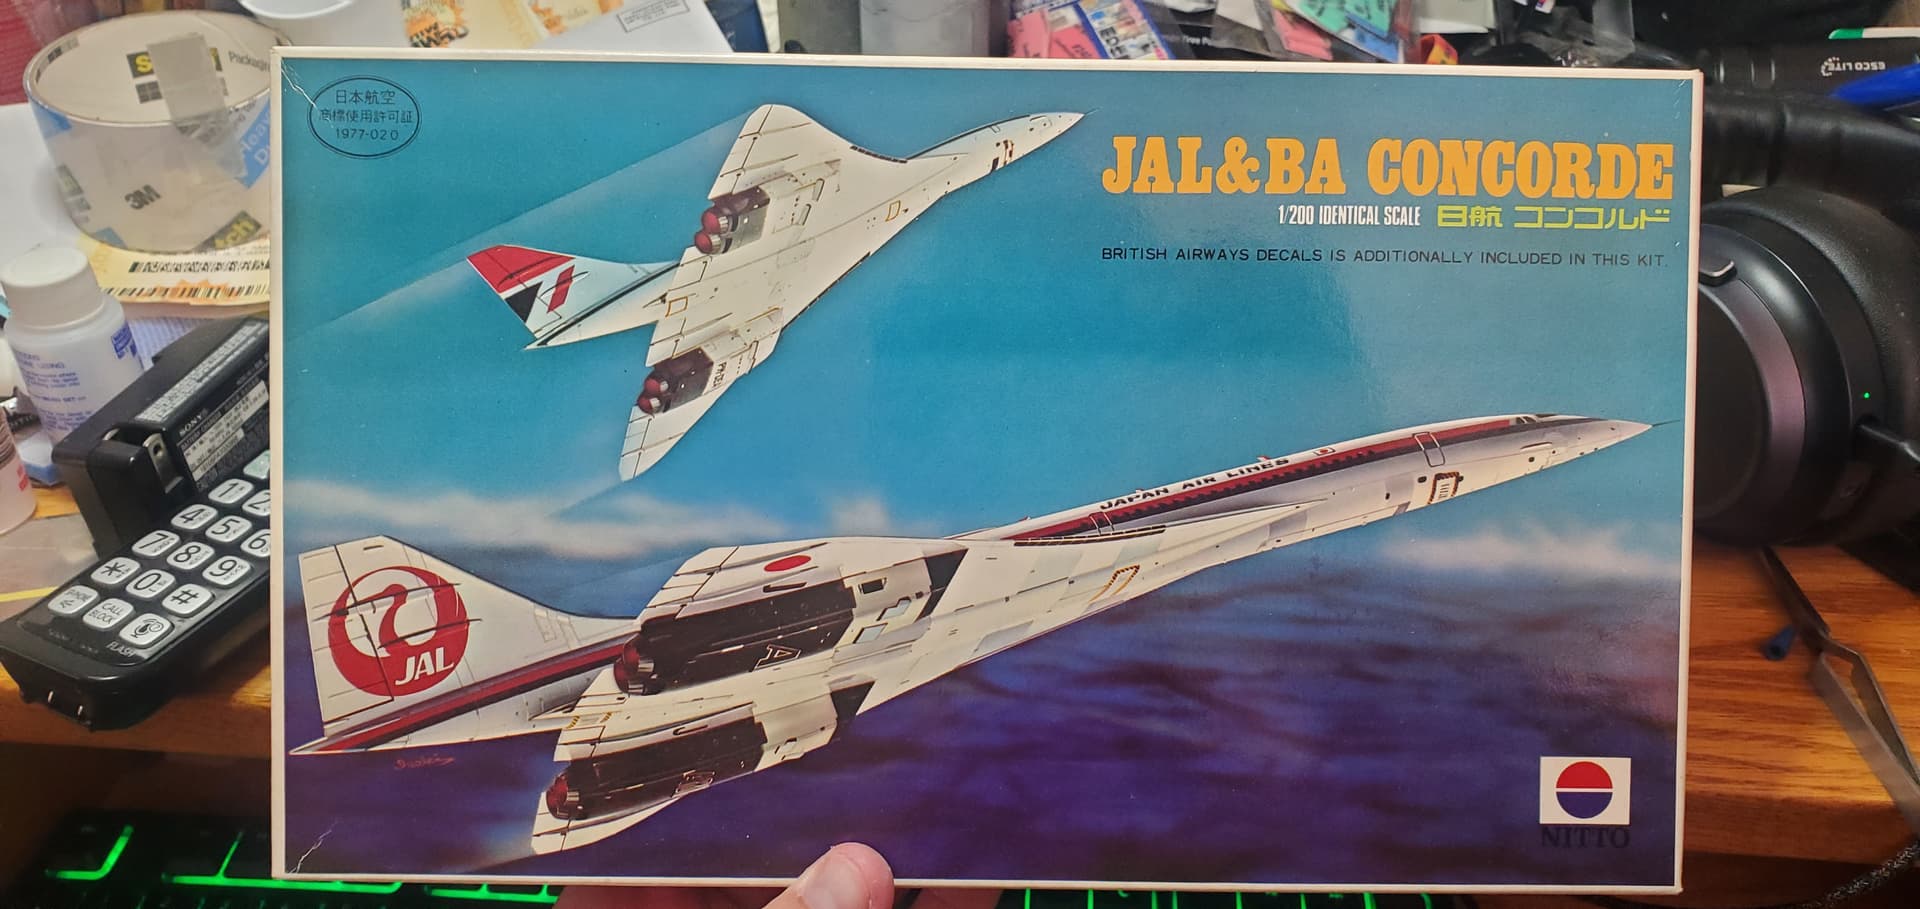
Start of my build for the Japanese group build. For it I chose to build this older kit of the Concorde, but in JAL markings. I am going to build it in flight and use the stand that came with the kit.
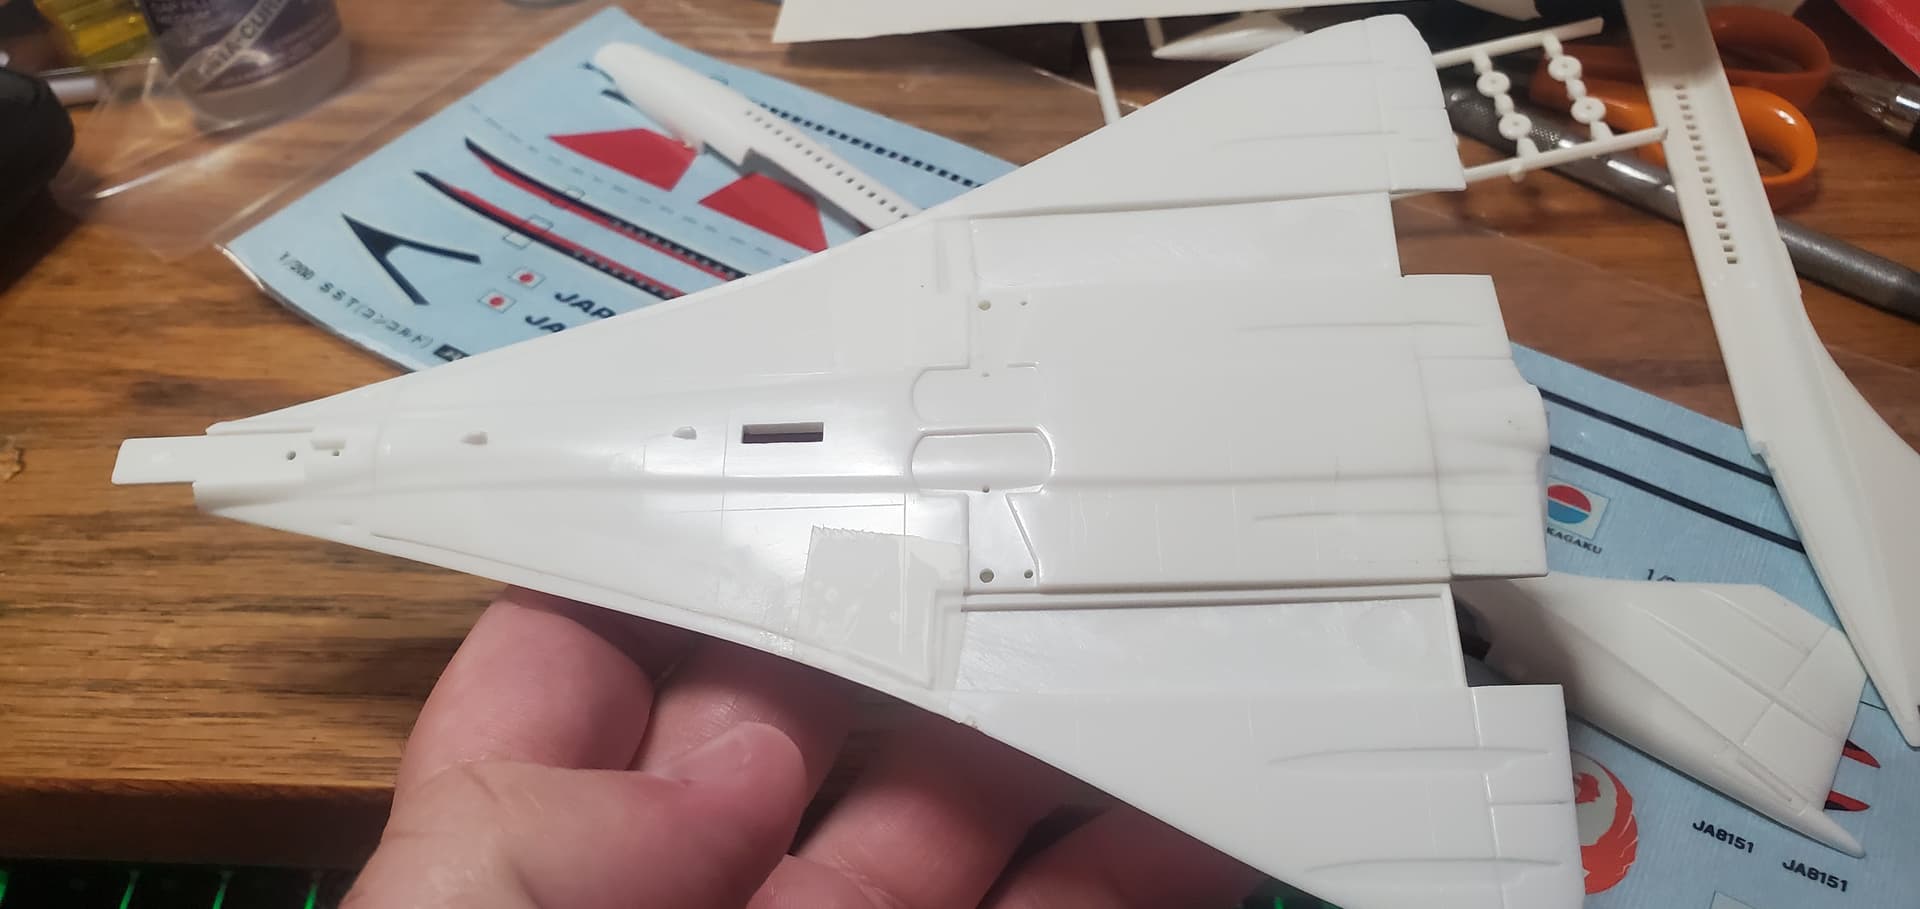
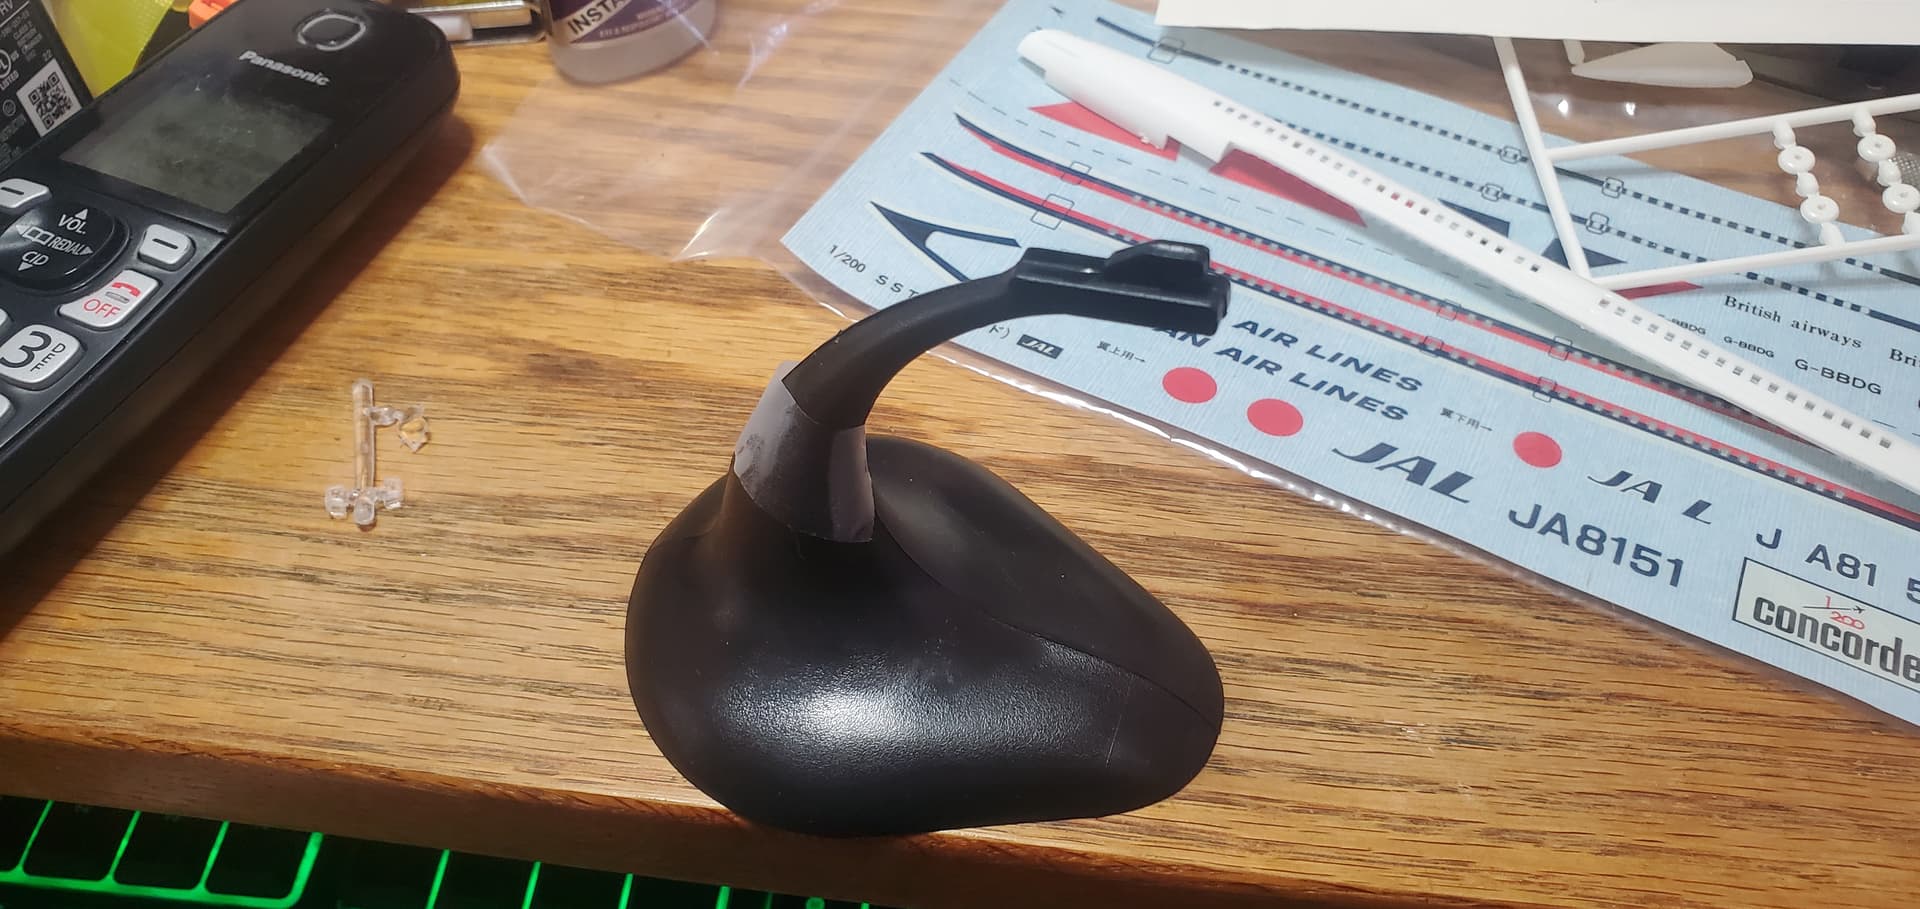
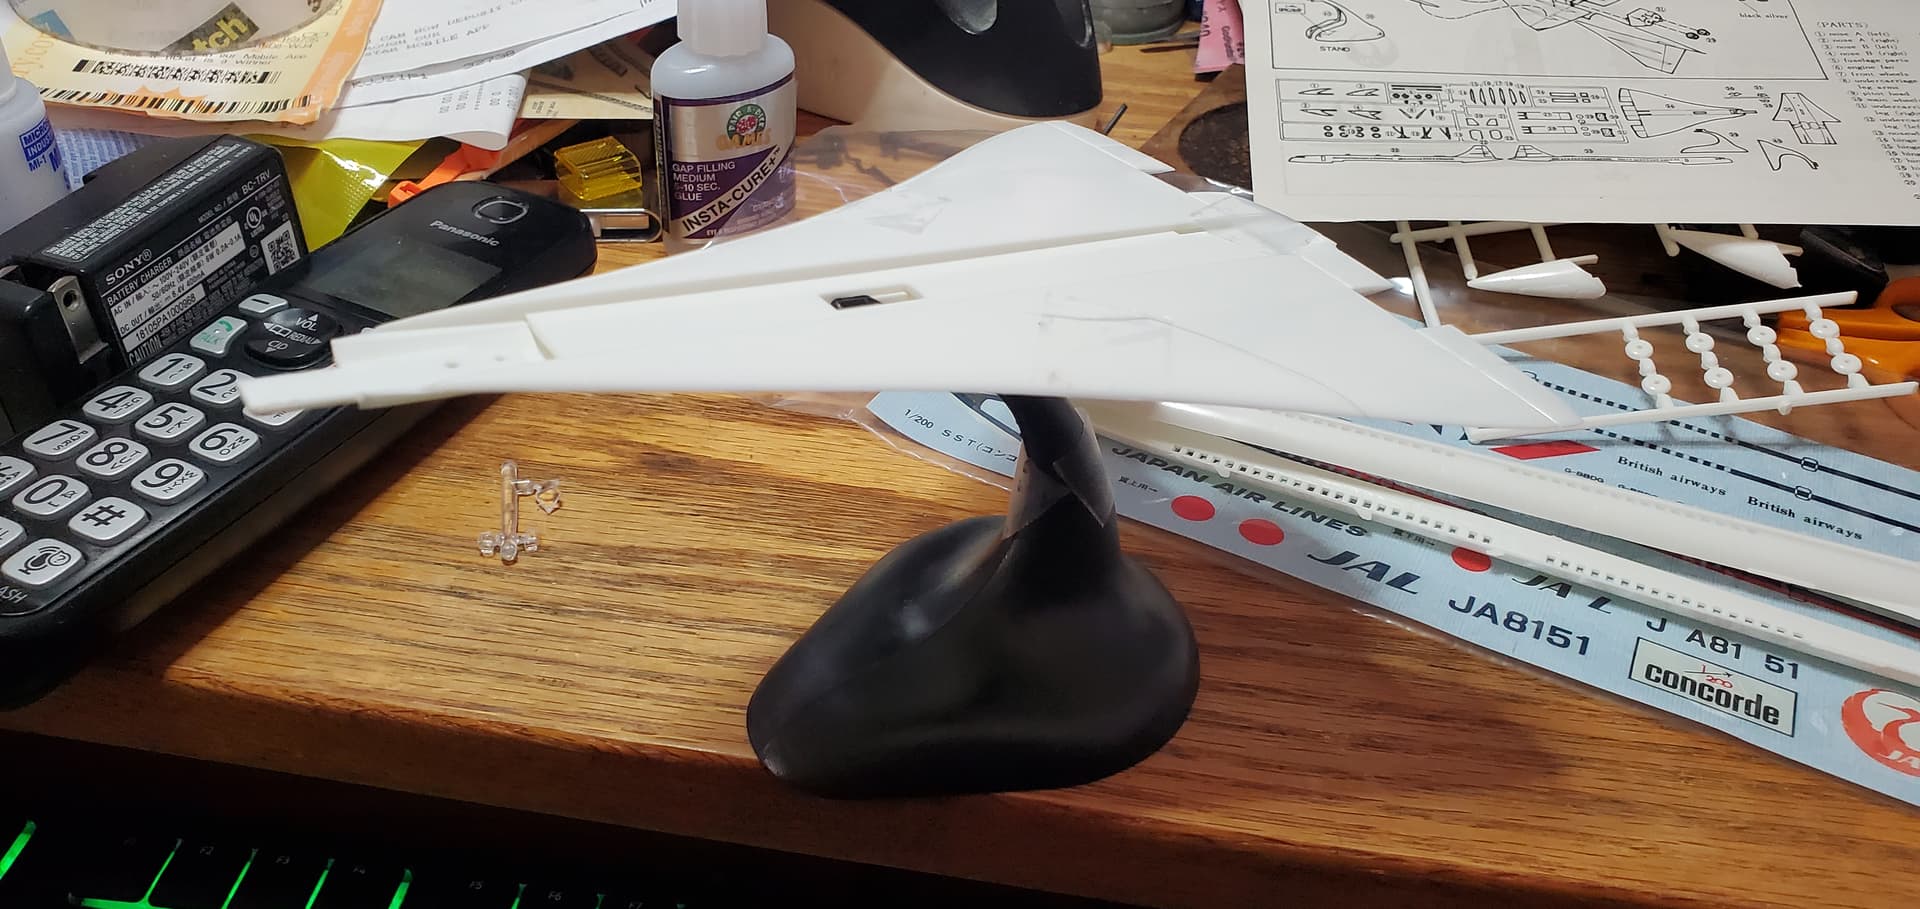
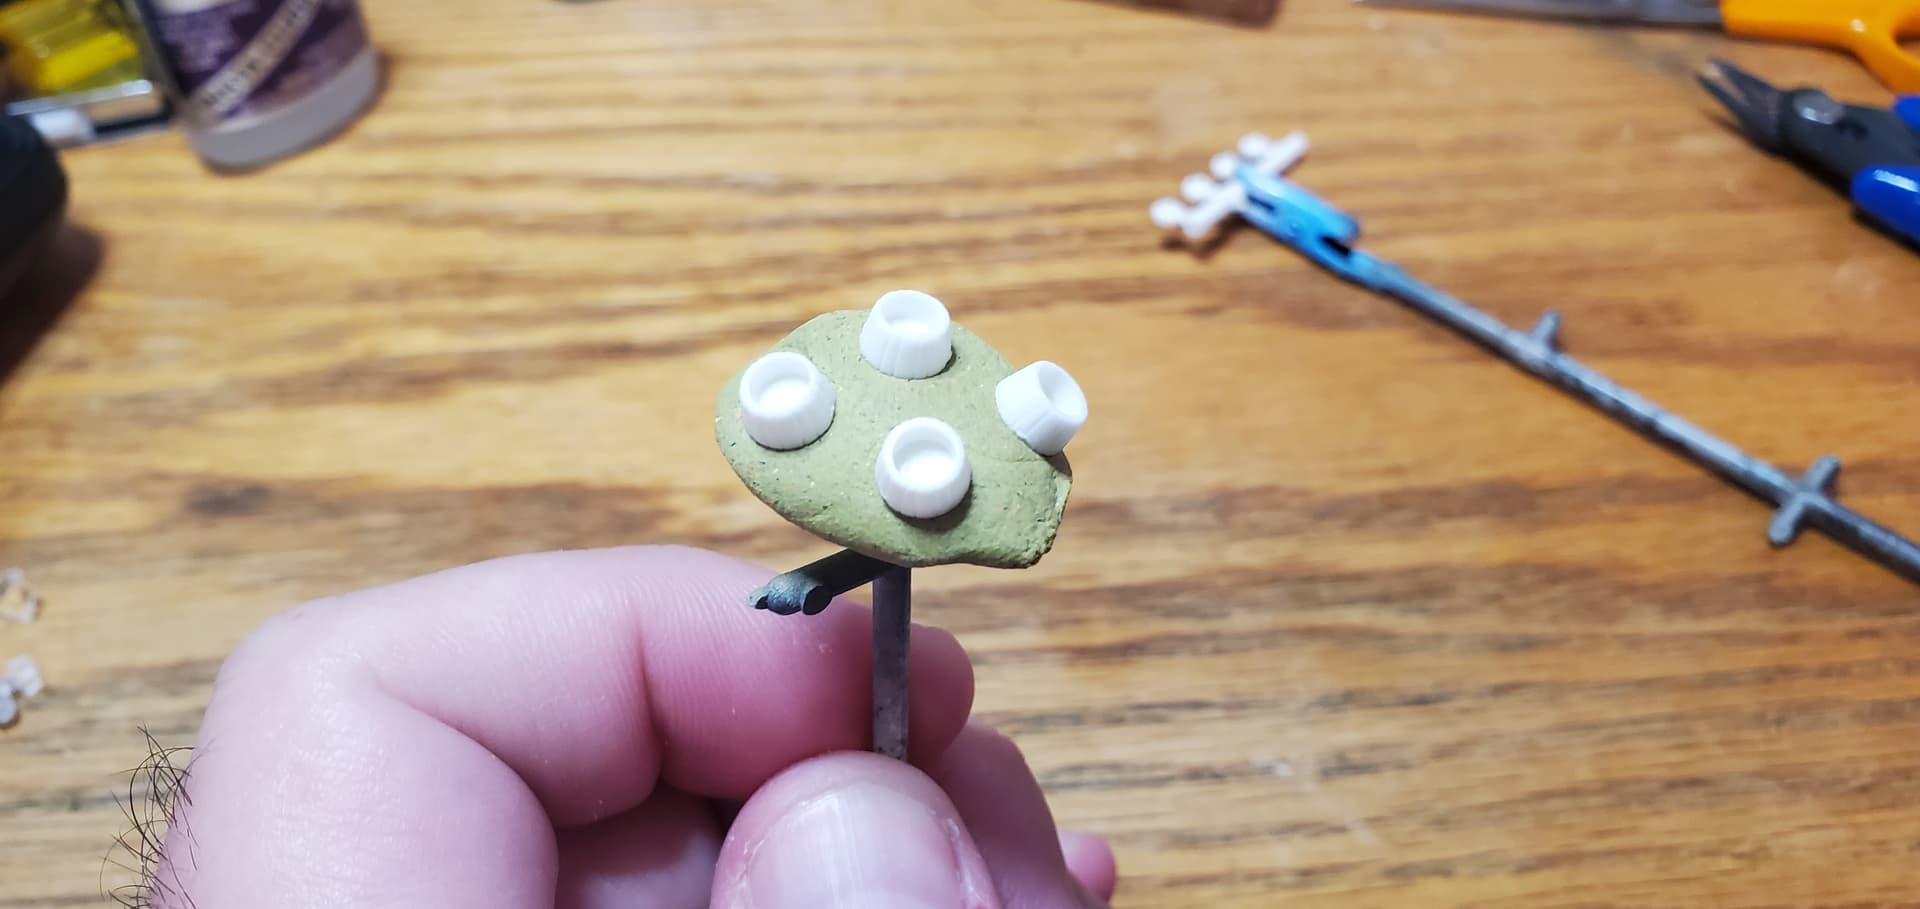
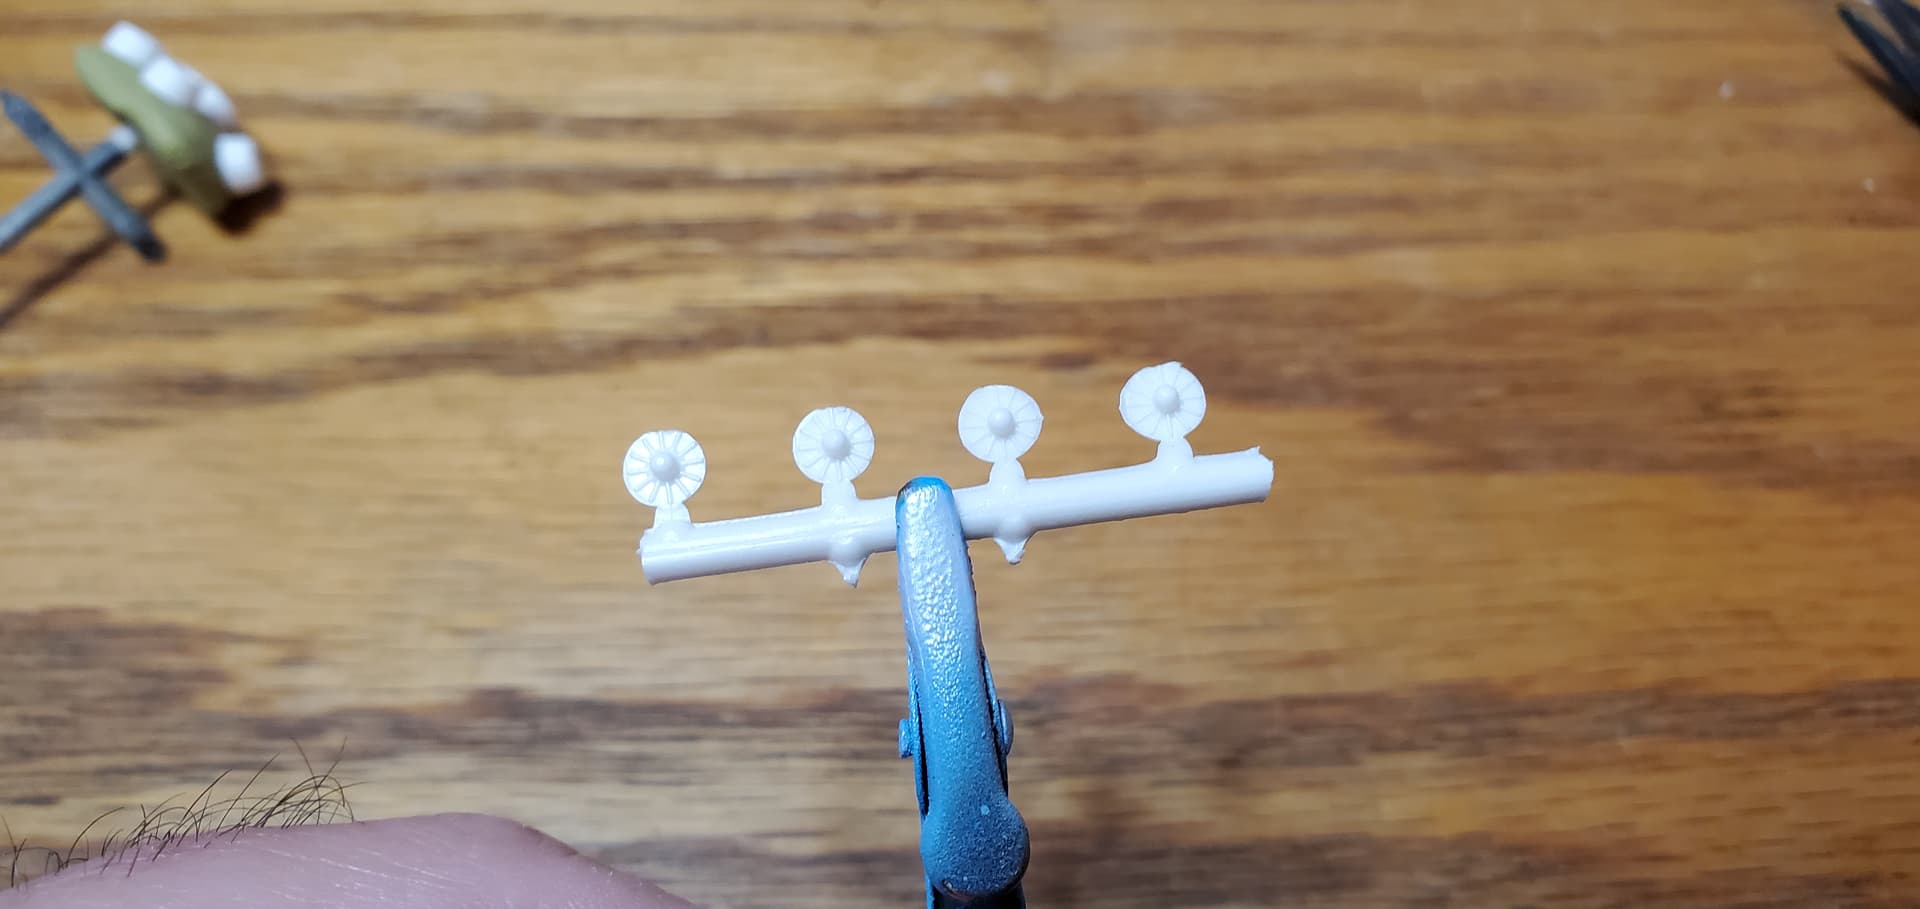
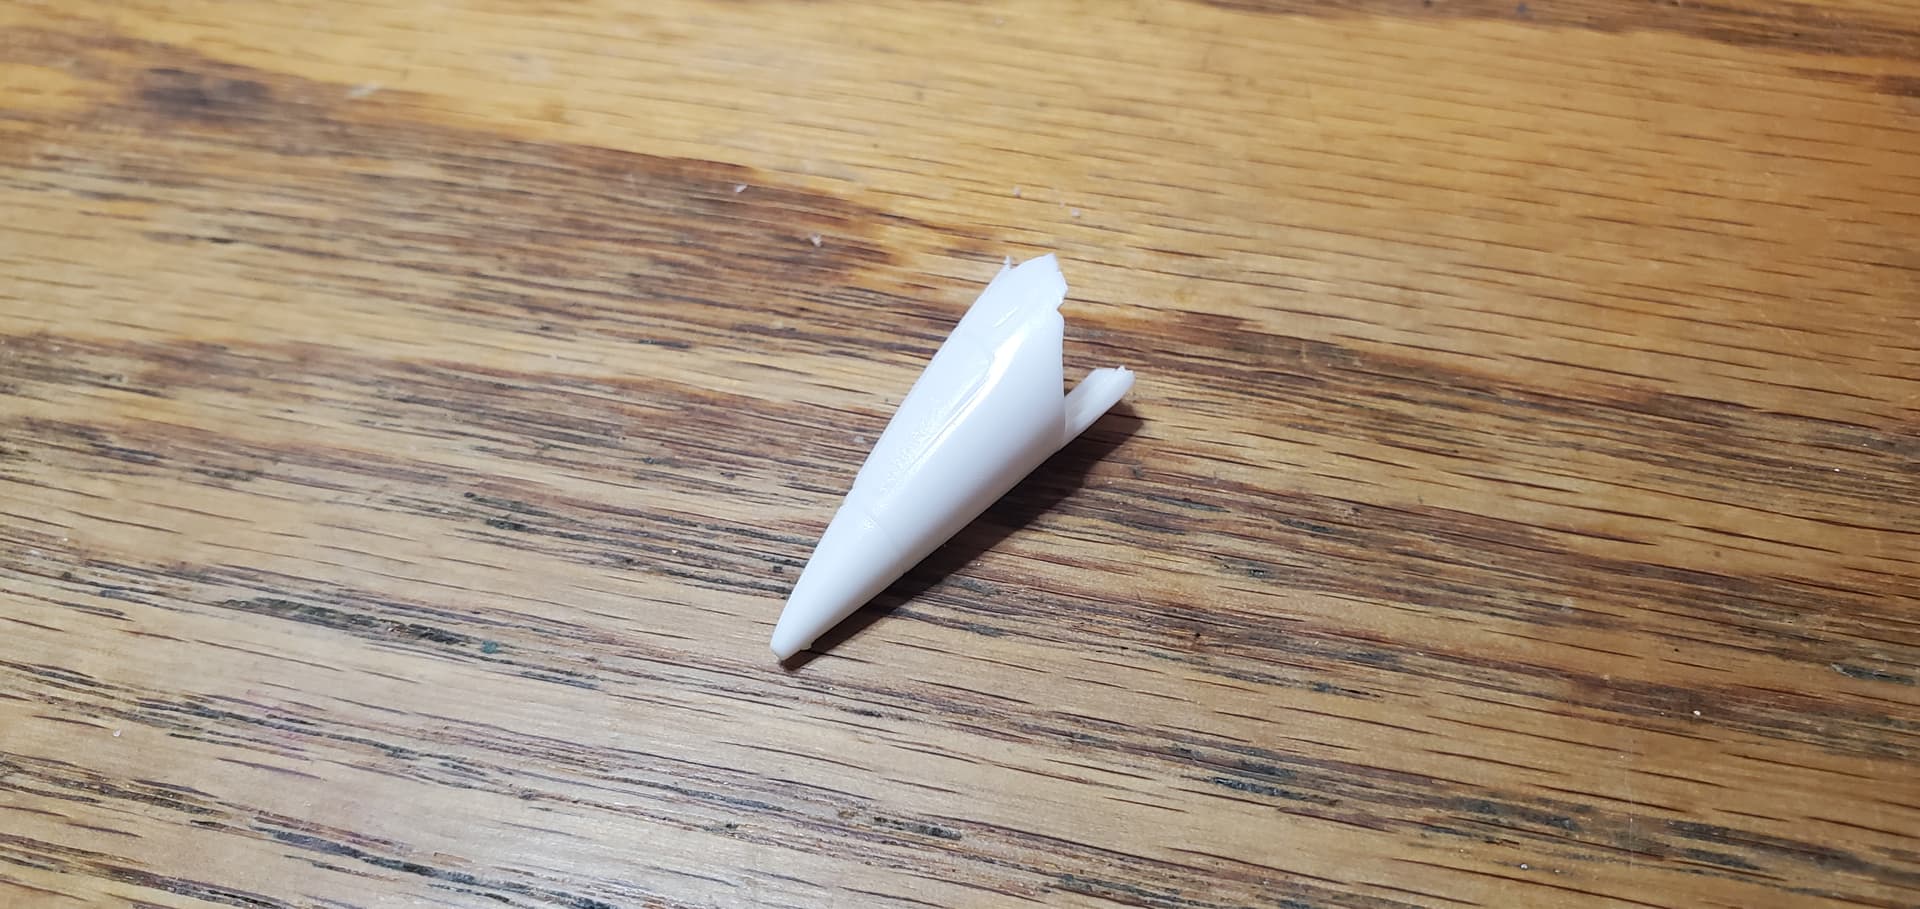
To start the build I attached the two lower pieces and glued the two halves of the stand together. Included a quick test fit of how it will look when connected to the stand. Lastly today I clipped off the exhausts and the compressor fans. A good start to what should be a quick build.
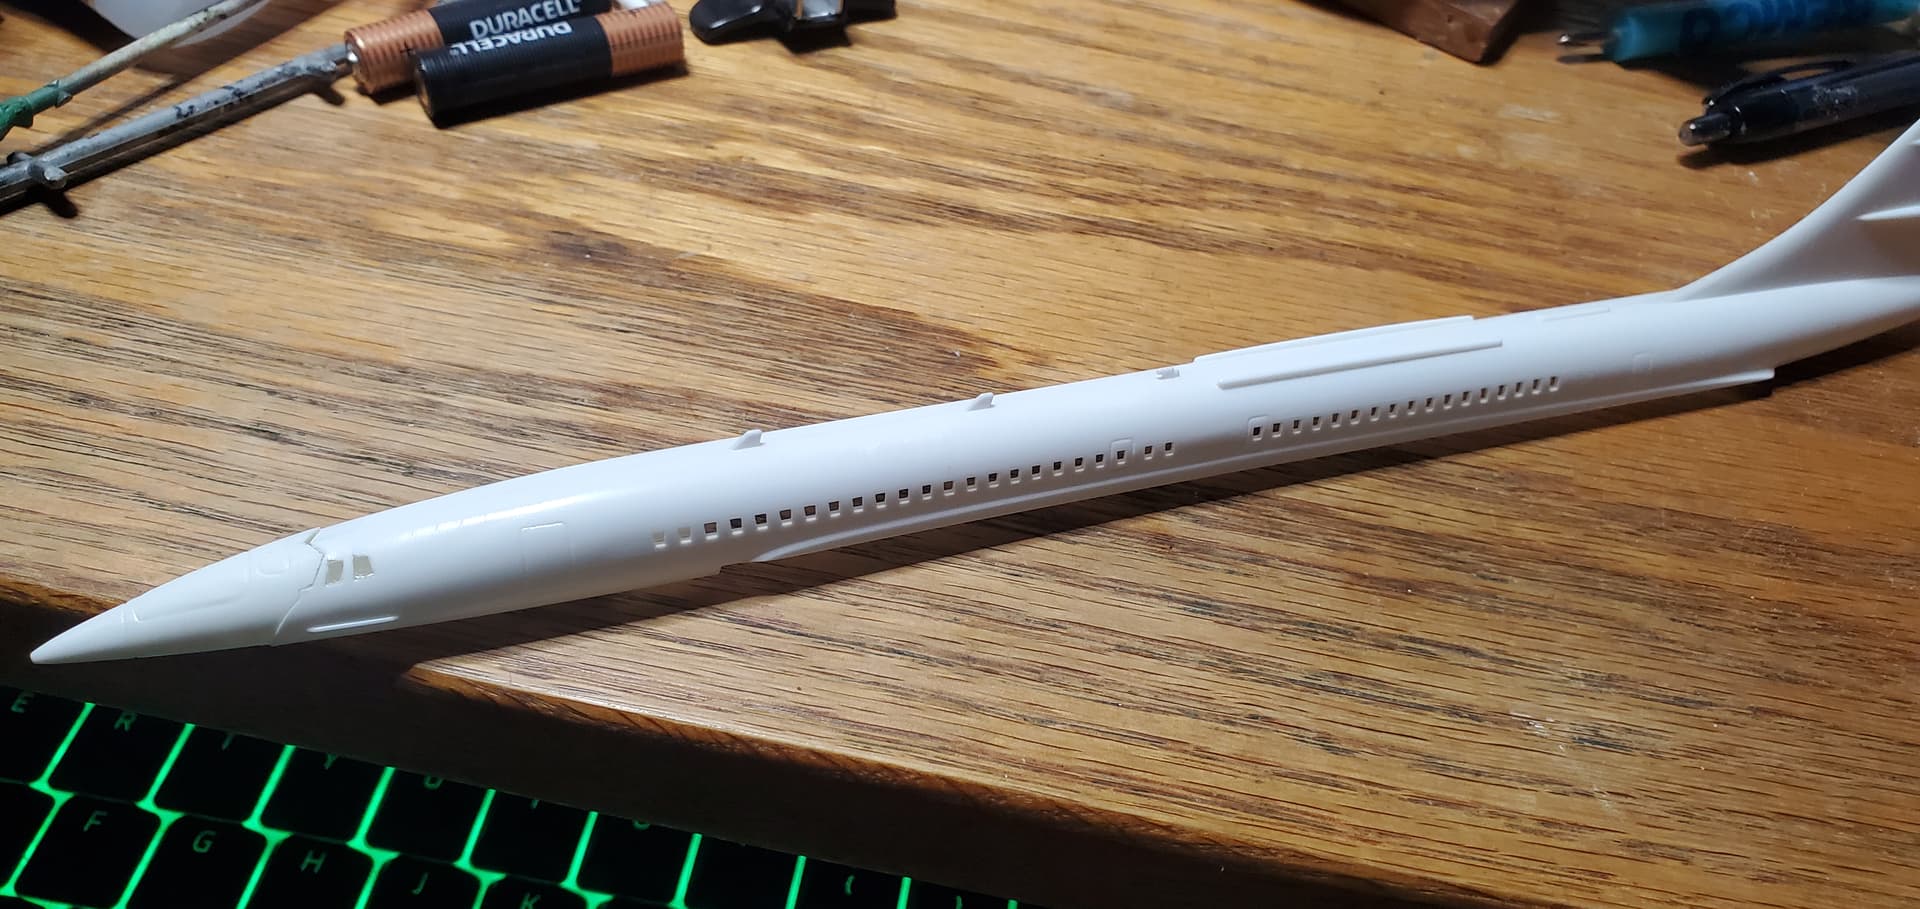
Two areas I so far don’t have an answer for are how I am going to address the windows, (kit does not include parts for them or decals but the plastic has them open), and how I am going to paint it, (instructions are not that great and there are not any reference photos or conceptual renders I have been able to find).
Regarding the windows I’ve seen many videos where Micro Kristal Klear is used to create windows when they are not included.
Example video Micro Kristal Klear Windows
I used clear resin on this Nitto 1/100 727. I poured it from the inside after taping over the outside. It takes considerable time to harden enough to sand flush to the outside surface and to polish but the final look was pretty nice.
That’s close to one of the options I am thinking about. The only difference would be using UV resin since it is significantly easier to cure when dealing with thin pieces.
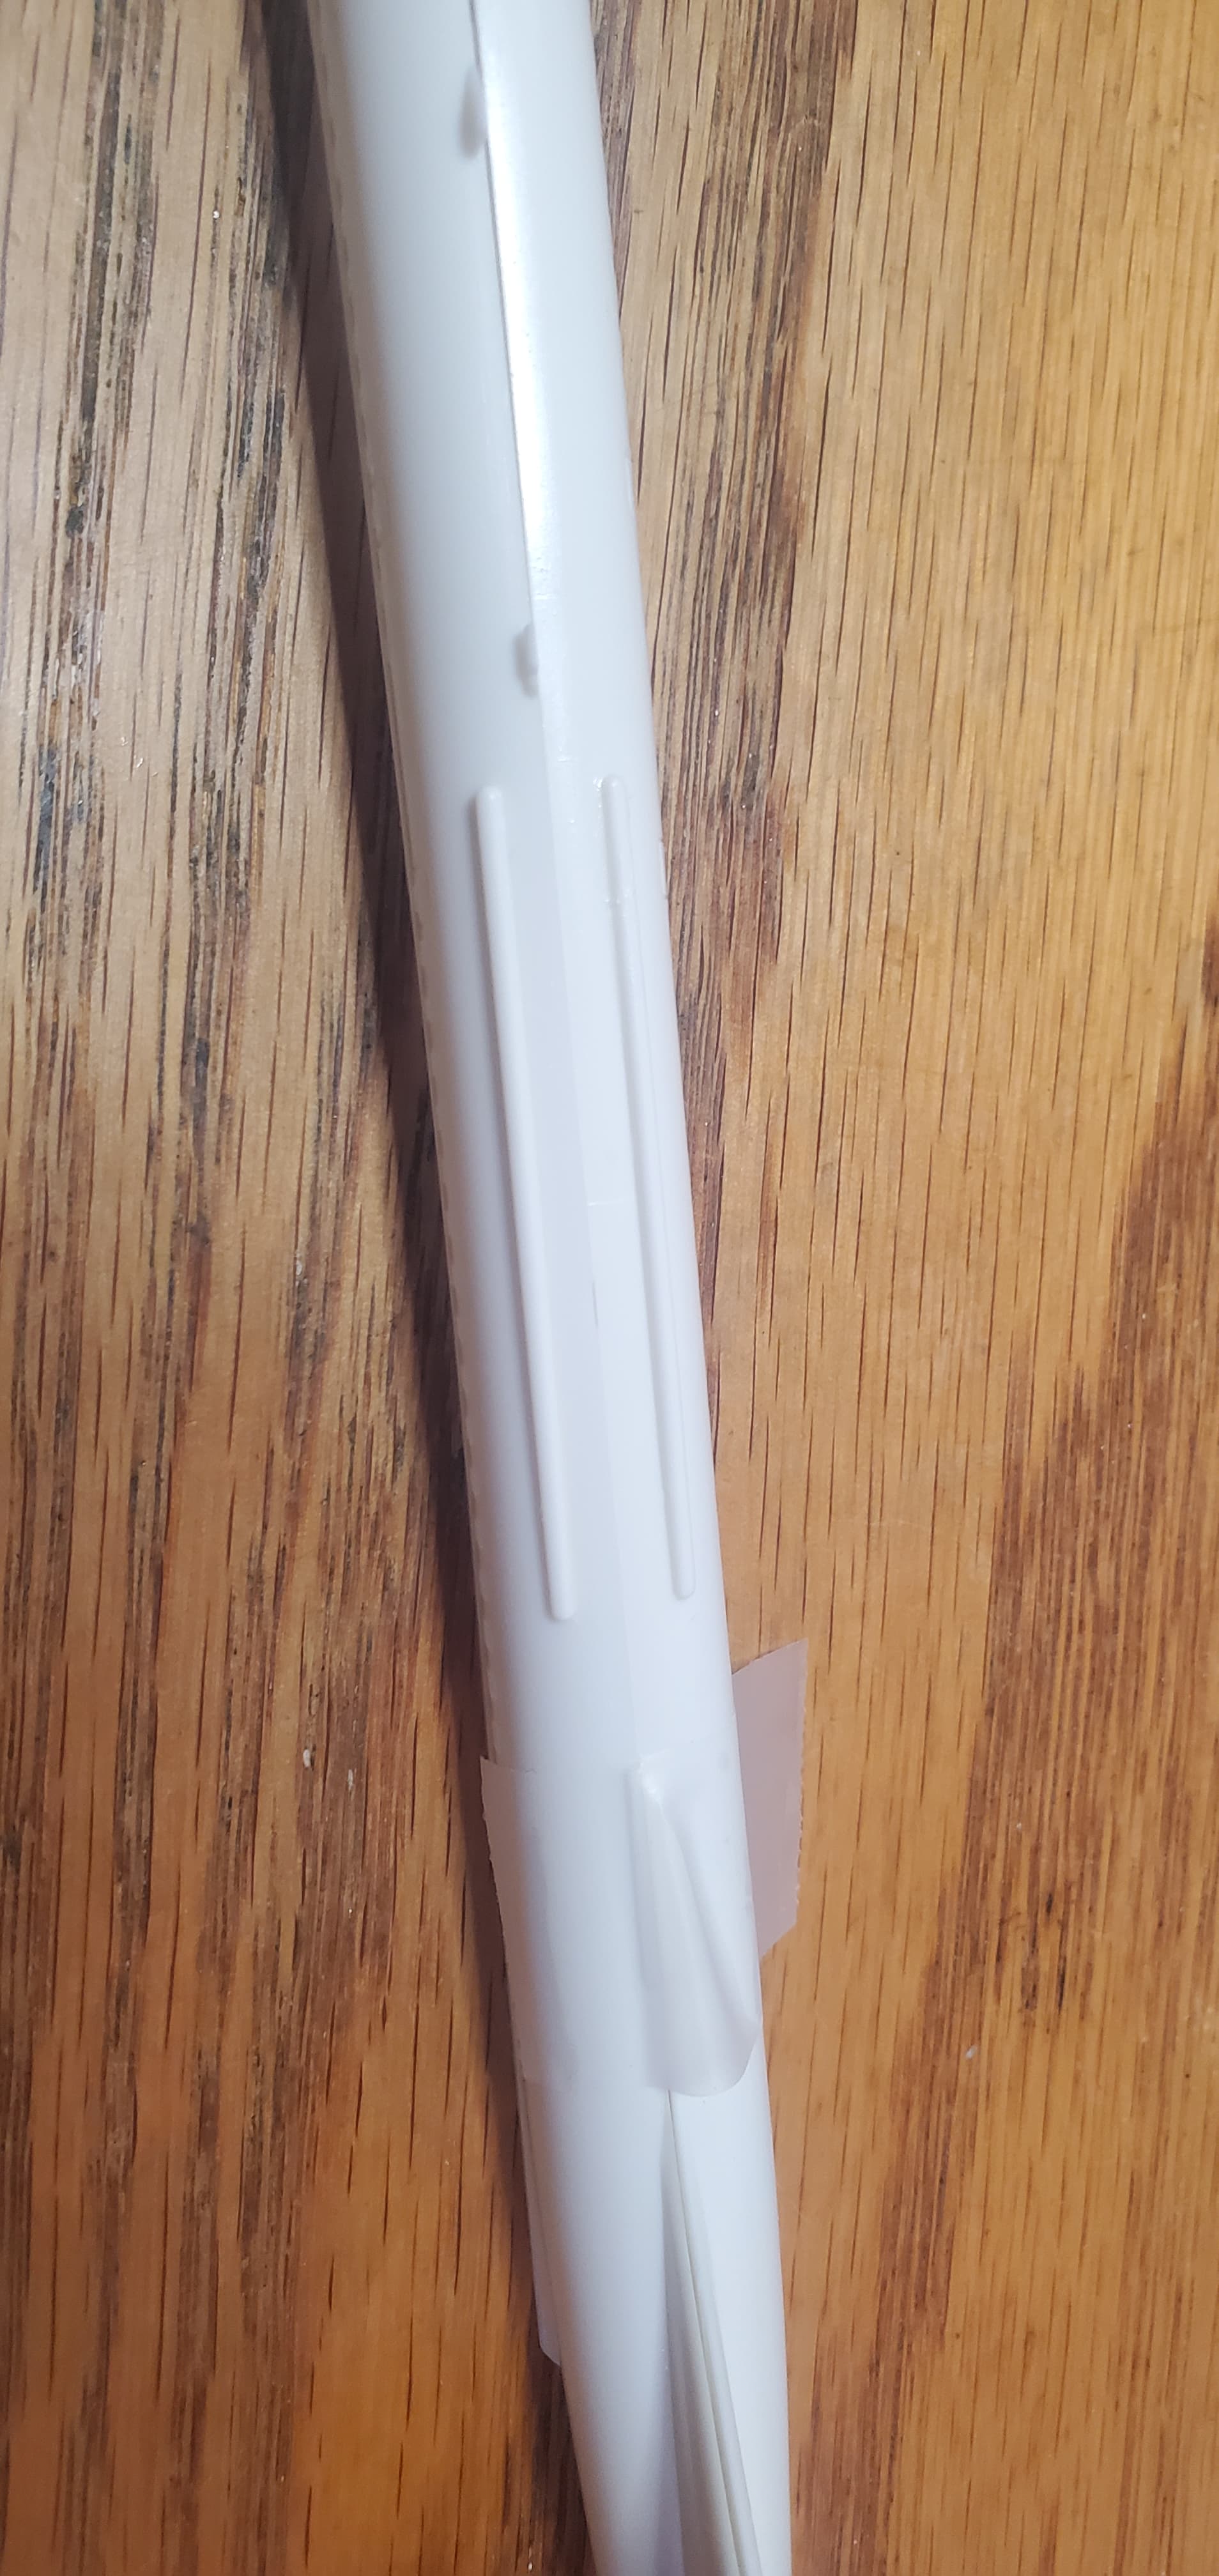
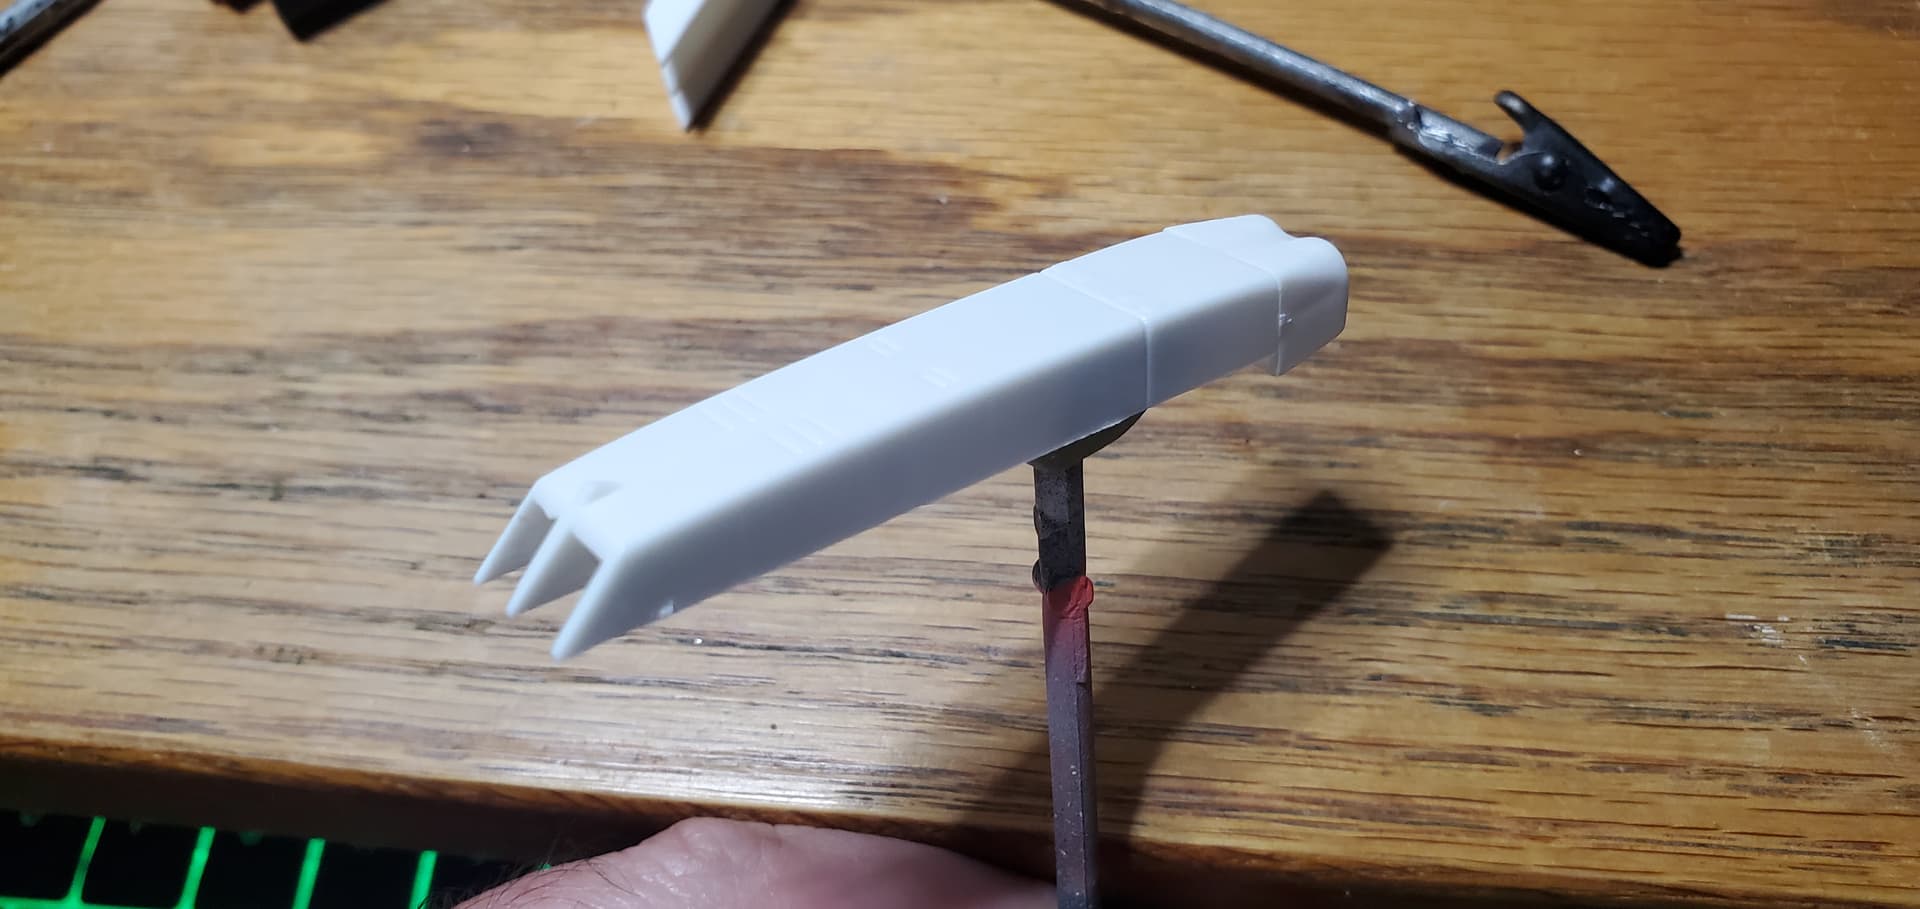
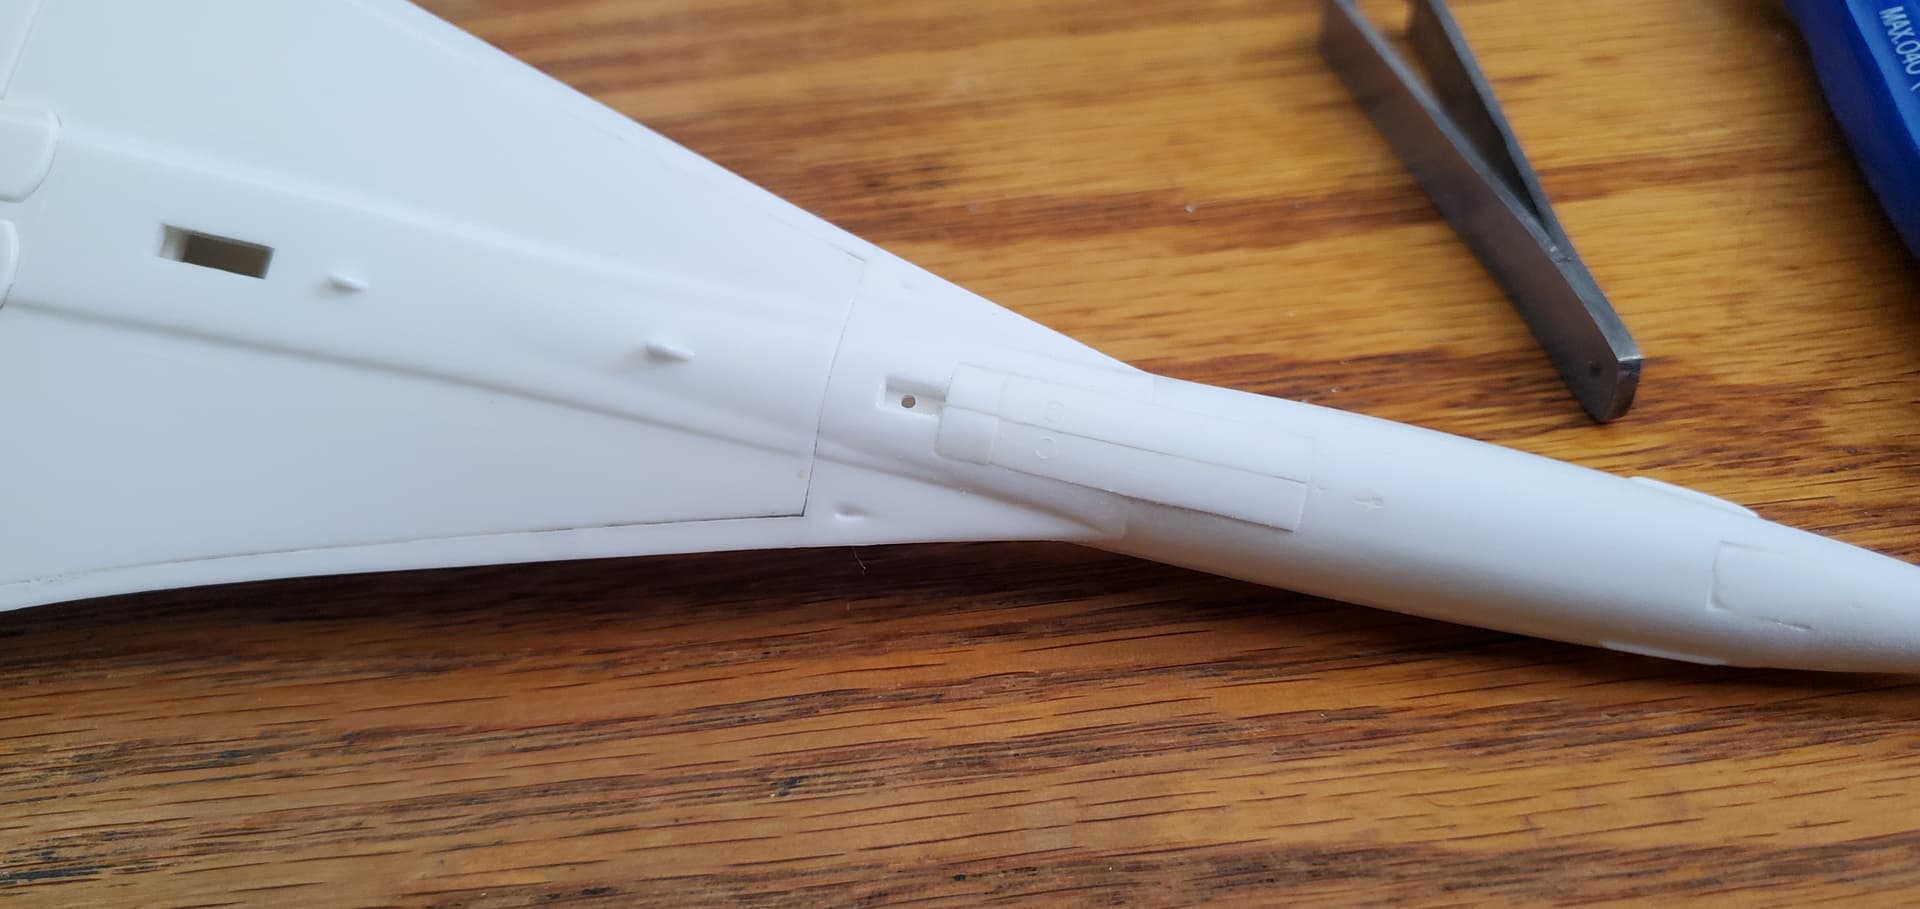
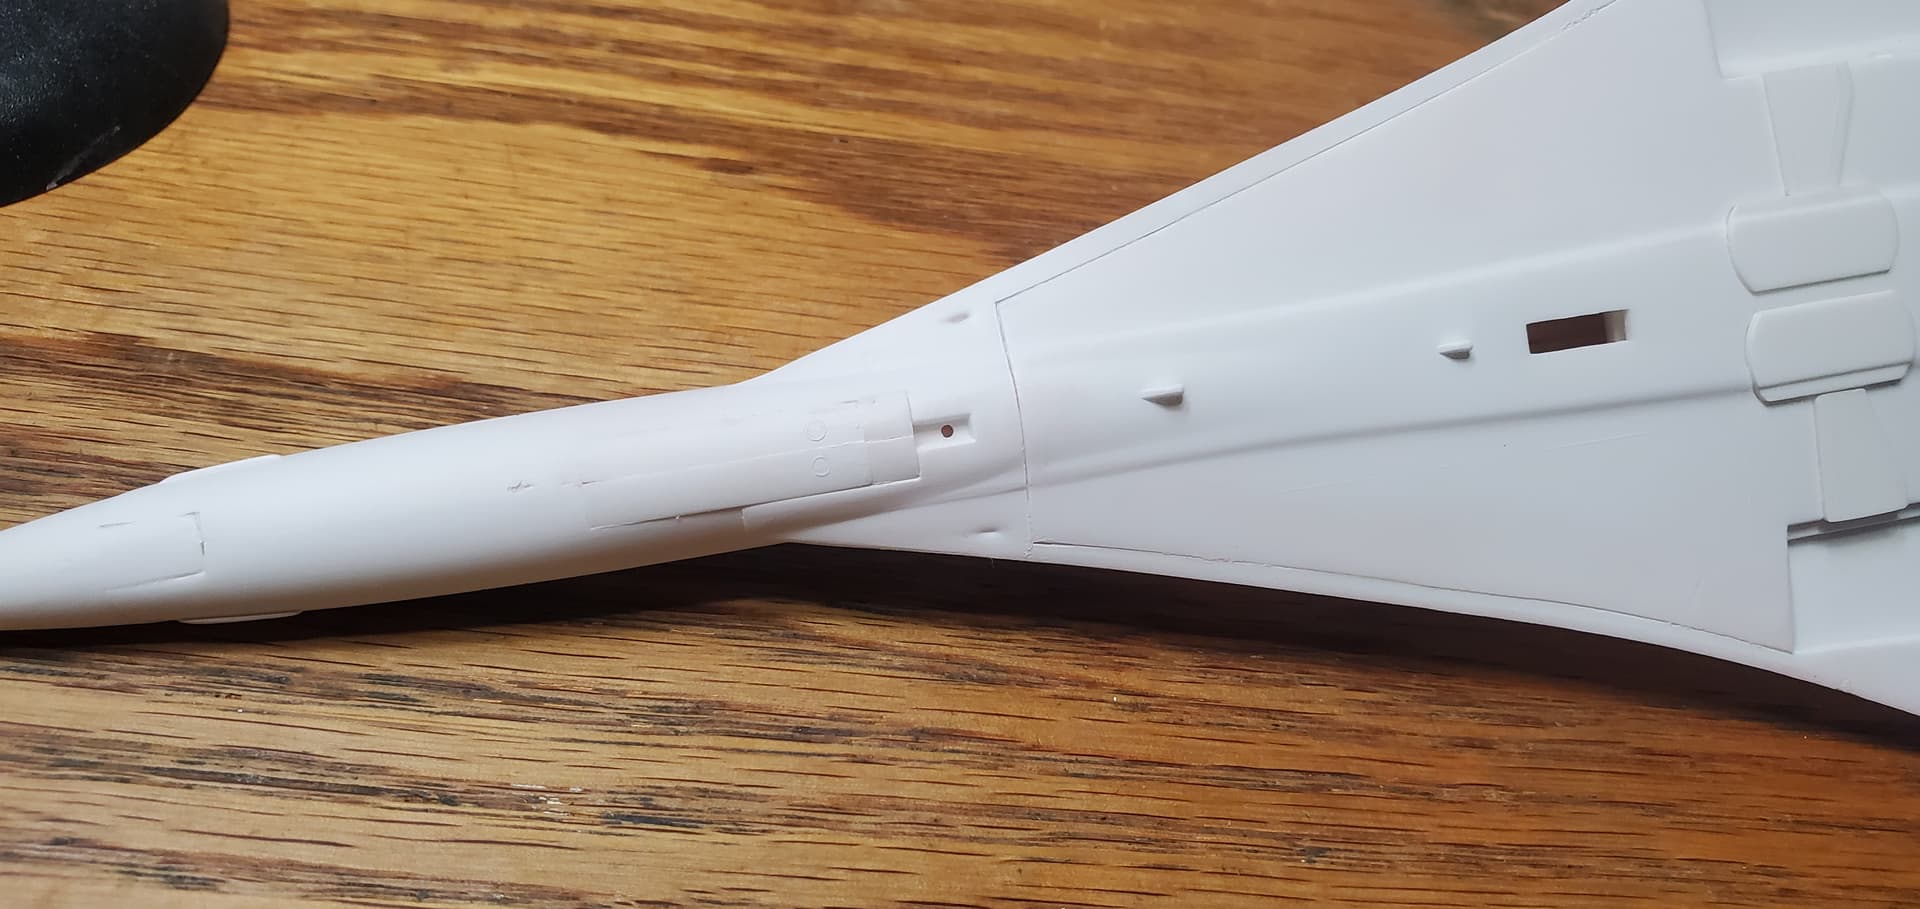
Small update as i have been busy with things. Got the actuator covers on and attached the upper streaks. I also settled on a solution for the windows and will be going with Micro Kristal Klear. This i think will be the easier solution as i will be able to do it after painting and not need to worry about masking.
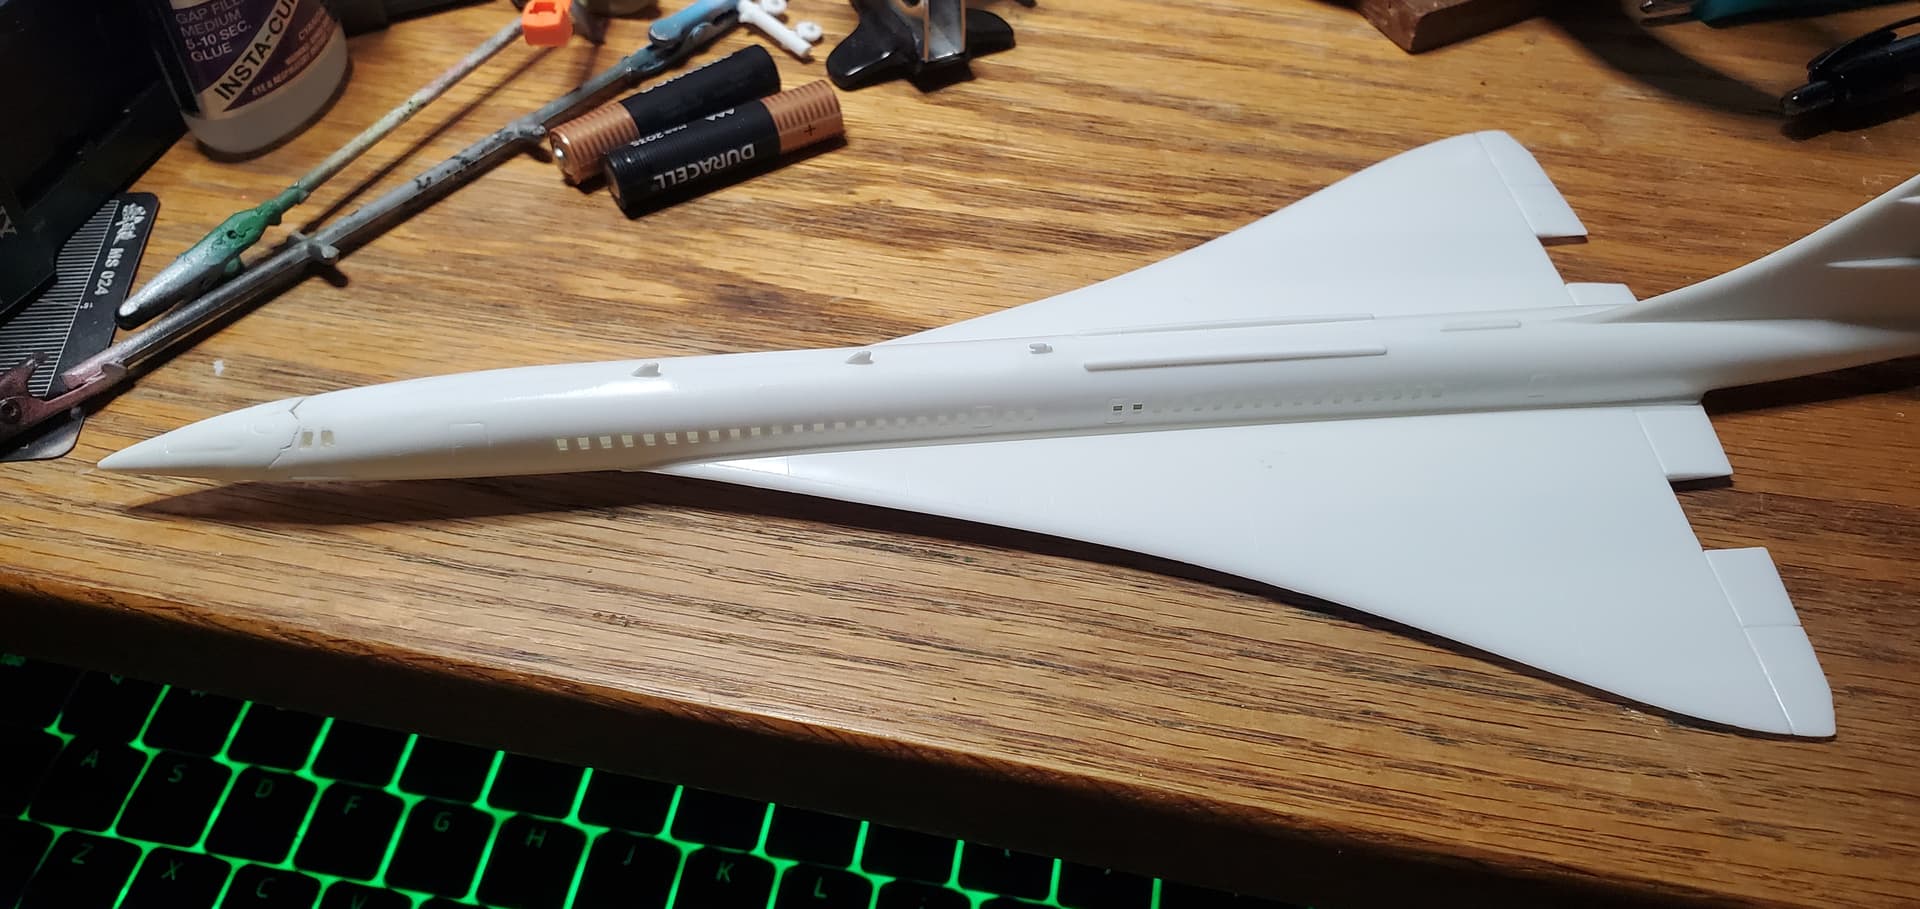
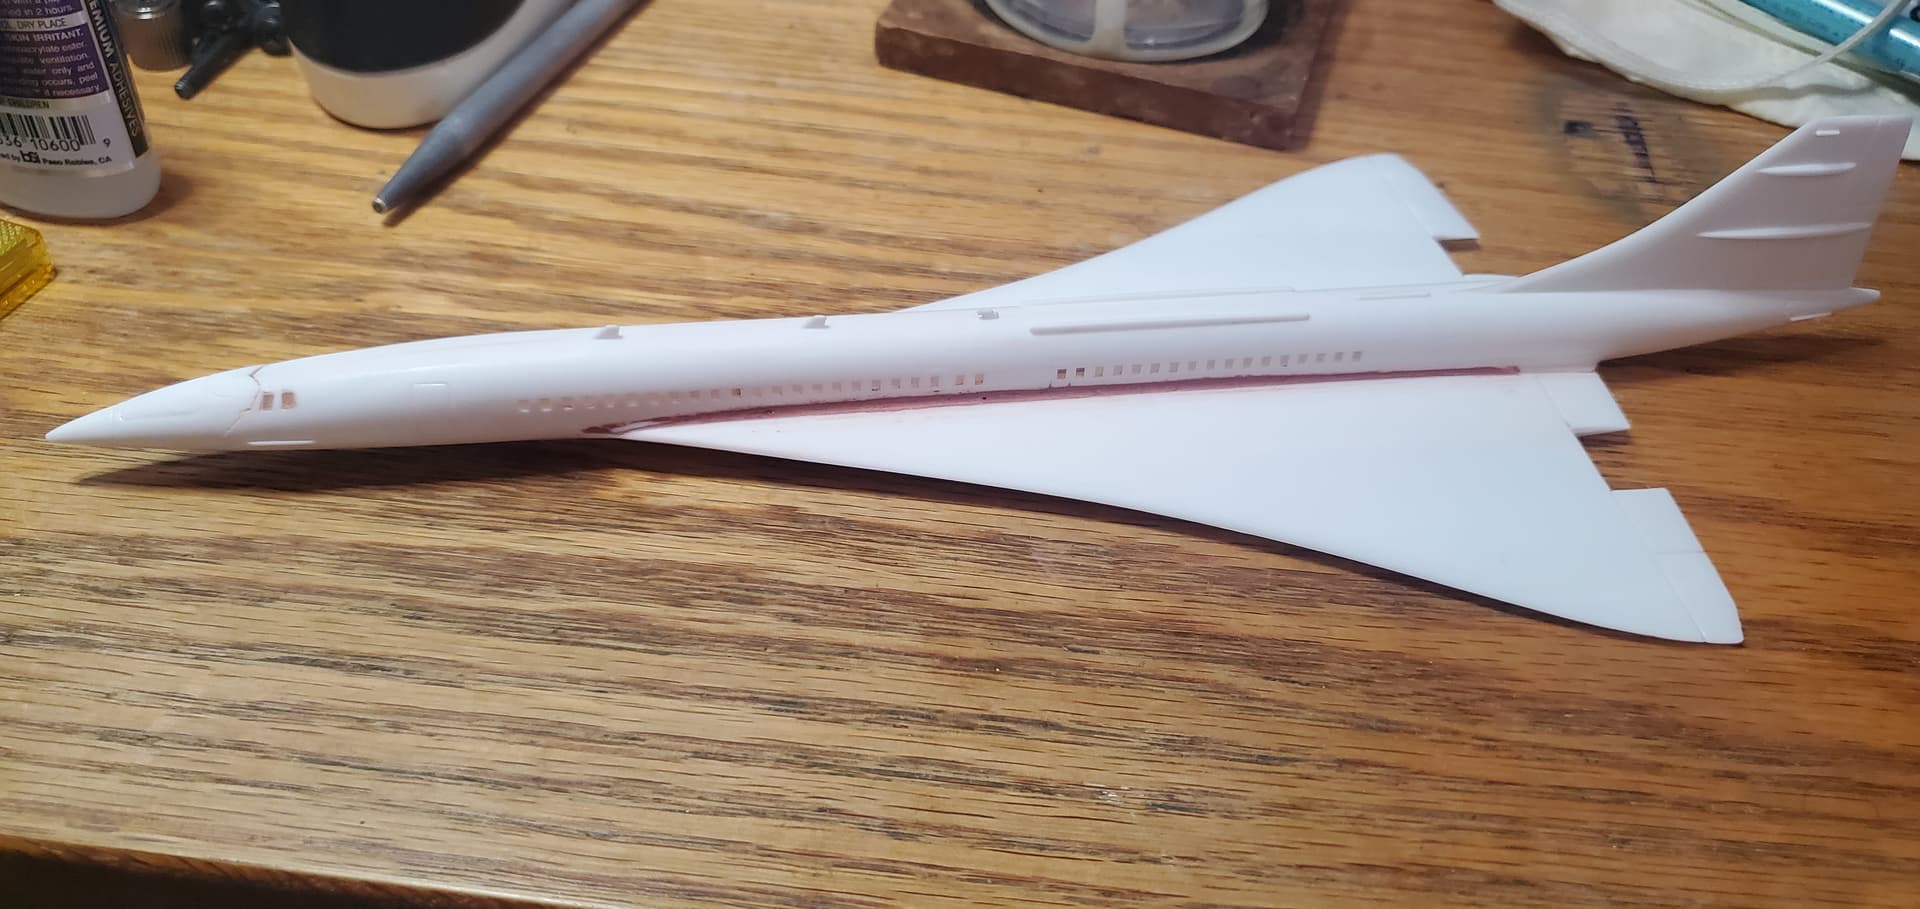
This allowed for the fuselage to be finally closed up. It was at this point while doing some test fitting I discovered that the nose section completely covers the windscreen piece. So i decided to leave it off and go ahead and attached the nose.
With that done and setting up i moved to work on the engines, cutting their pods and aft sections off the tree. The were then dry fitted to the underside of the wing and glued together.
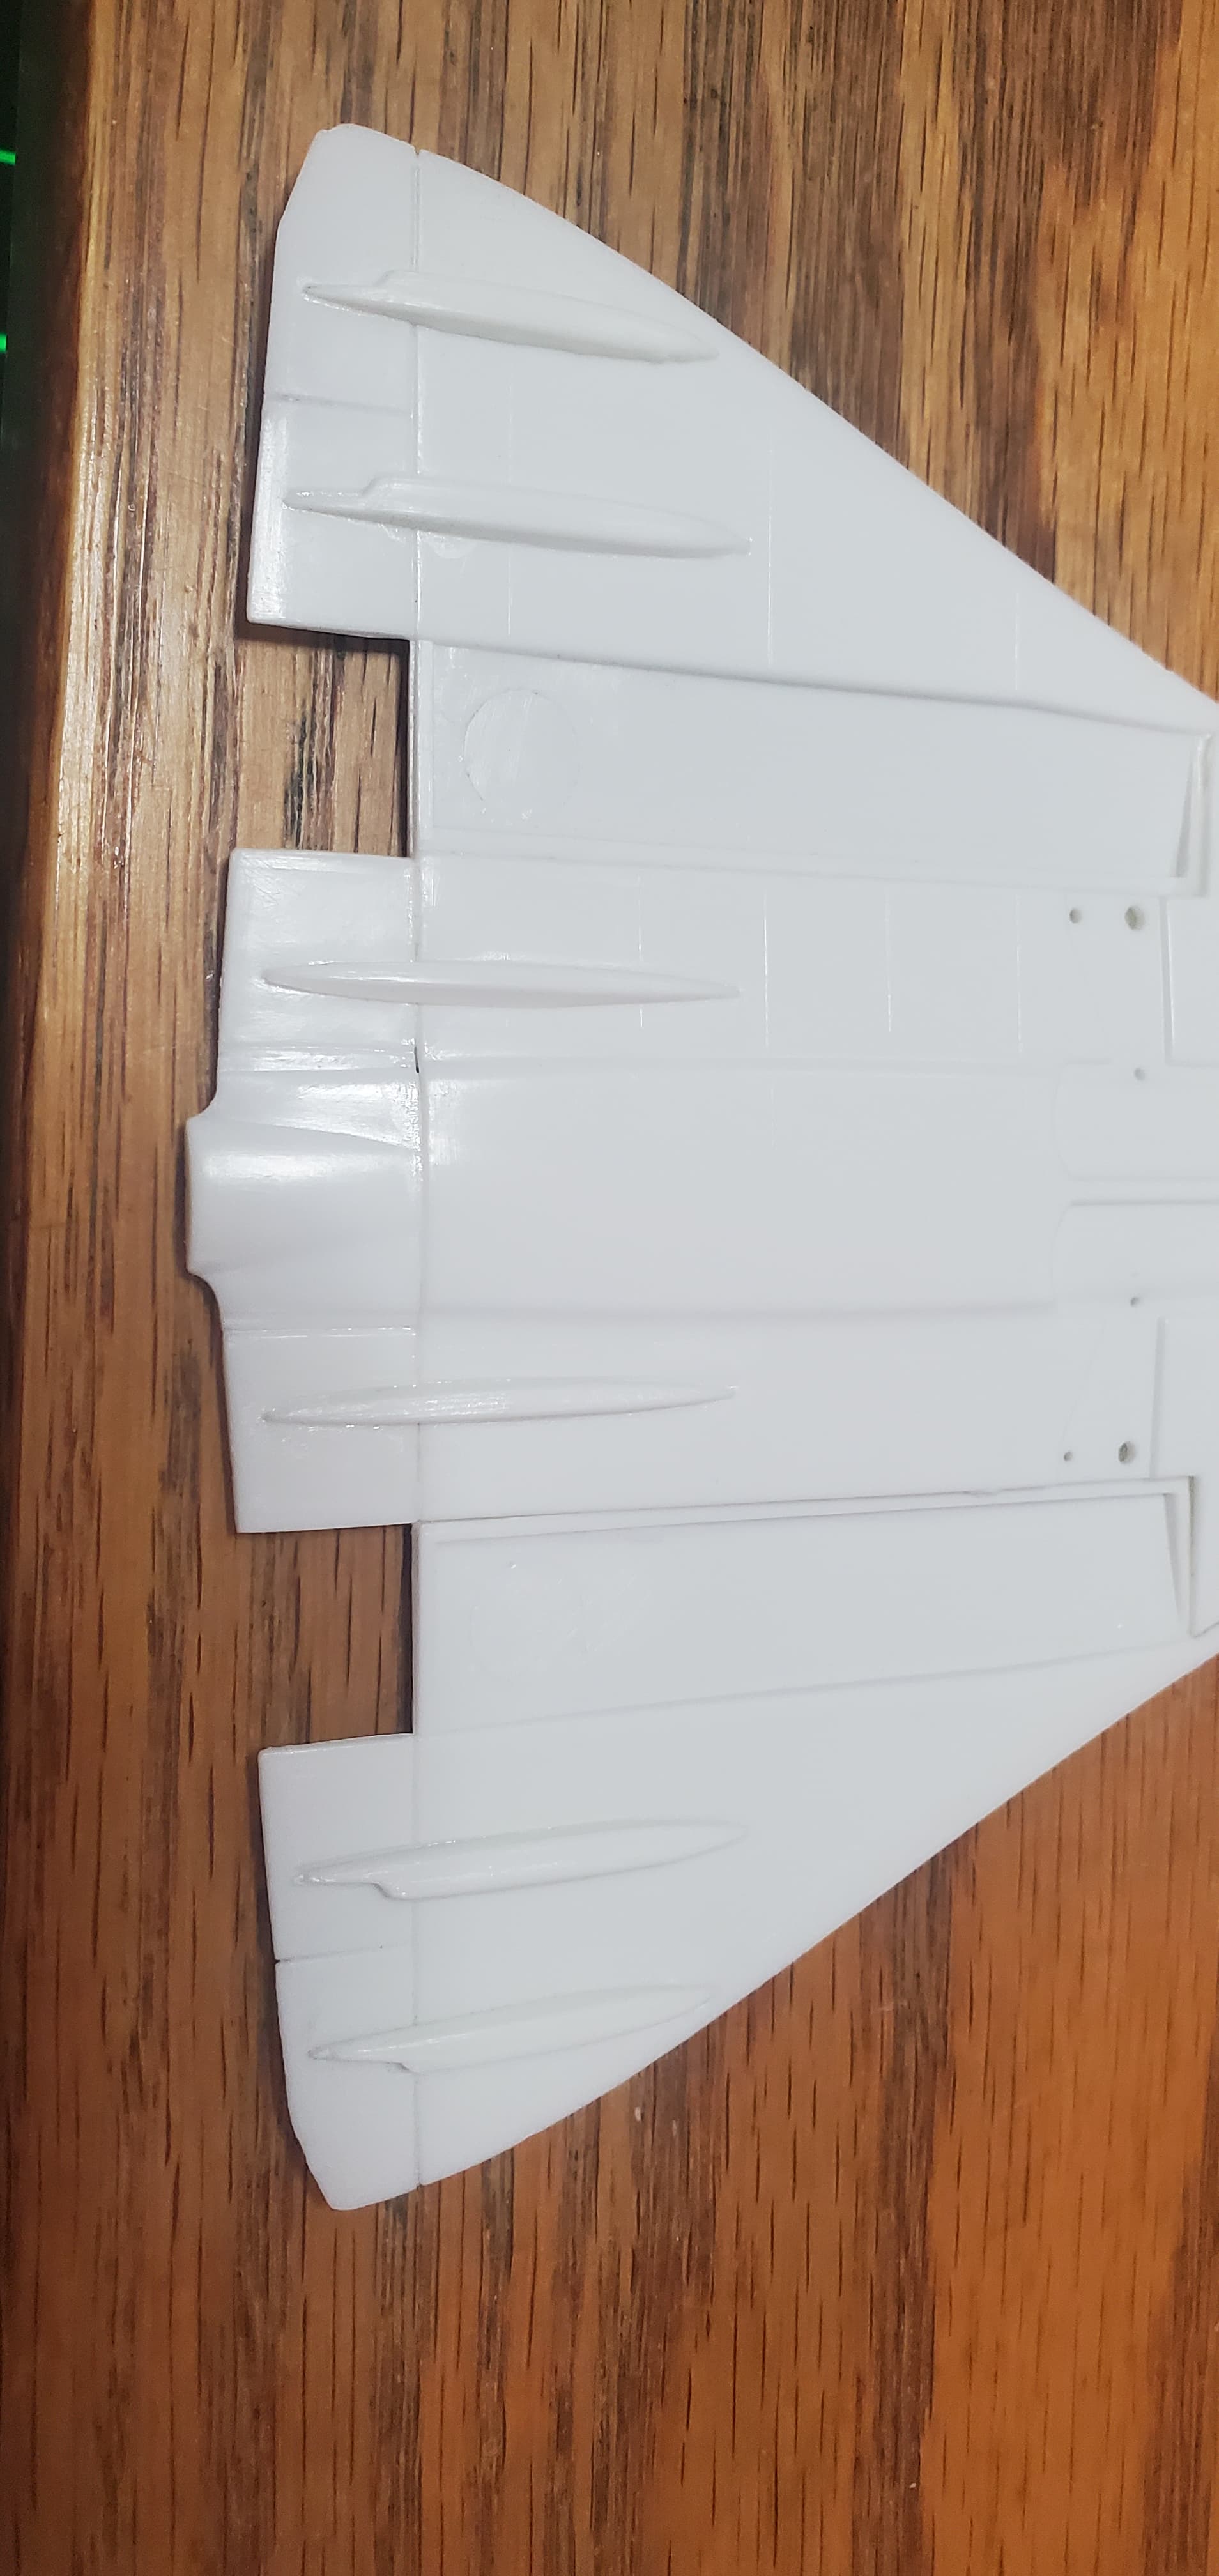
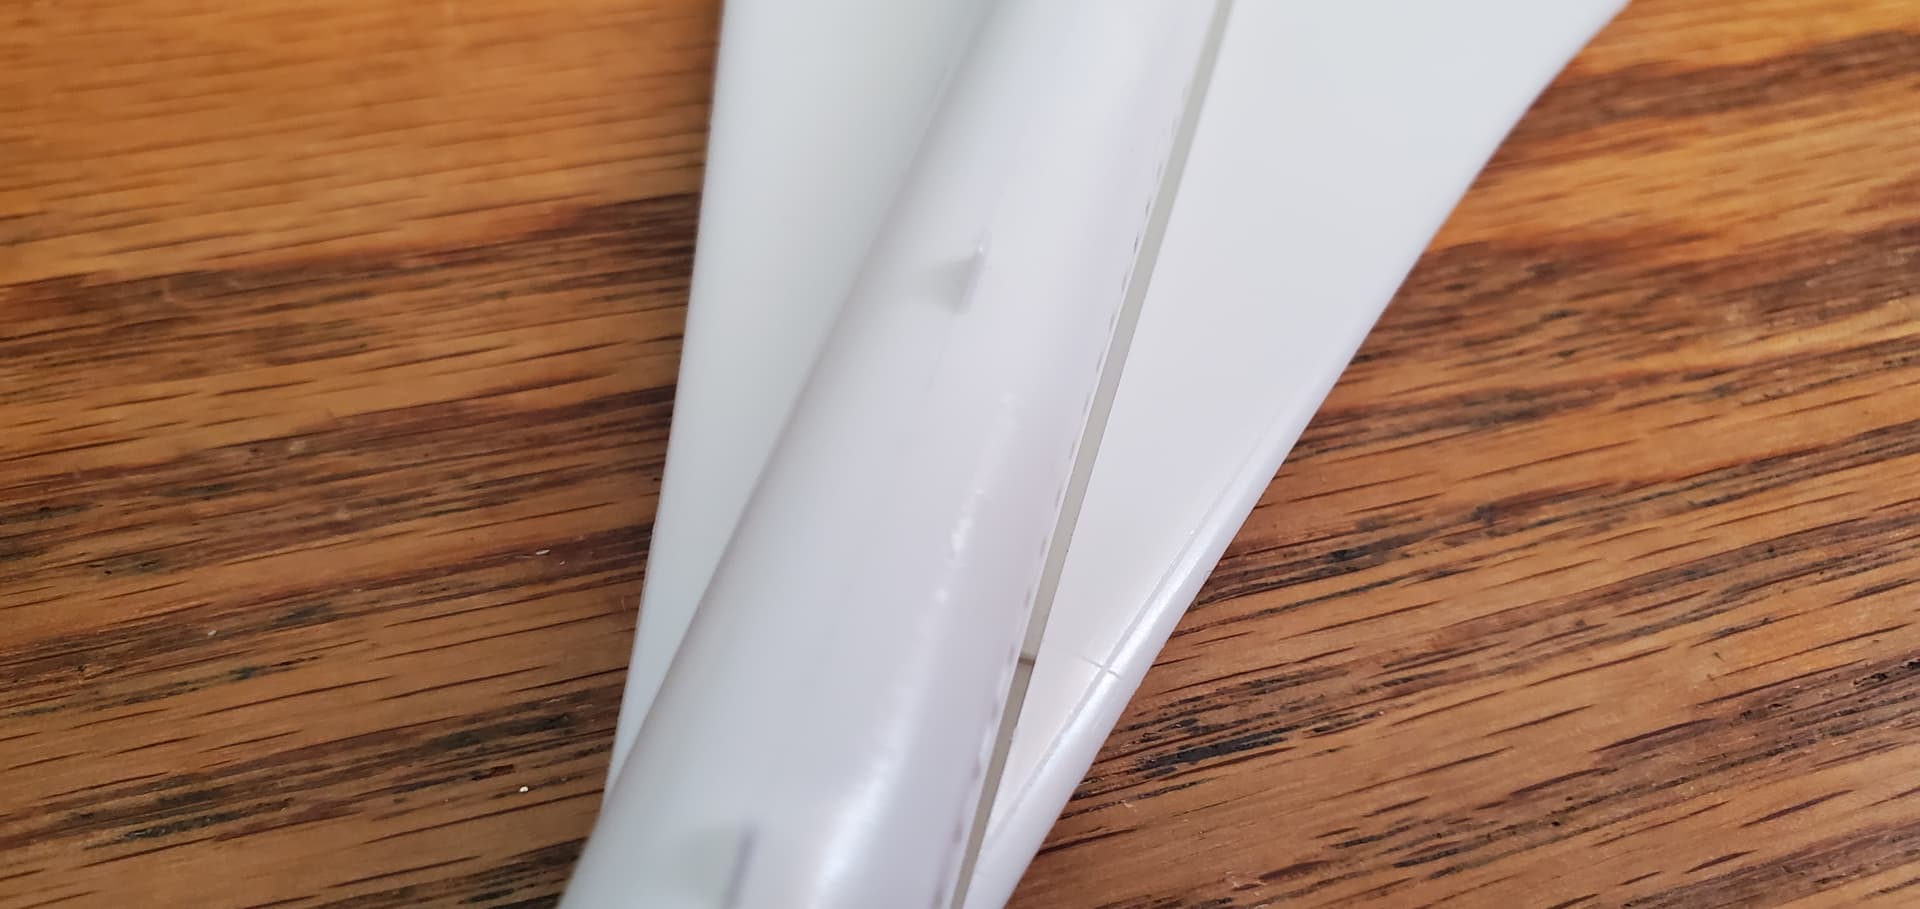
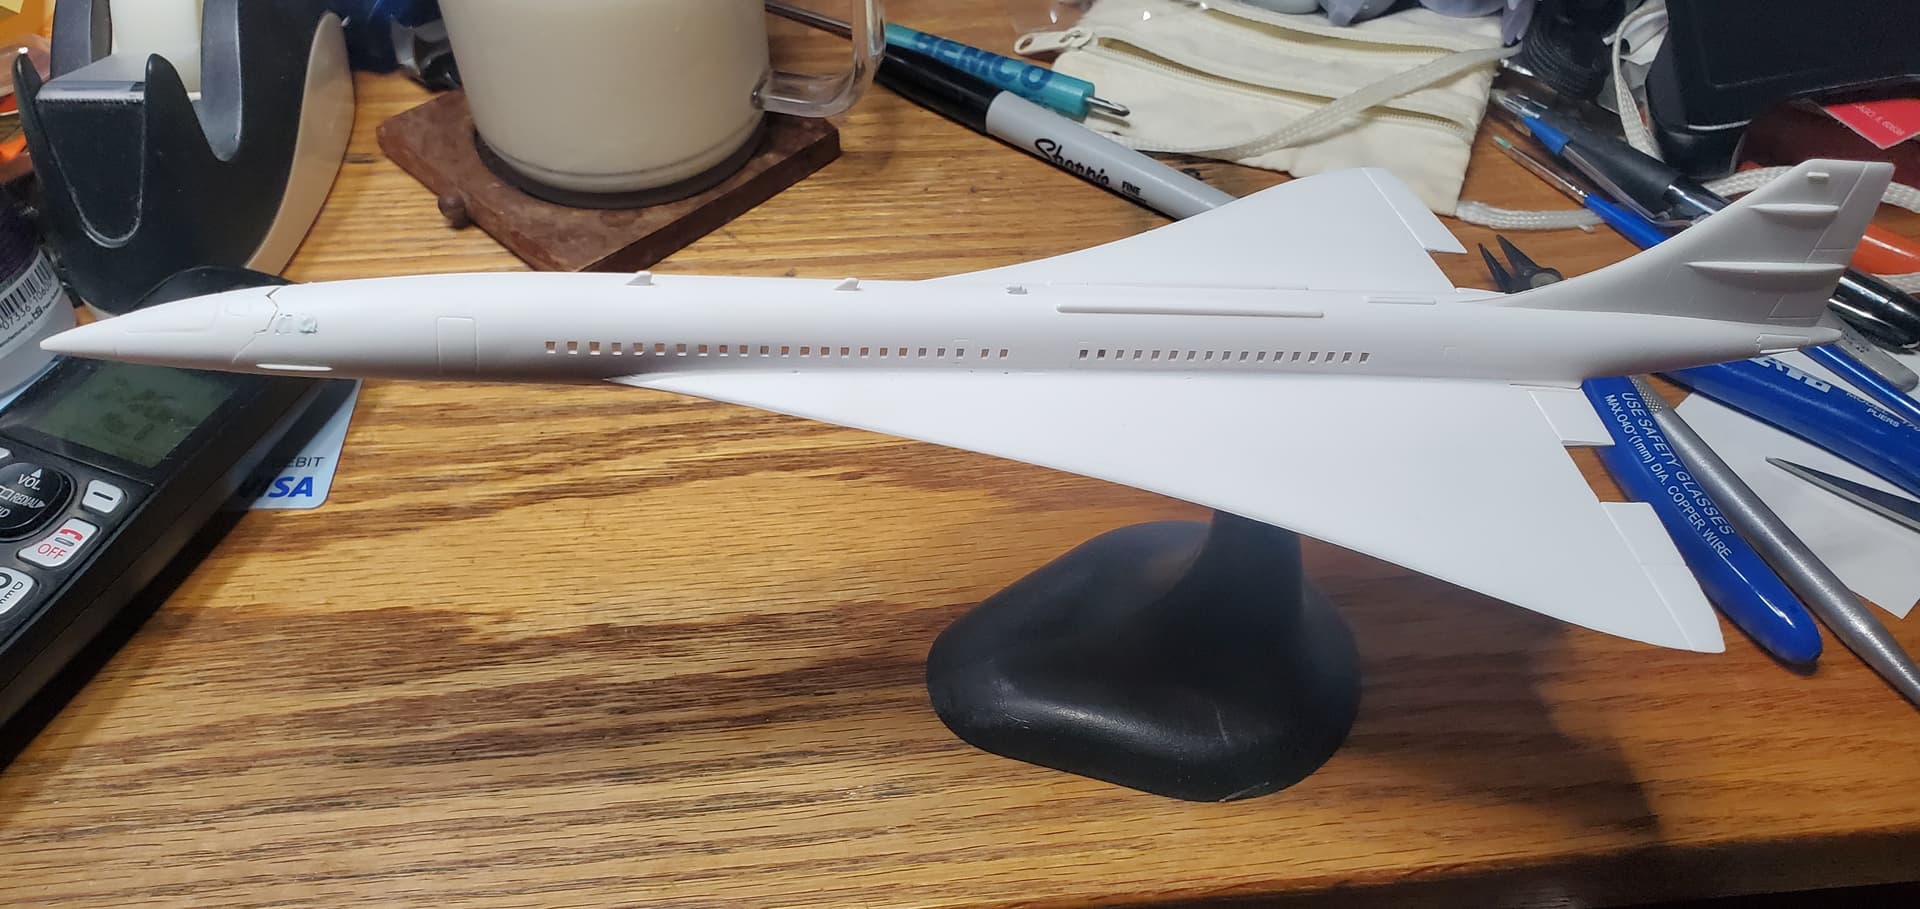
Got a coat of primer on, both to see if any of the filling work needed touching up and start a base for the white upper surfaces. Fortunately the filler did its job and only minor sanding will be needed. On the underside however more filling work will need to be done. This includes filling one of the holes for the landing gear.
This is going to be a great build. I’m glad that you’re going to display it in-flight. I remember growing up in the 60’s the Concorde was the coolest plane ever! Good luck with this project.