I had the same seam and sinkholes on my 1/144 Revell concord. Coming along nicely!
1 Like
Have that kit in my stash, good to know
1 Like


4 Likes
Got some sanding to do my friend.
2 Likes
Looking very good so far. Always wanted to see one in the air. The one they have on display at Charles de Gaulle airport has some flickering lights in the burner cans after dark to make it look like it’s still in action.

It might be worth noting the area under the passenger door. Those dark spots are actually hexagonal shaped and not round.
6 Likes
Such a beautiful plane! The Concorde was ALWAYS a crowd favorite when it came to the EAA. I’m getting flashbacks of the movie “Concorde- Airport 1979”
1 Like
So finally remembered to post an update.
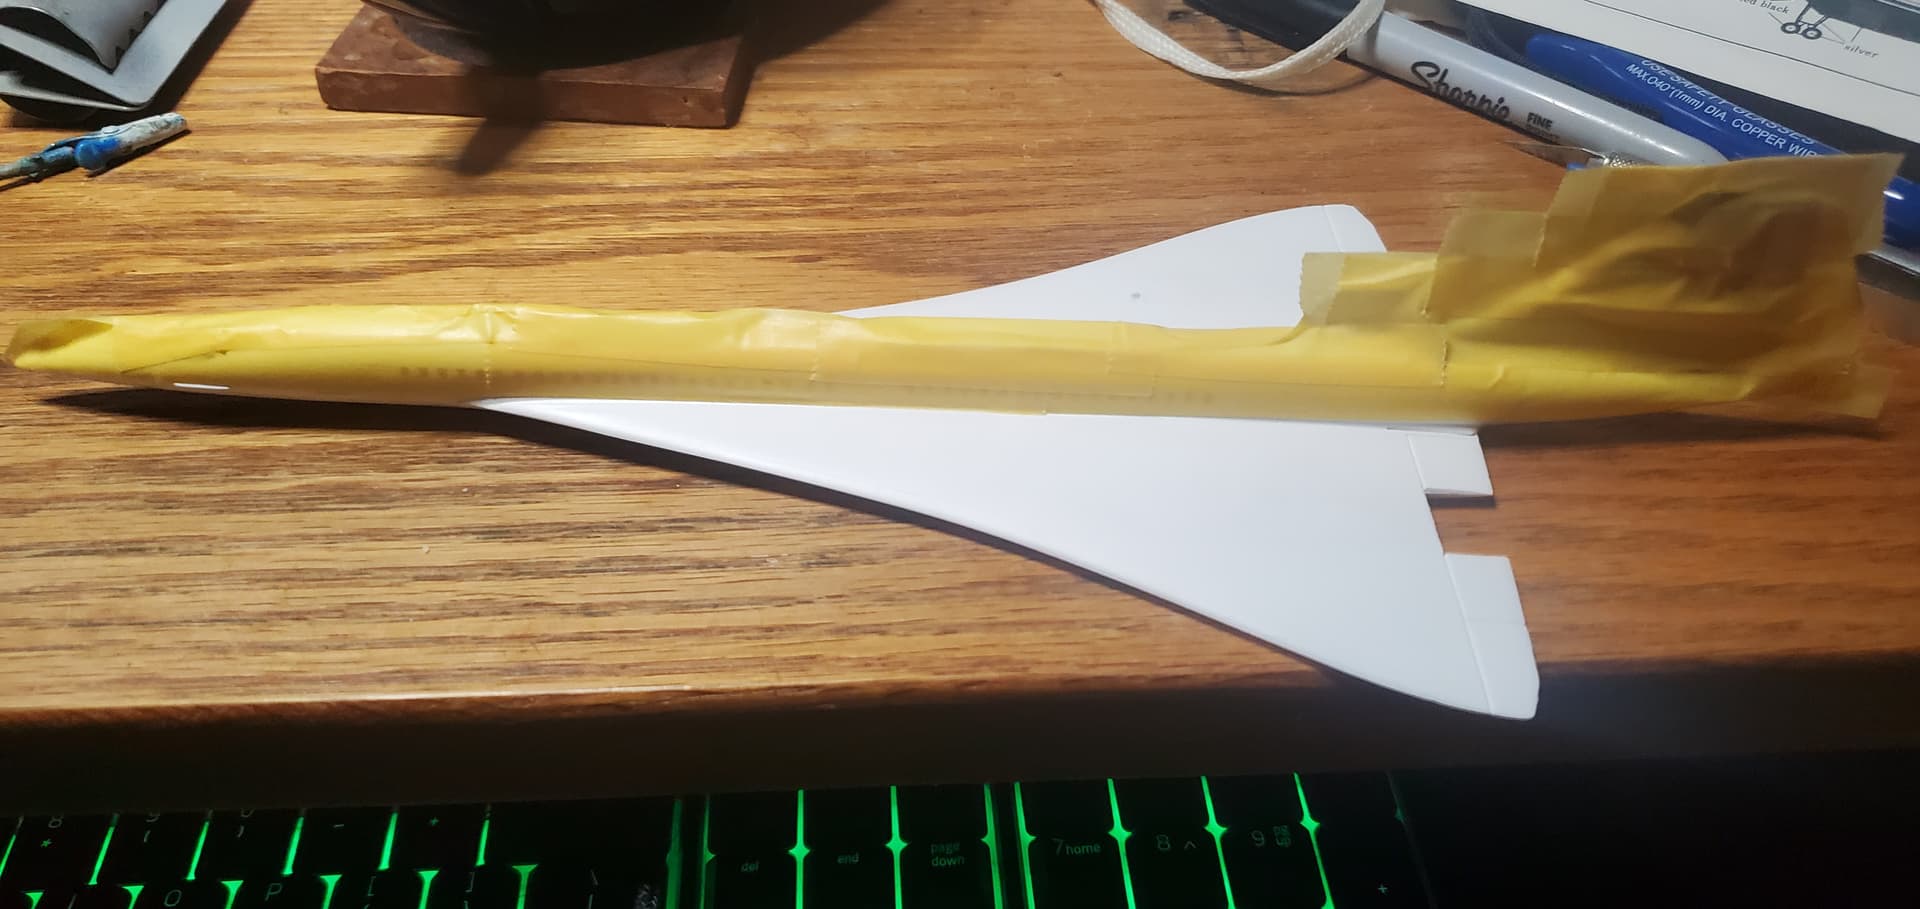
Got the upper fuselage painted the other day after sanding down the filler from last time. I then masked off the upper portion and the tail. On this plane’s paint scheme the wings and underside are silver colored. So that is going to be the next step.
3 Likes
The Concorde is looking really good. After this gloss white paint job on this kit, you should do AMT’s XB-70 Valkyrie next!
1 Like
Had a productive day yesterday on the Concorde.

I got the silver painted, decided to use SMS Silver for this.

Masks removed showing the white with the silver. After this my attention turned to the engines.

I chose to use Mr. Color C92 Semi-Gloss Black for the main color. This has become one of my favorite colors to use as its great for prop blades and instrument panels. These were then masked and the silver was painted. The aft section was also masked and painted Alclad Dark Aluminum. Not pictured, but i also painted the compressors were painted silver as well.
At this point all that is left to paint are the nozzles and the base.
6 Likes
Great progress. Finish line in sight.
1 Like
Looking very nice. Can’t wait to see this done!

So have hit a snag. One thing i was worried about was if these decals would work and unfortunately they do not. They are pulling a very thin layer of the backing paper with them resulting in the discoloration. Fortunately i was smart and scanned the sheet prior to use. So no i have the unenviable task of copying the decals in photoshop in order to print a new set.
3 Likes
Been missing out on the show goin’ on here Chris. Aside from the decal issues, this is coming along verrrry nicely. Good thinking on scanning the 'cals beforehand. Hang with 'er bud…this is coming along in rather good fashion.

Been a bit since i did any work on this project. So here is the printed decals. I do not know if its the cheep decal paper off Amazon, my laser printer, or a combination of the two but i got smearing no mater what i tried. Any thoughts on what the cause might be are welcome. I also discovered that i did not have the scanner set to a higher setting like i thought. This was due to recently replacing my scanner and not adjusting the settings. At this point it is what it is for this project. Im not going to loose sleep over it.
Since the decals what i am now doing is mixing from the tree prints to build up the look. Unfortunately i forgot to grab a photo of the progress. Will grab one in the morning and include it in the next update.
2 Likes

That looks sharp. At the finish line.
Still has a ways to go, but getting close. Figure I will have it done early next week at the earliest.


Decal work is done, now just need a final gloss coat. One added benefit of using my own decals is that it added the windows that i was previously planing to do with Micro Kristal, essentially saving me a step.
3 Likes
This is looking so cool! You did an excellent job with that natural metal finish and that white gloss. The decals look terrific on there and that will definitely “spruce” up either a display shelf or desk top. I’m off to watch “Concorde-Airport '79” again.
Weird about the ink smudging on those ones that you picked up but it looks like you overcame that debacle in rather good fashion @Ranger_Chris61 . This thing is looking HOT btw.