 Lookin’ good, Steve!
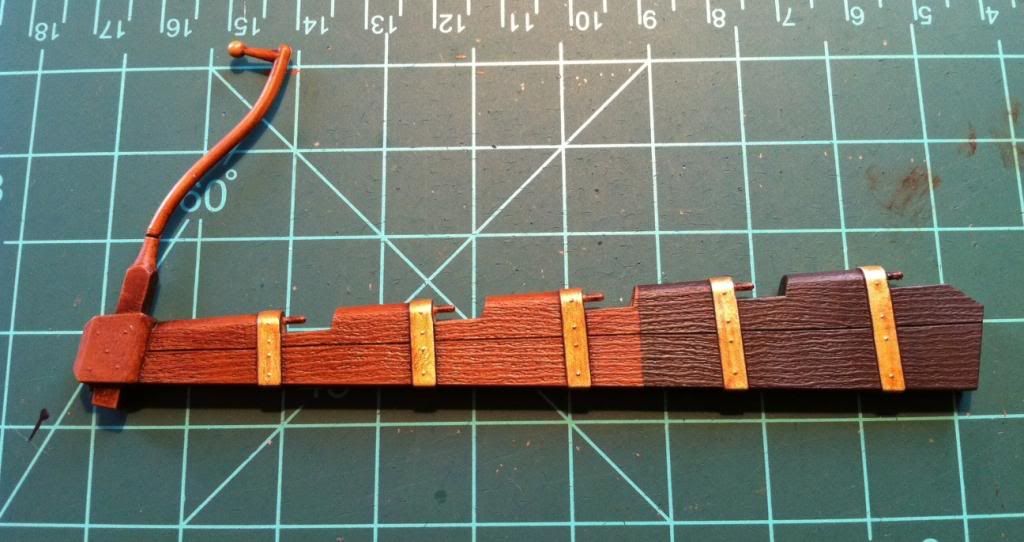
I have my rudder for the Thomas sitting here, couldn’t resist hijacking your thread with a similar pic!
It’s so funny to be working on the same (almost) kit…
Dave,
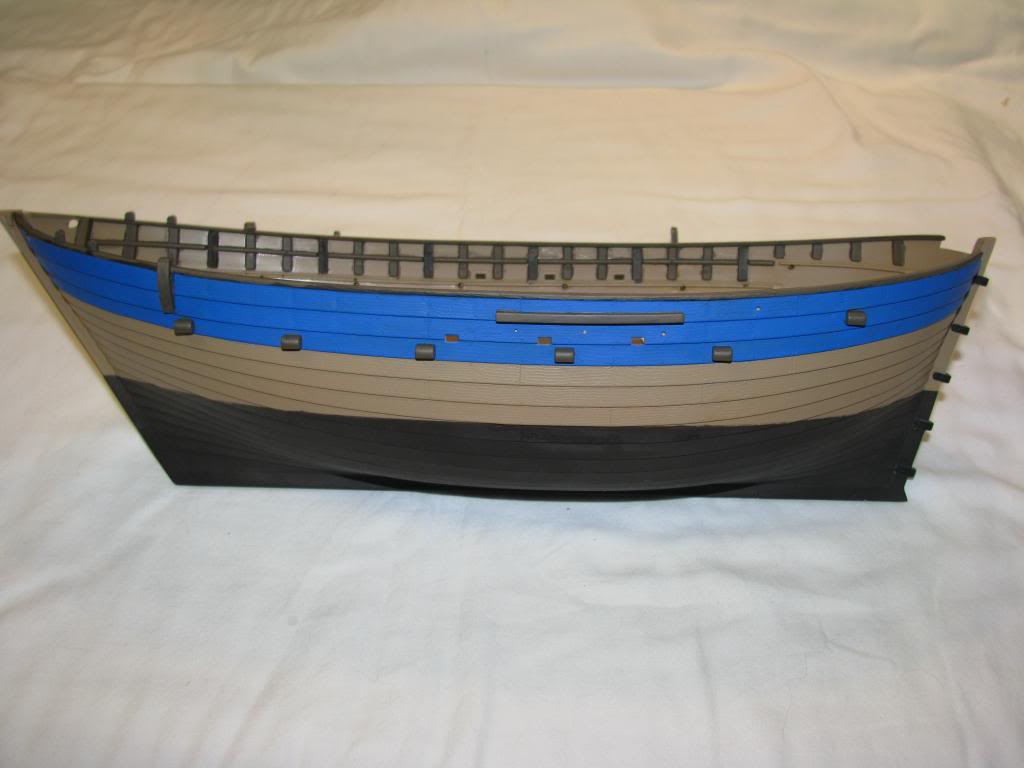
Looking good! I like the wood color and the darker bottom color who came up with. The brass fittings (pintles) on the rudder and (grunions) on the ship which I assume are also painted brass, look striking and the whole thing has come together very nicely. I can’t wait to see the finished product.
I agree, it’s interesting to see how the same ship can be interpreted in different ways and both look great. Reminds me of playing guitar with a couple of other people using the same make and model and all playing differently and making sounds you had never considered before but adding so much beauty to the song.
I’m going to make a rope ladder for the fighting top because theoretically it would be pretty difficult for long bowman with bow and arrows and whatever other accruements they would need, shinnining up a stay. I also plan on not using the tent provided. It just doesn’t look right in size or shape. I am not sure if I’ll scratch build one or not since I do not plan on adding any figures.
Steve
Lovely work Steve. If I can help when you start the Tirpitz I would be glad too…Cheers mark
Thanks, Steve!
I’m going to try to get the castles and rudder installed today, if I can find some time to sit down…
I like the brass for the pintles, too…and though I would guess that brass wasn’t used for such items, I think it looks cool…sometimes I use bronze or even black for that stuff.
I like your idea for the rope ladder, makes sense. And the tent? I’m not in love with the way it looks, either…it didn’t occur to me to replace it or just leave it off…something to consider. We’ll see if can get it to look okay, otherwise it might go bye-bye to live in the spare parts box!
Hey, I play guitar, too!
Dave
One chore of modeling that I’ve failed to attend to is the filling of gaps. What do you use for the little spaces between mating parts? I have some milliput that I use for resin figure repair, but I wonder if there’s a better/faster-drying/smoother choice?
Got my castles on today (sent you an email with a pic), and soon it’ll be time for the sail…but now I am starting to wonder whether I like the molded sail, or if I should try something else? I’d hate for it to cheapen the overall effect of the kit…
What are your thoughts, Steve?
Interesting that you bring up filling gaps. While I was trying to dry fit the aft castle, the hull got away from me and did a bit of crash and burn. There are sprung gaps all over the upper and lower hull joint. I am not sure how I am going to fix it at the moment. I had an almost perfect join but not anymore…
Anyway, what I usually use for this type of gap filling is Mr Surfacer 500 applied with Tamiya fine pointed Q-Tips. I let that dry about 10 minutes or so and then take a regular Q-Tip soaked in 91% Isopropyl Alcahol. Tis can get rid of the paint in the area but if you do it right it won’t affect the grain and painting is a lot easier that trying to scribe new grain. After you get to where the gap is filled and there is no excess let it dry overnight and then apply more if there was shrinkage.
In regards to the sail, since this is a How To article/CD, I am building the Thomas Out of the Box, except for the stuff they call rigging line. I will scan the coat of arms decal before using it so that I can go back after the article is done and rerig with wooden deadeyes, etc… Pretty much like the Hanse Kogge from last year. If I can find a way to make realistic looking sails then I use the coat of arms I scanned. However, if I have the sail set, then I will need to populate the ship, otherwise it will look like a ghost ship in my opinion.
Hope this helps. I wrote an awesome reply earlier but it disappeared into the ether…
Steve

Dave,
By the way, what type of guitar do you play? I play a 1970 Fender Telecaster, an Ibenez Les Paul Custom and an Ovation acoustic. Although I really don’t get much time to play anymore and the band years are long ago… Kinda like my hair!
Steve
I have a Takamine G-Series…I play acoustic. Been playing with a guy from work, having fun! We play classic rock tunes, Beatles, Eagles, Pink Floyd…We actually put on a little concert for our co-workers last Friday!
Sorry you dropped your model…what a pain!
Got my sail on the Thomas last night…one of the neatest things about this kit is that the yard doesn’t have any locator pins to attach it to the mast…this kit actually comes with a molded parral with trucks, and once it is clipped to the yard (around the mast), the lift and the sling rigging is what actually holds it up! So, now I have it suspended by some binder clips and line, have to decide at what height to tie the yard…
Steve! Man, I just realized the bowlines (or whatever they are that go from the sides of the sail to the blocks on the bowsprit and then belay on cleats on the deck) don’t reach the cleats without rubbing on the forecastle…ugh. Any suggestions for where to run them?
Dave,
On the Kogge the foc’sle is much smaller and had cleats on the aft bulwark ribbing both port and starboard which is where the bowlines were tied off. If you still have some of those metal cleats, I would drill a hole either on the aft bulwark ribbing or along the side ribbings starting about half way back.
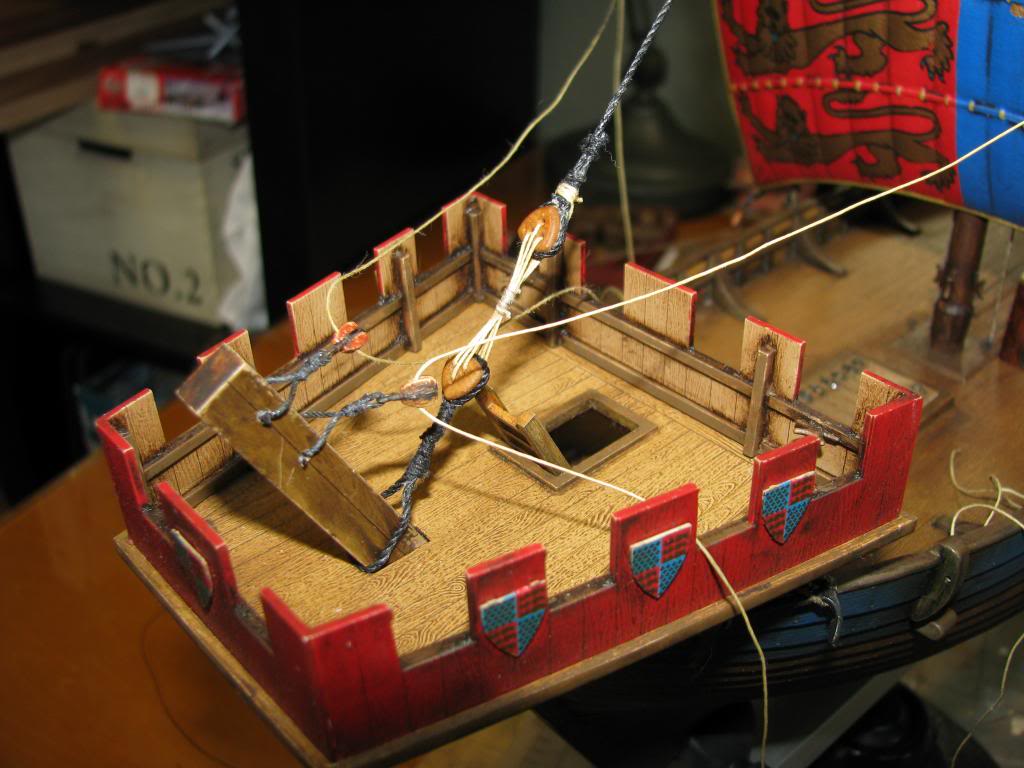
In the instructions they have you tying off after running your line through the chess trees, which is incorrect as well as not working very well. I was planning on adding some cleats myself.
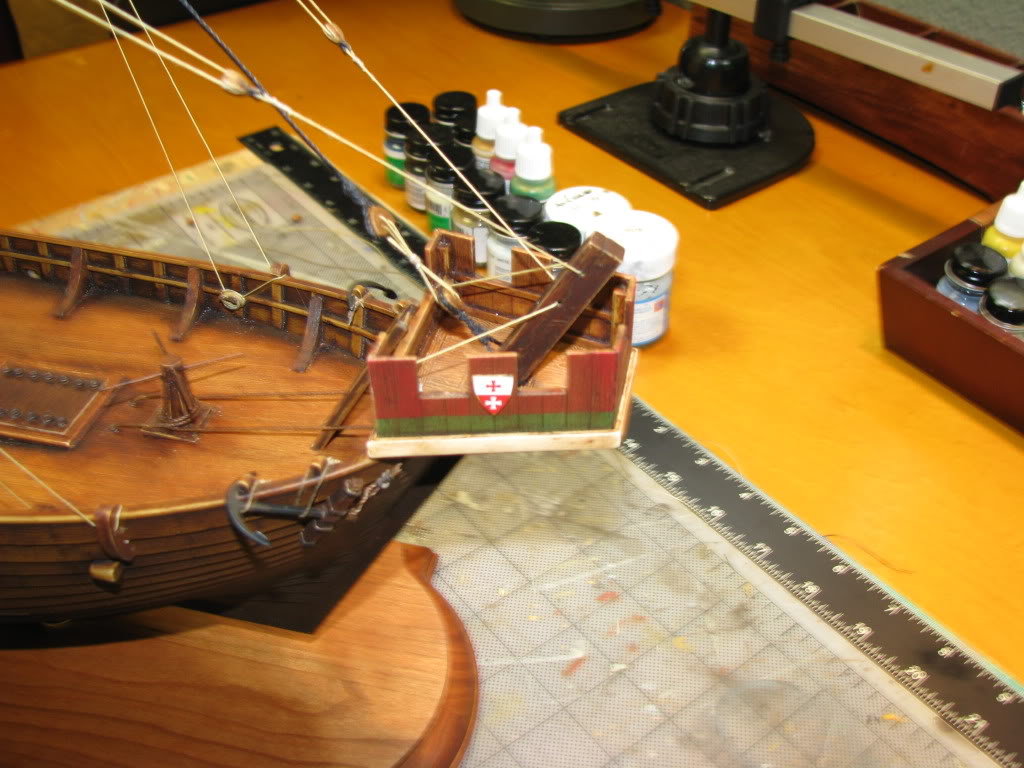
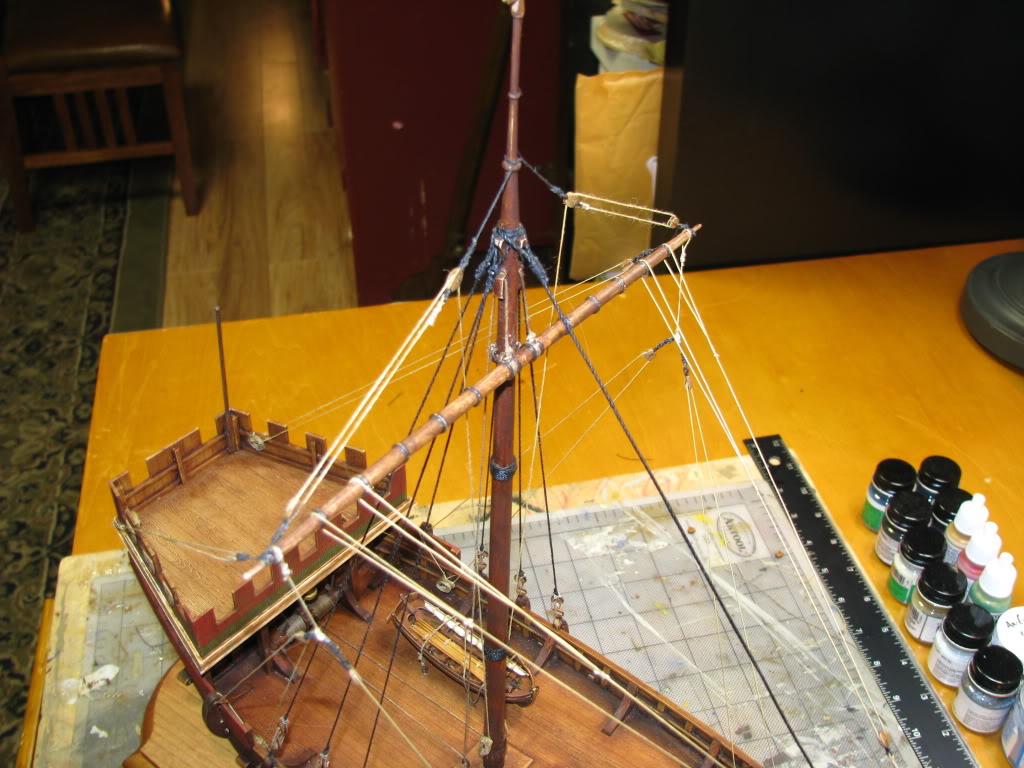
Here is a picture of the foc’sle which hopefully demonstrates what I am babbling on about. You want to think about where is the logical place to tie off so that it does not interfere with soldiers fighting the ship.
Steve
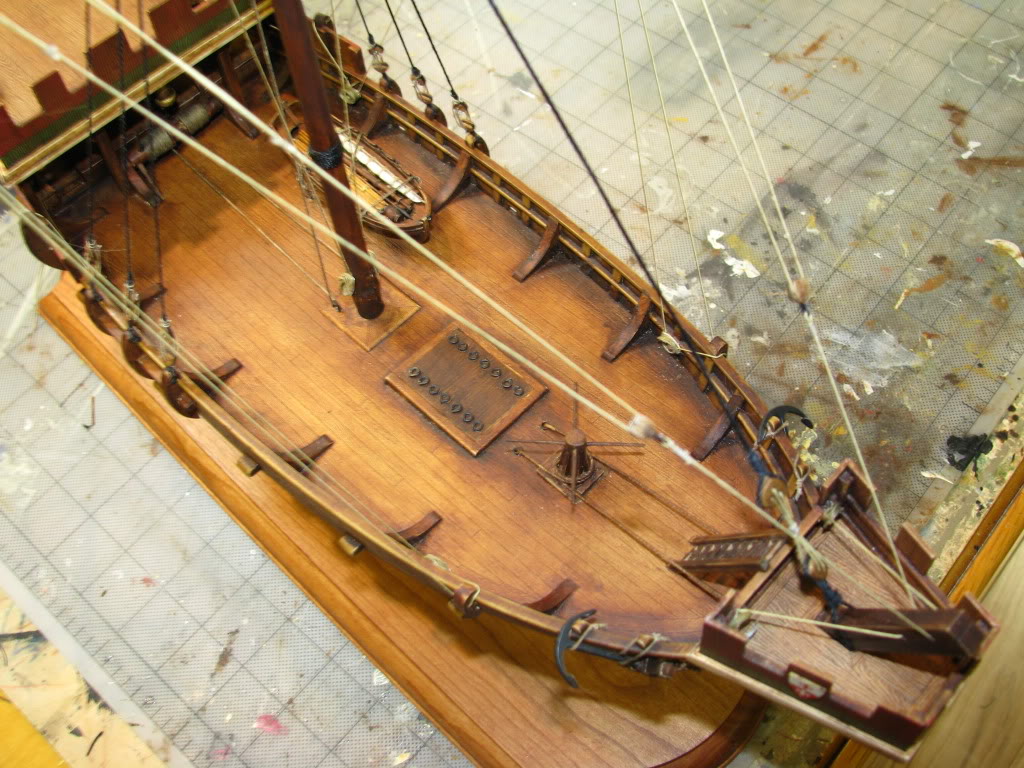
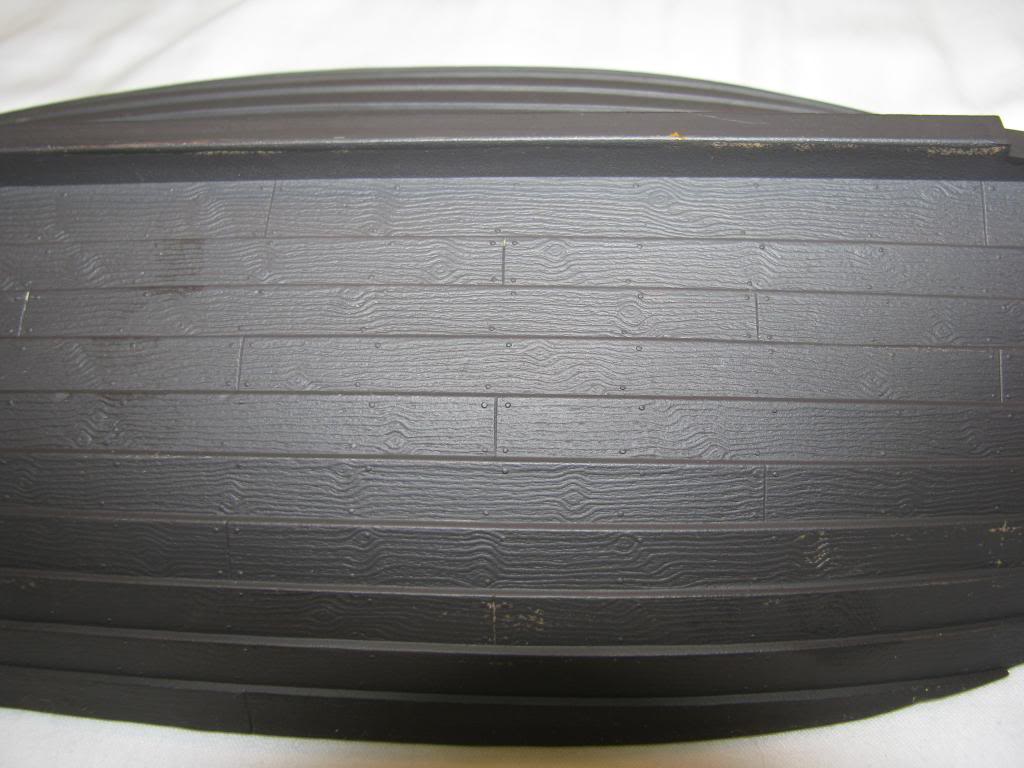
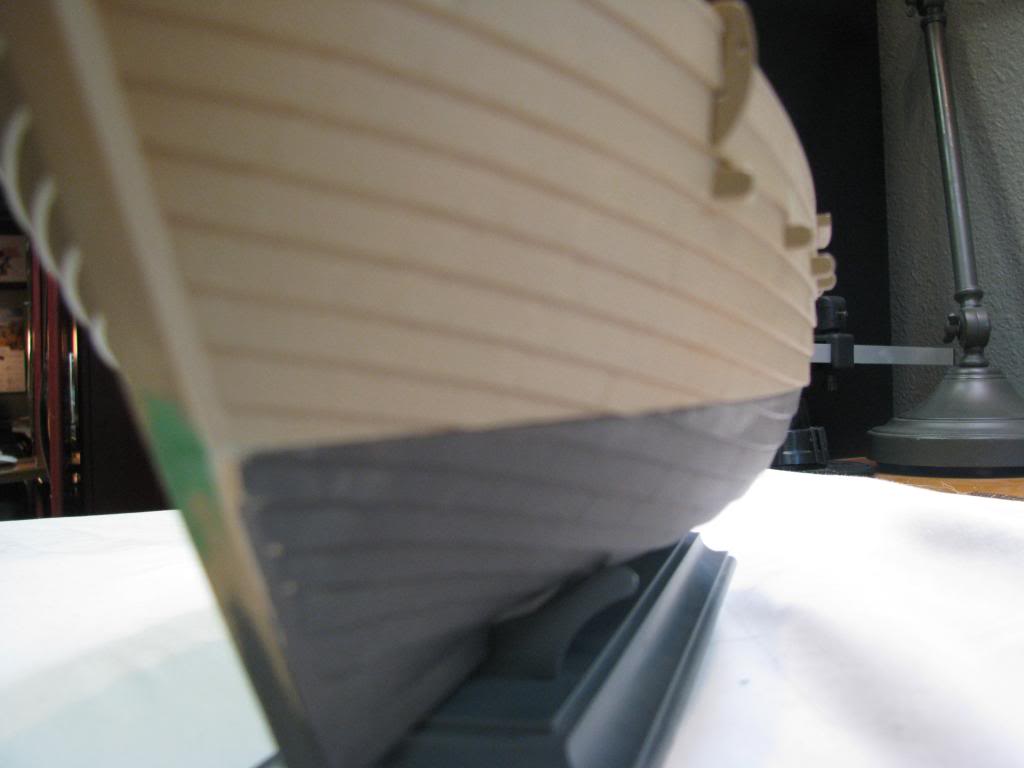
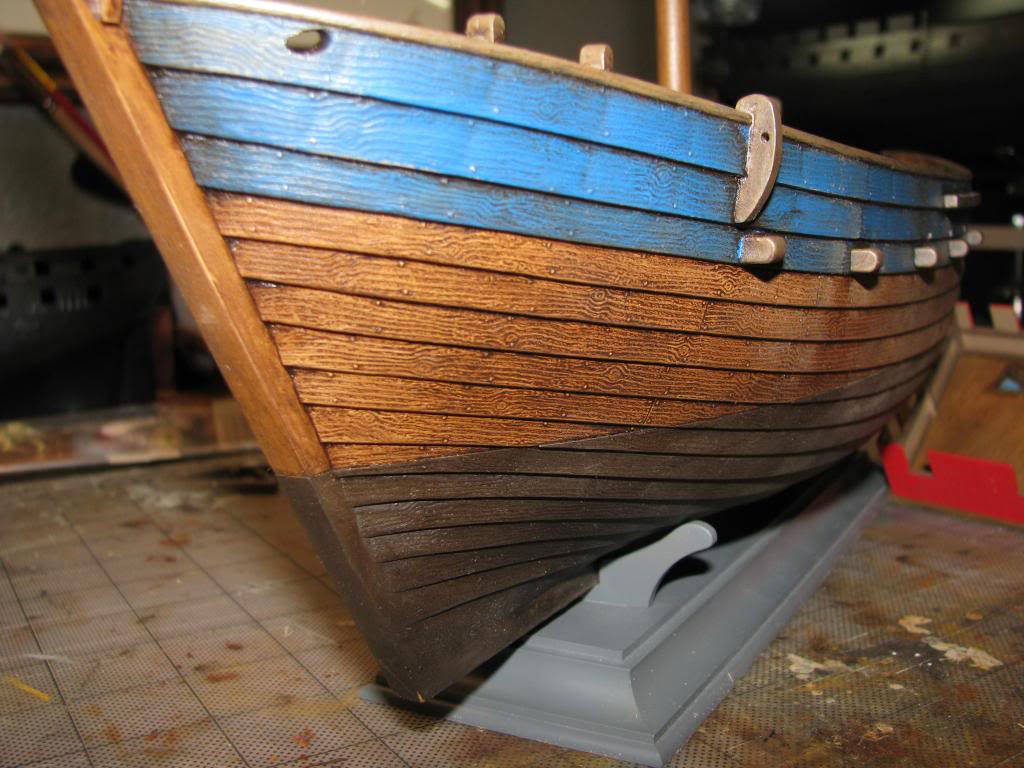
Here’s a bow shot of the Thomas. The last three shots were from the Hanse Kogge I did last year. I wanted to illustrate the grain effect on this model. I need to touch up the chesstree and the supports.
Steve
Unpainted
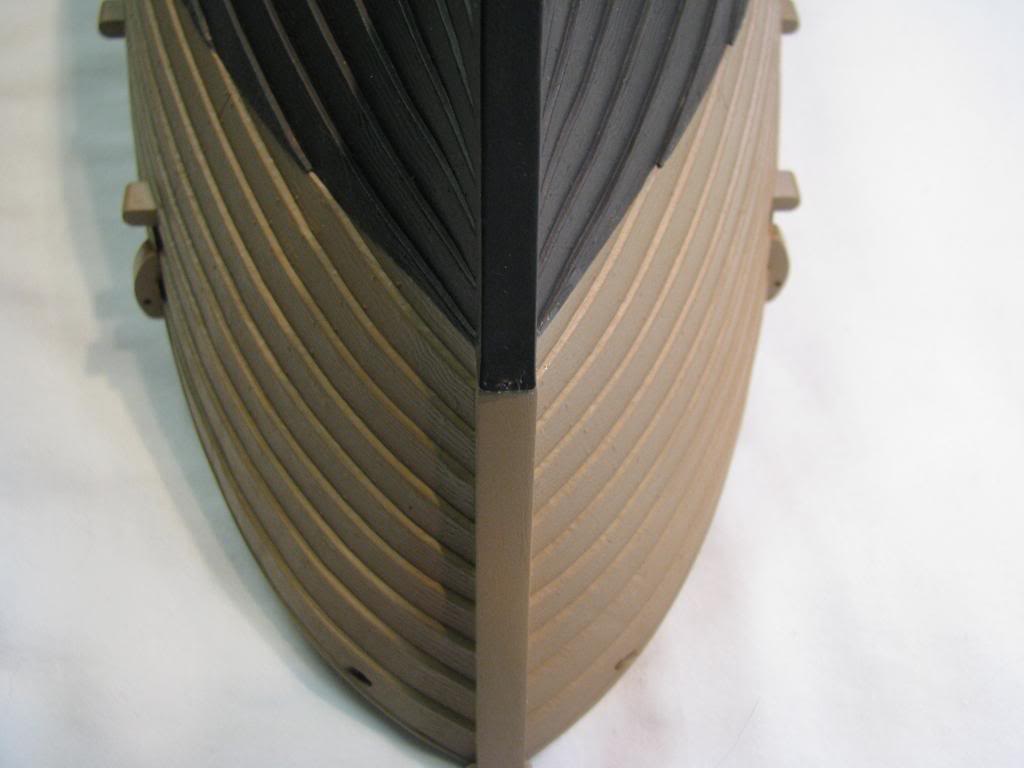
And painted
Awesome! I love the Kogge! What did you use for the yard?
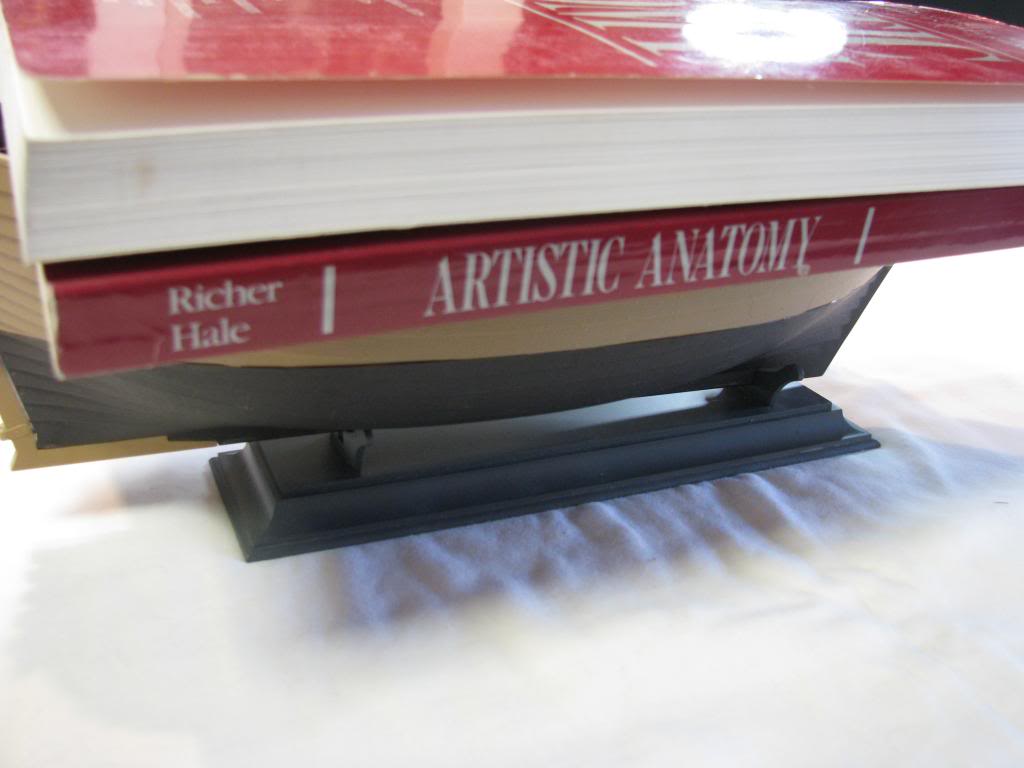
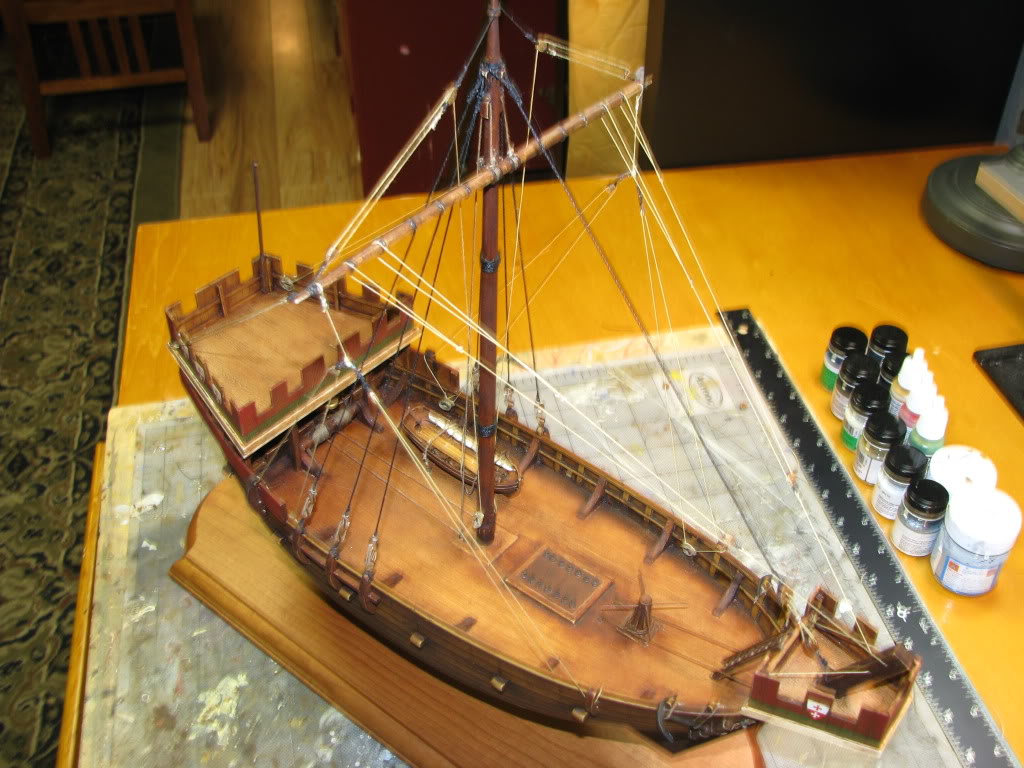
I got my Thomas more-or-less finished tonight. Waiting for the oil paint on the base/nameplate to dry, and I have a little touch-up painting to do (gotta hide those little glue spots that show up!)…then I can set it on the stand.
The rigging got a little funny, I wish I had noticed the problems sooner…for the bowlines, I ended up drilling two holes in the aft of the forecastle and installing brass eyebolts, and belayed the lines there. And the sheets were another problem…there’s no good way to get to the inner bulwark cleat without fouling on the deadeyes or the caprail…so I made some modifications to those lines, too…speaking of cleats, those tiny little parts don’t have enough contact surface to hold much tension…I popped a couple off and had to re-attach them. Seems like everything’s holding now. ![]()
Heading to Eastern Washington in the morning, but on Sunday I should be able to get it all finished up, and I’d like to post a few pics…Steve, do you mind if I put them here?
Dave
Thanks Dave, I took the Kogge down of the self last night to get an idea of how I had set up the rigging plan again, and dang if I do not love that build. Of course I see the problem areas better now which I’ll get around to fixing one of these days.
Thanks for the heads up on the tack and sheet, I look forward to seeing how you overcame the problem. For your question on the yard, I cut the full sail off the yard with a razor saw “very carefully” and then cleaned it up, painted and oiled. It actually came out nice as seen in these pictures. In regards to the cleats, I used brass cleats with superglue and then tied off the line on the cleat and ran the rigging backwards. Kind of weird I know but I read about it somewhere and it worked. You cannot do this all the time but it really helped on the Kogge.
I have no problem with you posting on this thread bud, maybe we should change the heading so people will know that both of the Thomas’ are in here. Kind of like a “group build”!
Have fun in Eastern Washington, part of my wife’s family live in Spokane and I went through Eastern Washington on my way to the 1973 Scout Jamboree in Farragut, Idaho. Beautiful country although I prefer the Puget Sound area myself.
Steve
I love your weathering work Steve. Looks fantastic on her…Cheers mark
What a great job Steve!! I have to agree with Surfsup on the weathering.
Thank you Mark and J. I am going to post the work I have done on the sail.
Steve