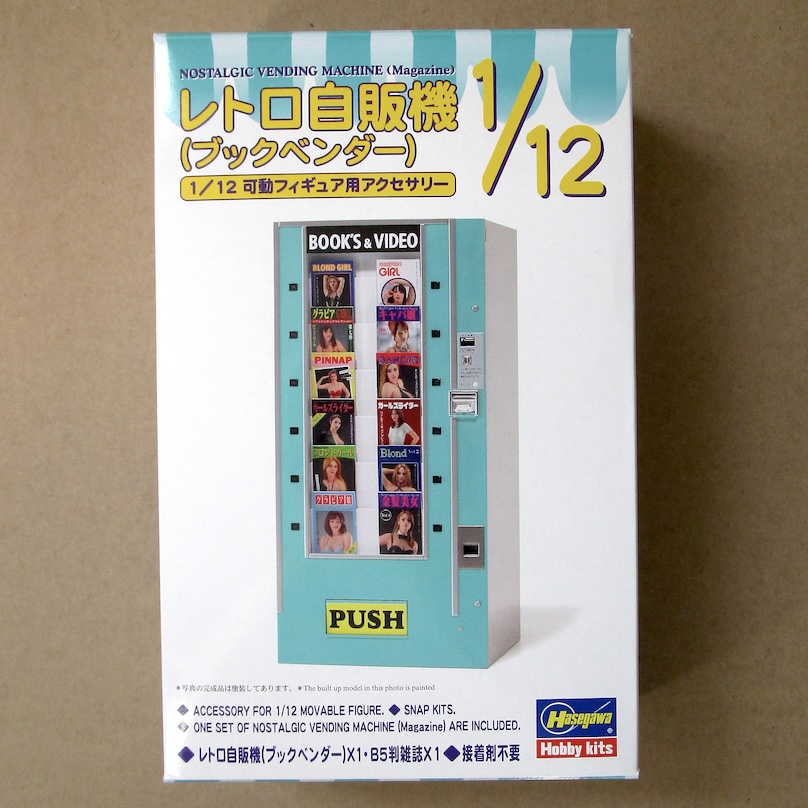
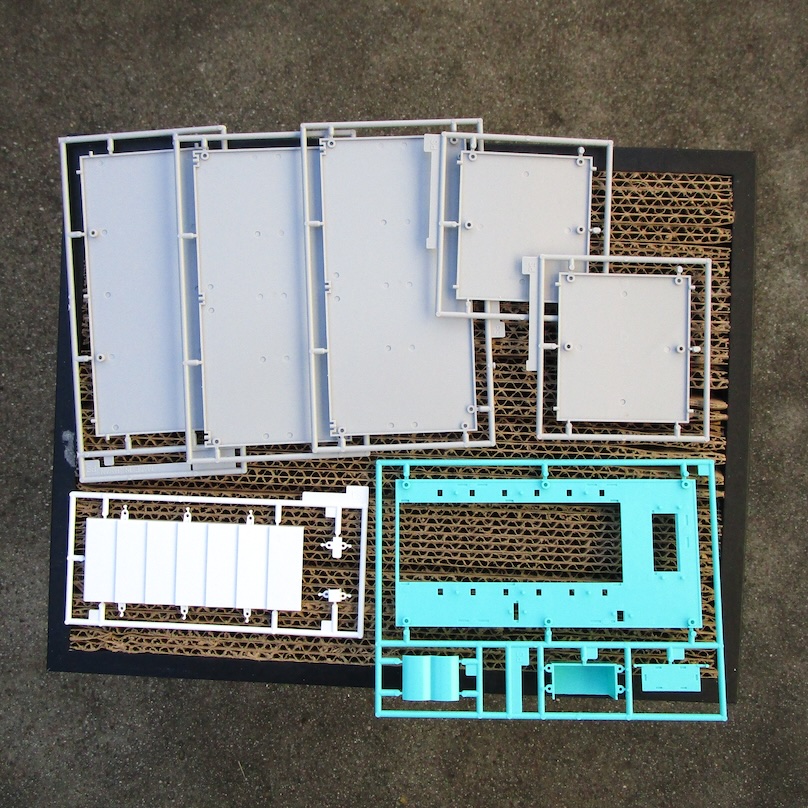
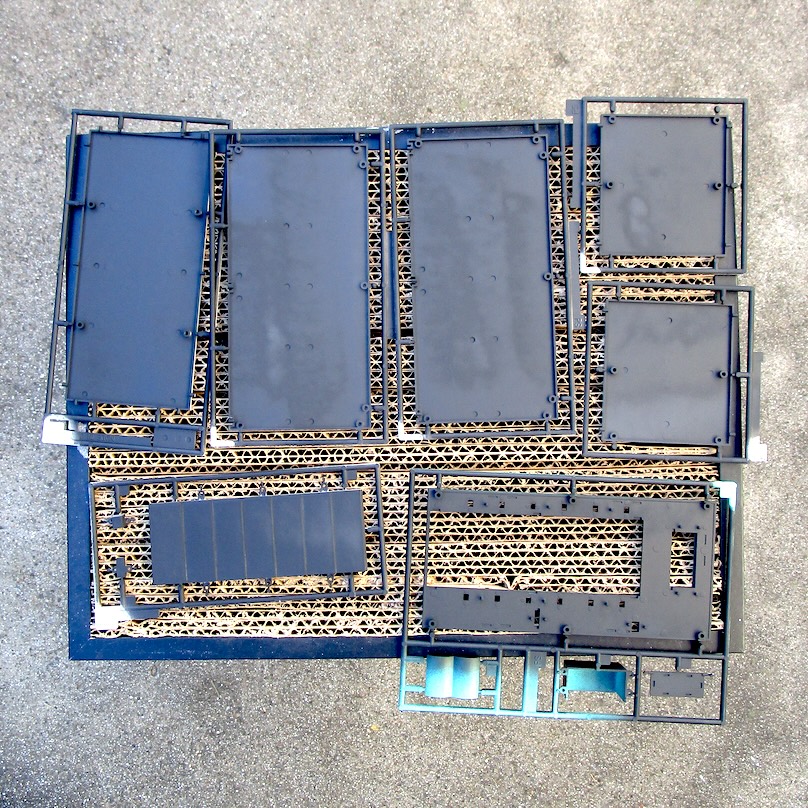
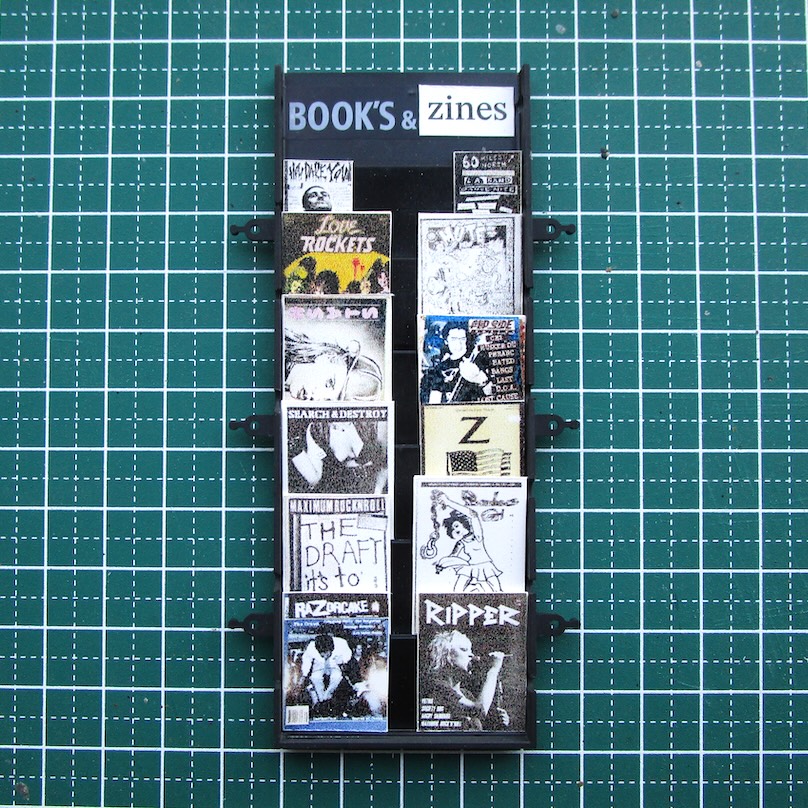
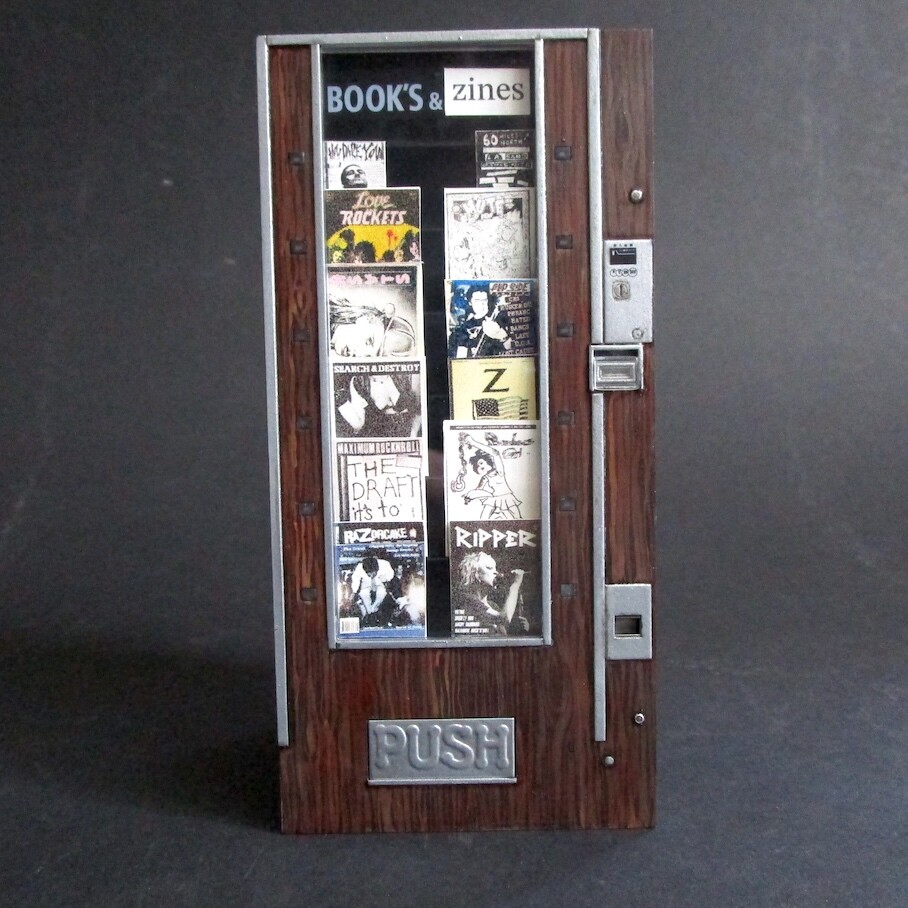
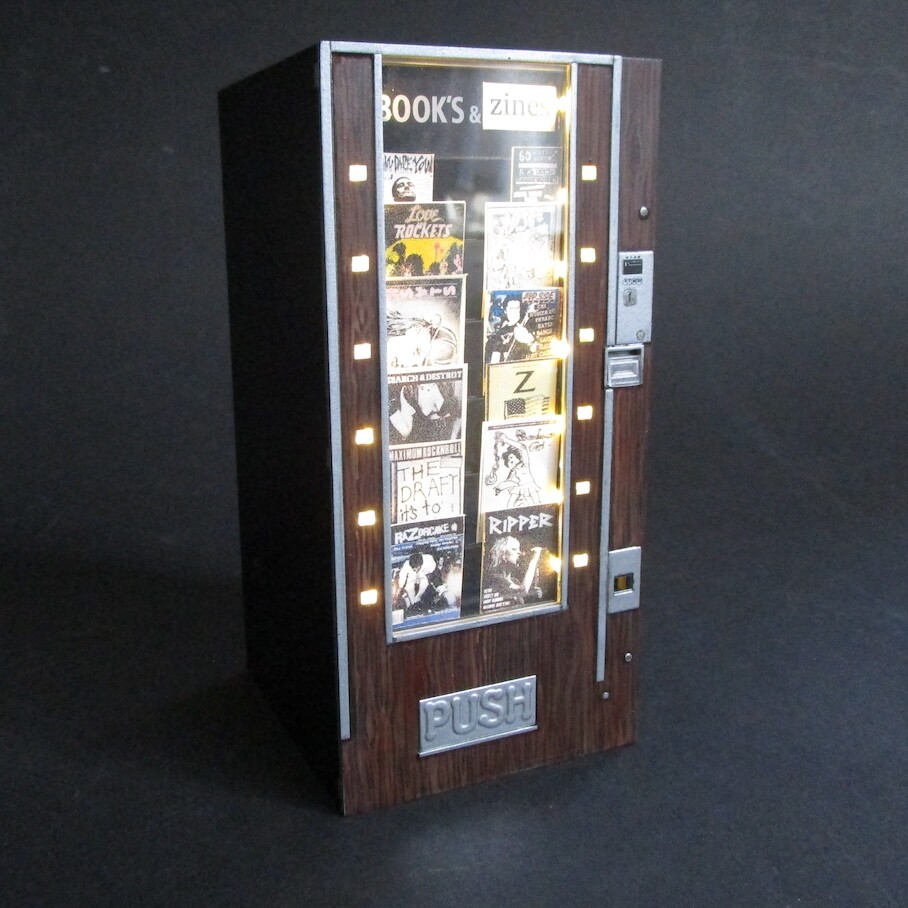
This will be slightly modified to vend mostly punk zines but also skate zines. I plan to add LED lighting inside so I spray painted the inside flat black to block out the light when finished.
I remember the old cigarette machines I’d see in the back hallway at the bowling alley. The faux woodgrain laminate and bright aluminum or sometimes chrome trim.
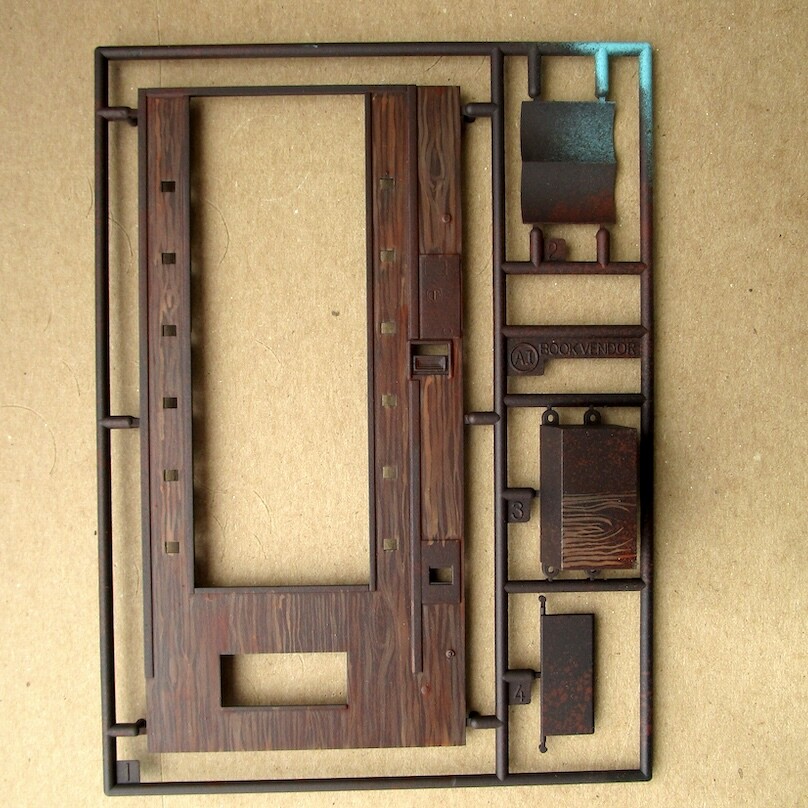
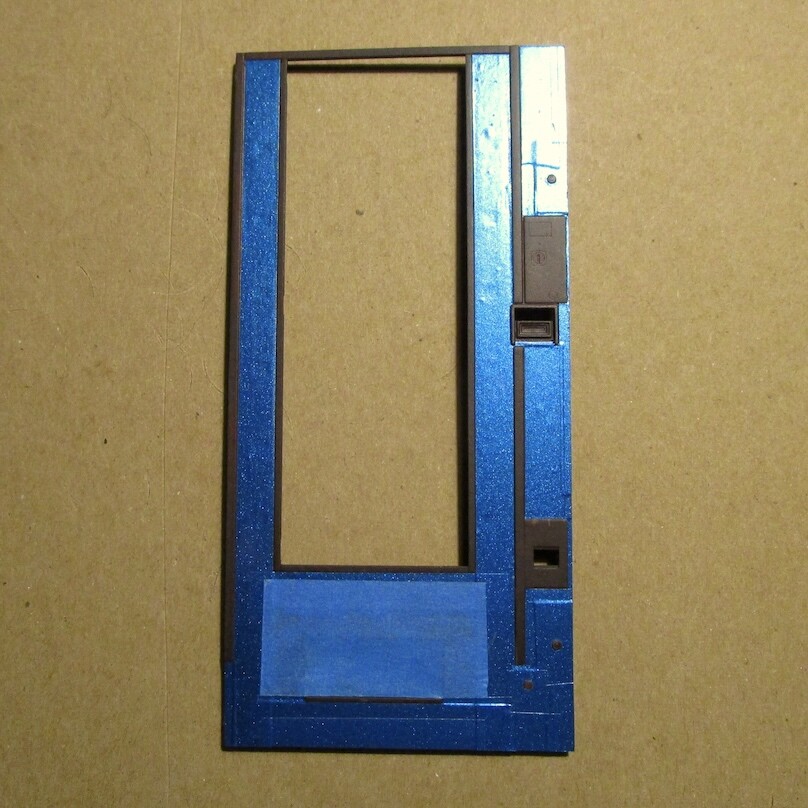
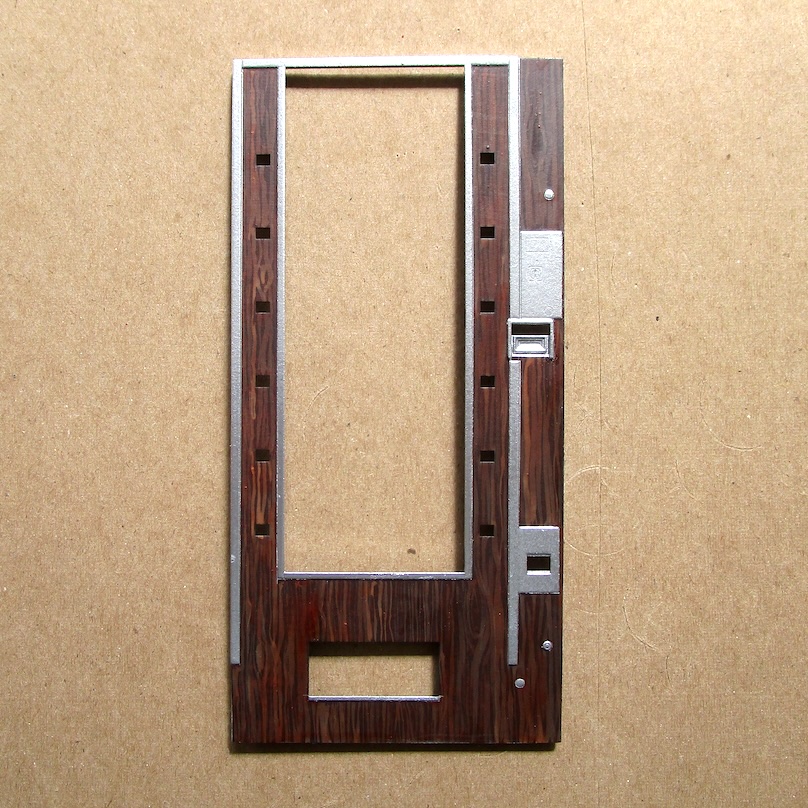
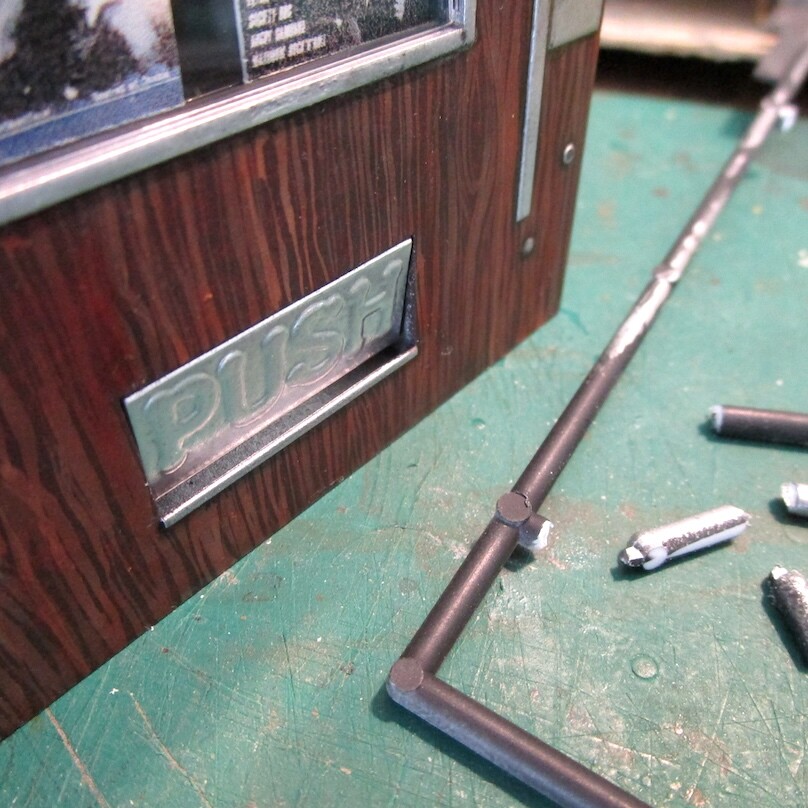
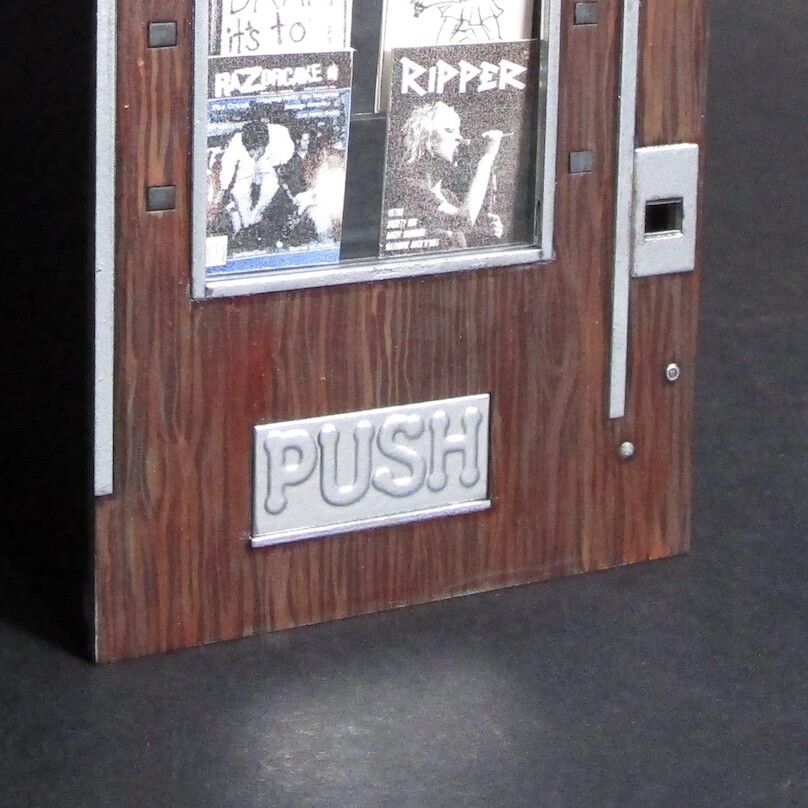
This is my attempt at faux wood grain laminate in 1/12.
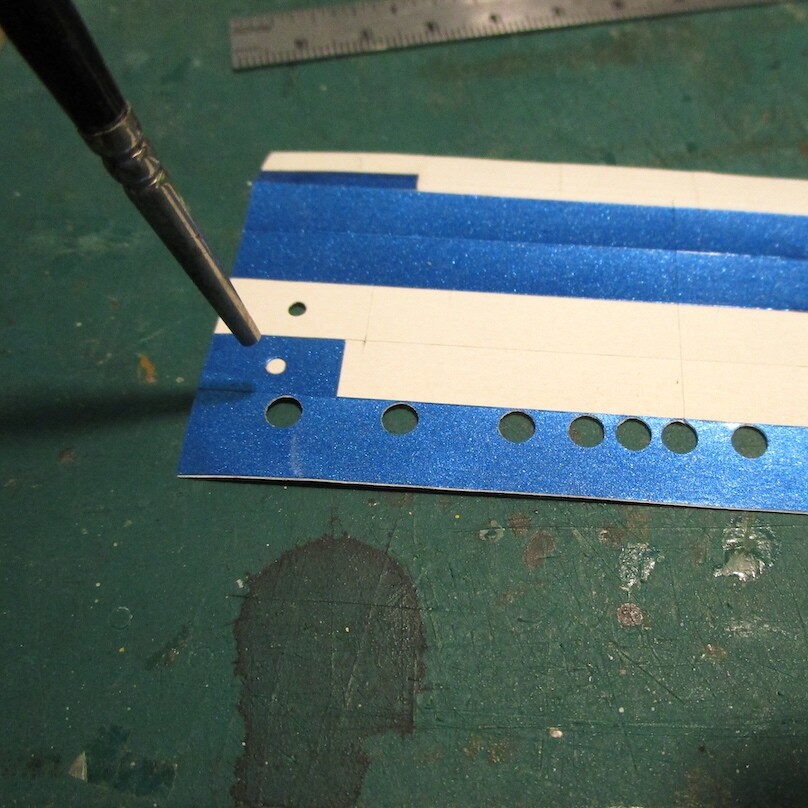
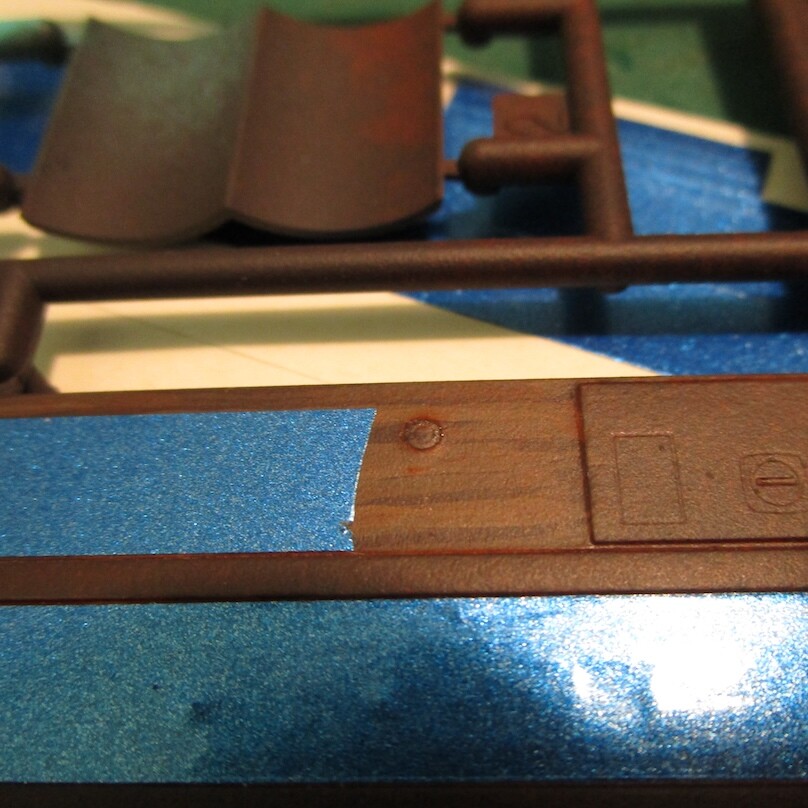
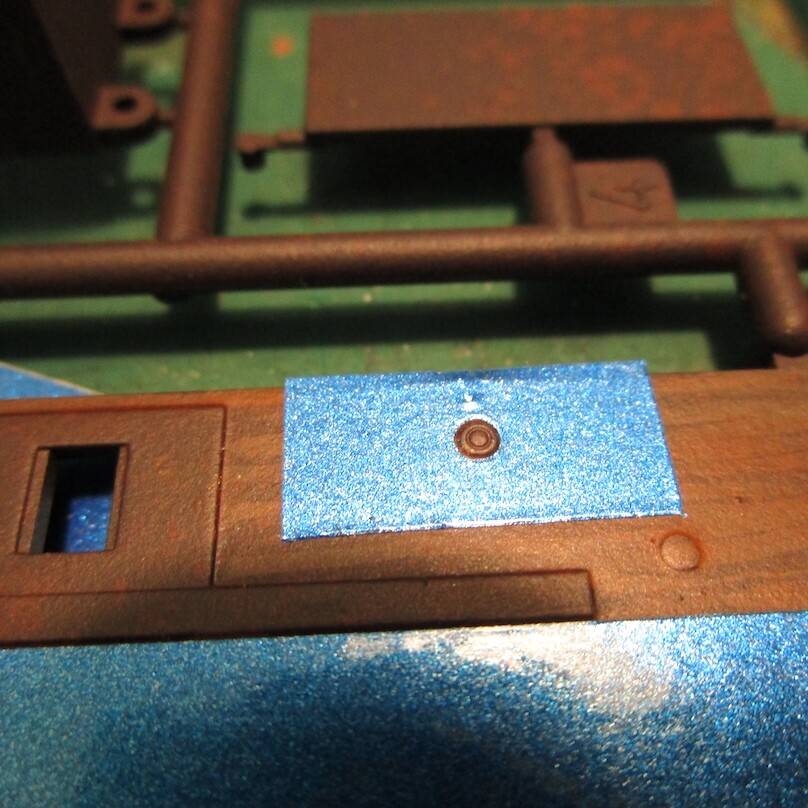
Wood grain painted with acrylics for rapid dry time. This was over sprayed with an acrylic lacquer flat coat for more protection from masking. A No.3 brush with the hairs pulled out was used as a cutting tool for the round holes around the barrel lock key holes. Perfect size. No other radius’ so I didn’t need to cut vinyl tapes around details and risk paint lifting.
Some old can of Dutch Boy chrome spray paint was used for the metallic trim. Chrome spray paints, with exception to Revell, usually look like bright aluminum when dry anyway so the look was satisfactory.
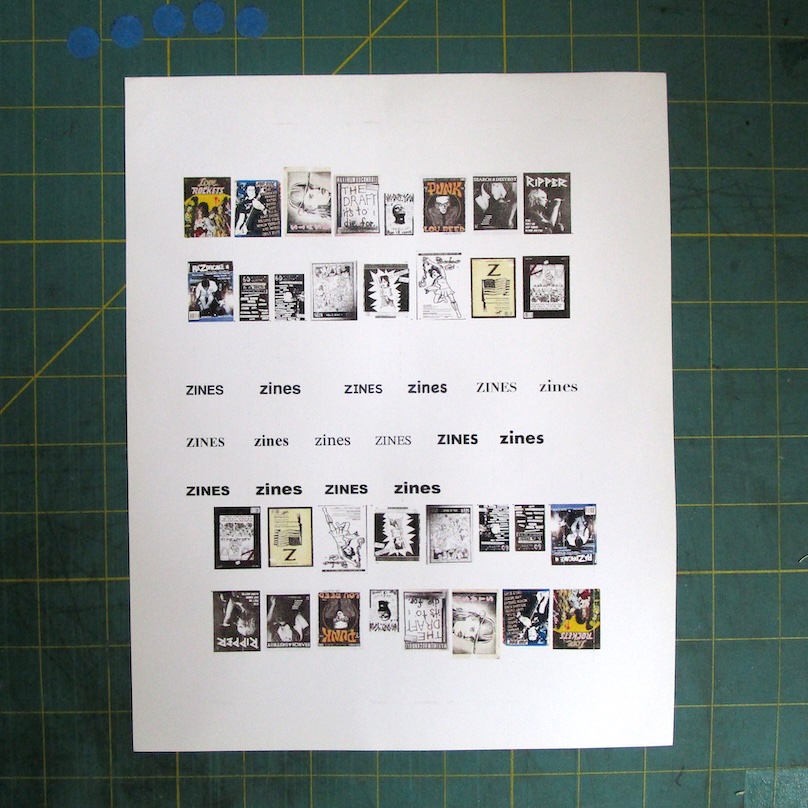
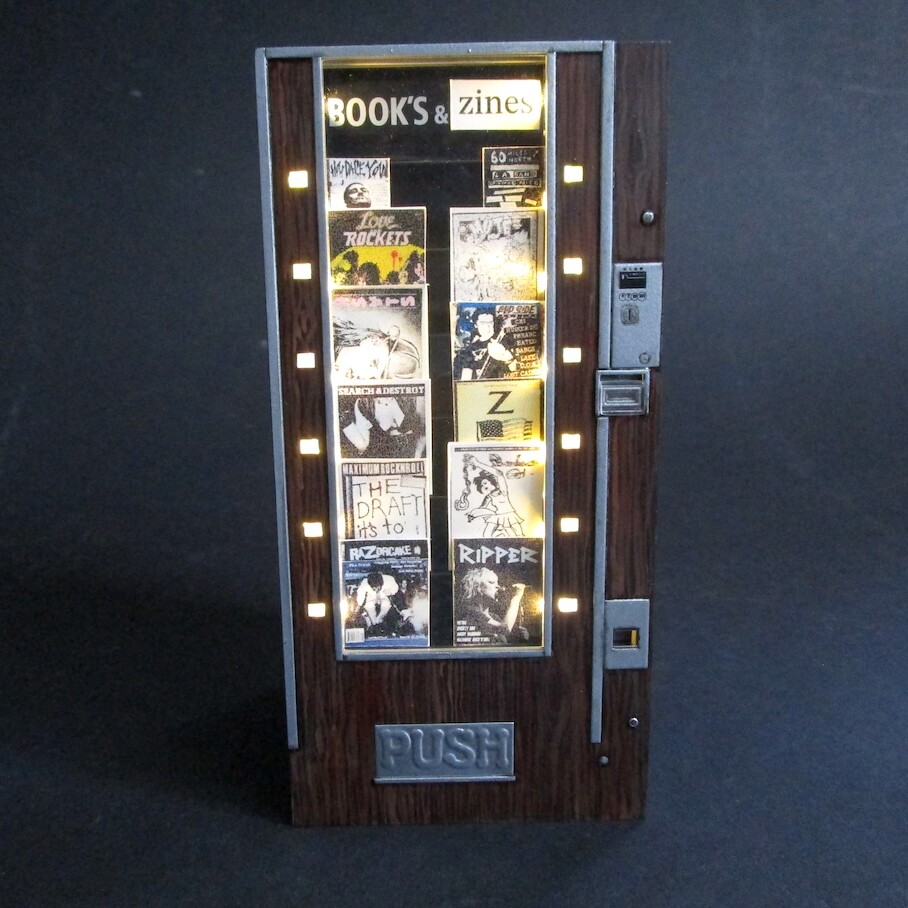
Looking up zines on the internet for the ones I didn’t already have in my personal zine stash. Then downloaded them onto my desktop. Resizing them to 1/12 scale I put them into a text document along with various styles of the word, “zines” to print them on my printer.
Titles include :
60 Miles North
Mute on the Floor
Flip Side
Z (network) Magazine
Bamboo Girl
Ripper
Razorcake
Maximum Rocknroll
Search & Destroy
Slash
Love and Rockets
How Dare You
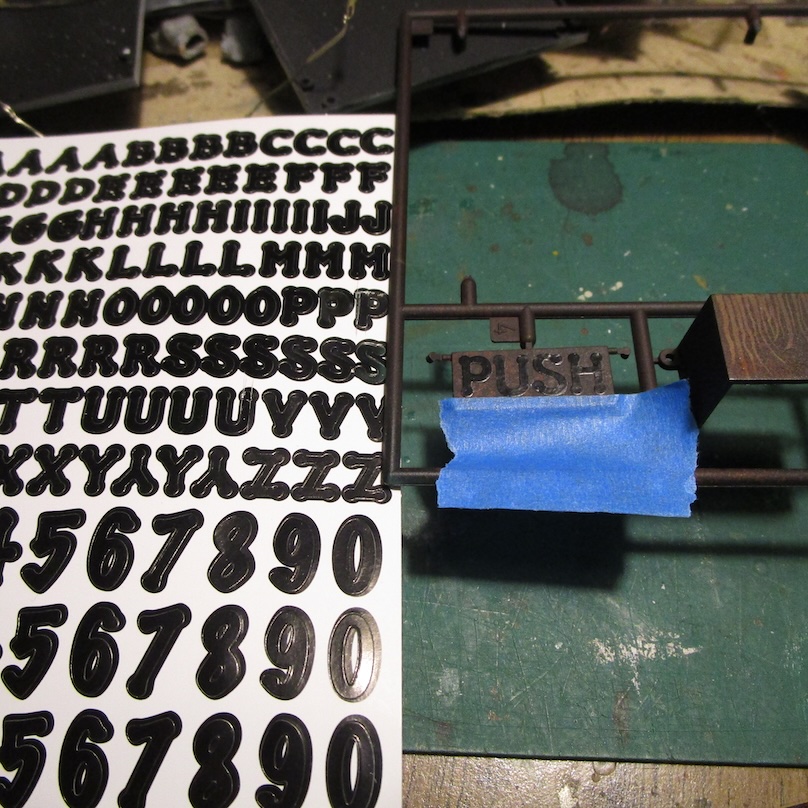
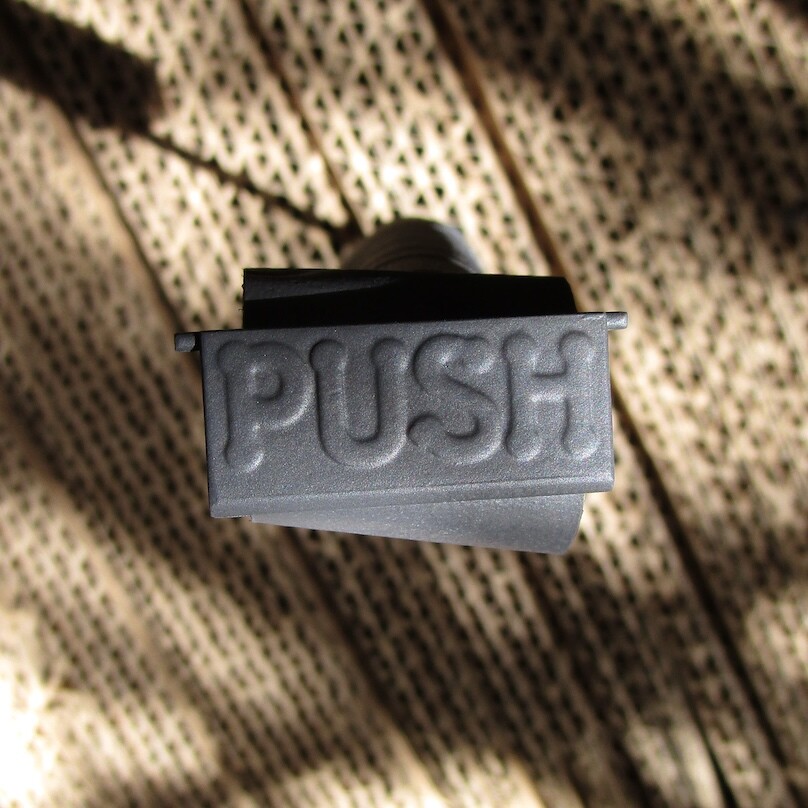
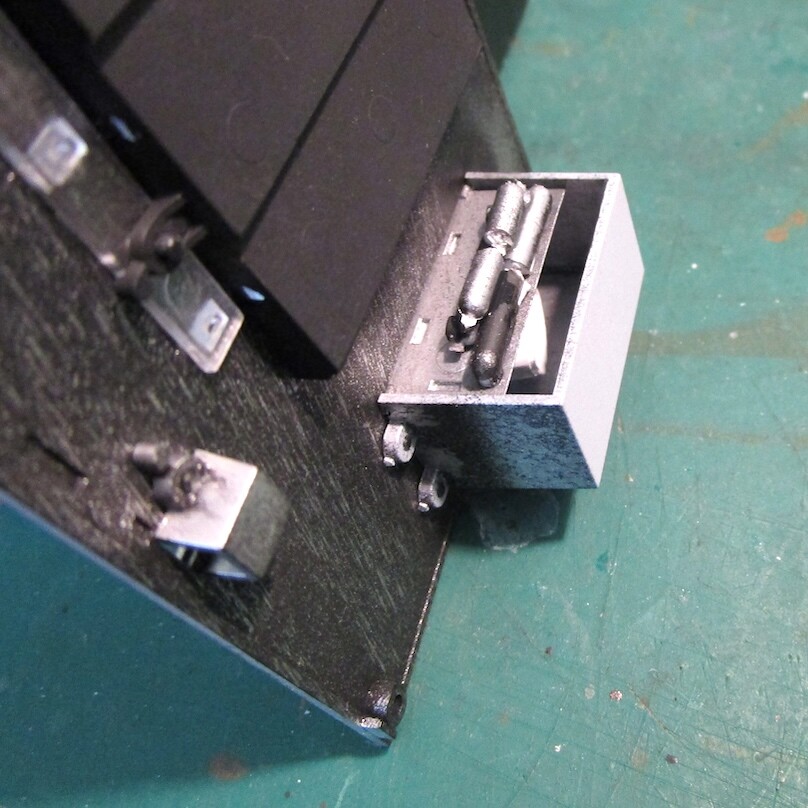
The kit provided a decal for the, flat product drop bin door (part A14). I wanted a sheet metal door that I remembered. They were stainless steel embossed with the word, PUSH.
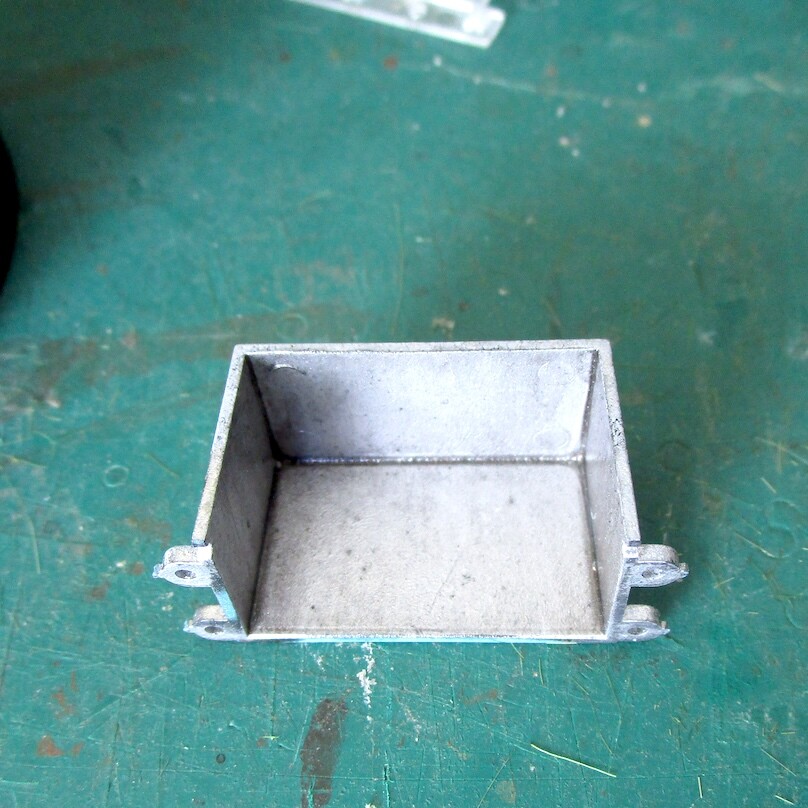
This was made with stick on vinyl lettering. Masking tape was placed to position the letters straight on the door part. Several coats of filler primer was then sprayed over the PUSH letters to collect at the edges to look like stamped sheet metal. The effect worked perfectly but the addition of the vinyl lettering altered the center of gravity of the door.
The door would not remain closed but would hang slightly opened. To remedy this, I glued chopped pieces of kit sprue to the inside (back) of the door to equal out the weight modification. Now the door closes properly. And just a little bit of weathering to the inside of the product drop bin.
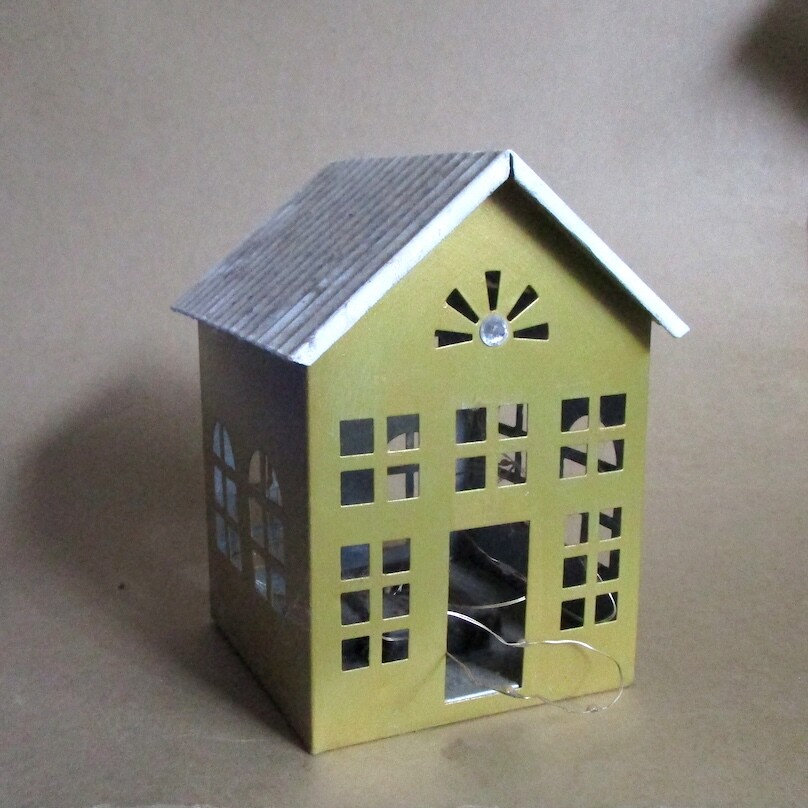
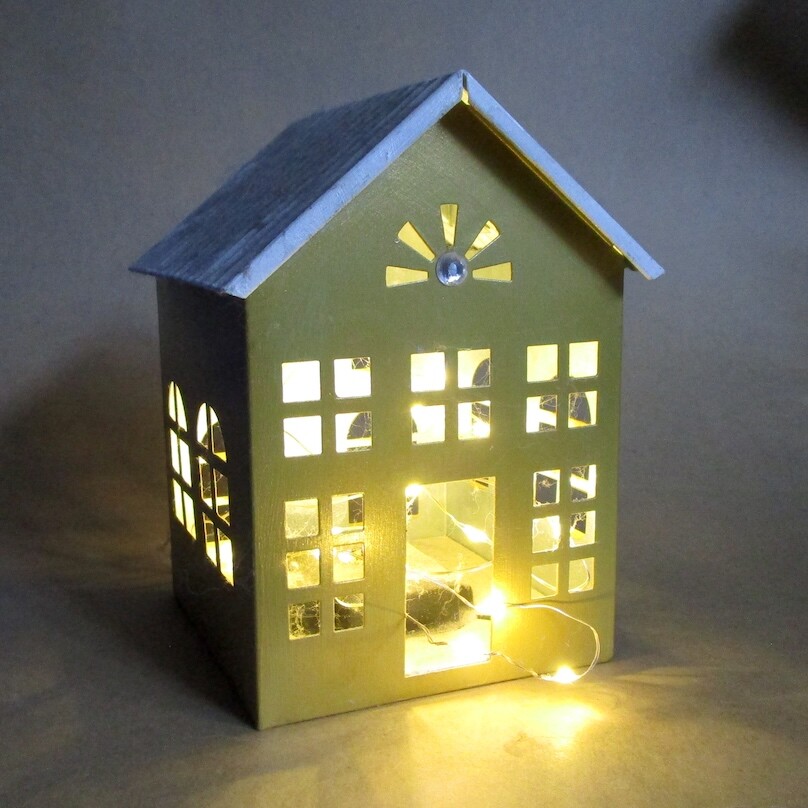
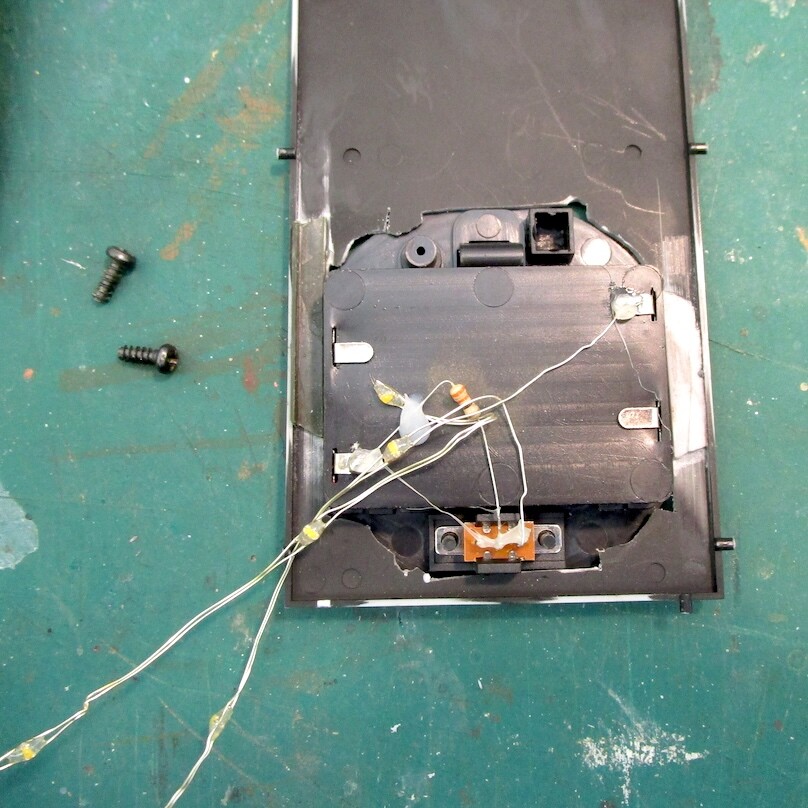
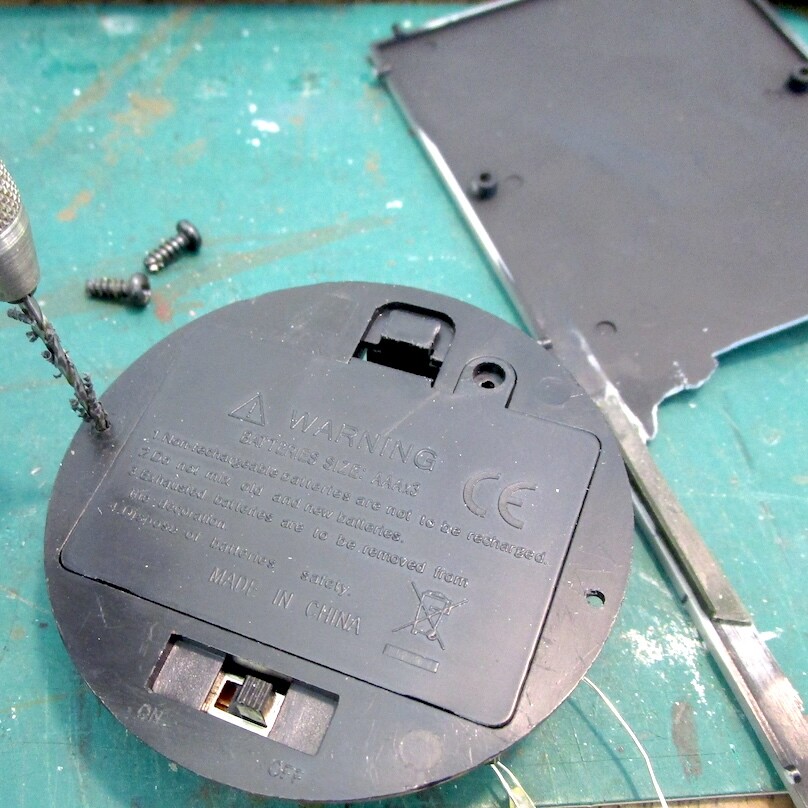
I wanted to light this vending machine up from the inside like real ones so I took the LED light kit out of a decorative display that I found in a thrift store for .99¢.
It had just enough LEDs to hot glue exactly where I wanted them to be so this worked out perfectly.
Cool, glad you’re pursuing a custom project with one of these kits. When I first saw this series of kits I thought, What’s the point?? Then they wouldn’t leave my mind and after a few days I was like, oh wow you can sell anything out of these machines, funny, weird, or nostalgic.
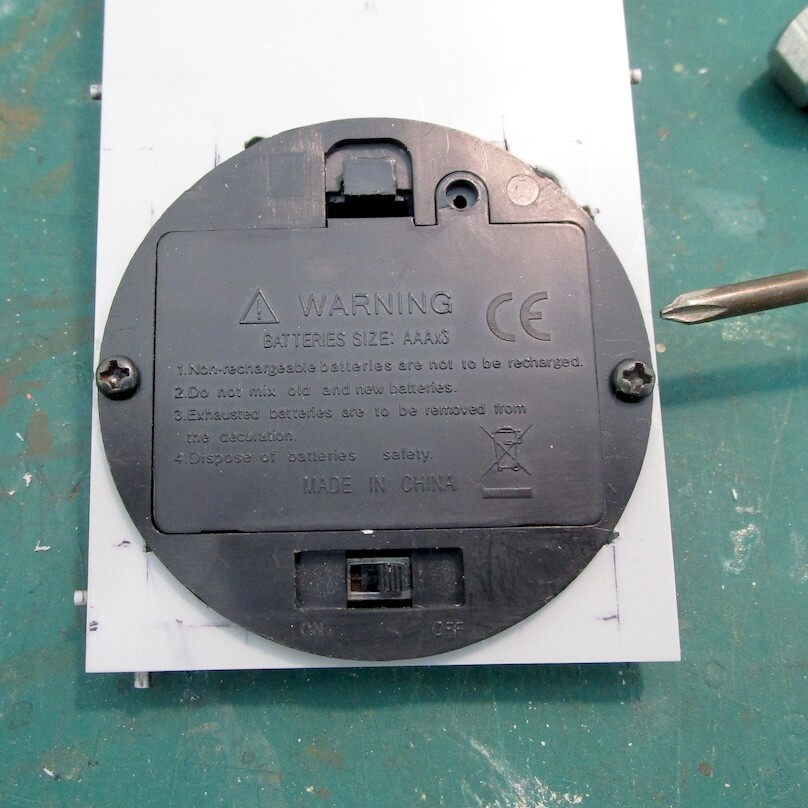
The light kit was installed and tested. The power switch was mounted to the back panel of the vending machine with two screws. This method makes it easier to service or replace if necessary. The power supply for this LED light set are 2 AA batteries.