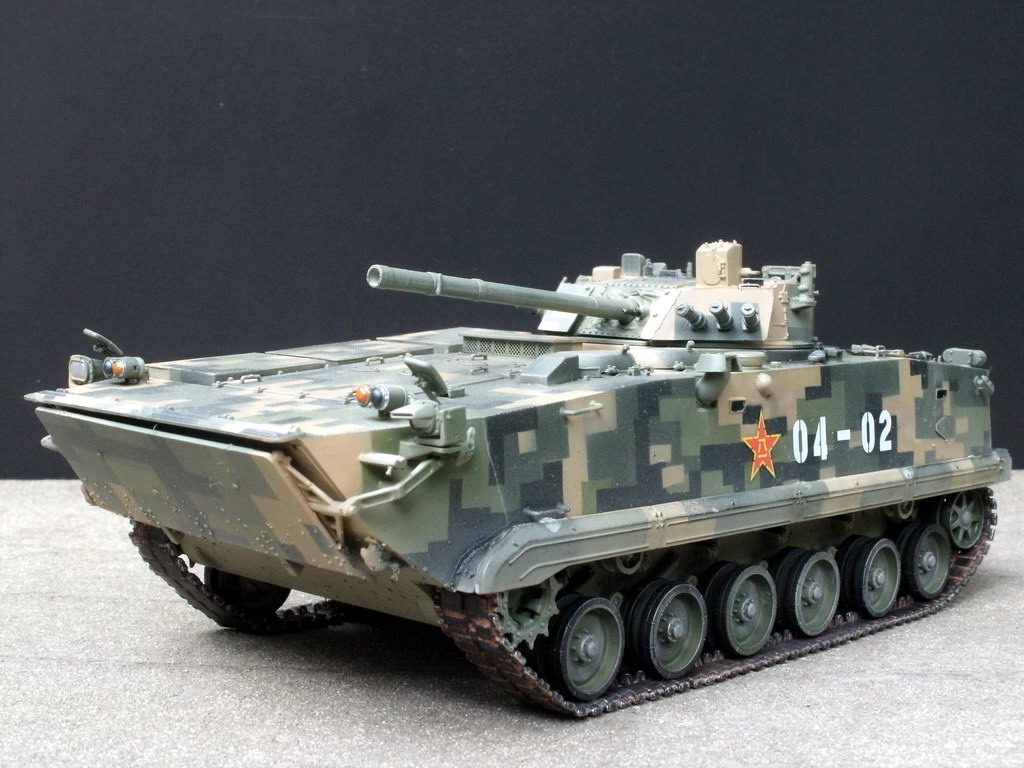
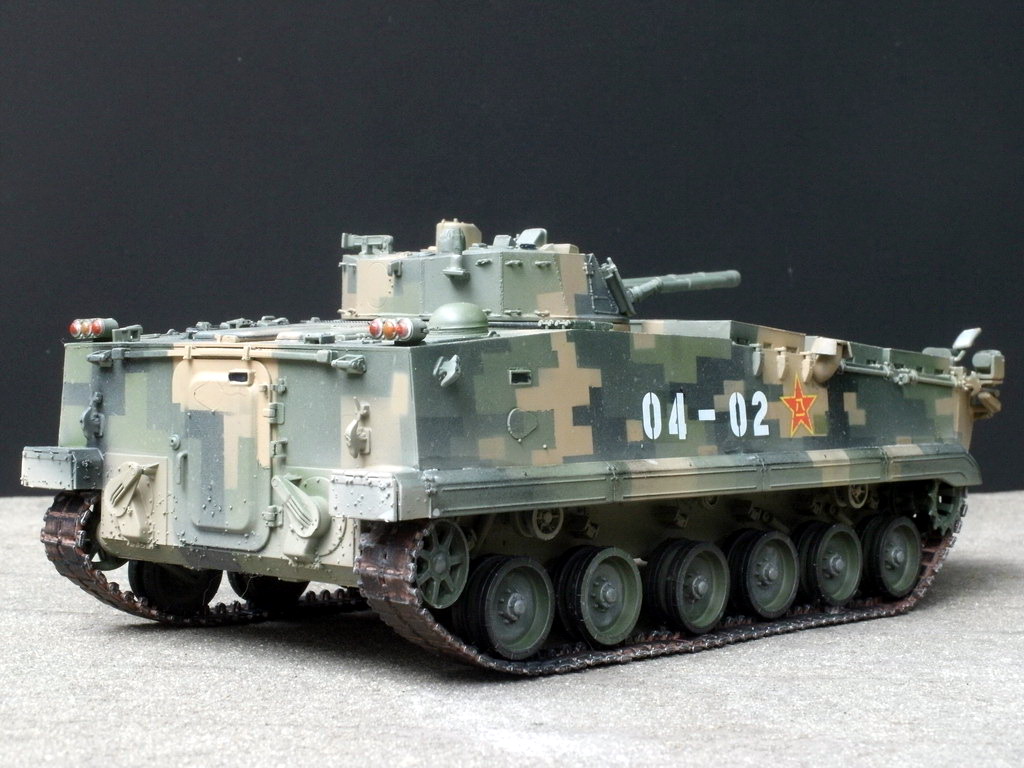
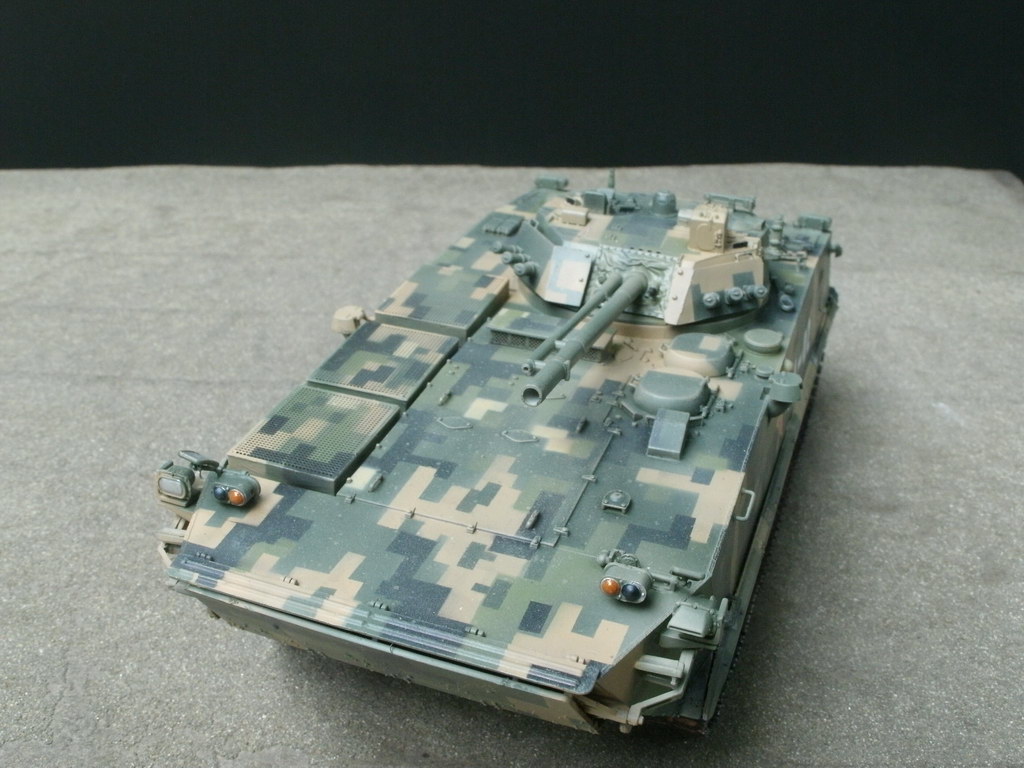
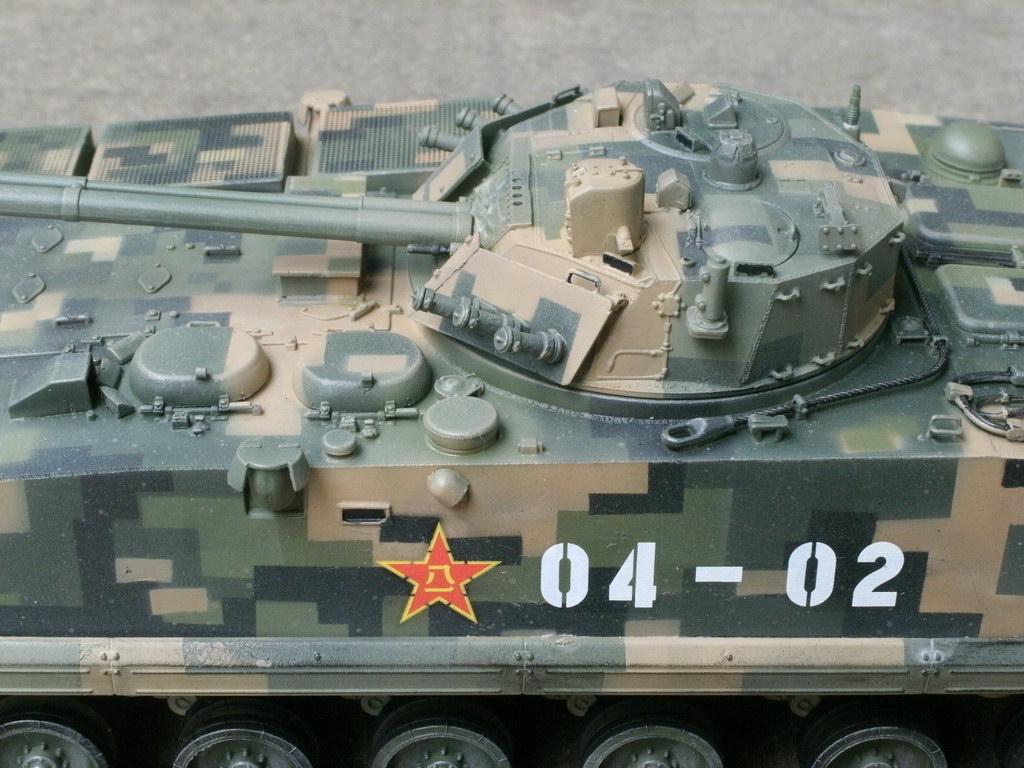
Among my thousand plus armors, this is the first one that’s painted in digital camouflage pattern. And I’m proud to present to you for your viewing pleasure
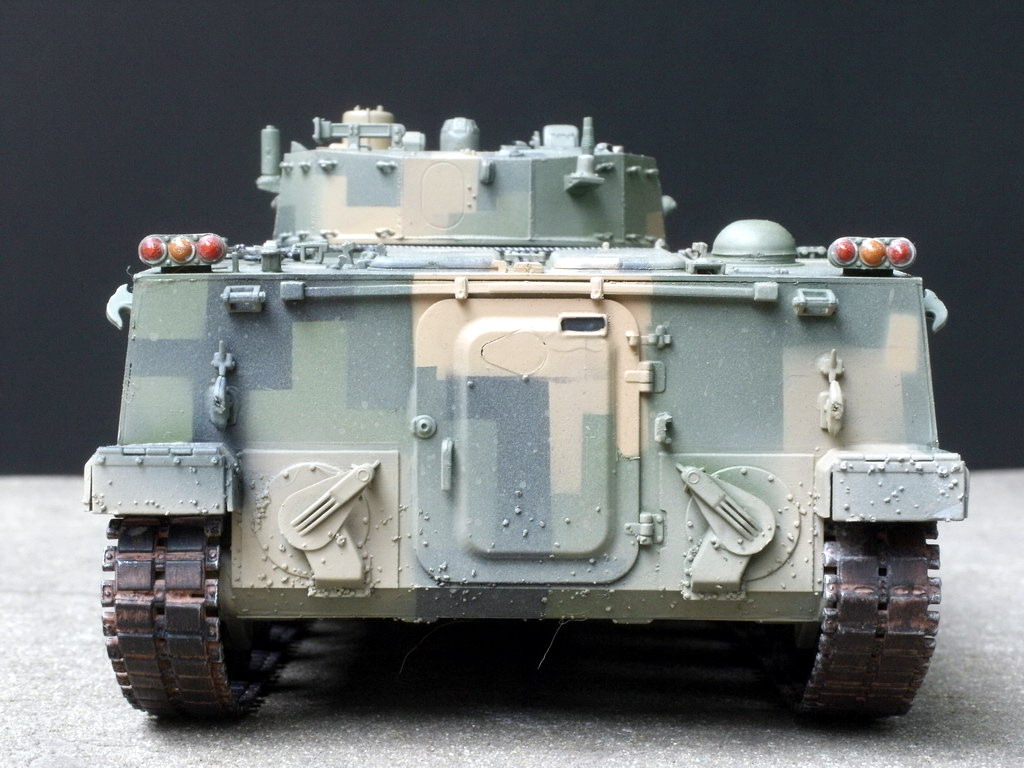
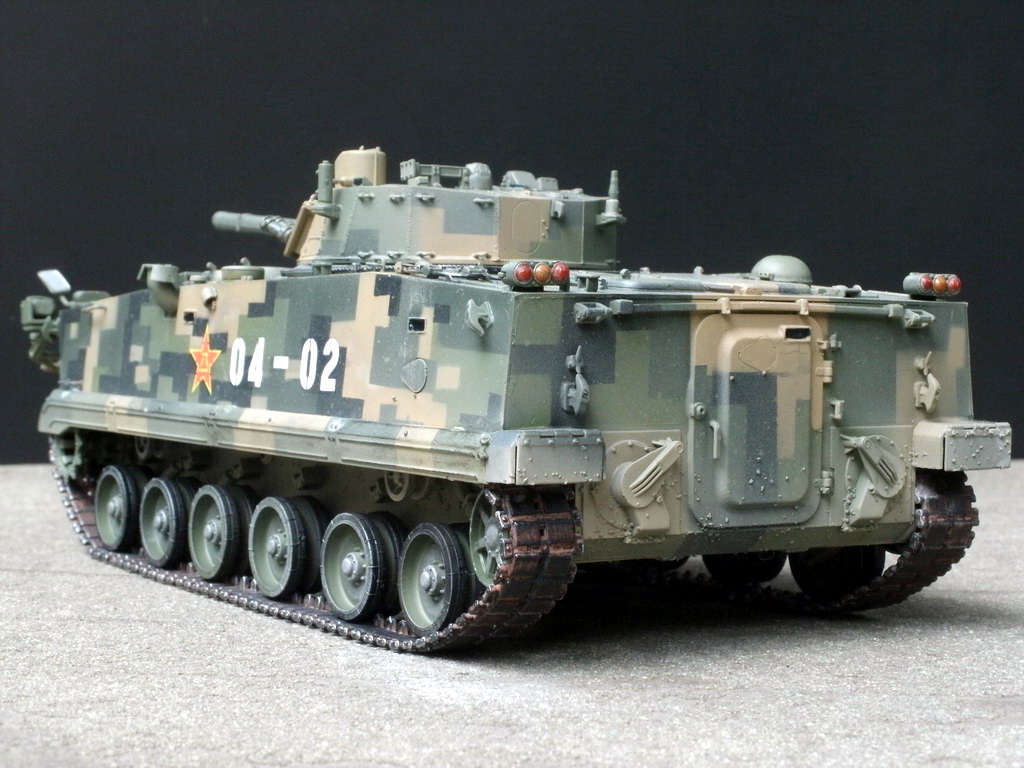
Not to be a “Negative Nelly”; but I did see a fair amount of “pebbling” on the front and rear ends of the vehicle. It looks like you’re having airbrush issues of some sort.
Still it looks really good to me. I’m going to have to pick up some of the newer chinese vehicle kits to add to my motor pool.
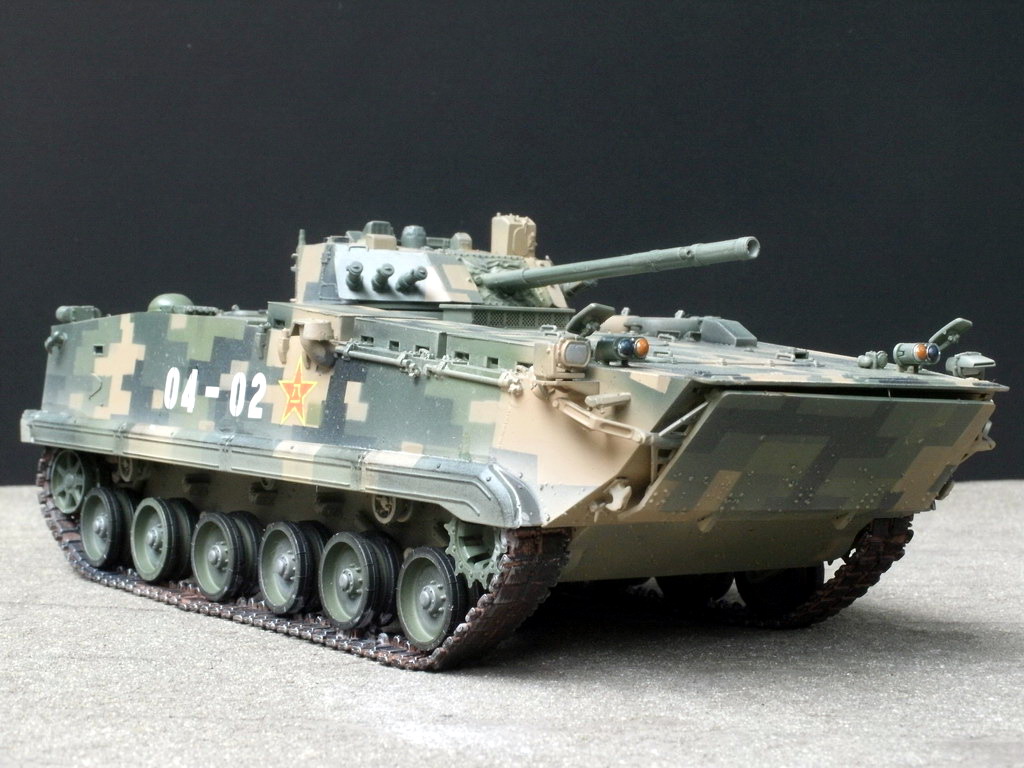
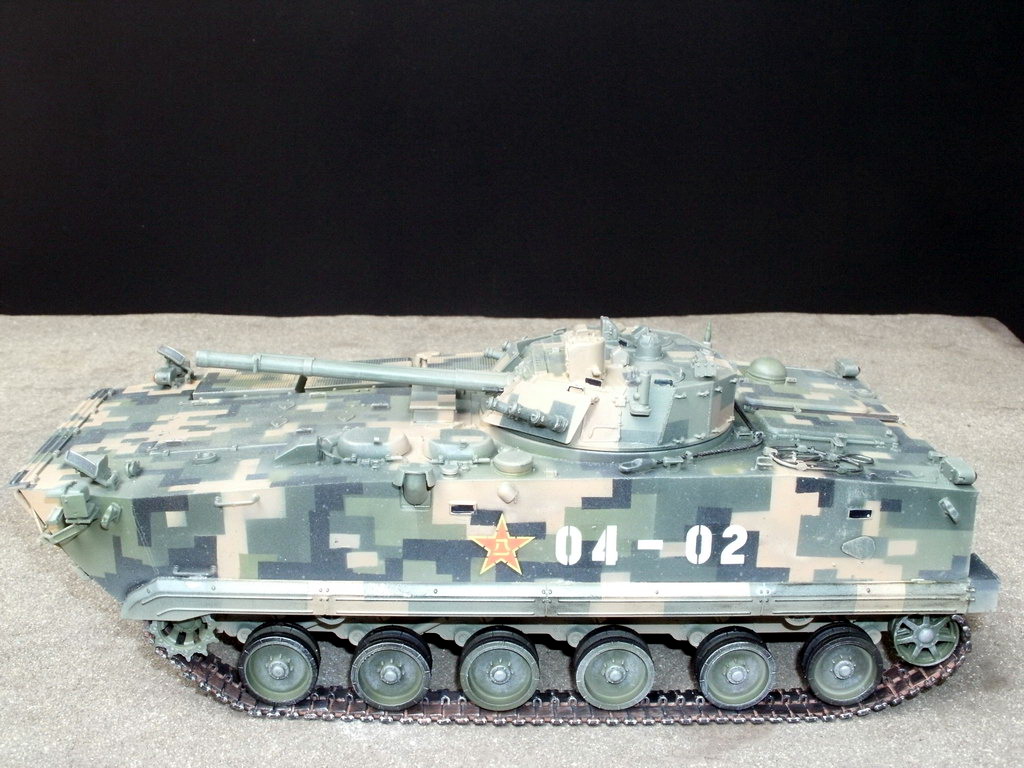
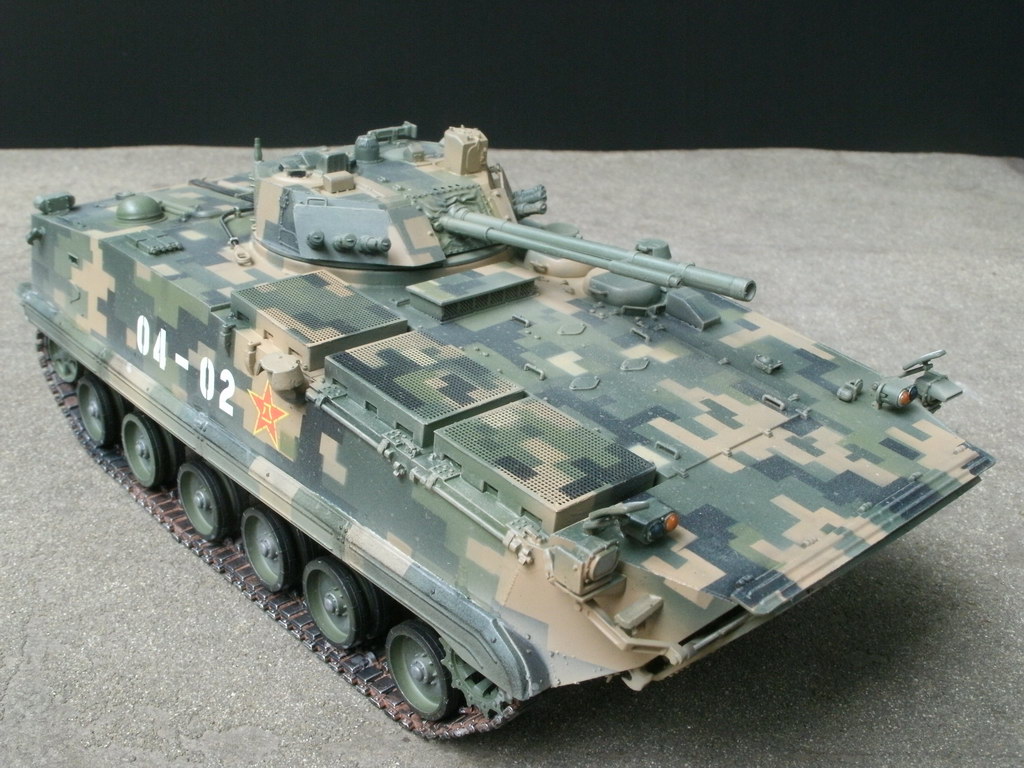
Okay, really neat job on the camo. Having done one similar last year, I can appreciate the amount of masking that went on here. Also, the builder seems to have gotten control of his silvering on the decals and they look to be pretty level.
However, basics first. Let me repeat, BASICS First!
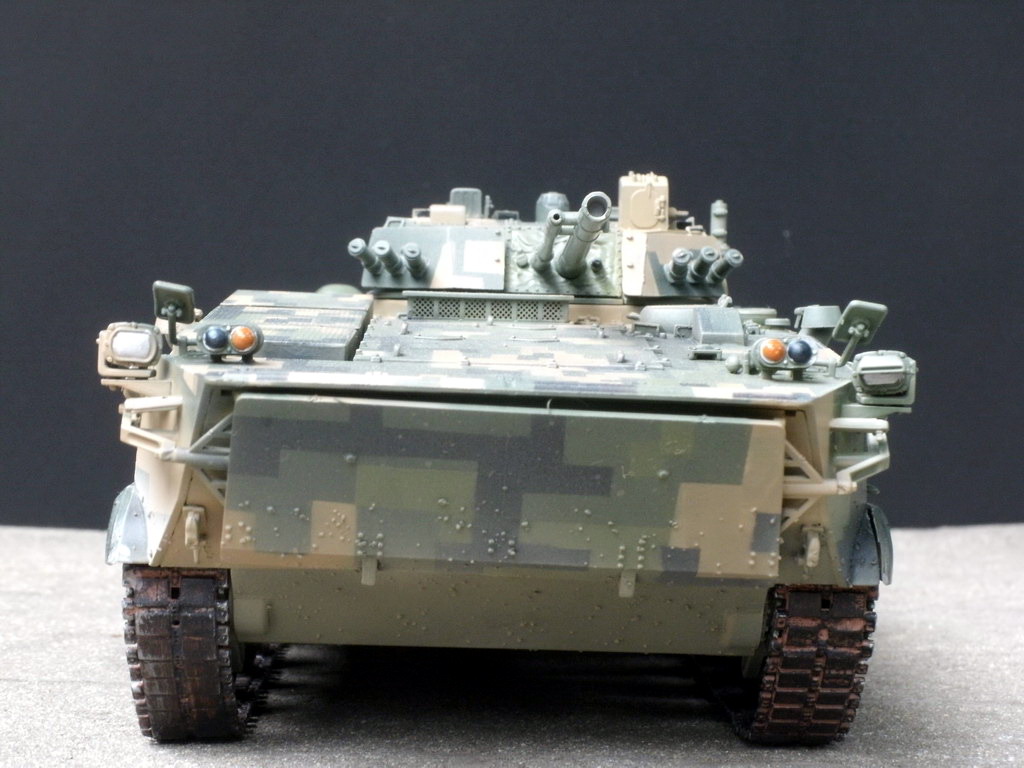
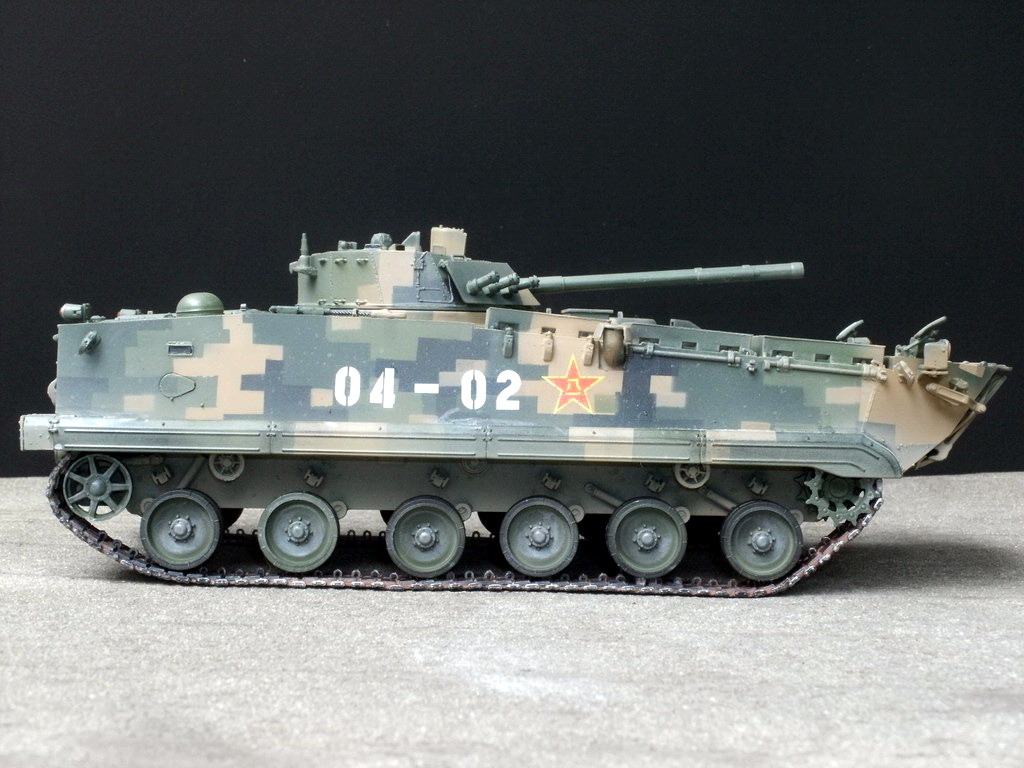
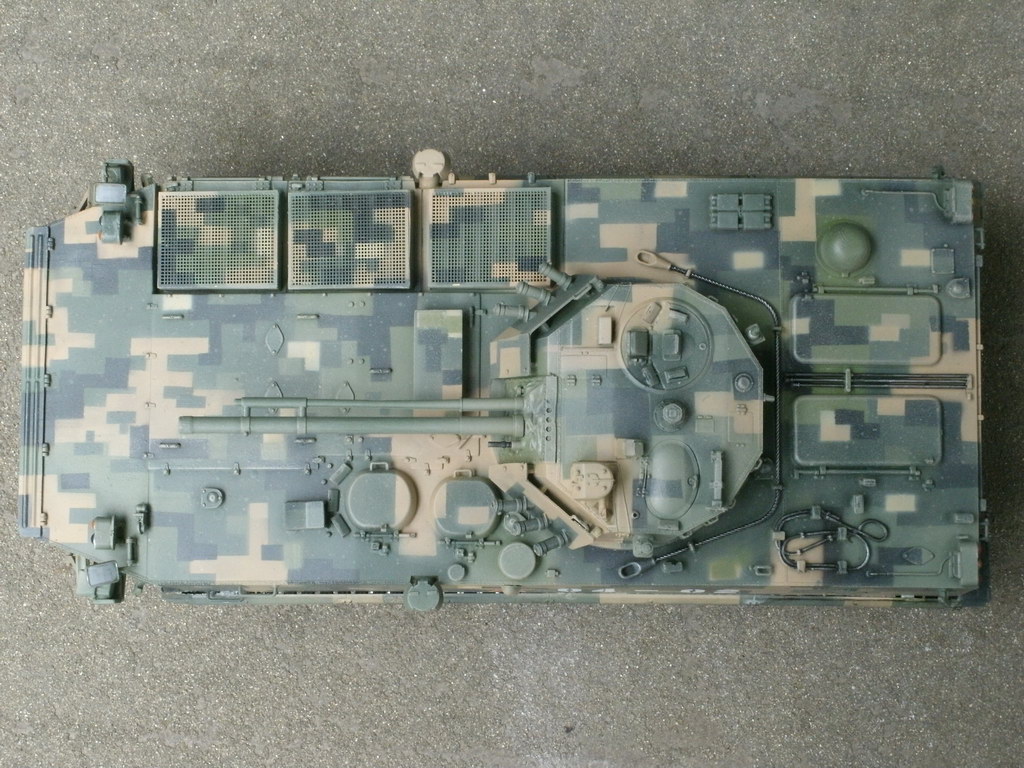
There are big goobers of glue between the tracks; track links are inconsistently attached to each other; the tracks on the left have a noticeable gap between them and the hull, while the ones on the right are flush to the hull. The rear hull piece bows inward at the center, there in an overhang from the hull top that disappears at both ends. There are glue blobs sticking out from the joint at the left and gaps are apparent. On the right, the joint looks quite well done.
Look at the full size image…the spacing on the track links is very inconsistent.
The trim vane plate is closer to the hull on the left side of the picture than on the right.
I know, don’t expect perfection (or historical accuracy). I’m not, but adequacy and competence are achievable.
Well other than the issues that AJ pointed out I have to admire Art Instructor for having the guts to tackle such a complex paint scheme. I agree- masking one of these must be a nightmare.
Hercmech - Thanks for your kind comments. Masking for 4 color camo is a real tough job, AI complained.
RESlusher - Thanks for your nice words. The “pebbling” that you saw is probably the dirt that the builder
added up to weathering using fine sand, it’s common in most vehicles that he built. One thing about Chinese armors, you can’t have them all. There’re so many types and variants of them.
ajlafleche - Thanks for your kind compliments and critiques. Did you build the same kit or another one?
Perhaps the tracks of this kit are harder to work with than the one that you built. I think this can happen to
real armor, when the tracks are about to break. As for the “The trim vane plate is closer to the hull on the left
side of the picture than on the right”, this can happen in real life if the driver bump the right side of the armor
into something big. The spacing on the track links doesn’t look inconsistent to me, they look OK. You used micrometer to measure them?.
K-dawg - Thanks for your kind comments.
Stuart06 - Thanks for your kind words. Don’t think too long, buy it and build up!
Gamera - Thanks for dropping by and adding some comments to this thread.
He did do a good job on the paint and decals. Too bad the basic construction isn’t as good. It shows that it was rushed and thrown together just to get it done.
No, what AJ points out are basic construction mistakes. You can’t just wish away everything. Real track doesn’t do that before it breaks, it fails and it breaks. If the driver had hit something big, there would be some evidence of it in the form of a dent or scrape or something. There are uneven track joints, which don’t happen on real vehicles either. Lastly, real vehicles don’t have glue globs on them.
I know you don’t care, but some people do care if their models are built to a high standard of quality. If someone takes the time to point it out so others (not your builders, they never get better) can learn and get better from it, you shouldn’t try to explain it away with BS, hypotheticals that have no basis in fact or experience. Most of those who give the real-life examples actually have experience with armored vehicles or military service and have a clue. But as always, “anything is possible, blah, blah, blah…,accuracy doesn’t matter…just have fun…”
It would be better for you just to say, “Thanks and I’ll let the builder know,” even though you won’t. The BS explanations make you look like an idiot.
Nice try MM; but the pebbling I’m referring to is not a result of weathering. It’s the same color as the paint that is supposedly under it. If it were weathering it would be the color of dirt; but in each section it (the pebbling) has the exact same color as the rest of the body.
It’s a shame. There are certain areas where it does look really good; but the bad far out-weigh the good.
I have not built this kit. This is the model I did in a digital style camo:
Nope, my 61 year old Eyeballs, Mk I, Green were quite able to see these issues as indicated by the arrows in the first two pictures:
And looking at it a bit more closely, the whole APC is seriously canted to one side.
The white bar on the left of the picture is a copy of the one on the right, both placed where the tracks make contact with the table and at their inner edge.
Got to agree with the others on this one Model Maniac ( well, without the “BS” and “idiot” references). The paint job really does look cool, really cool, but there are some major issues with the build. Not sure if it is a dog of a kit or if AI was just having a really crappy day, but this one is one of his worst as far as construction goes. Most of the time, I think the things that the forum members point out are basically nit picking, but the problems with this one are pretty blatant. I would love to see him do this scheme on another kit and focus on the construction phase a bit more.
It’s a nice paint job, for sure. There are some basic build flaws though. Thta’s too bad, because a model this nicely painted should have the construction to deserve such a nice job of painting!
The only other thing I would say is that you don’t need SO MANY photos of ant one model, Phaisal–this makes it hard for people with slow internet connections to view the whole thread.
Usuallly about 6-8 photos are good for any one model. You know, four side, overhead, and maybe a close up or two. [:)]
Subhuman1 - Thanks for your kind comments on the build.
RESlusher - I think you’re right, I’ll look more closely when the builder deliver new built kits.
Robert92562 - Thanks for your kind words.
ajlafleche - What’s the kit that you built? I’ve never seen one before. Is it plastic or resin?
Thanks for going into great details pointing out those basic mistakes, I’ll be more stringent when accepting new builds from him.
Jester75 - Thanks for dropping by and giving some comments. Let’s see whether AI will do better with his next batch of job which he’ll deliver this Saturday:
As for building another digital camo’ed armor, though I have some other Chinese armors in stock, I think none of them comes with digital camo painting scheme.
psstoff995’s lbro - I think I’ll keep this armor at hand and point out the shortcomings to AI the next time I see him.
Karl - Thanks for your kind comments and suggestion. I usually posted around 10 photos per kit, but this one is special so I posted all photos that I took which may be too many for some. In the past when I used SLR camera I took only 6-7 photos per kit. Digital photography has its advantages and disadvantages.
I’d rather get constructive criticisms that help me improve than the proverbial smoke being blown up my backside with faint praise. A second set of eyes in this friendly environment can help point out things I don’t see myself. That way I can correct them before I bring the kit to a show and have a few misaligned parts or missed seams prevent an otherwise fine build from being dismissed from the running.
I don’t build to win awards, but I like to show my kits to others. Without guys like us who bring kits to shows, there’d be no show. And if I’m bringing a kit to a show, I’d at least like to have a chance to be recognized in front of the other participants.
That’s the main issue with this forum. You can’t get a true measure of the quality of a build. Someone could buy an old junk kit, assemble it with tube glue and drop it in a gallon of green paint and it would garner all sorts of “great jobs” and electronic pats on the back. It’s the self-appointed defenders of the honor of FSM modelers that keep the site from graduating from the junior varsity and reaching the next level.
No one wants to critique a model to help the builder become better on this forum because of the backlash received from other members. Thus we get the never ending “great jobs” responses.
Having said all that, I think Art Instructor’s overall presentation of this kit looks well done, but there are basic building flaws throughout. I really like the paint job and hope that when I get around to trying a digital camouflage that it comes out looking as well as his does. I also hope all my pieces parts are aligned under the paint scheme as well. If not, I hope you guys tell me they’re not so I can fix it.