Not sure how this will end up, as I’m not good at doing WIPs, nor taking pictures as a project progresses, but figured I might try. After finishing the Z28 replica of my bride’s car, I was looking around for something different. I’ve had this Anigrand resin kit of the XF-84H in my stash for a while, along with accompanying aftermarket parts and decals. Somehow, I discovered that my Uncle Hank was the primary test pilot of this bird for Republic when it was being flight tested at Edwards AFB in the '50’s, so I went searching.
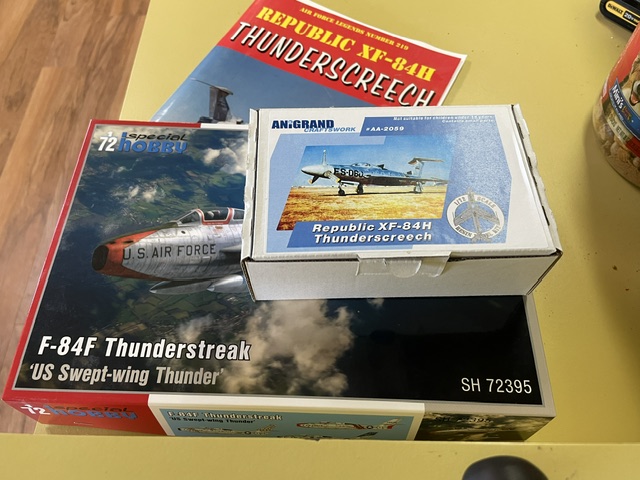
I found the Anigrand resin kit, and after receiving it, noting how a LOT of detail is missing, even at 1/72 scale, I continued to look around for things I could use to add that missing detail. I acquired an Airfix F-84F and Special Hobby version of the same bird. I also found the Kelik 3-D-printed cockpit pieces, an Aeroclub white metal nose gear and Aerotech(?) PE airbrake kit for the F. Since the XF-84 shared many parts from the production Thunderstreak, I figured a kitbash might not be too much a stretch.
I’ll also be adding some specific decals to the kit. My Uncle always planted a Confederate flag in the cockpit of aircraft he was piloting. Odd, as I never heard bad word or hateful action from him of anyone other than Chuck Yeager. ![]() He was an Alabama native, so I’m figuring that was it. I know the thing can rustle some feathers, but I’m going for accuracy, not making a political statement.
He was an Alabama native, so I’m figuring that was it. I know the thing can rustle some feathers, but I’m going for accuracy, not making a political statement.
So here we go!
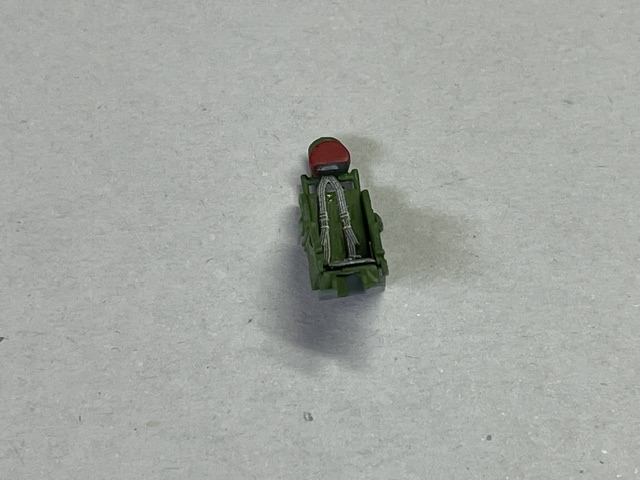
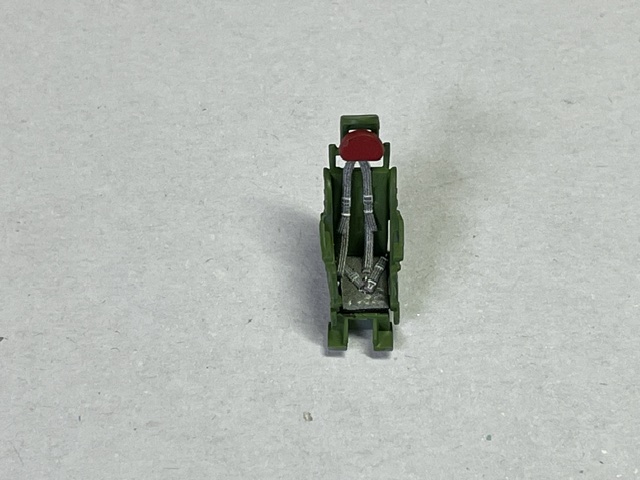
The white metal nose wheel and air brake bits will not be used. The former lacks a fair amount of detail while the latter bits are unique to the Thunderstreak, and not the 'Screech. I will also probably not be using the Airfix kit, as the Special Hobby kit has an incredible amount of detail as well as what is appearing to be a suburb fit and finish. I’m so impressed with the SH kit I may get another one to just build it out, as the kit is that nice! An example of which is the attached photo of the seat. I did add the Kelik seat harnesses and seat bottom, but really, the seat was good, too, without all those fiddly bits! The seat alone is 5 parts, not counting the 3-D-printed stuff!!
The parts, though, are tiny! I’m moving parts with my cast-off surgical lollipops and sharpened toothpicks.
Some construction has already started. Mostly trying to figure out the decision tree on how to mix and match parts. Today was spent just trying to get the usual resin kit warpage straightened out. I’m also waiting for my bride to get something for her Crickut cutter. After failing misearbly at trying to cut out a replacement instrument panel by hand, I’ve asked her to see what she can do. She tried, but the software wasn’t cooperating. There’s apparently some sort of backer you can use when scanning in things that help line up the image and make it easier to use. We’ll see when that gets here. I figured I’d just use a flat piece of styrene sheet, since the 'Screech IP is a little different than the 'Streak IP. Fingers crossed.
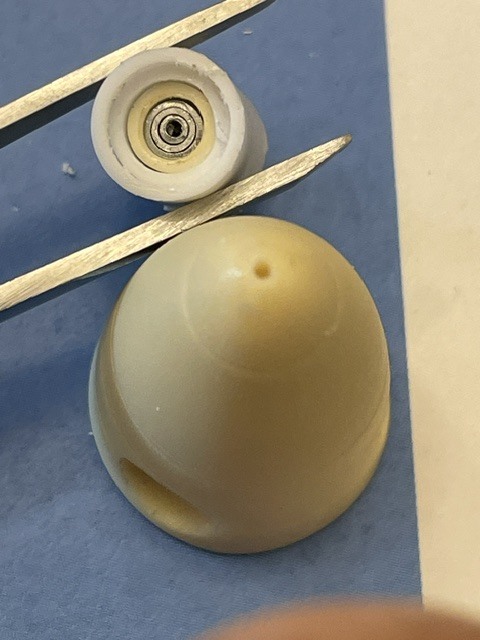
Anyway, here’s some of what I’m starting whith, as well as the finished seat.
The kits and documentation involved. I also referenced the Wiki:
A couple of seat images (NOTE: the seat is 5/8" tall!):