I bought some of this because they were out of Realistic Water. Anybody use it? What did you think? Can you tint it?
Chris
I bought some of this because they were out of Realistic Water. Anybody use it? What did you think? Can you tint it?
Chris
The only EZ water I recall from them (some time ago from when I ran a shop) was the little plastic pellets that you melt in an old pot and try not to burn. My advice, don’t use it.
Go to the local craft store (Michaels or Wally world or what is close to you) and get a can of Mod Podge. It’s in a white plastic bottle with an orange lable. It comes in two finishes - gloss and satin. The ship modelers use this stuff by the gallon for their waterline dio’s. It’s worth the couple of bucks to have it in you aresenal anyway [;)]
Is the Mod Podge a clear product? I’m doing a forest stream type dio…so needs to be very clear and able to have coloring added.
Yes, it dries clear and the gloss would be a great product to use. It can be sculped, shaped and all sorts of things. It looks like white glue, has some stickyness too it but makes great water. You can paint it after it dries and even tint it acrylic paints if you need.
Huh. I might try picking some of that up on the way home tonight. Might be just the stuff.
Thanks Drew!
EDIT (6-7 hrs later) : I picked up some of this stuff and started some small experiment cups to see if it’s gonna do the job. Did two small baby food cups, put a small amount of rocks and sand in the bottom. In one I poured a small amount and stirred it around a bit to cover everything just enough, and in the other I poured a larger amount which covered the rocks on it’s own without brushing it or moving it around (about 1/8" deep). We’ll see how it goes.
Hey–so far so good. Checked out the test cups this morning. The one with the thin layer dried clear, and looks promising, althought I will have to make many layers to get the depth of water I want, and this will be tedious. The cup with the thick layer is still completely white, and only has a thin “skin” on the surface which is dry, and I think this may slow cure time on the stuff below considerably. Sticking these cups in the hot garage to dry also seems to have sped the process a bit I think.
Not sure anymore if it’s the same stuff…but commercial art stores have something called “Artist’s Acrylic Medium”…looks like mayonaise, shapes well with a long working time…dries very clear (NOT in humid weather!)
http://www.youtube.com/watch?v=kQVp_ibAi5w
looks like this guy uses silicone caulk
First, let me apologize for the novel!
Specifically for Woodland Scenics EZ-water, I have some but have been too nervous to use it. The dioramas I’ve done lately have a styrene base, and hot plastic poured over more plastic probably wouldn’t go so well. Since it’s designed more for railroad dioramas, which would have a more robust wooden or paper mache base, I suppose it should work fine.
In my kits, I’ve opted for Woodland Scenics Realistic Water. It even comes in it’s own kit, and works really well to represent bodies of water in any state, from a smooth-as-glass puddle to a frozen pond. I particularly like how the bottom of whatever body of water can be finished virtually “as it will be” prior to applying the water, since it dries clear. The kit comes with a tongue depresser to dapple the surface while still wet, creating little wave crests and ripples. The only drawback is if you want to represent depth, you’d either have to paint it in using forced perspective (looks bad at the wrong angle), or pour it in several layers (up to 1/4" each) to get the desired depth, allowing 24-48 hrs drying time between.
I did a large diorama several years ago in which I had a relatively deep, fast-running river crossing through the scene. The streambed turned out to be about 1" deep from the bank…much deeper than I intended, and it would have taken gobs of something to fill it in completely and represent the water as I had intended. It turned out I used combinations of clear hot glue, modge podge, and plexiglass to simulate the water. I was greatly pleased with the results, and figured out a way to have lots of detail represented on the river bottom, yet without mucking up the process using liquid fillers to add the water. It was a learning process, but here’s how I went about it (novel forthcoming):
After base-coating the river bottom flat black, I hot-glued in stones from our old driveway, starting with the largest where I wanted rapids or changes in elevation. I used white glue to add in progressively smaller stones, downstream of the larger ones, then mixed shades of brown, tan, green, and black acrylics with talcum powder to muddy it up and fill in gaps between the stones, using progessively lighter shades in the shallow areas and along the banks. I used the handle of an old brush to texture in ripples in the direction of flow…like you see on a patch of sand after a heavy downpour. Since I still had a good 1/2" in some areas from where I intended the water’s surface to be, I decided to go all out in detail. I used Sculpey clay, and made several little trout, painting in the details (mostly from top-down), and used pins to suspend mount them to the riverbed…the pins were long enough so that most of them didn’t sit directly on the riverbed, but sort of “floated” over them. Underwater vegetation was represented with a mix of recycled lawn clippings, small weeds, and Woodland Scenics field grass lightly brushed down into the direction of flow with thinned-down white glue. That result made them look “wet”, but didn’t plaster them to the river bottom. After a few tweaks, the riverbed was perfect, except for missing the actual water. I layed some butcher paper over the entire diorama (at this point only the river was taking shape), and traced the rough outline of it. We had some large pieces of 1/16" plexiglass left over from another project, so I used the butcher paper tracing as a guide to cut the shape out of plexiglass. I cut this into sections where those rapids, etc were going to be, and used tile nippers to rough up the edges along the banks and make things fit just right. I then used clear hot glue (this took practice) to fill in the rapids and riverbanks, and hide the transitions from one piece of plexi to the other. The smooth areas were covered with a couple of layers of modge podge, textured for waves and ripples. Debris, vegetation, and stones finished out the riverbanks and hid the edges of the plexiglass not already covered by hot glue. The end result was great, as all the underwater detail of a flowing river was there, but nothing was actually “wet”.
Airth, no problem with the novel at all…because that was pure genius, and if you don’t mind, I’m going to use your technique. I love the plexiglas idea.
You don’t by chance have any pics of the project you used this on, do ya? I’d love to see it.
I have used EZ water (those plastic pellets) once.
They worked ok but I made a very easy diorama, without any waves. I don’t believe you can tint it. You need to tint the surface you put it in , this will reflect a bit, but it is a bit yellow in color.
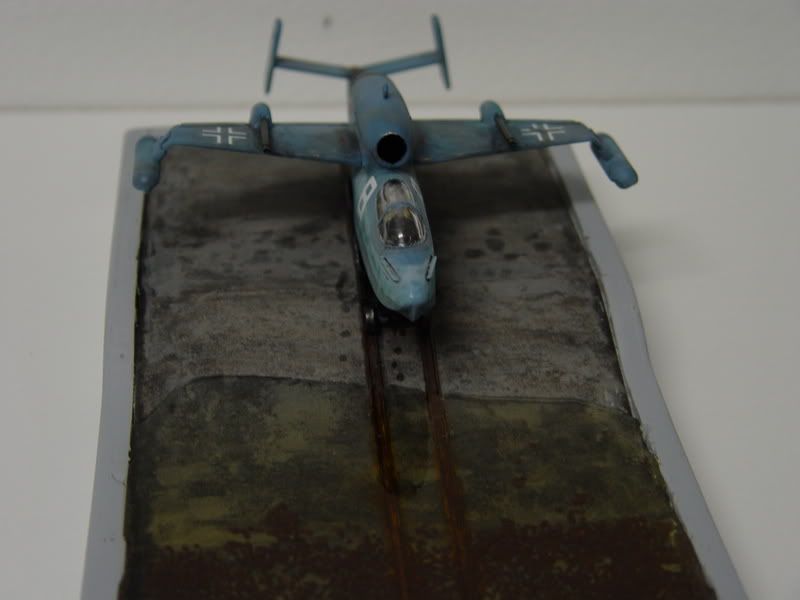
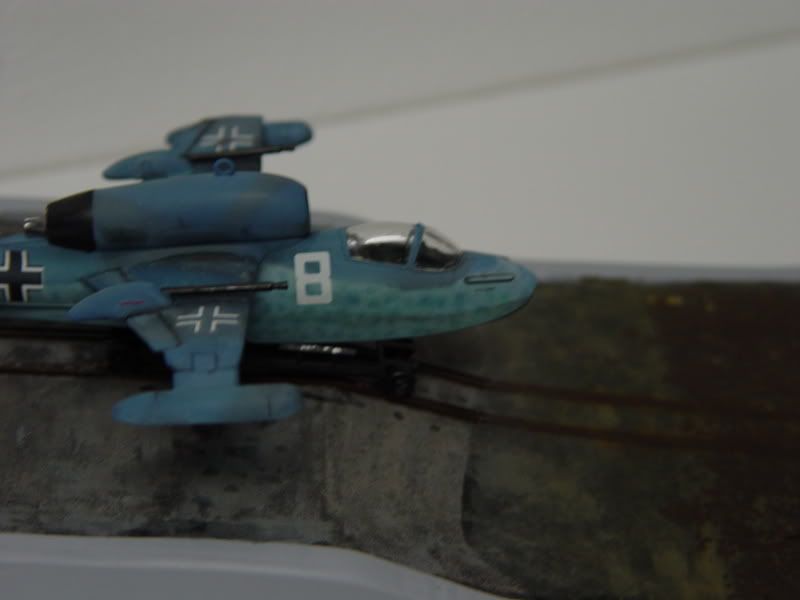
Here’s my example:
Thanks, Dirk!
Unfortunately, no pictures (to my knowledge) exist for this project, which is a darned shame since it turned out so well. The final project was actually a depiction of a castle siege, complete with scratchbuilt seige engines set up through the forest (across aforementioned river), and all the lead soldiers I had at my disposal at the time taking part in the action. The scale didn’t allow a full castle, so I constructed only a section of the wall and two turrets out of some leftover styrofoam. When you break that stuff, it leaves interesting textures that look alot like broken stone and rubble, so after some painting and texturing with different grits on the exterior to get that “looks-more-like-stone and less-than-styrofoam” effect, I was pretty happy with the result.
After I left for the military, my grandfather rescued the soldiers and boxed them up for me, but has no idea what happened to the diorama. I’ve been home on leave over the years, and have never come across it, so I suspect it’s either locked in the bowels of the garage, or more likely my grandmother donated it to some cause.