After a very hectic summer, I have finally been able to get back to the bench and do some work.
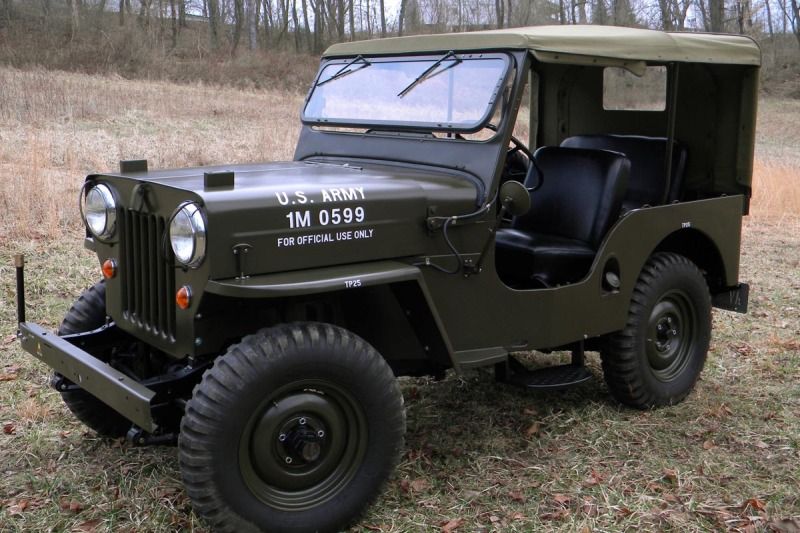
My latest piece is a unique jeep that is not often seen. The Willys M606 was the military version of the CJ3B.
A little history:
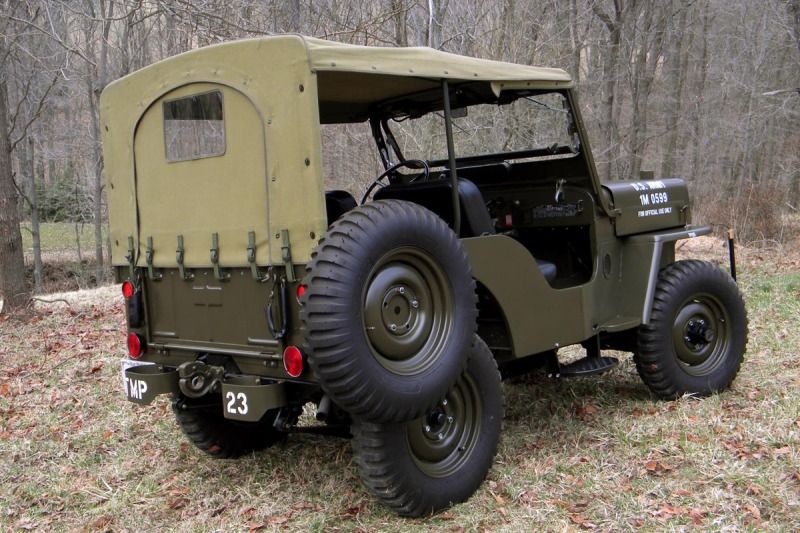
The CJ3B was an improved version of the WWII Willys MB, which had the civilian designation of CJ3A. In the early '50s, Willys offered an updated jeep wth the taller F-head engine in the form of the CJ-3B, a CJ-3A body with a taller hood. This was quickly turned into the M606 jeep by equipping it with the available heavy-duty options such as larger tires and springs, and by adding black-out lighting, olive drab paint, and a tow pintle. The Willys M606 and CJ3B also had a tailgate on the rear as opposed to the earlier solid rear plate of the MB series. The CJ3B/M606 was also license built around the world and was built by Majindra of India up until the late '90s.
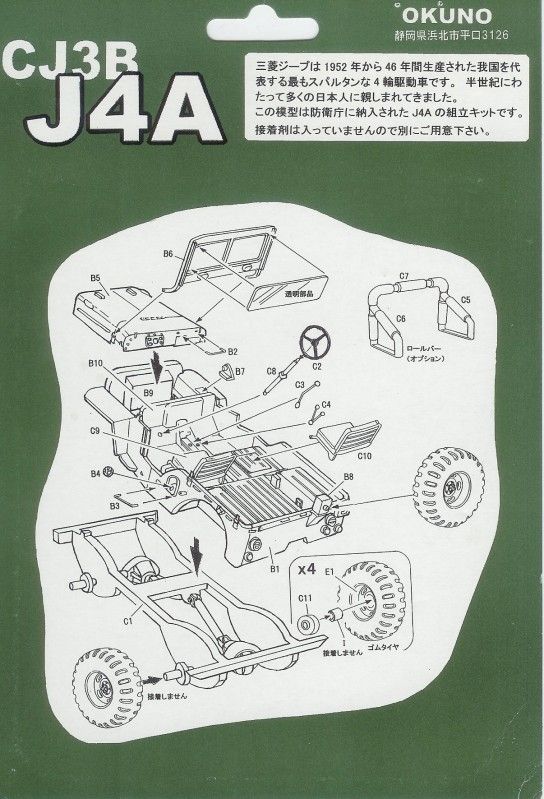
I first was inspired to build the M606 after seeing Jim “Gunny” Lewis’ build of one on his site, Guntruck Studios. Jim used the Okuno Mitsubishi CJ3B J4A toy and a Skybow M38A1 to build a Mitsubishi CJ3B model. You can see Jim’s awesome build here.
I wanted to build mine as the original Willys version.
From my research, the Willys M606 Military version of the CJ3B was described in a four-page Service Manual Supplement (SM-1018 R1) to the Universal Jeep Service Manual (SM-1002-R5) which describes and illustrates “special equipment items as installed on Jeep model M606 (CJ-3B modified).” They are as follows:
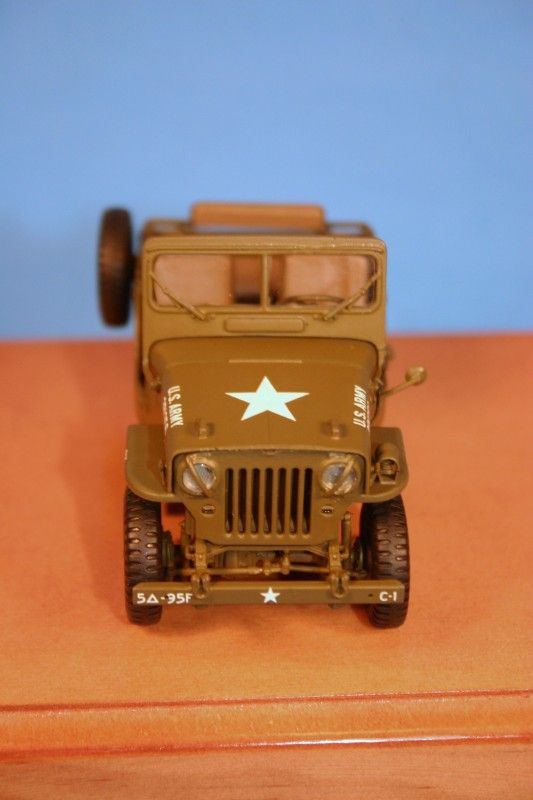
Blackout Driving Light: According to the Supplement, a blackout light was installed on the left fender only.
Magnetic Drain Plugs: Intended to attract small bits of metal so they can be removed when fluids are changed, these plugs were installed in oil pan, transmission and transfer case.
Trailer Coupling Electrical Receptacle: A 12-pin metal connector covered by a spring-loaded door.
Stop and Tail Lights: Body-mounted reflectors, and blackout covers for the tail lights.
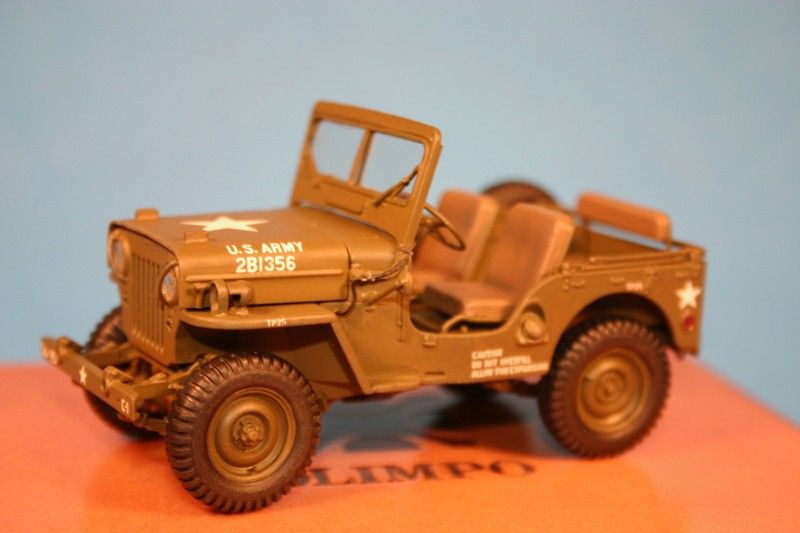
Pintle Hook: Trailer towing hitch. A picture also shows rear “bumperettes” on either side of the hitch.
Tires and Tubes: 700 x 16 (4 ply) nylon tires, with low inflation pressures recommended, ranging from 10 - 25 lbs. depending on conditions.
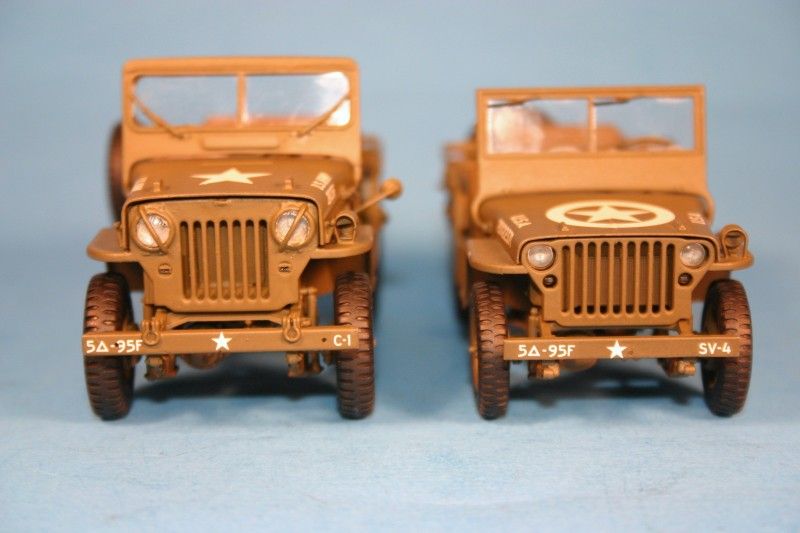
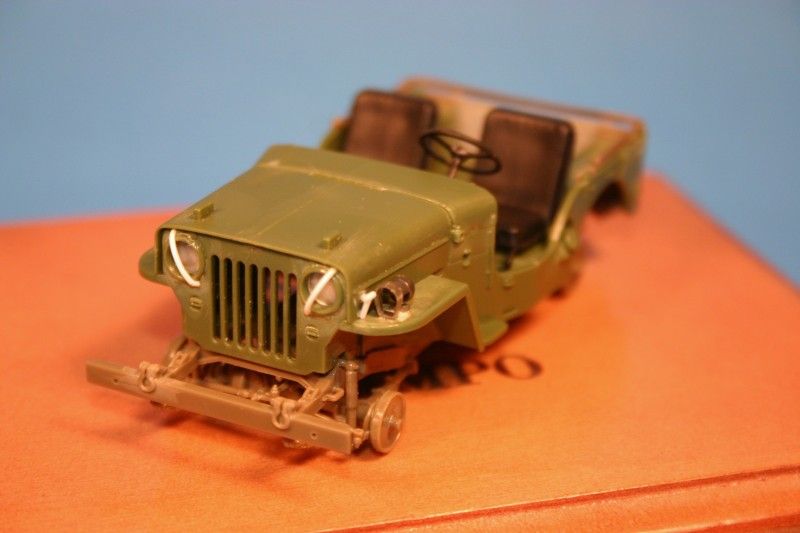
Headlight Brush Guard: Only a single brush bar over the headlights.
Some do not have the pioneer tool cutouts on the right side as well, while some do.
To start, I got a spare Okuno CJ3B from Gunny and used the running gear (sprue A) from a Skybow/AFV Club M38A1.
The Okuno toy is really very nice. It is believed to have been molded by Skybow and the body scales out perfectly to 1/35 and the detail is right on par with the Skybow M38A1. The frame and wheels are toylike and unusable though.
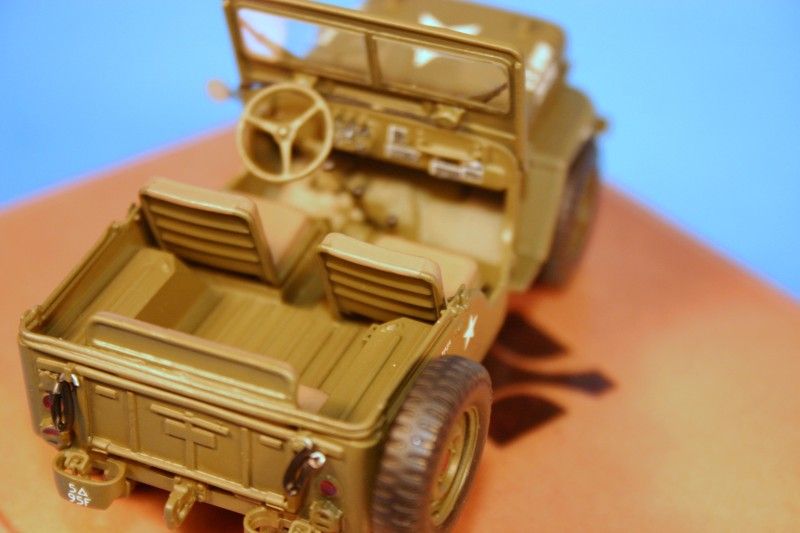
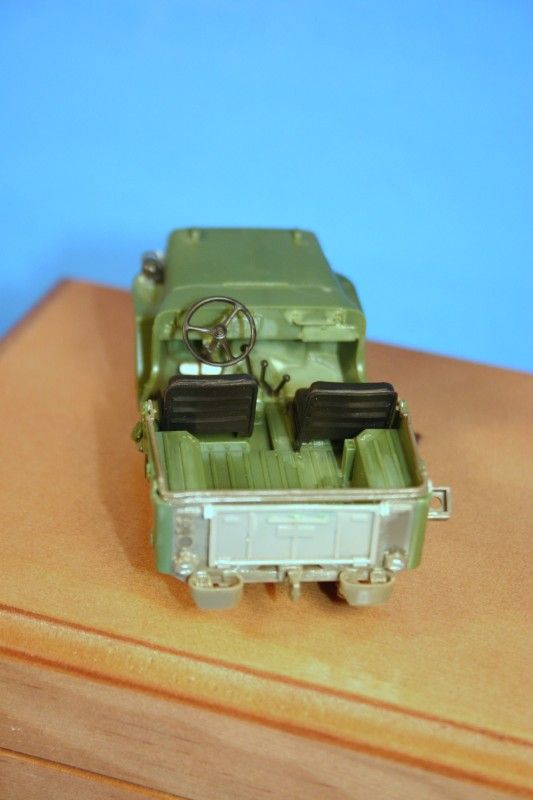
For the Willys specific changes, I modified the rear of the Okuno jeep by using the tailgate out of the Accurate Armour CJ5 conversion and cut the opening out of an M38A1 rear panel.
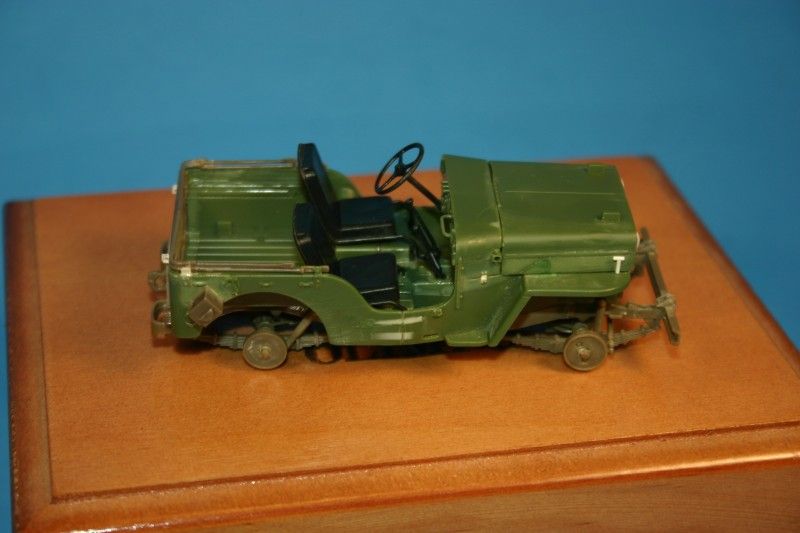
The M38A1 frame is almost a perfect fit for the CJ3B body. However, the CJ3B body is about 2mm shorter just in front of the rear axle. I matched up the front shock cutouts on the CJ3B body and the M38A1 frame, then shortened the frame as needed. I also filled in the hollows under the seats.
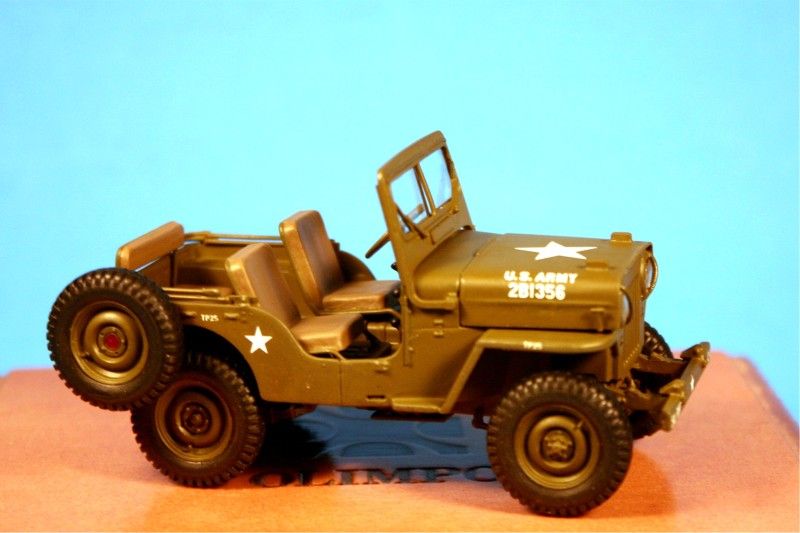
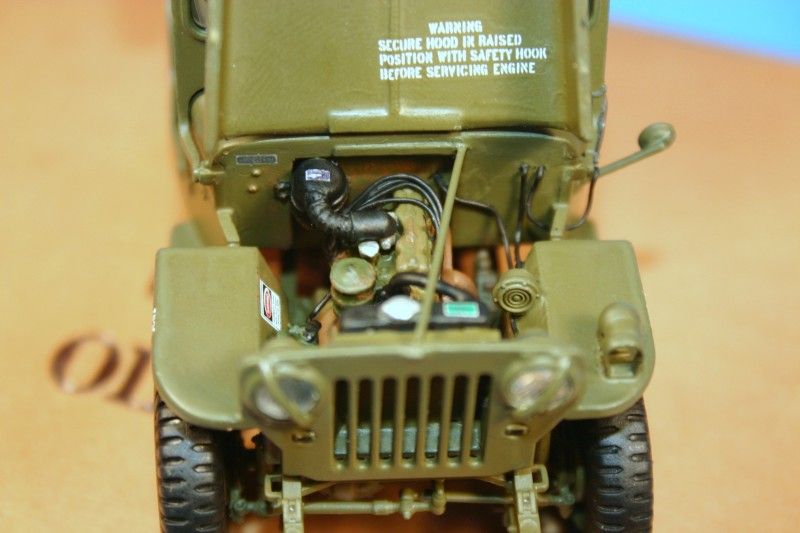
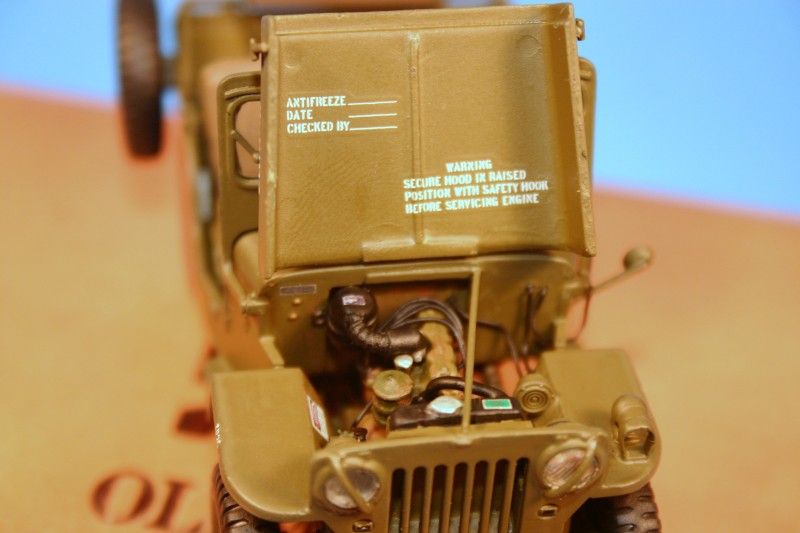
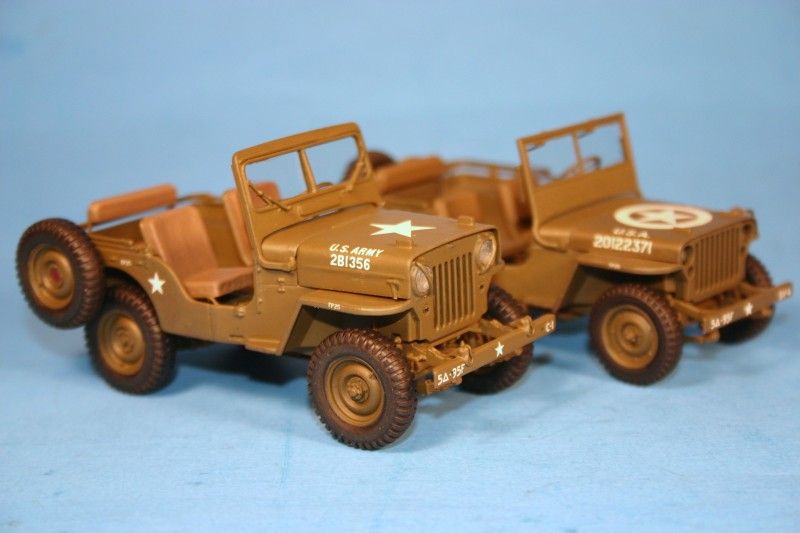
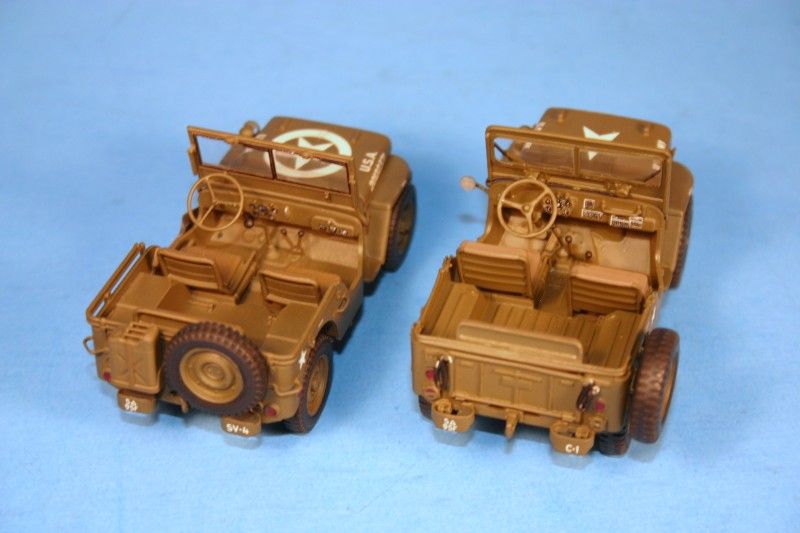
I made various other changes that can be seen in the pictures. The brighter green color body parts and black parts are from the Okuno kit. The OD parts are from the M38A1 kit. Everything else is scratch built by me.
Here are the pictures, enjoy.

As always, all comments are welcomed.