WIP: Update ; Building the Revell 1/48 scale B-29 (Engines Completed)

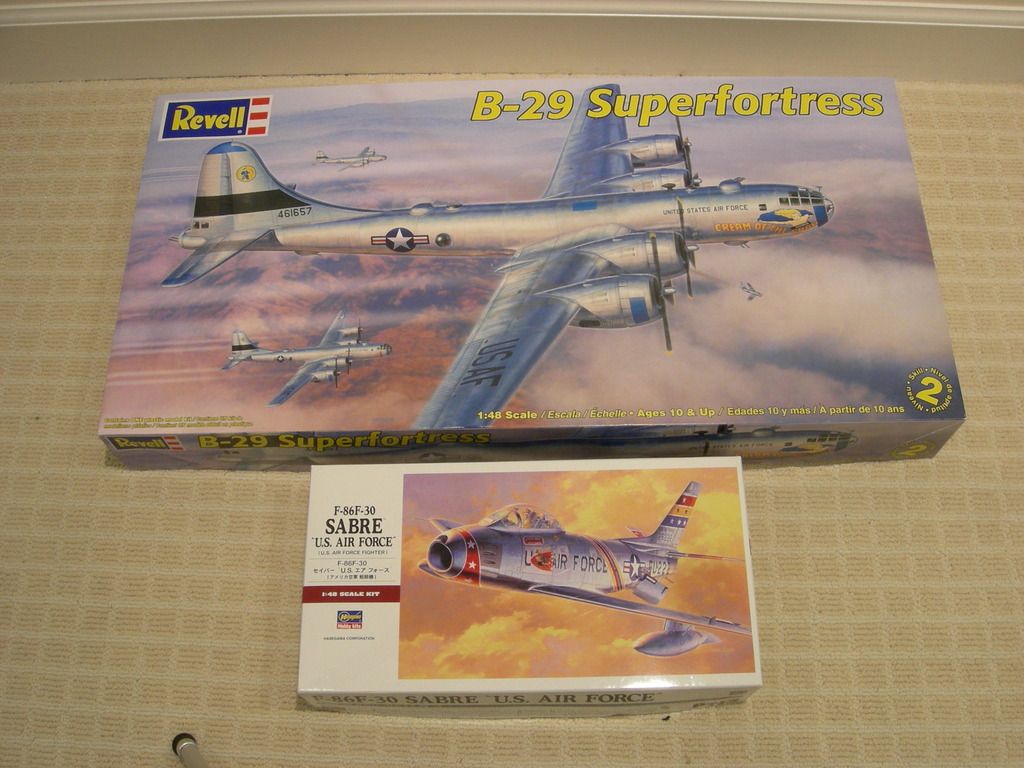
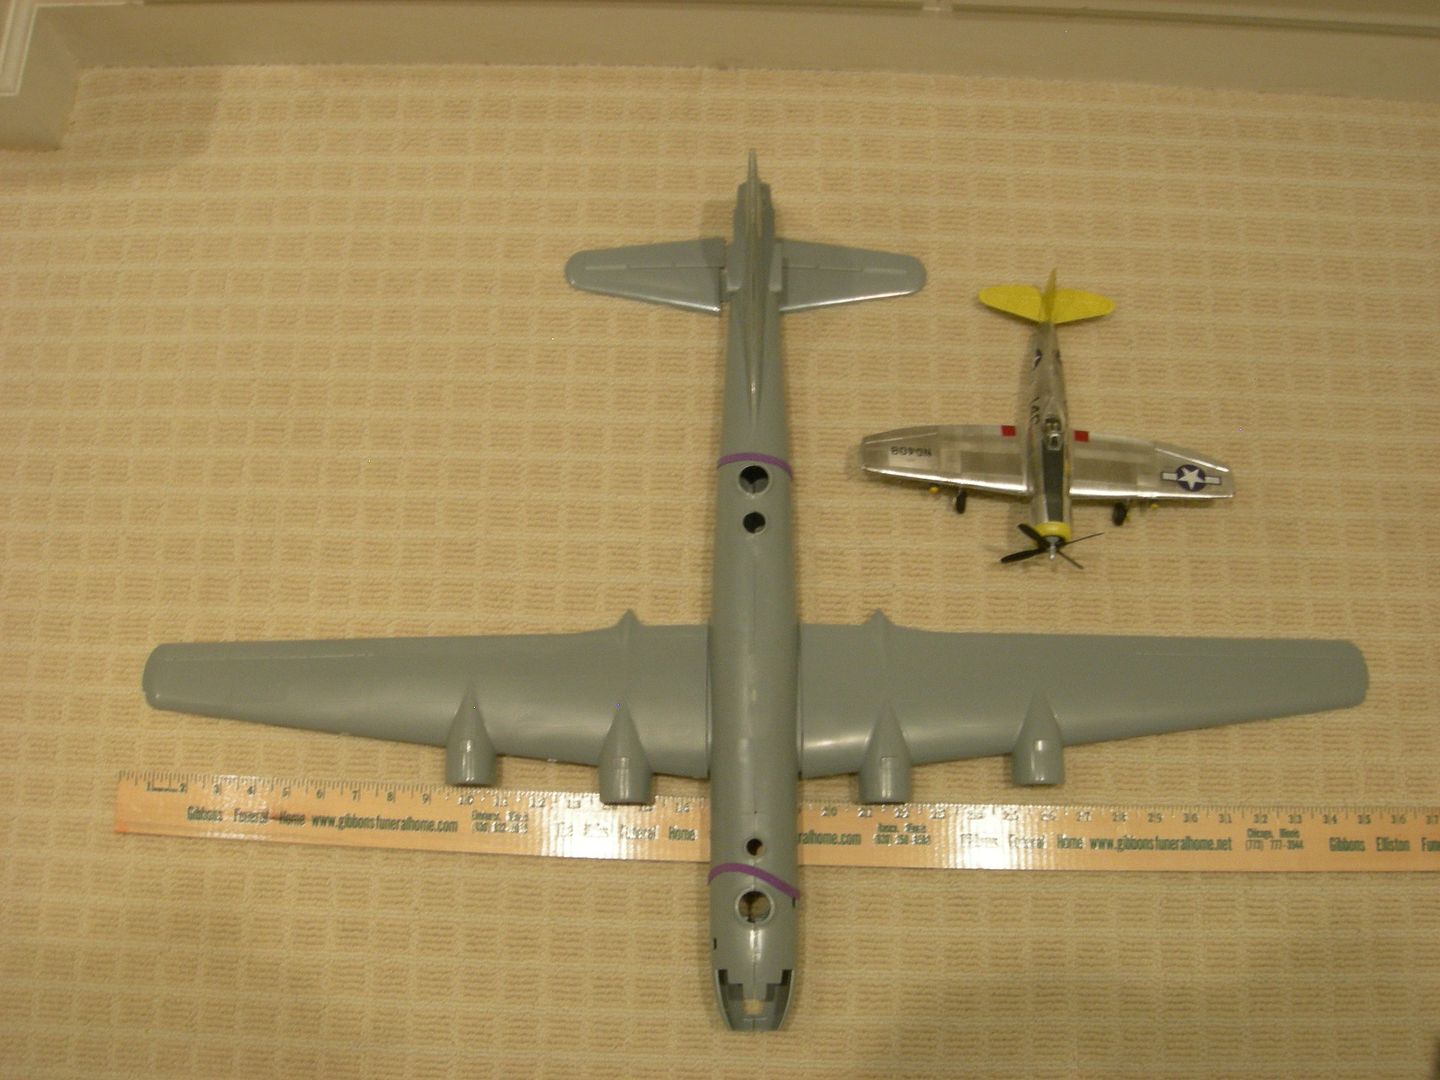
This is a reall big model. Compare the difference of the B-29 box anf the box of an F-86. Check out the size difference between the B-29 and the P-47. The B-29’s wing span is 36 inches. This is also an old model with typical old model issues; ejector marks and a lot of flash. It also has raised panel lines.

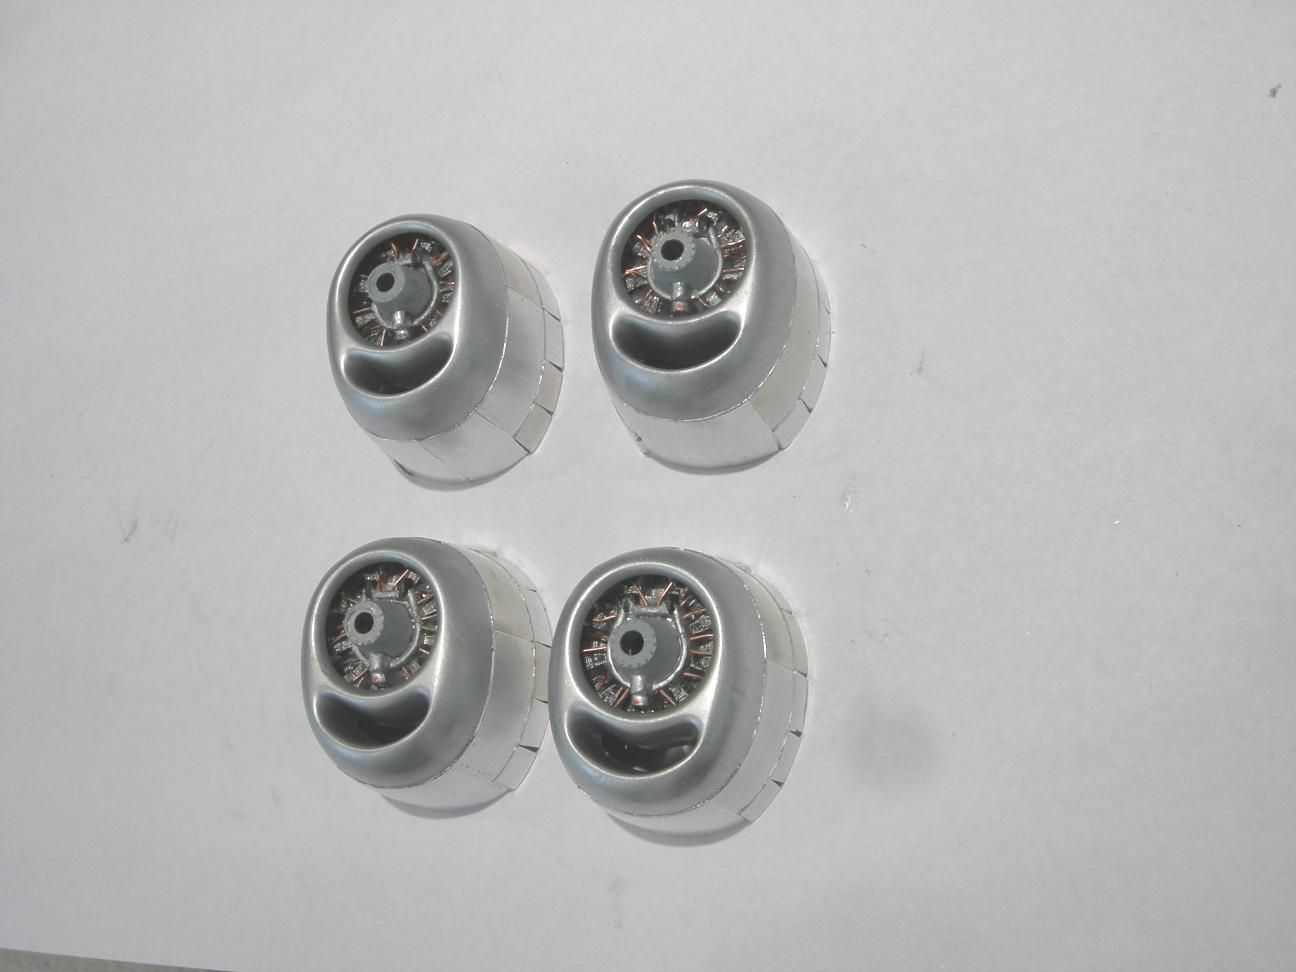
Since this is a big model, it will need some extra detailing and some “bling”. The cockpit is going to be dressed up with Eduard’s upgrade kit and the stock wheels/tires will be replaced with resin wheels/tires. I’ll add metal fuel lines to the engines and metal brake lines to the landing gear for some extra “bling”. The fuselage and wings will not be painted, instead they will be finished in Bare Metal Foil I figure that I’ll need 6 to 7 sheets of foil. Finally, rivets will be added to the wings and fuselage.

Okay, let’s get started by building the main wings.

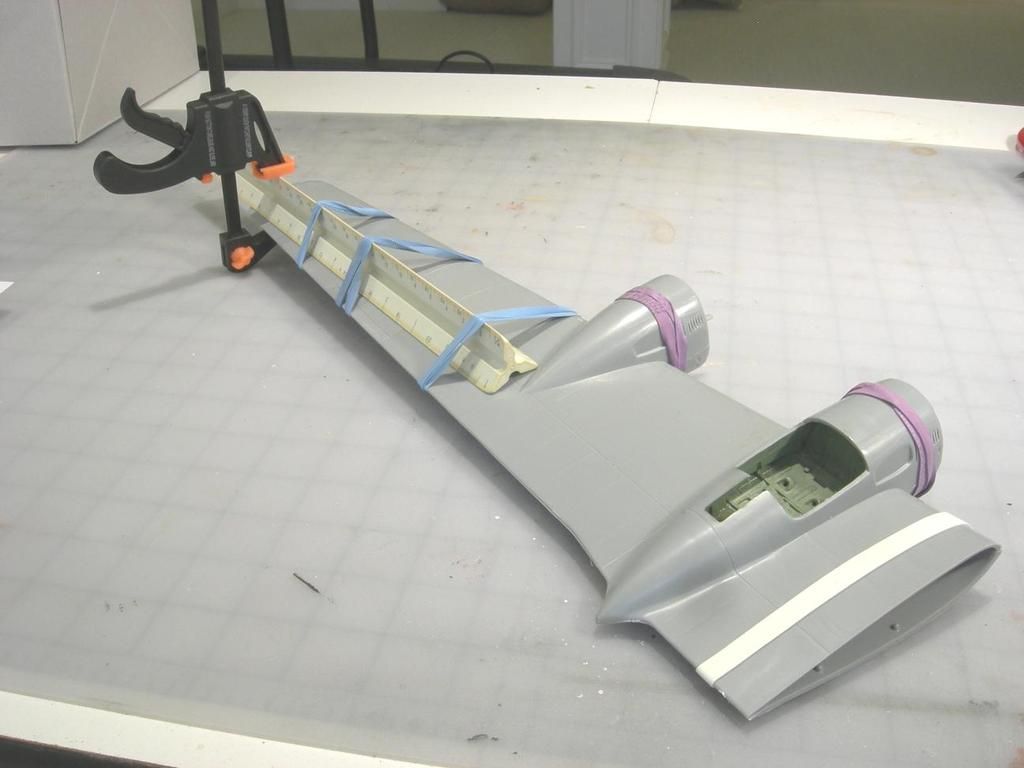
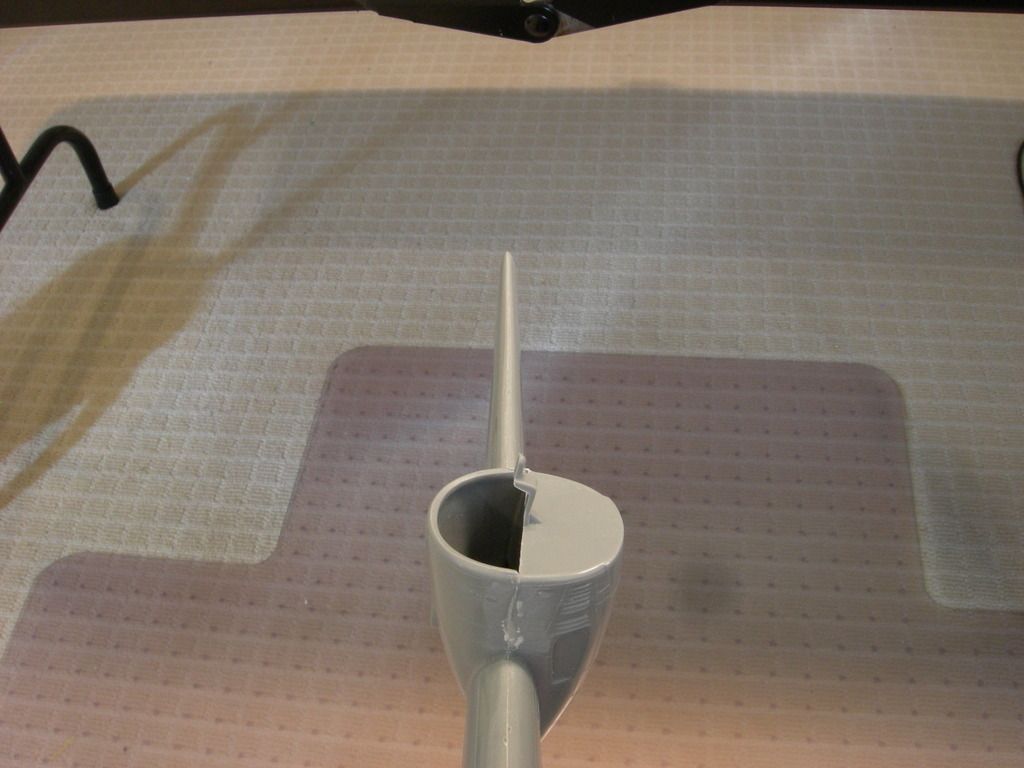
The landing gear box was painted Tamiya cockpit green. The internet indicated that this box was painted in a number of colors, green, yellow and silver. I used green BIG PROBLEM 1: the wings appeared to be warped. I decided to use my old ‘architect’s scale’ along with a clamp and rubber bands to force the wing into being straight.

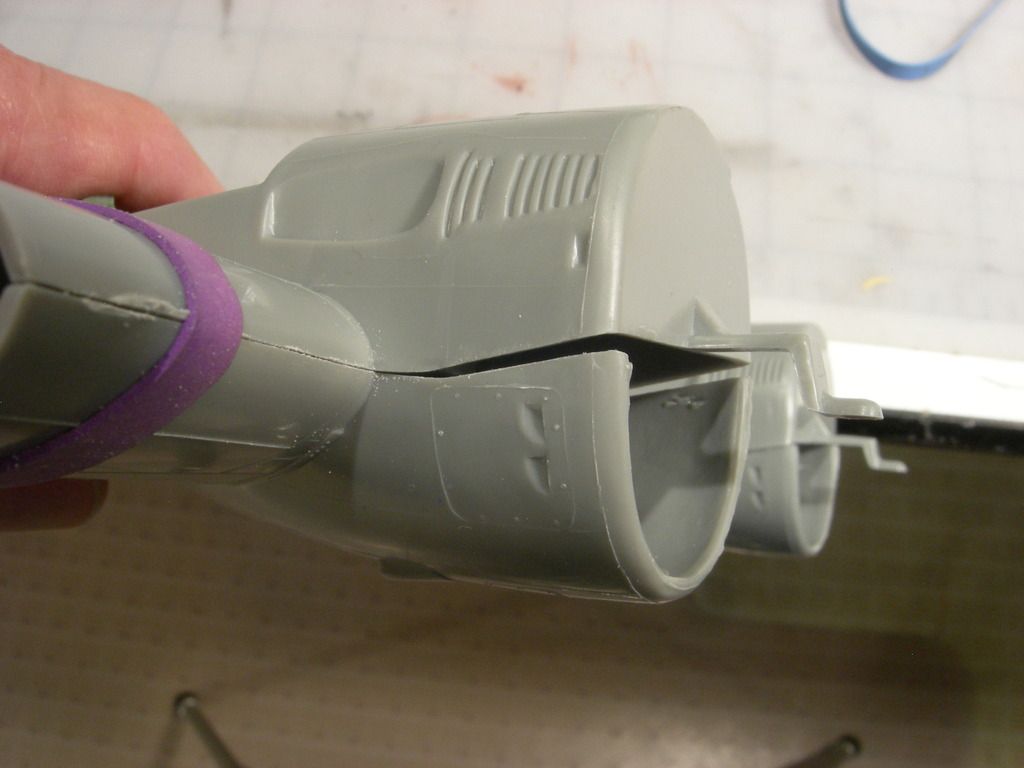
BIG PROBLEM 2; There is a huge gap at the engine nacelles. Really nasty! I decided to try sanding the wings adjacent to the nacelles to fix this issue.

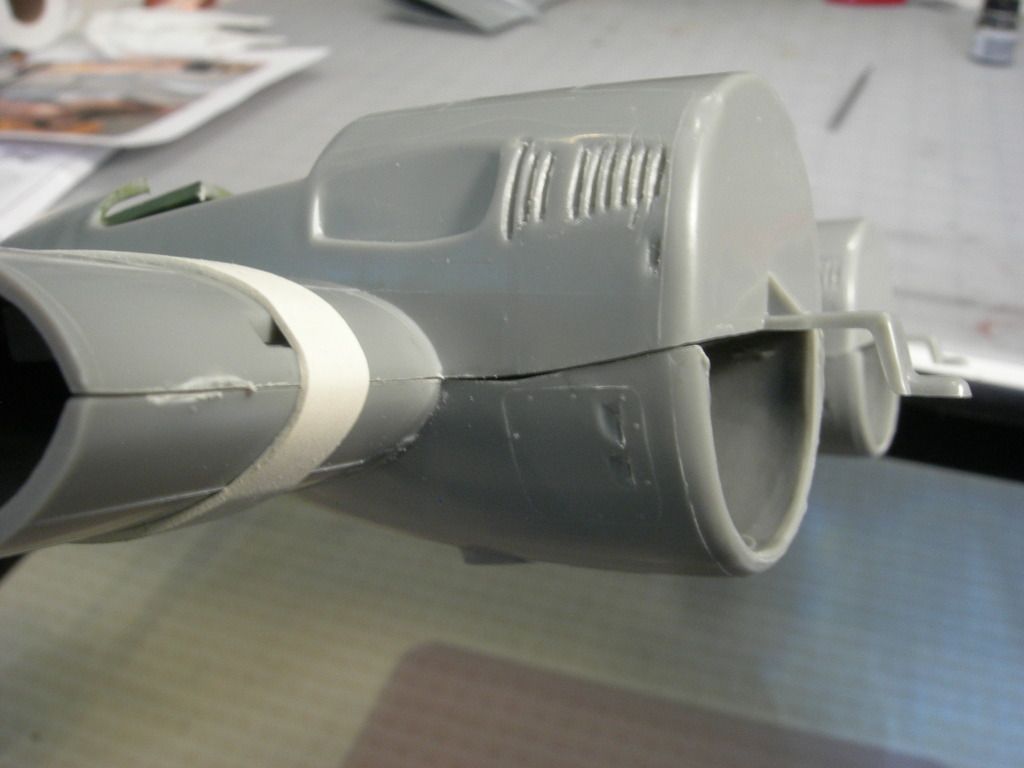
A little sanding really solved a big problem. After the cement cures, I’ll fix the joint between the two wing halves with filler.


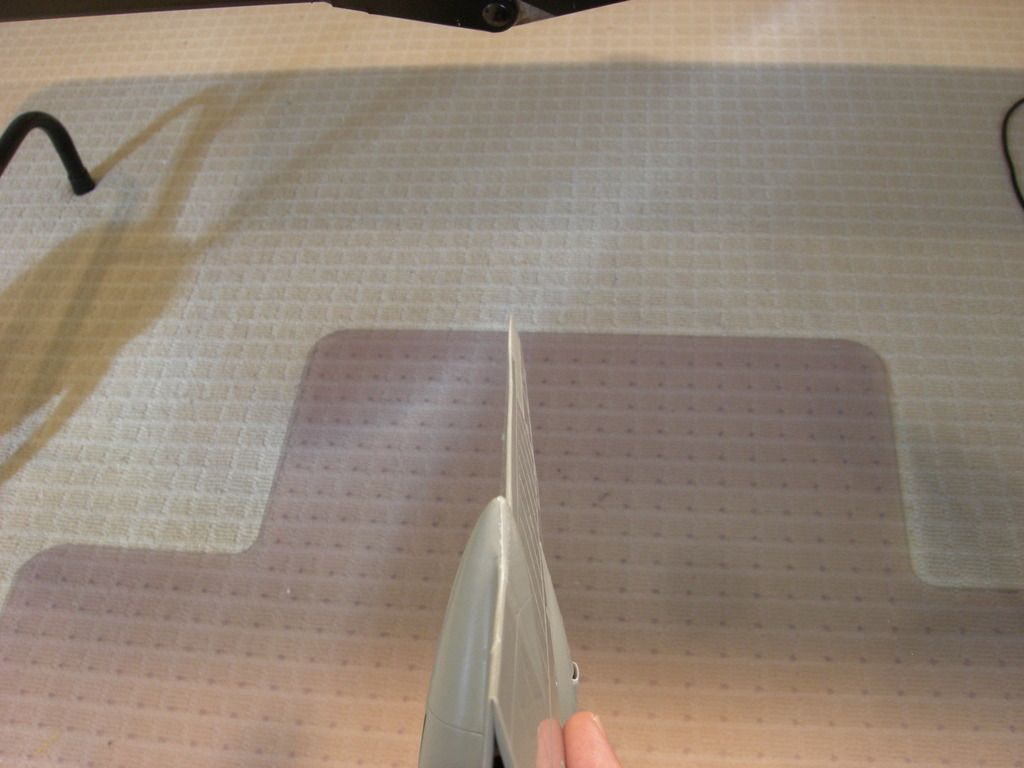
After the glue dried and after a little sanding, the wing came out nice and straight.

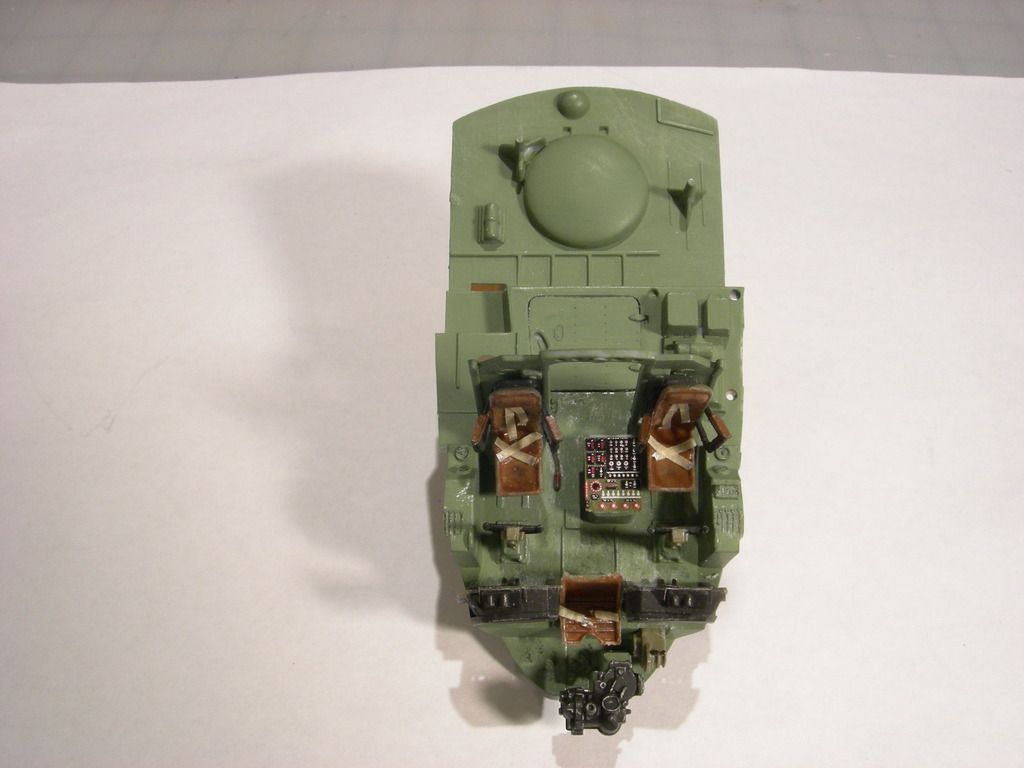
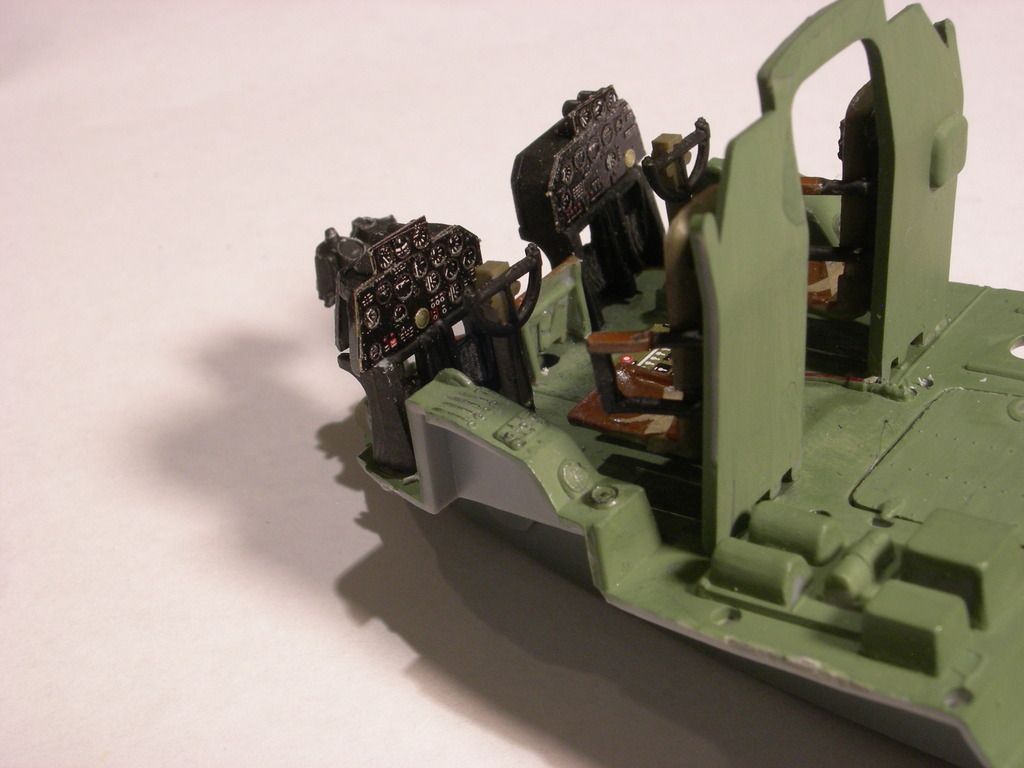
I started on the cockpit while I worked on the wings. The cockpit was upgraded using photoetched parts from Eduard. Photos from the Internet indicate that the cockpit was painted a number of different colors, I chose Tamyia Cockpit Green. After the paint dried, I dry brushed Testors’ silver and black to add the impression of wear an tare.


Update 4-27-17, Building the Landing Gear

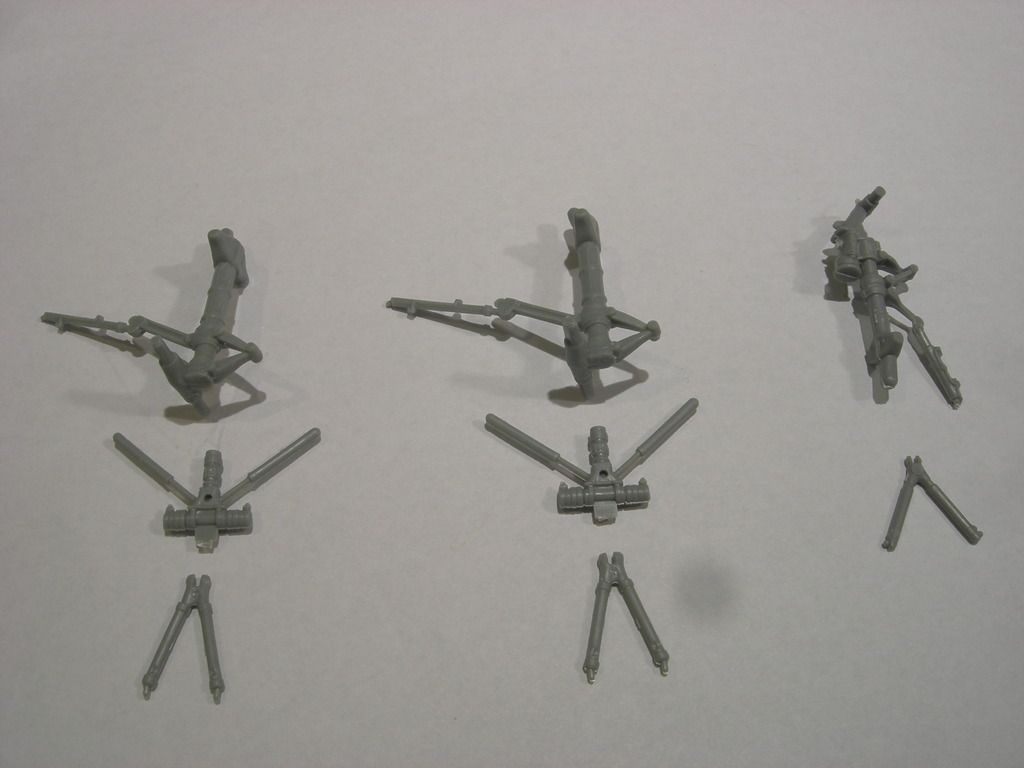
There ared three components to each landing gear. I’m going to start with the front gear.

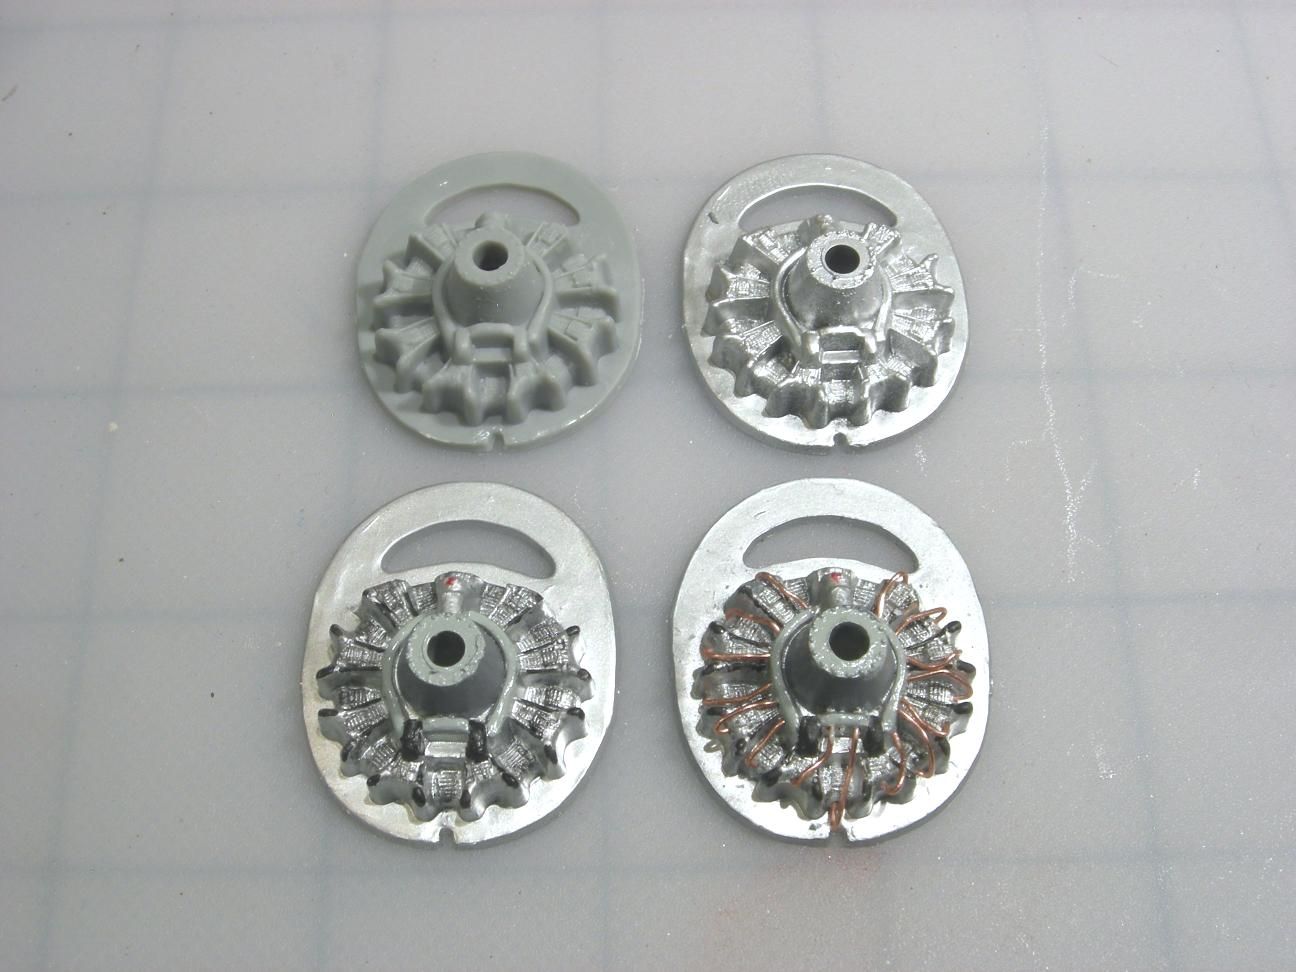
There is a lot of flash that needs to be removed. There is also some piping that needs removal.

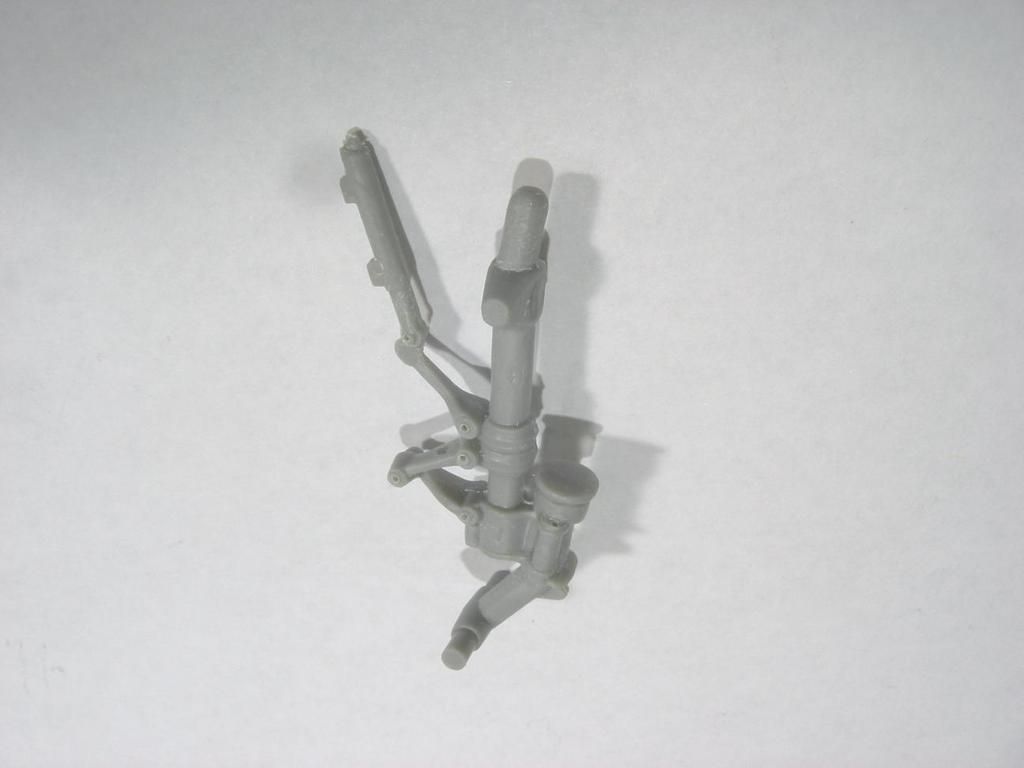
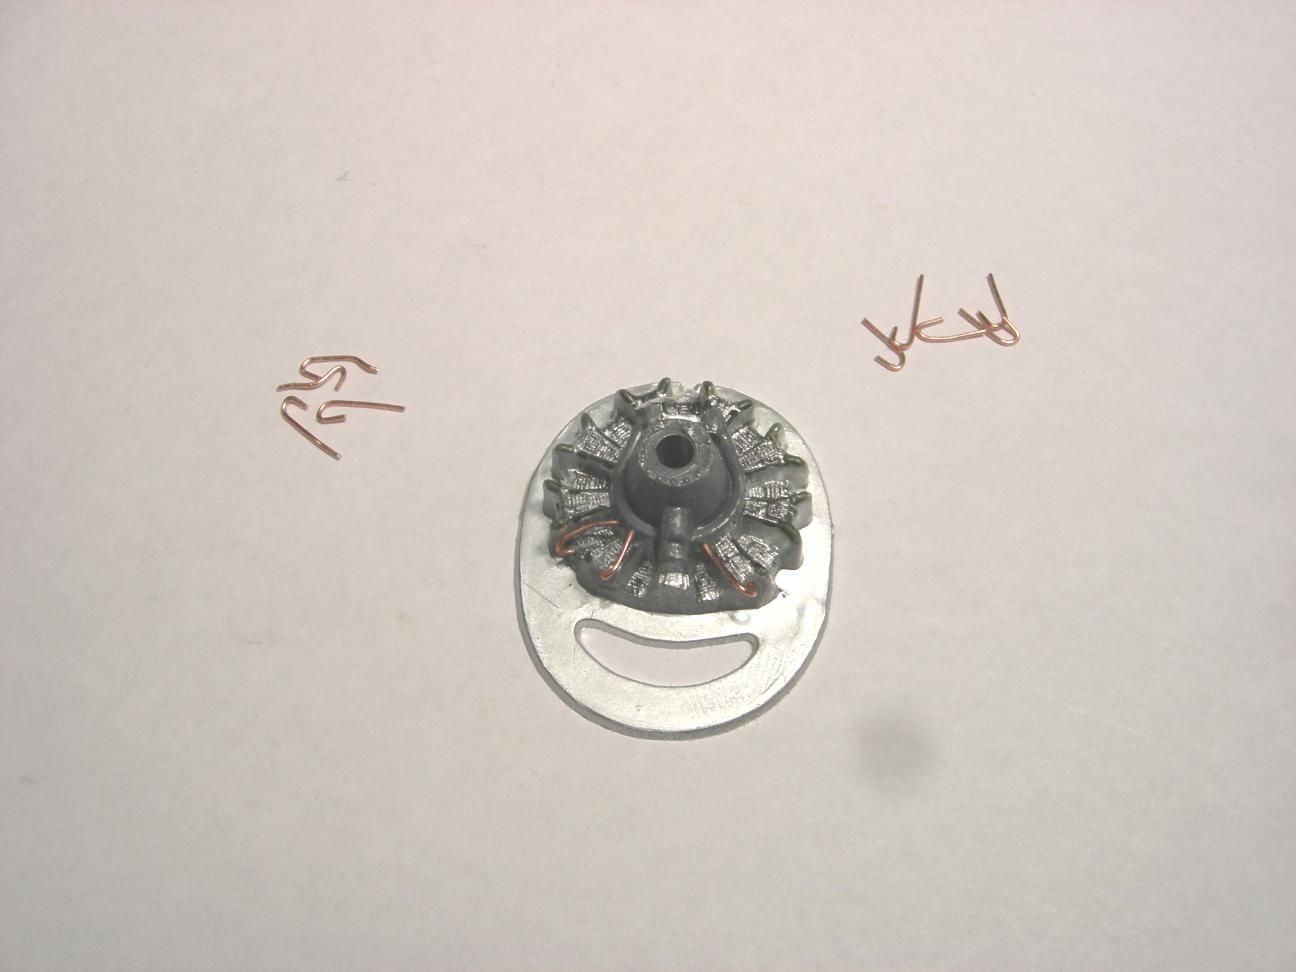
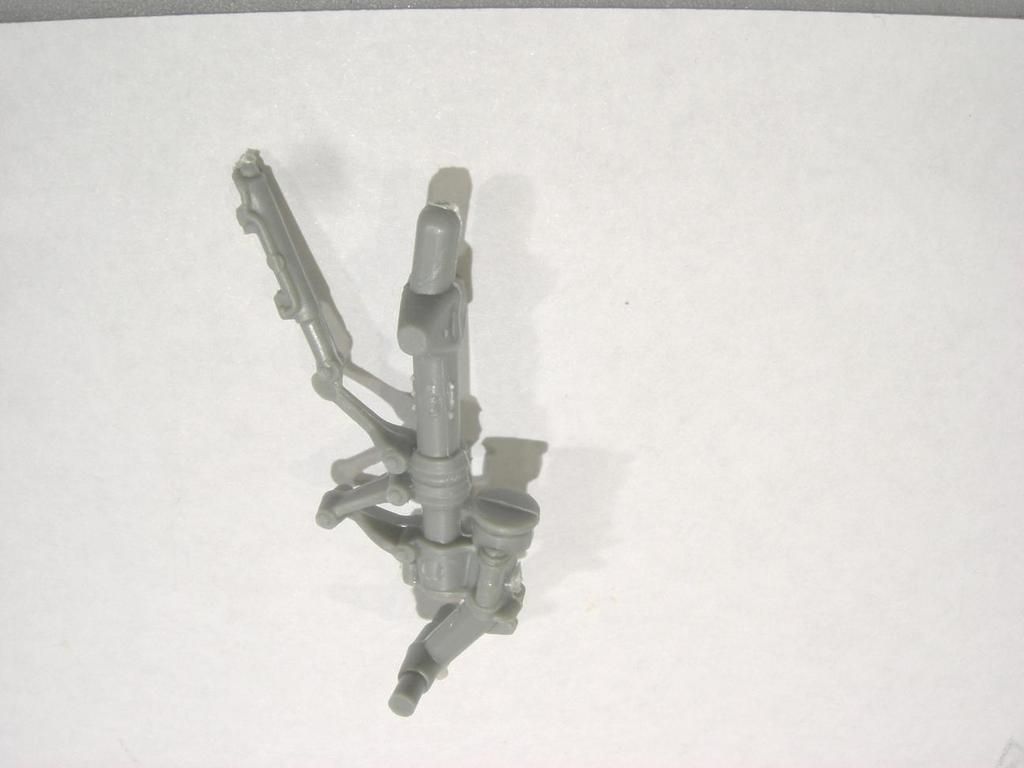
The gear looks pretty good after all the flas is removed. I drilled holes in the joints per photos on the Internet.

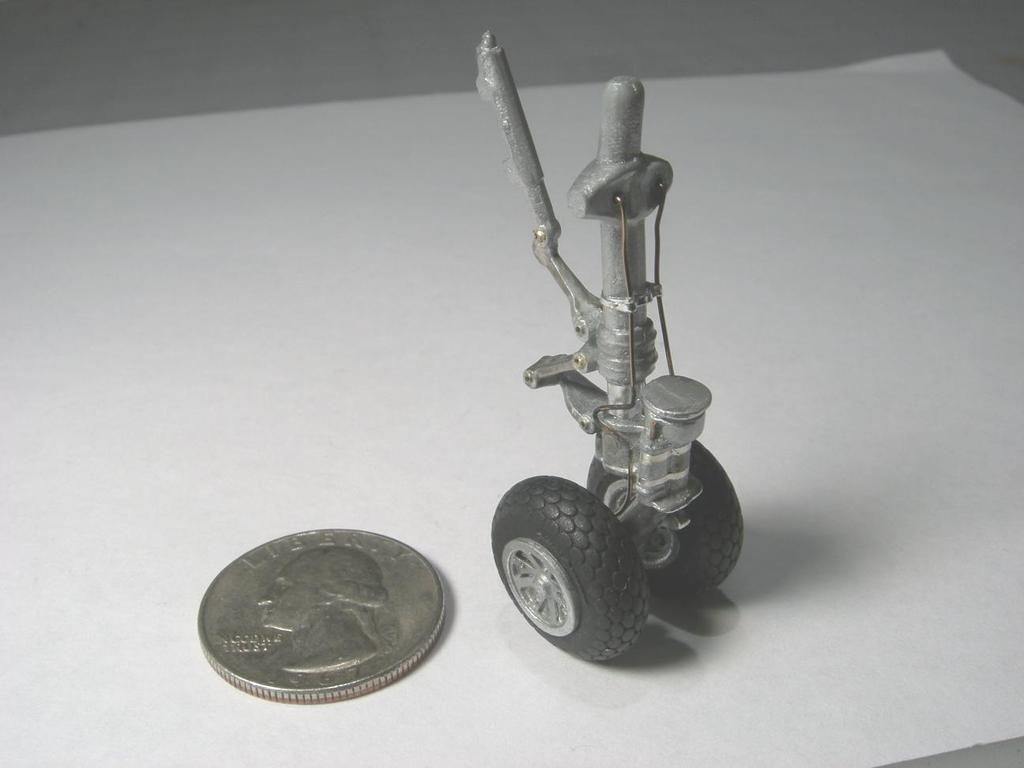
I painted the gear with Testors’ Aluminum. After that dried, Testors’ Flat Black was dry brushed. Next came dry brushing Testors Chrome Silver. The landing gear is pretty large so I added some ‘bling’. Brass paint was applied with a toothpick at the joint bearings. The brake piping is brass wire. According to photos, the piping extends into holes in the top casting and into the wheel bearing hub. The brake piping is held in place with a small piece of Bare Metal Foil. Per photos, two clamps held the damper’s (shock absorber) fluid container to the landing gear. I used two pieces of Bare metal foil to simulate the clamps. The resin tires and wheels are by Eduard.


UPDATE 5-3-017

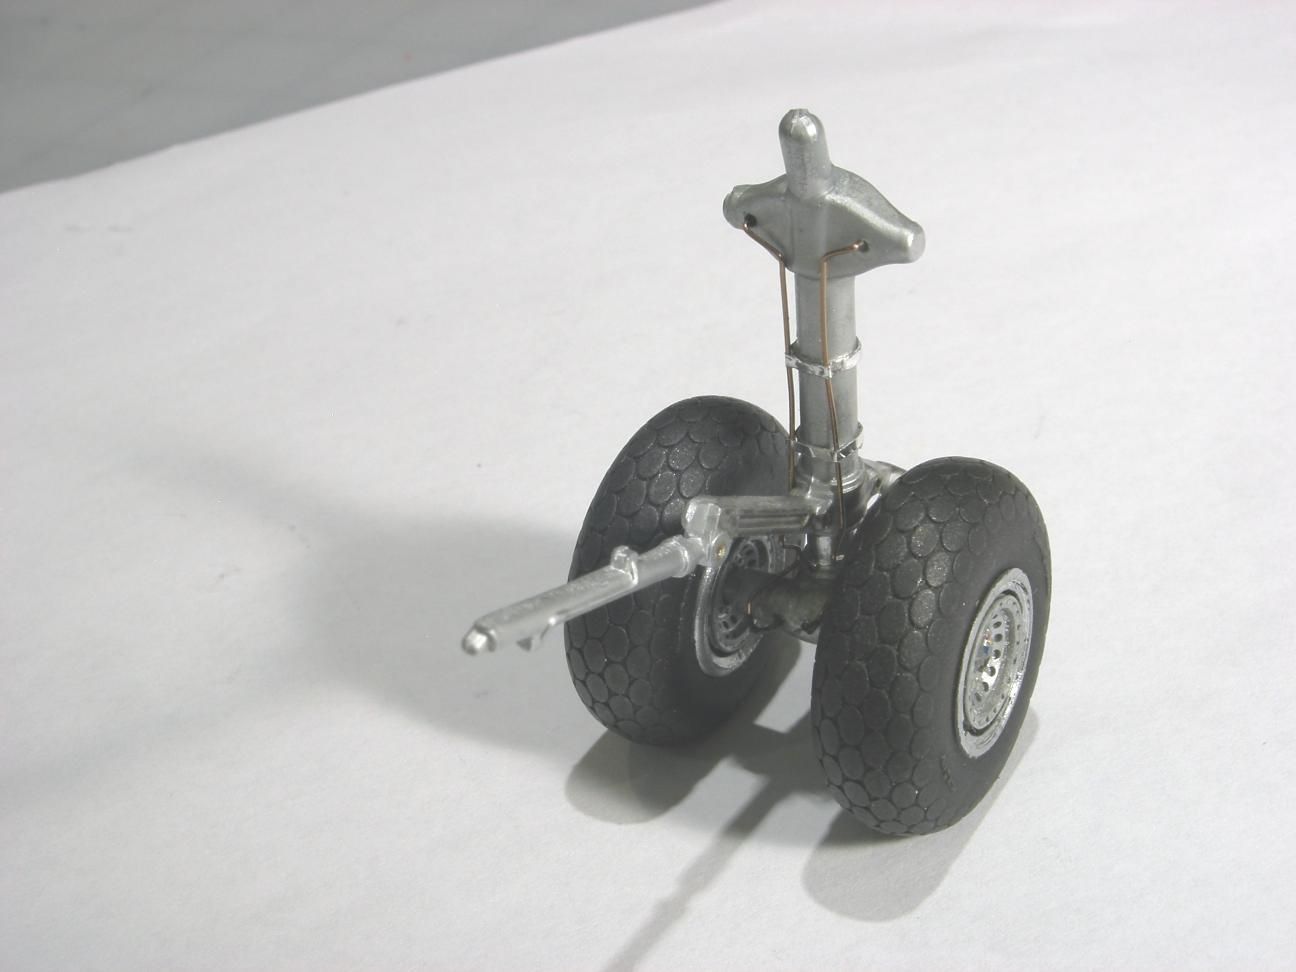
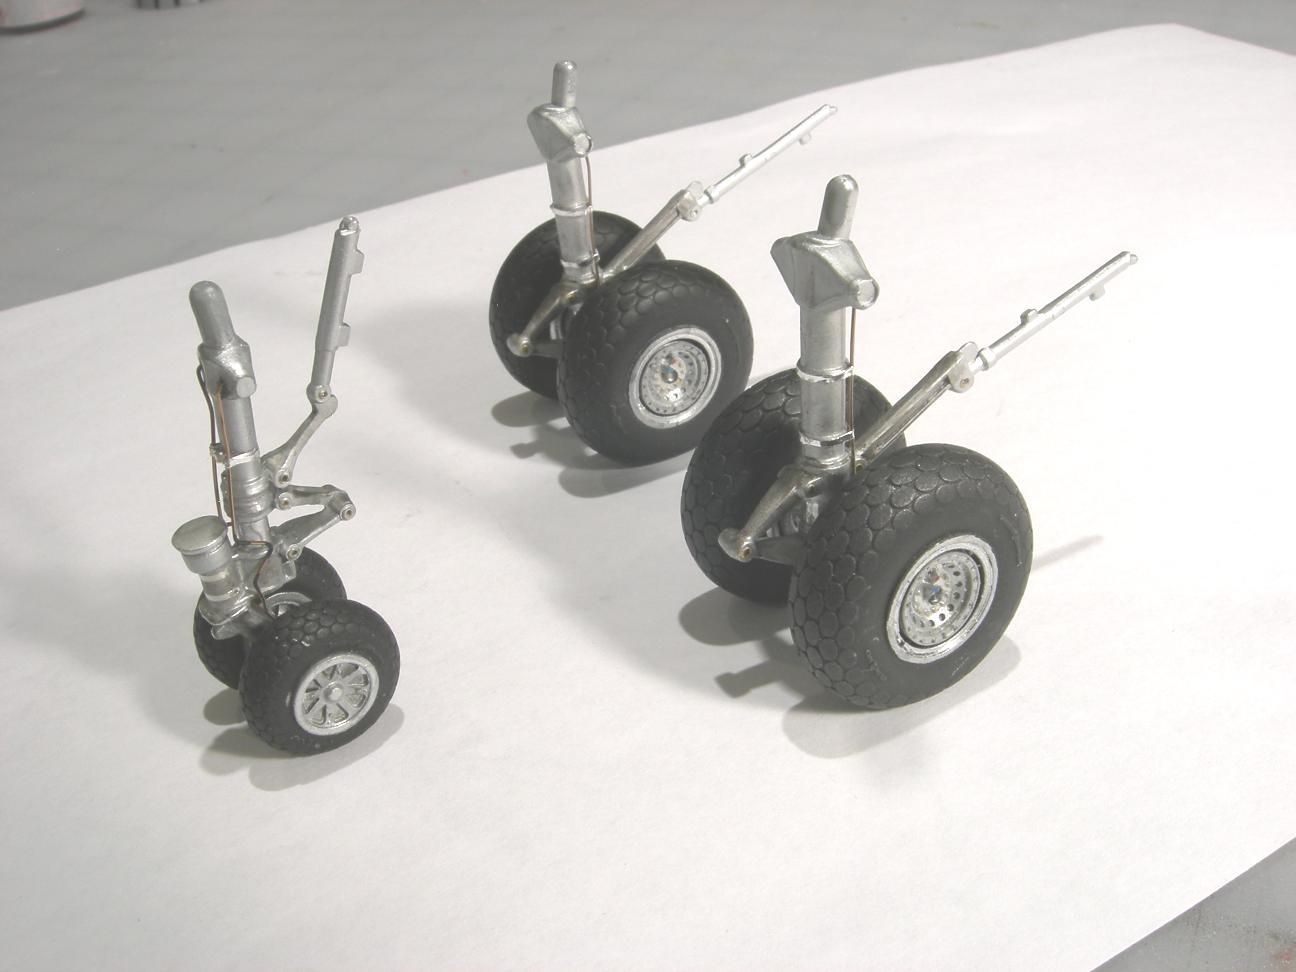
I finally finished the main landing gear. AGain, the tires and wheels are by Eduard. The painting, highlighting and the installation of brake lines is similar to how I did the front gear. The additional detailing adds a lot to the appearance of the gear.

.

Very very nice start Johnny! The pit looks great and love the extras you put on those landing gears. Looking forward to seeing more!

Nice! I’ll be watching this one. I’d like to add one of these to my stash, but more than likely in 1/72.

One of my favorite builds, spent a winter about 5 years ago building it. You have made a wonderful start!

UPDATE 5-5-17 ENGINES


Okay, it’s time to build the engines and cowlings. I am going to use the above engine as a guide for my engines. Note that the fuel lines are a copper color. Some engines had black or grey fuel lines. I like the copper colored lines because they add some ‘bling’ to the engines.

Instead of building all four engines at once, I decided to build a single prototype. That way I could make any adjustments before building the remaining three. First I sprayed the engine with grey primer. Next came aluminum paint with a dry brushing of black to accentuate the cooling fins. The pushrod covers and valve covers were painted black and the crankcase cover was painted Dove Grey. The fuel lines are brass colored wires.

The front casting of the cowling is painted in Testors’ Metallic Aluminum. After drying it was sprayed with Testors’ Metallic Sealer. I highlighted the spaces between the cooling vanes with a black marker. The remainder of the cowling is covered in Bare Metal Foil. Matt Aluminum Plate is used on most of the panels. Bright Chrome is used on a few panels to add some visual interest. The foil was removed in the area between the cooling vanes to expose the black marker. After the foil was installed I brushed the foil with 0000 steel wool to replicate the natural grain of aluminum. I enhanced the panel lines with a toothpick. I really like the final results. Now I need to build the three remaining engines.

You’re doing a fantastic job on a old school kit!

Toshi

Toshi,

Thanks! With a little extra work the old boy will look brand new.

I finally finished all four engines.

It was common that the upper engine cylinders would run very hot, so I decided to darken the top surfaces of the cowlings. I rubbed the Bare Metal Foil with JAX Aluminum Blackener. JAX is not a paint, instead it acually oxidizes the aluminum and turns it black.

All four engines finished.

Looks good Johnny. Now what are you going to do about those exhaust stacks?

The exhaust stacks that are included in the kit are just awful looking. Plus, they are incorrect as they are single stacks. The real engines had double stacks on each side of the engines. Maybe I’ll buy some brass tubing and make new ones. Do you have any suggestions?

I used styrene rod to make the stacks on my Silverplate conversion. I had to scribe the panels around the stacks; that did not work well on the surface I had to work with. I just hope that no ones looks very close at the model! The reason for plastic rod is that those pipes are all at an angle and it was easier for me to sand plastic to the proper angle than to sand brass!

Hey Johnny, great job so far! I’ve always looked and considered this kit but size is the limiting factor in my case. Anyway, fun to watch your project, keep up the good work.

Max

Amen to that!! I’ve got one of these 1/48 scale kits and can see how big of a bad boy the kit is.

Good lookin’ build so far here Johnny!

I love your attention to detail on everything including the engines as well as the burnishing of the cowling tops.

Toshi

This Post has been dividrd into two parts. Part 2 is here

http://cs.finescale.com/fsm/modeling_subjects/f/2/p/addpost.aspx

That is fantastic work with those engines! Love how you have tackled these issues. This stuff is right up my alley! :slight_smile:

Looking great!