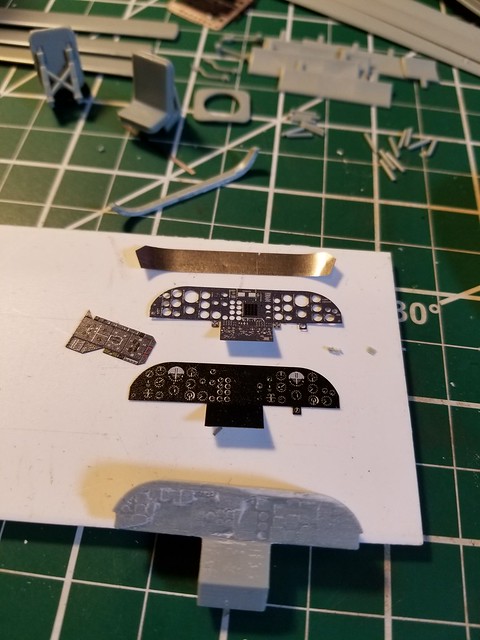
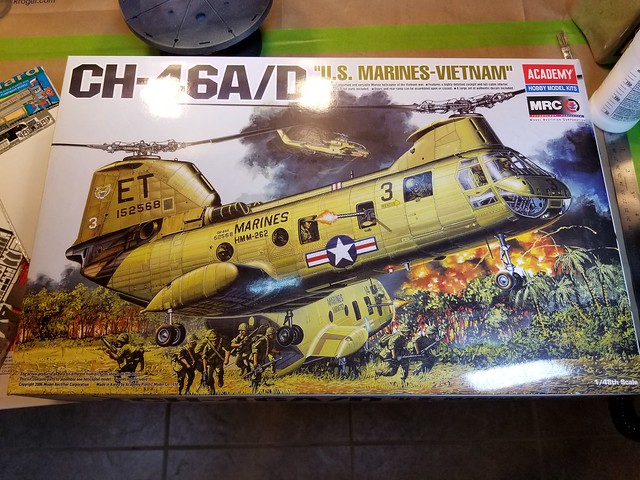
It’s time to build the CH-46A/D “US Marines - Vietnam.” It’s been in my stash for a while. At some point, I aquired an Eduard Big Ed set and resin pilots from CMK. I doubt I’ll use the pilots. They look a little “Army” for this build. Plus, I can’t find a suitable crew chief and aerial observer, which would be necessary with pilots in their seats.
I haven’t yet decided whether to build an A or D model. The D has a larger and taller tail rotor mast than the A. I’m not a Phrog expert, but I can resource Popasmoke.com and three of my coworkers. (I think they all served together in HMM-263.)
I rode in a Phrog E once. It was built in 1968. It was in the Marine Corps before my father was. Here’s the kit:
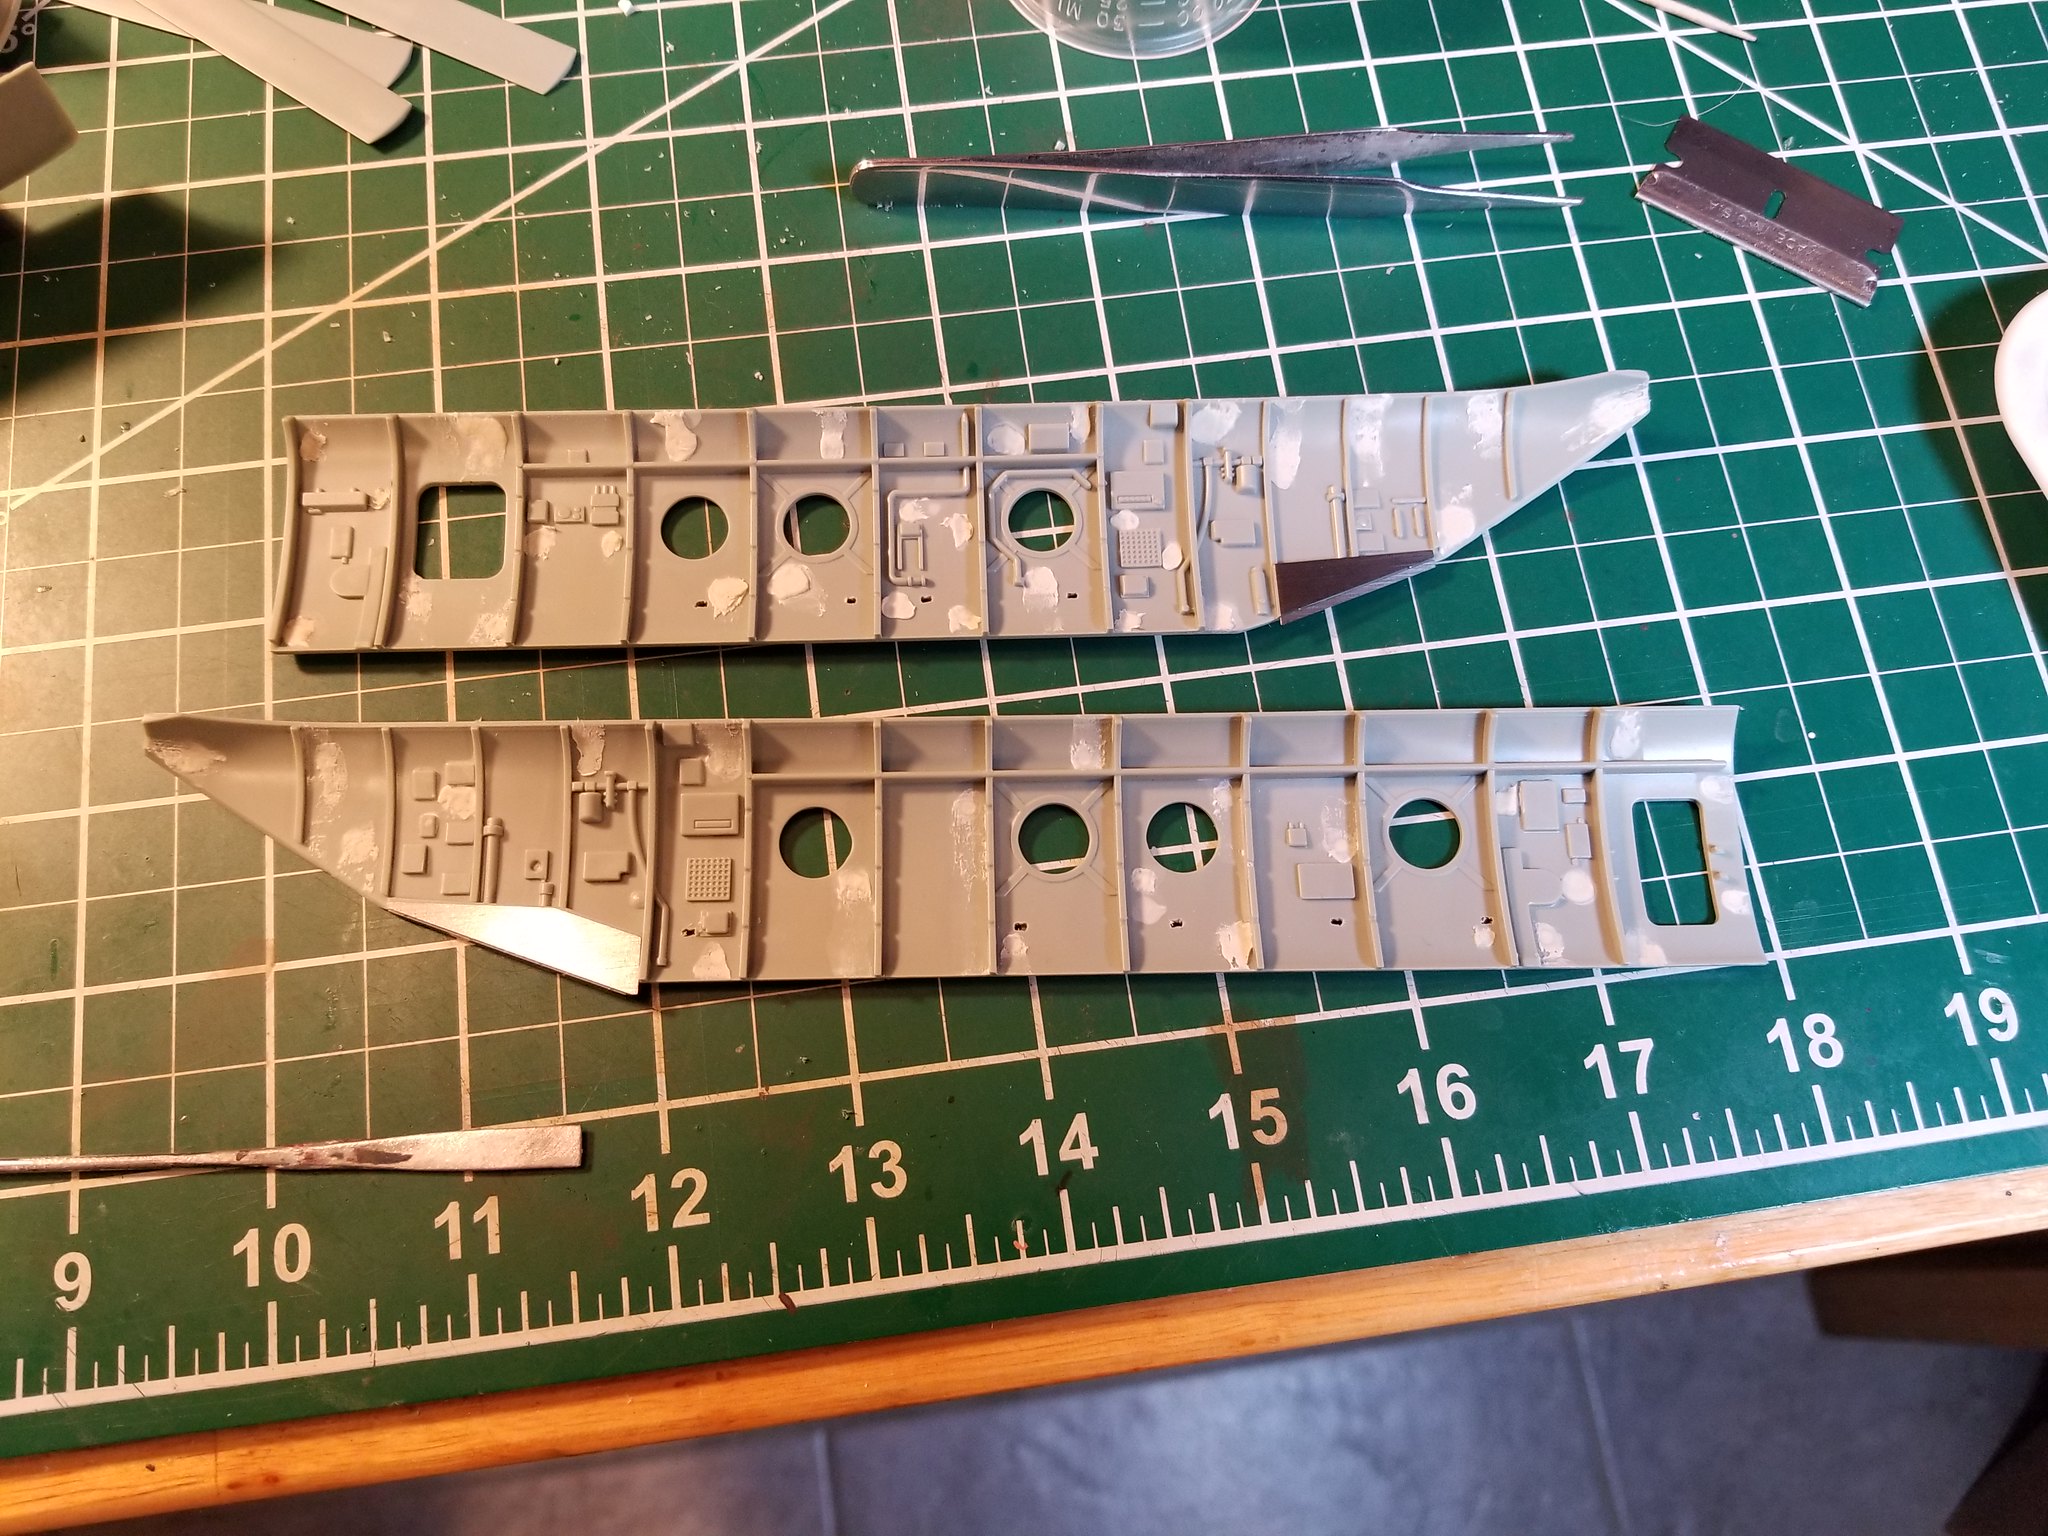
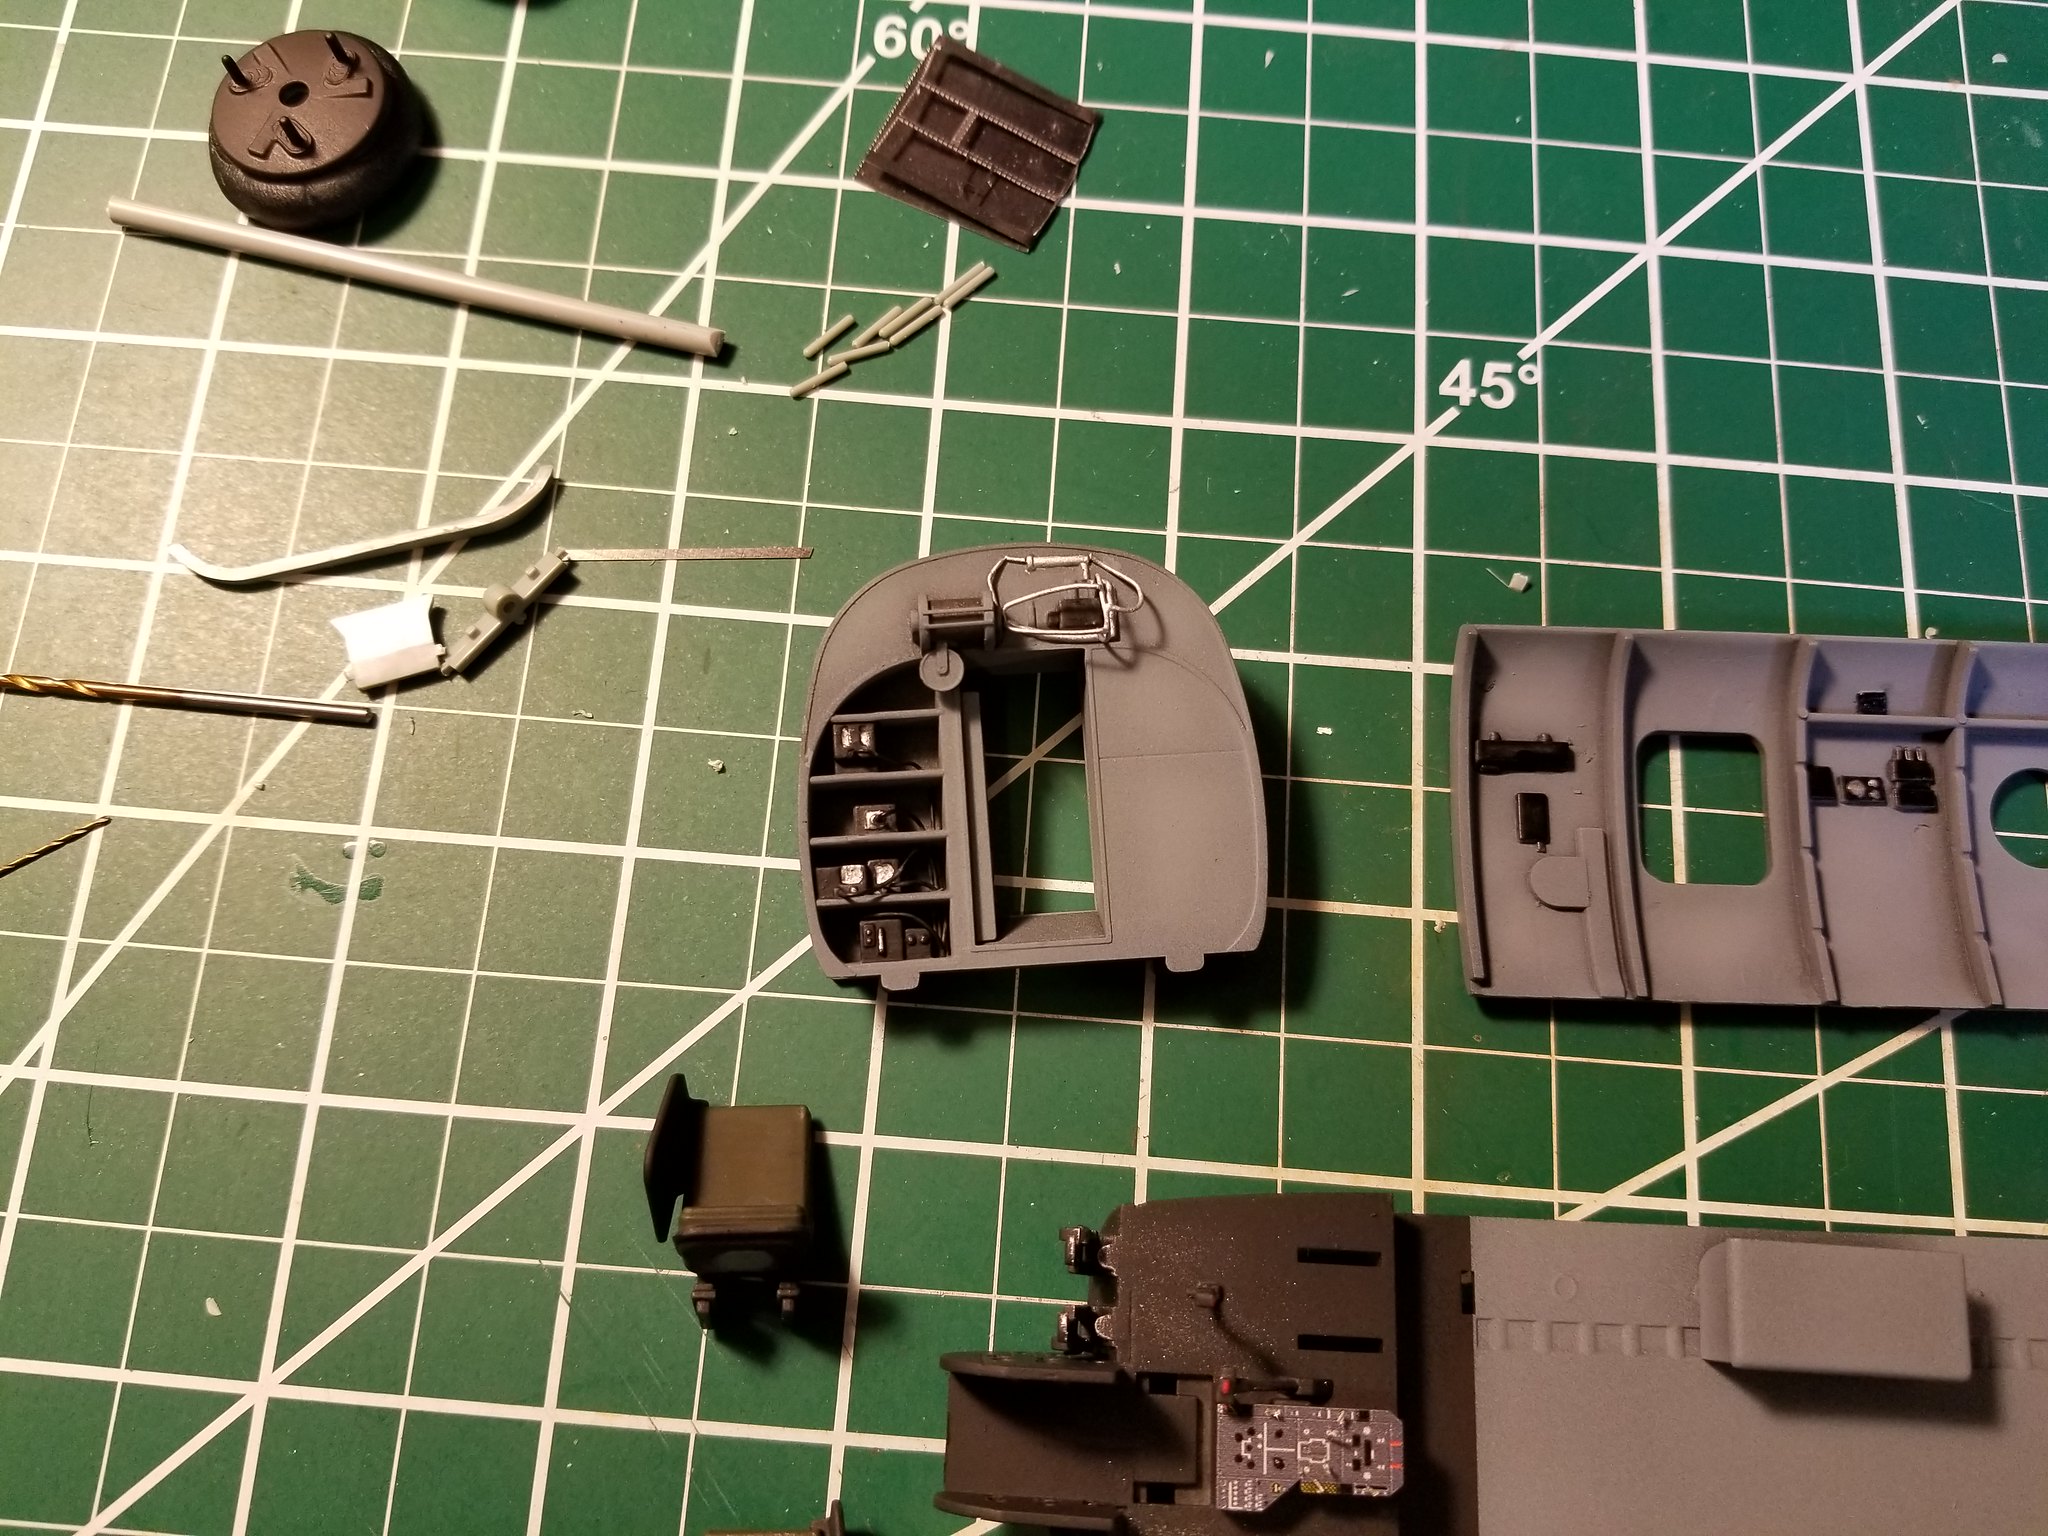
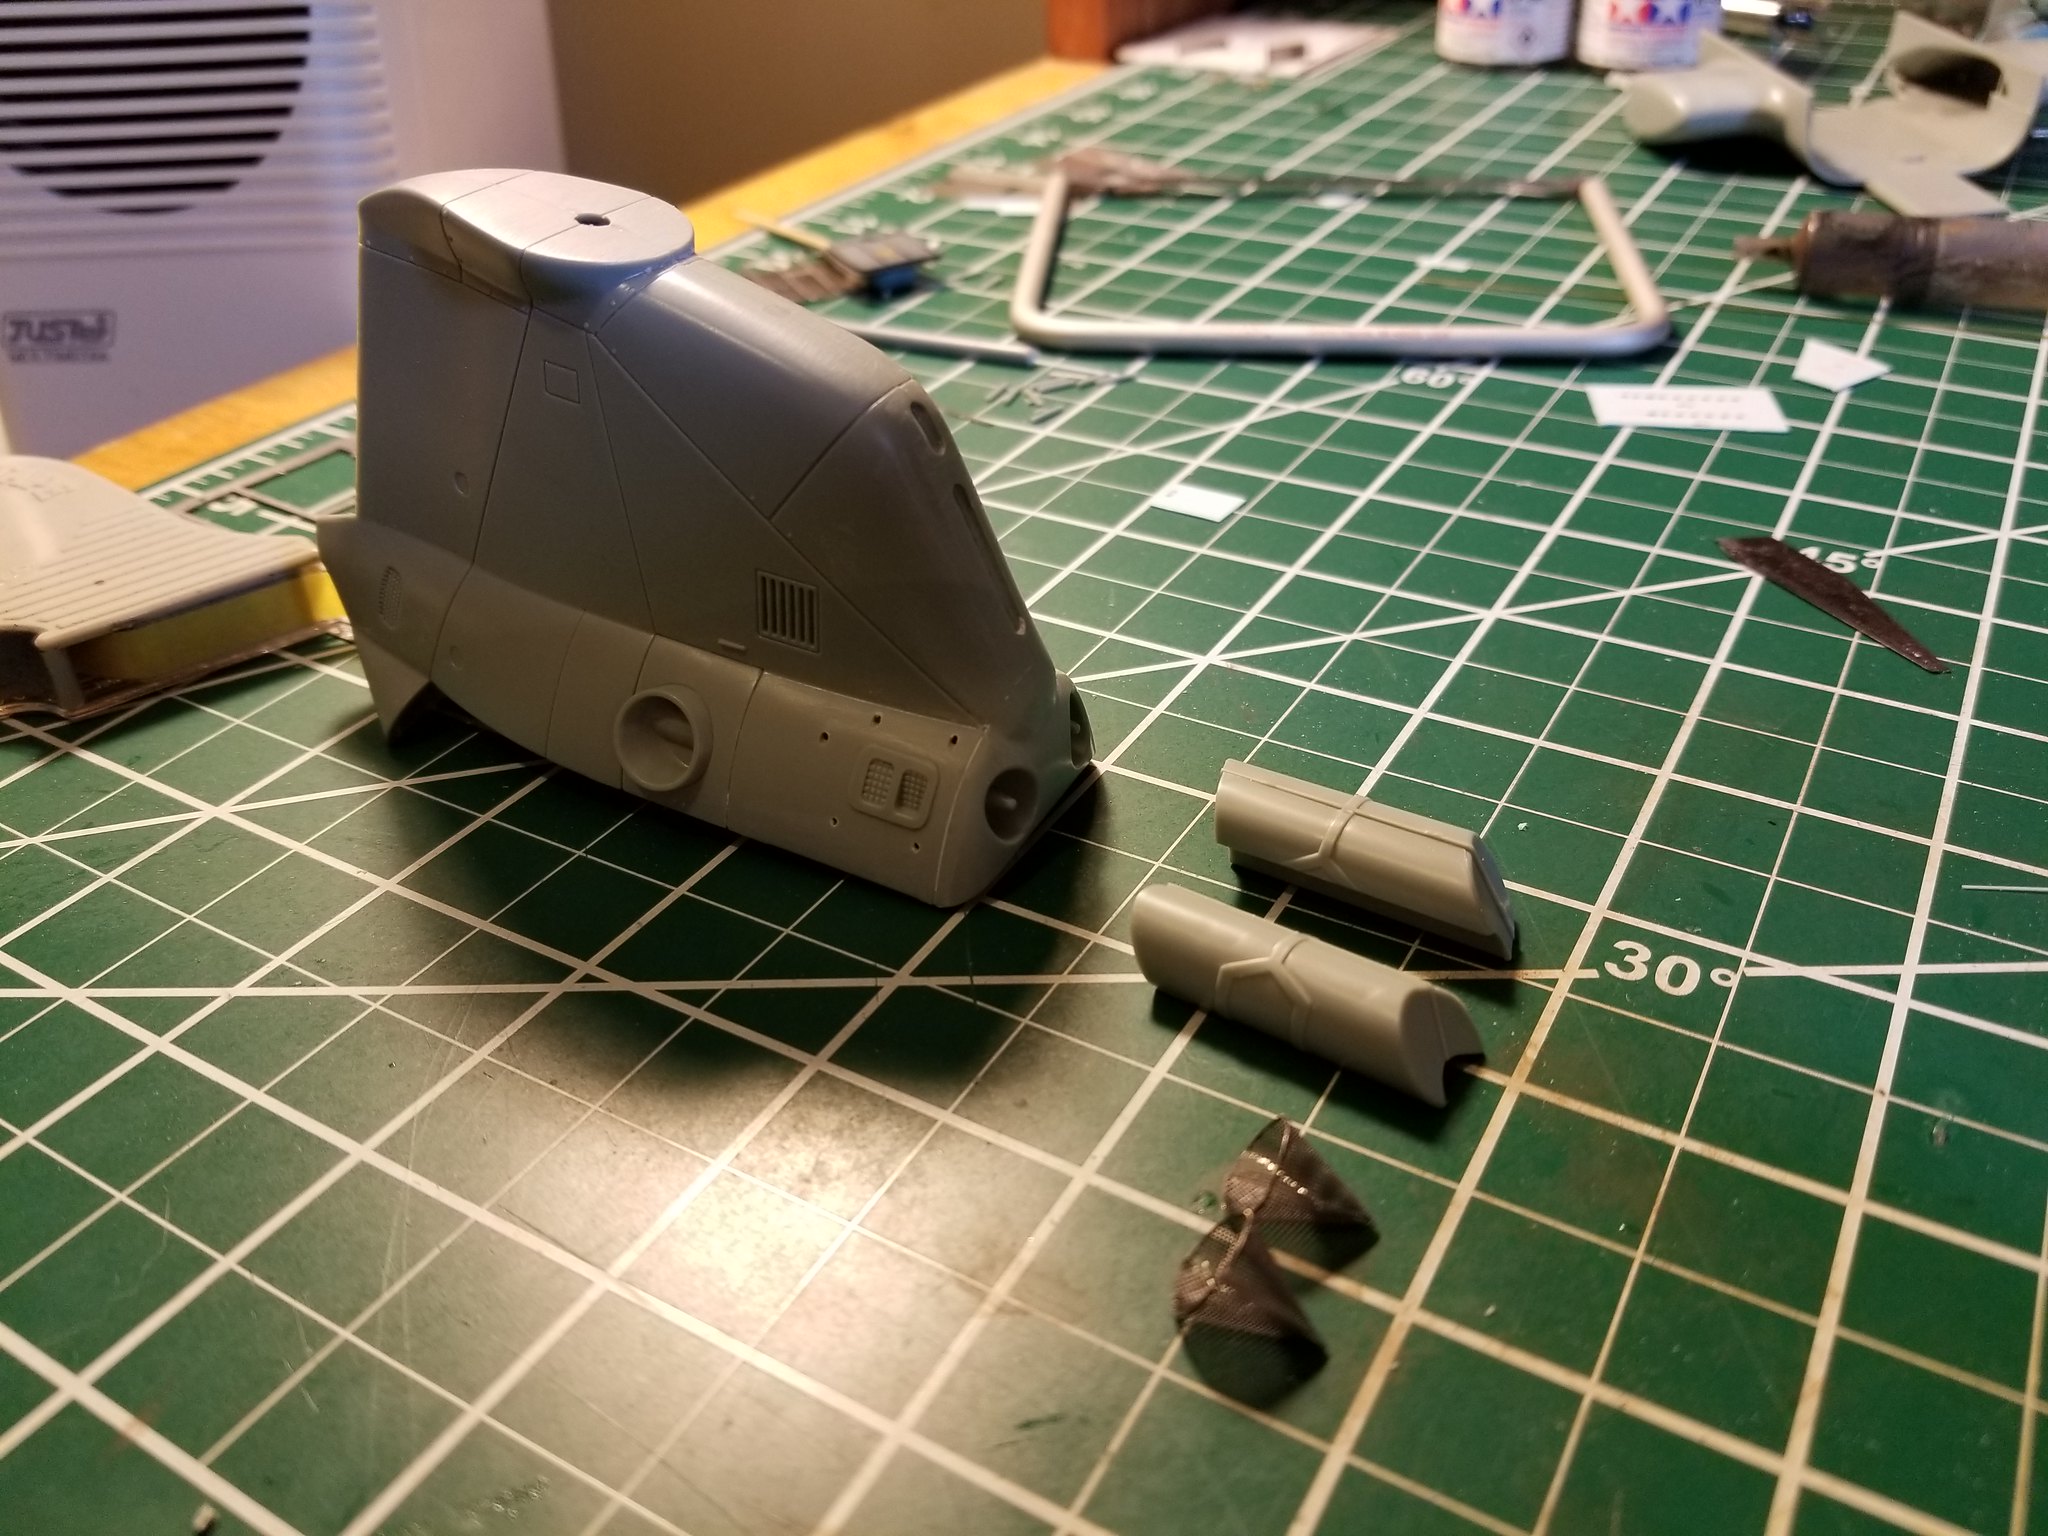
I’ll be working on the interior next. I expect this to take some time, and I expect it to require a great deal of research. Plus, look at those ejector pin marks!
I’ll be watching this one! I’ve done several helos- the only thing that distracts me is the canopy masking. Had a good friend that was an airframe guy in the corps for the phrog both during active service and a contractor later - he loves that chopper!
I’d see the Phrog E’s on the next flightline. I liked them, and I liked their crews. As far as the masking. Big Ed came with masks, so that’ll make things a little easier. It’s listed as EX076.
My dad was Airforce, both my brothers were Airforce. I was so close to going Army to fly Helos ( to the point of ASVAB testing, civil flight training etc) until the recruiter told me that I’d be a rifleman if I washed out of flight school. So I went back to college and decided to be a math major…lol.
Nice! I remember the First Sergeant at Pensacola threatened the assembled Airwing Marines with infantry. They cheered. There are fates worse than infantry. There’s a porta-john MOS.
I’ll be watching this one, too! I plan building the Phrog but in 1:72. Researching this one isn’t easy - as with all gear that was heavily upgraded before the internet came around. The problem is that 95% of the photos available online show the machines after the upgrade - in this case you get lots of photos of the -E variant and almost no photos of the -A/-D/-F variants.
Watching with interest. I had one, gave it to Fermis. I think that kit came with both rear rotor towers, right?
IIRC, the big PITA is that the portholes are sandwiched in between the outer hull and inner liners, which makes painting each/ both a big masking chore.
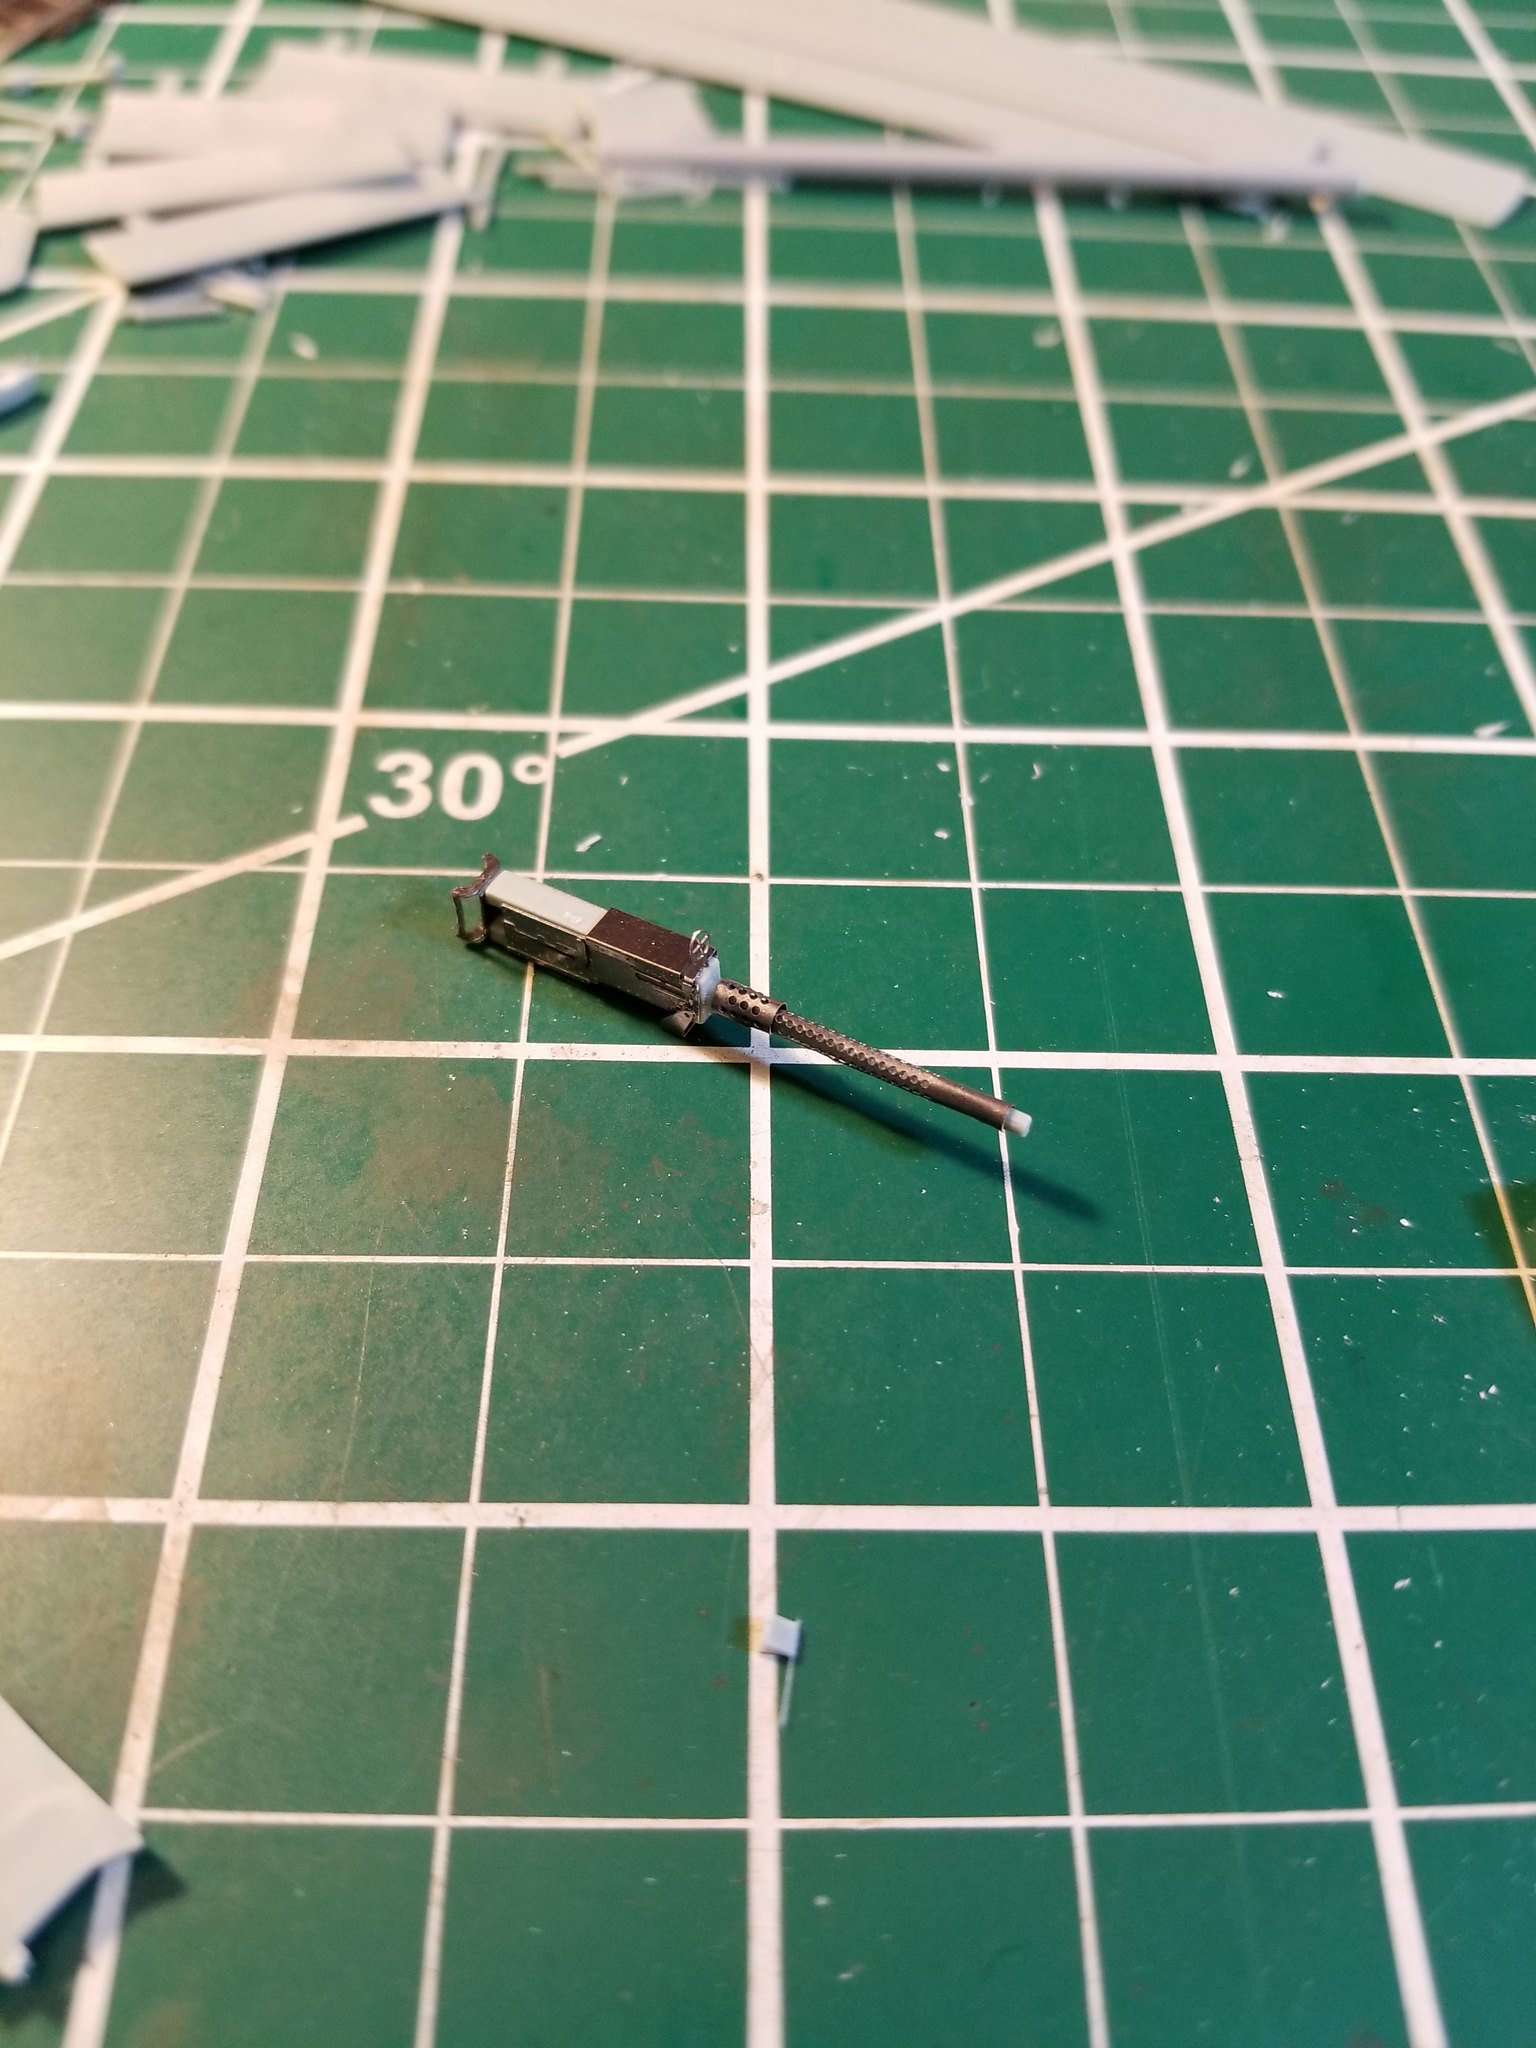
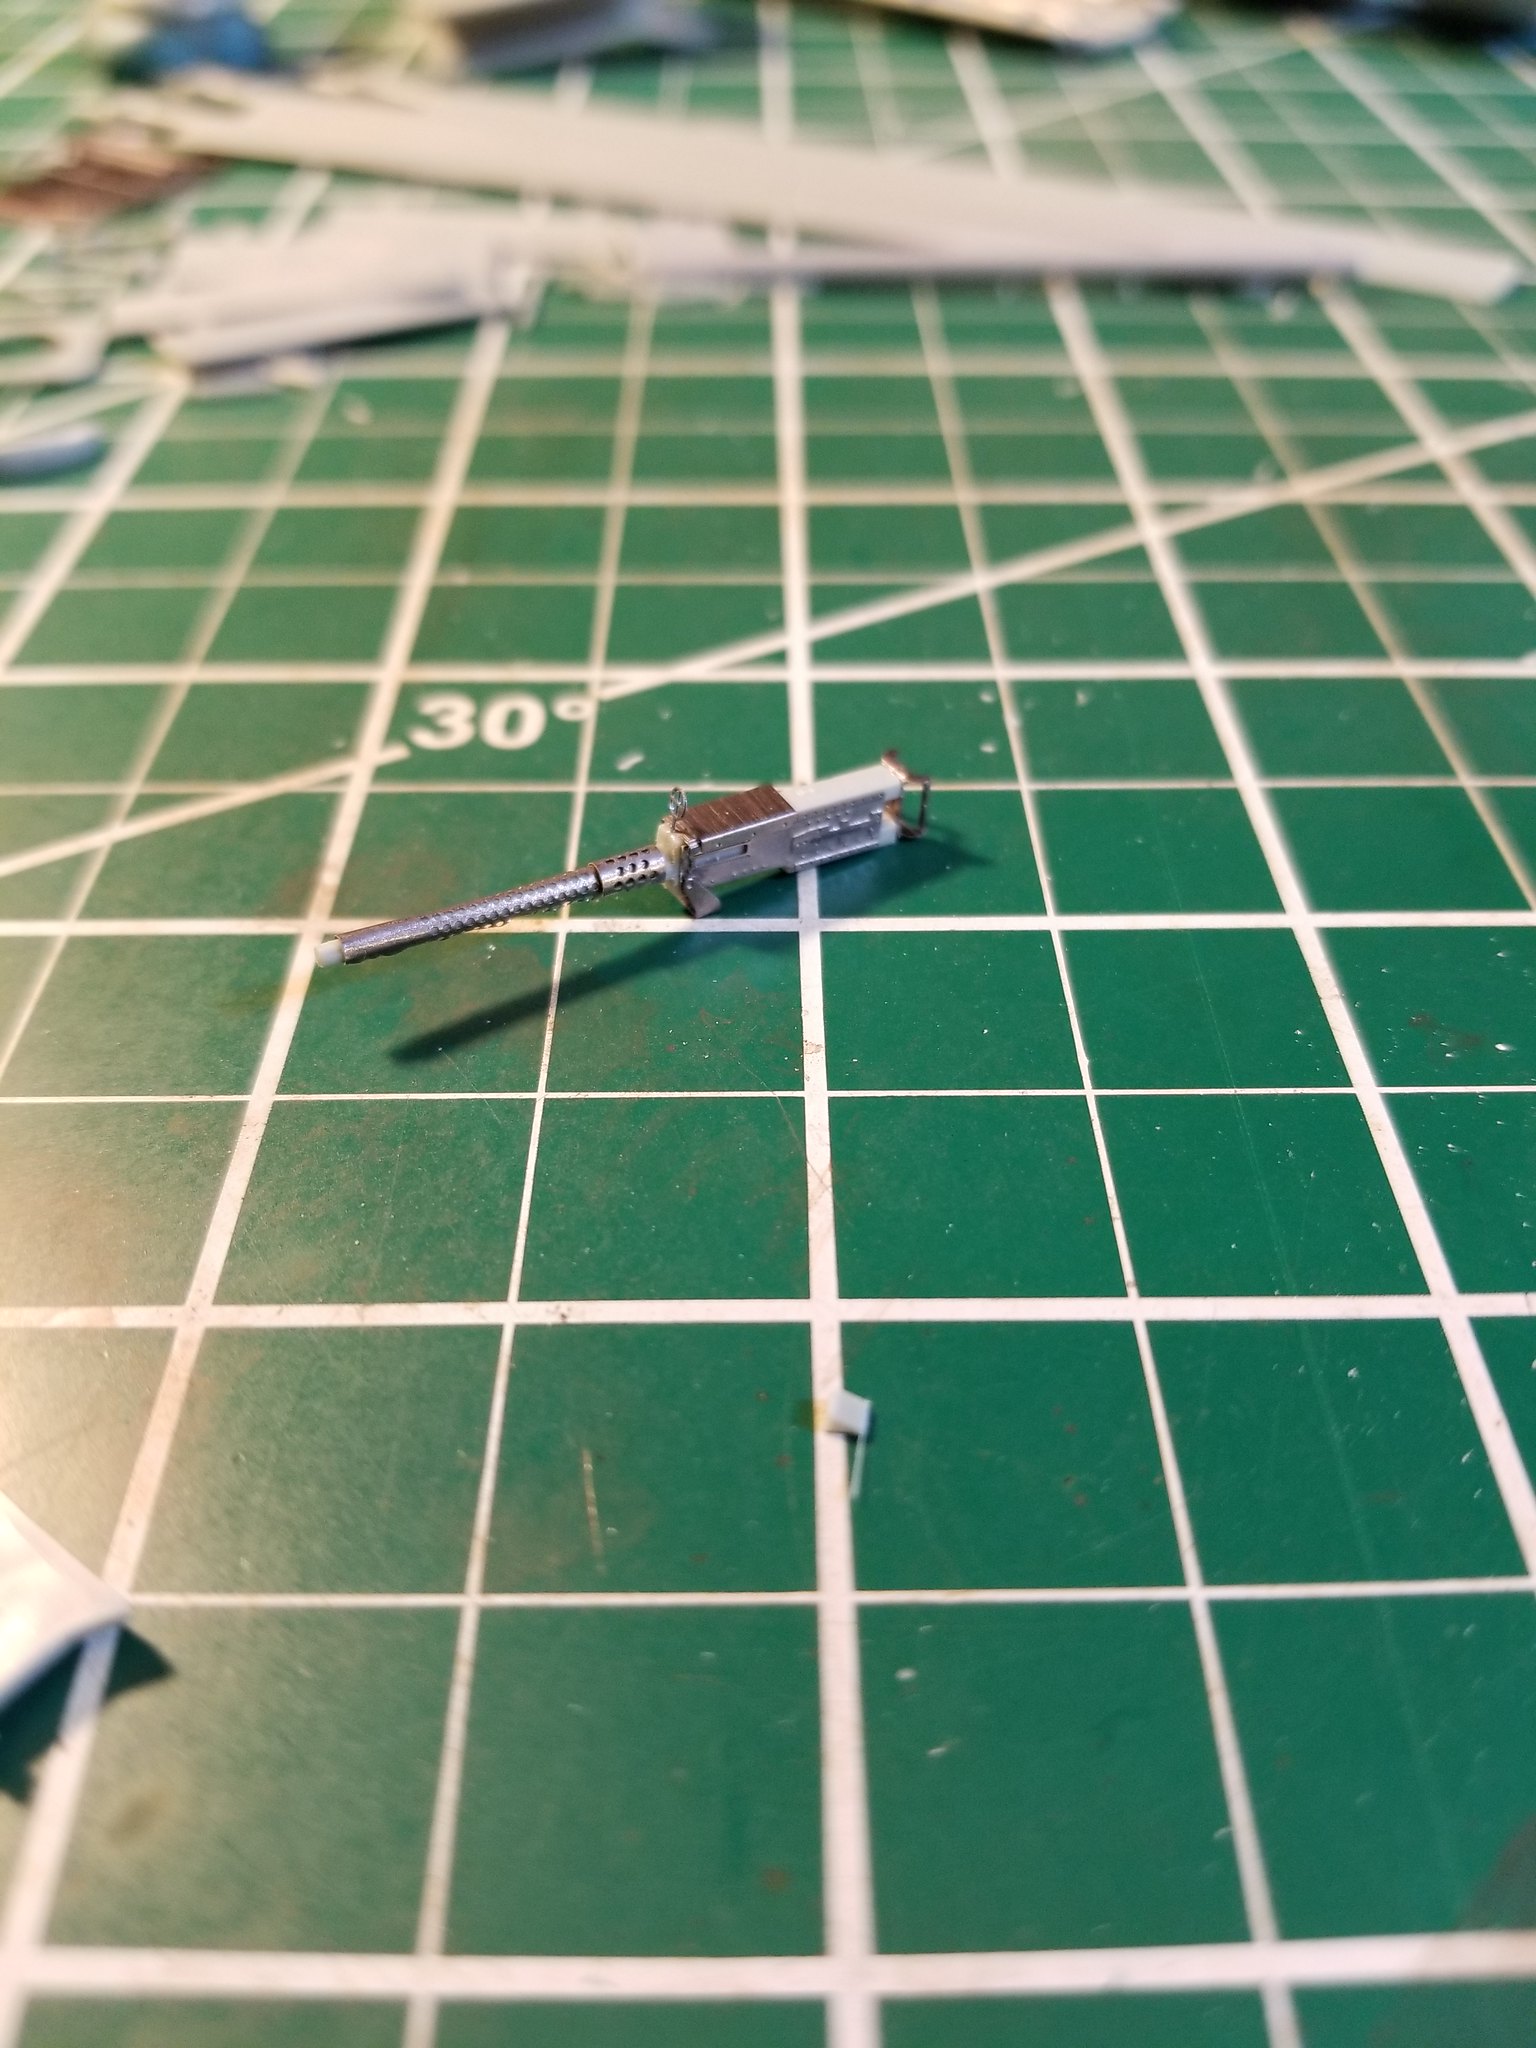
And the M2’s kind of suck, but with 1/48 armor coming on now, that’s not so hard.
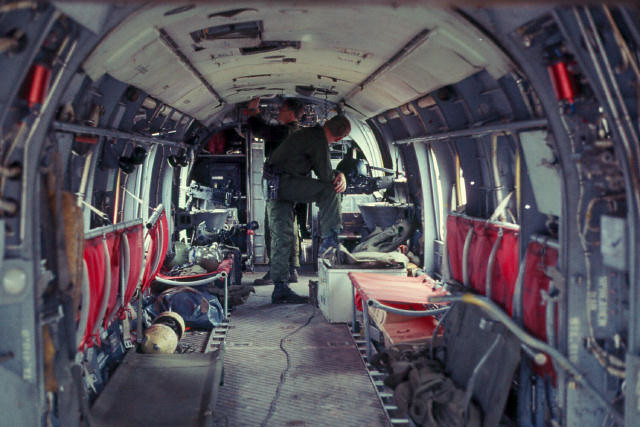
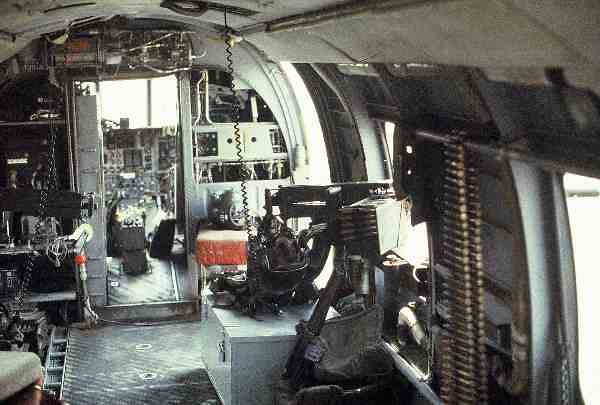
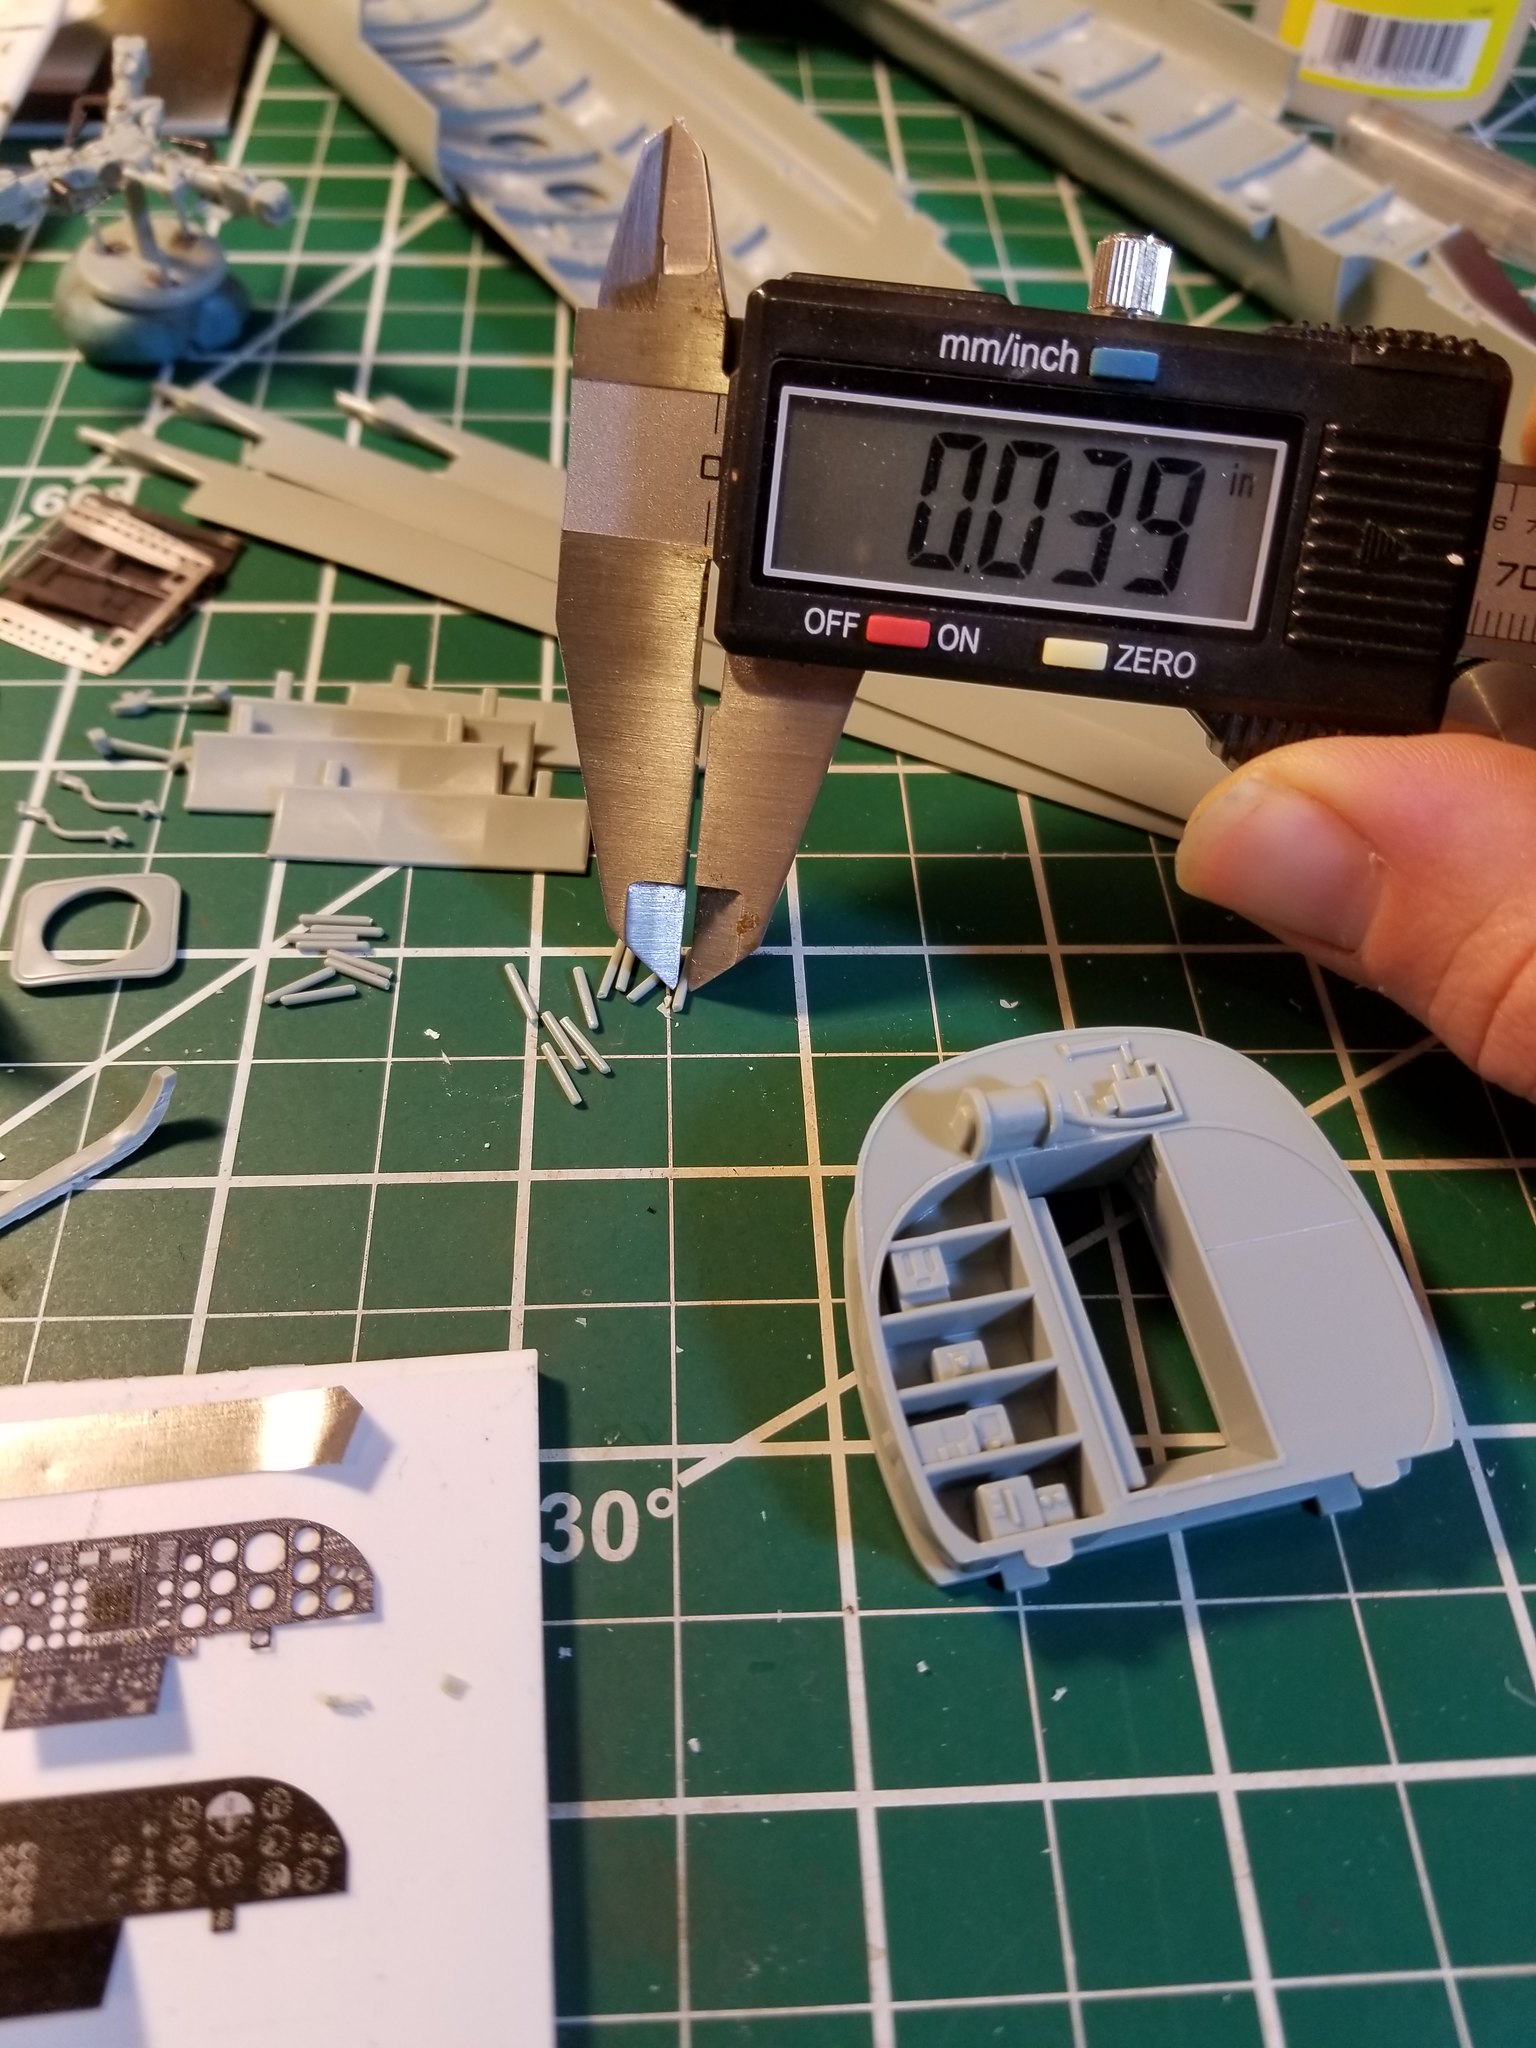
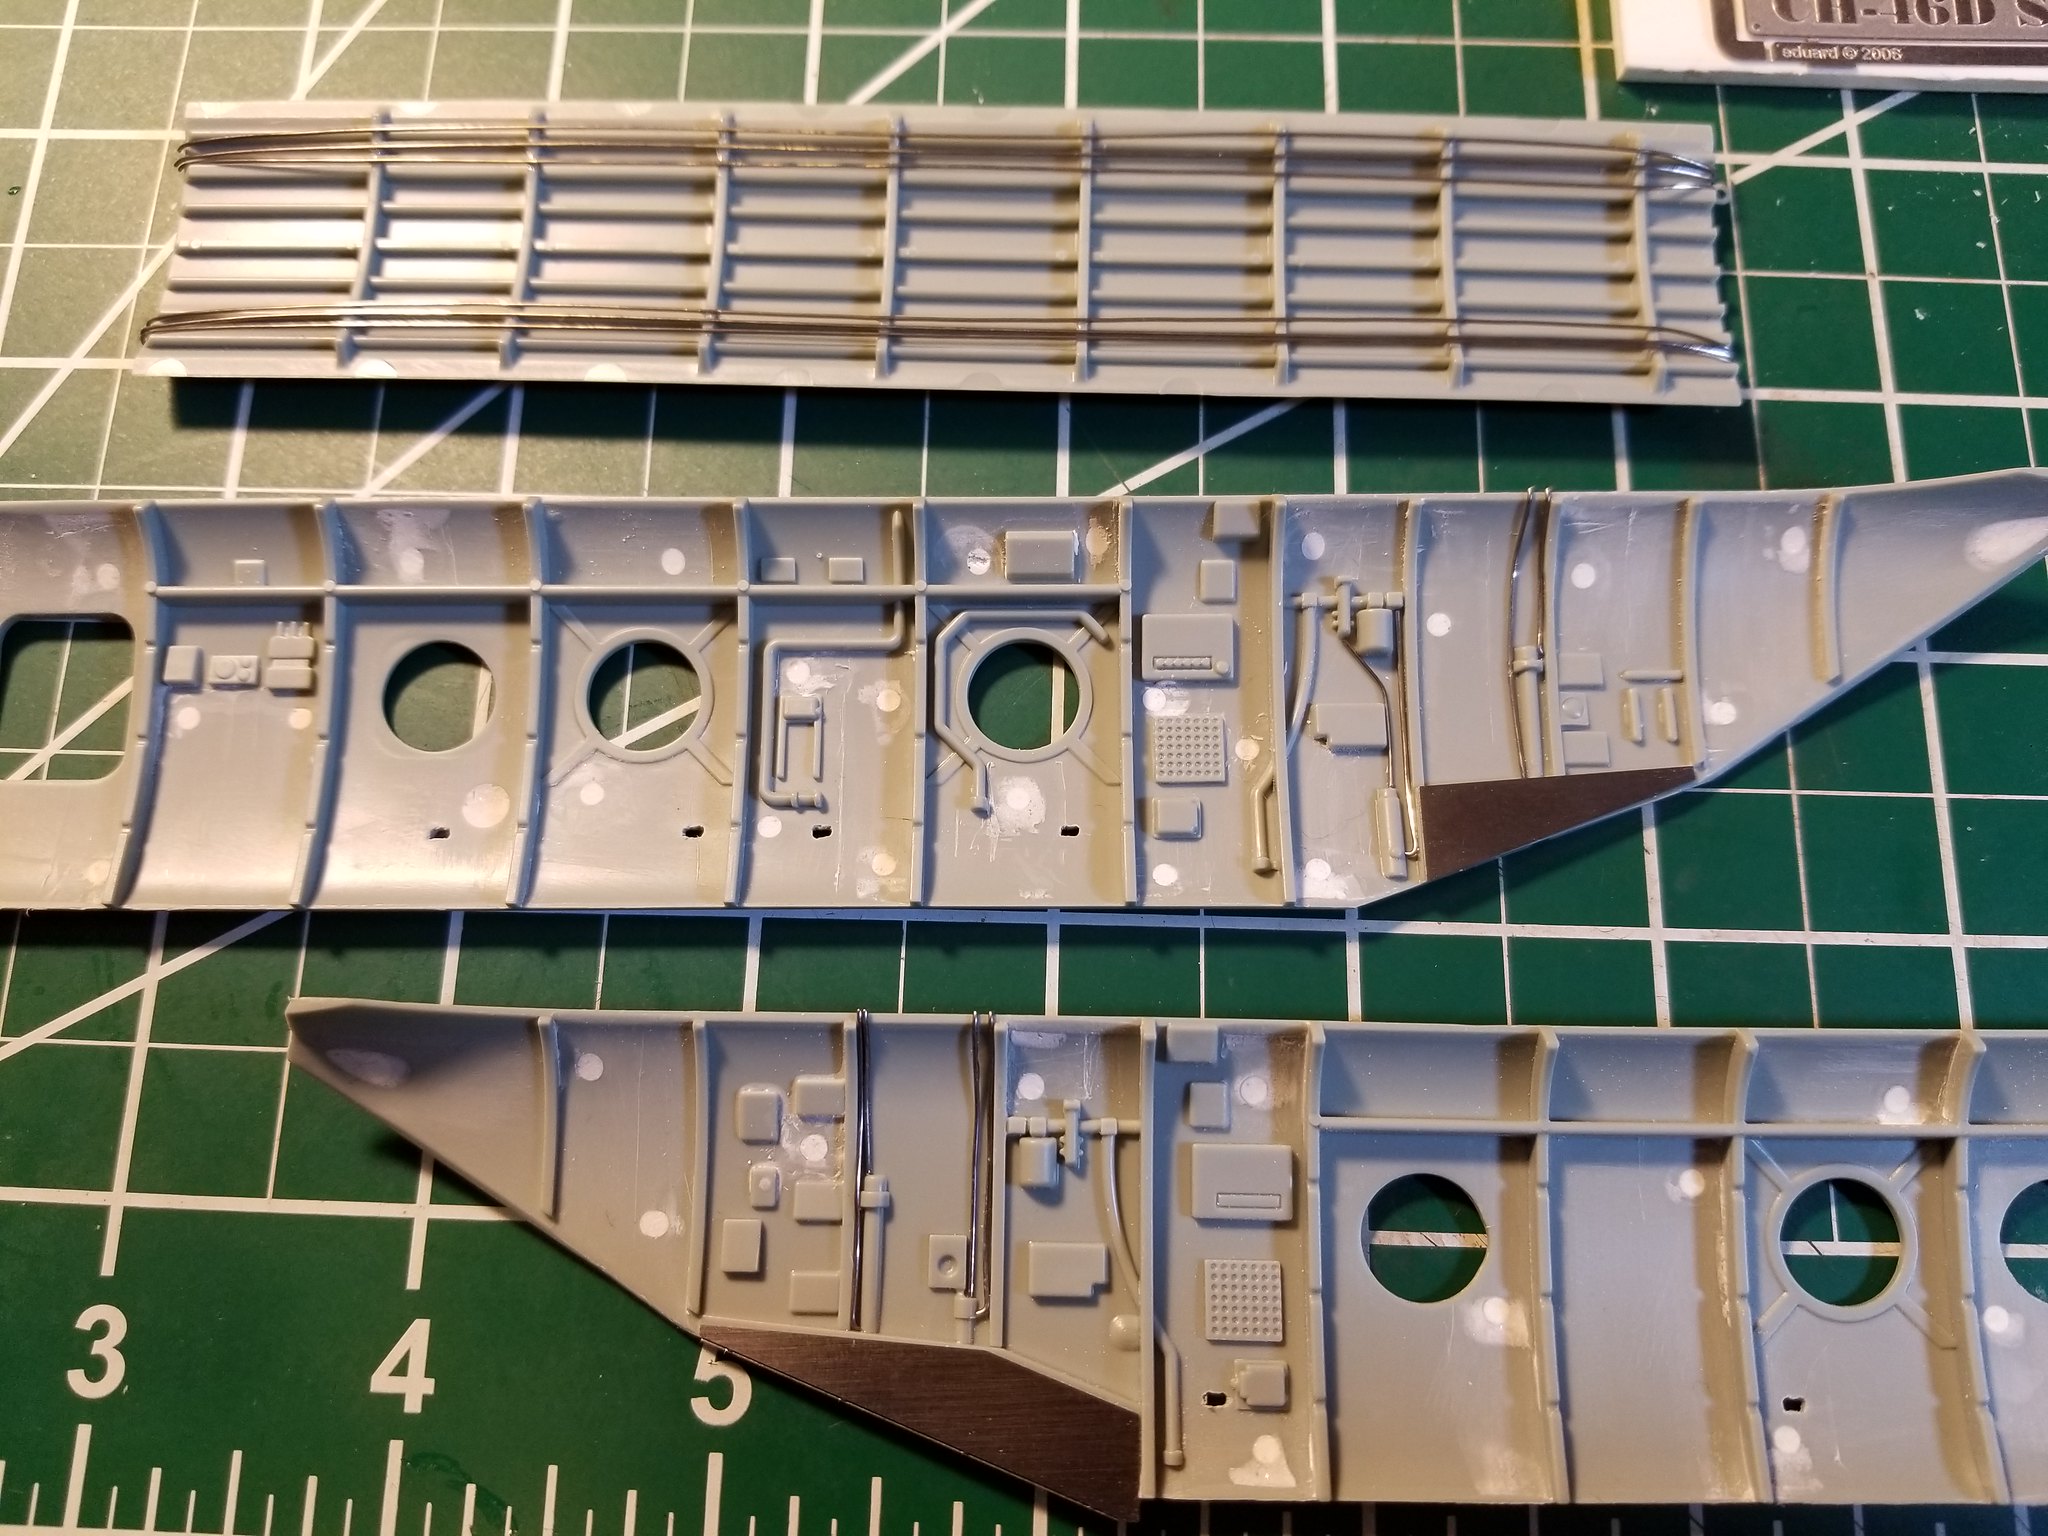
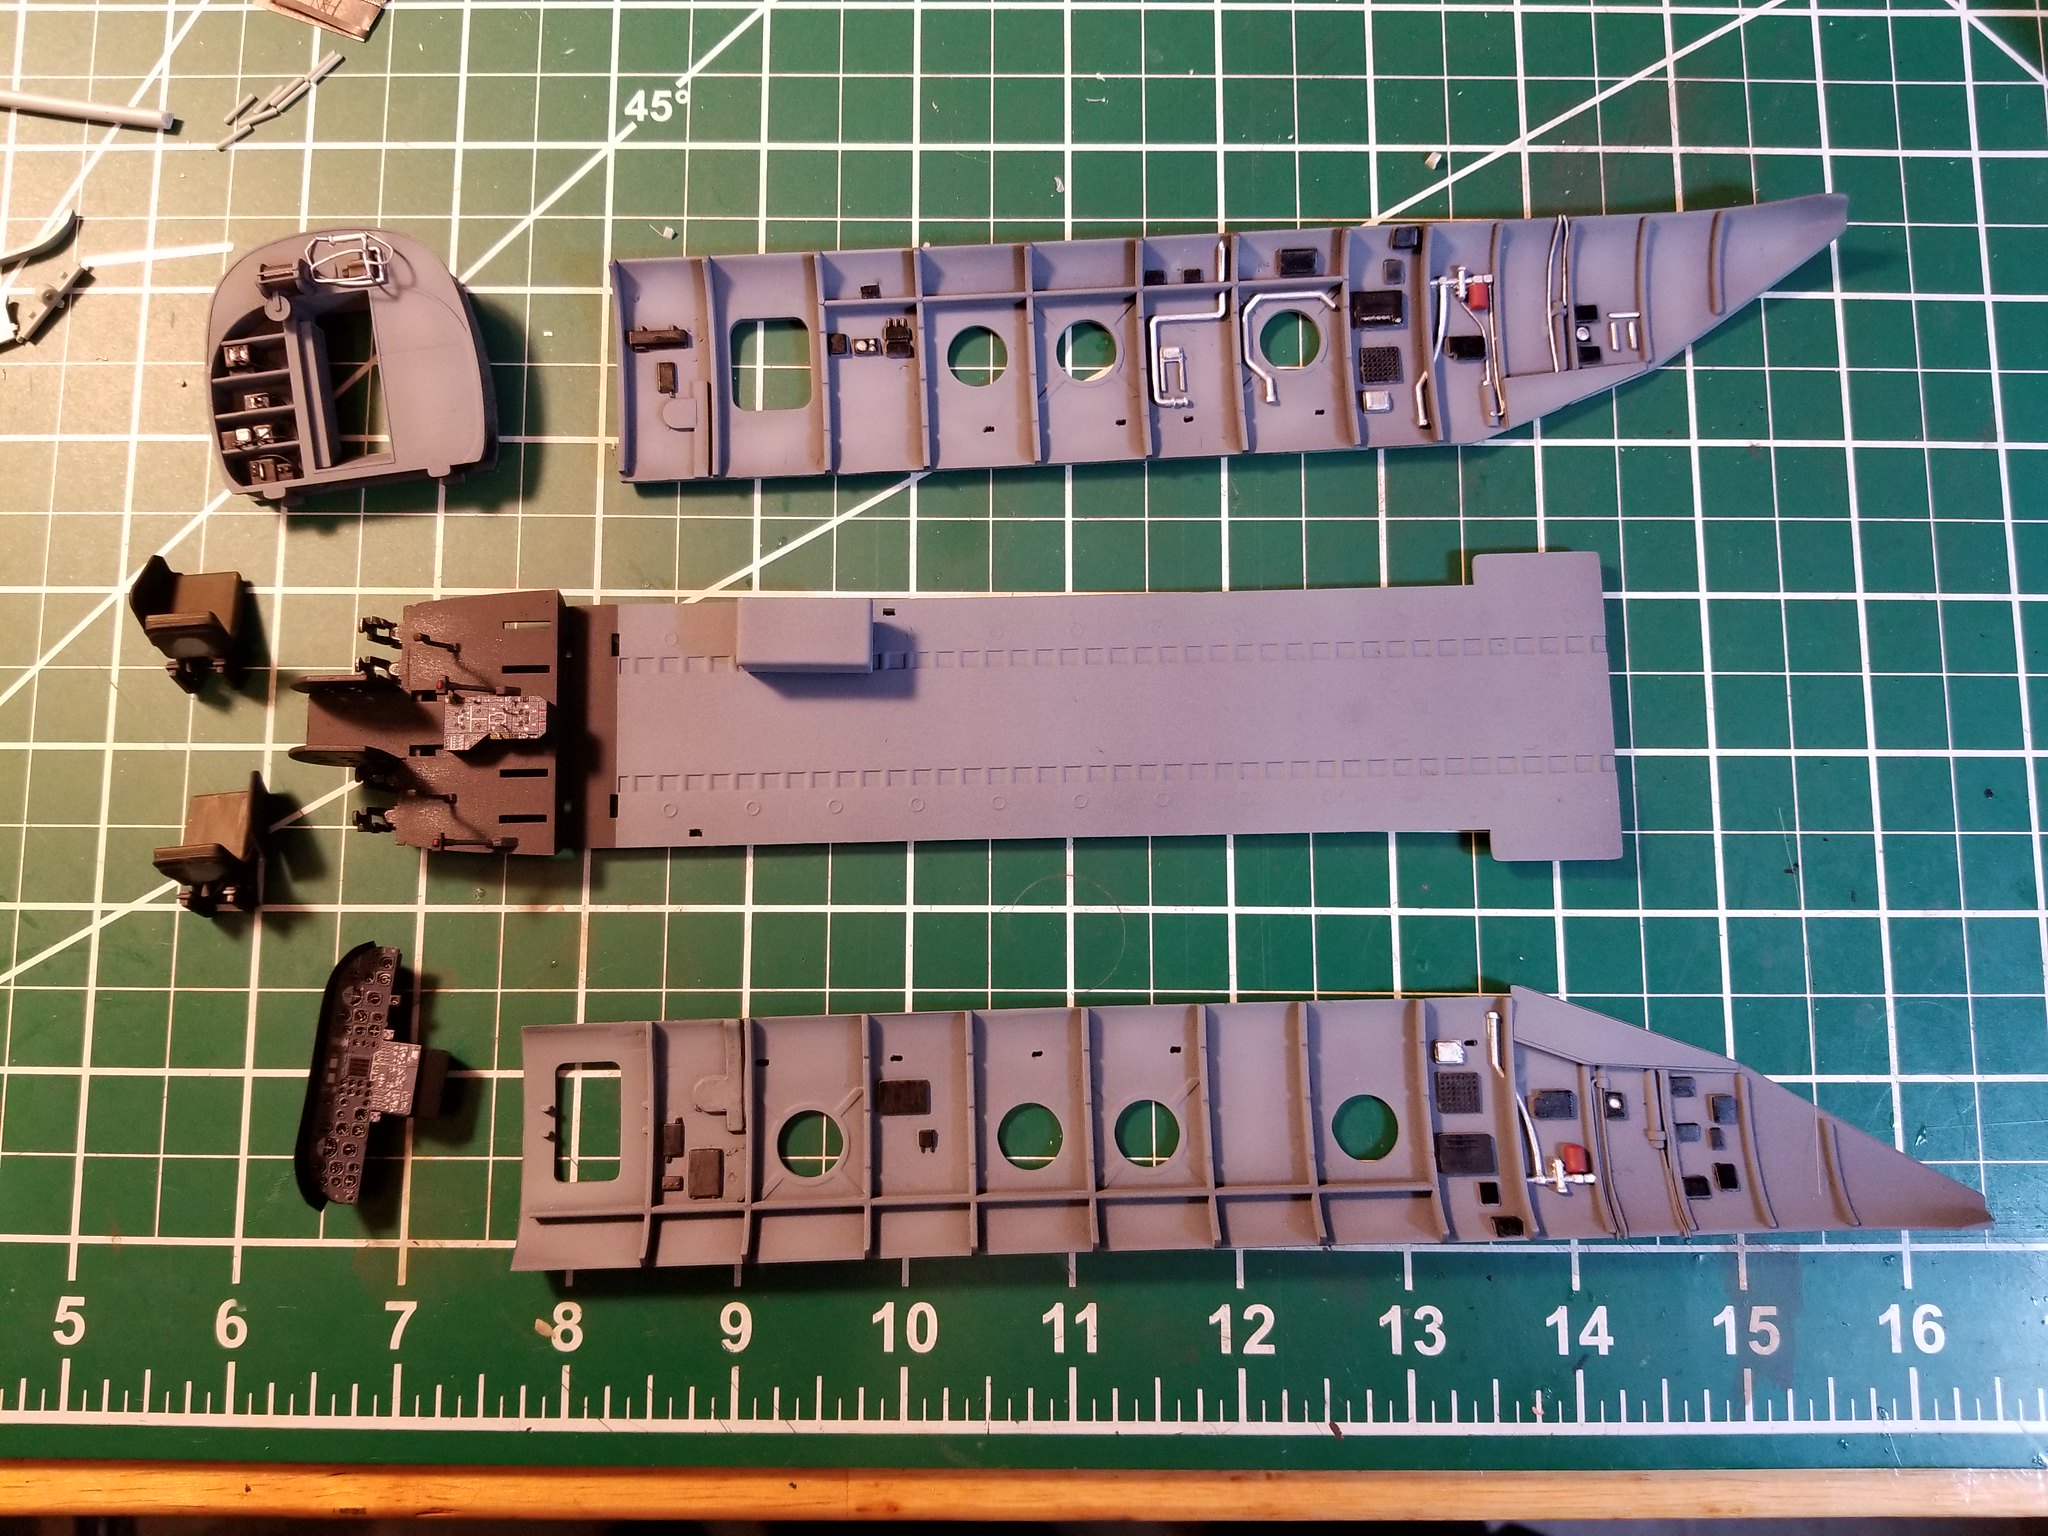
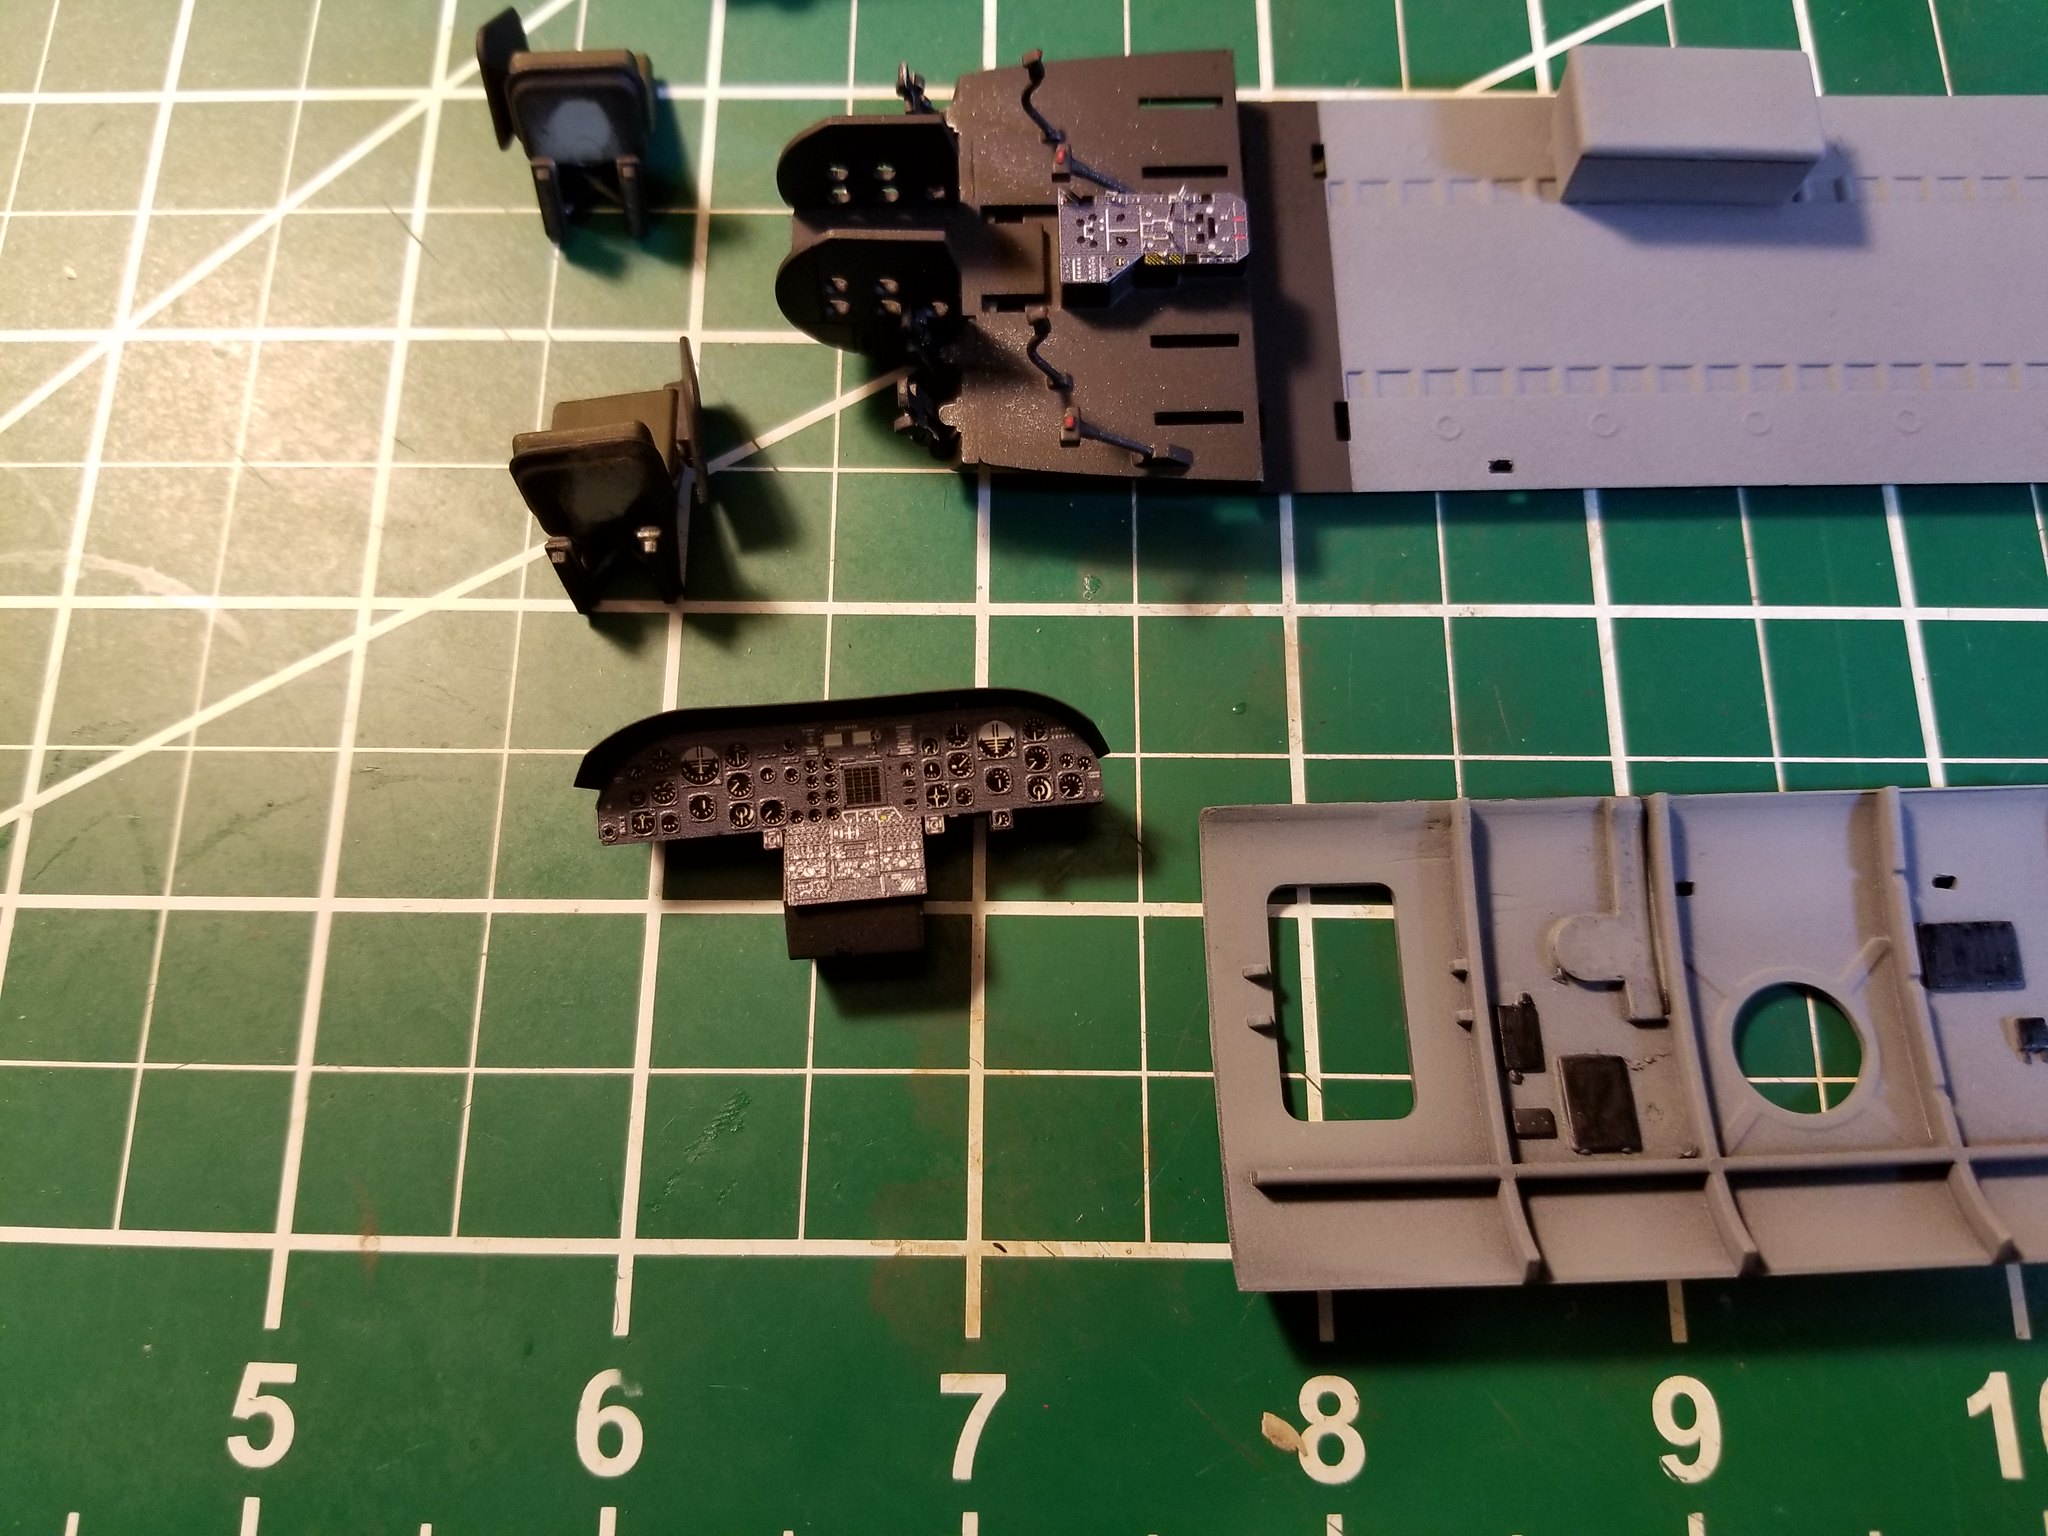
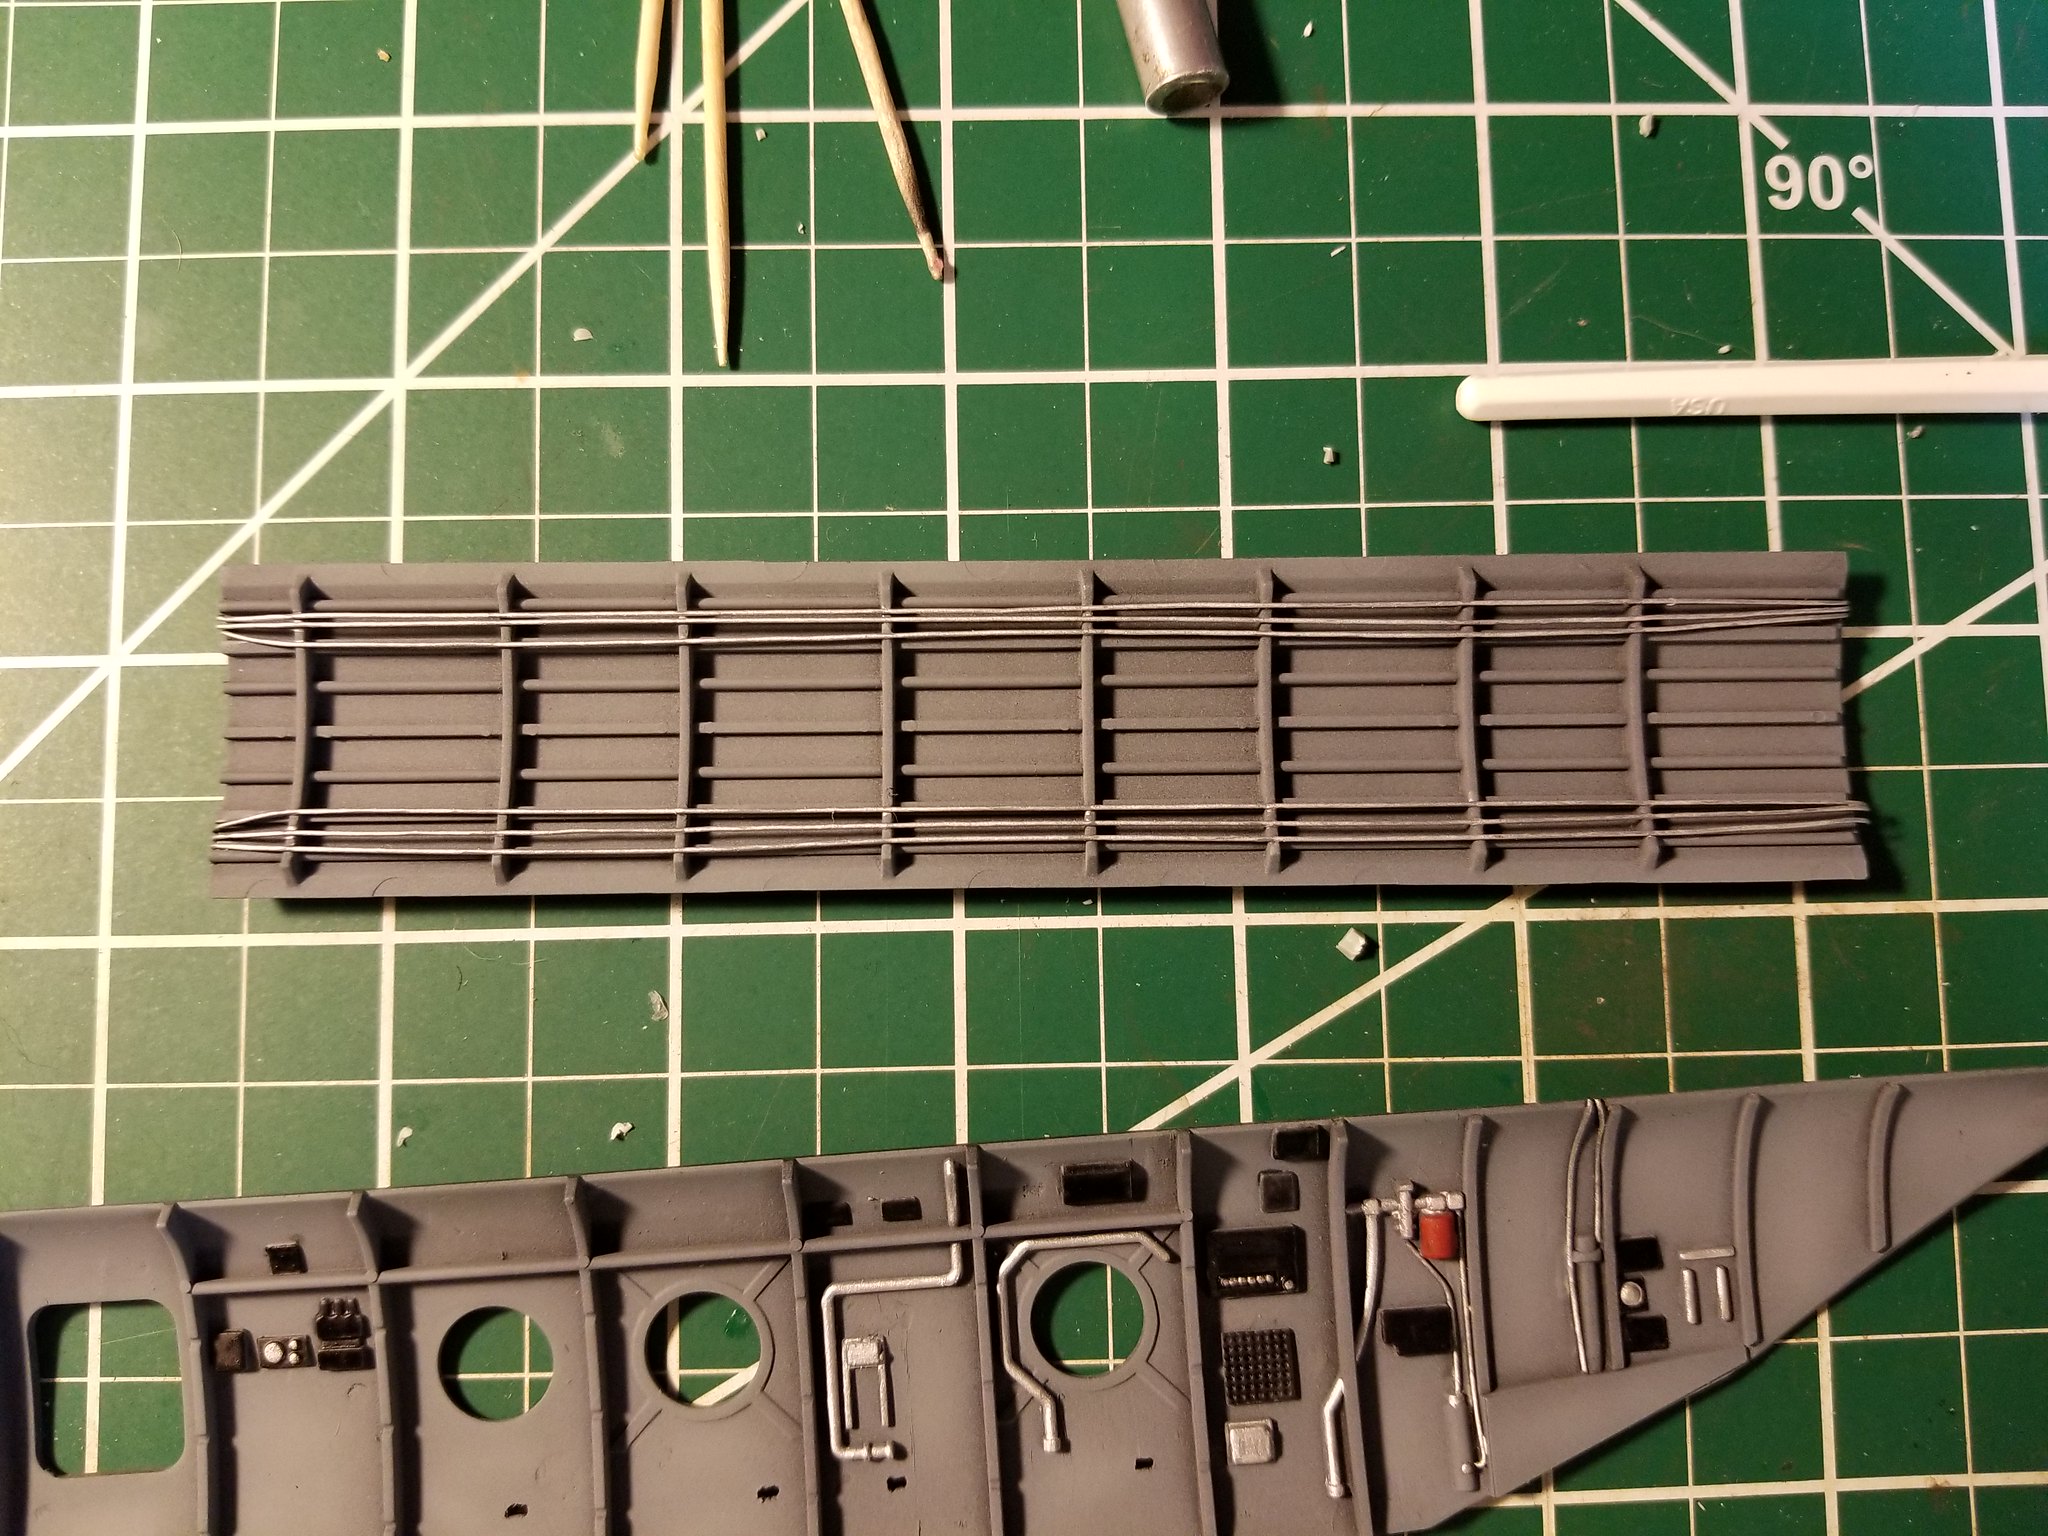
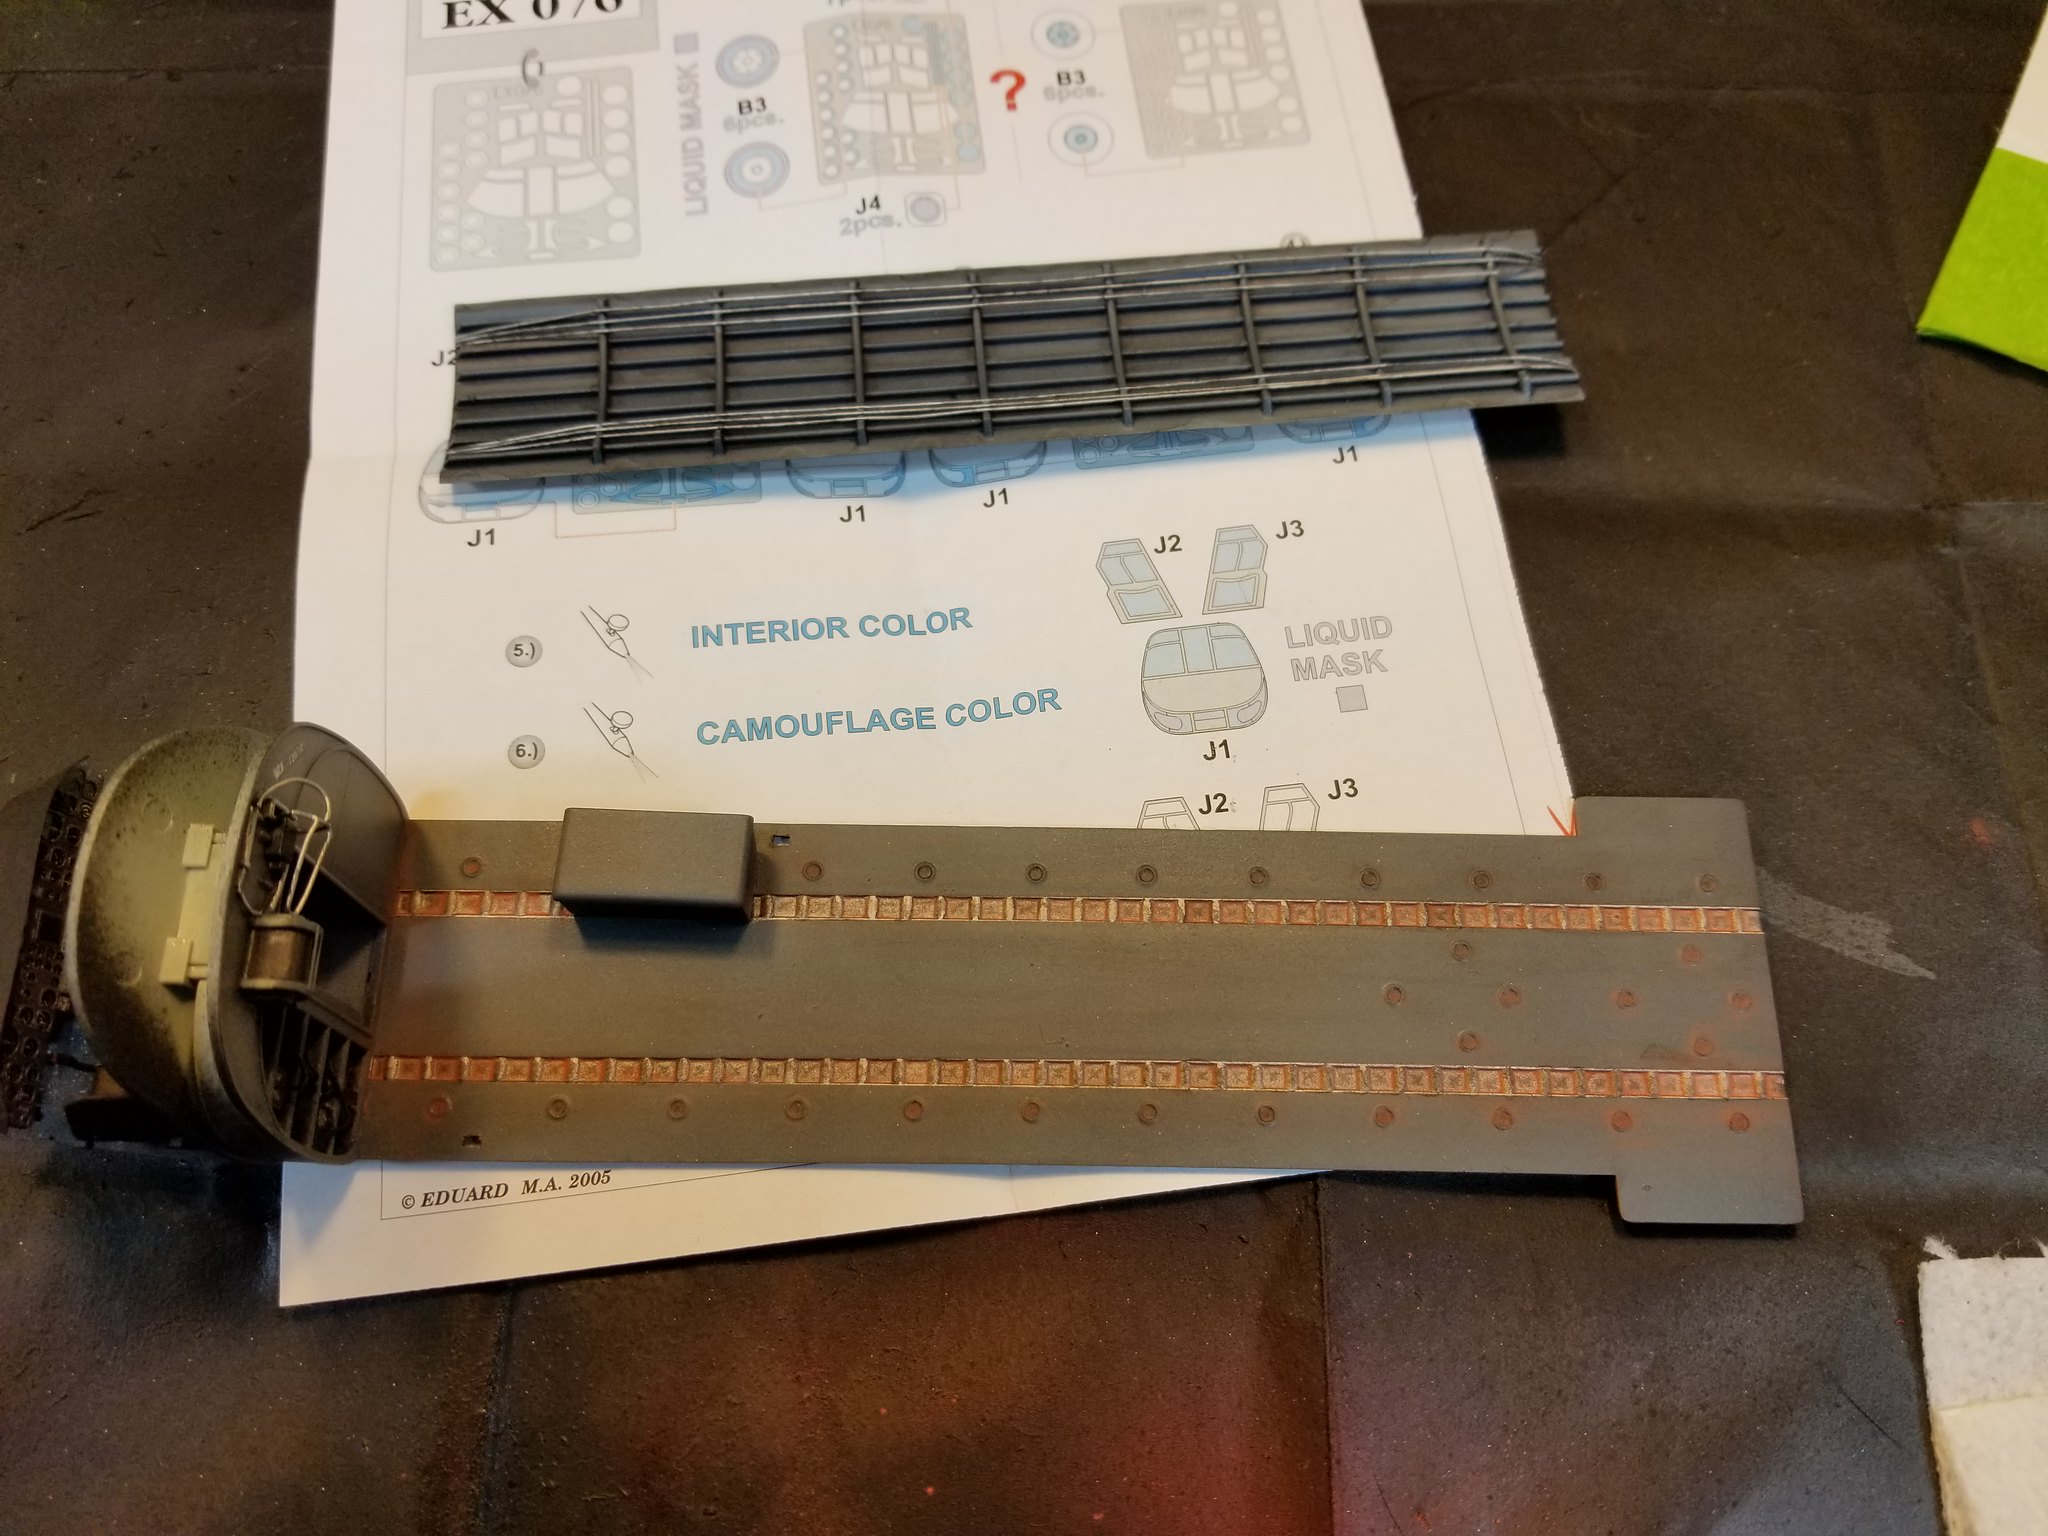
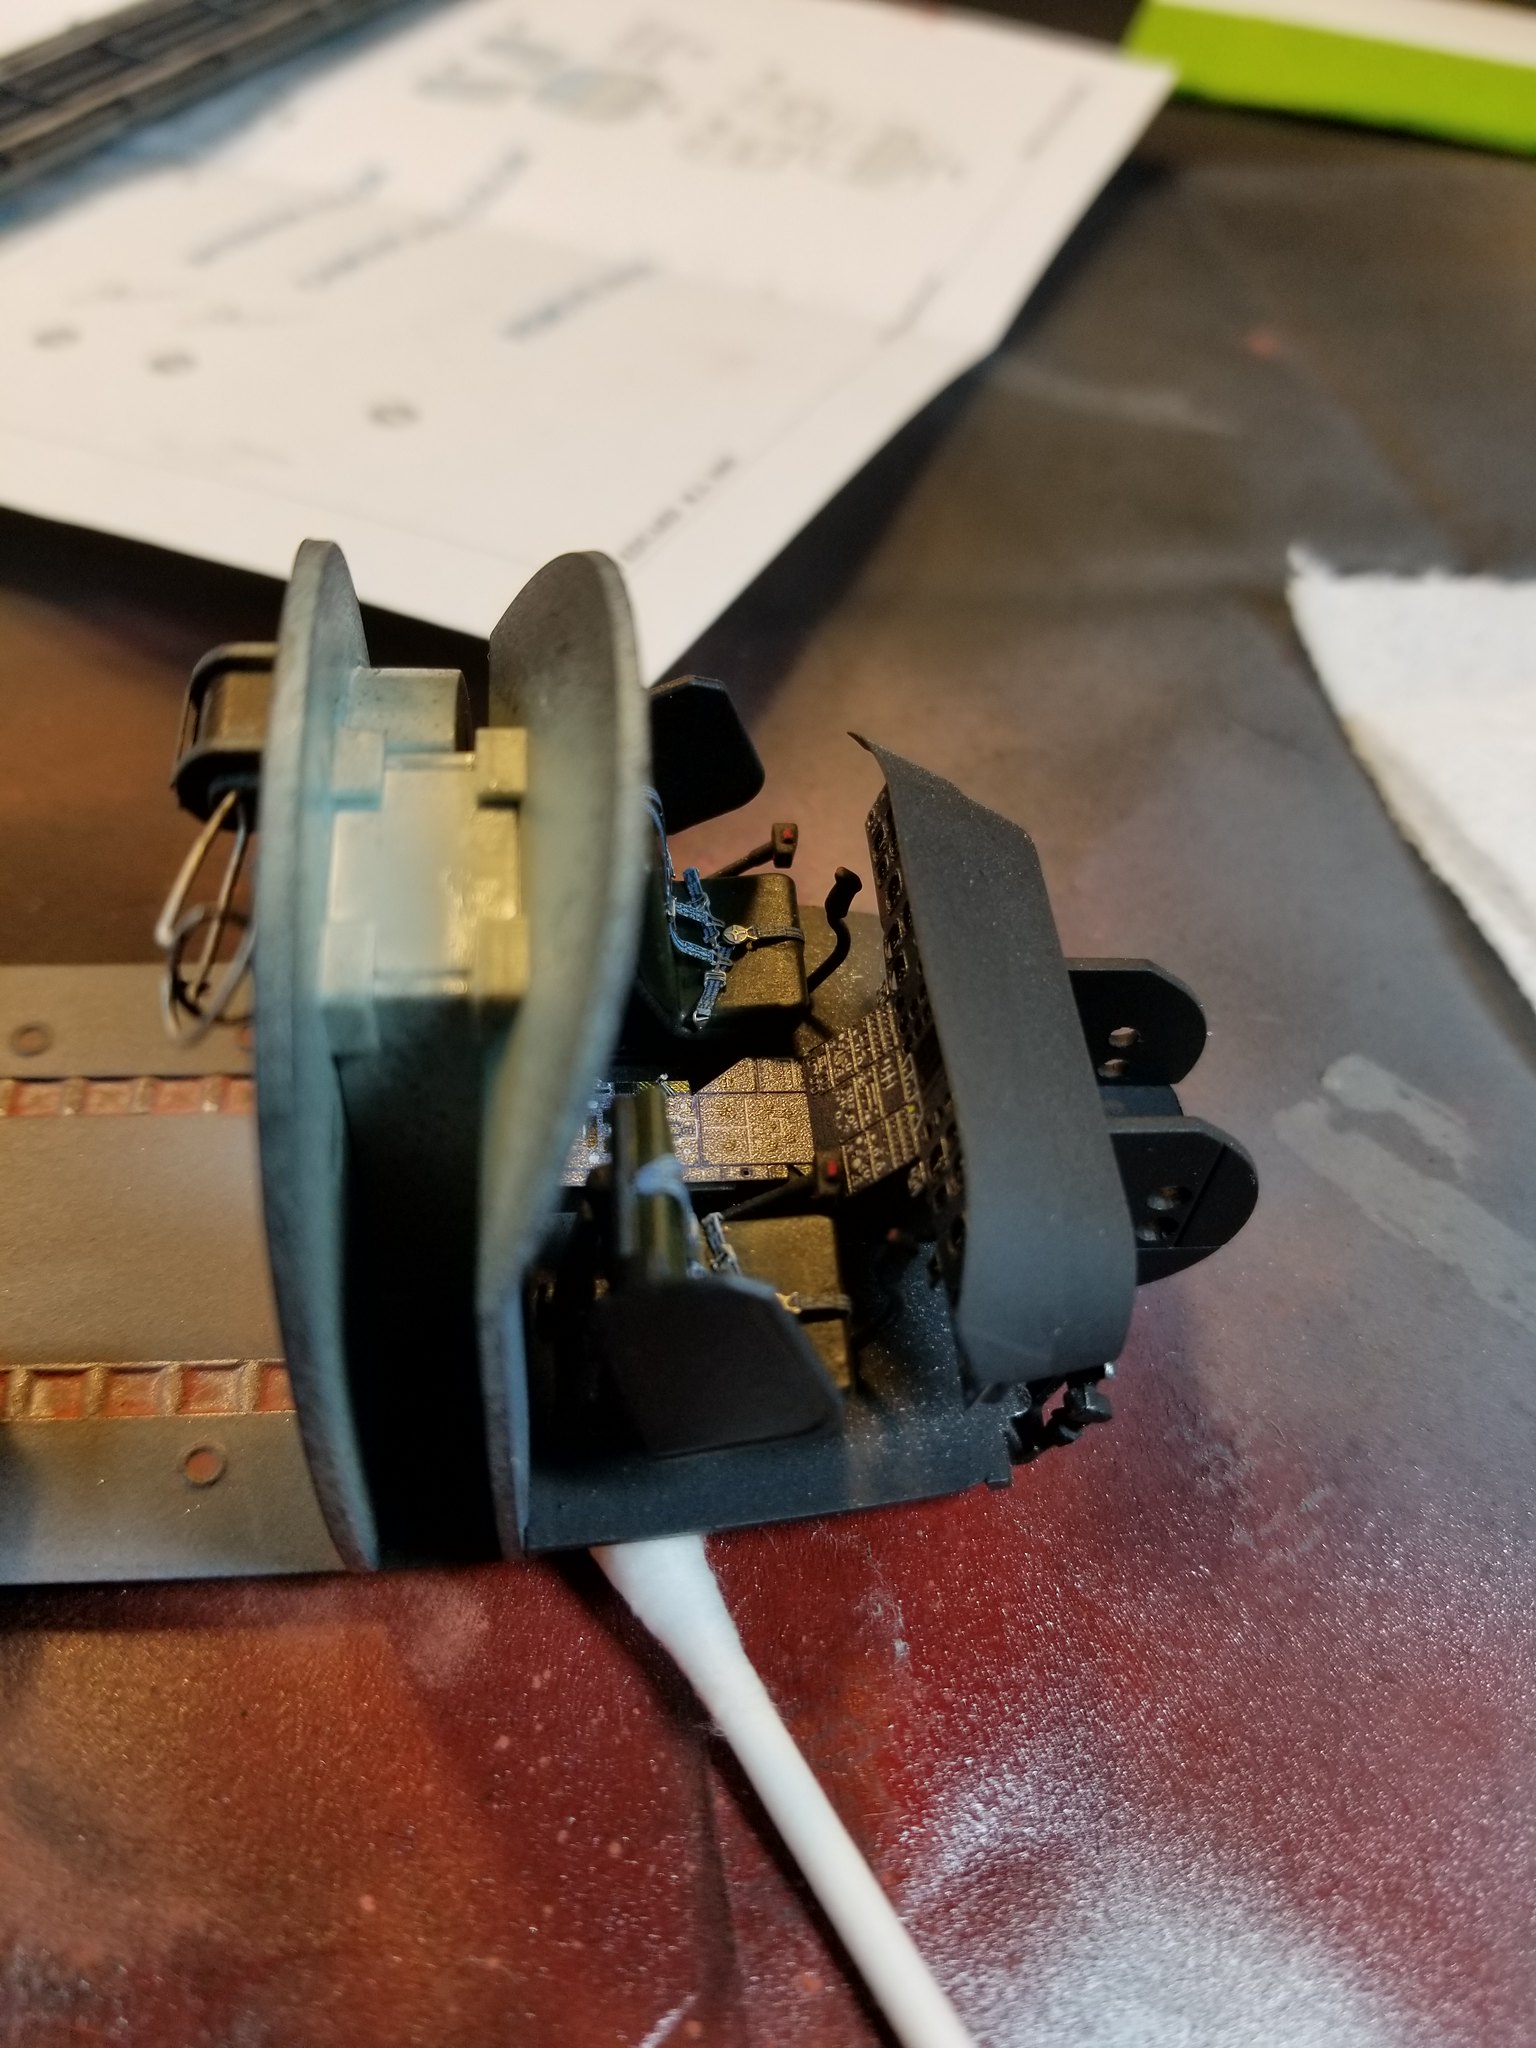
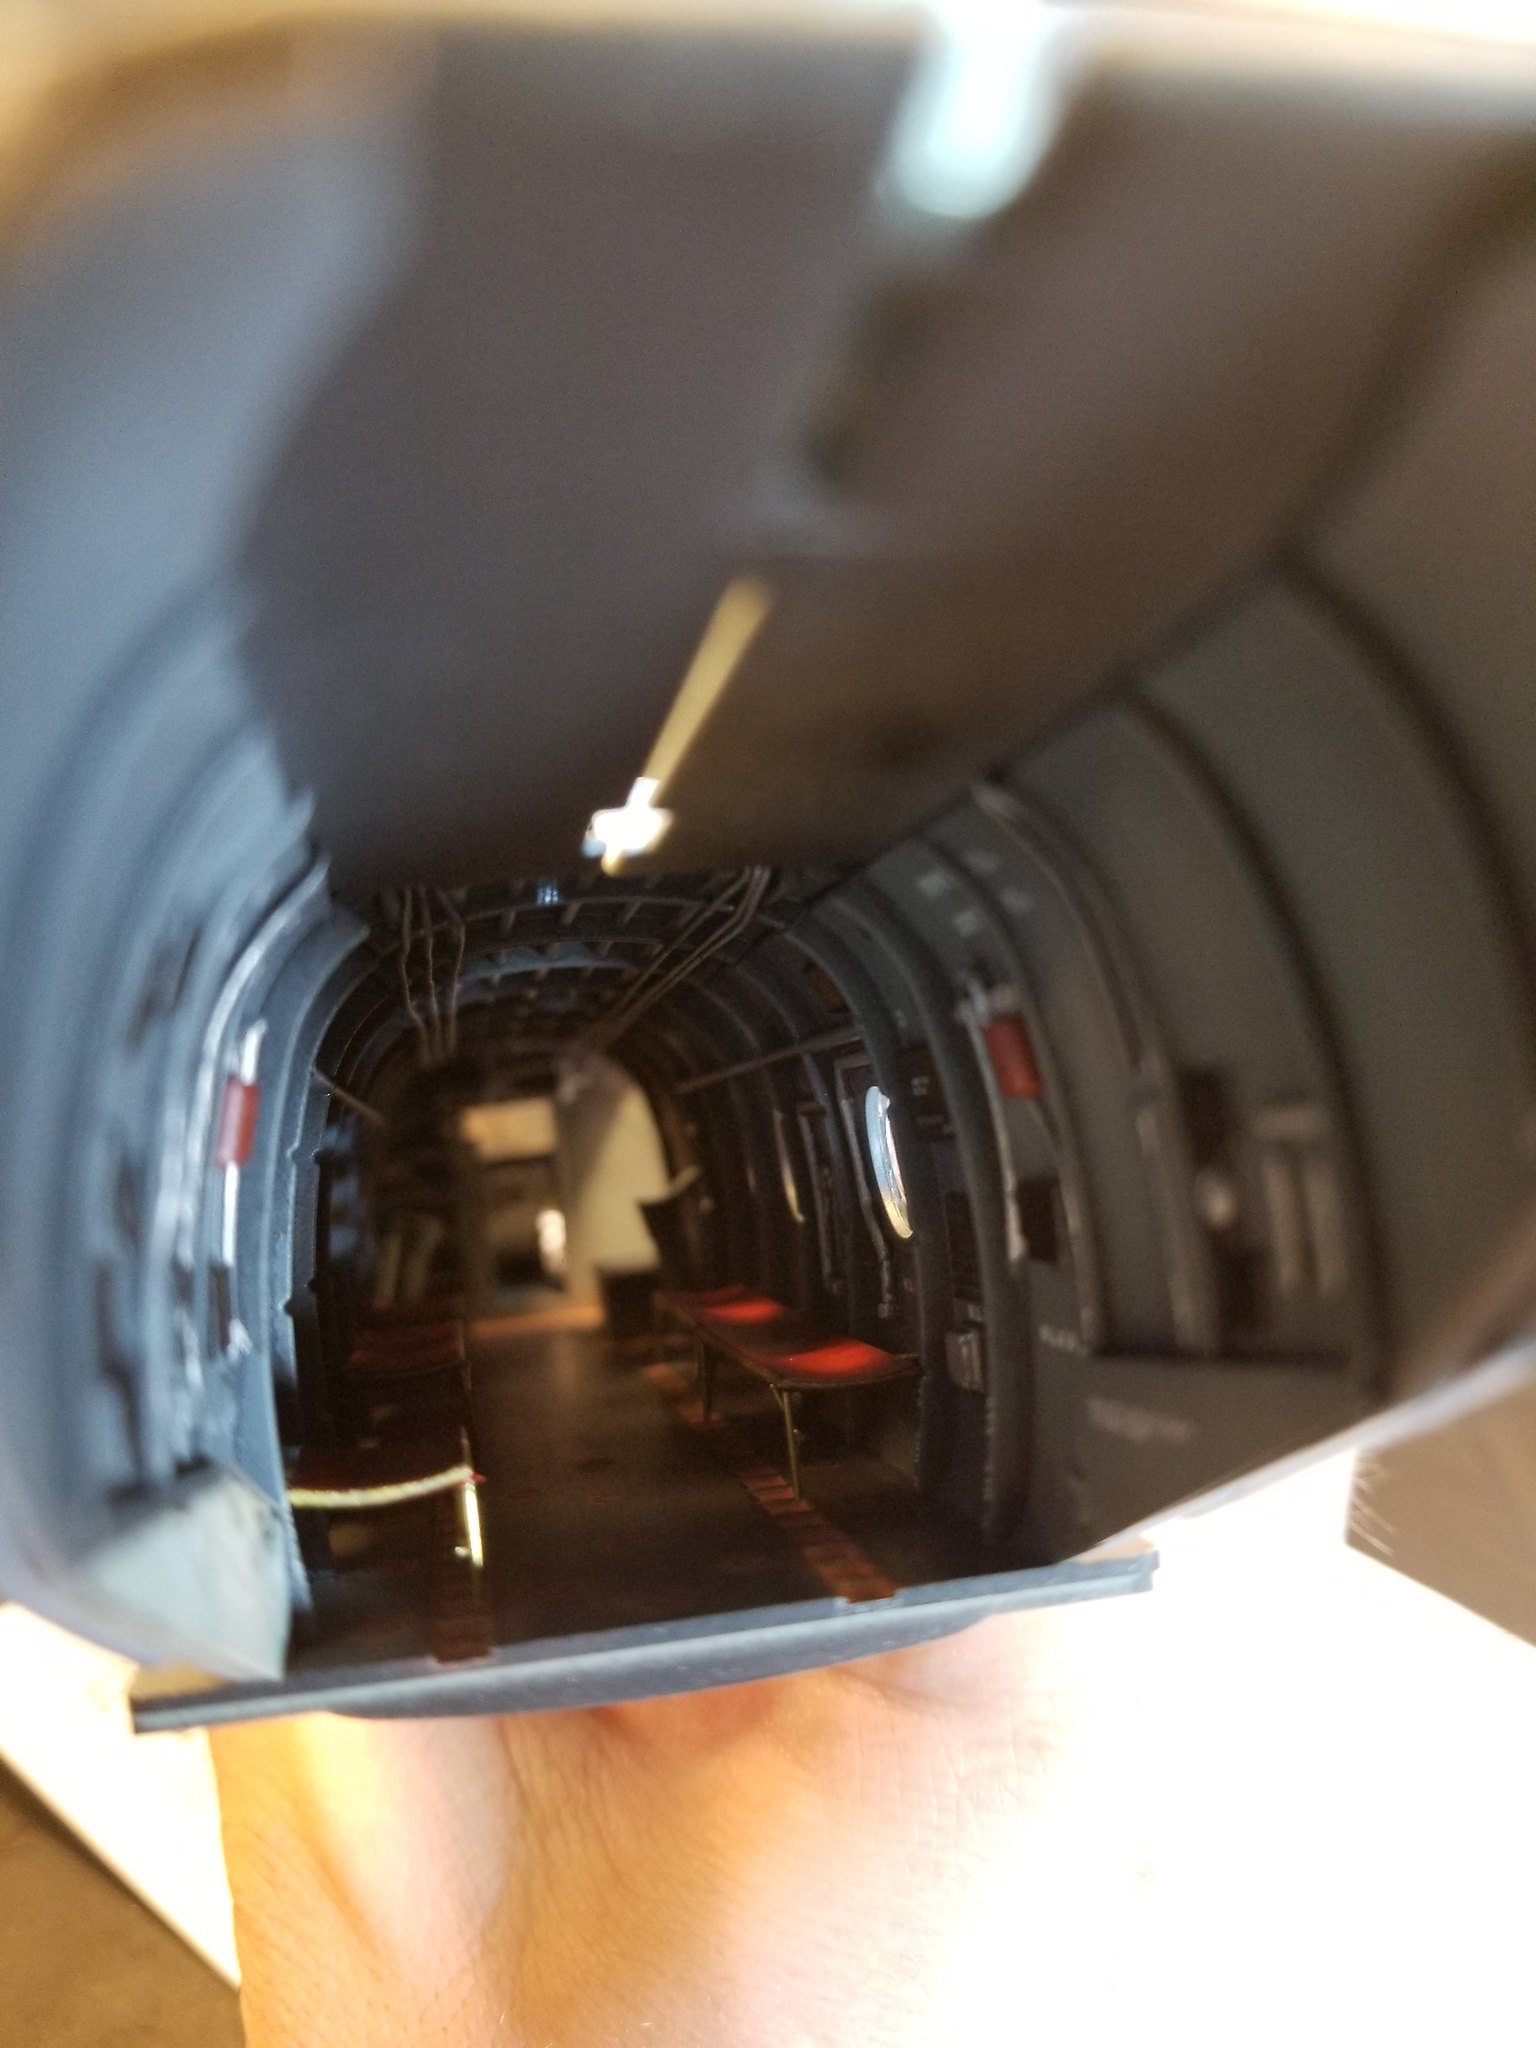
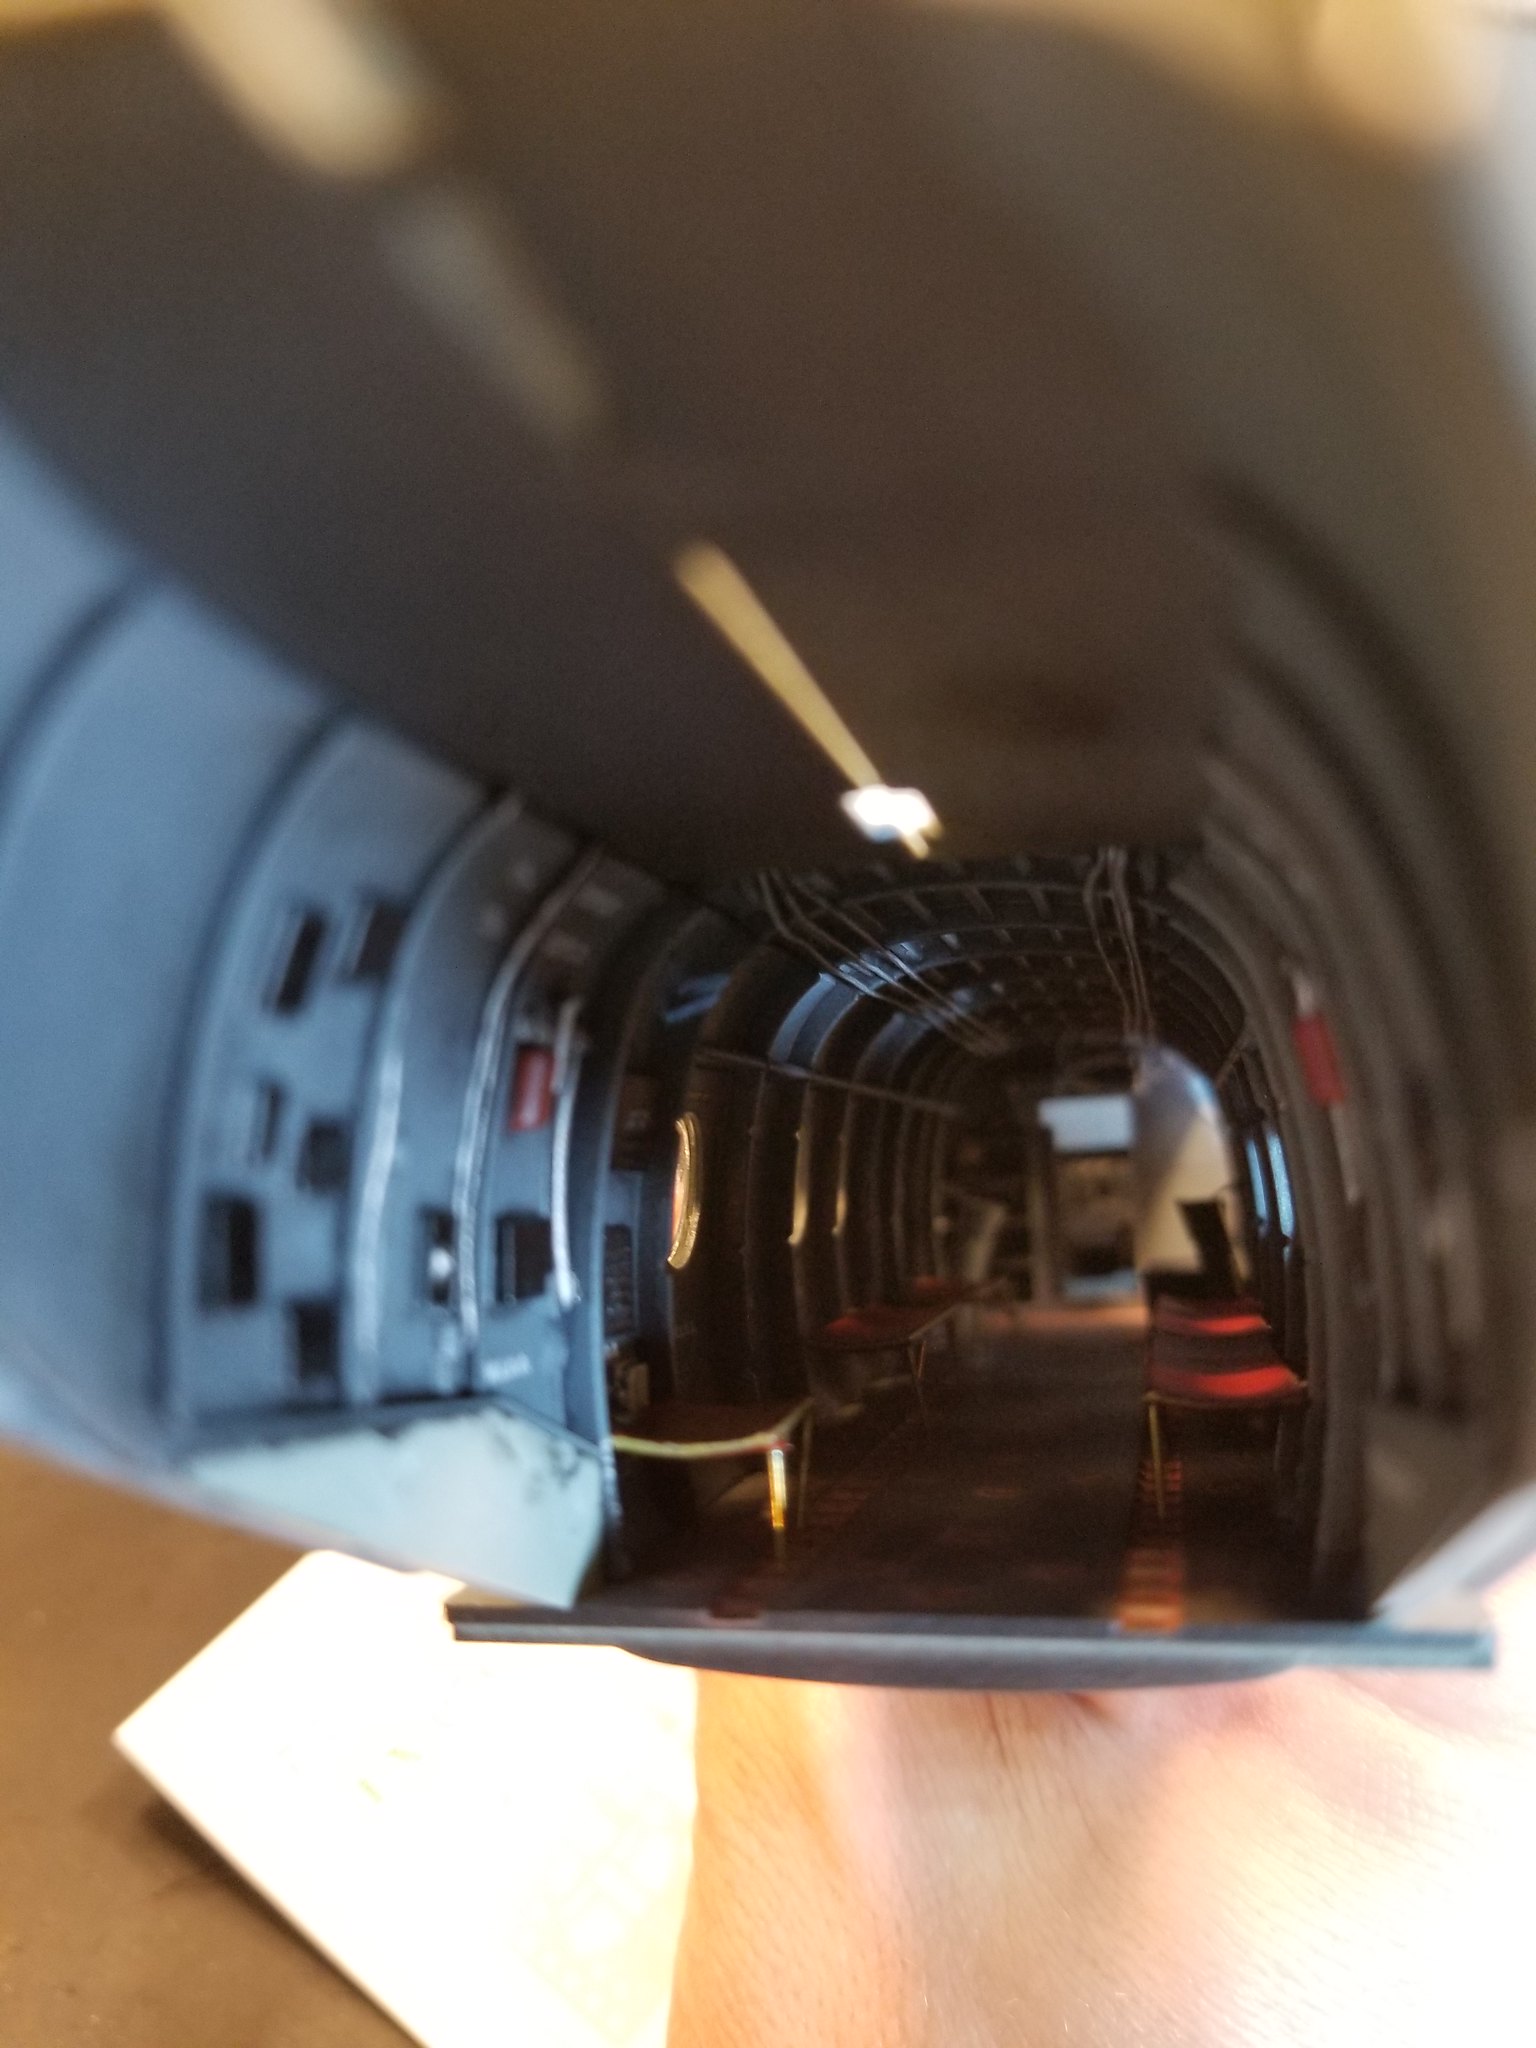
Slow progress so far. I’m concentrating on the cabin. I have some sub-assemblies together. I’ve prepped the doors, the pilot/copilot seats, the troop seats, the instrument panels, and the cockpit bulkhead. Now, I’ve decided to add some wire and solder in the cabin to model wiring and hydraulic lines. I found a couple of period reference pictures.
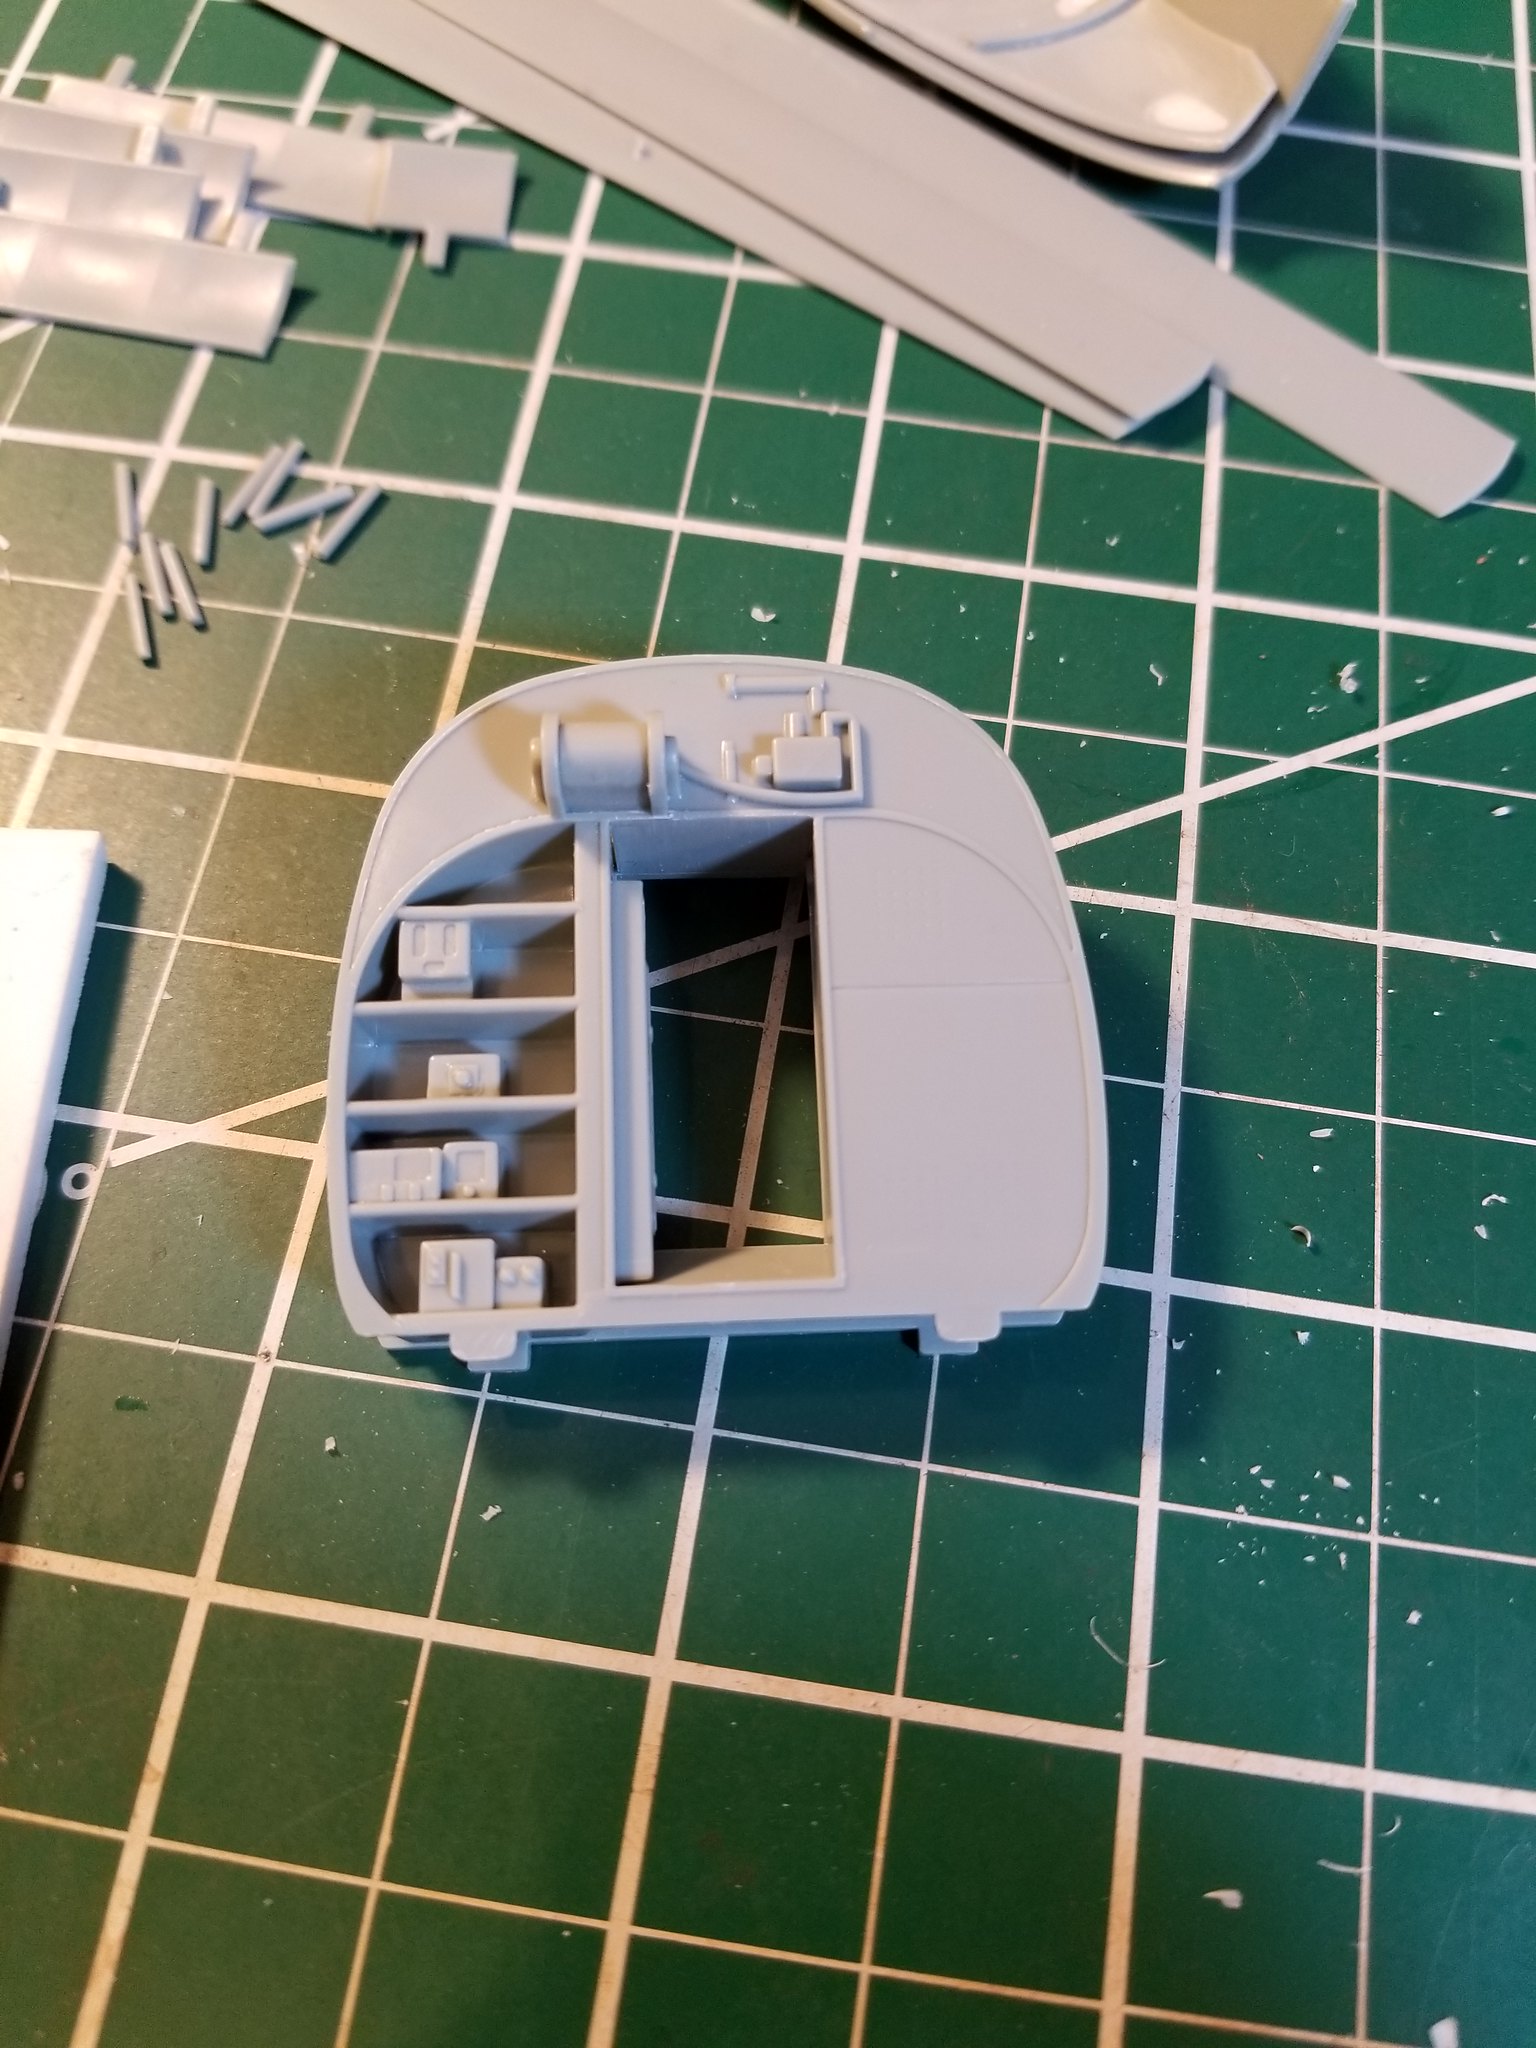
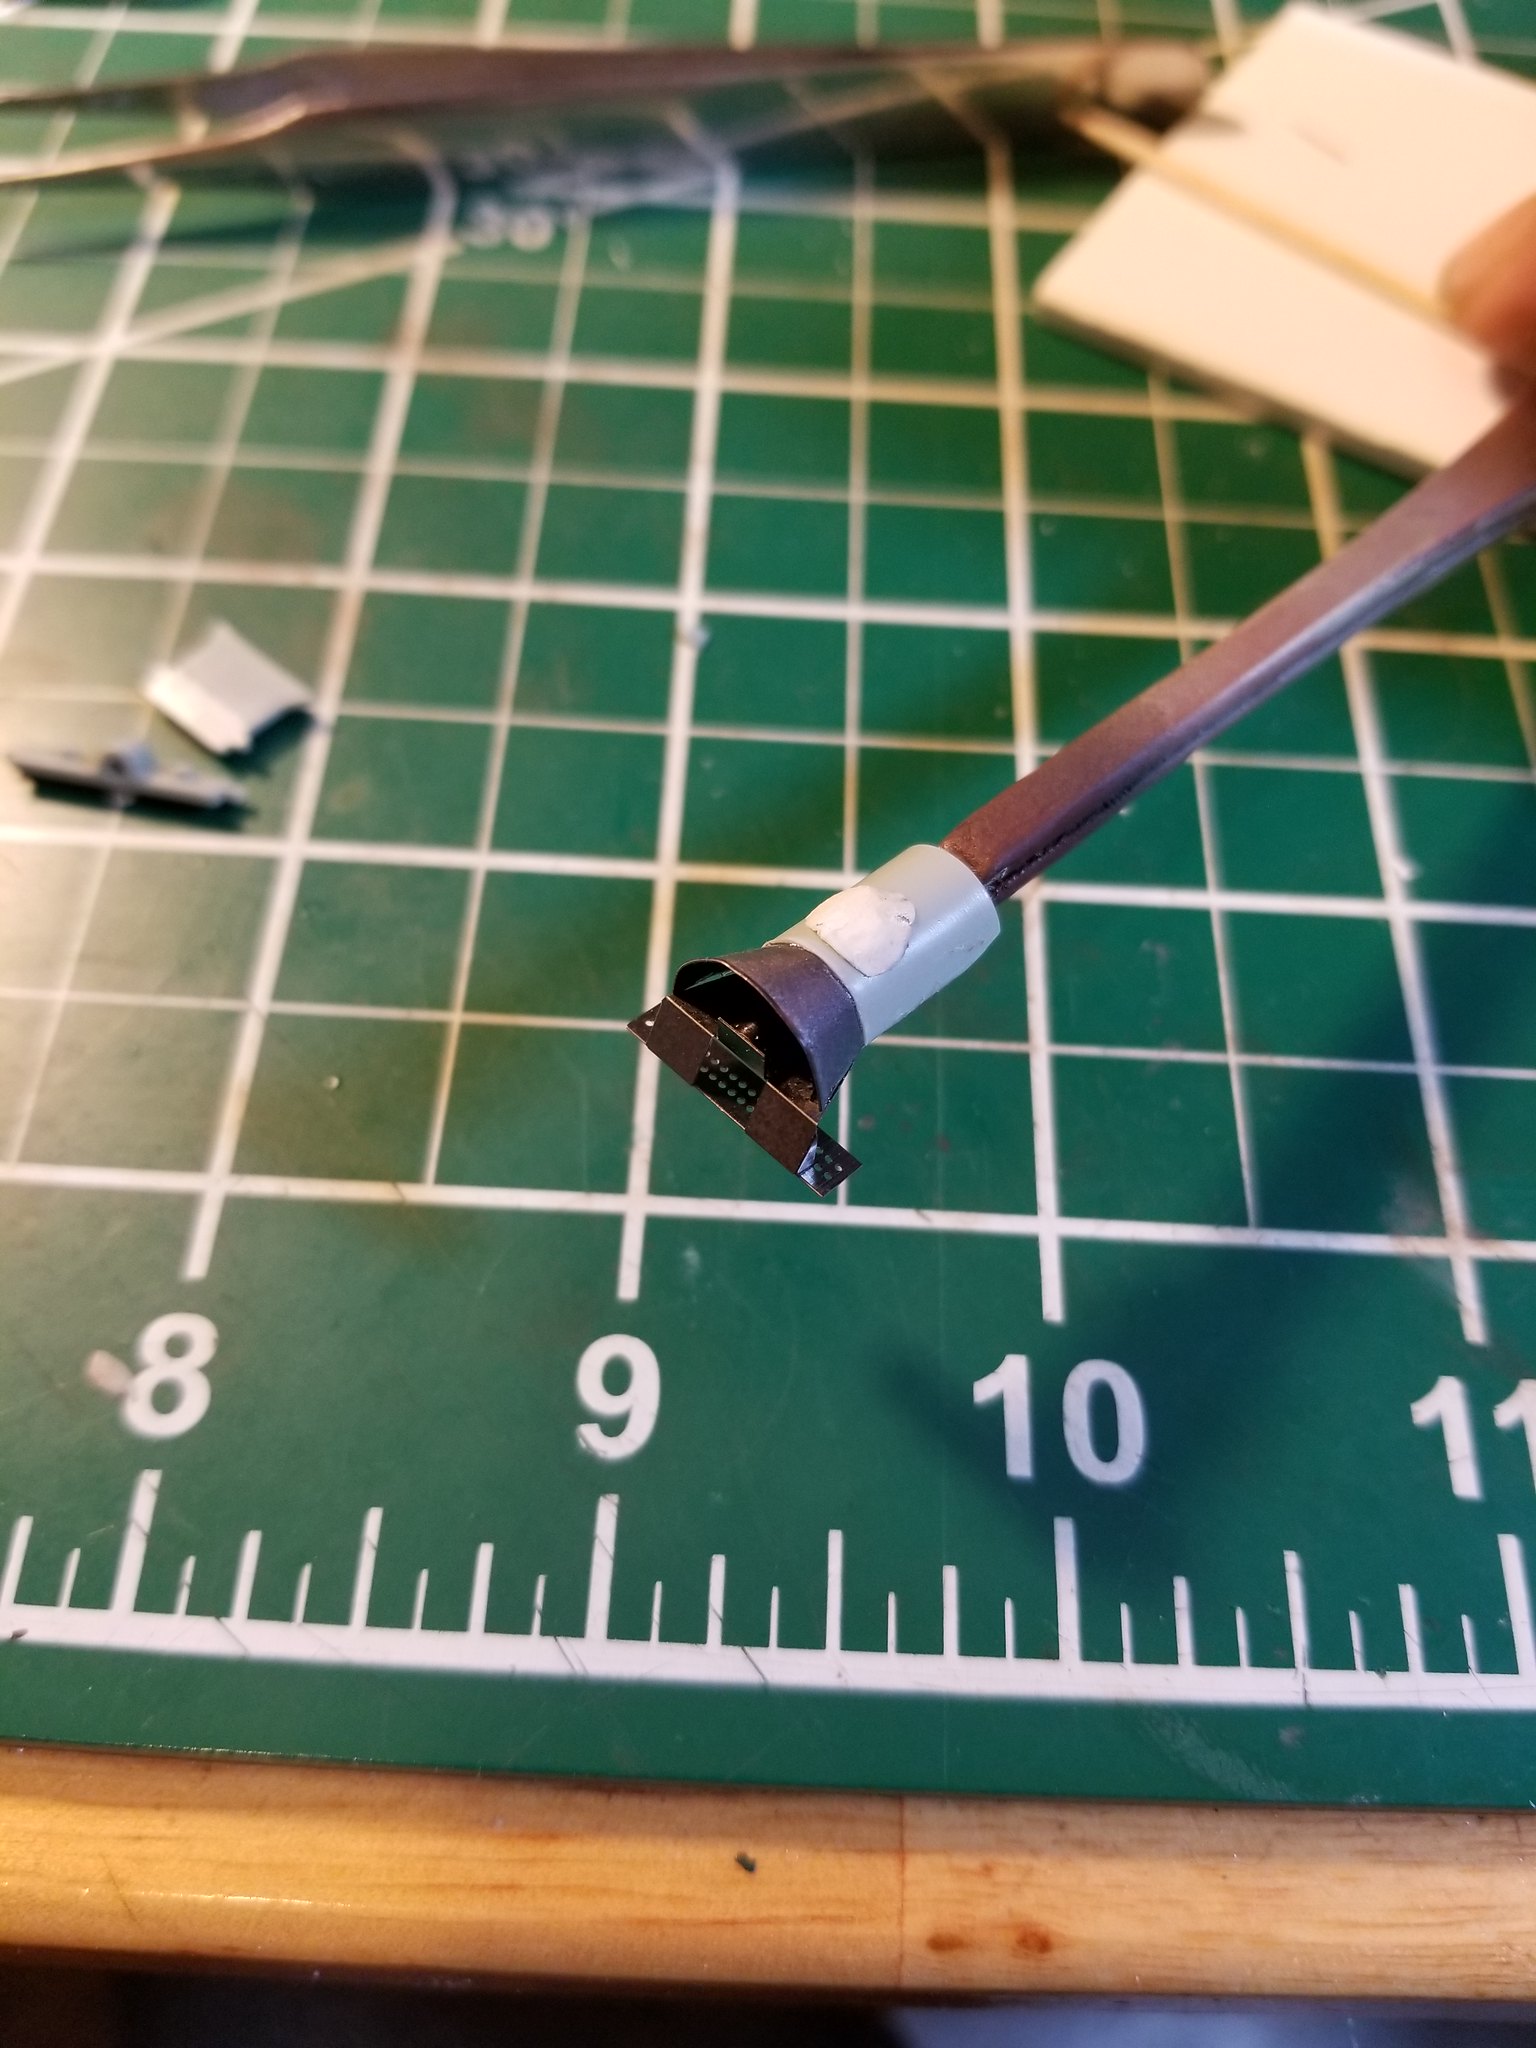
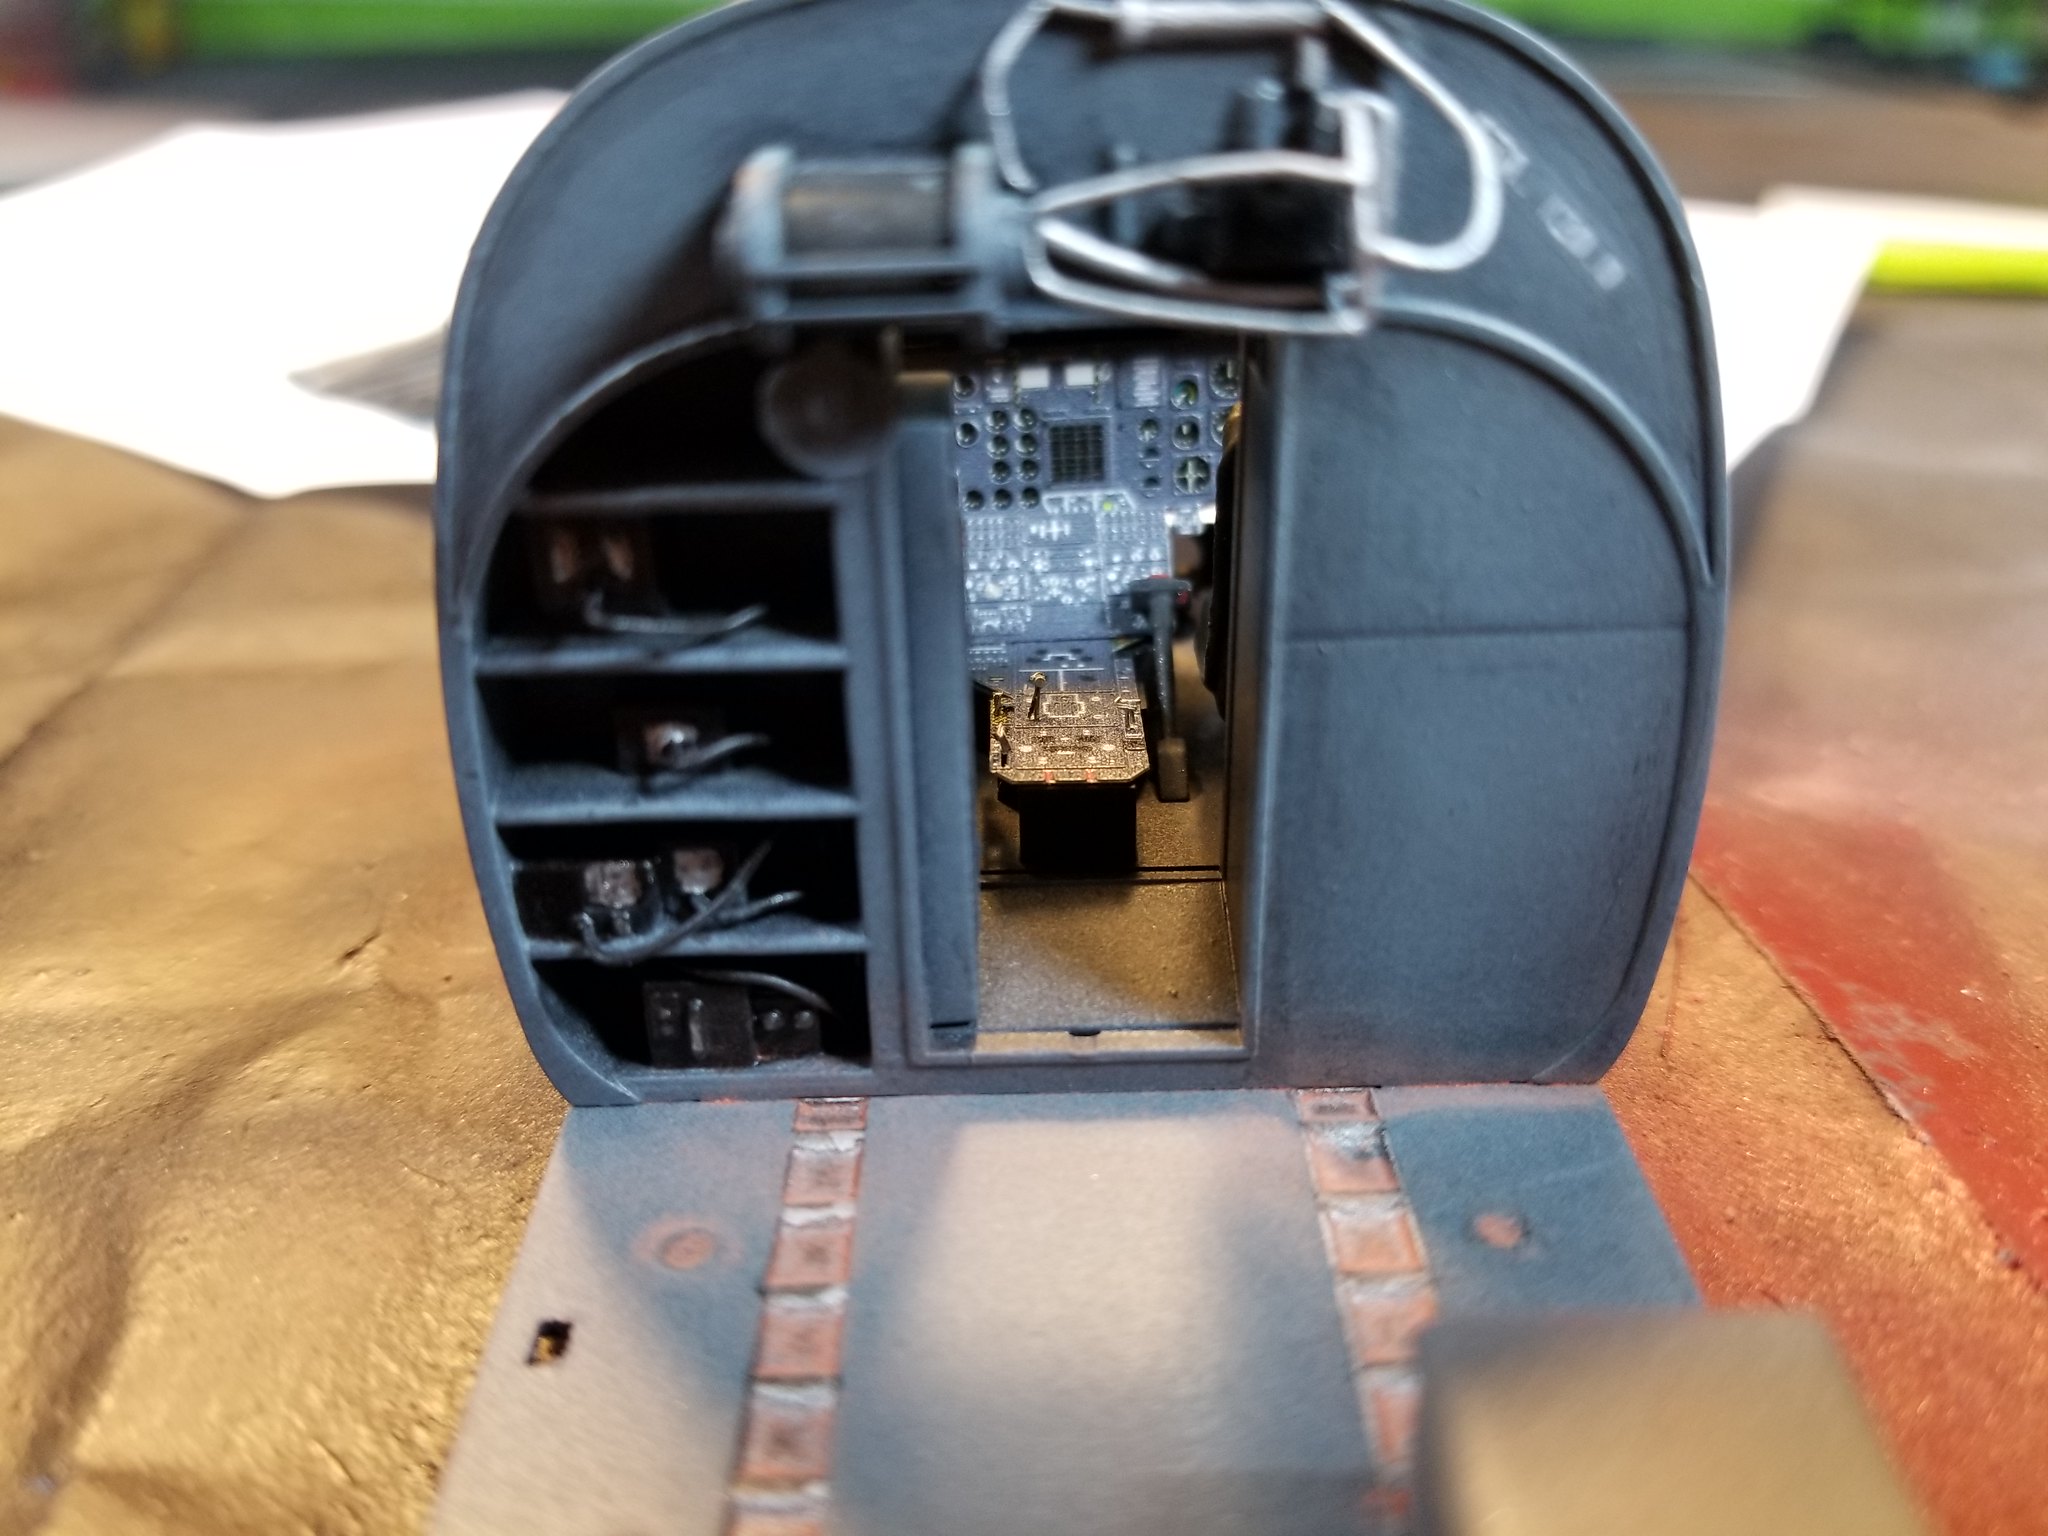
The cabin’s forward bulkhead could benefit from some detailing. Electronics are mounted on the portside shelves, and the hydraulic motor for the overhead hoist is much more complex than molded.
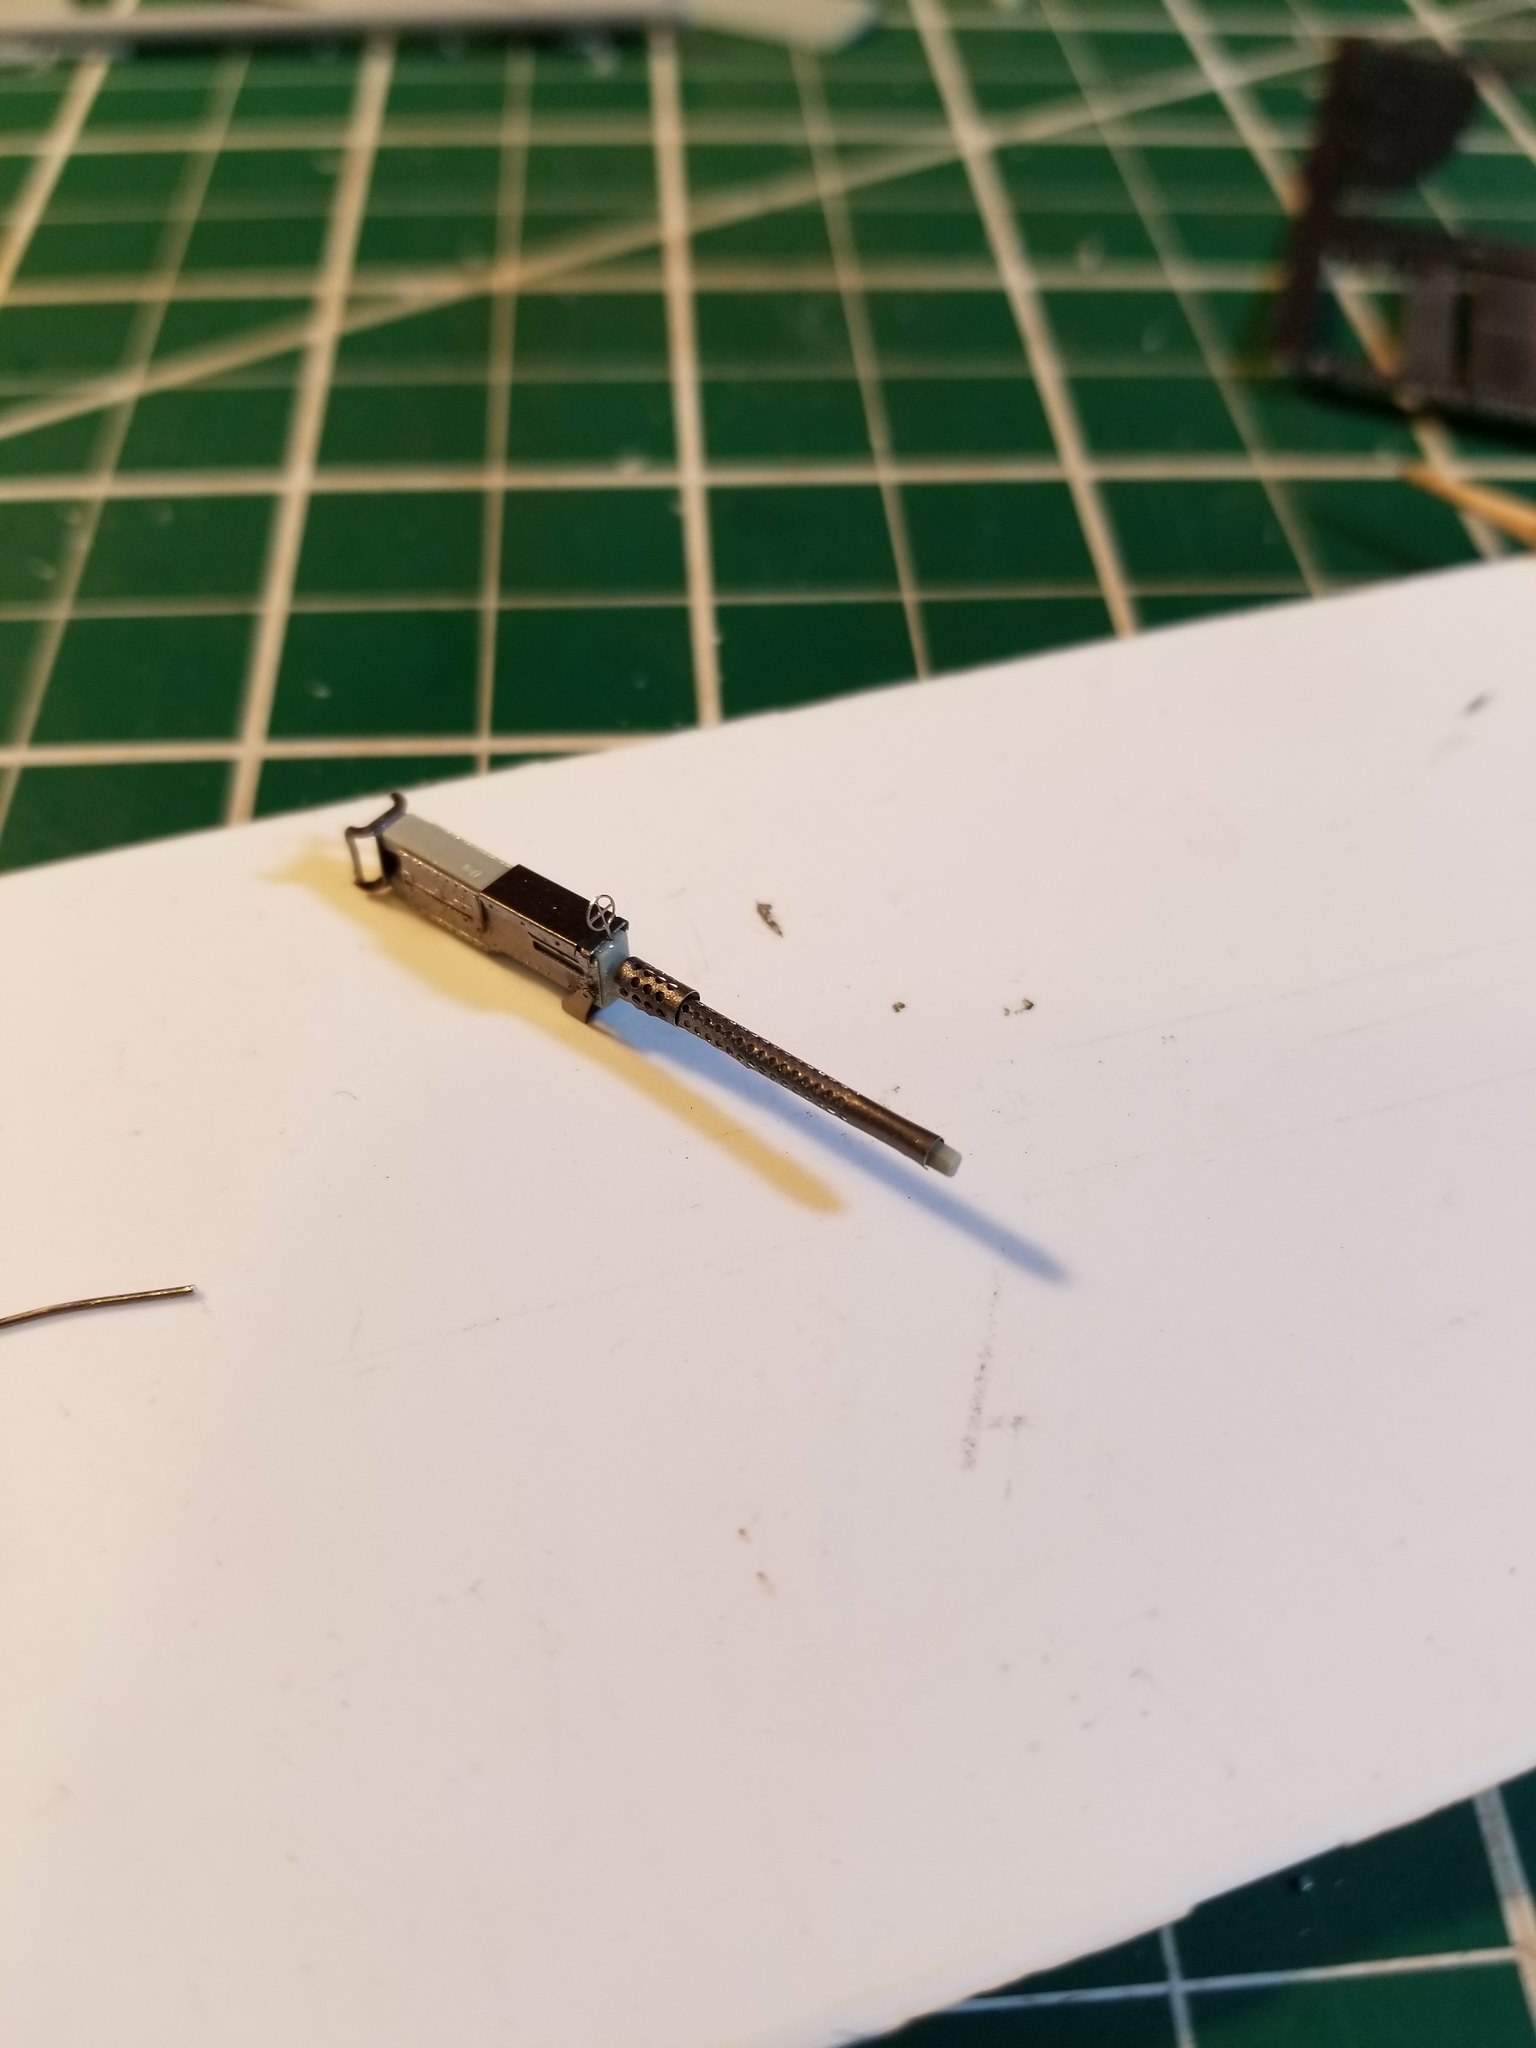
Those Brownings look a lot better now, hands down!
Actually, why are there no machine guns in 1:72 or 1:48 to be had as aftermarket items? Guns like Browning M2s or M60s in different versions should be available to dress up helicopters and AFVs.
As for the hydraulic lines for the winch, maybe you should consider using thinner wire. In this case, copper wire would be the way to go. The electric connections are better, because they represent bundles of wires.
Maybe the hydraulic lines are a little thick. I have a Lowe-Depot nearby, and I can easily pick up a spool of thin copper wire for future use. I think I’ll leave what I’ve done already. It looks decent to my eye.
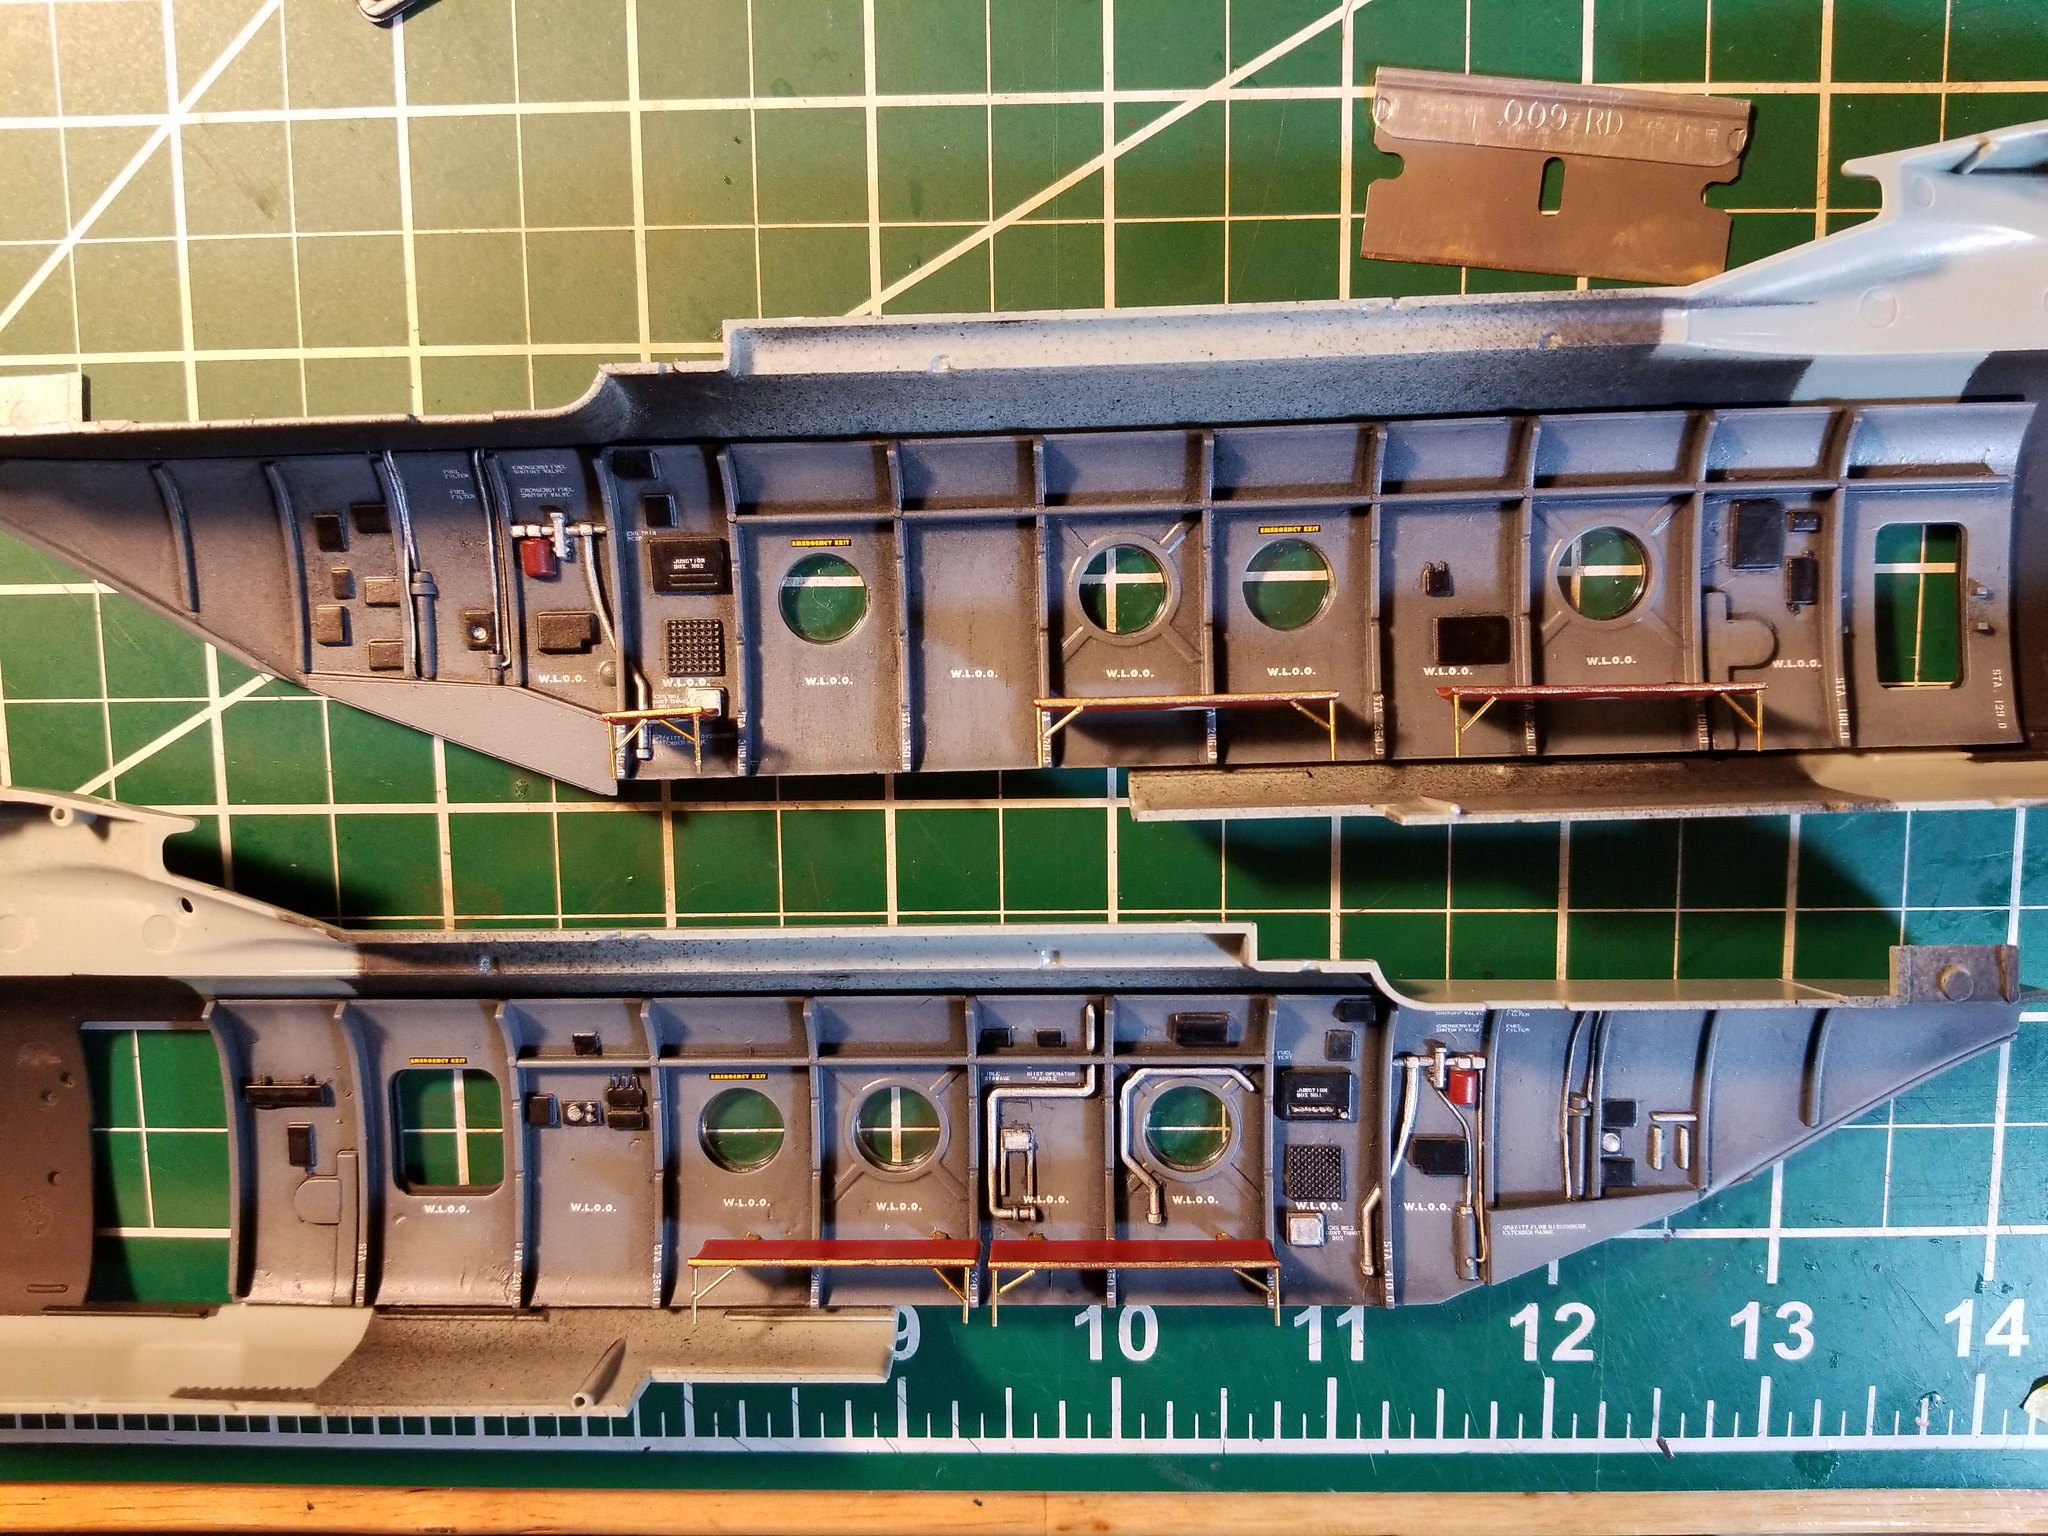
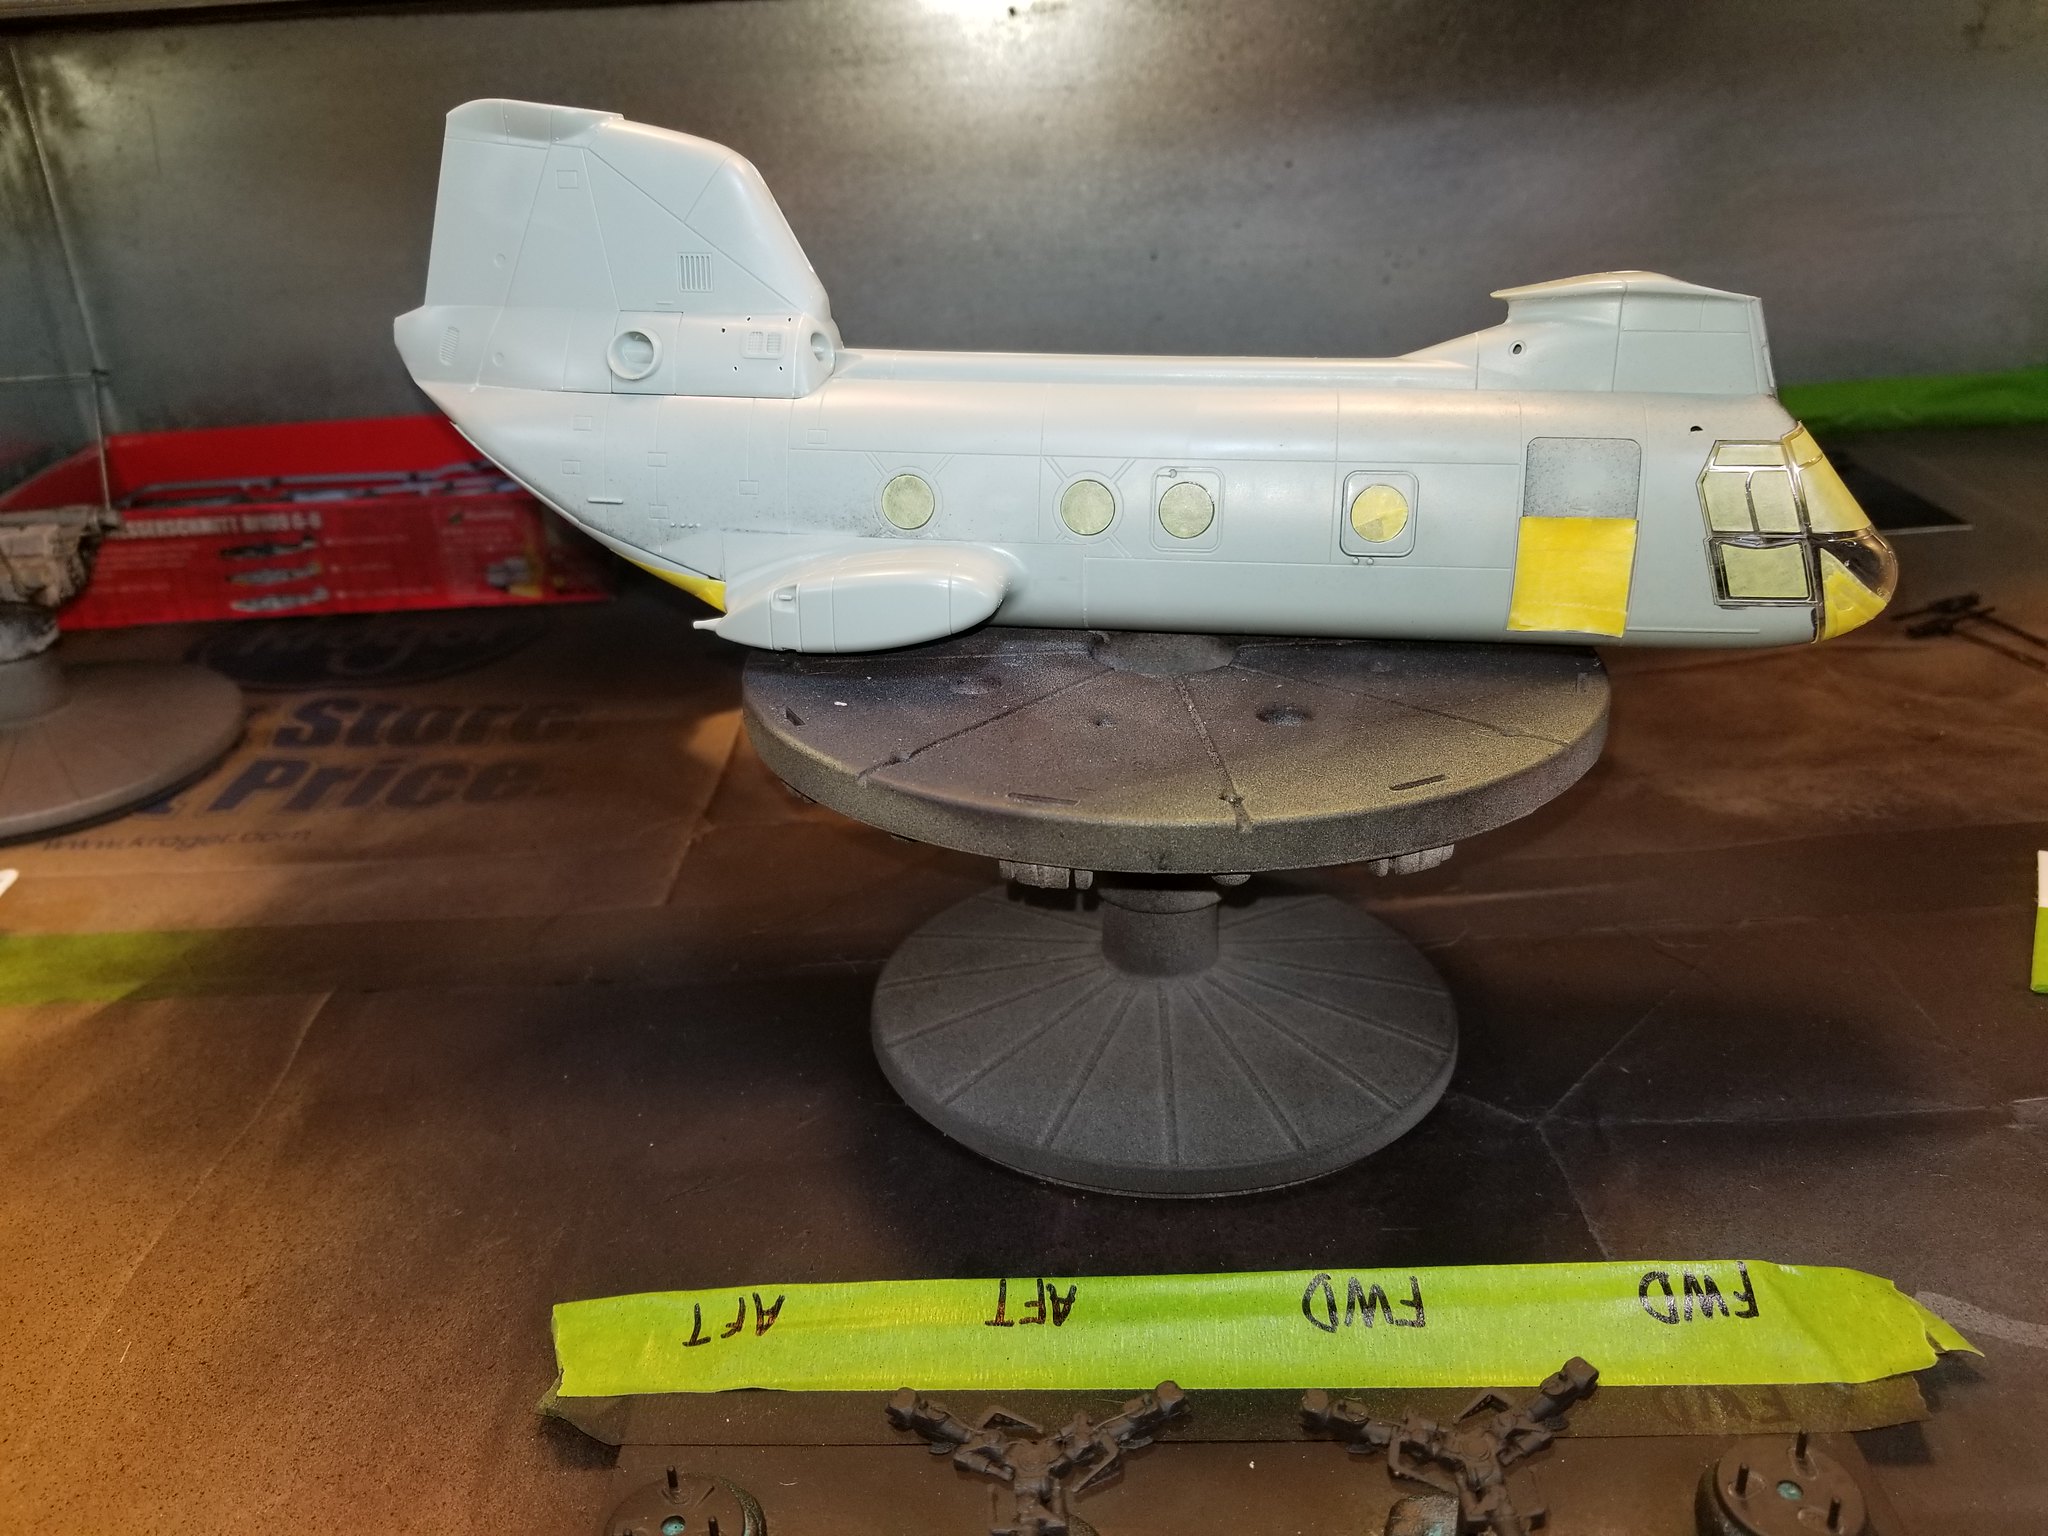
I’ve been continuing with the interior. Black Rust-Oleum Flat Protective Enamel was used for primer. A few modellers like to use it, and I figured it was worth a try. It covers well, but it can be tempermental. I give it a test shot every 3rd to 5th pass. It requires a quick pass, more so than most aerosol cans.
I decided to use Tamiya Light Grey (XF-66) for the interior. I’m happy with the results.
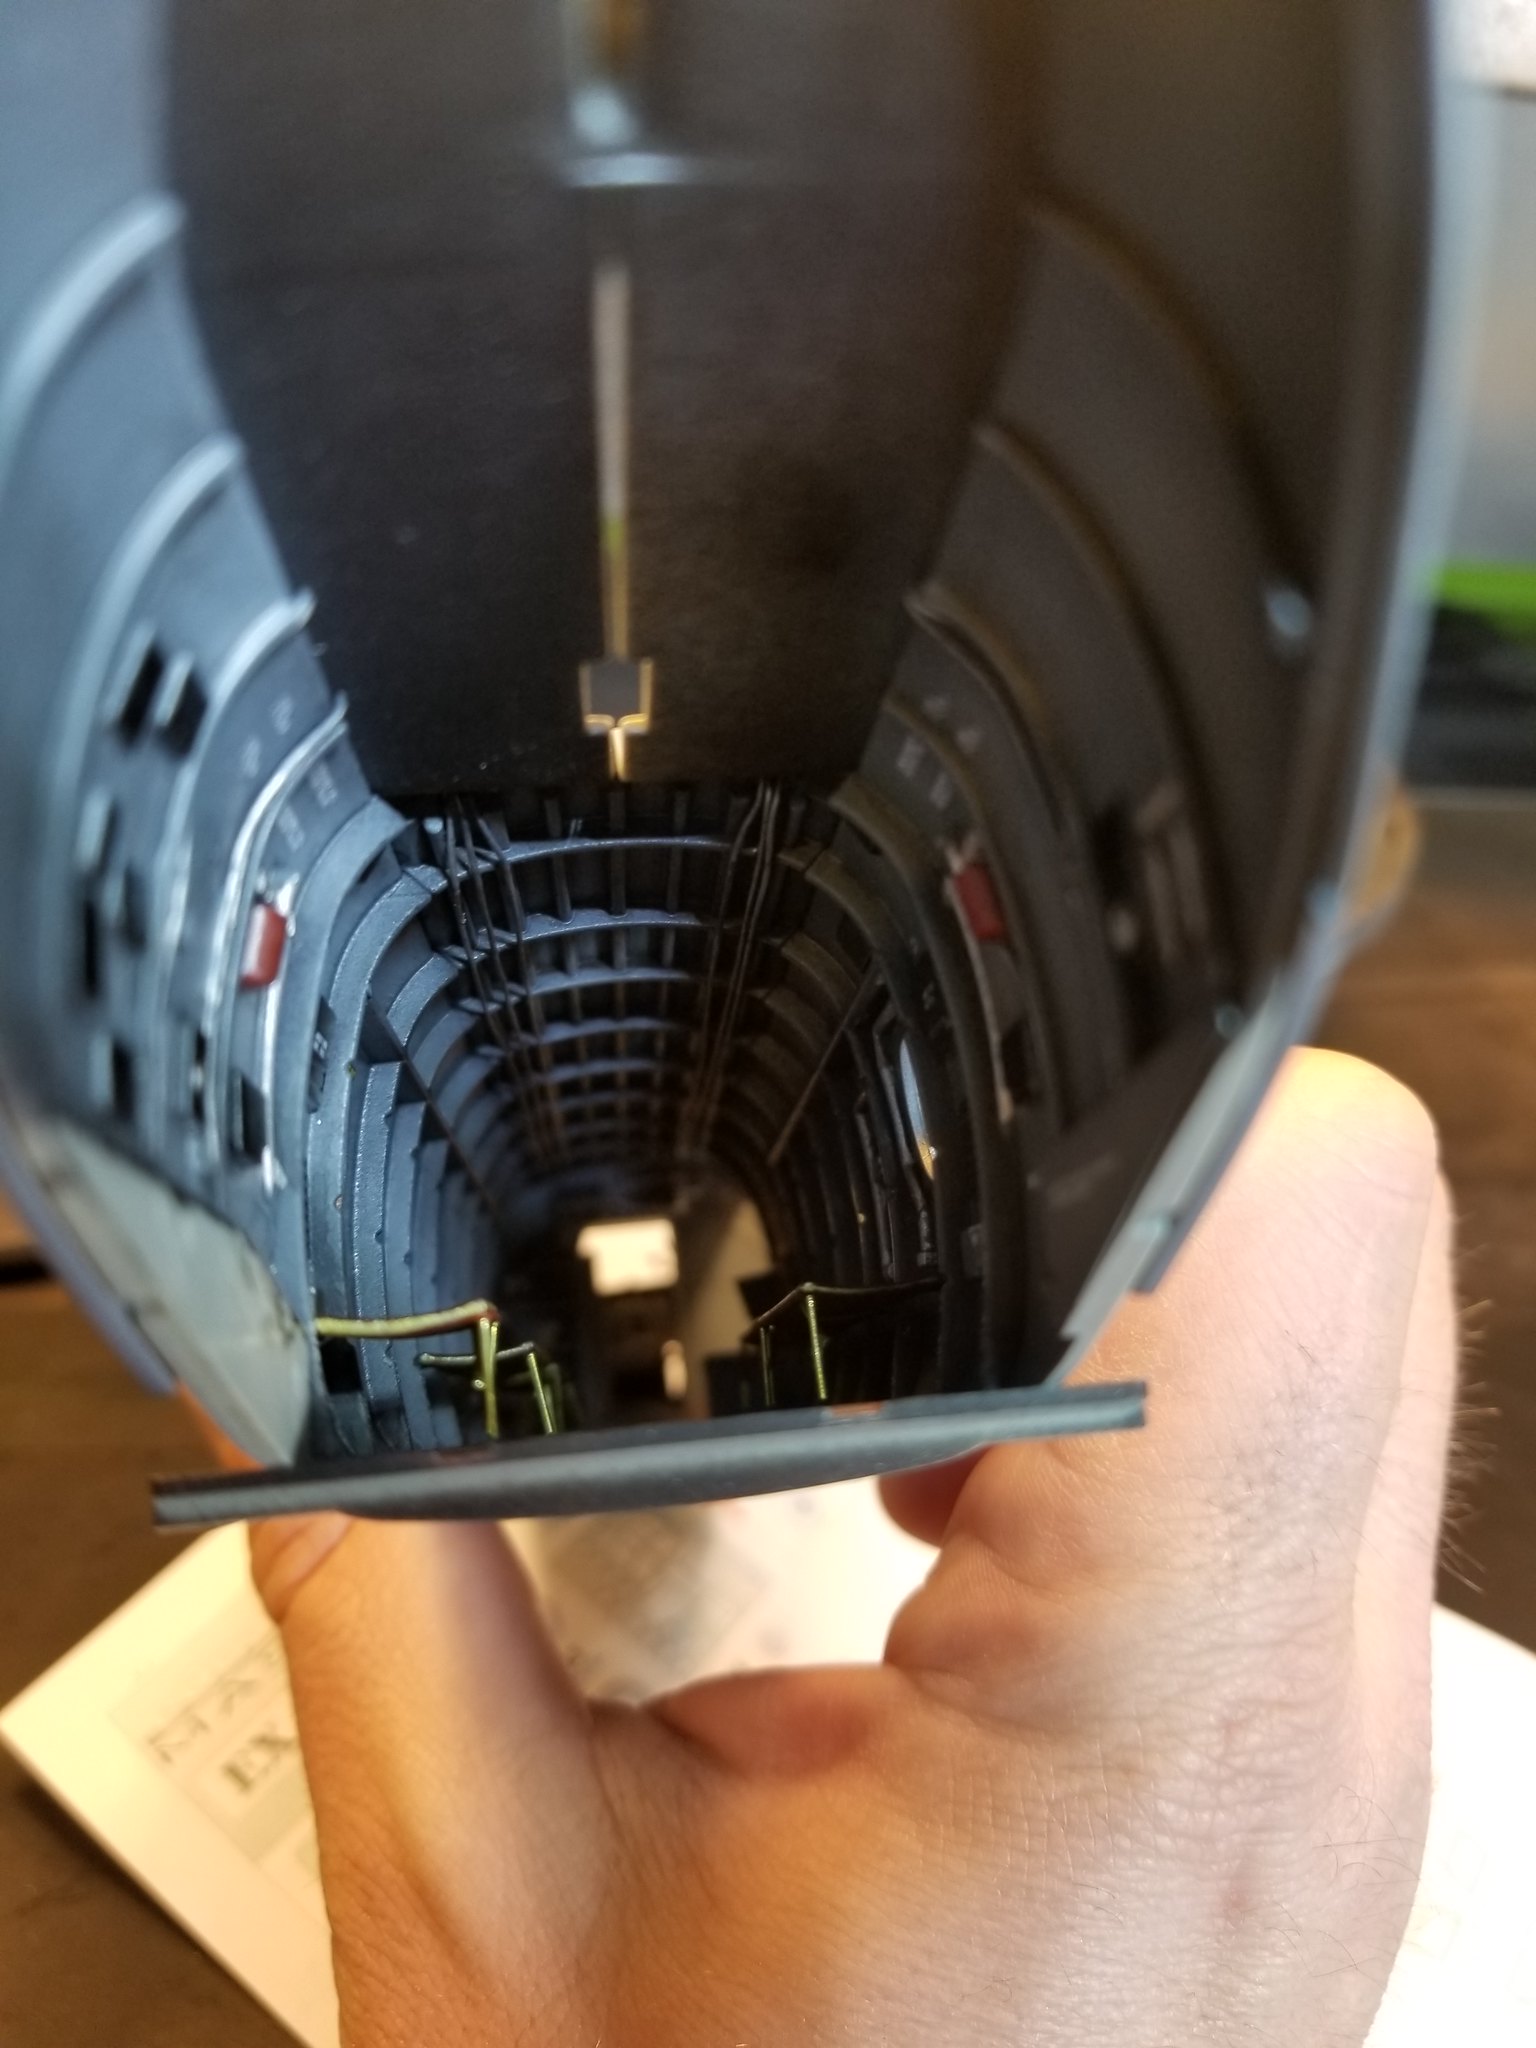
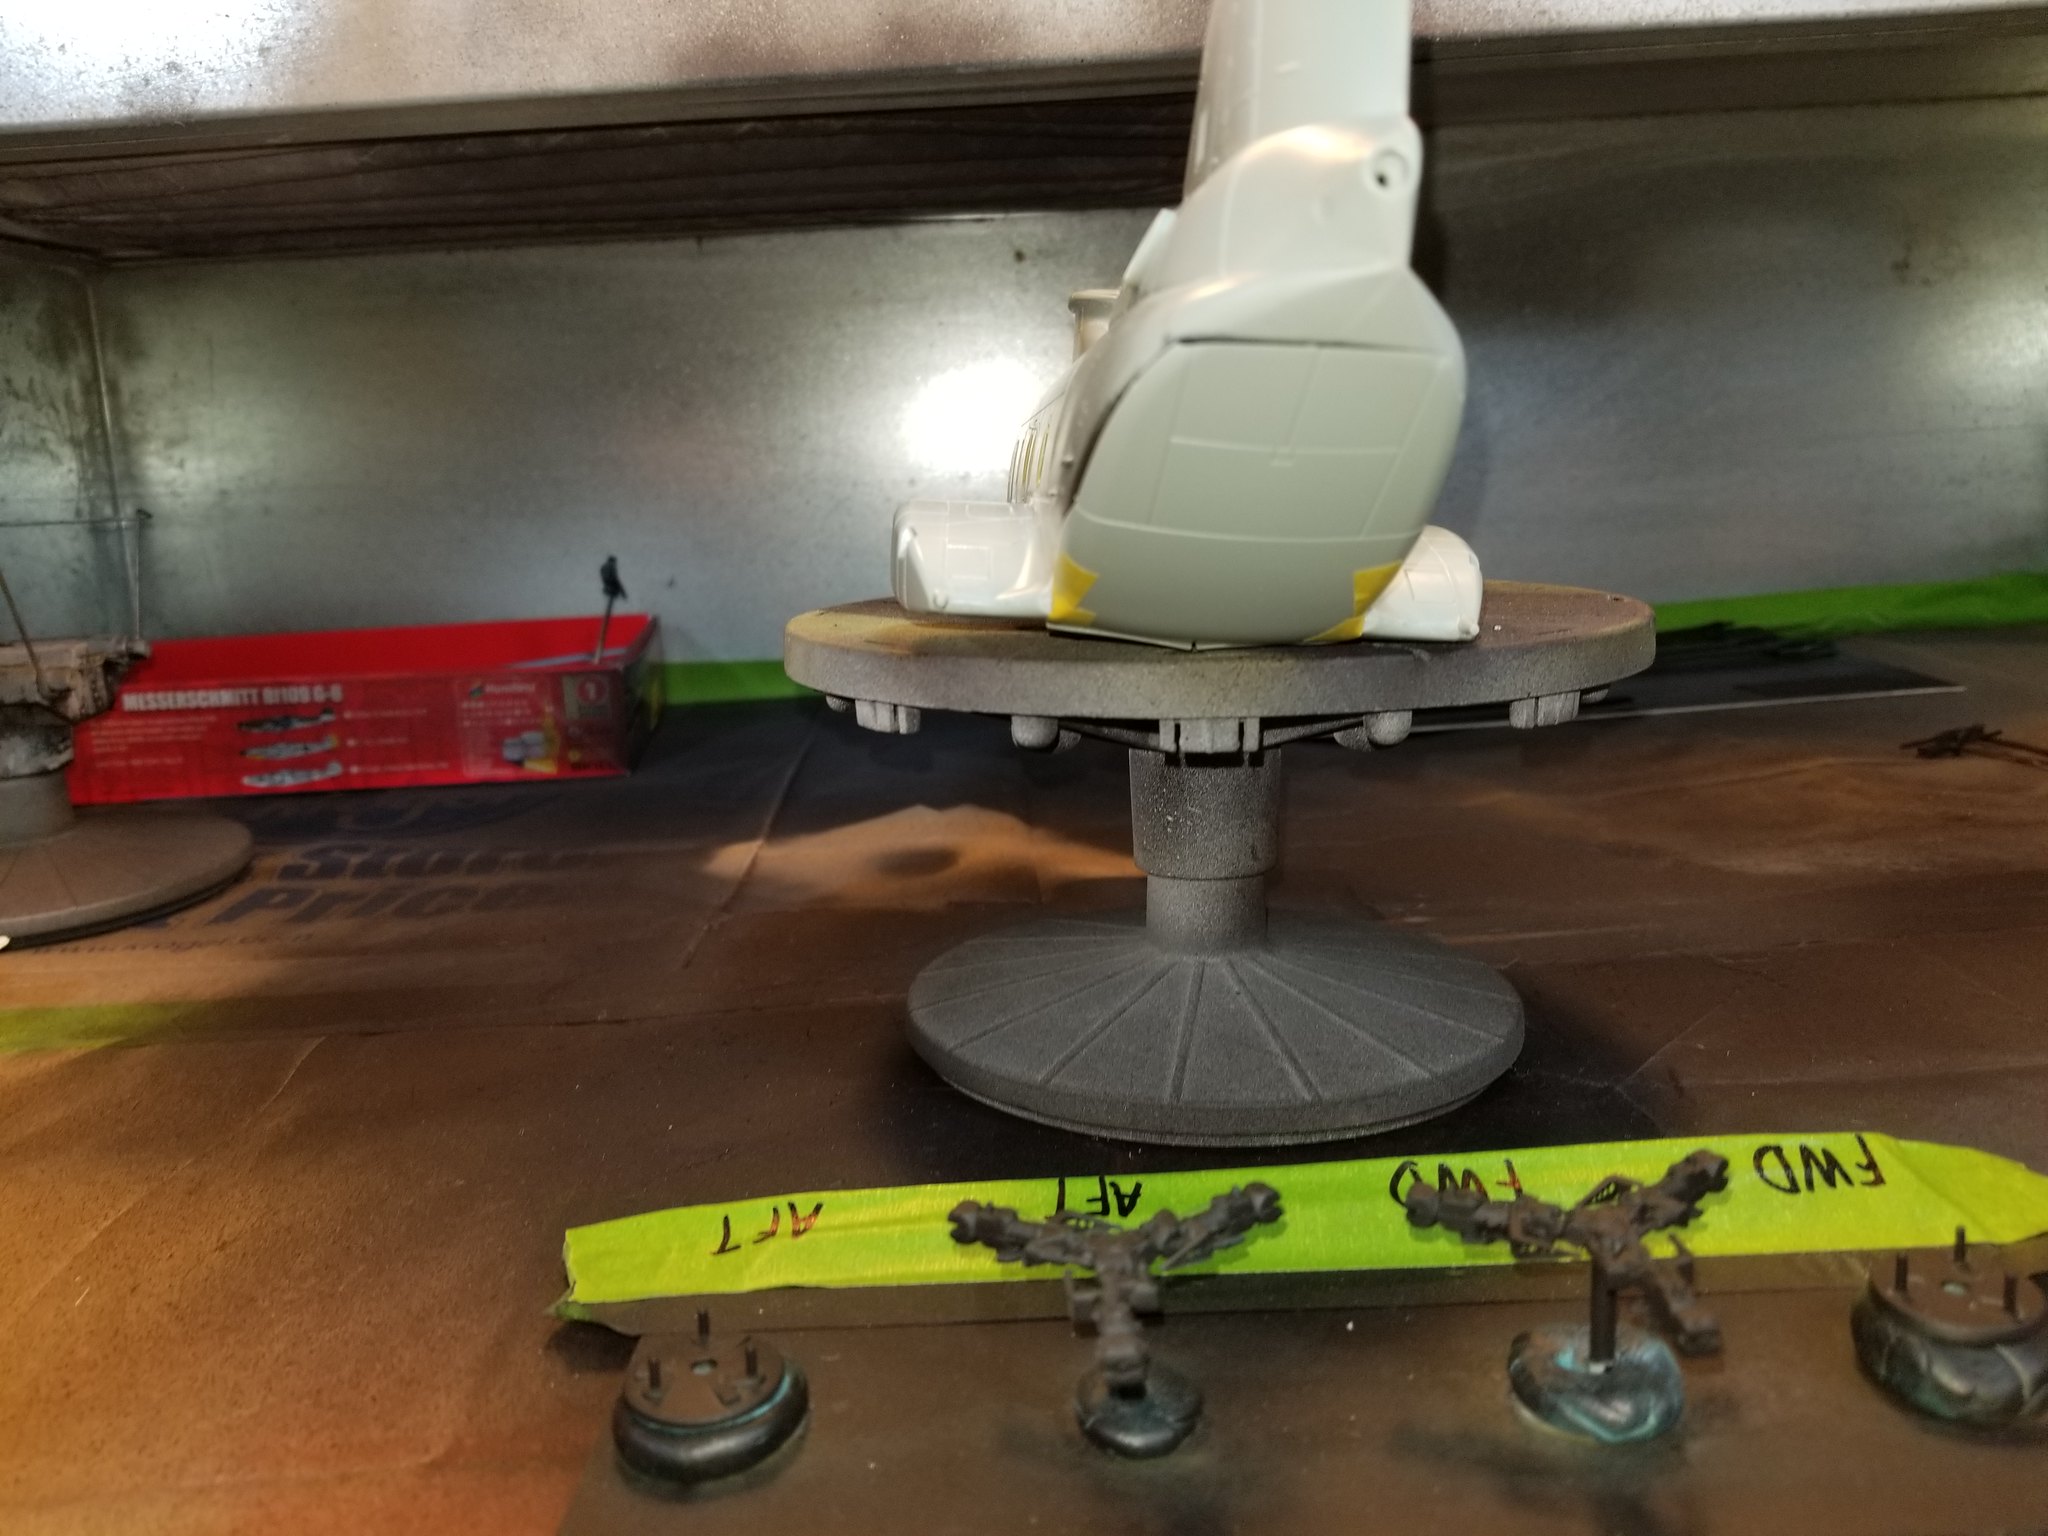
I think I’ve had my fill of interior fun. The kit’s seat supports were pretty chunky, so I replaced them with 0.020 inch brass rod. The Eduard cockpit PE is great. I love the look of the control panels and seat-belts. She’s all closed up now. I’ll be working the exterior tomorrow, baby steps.
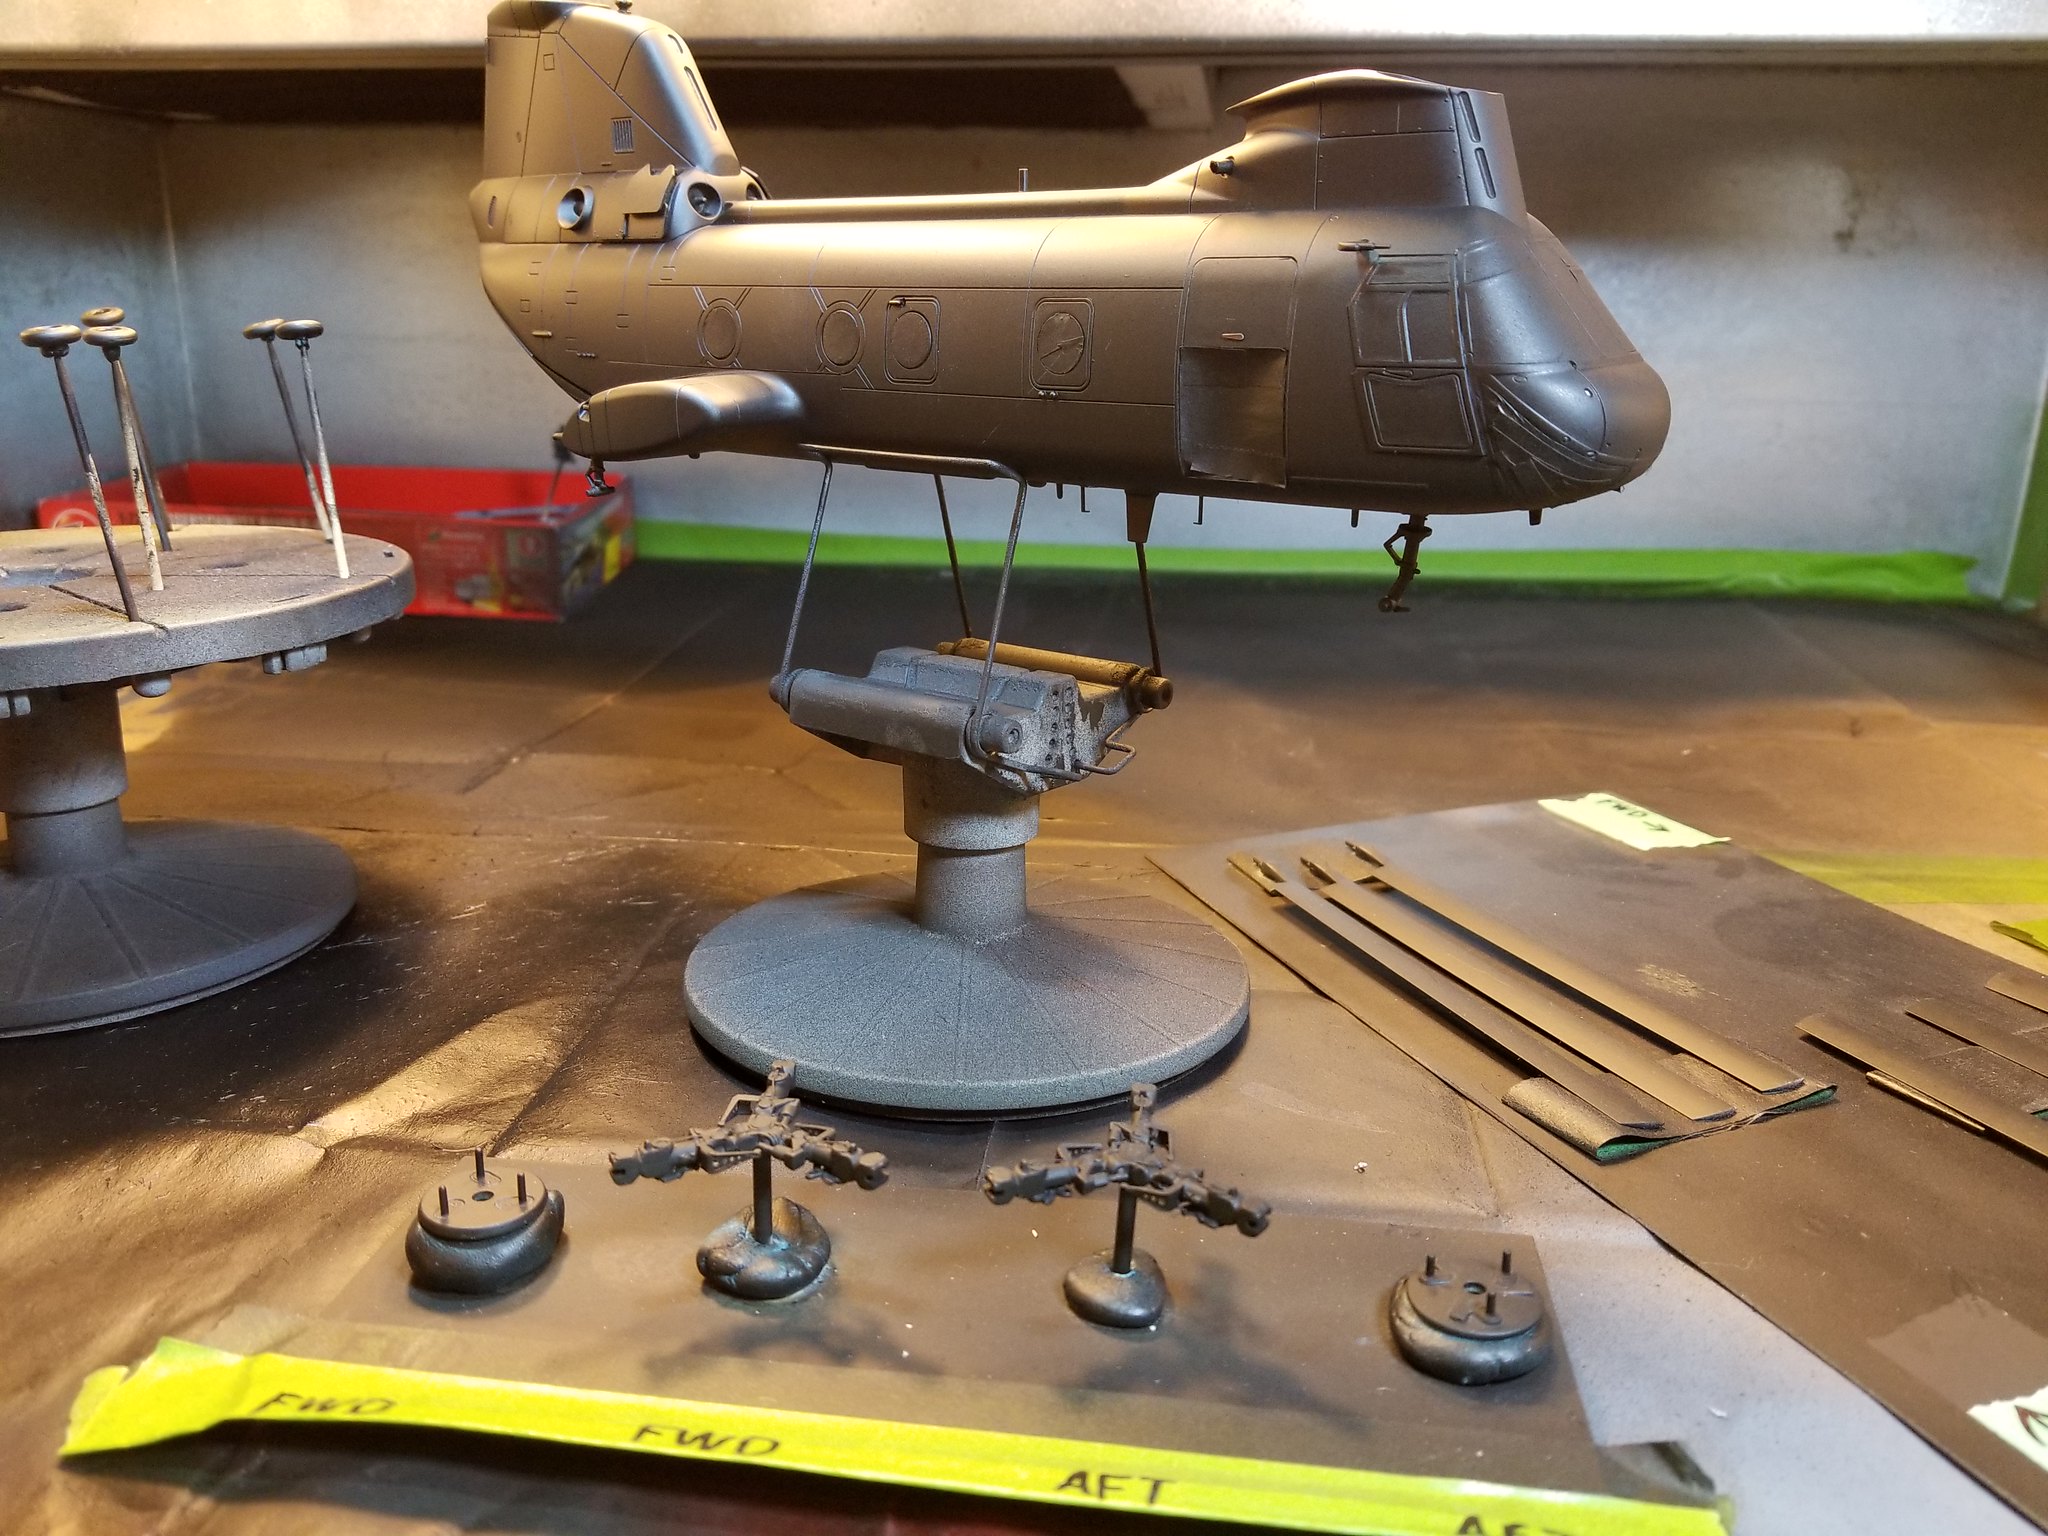
I’m just plugging away at a rate of about an hour a night. I’ve been working to smooth out the seams. The kit’s fit is quite good, but it takes a little sanding. I’ve had to choose my seam a couple of times. For instance, I’ve lined up the top of the fuselage to have a minimal seam, and I dealt with a slightly larger seam step on the bottom. I did the same with sponsons. Both sponsons go together as an assembly, which forms a saddle that mates to the bottom of the fuselage. It didn’t take too much work, but I’m happy with the seams and panel lines. External PE and details need attention before primer and paint. She looks like a Phrog.
 20180312_005240 by Christopher Ridle, on Flickr
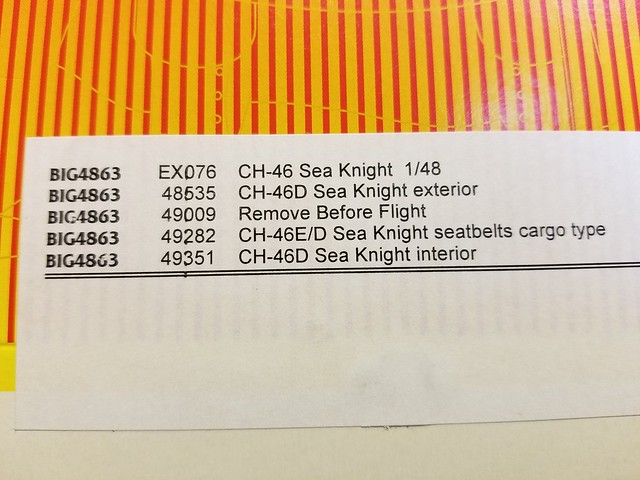 20180312_005146 by Christopher Ridle, on Flickr
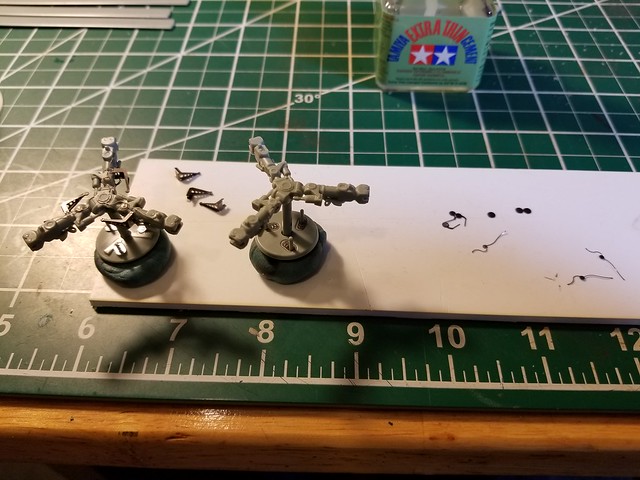 20180311_222219 by Christopher Ridle, on Flickr
 20180312_005129 by Christopher Ridle, on Flickr