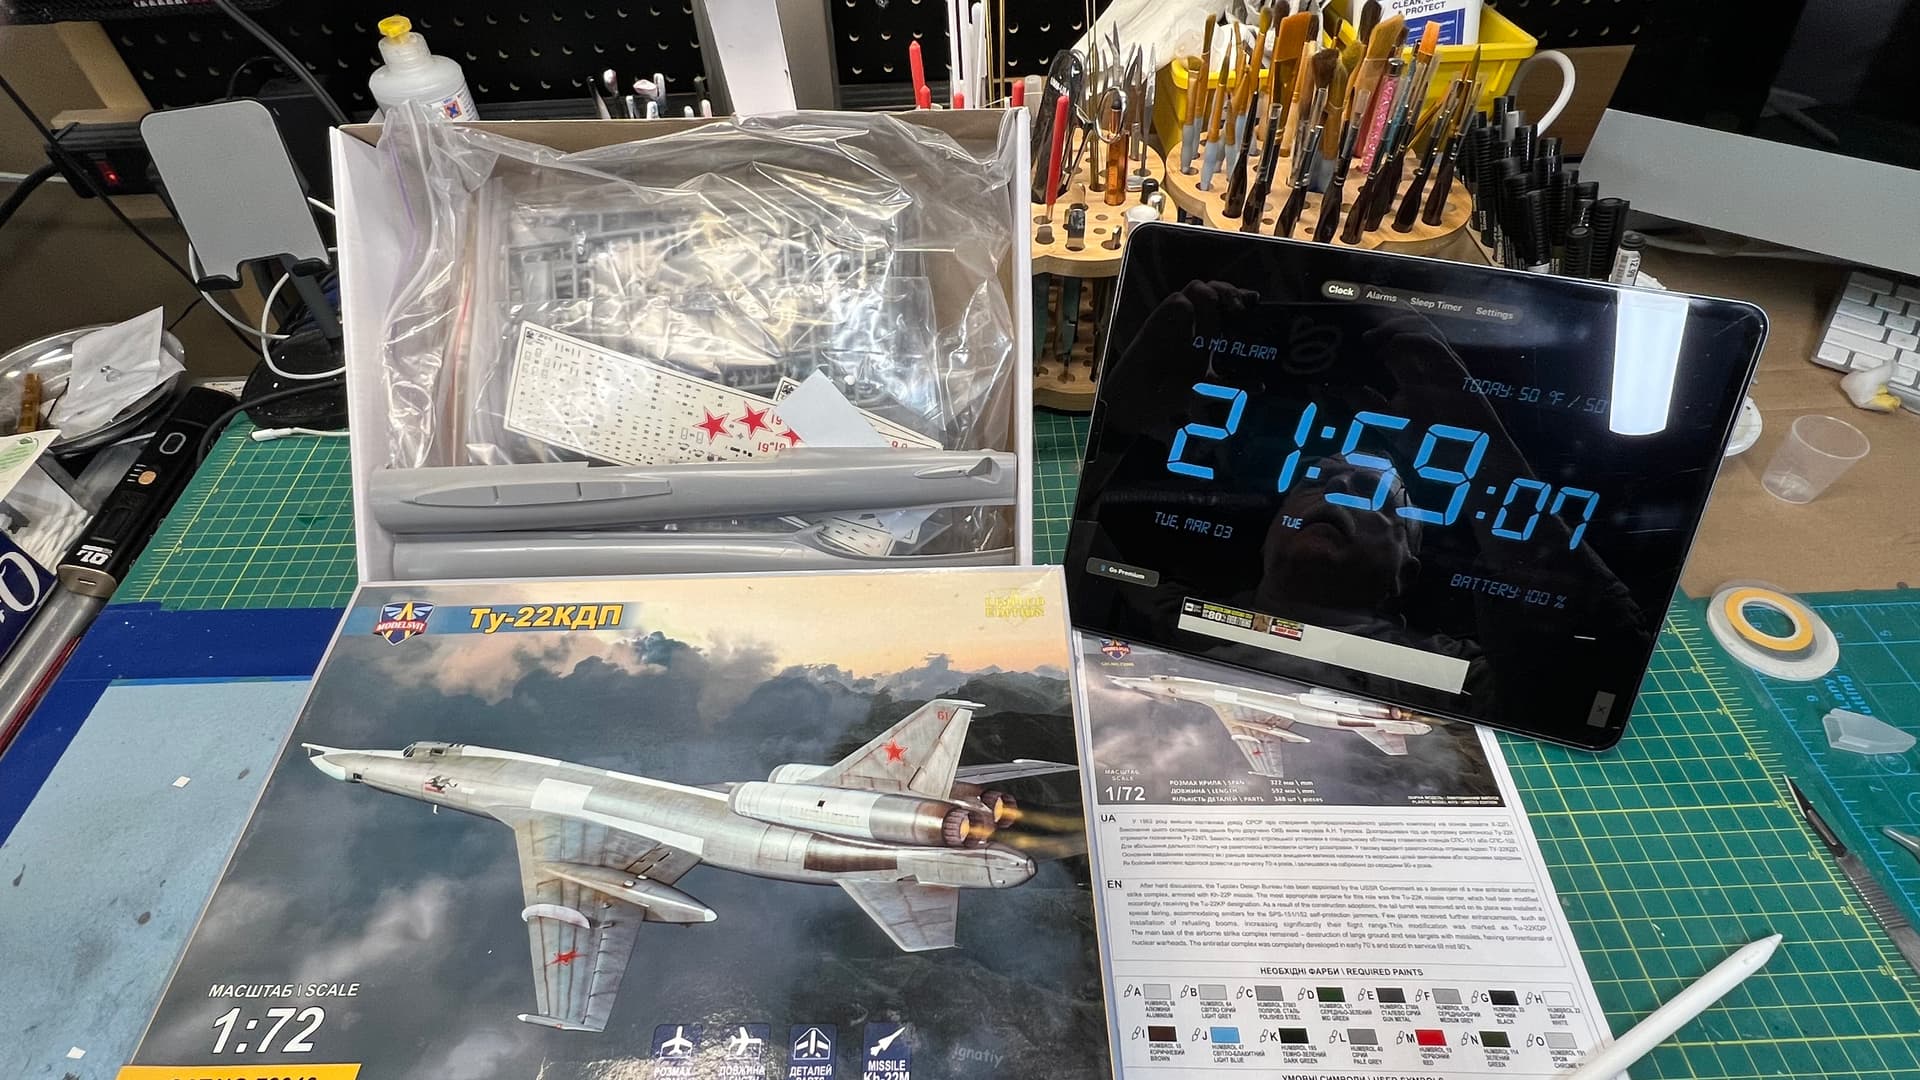
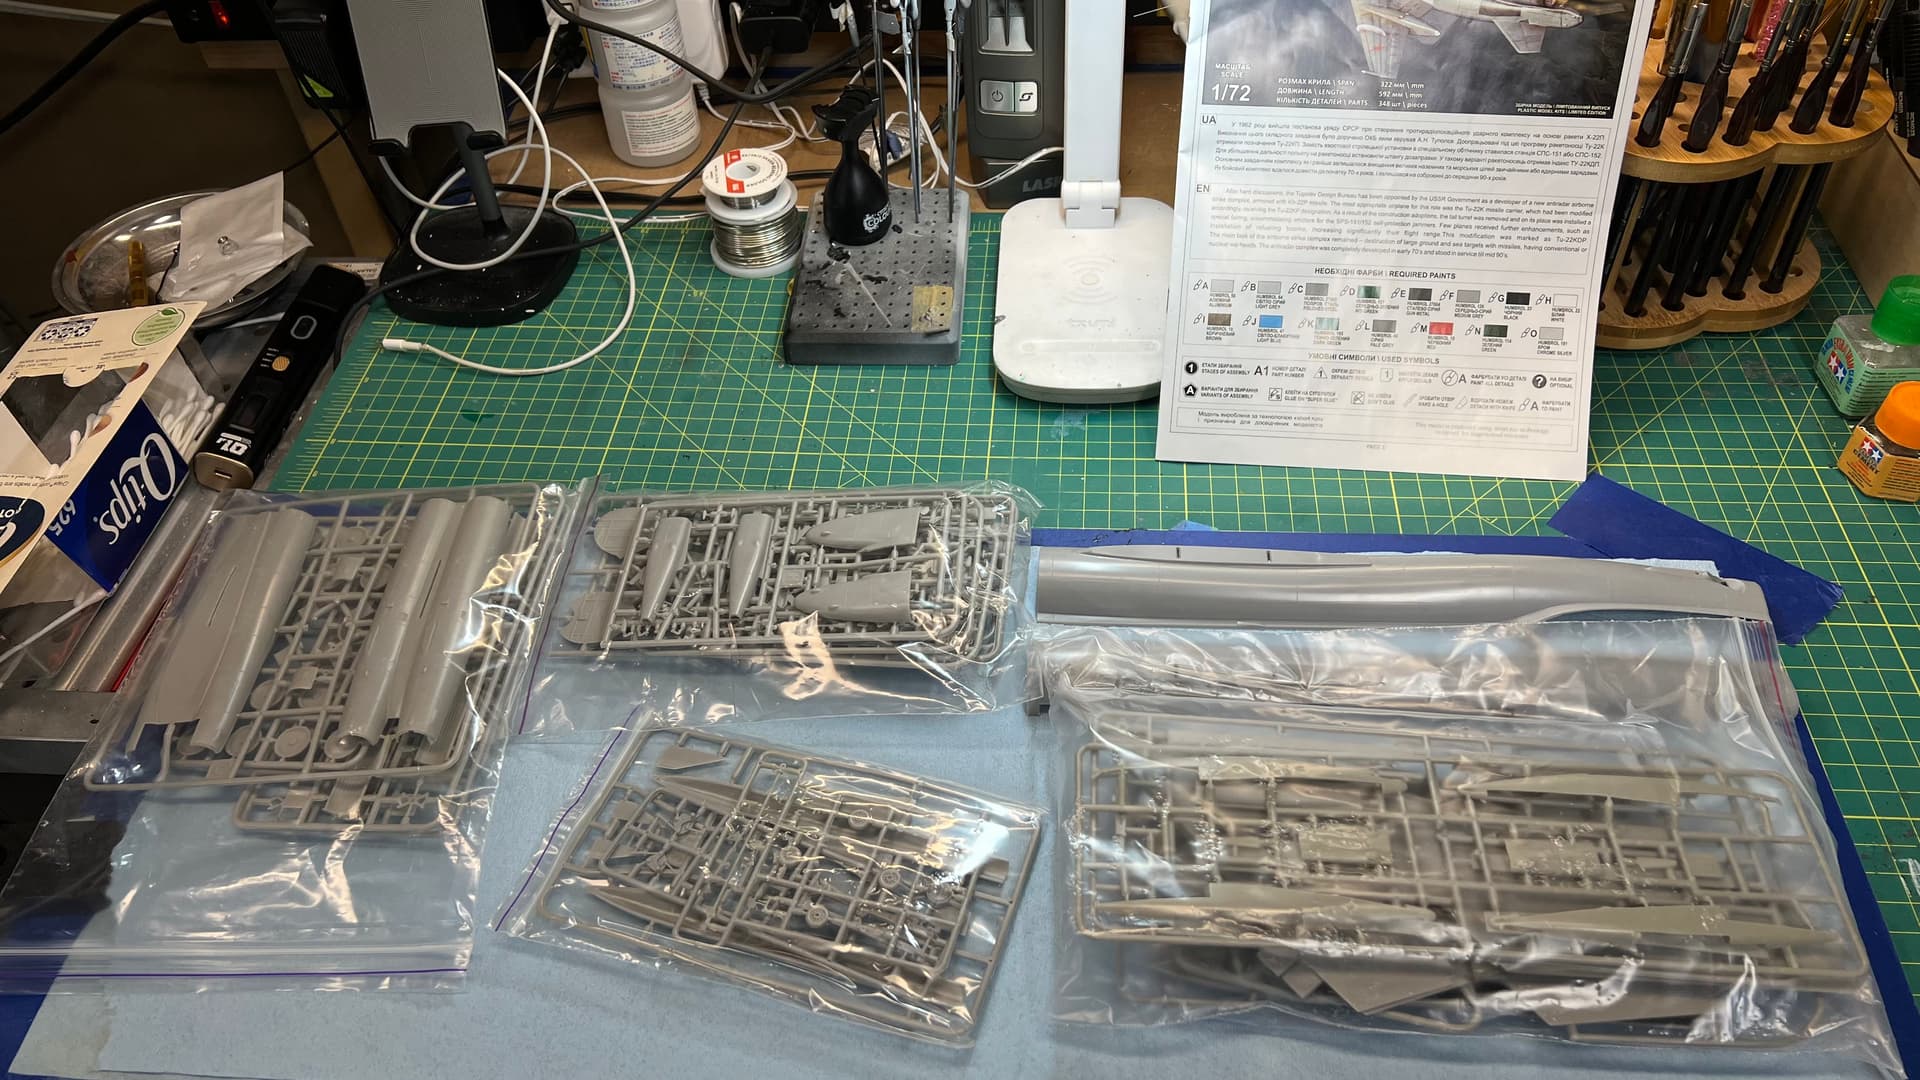
Diving into this limited run kit as part of a group build. Should be an interesting build…
13 Likes
That is a… lot of parts. Is 21:59 how much time has elapsed, or how much time you have left? 
Awesome-looking bird though – can’t wait to see it come together. I’ve been interested in Blinders ever since they made a memorable (fictional) raid on RAF Stornoway in the Tom Clancy novel Red Storm Rising.
Ah, the infamous “alcohol bomber”, where shaken crews could enjoy some de-icing fluid after a terrifying flight! The drinks were “on the house”, as the alcohol used in the Tu-22 was derived from potatoes or something like that.
The Tu-22 looked much faster than it was but had all the bad habits of a high-speed aircraft (demanding flight characteristics, high landing speed, and high maintenance). And the downward-firing ejector seats must have filled aircrews with dread. Still, it looks amazing, such a Soviet Cold War looking jet, with its pointy nose, NMF finish, and Tupolev-trademarked podded main gear.
Bookmarked!
2 Likes
Wow - I’ve never seen that plane. What an interesting subject.
1 Like
Timestamp for the groupbuild
1 Like
Good luck on your build! And remember - Modelsvit kits fit perfectly. You just have to straighten warped parts and remove the plastic that doesn’t belong!
Actually, I have found that to actually be true. Like any kit, parts prep and test fitting are key. Like Ronald Reagan said, trust, but verify.
1 Like
He was citing V.I. Lenin again… Who he liked to call “Nikolay Lenin” - weird…
Anyway, this rule is very useful in modelling and in building almost anything really, including software.
That was originally by Lenin? I didn’t know.
I have found this bit of advice valuable and true while attempting to build the A-Model Beriev Be-10. The fit is really good if you can straighten out the big pieces and true up the parts. Wrestling the fuselage and engine pod together wore me out.
But I really should get back on it. Like the Tu-22, you don’t see a model of a Be-10 every day.
Few minor fit challenges so far - lots ofcseam work. Still nothing like the absolute crap show Mach2 models are 
Seamwork, or screamwork? I hope it’s the former! 
Mach Ptoo? Yeah, anybody on Youtube doing a “worst kit of my life” using a Hasegawa or Tamiya kit should be forced to build a Mach 2 kit under the watchful eyes of a team ready to start caning him the moment he stops and sobs “I can’t do this!!!”
I wish the best for your build though! And no guys will be waiting to cane you!
1 Like
WIP on the Workbench
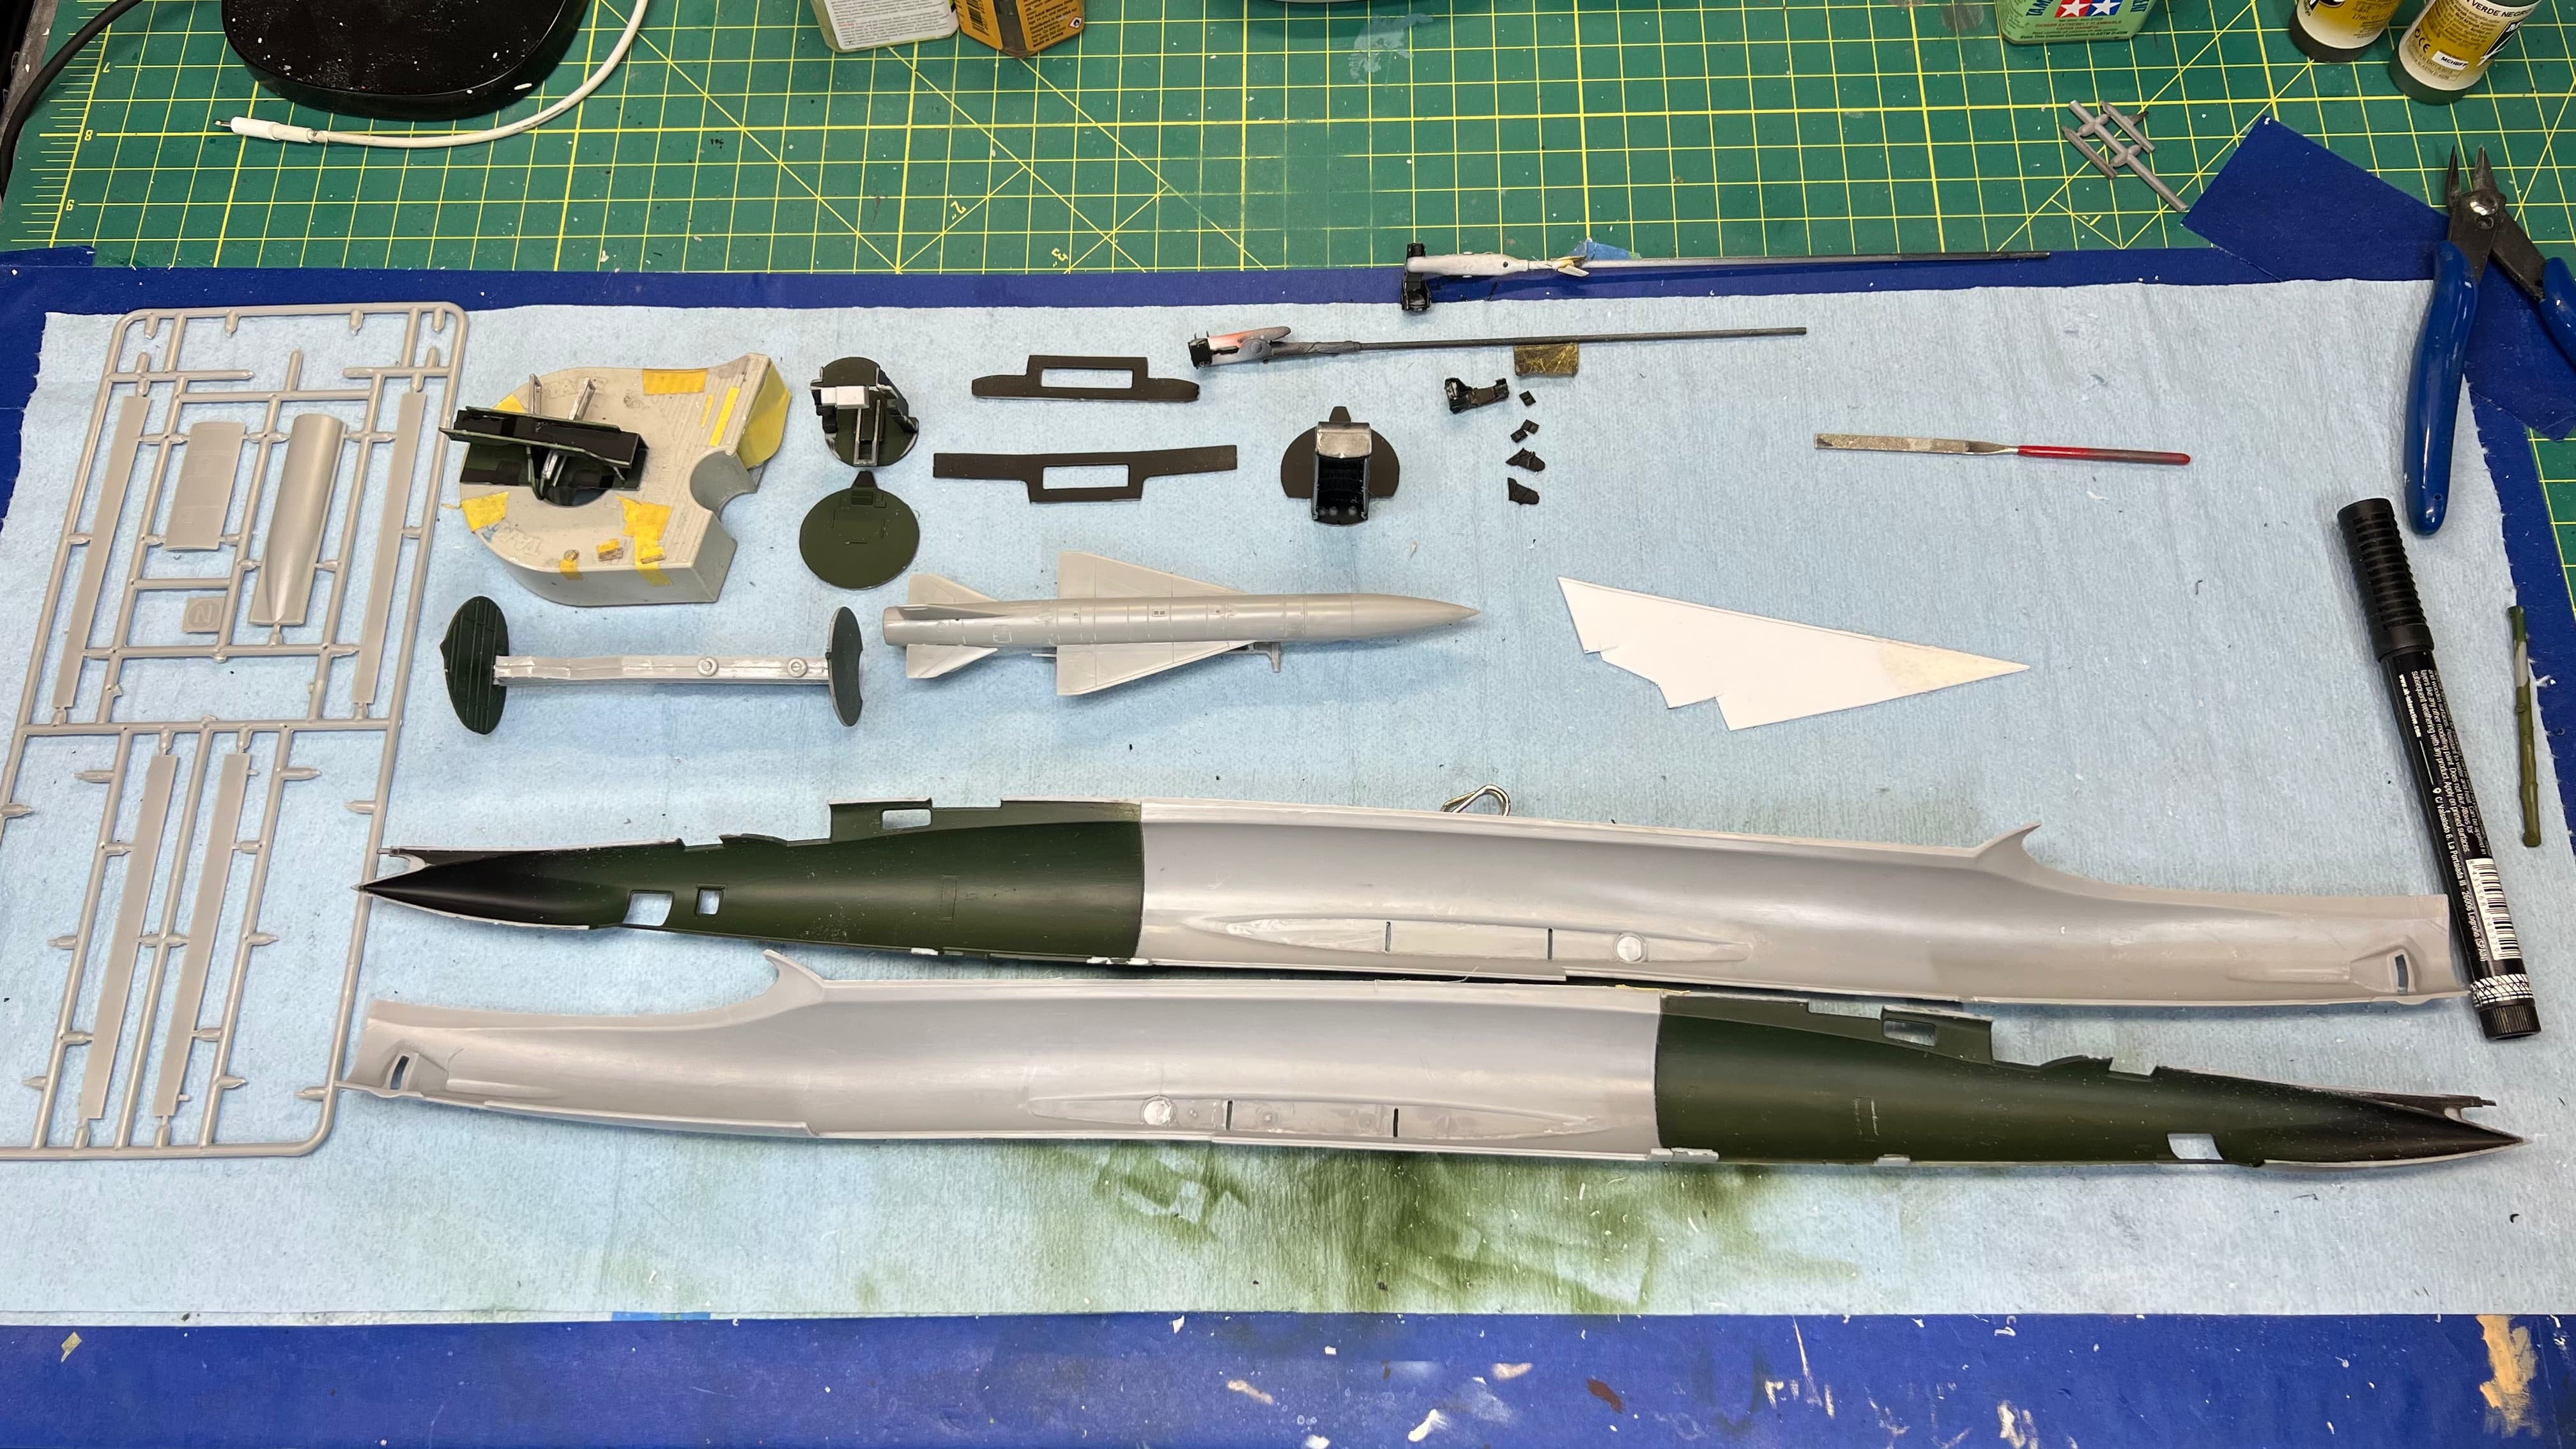
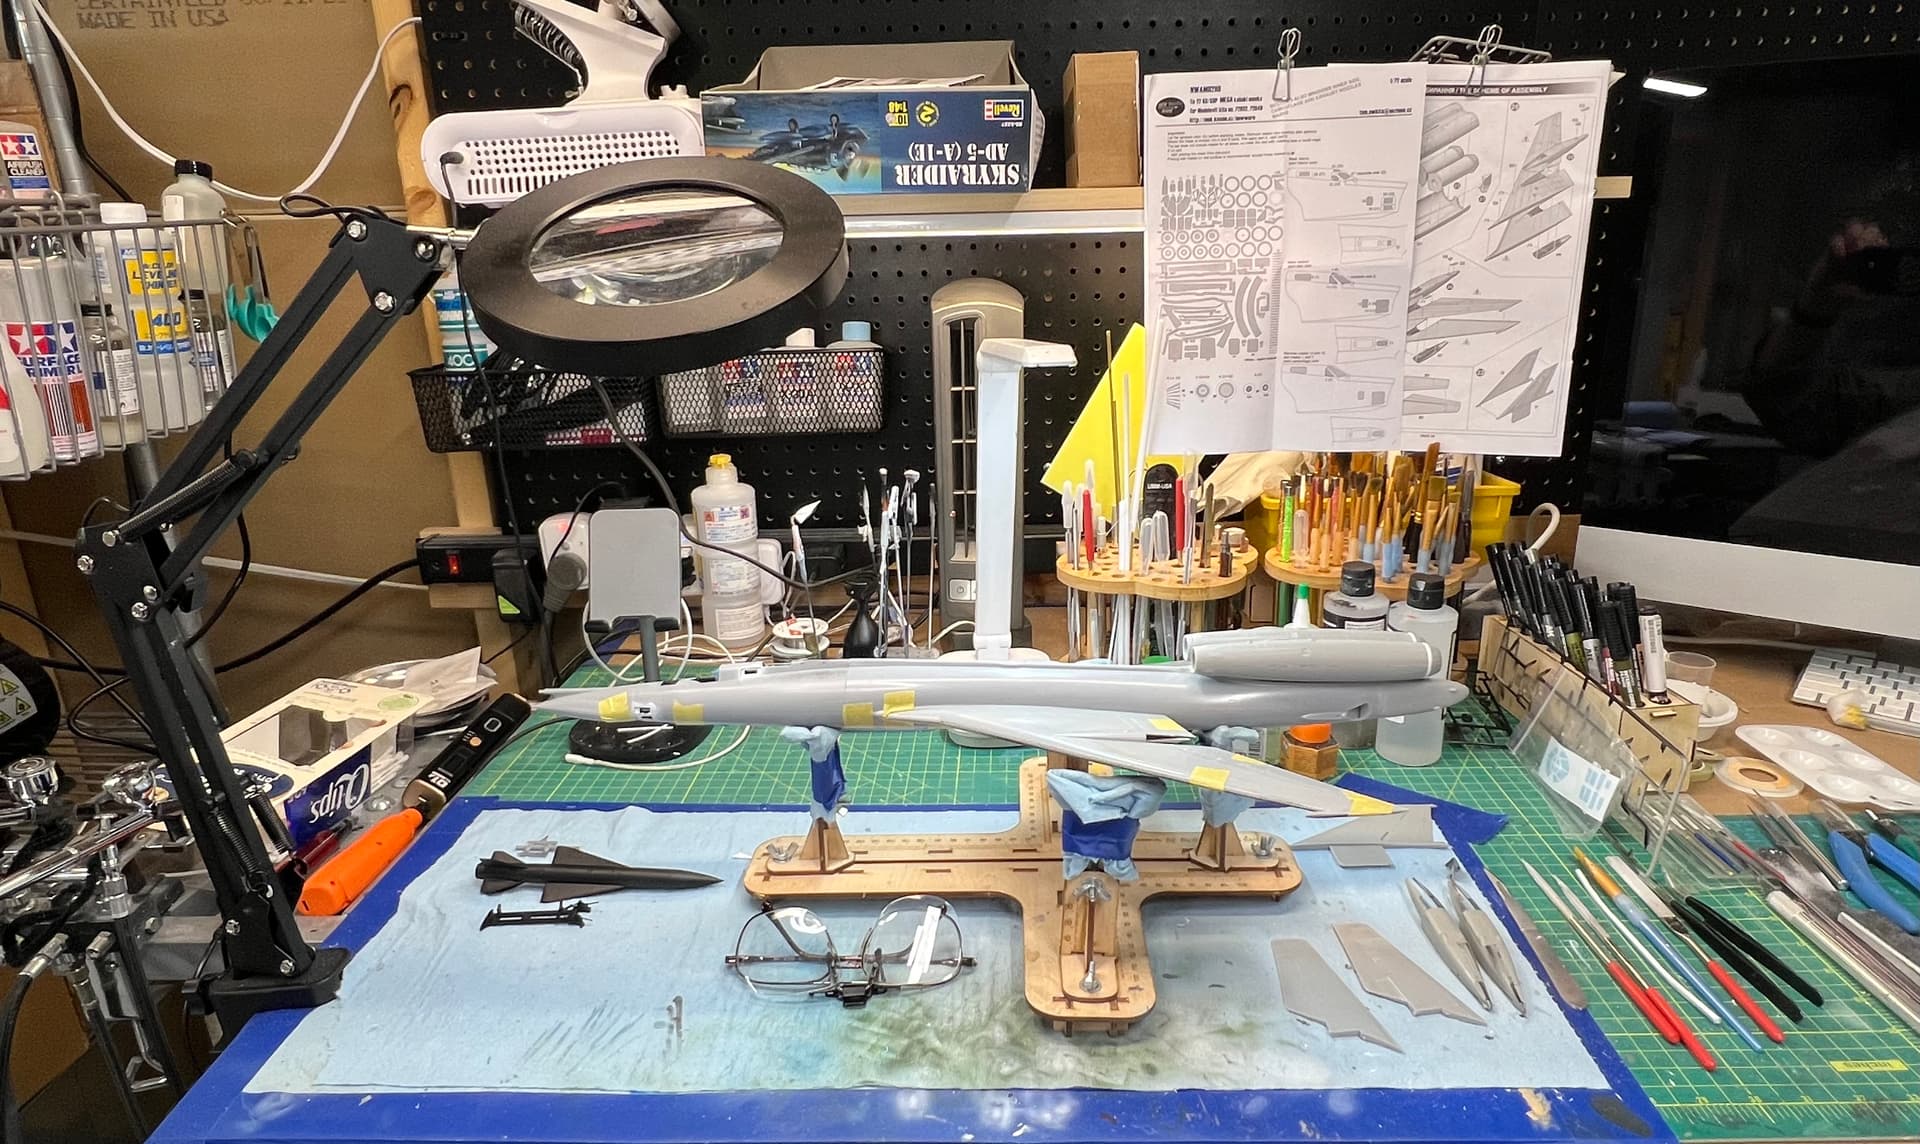
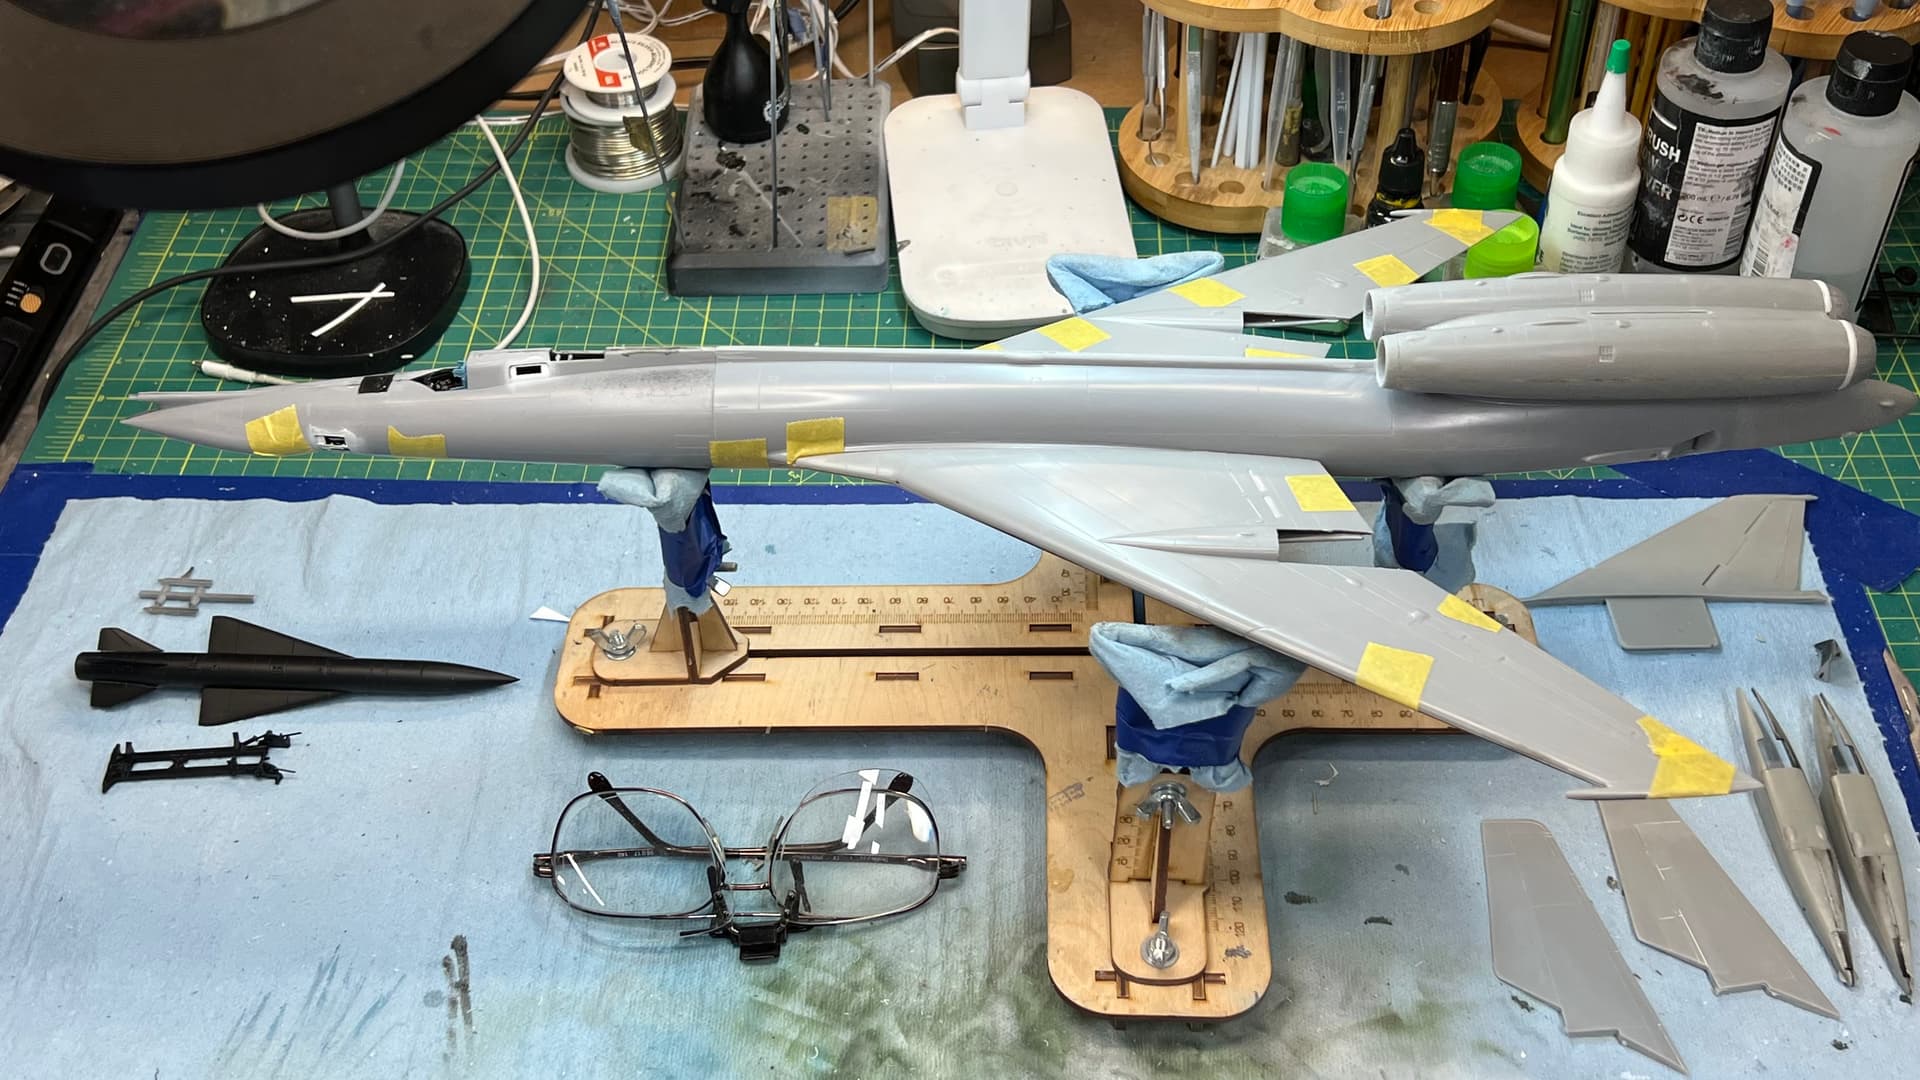
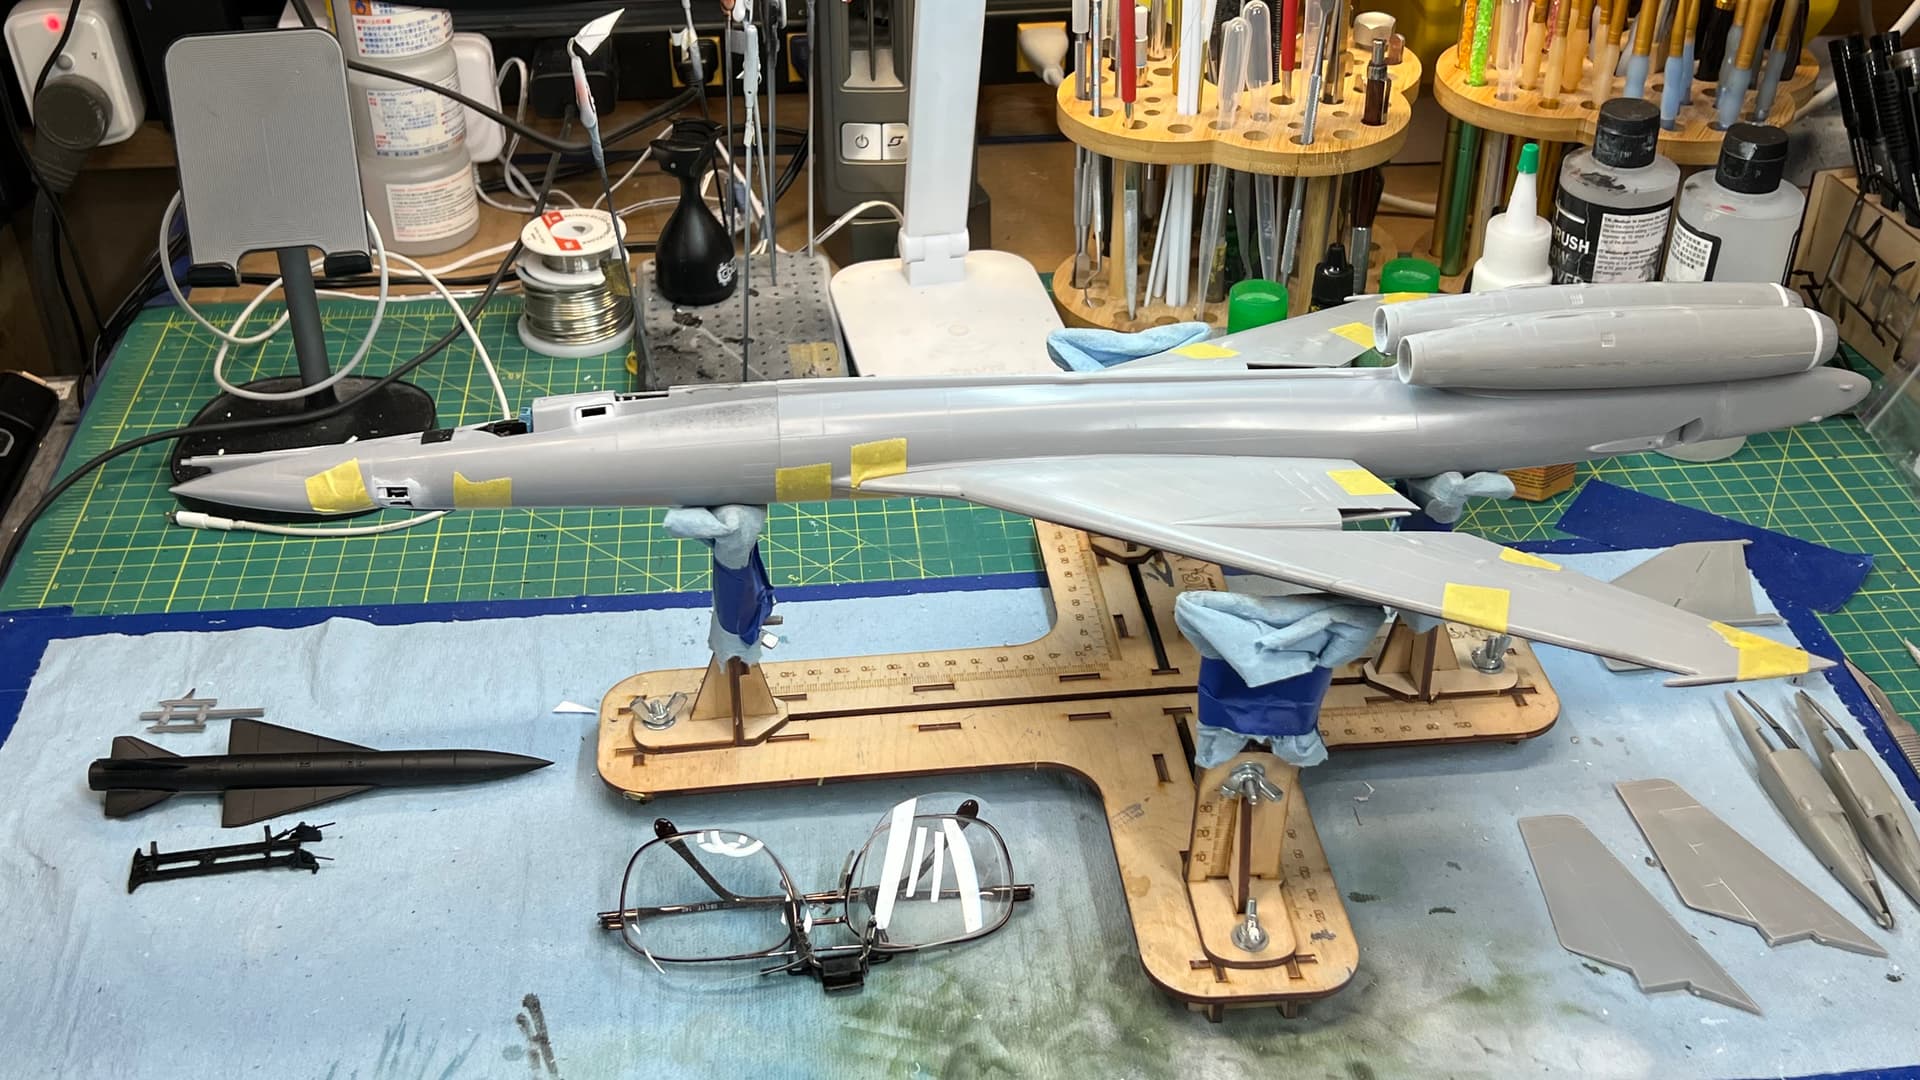
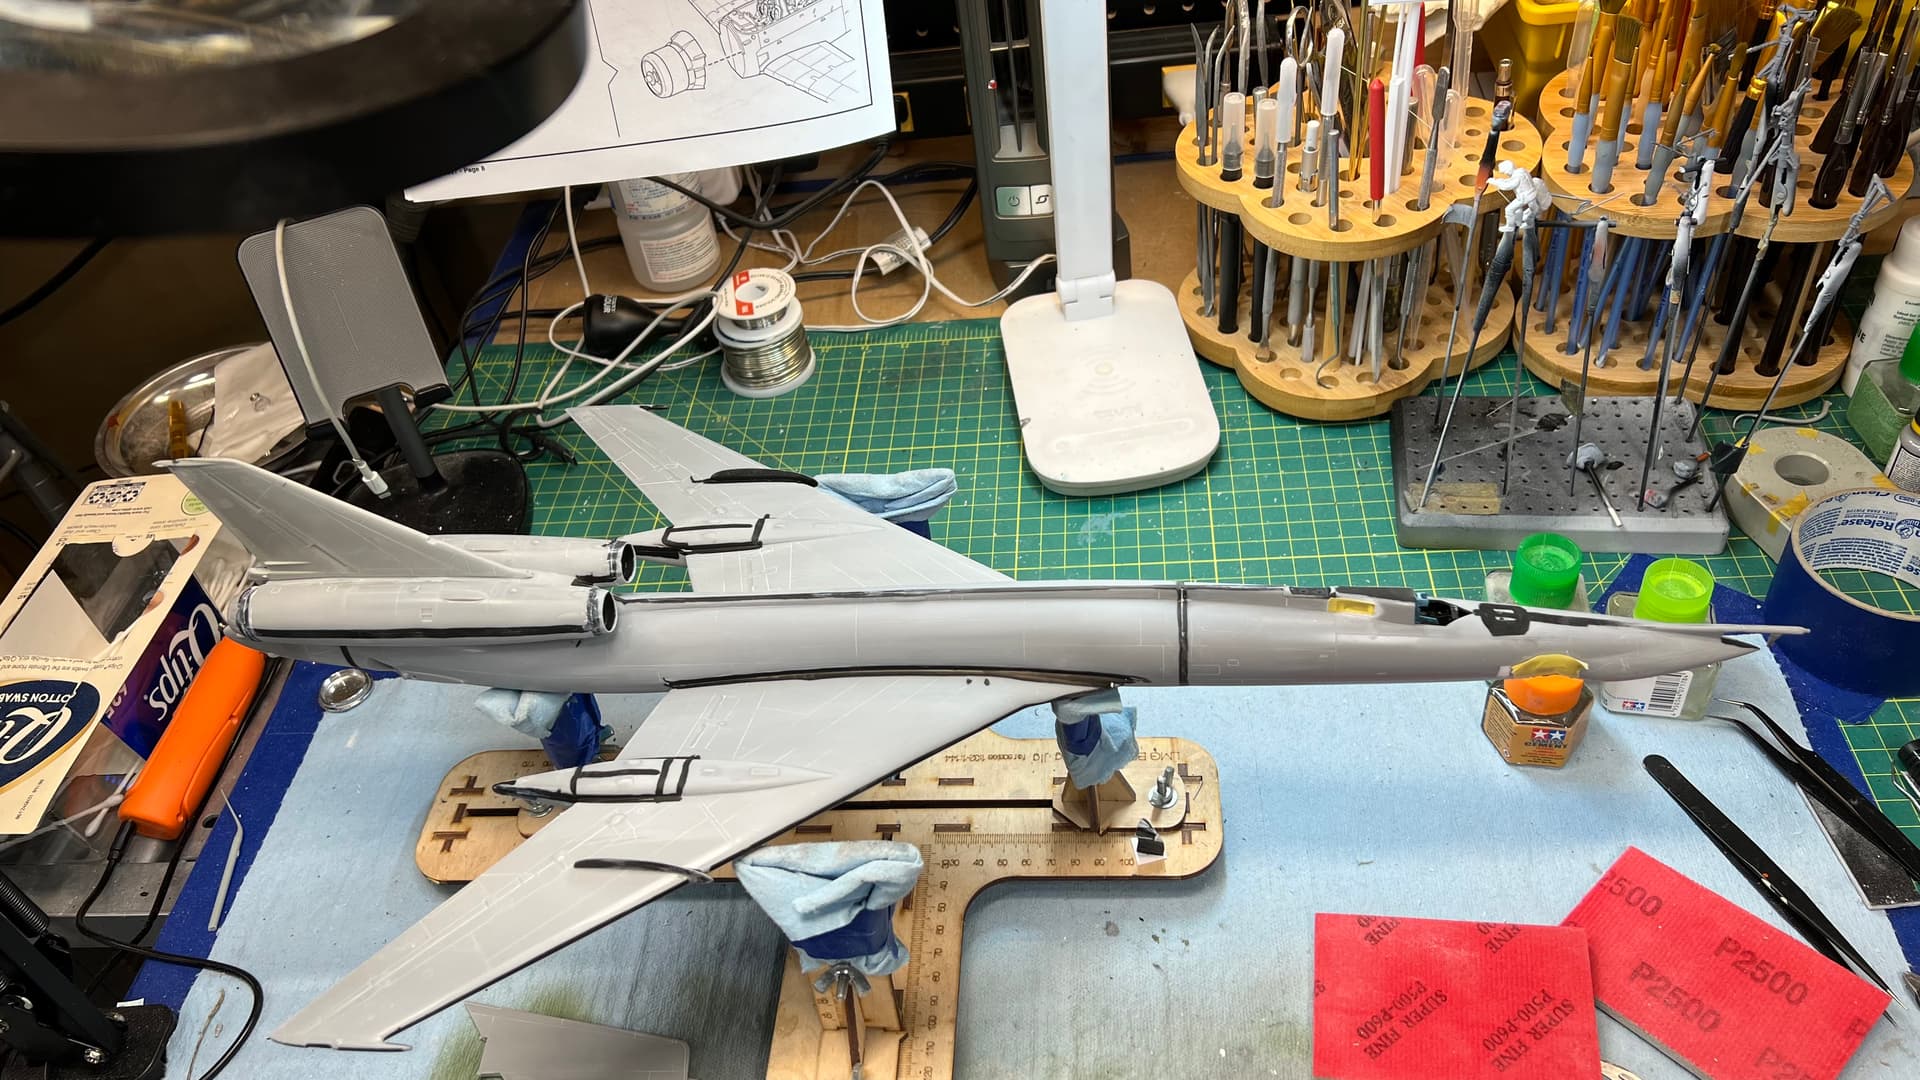
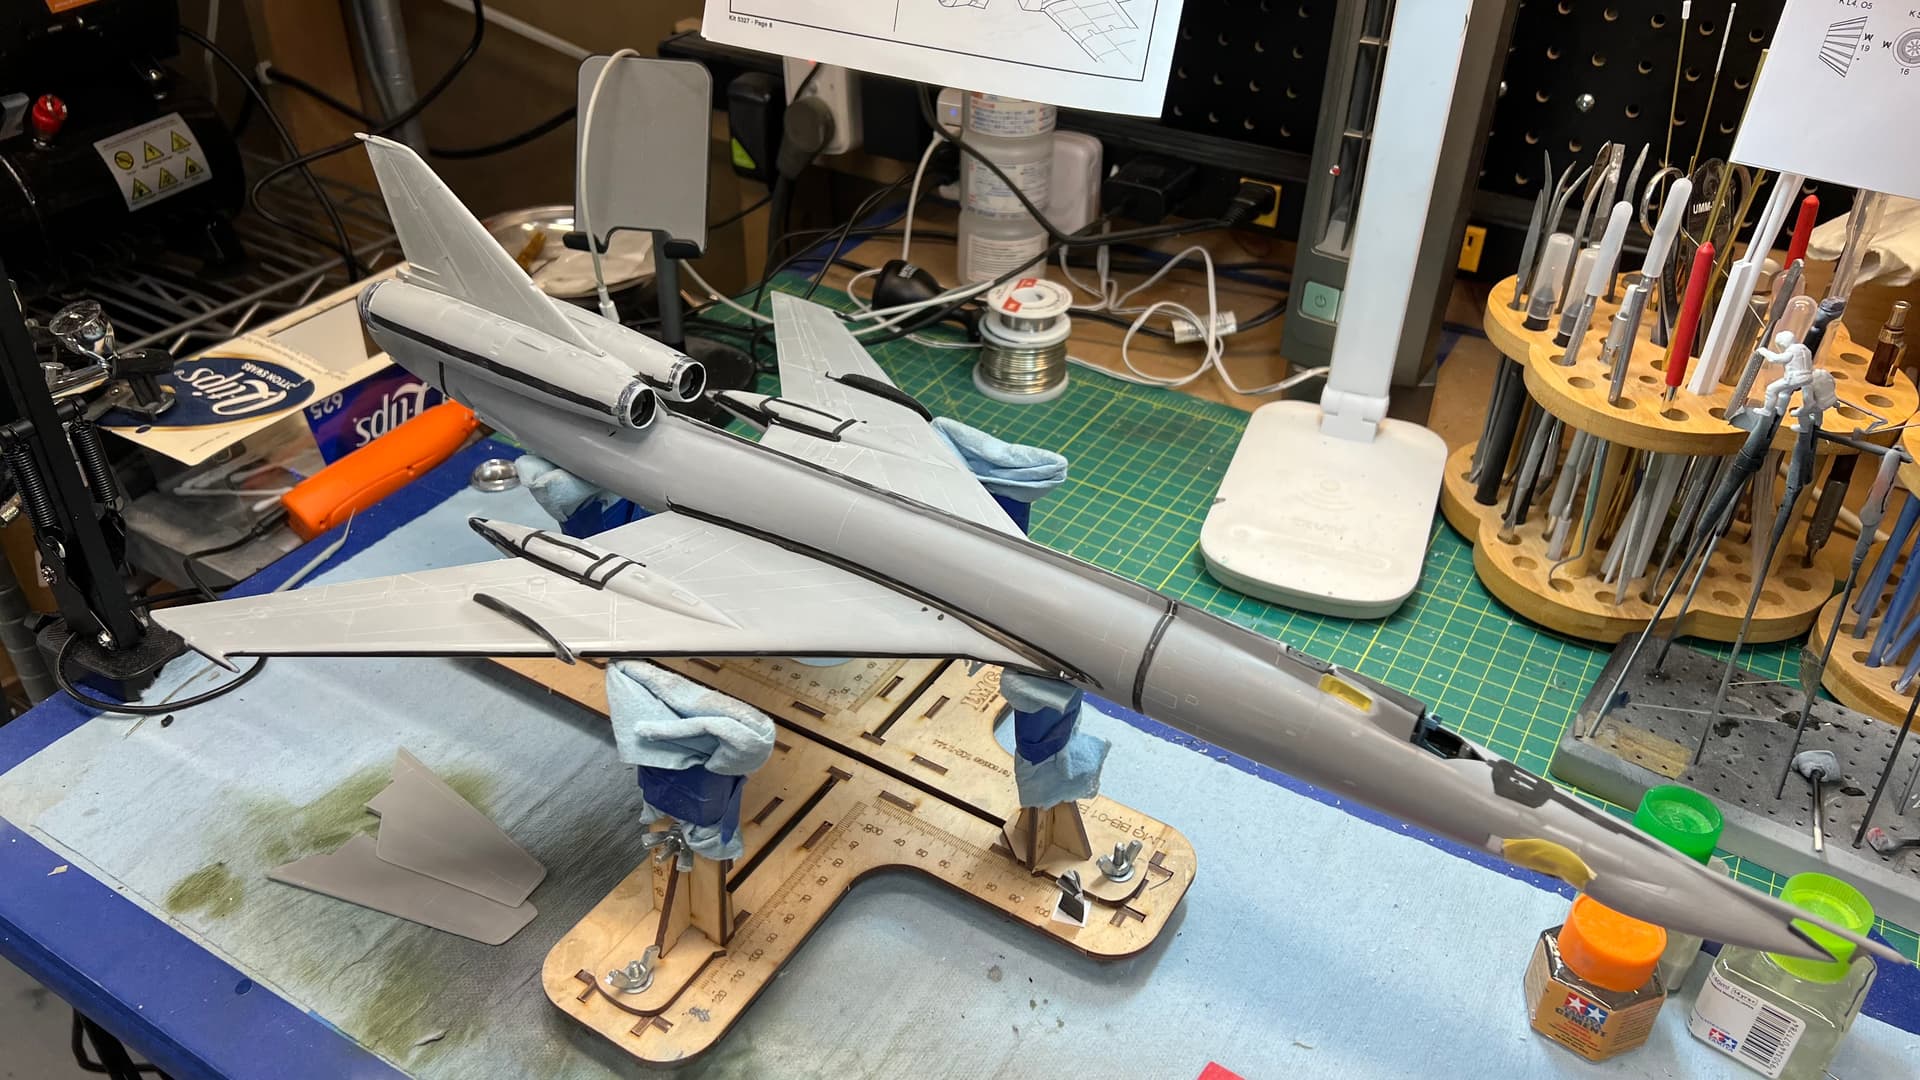
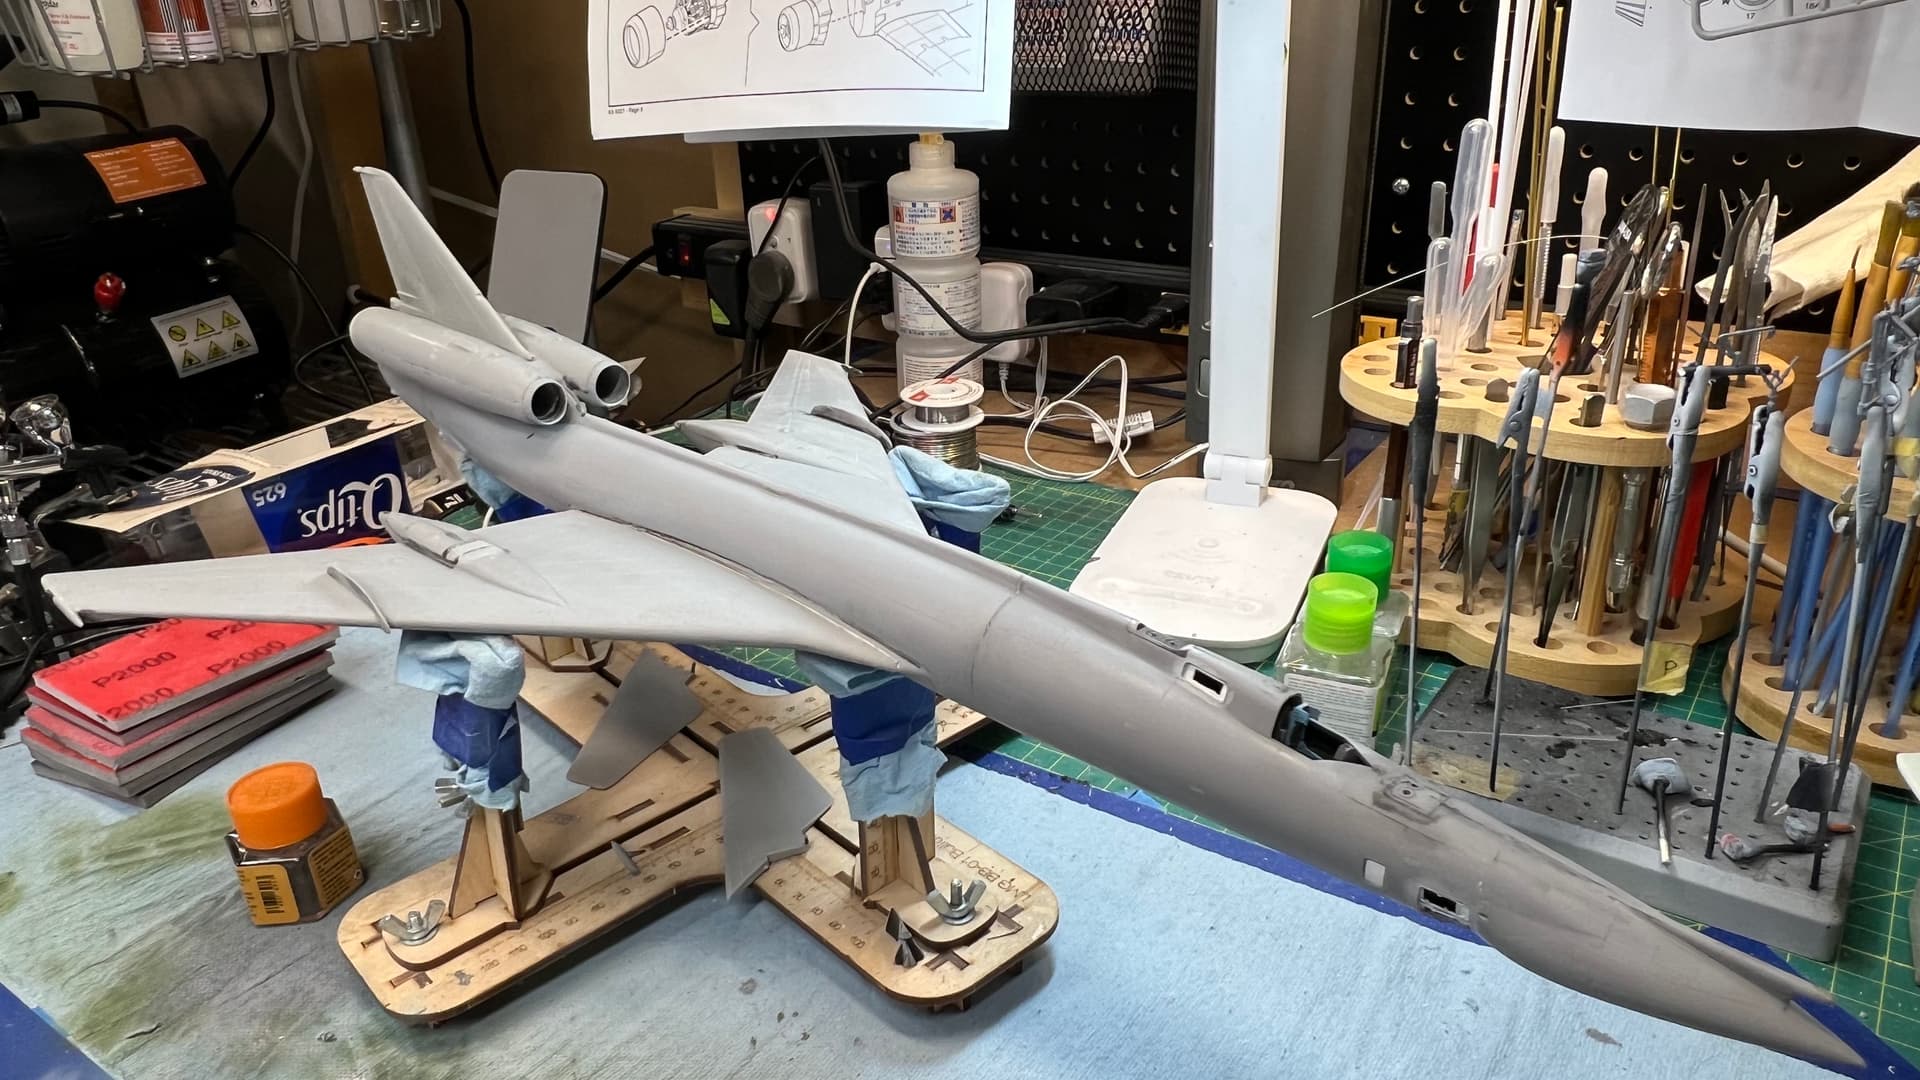
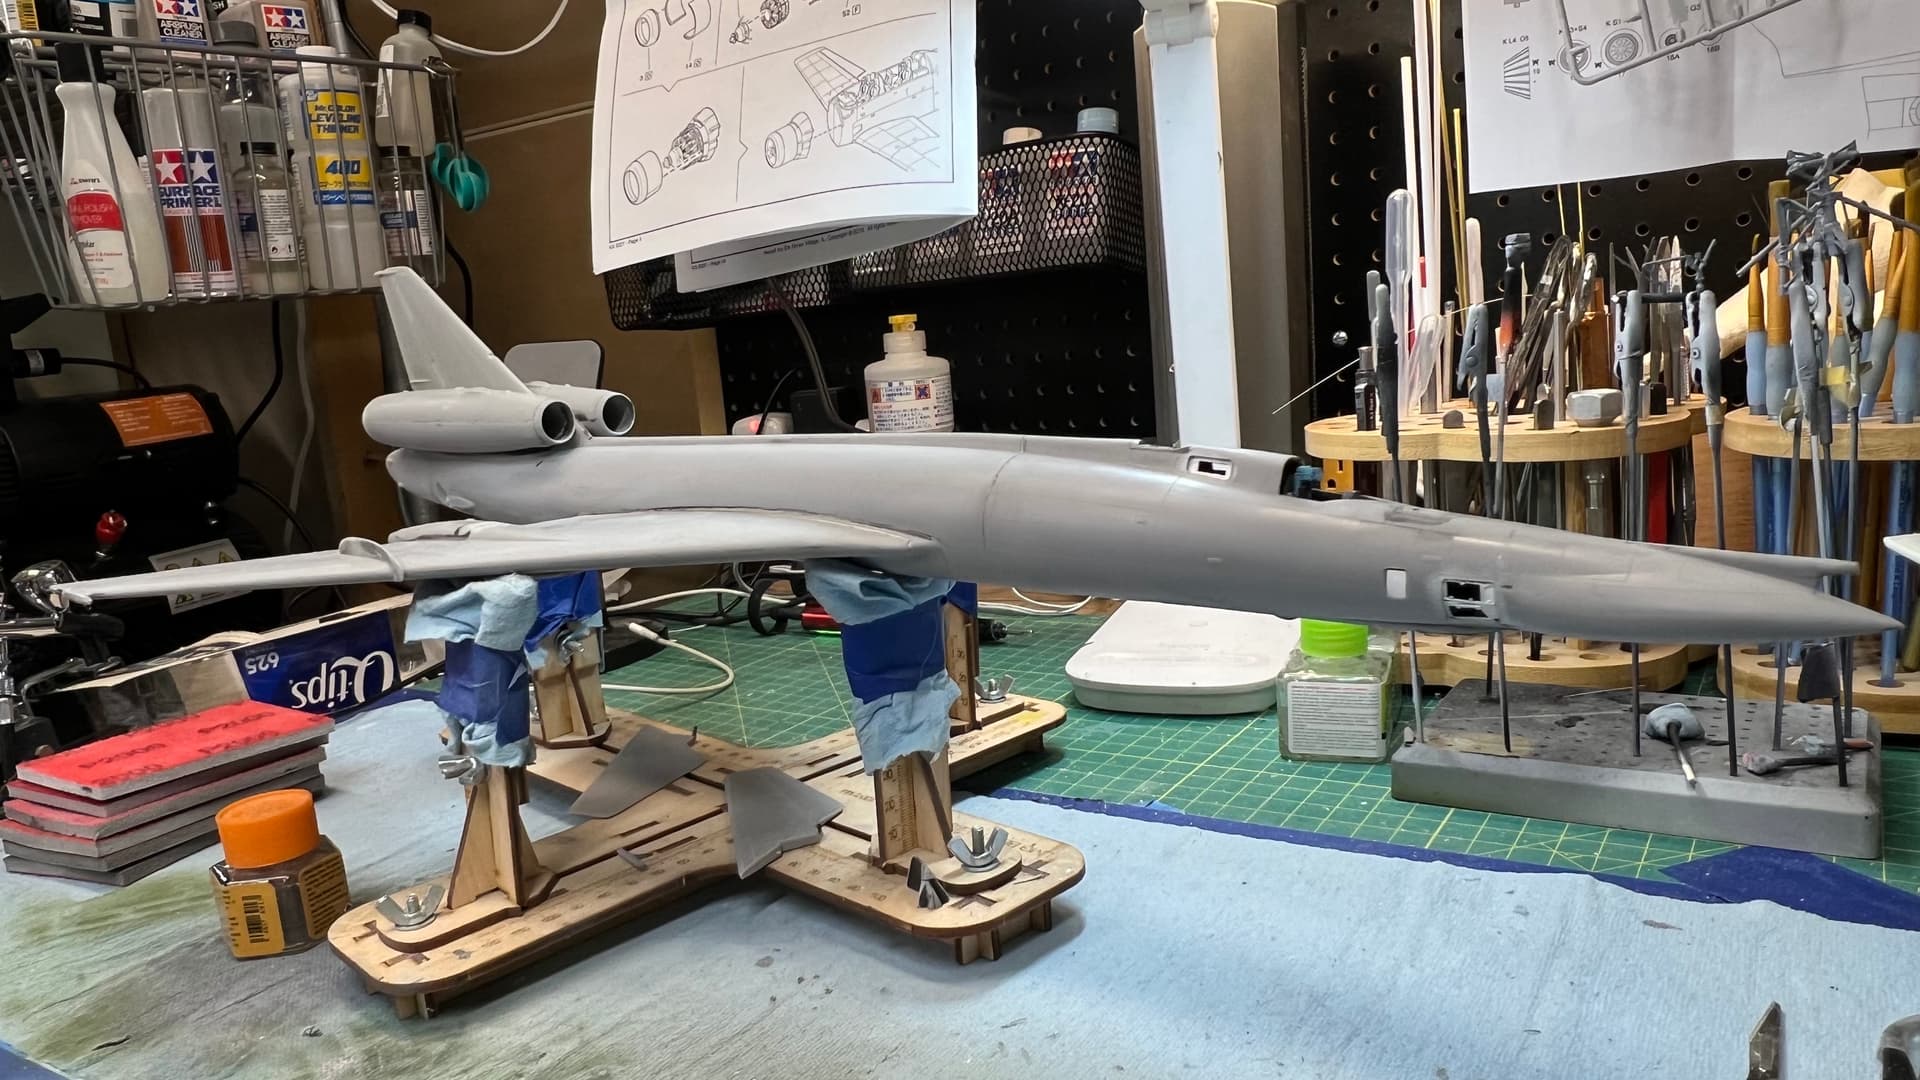
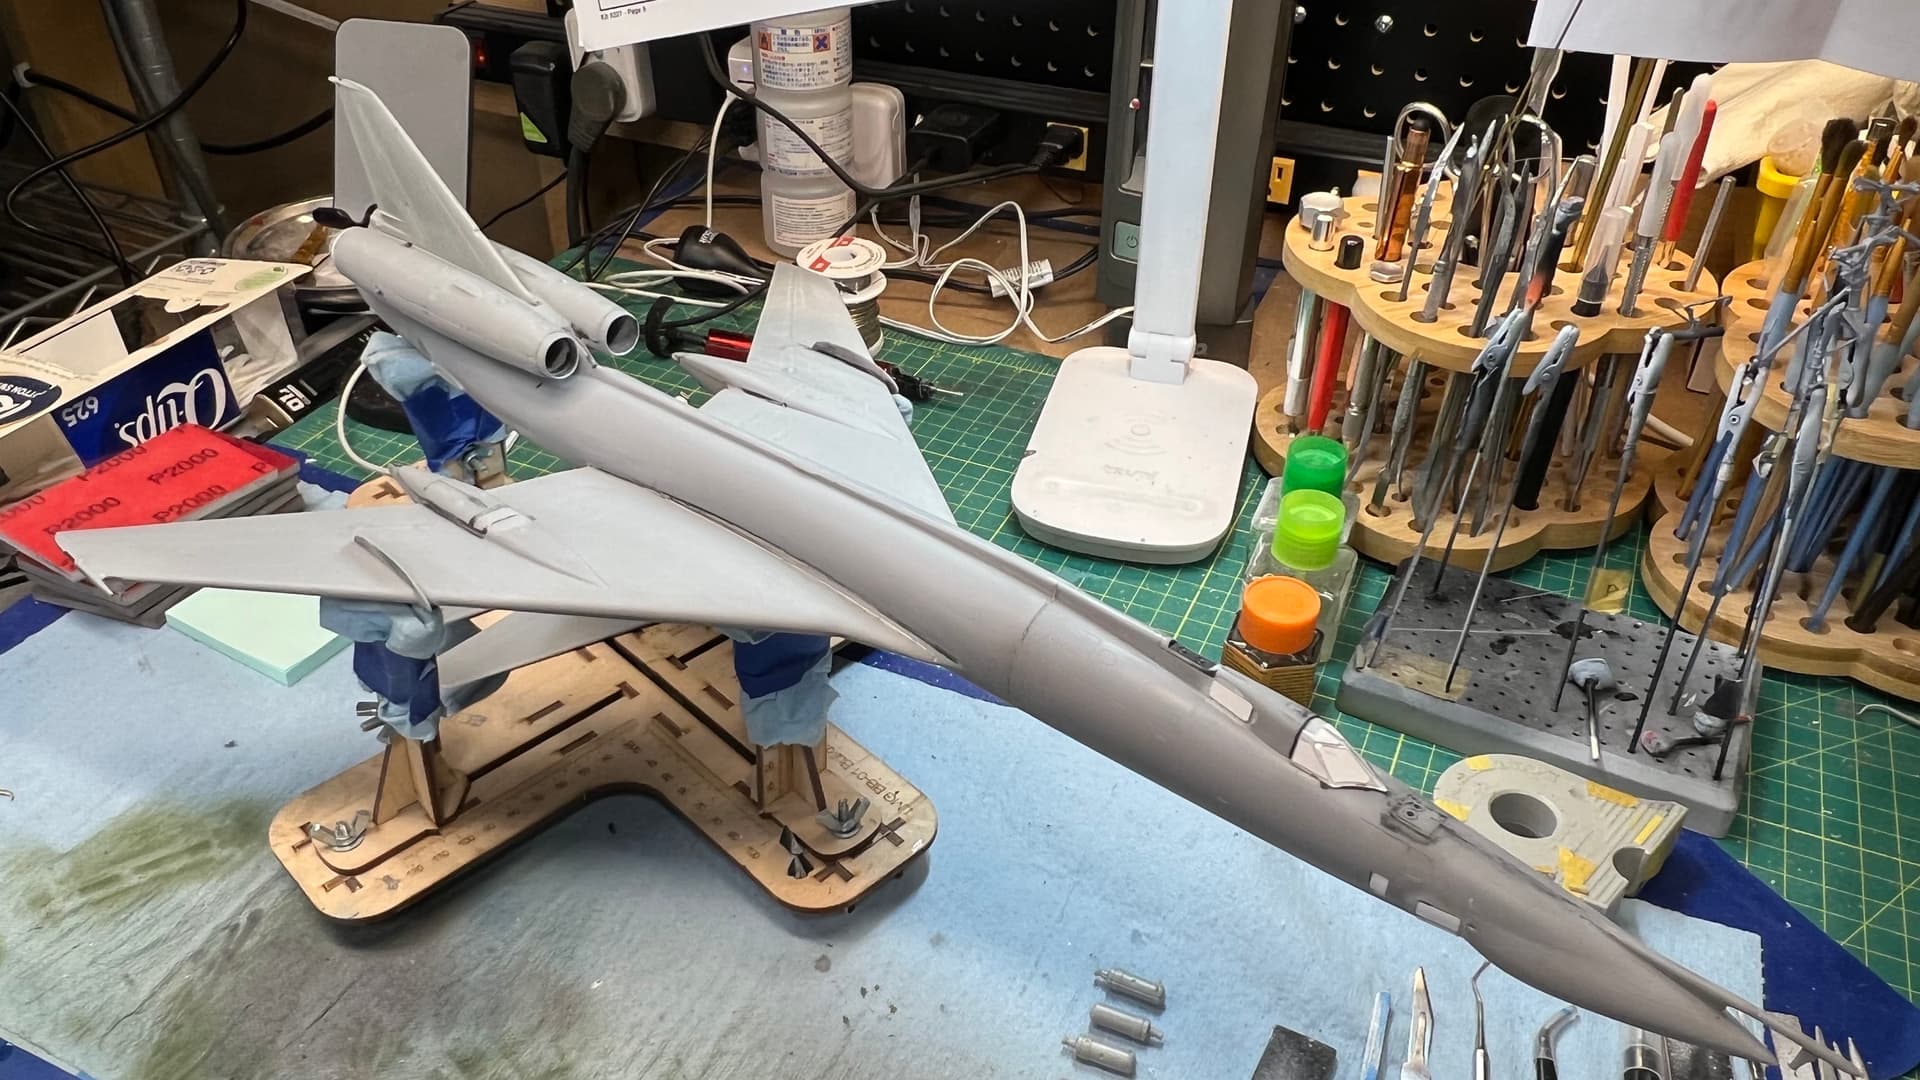
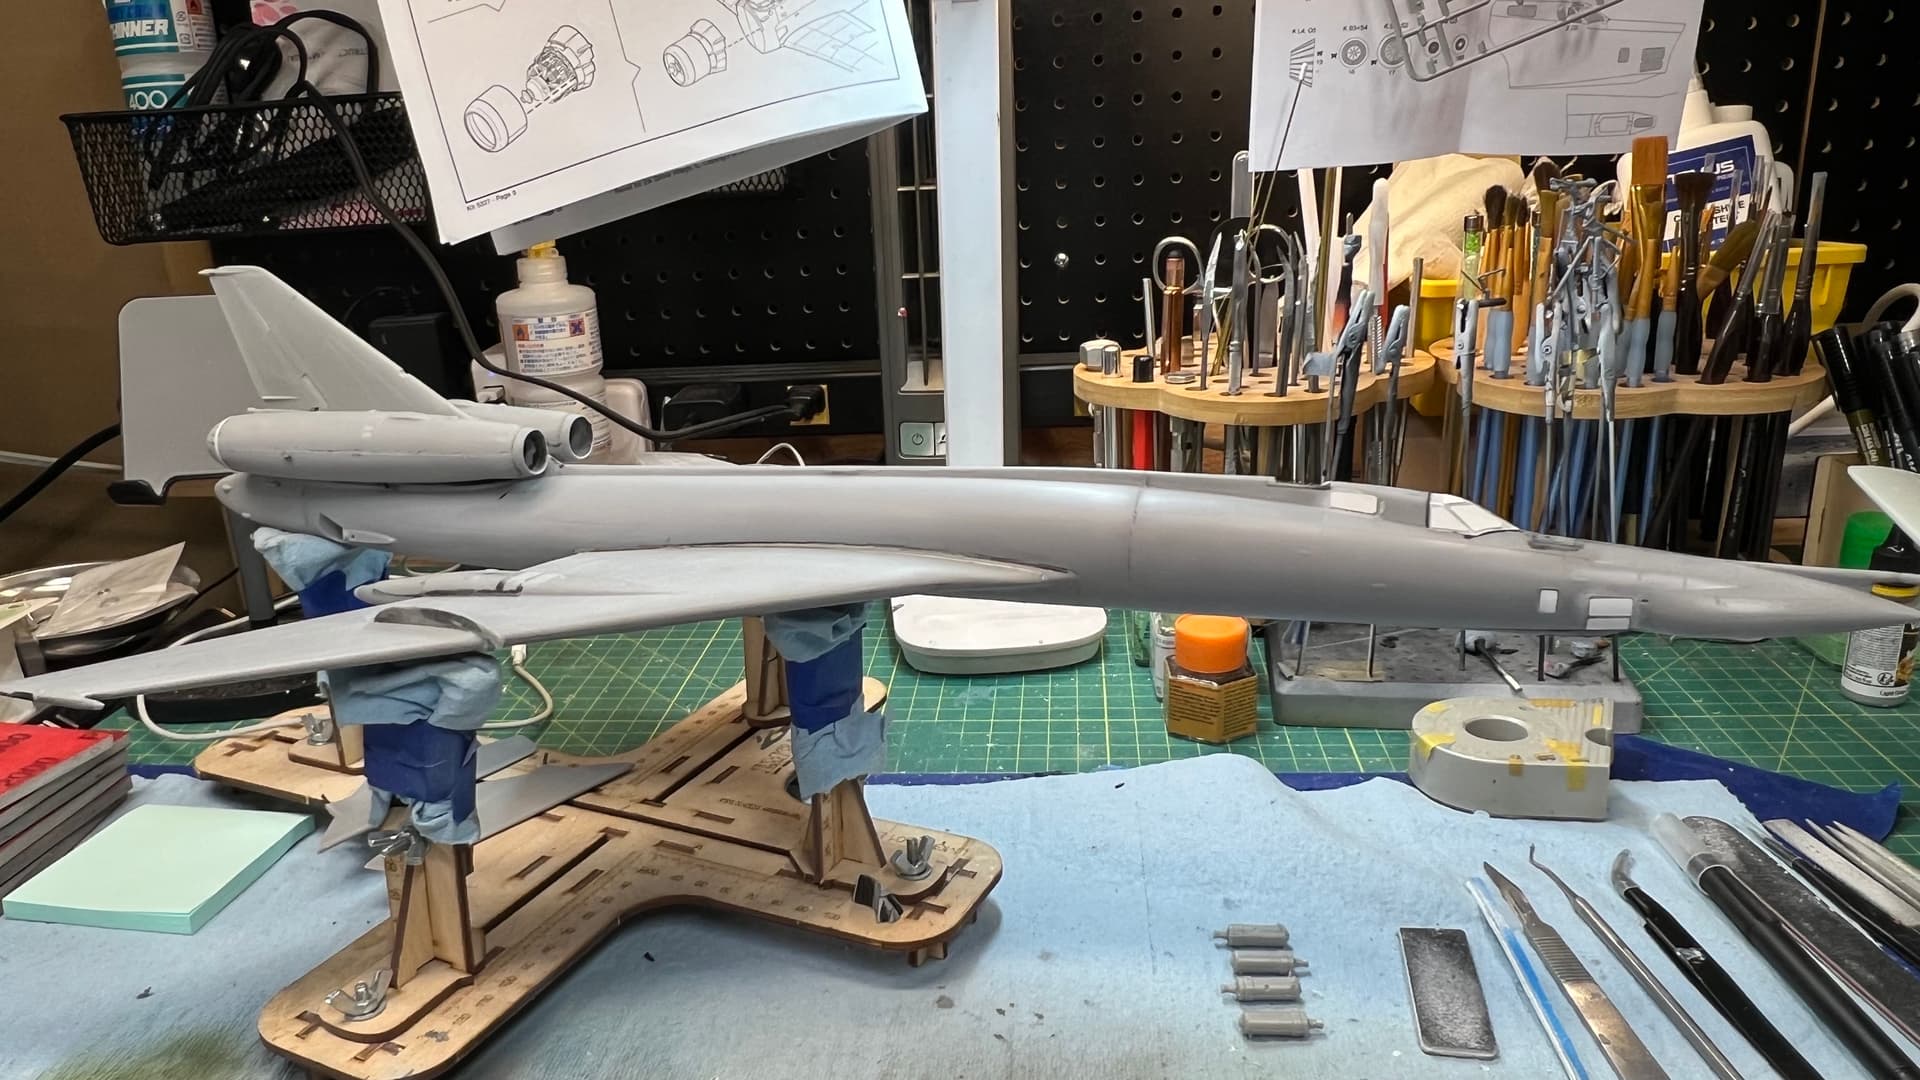
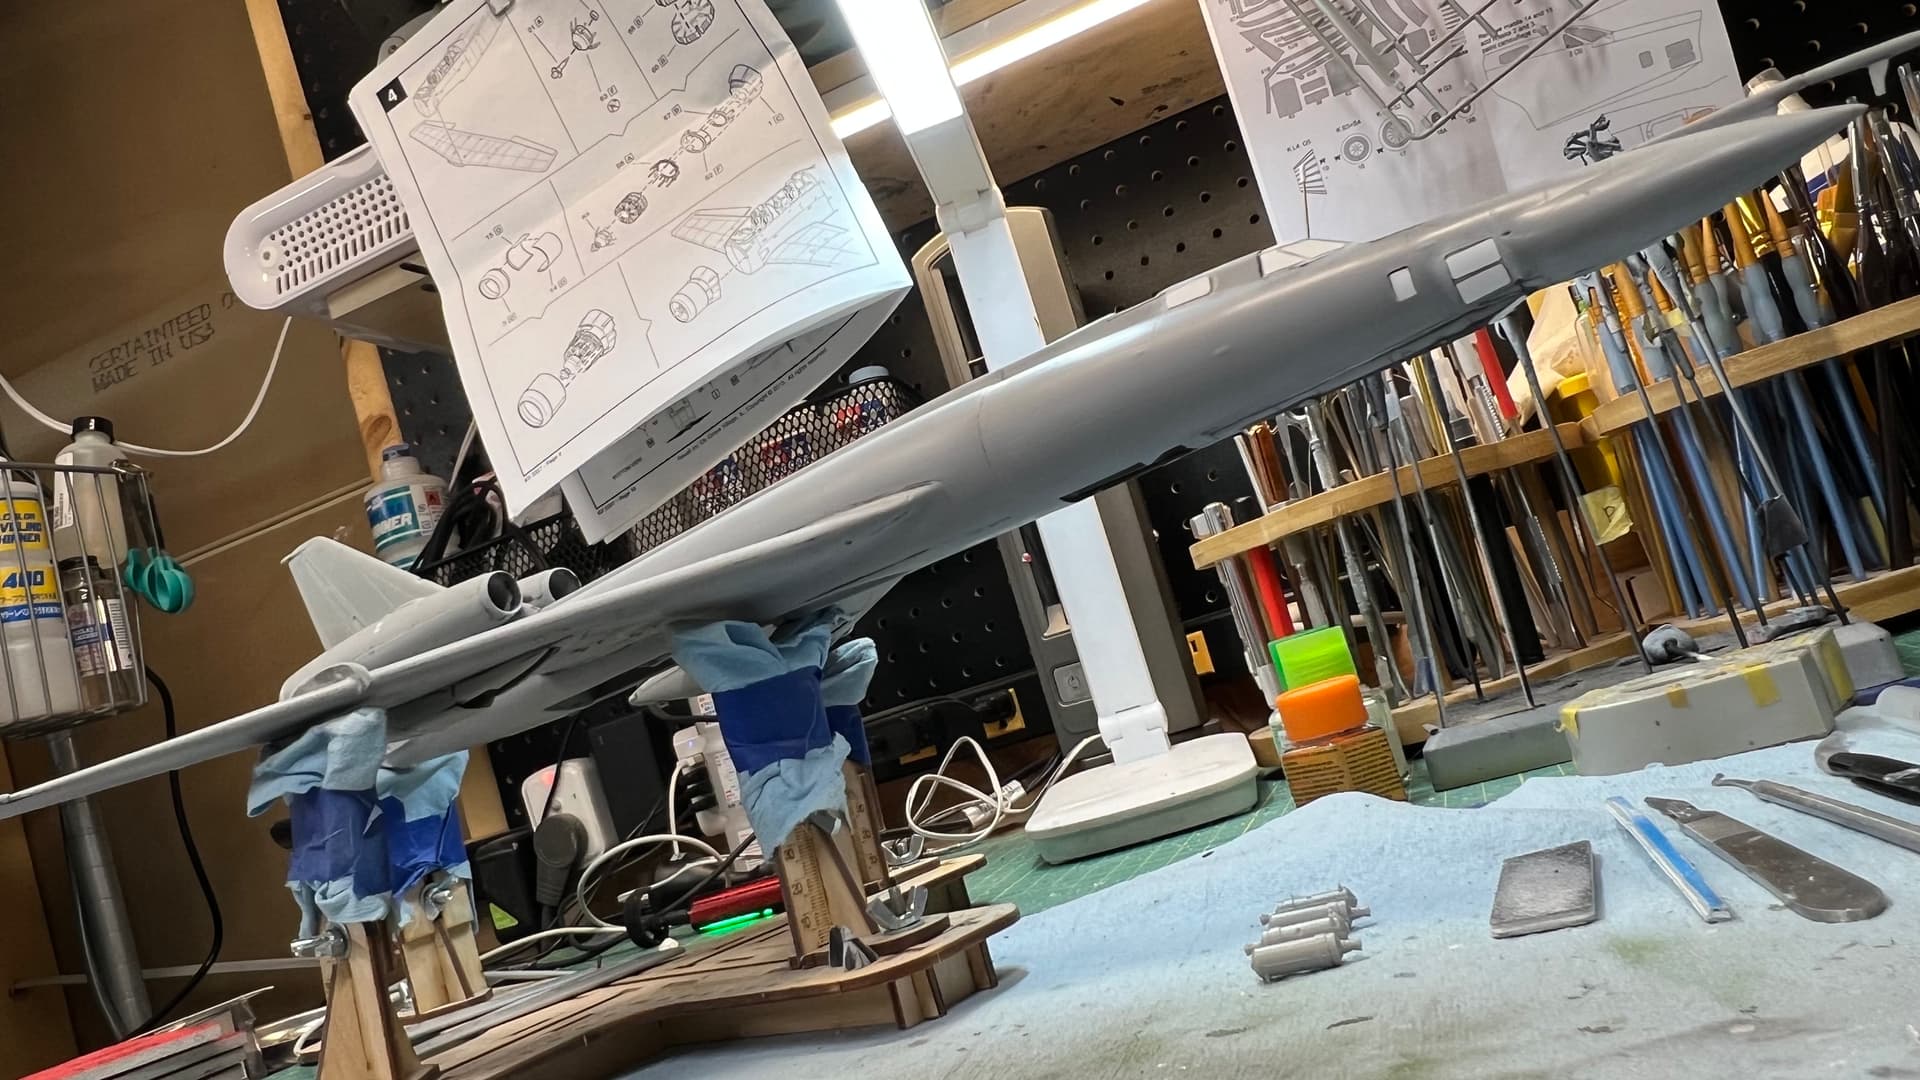
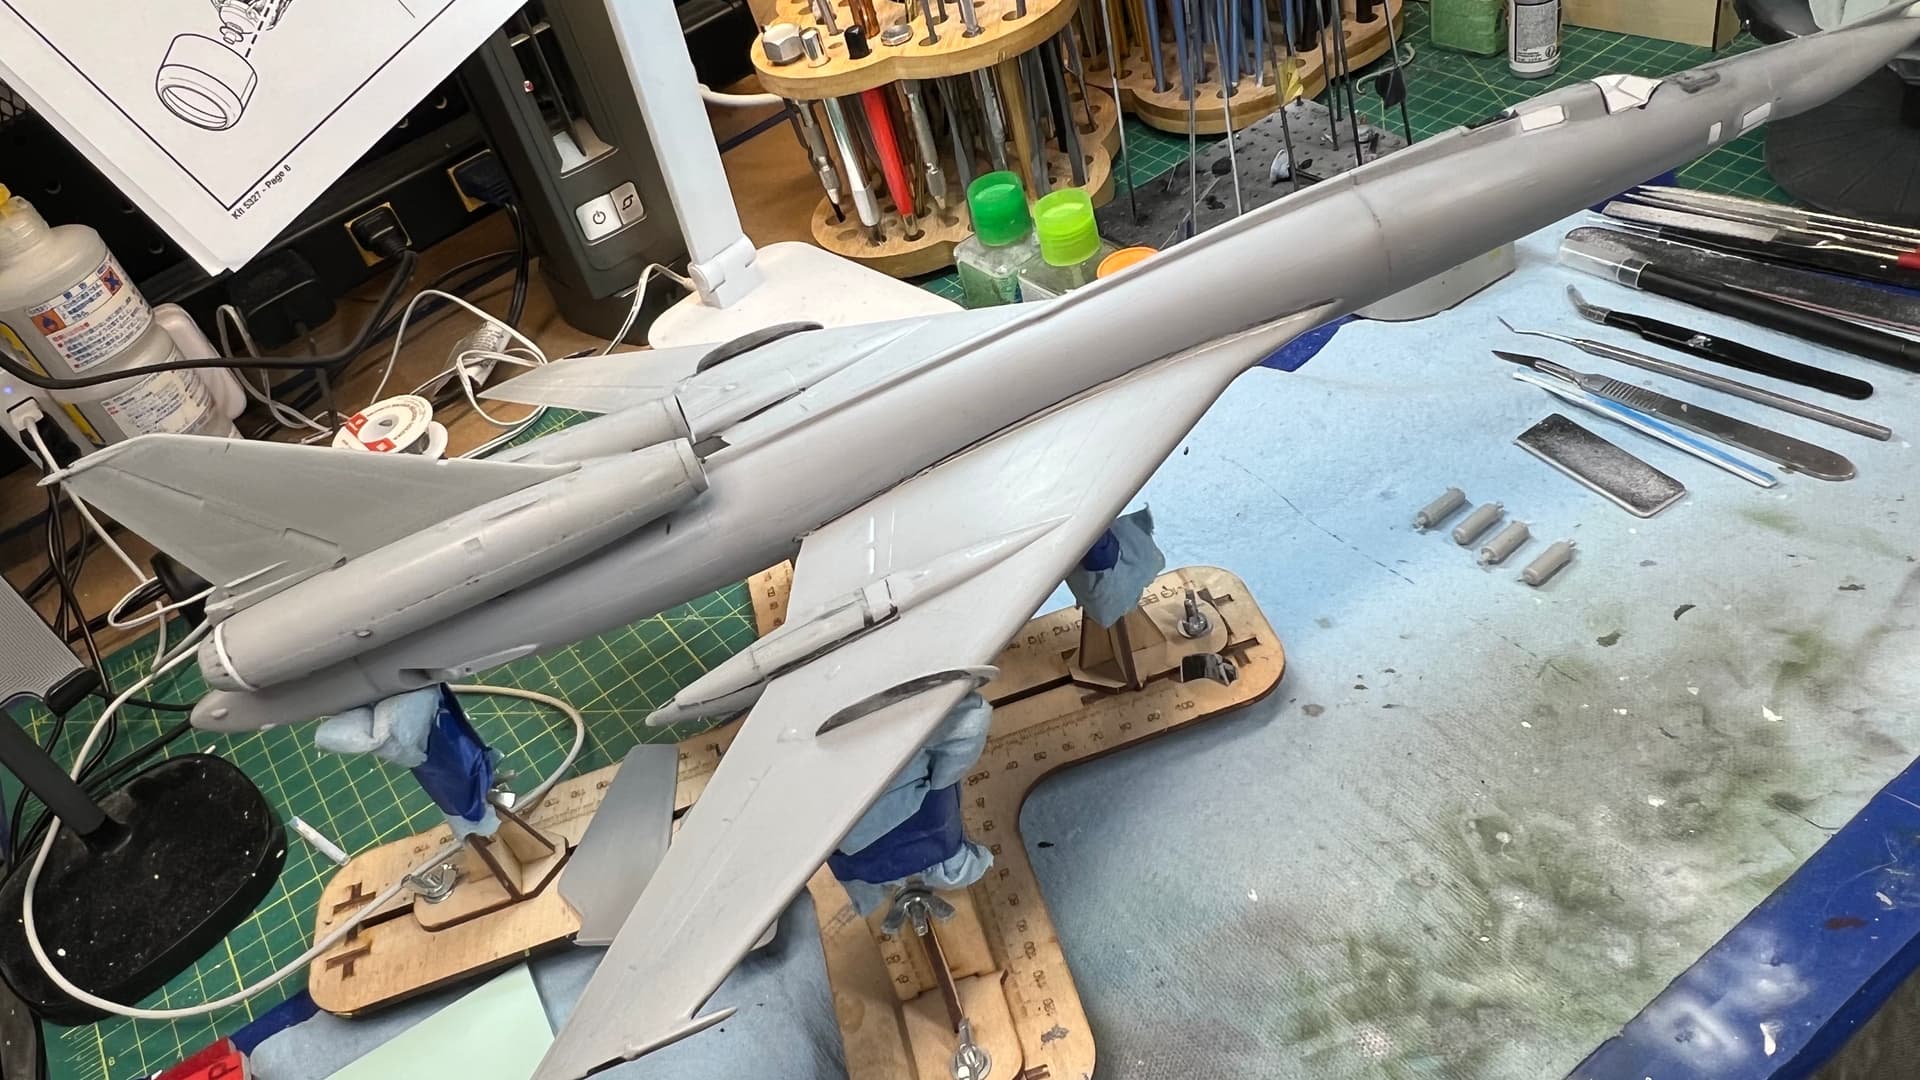
1/72 Modelsvit Tu-22kd Blinder: The Beast is taking form and living up to its moniker. Got the fuselage closed up after reworking all the bulkheads and sanding down the left side of the cockpit floor and sidewall. Tape and progressive gluing are your friends. Most seams that weren’t fully closed can be filled with finely stretched plastic sprue rather than putty. The engine pod is a nightmare of compound curves where it joins the fuselage, so I had to call in the heavy artillery. At the point where I can now fine-tune the fit, and again, no putty is required. The wings will require significant heavy-duty rework at the root, so shimming will not be required. A lot of work, but trivial compared to Mach2 kits (and I have their AJ-1 Savage in the build queue to follow the Blinder). Cleaning up the primed AS-4 and cart for paint.
4 Likes
WIP on the Workbench
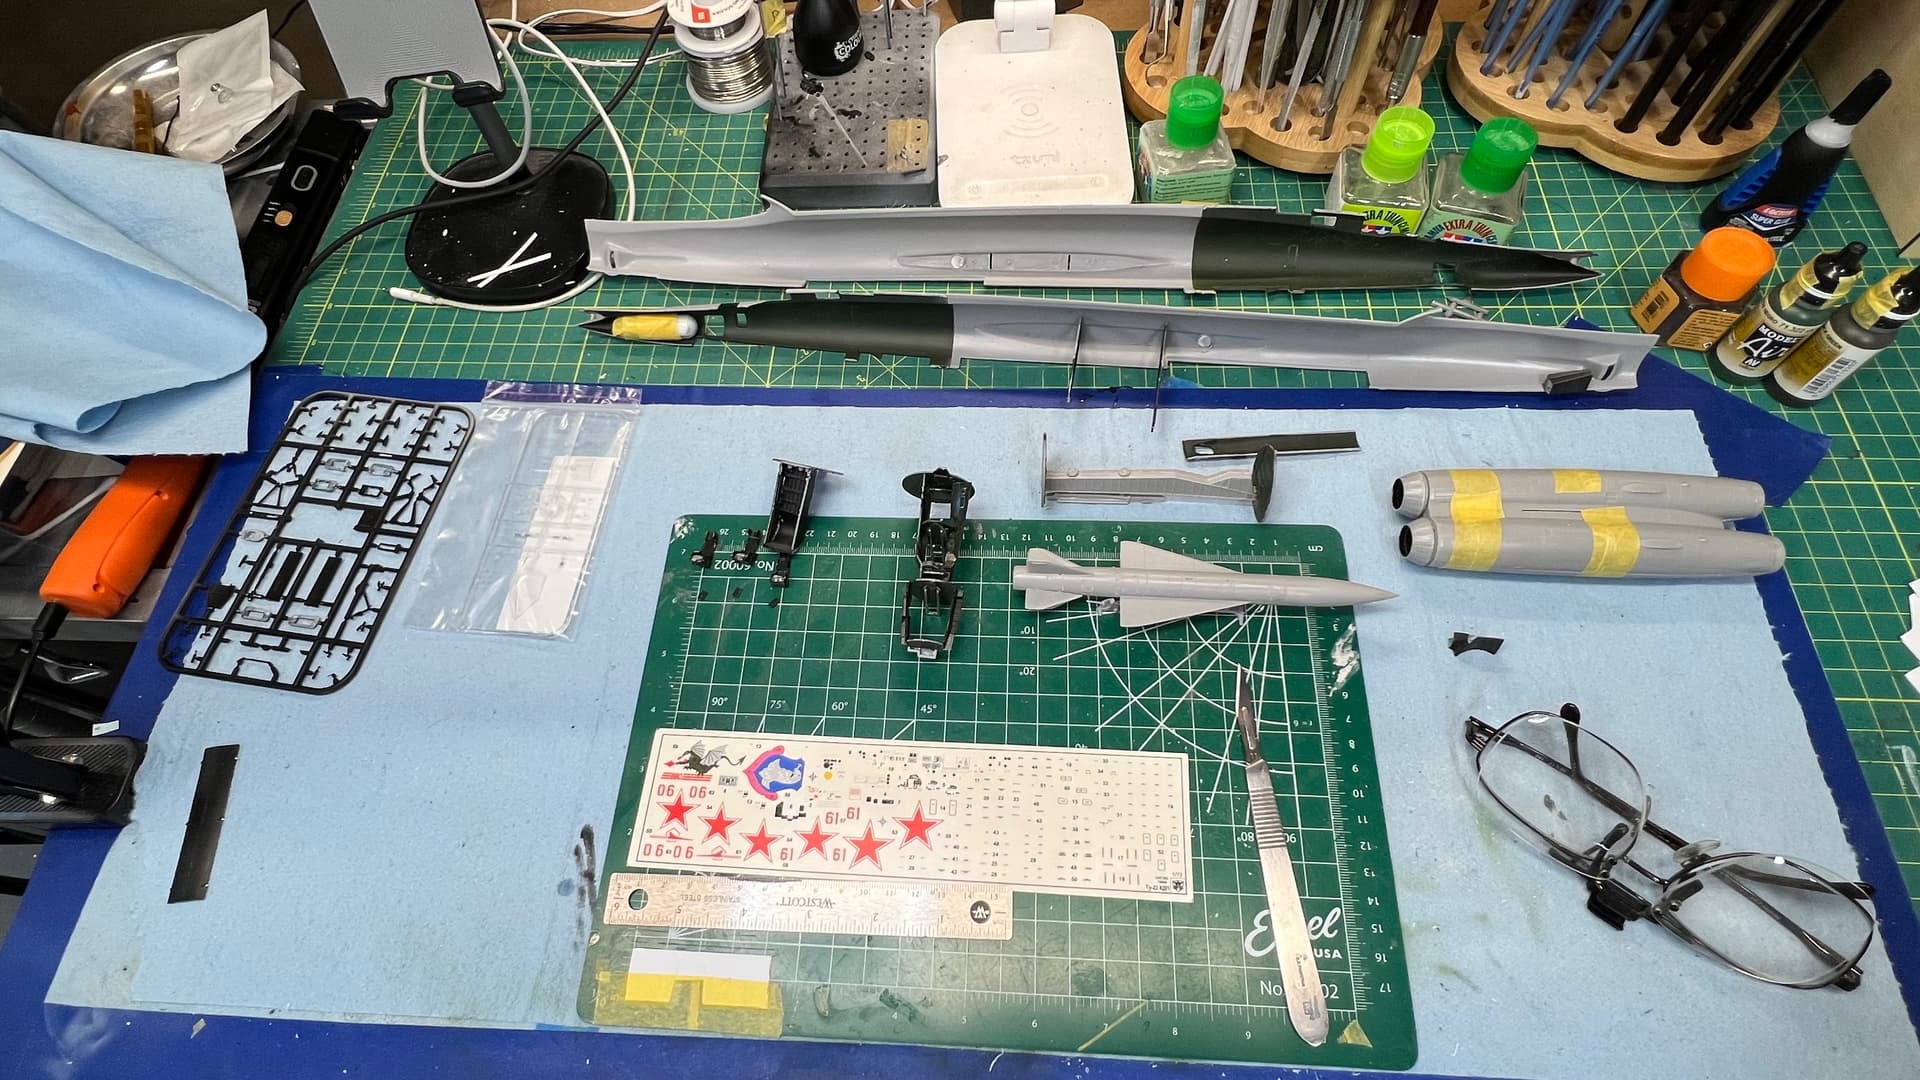
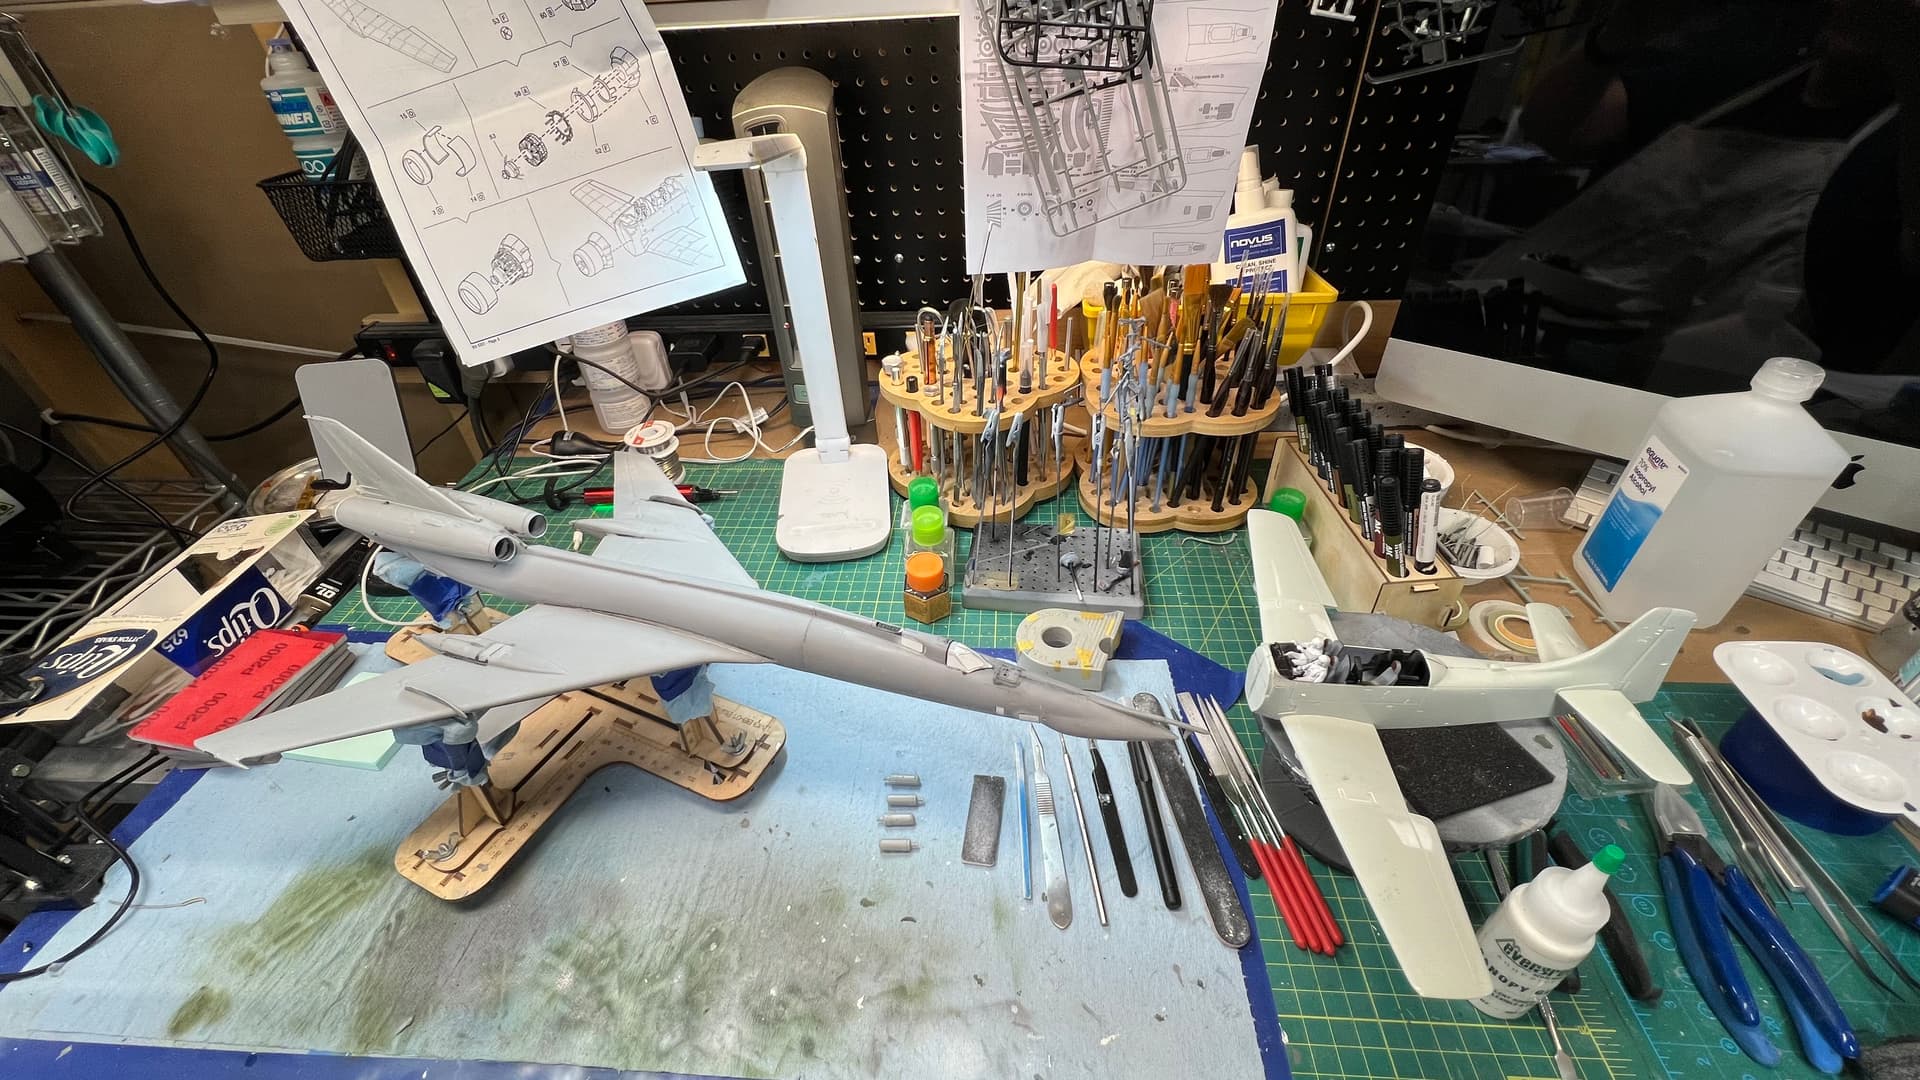
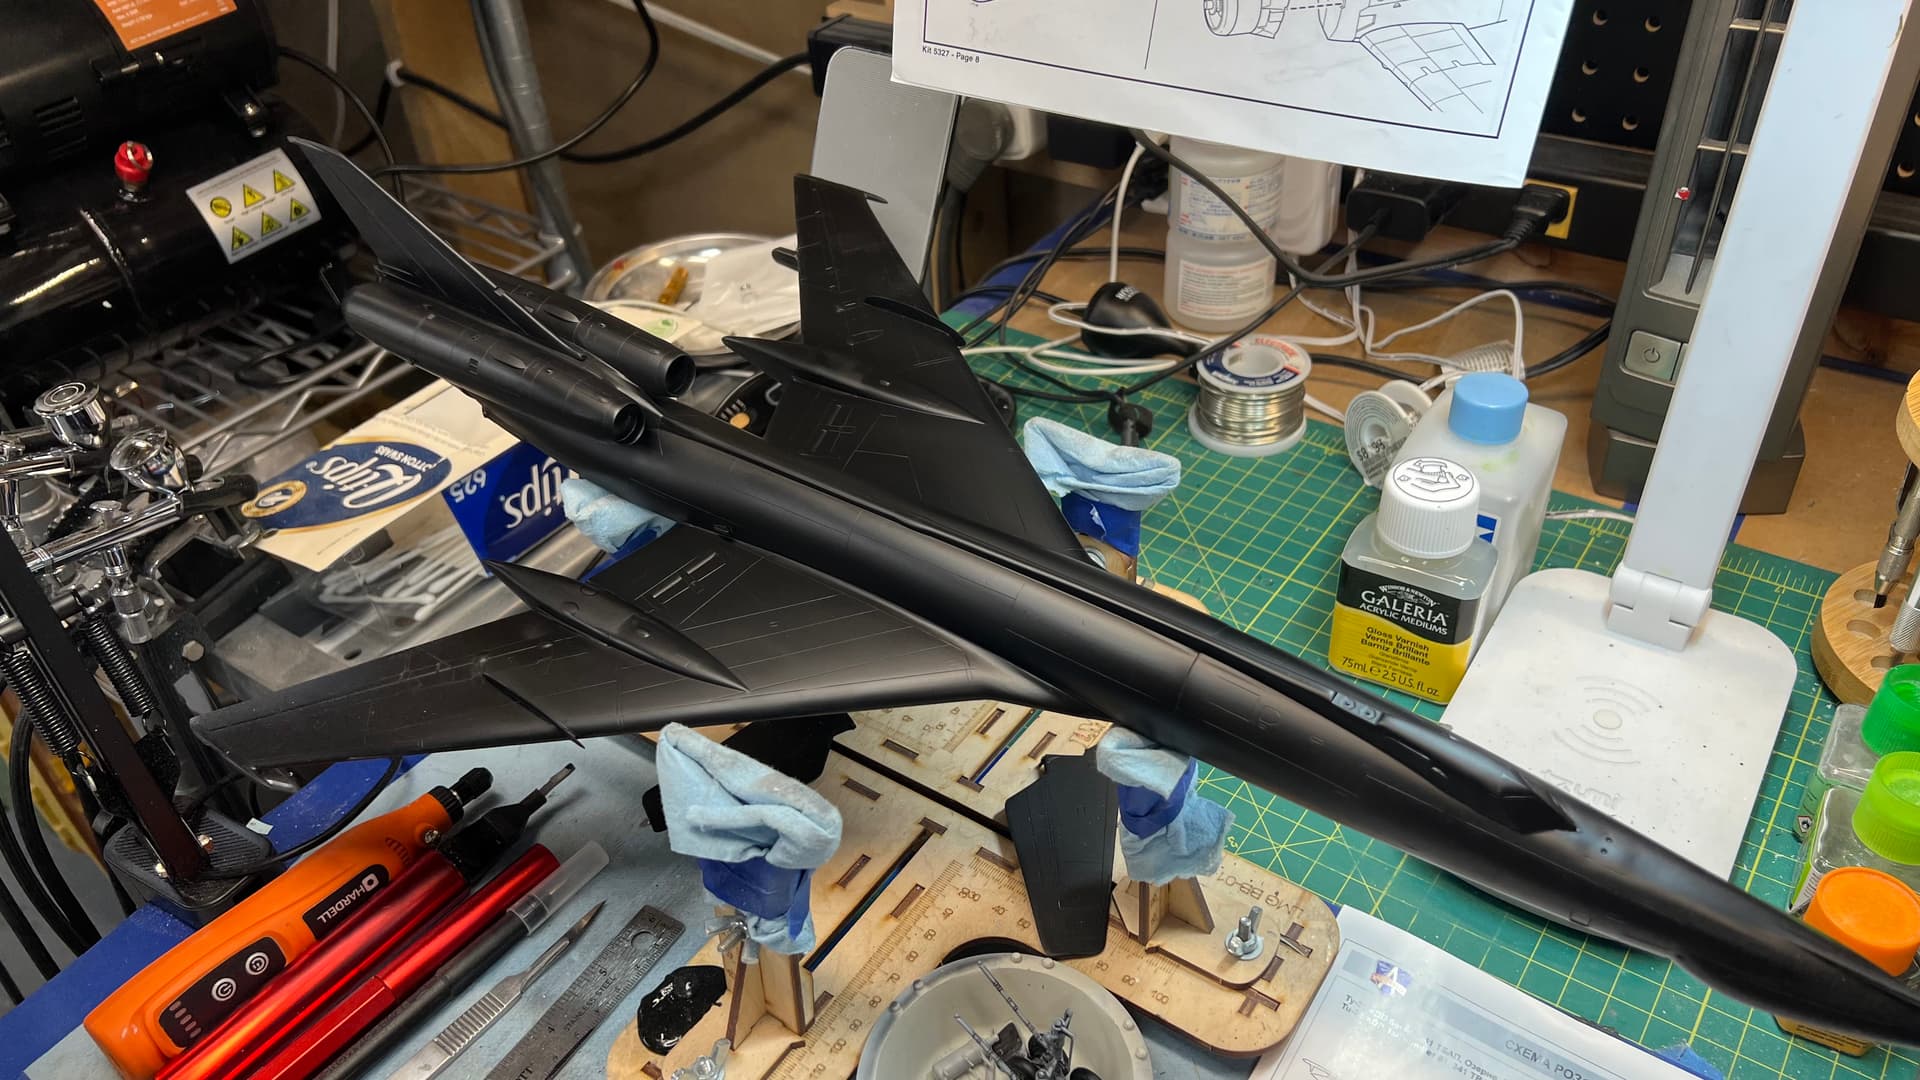
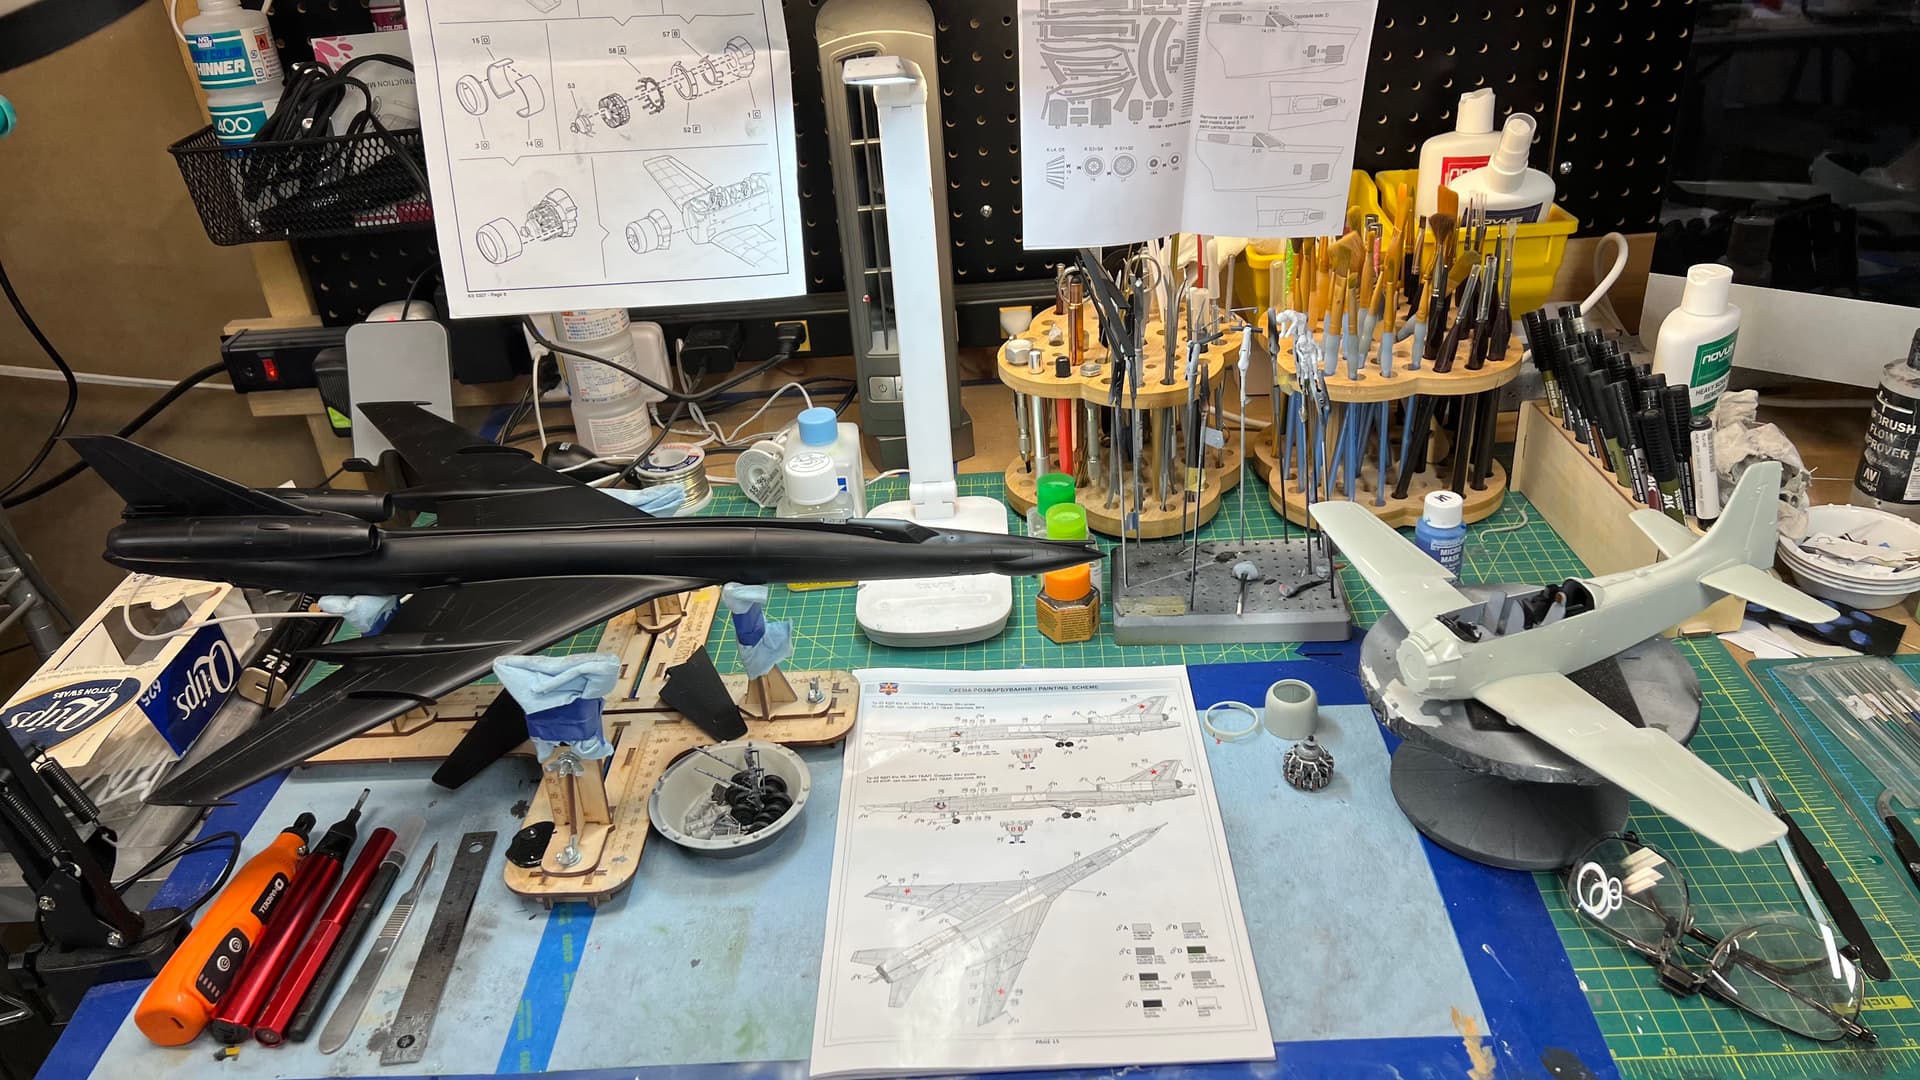
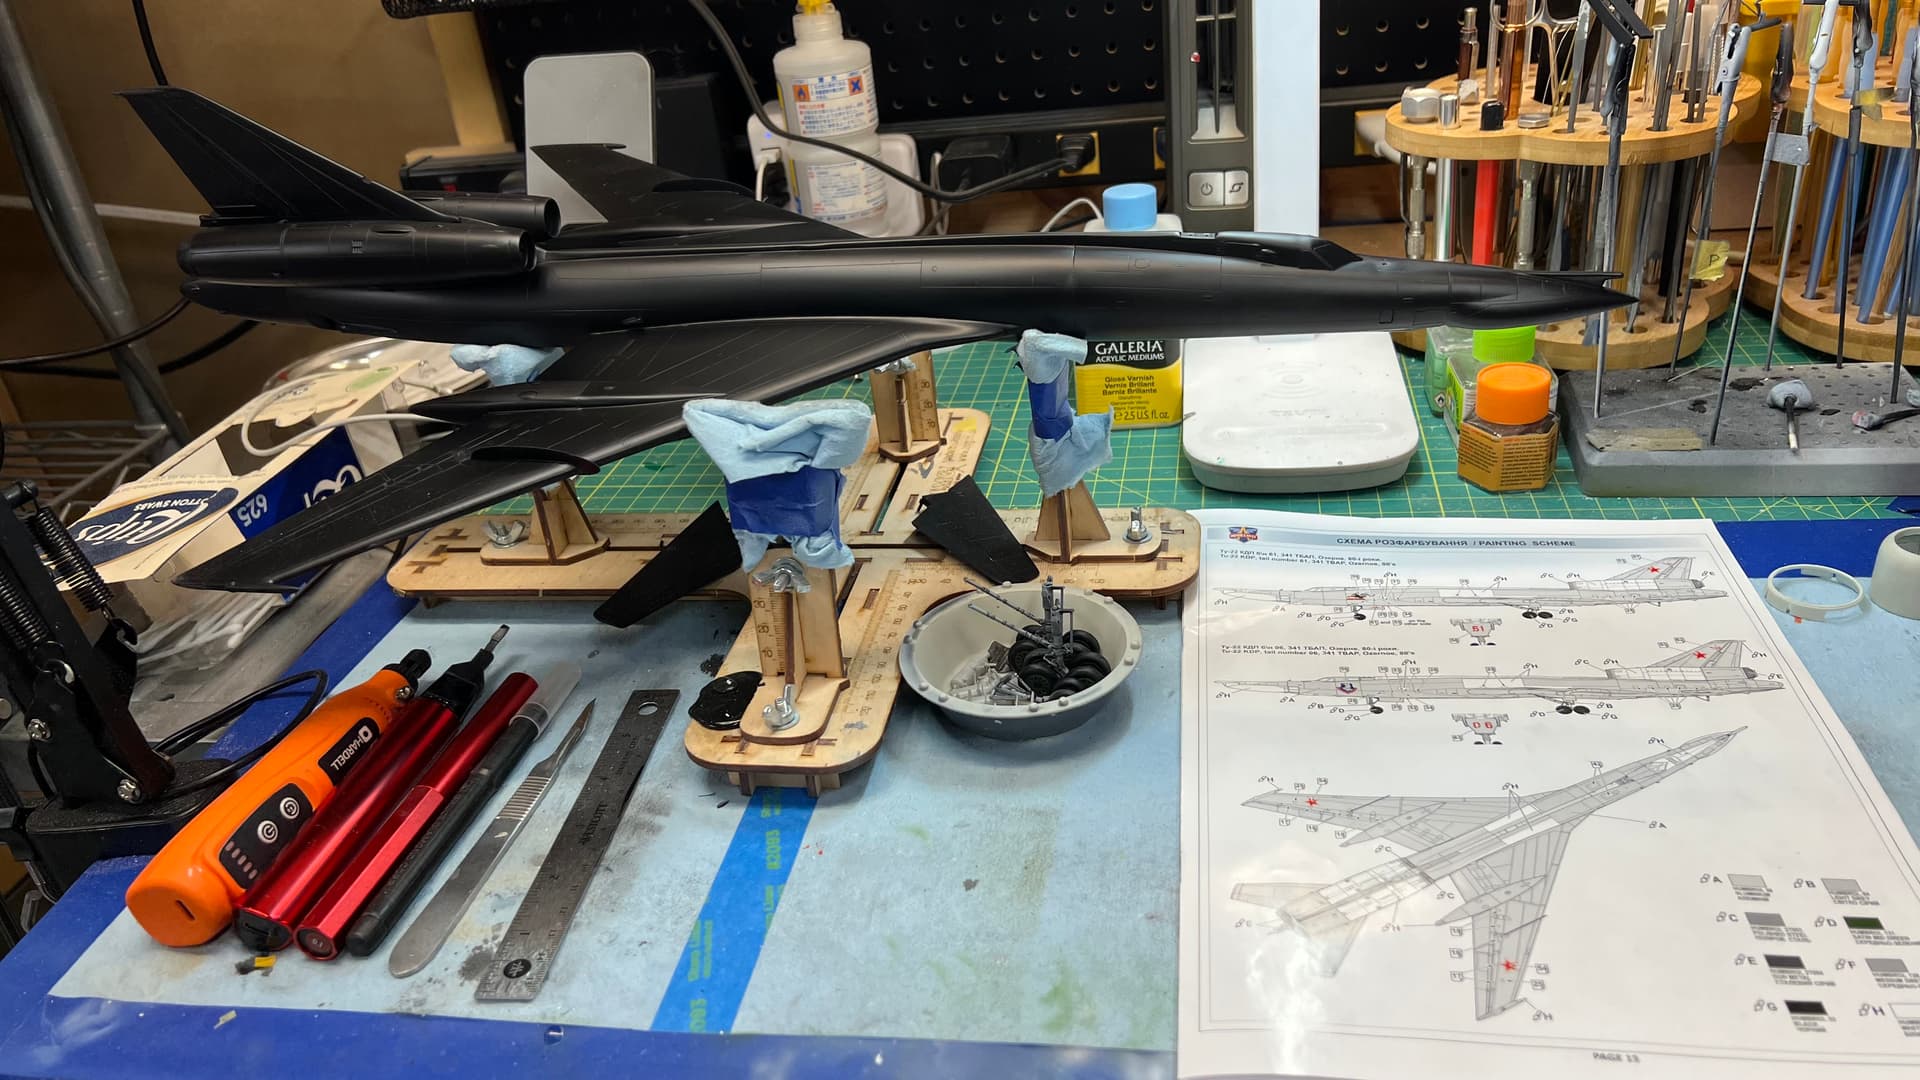
1/72 Modelsvit Tu-22kdp Blinder: Final prep phases before prime. Joints all filled/sanded, polished down. Ran tell-tale paint along seams and made some minor fixes. AS-4 and cart painted, awaiting the first tranche of decals (40 for the missile). Solid-fuel RATO booster assembly underway. Next up - black primer.
7 Likes
Man that is one cool looking plane. Looks like something from The Thunderbirds
1 Like
This thing is gonna be a wicked-looking bird in black. Can’t wait!
Incidentally, I wound up with a Modelsvit kit today after our club’s fundraiser auction, a 48th Yak-1b. It looks like an interesting build.
I just picked up this kit last week. I’m usually not a russian plane builder but I was going down the russian rabbit hole looking for Hinds and Tu bombers. I saw this Tu-22 bomber and it was an unusual version and thought it would look nice next to my Tu-95MS bomber. I’ll definitely be reading your build soon. Great build review so far. Keep up the great work.
1 Like
It’s an interesting and somewhat challenging kit to build. It is a limited production, so be prepared for idiosyncrasies (no part numbers printed on the trees, so lots of matching with the instructions), and fit is a bit haphazard, especially around compound-curve areas (like the engine pods). If you are looking to work on seaqm mitigation, minor scratchbuild, and scribing/re-scribing skills, then this is your kit  . The cockpit, while semi-detailed, is buried by the fuselage, so don’t spend too much time - the Blinder loaded the crew via bottom hatches, so no open cockpit to show off cockpit details. You will need to do a LOT of dry-fitting before sealing up the forward fuselage - the right side of the cockpit will need some sanding down (along with the bulkheads) to get a seamless fit. On the upside, they provide a mask for the clear parts, including one for the interior side of the clear parts, that replicates the anti-flash fittings to counter nuclear flash.
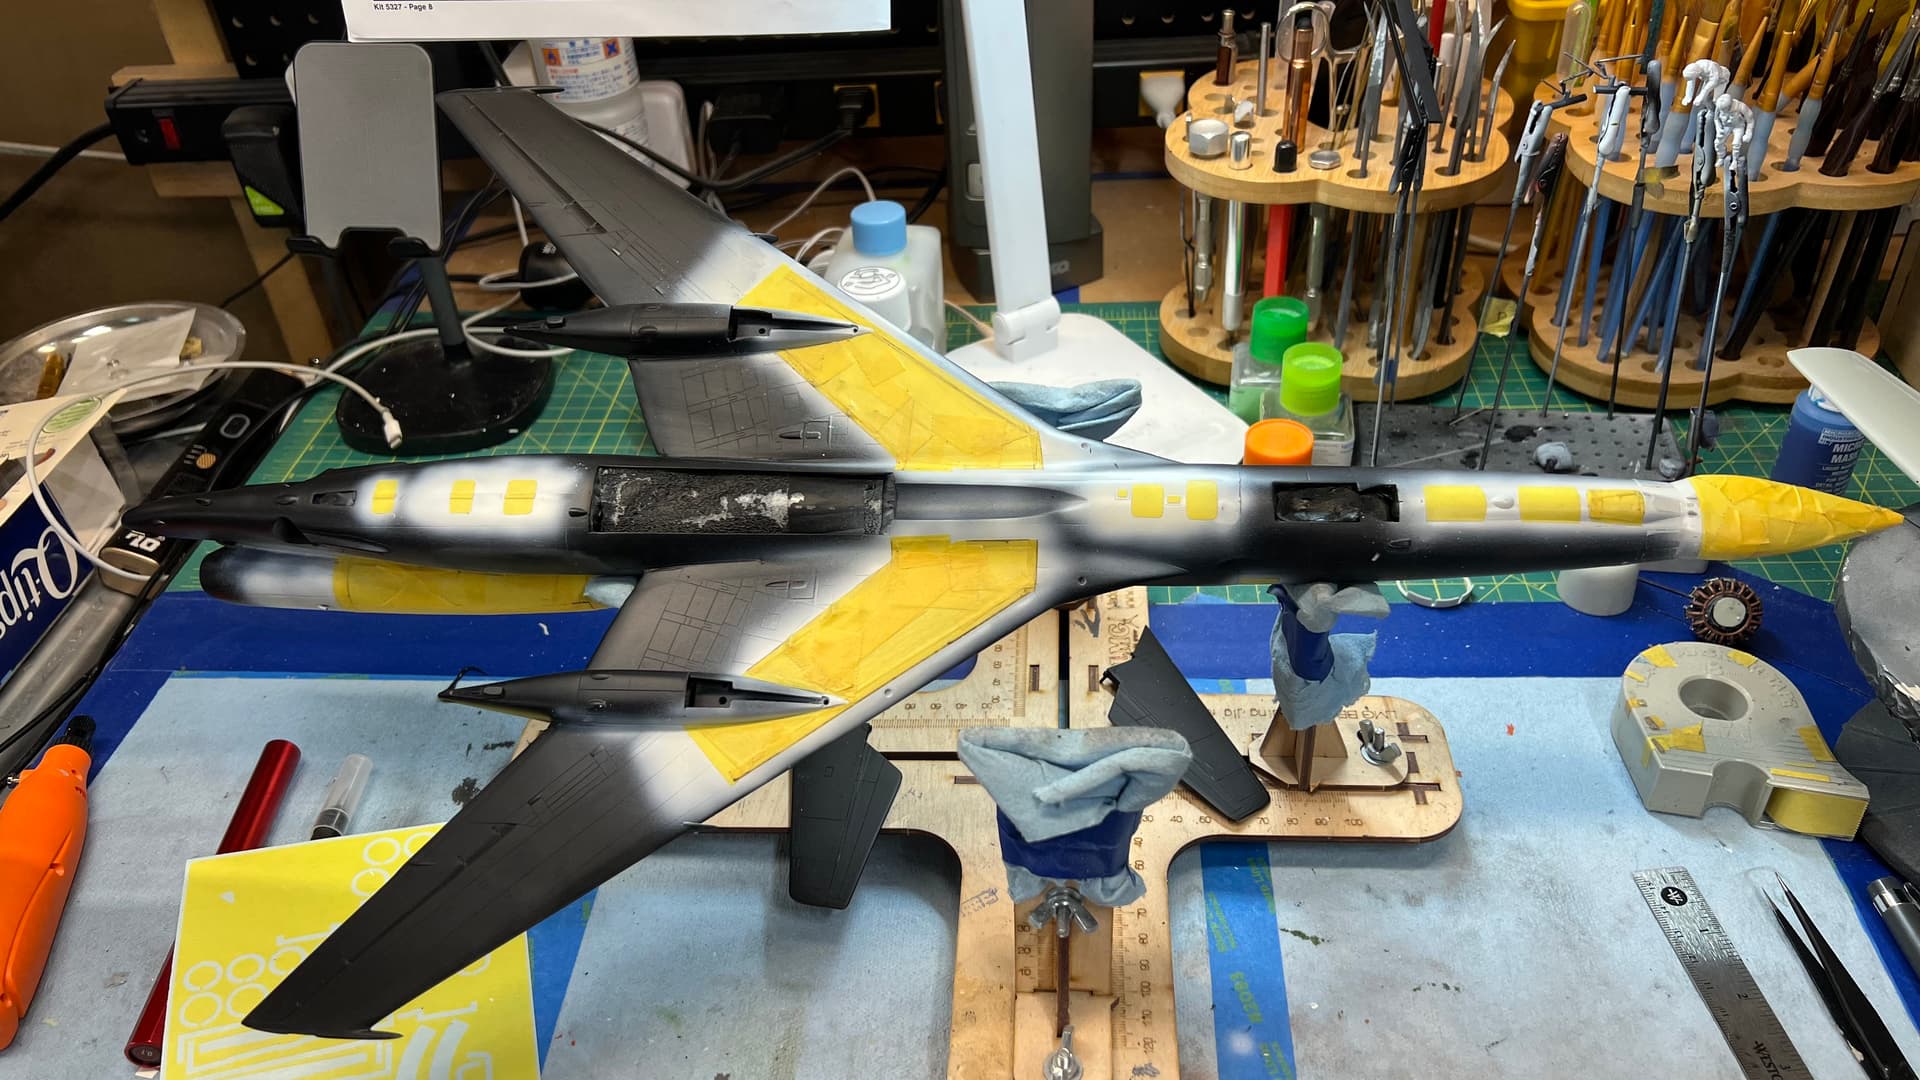
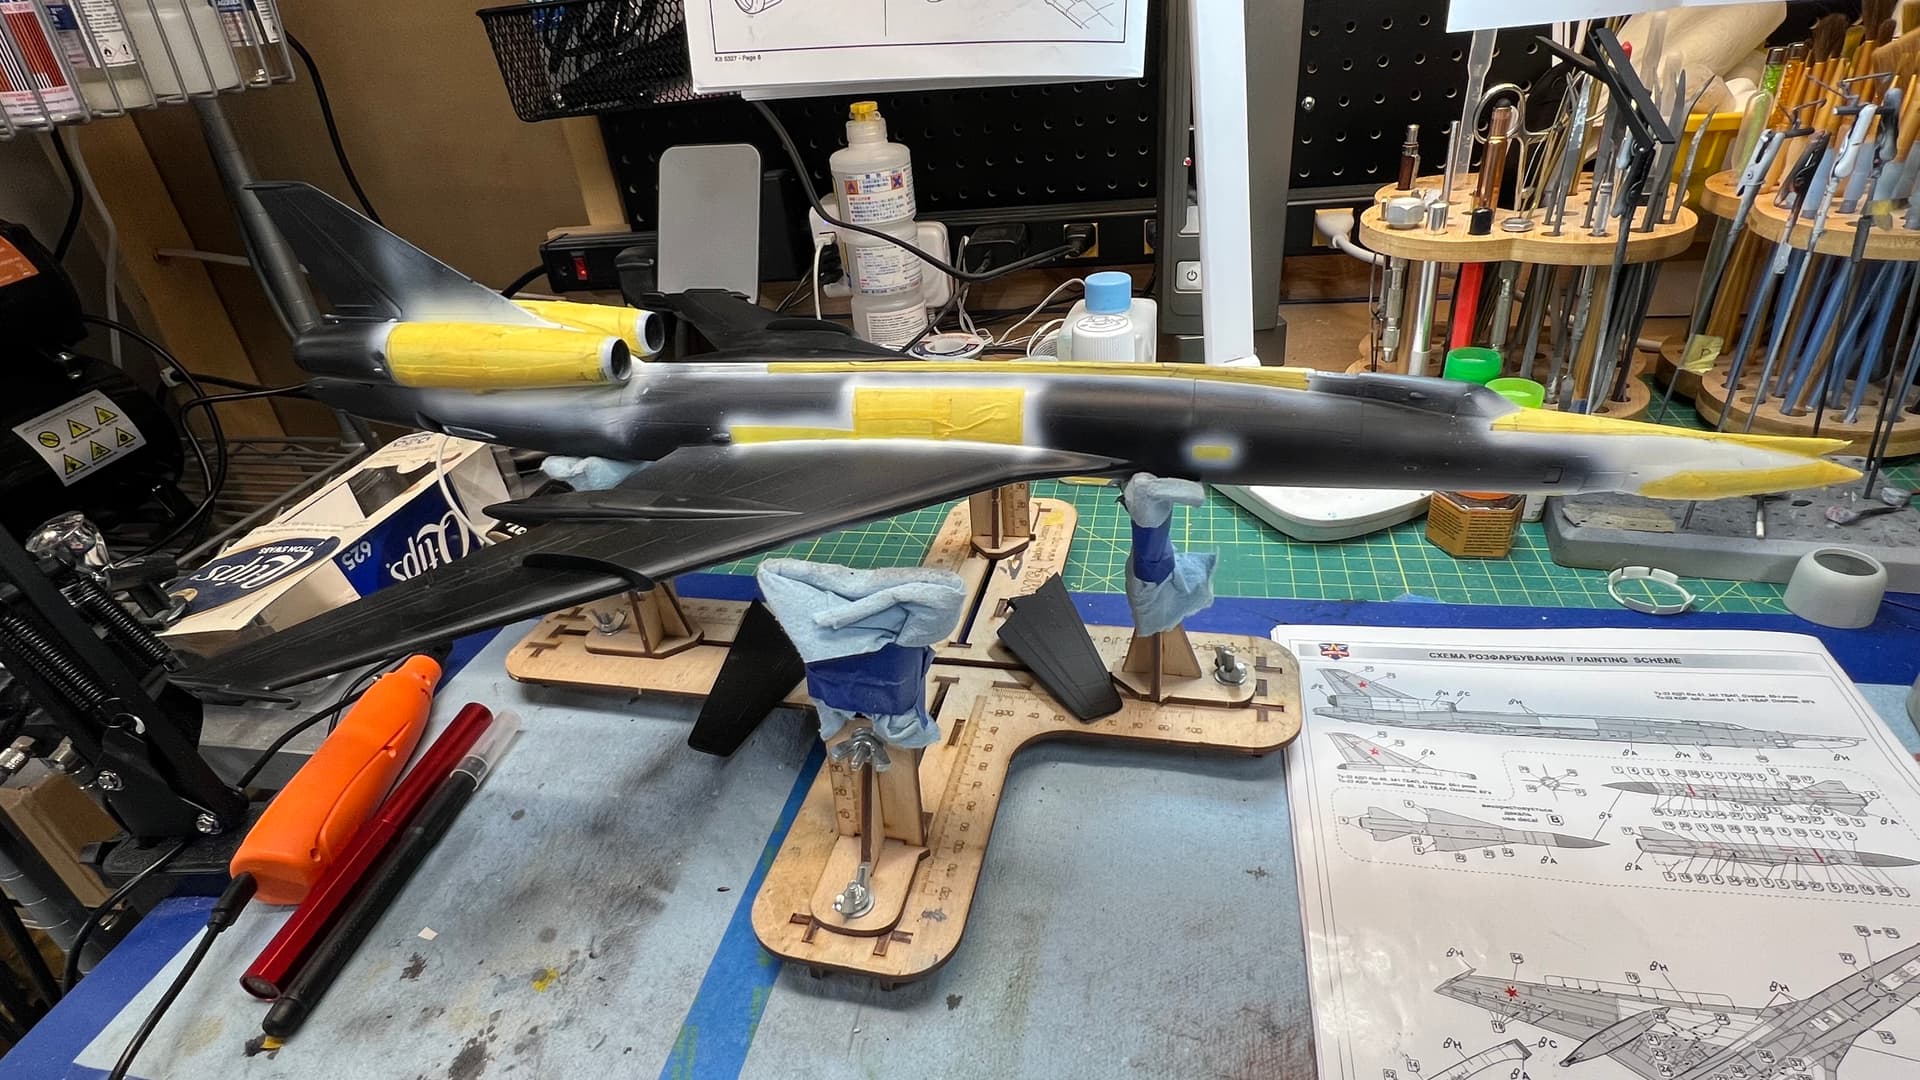
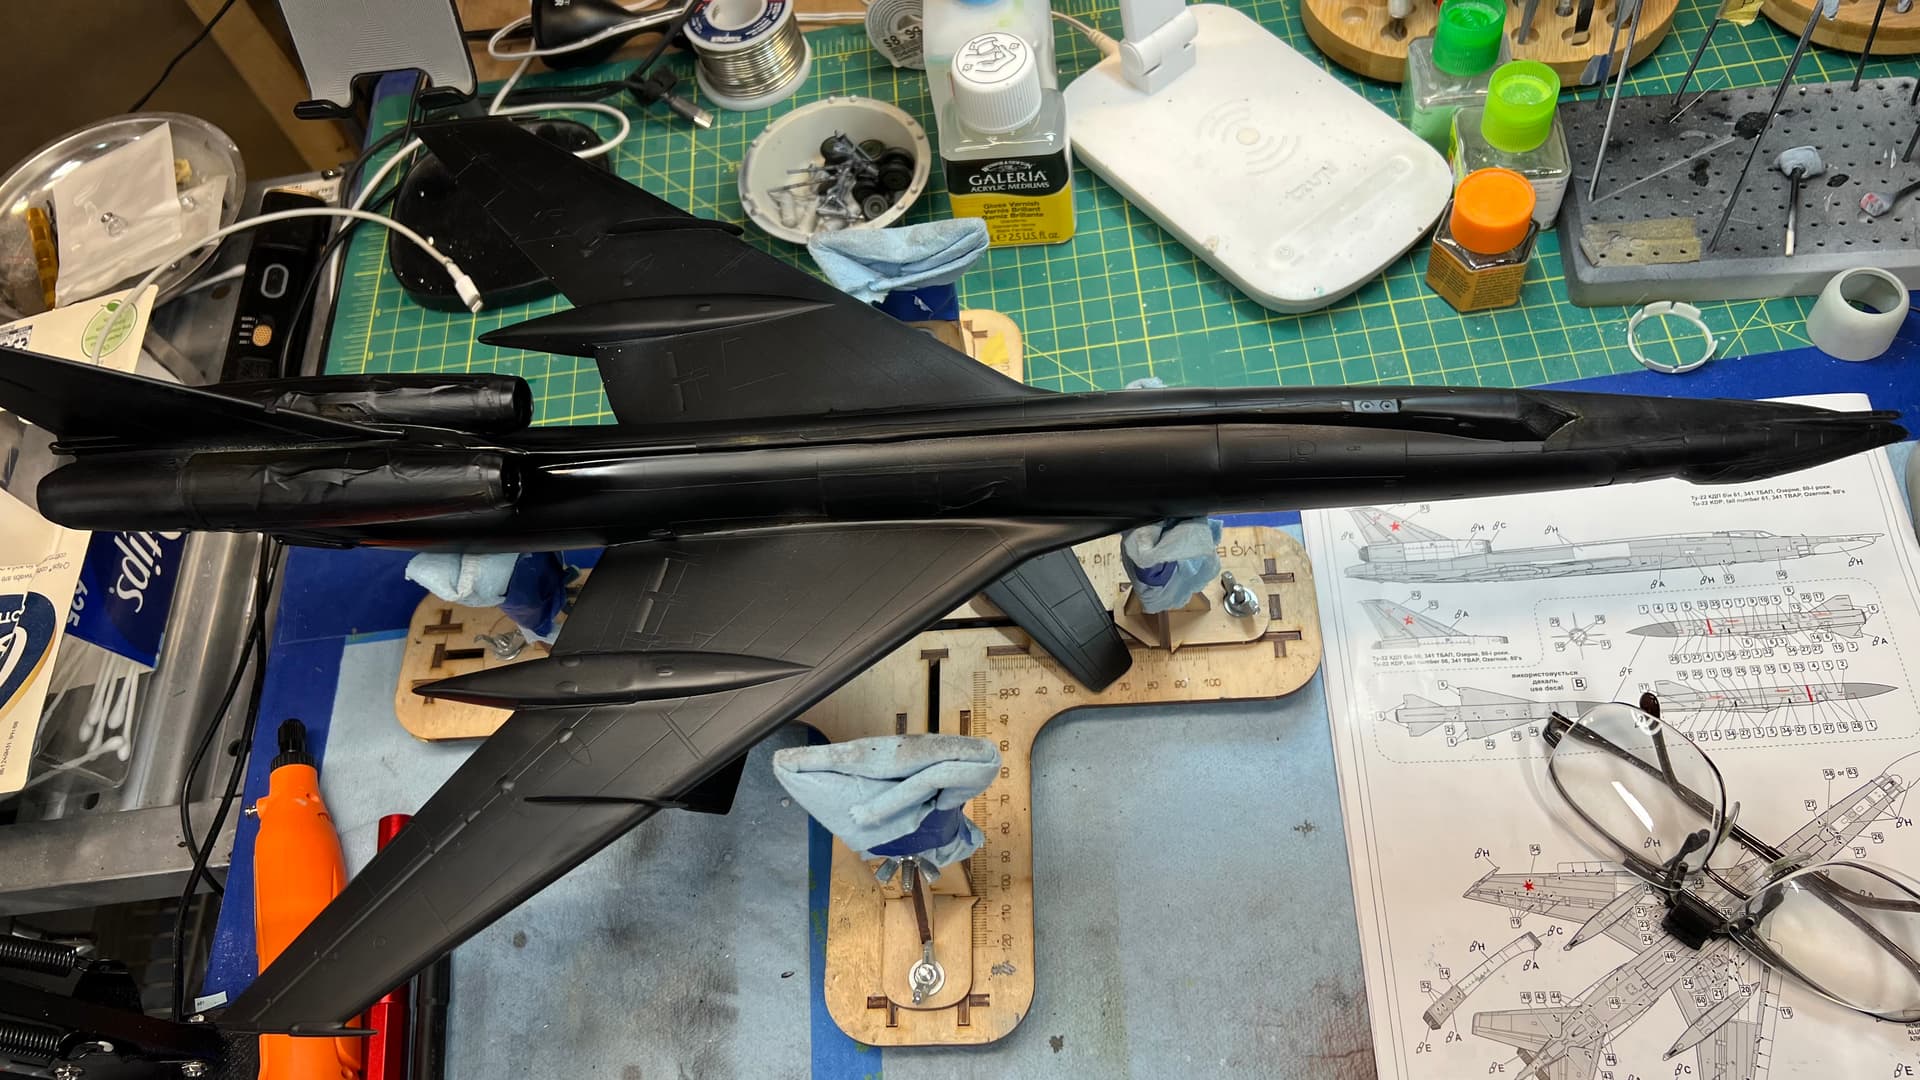
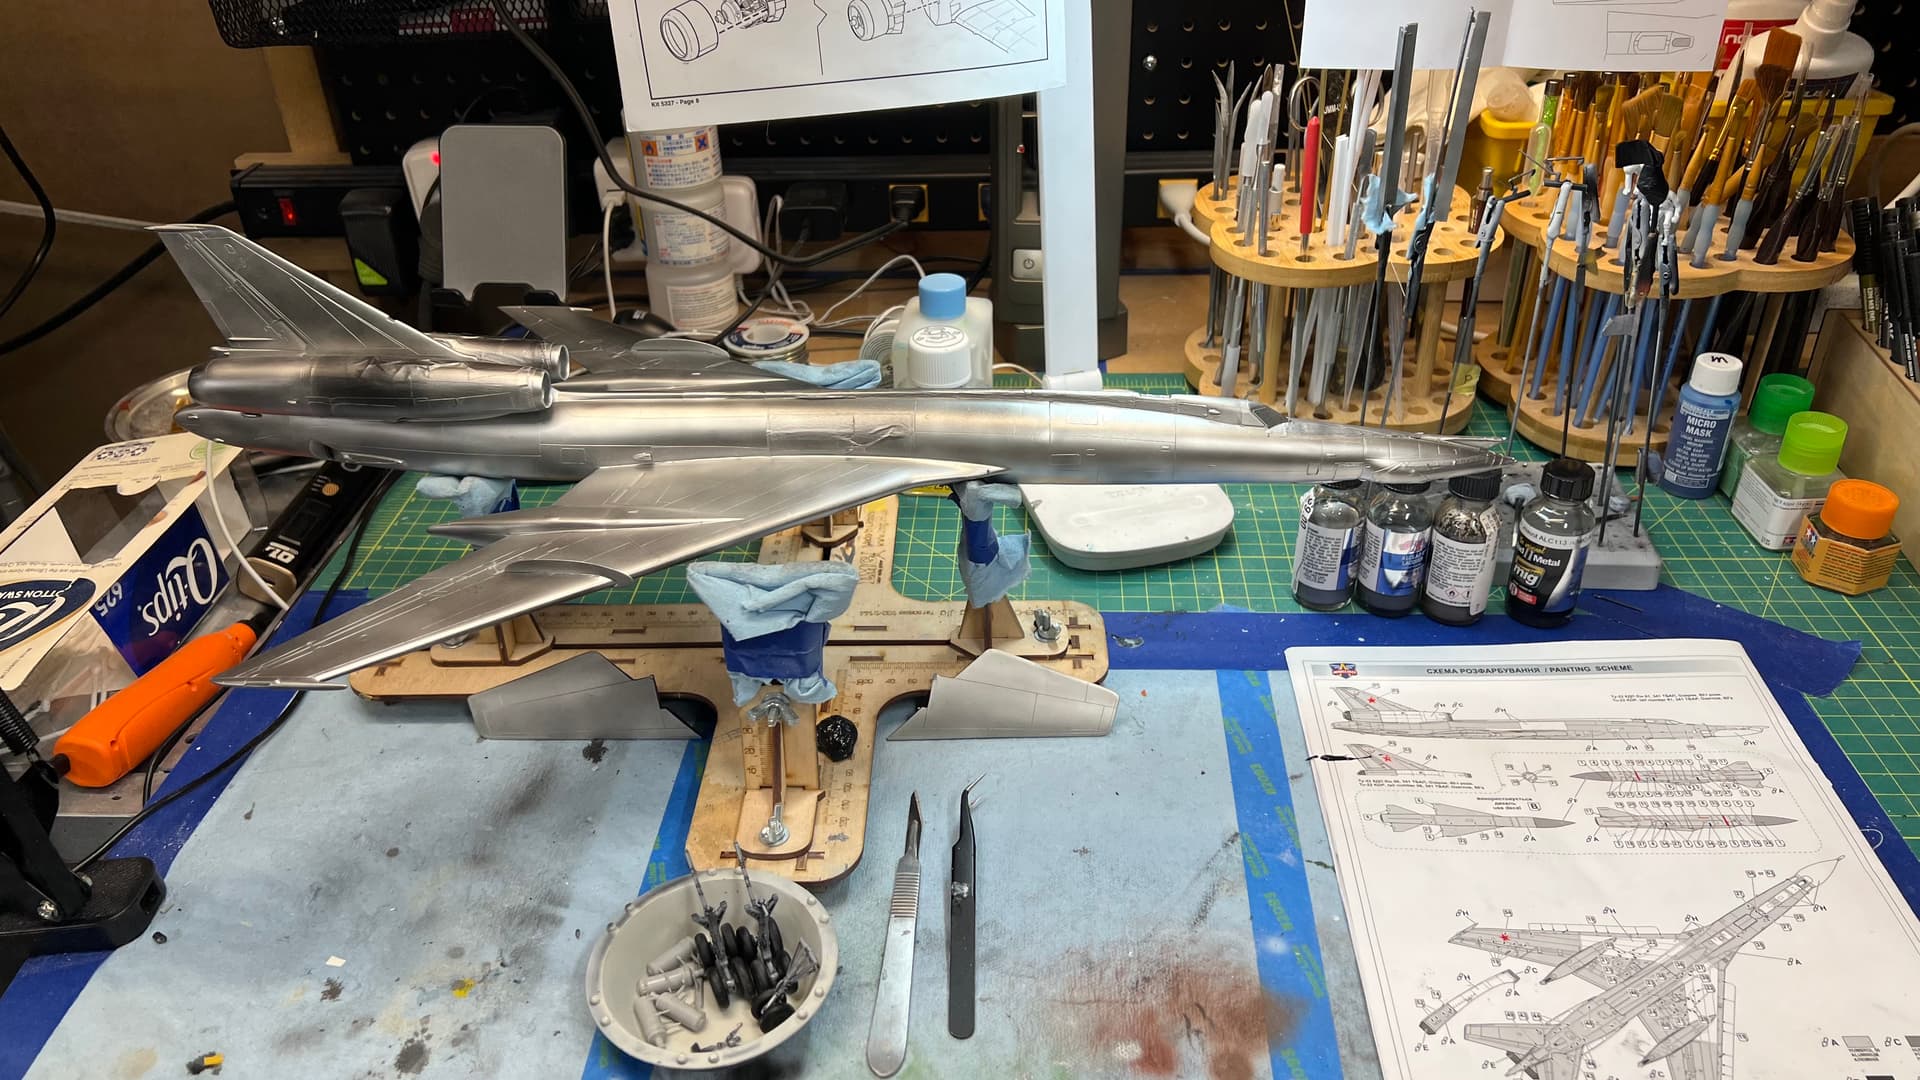
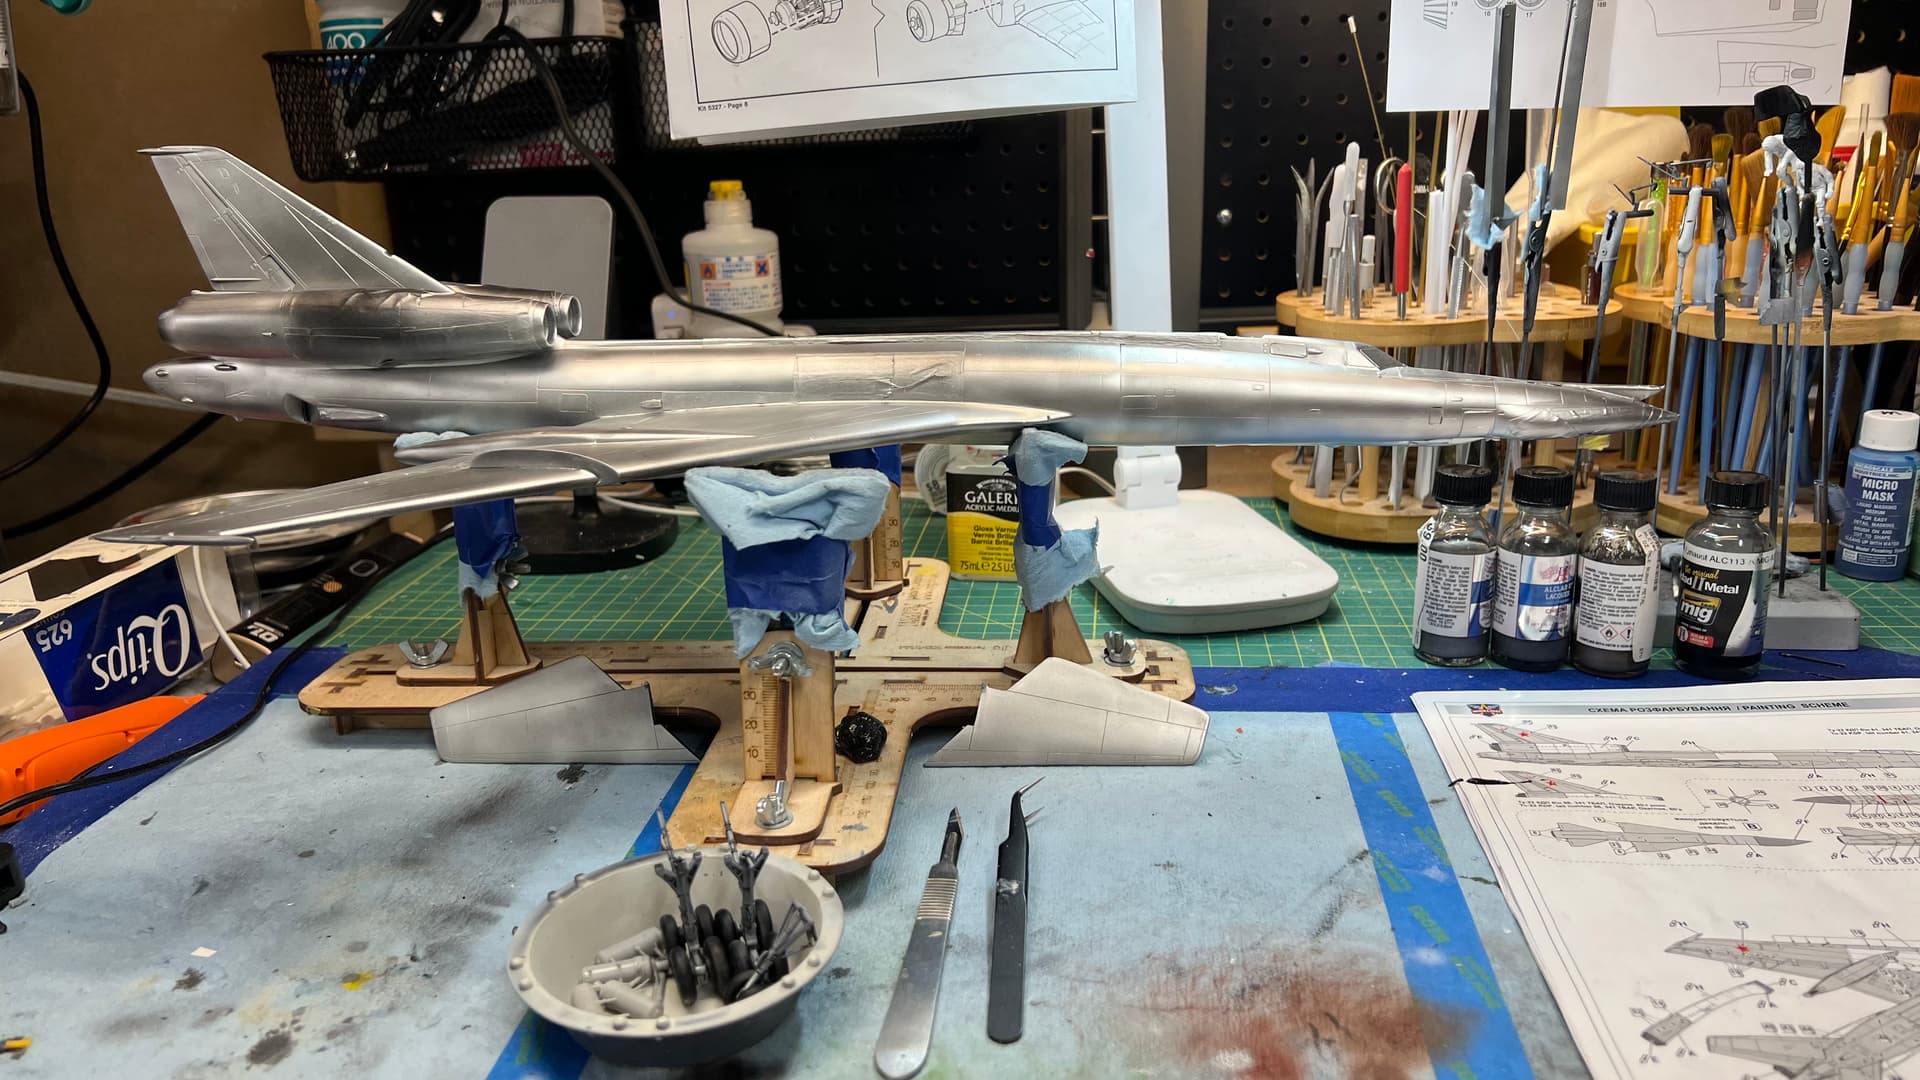
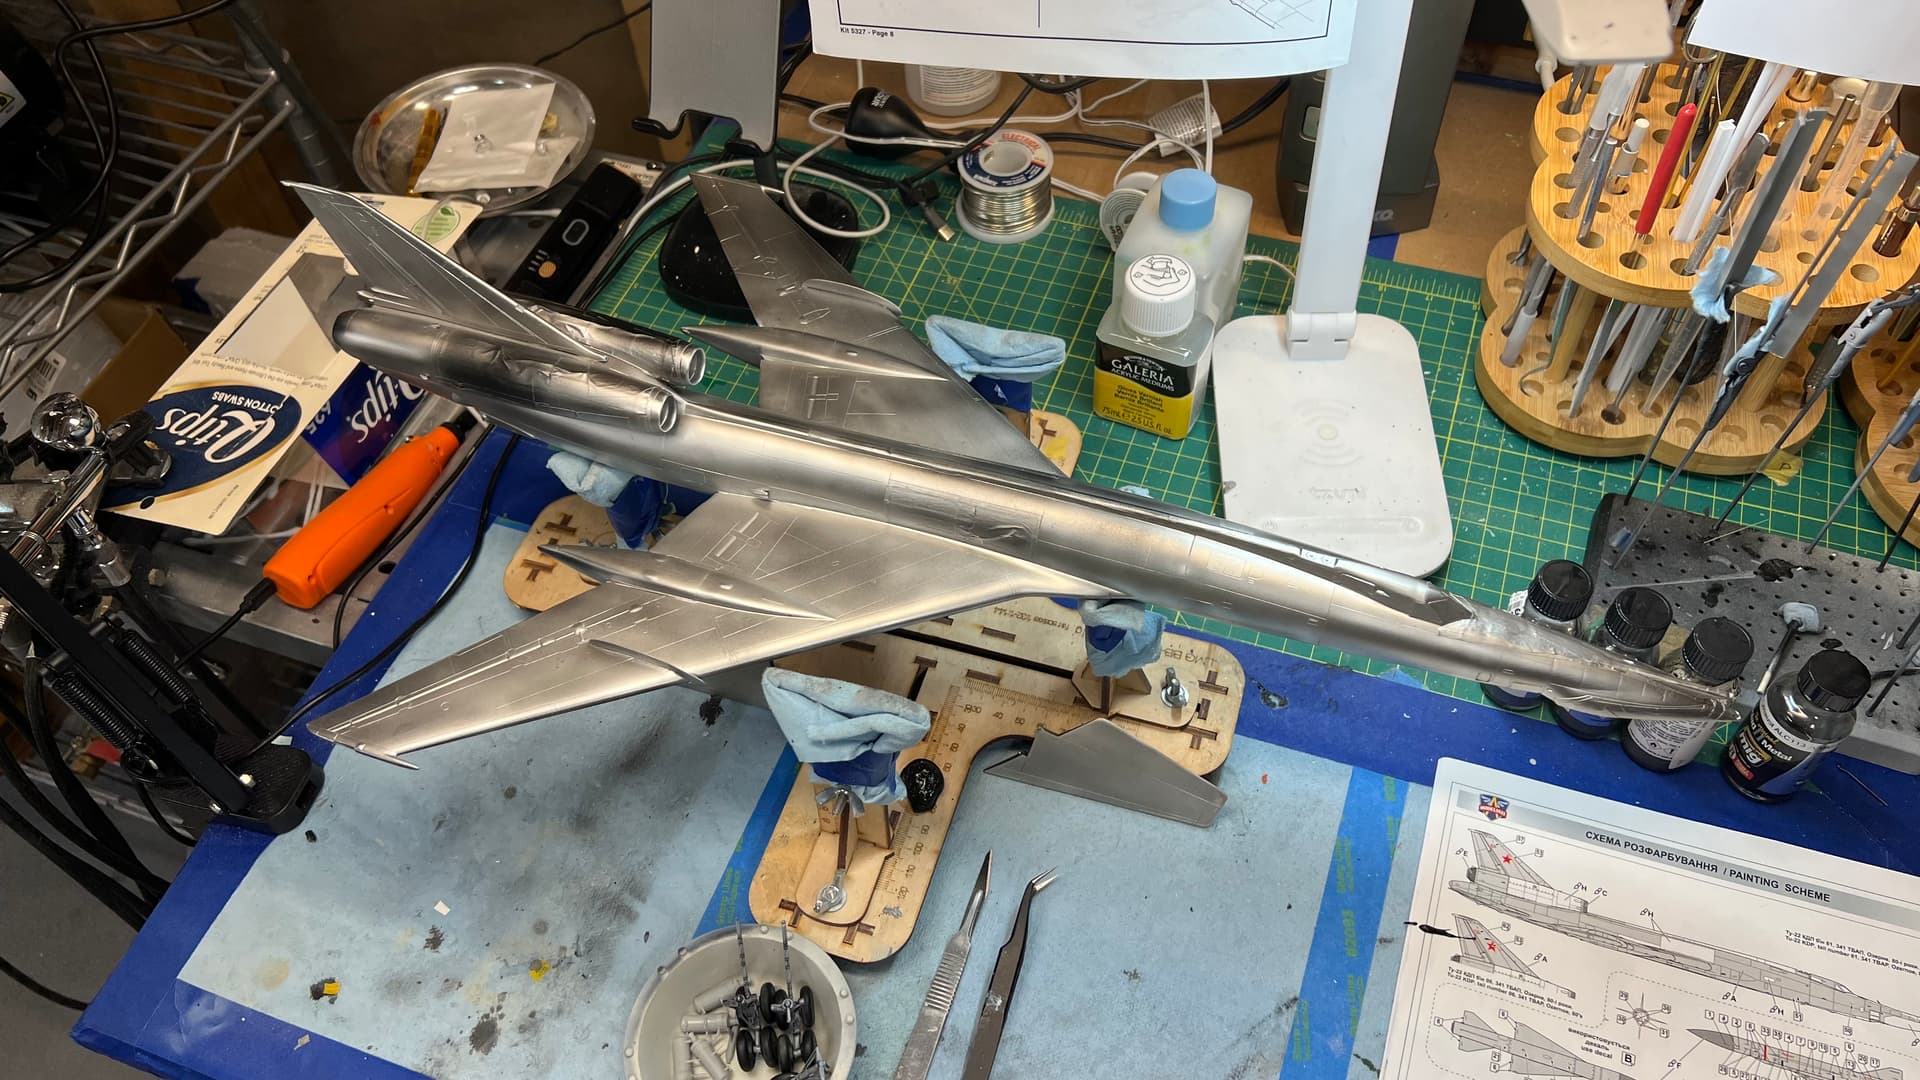
Use a good primer (I used Mr. Surfacer 1500 black) and be ruthless about eliminating the slightest flaws because they will show big time when the silver goes on. paint, then mask the white areas that are so prominent on the KDP variant of the Tu-22 (as represented by my kit). I use AK Real colors for my non-metallics. I will be using several shades of AlClad metallics, beginning with a base of Airframe Aluminum and varying by panel. If you can find it, get the Kabuki masking set for this kit, as it includes masks for the white areas and engine exhausts, as well as for the clear parts (use as a backup if there are problems with the kit’s clear-part masks). The good news is that the decals are really excellent Begemot decals that I always use for my Ru aircraft builds.
Good luck, have fun, and don’t hesitate to drop a line if you have questions.
2 Likes
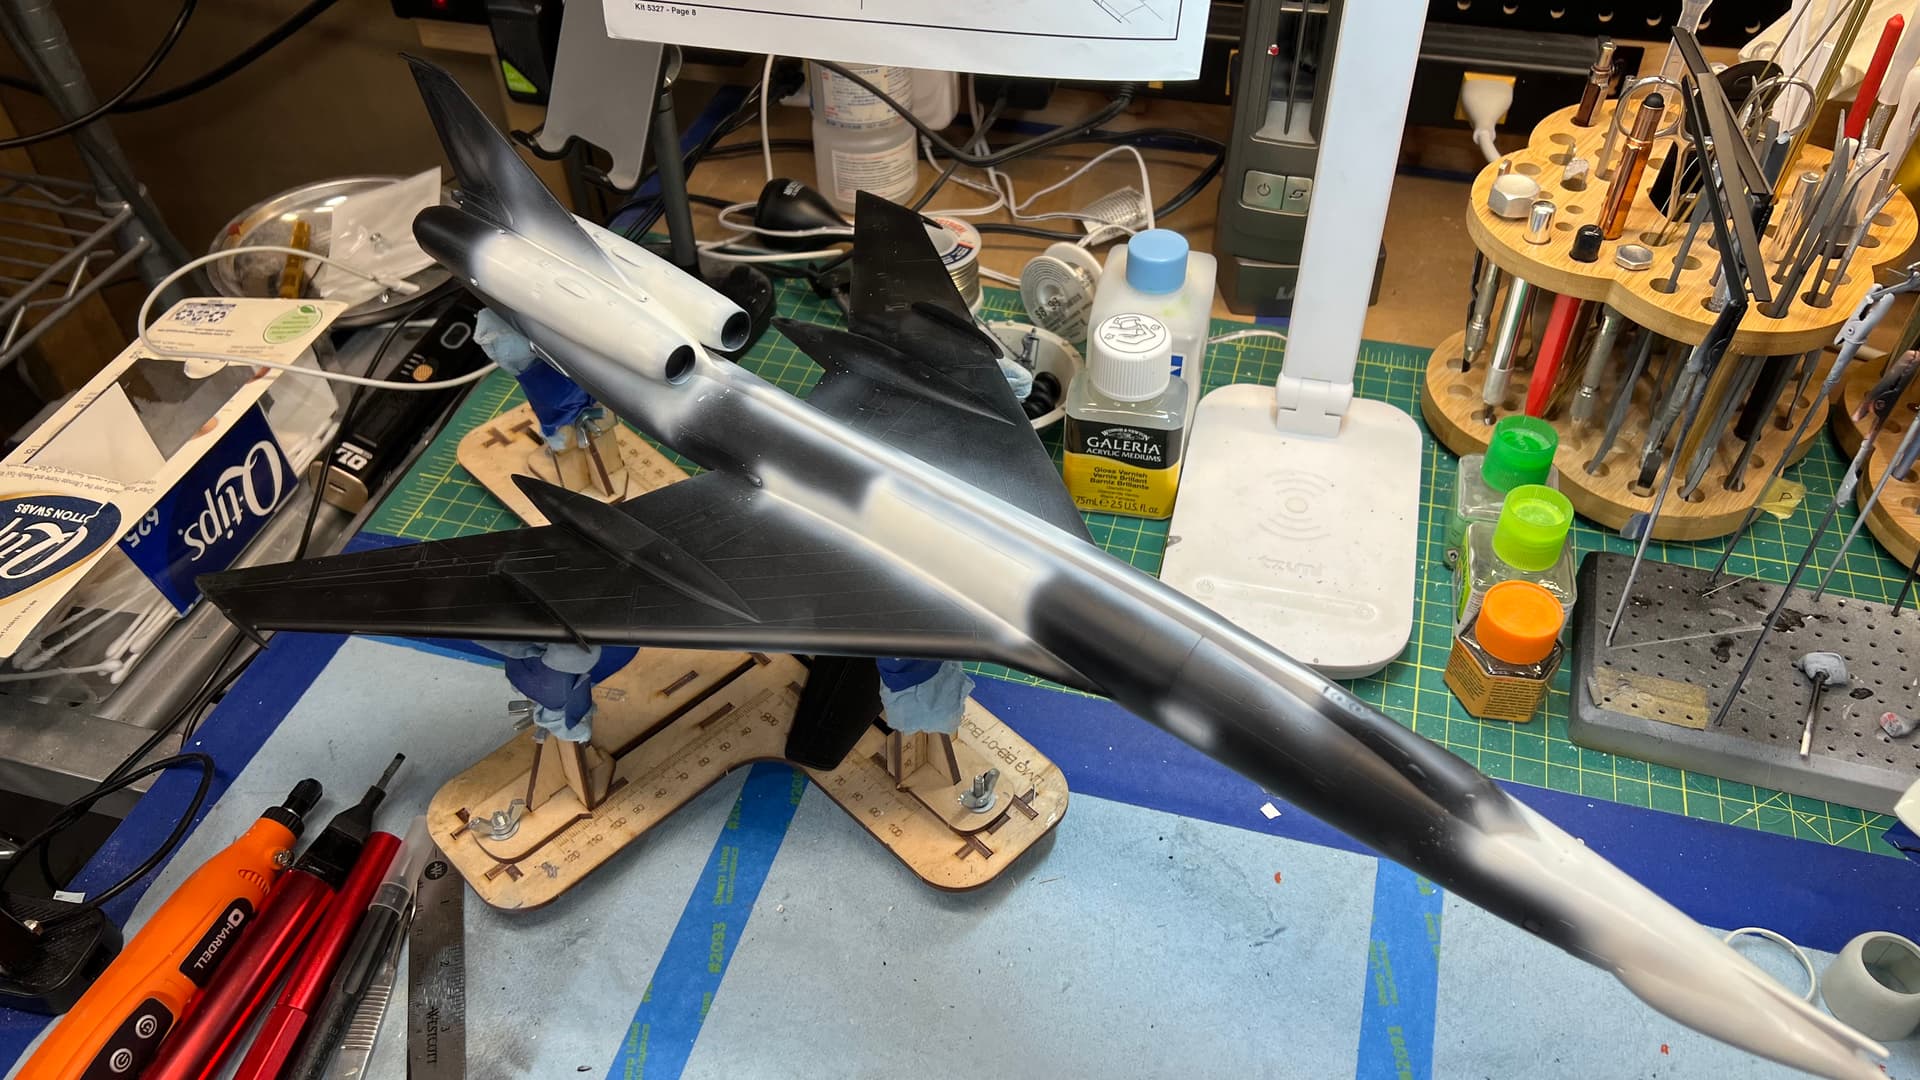
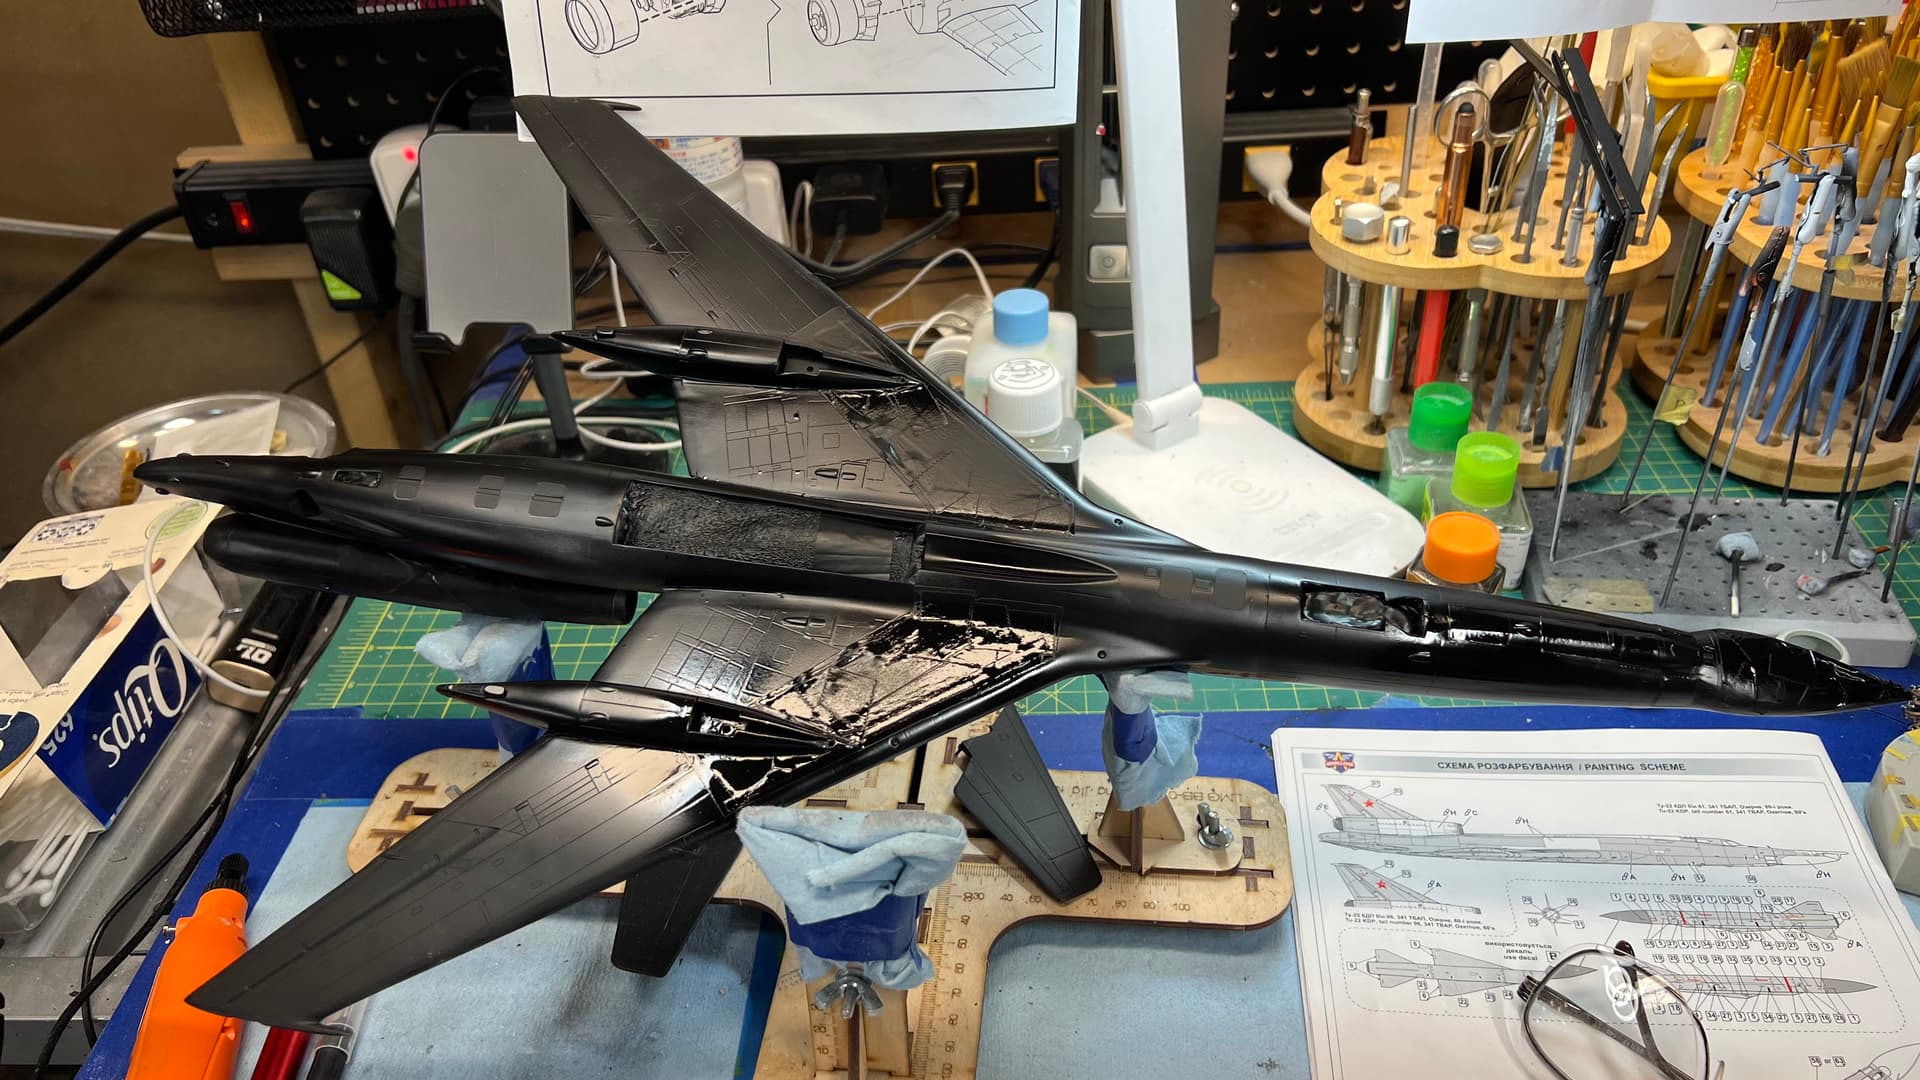
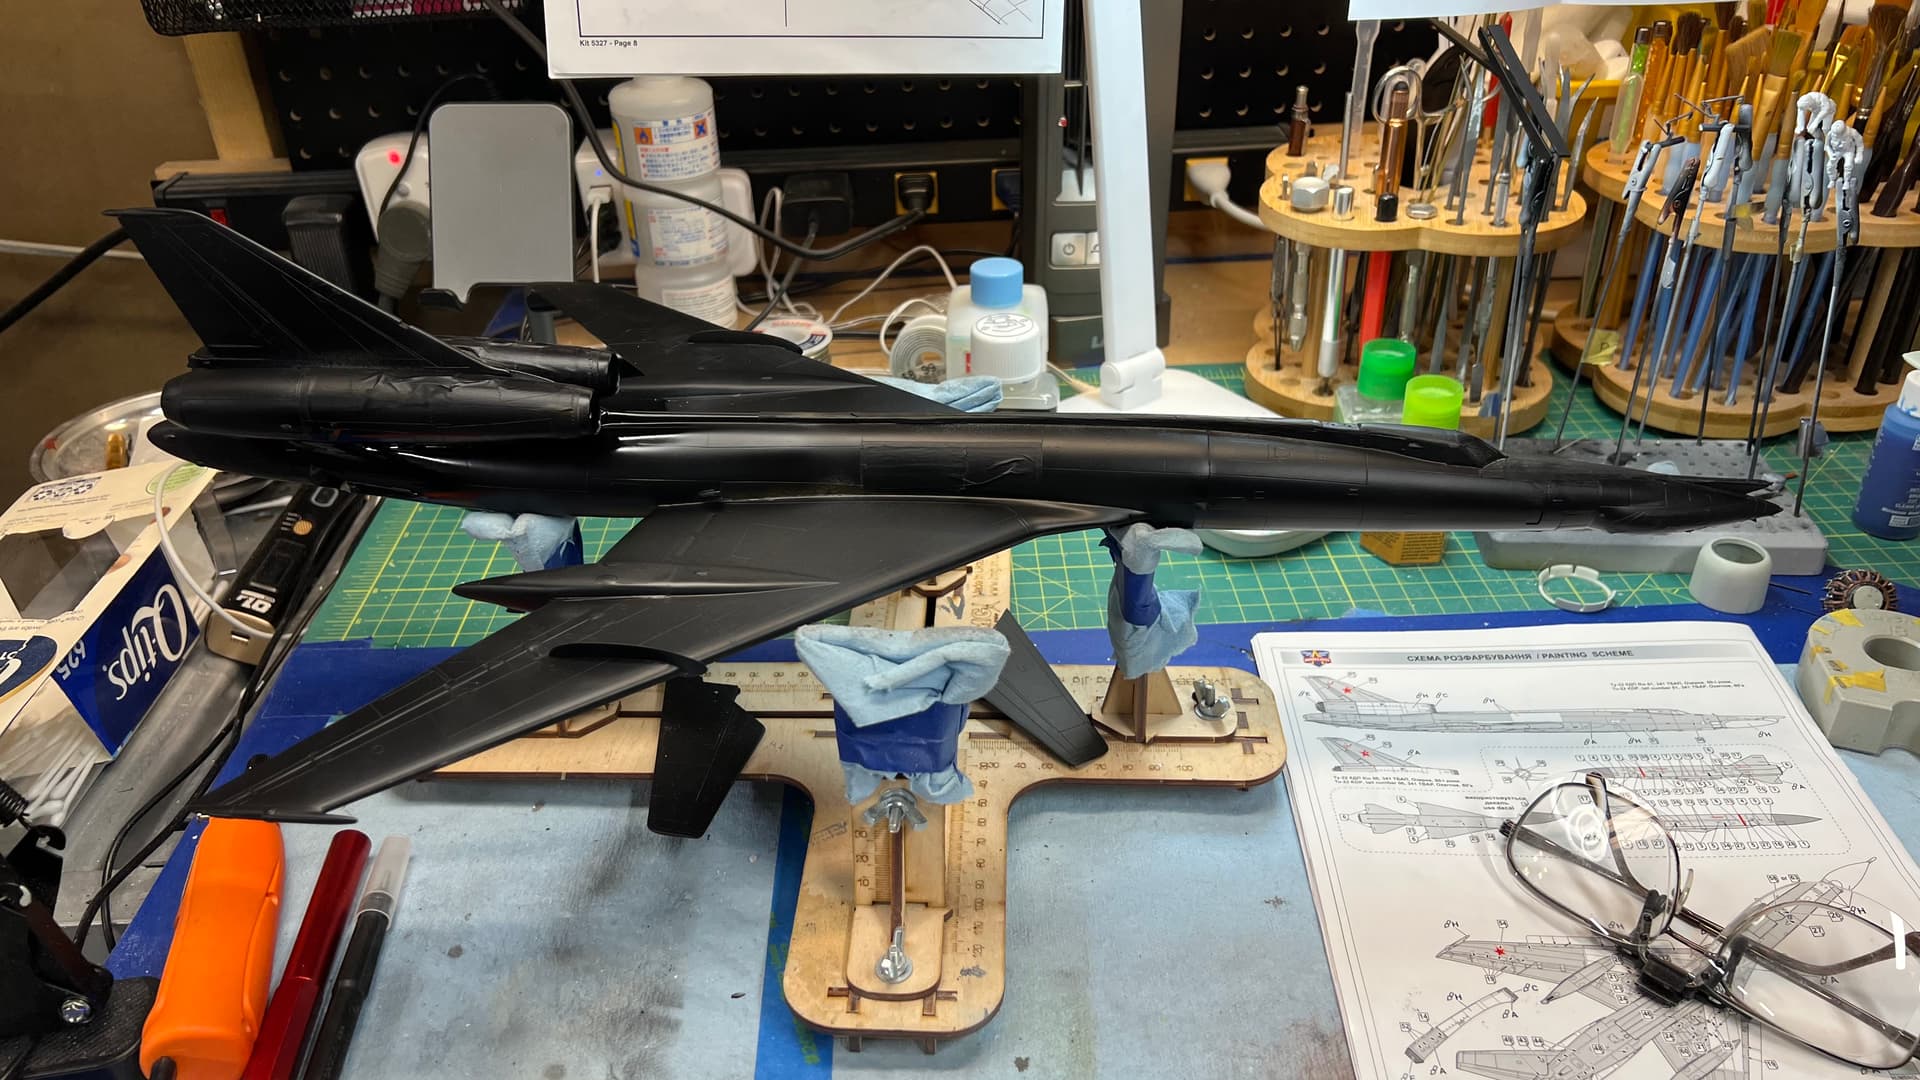
Progress continues: primed, worked out flaws, primed again, found tiny flaws, reprimed/black-based white overspray areas, applied base coat of Alclad Airframe Aluminum, and started panel shading using a variety of AlClad metallics.

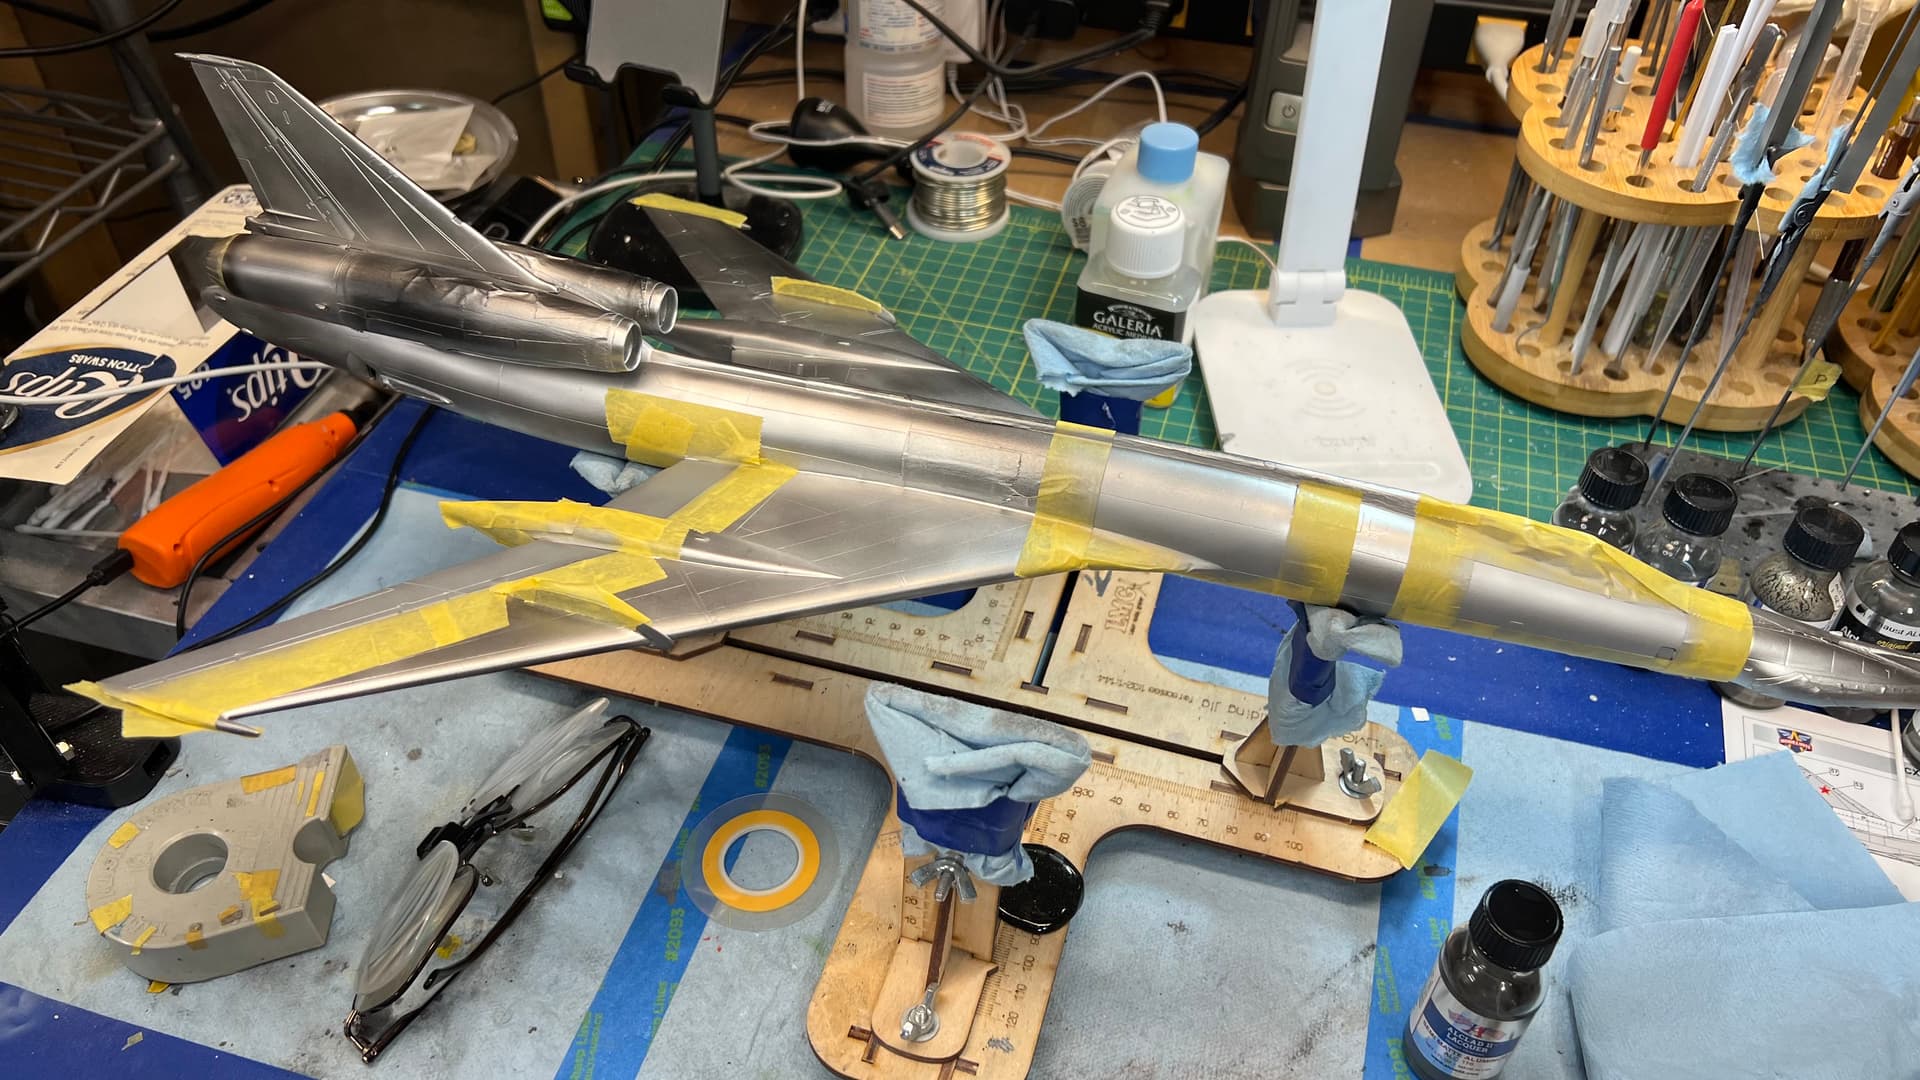

8 Likes
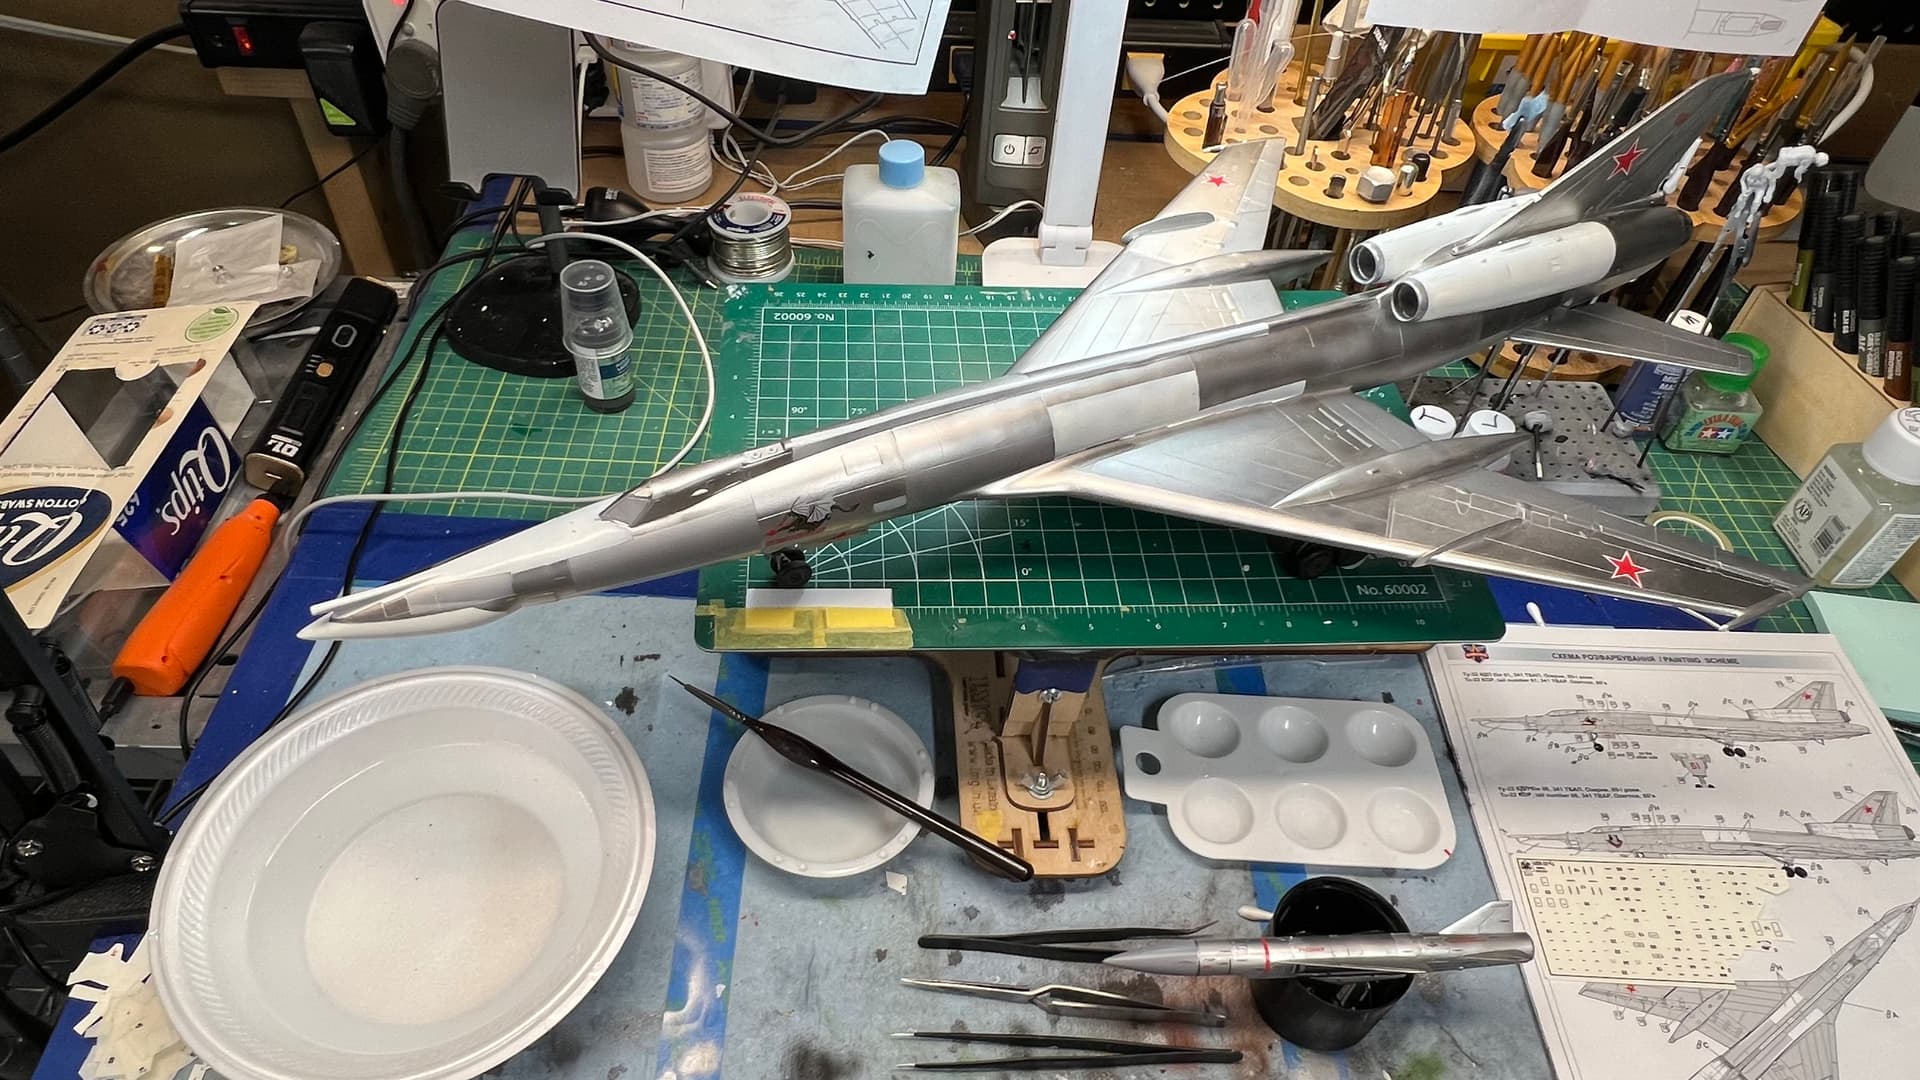
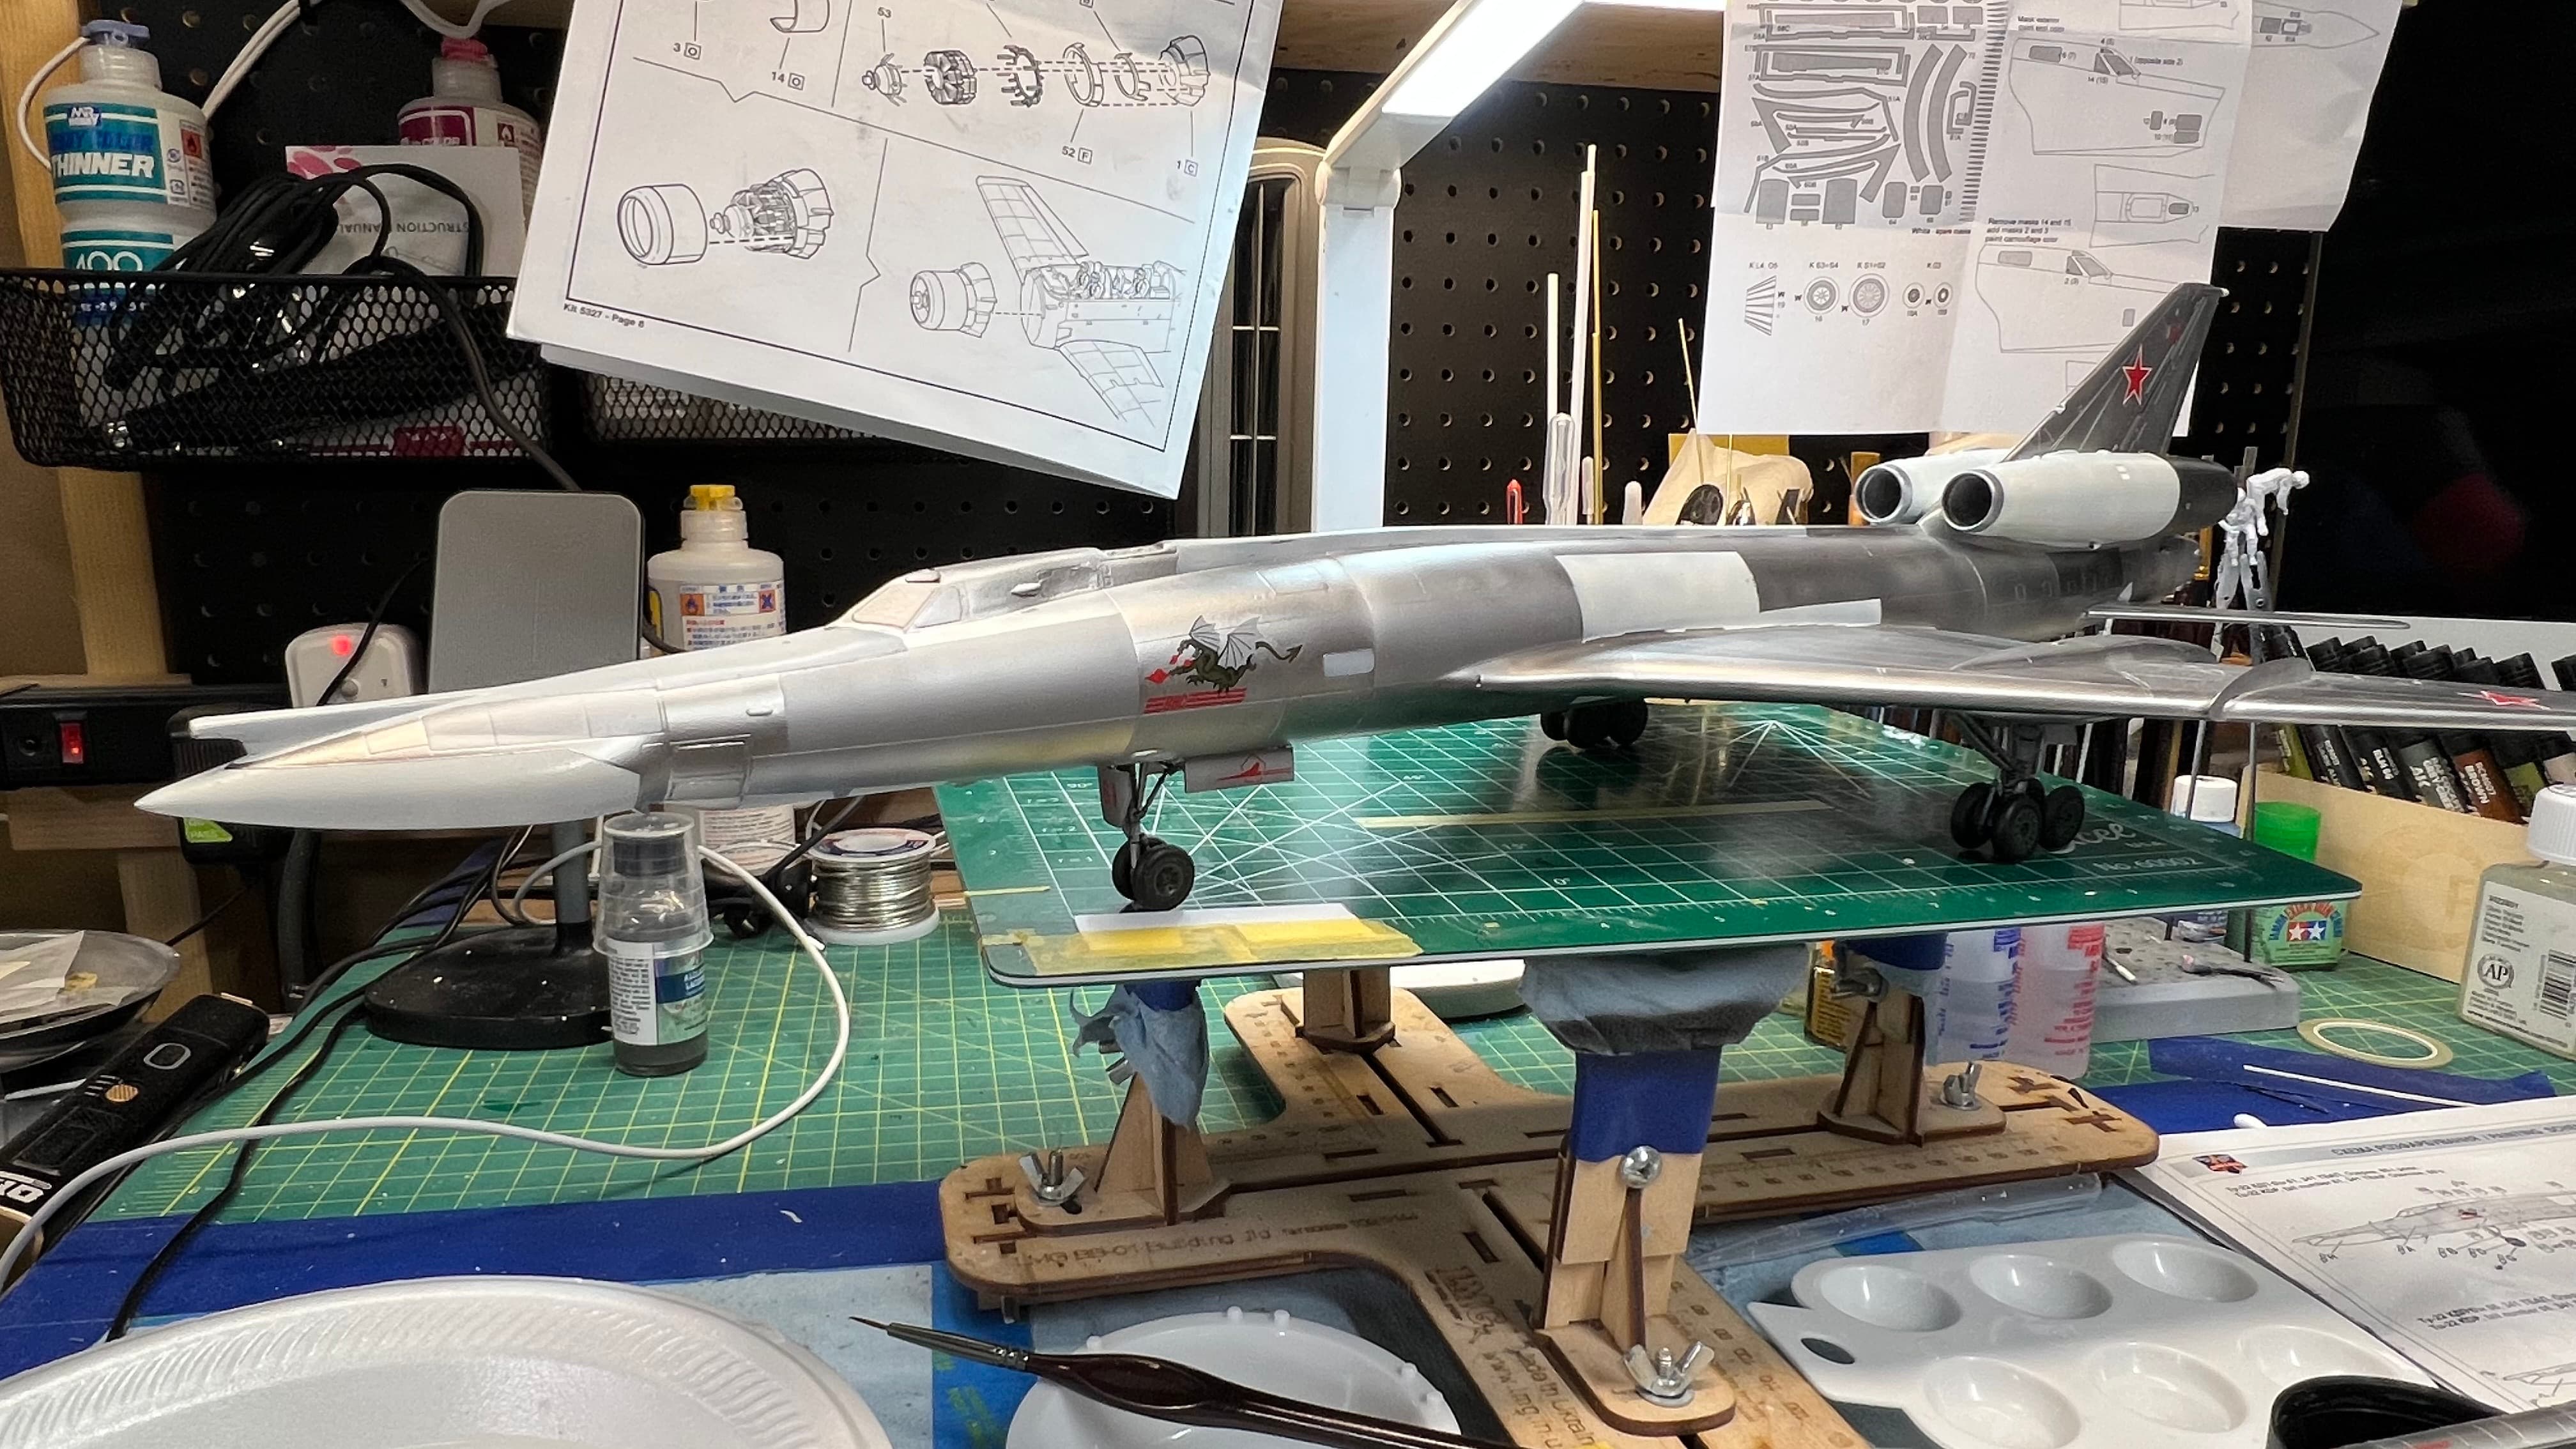
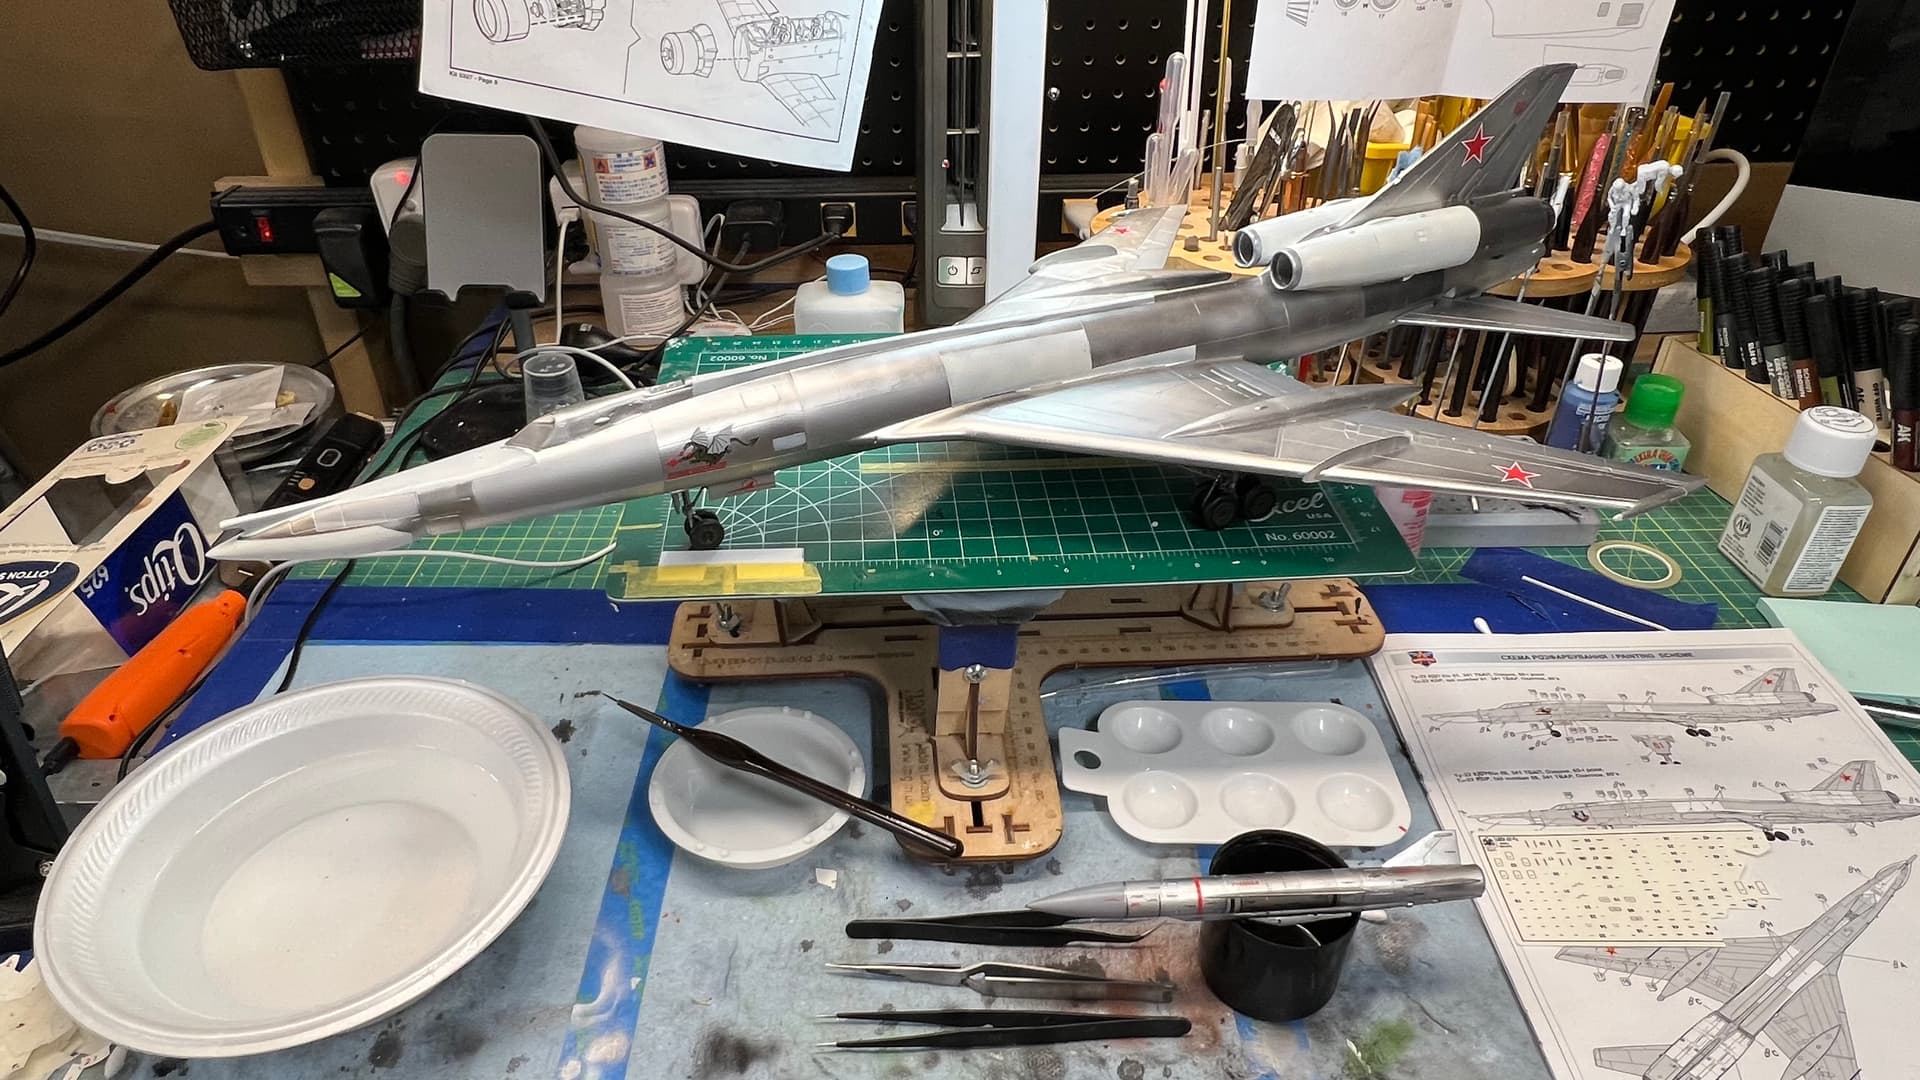
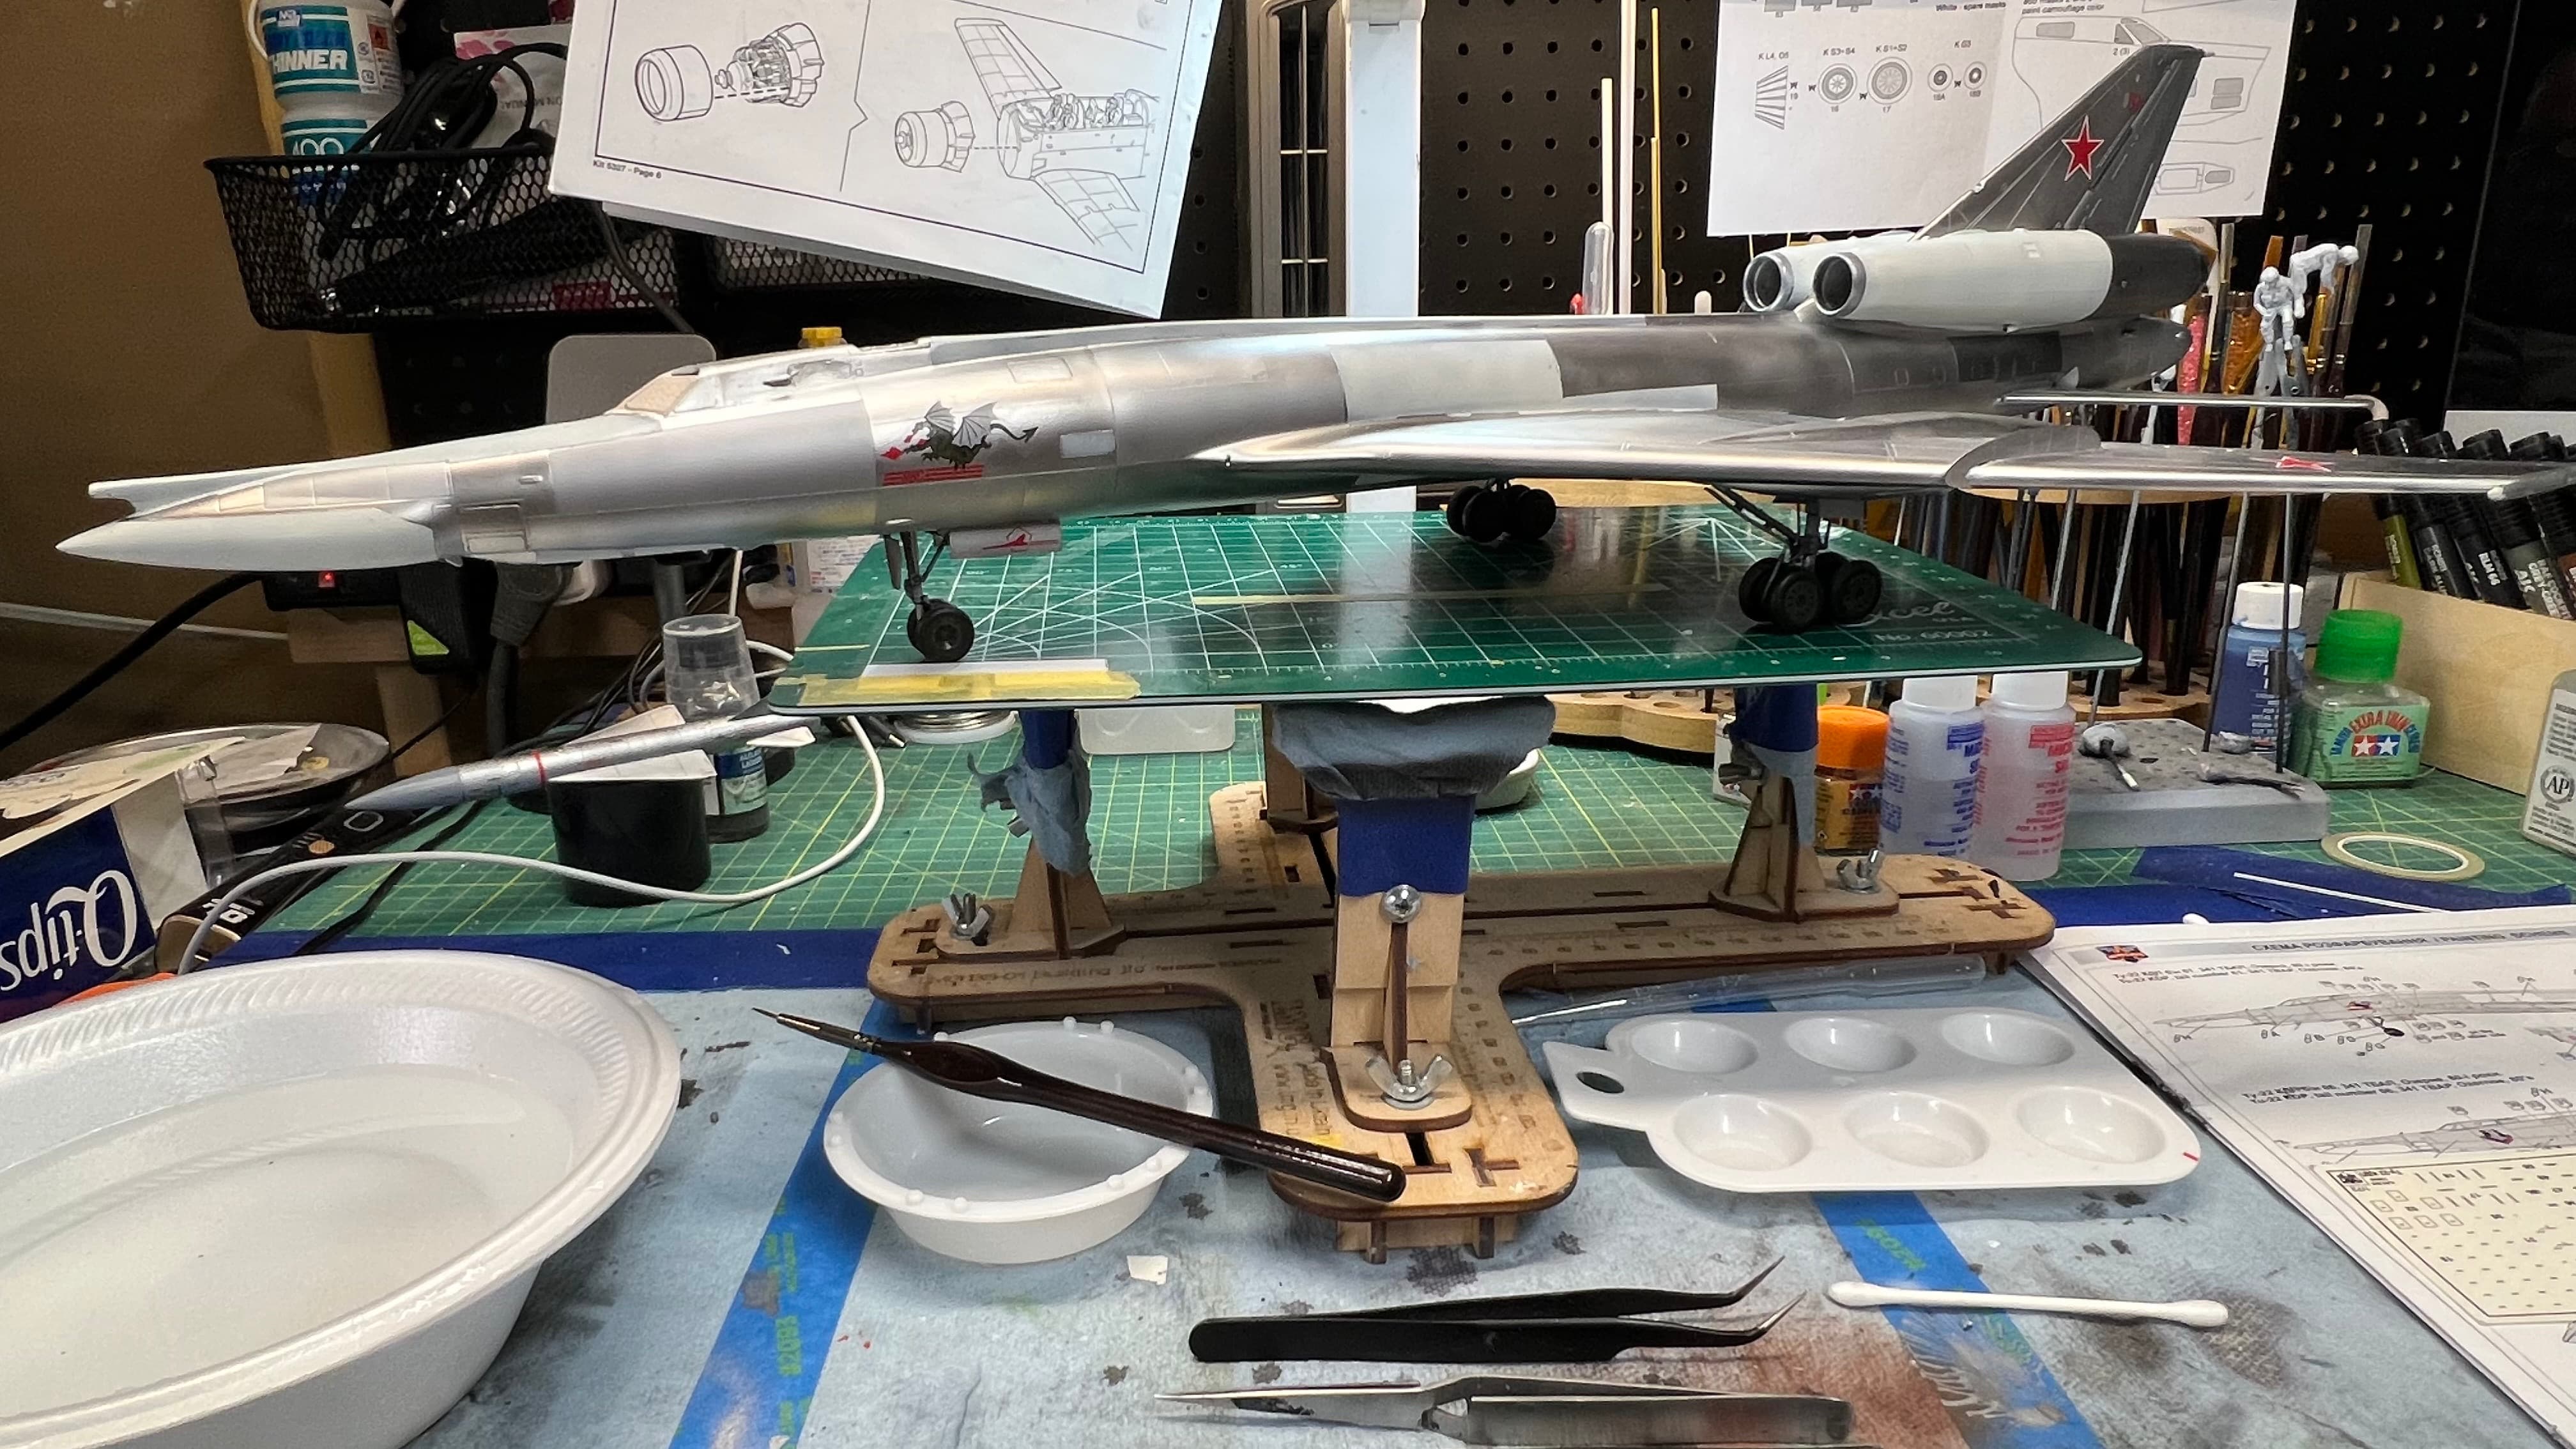
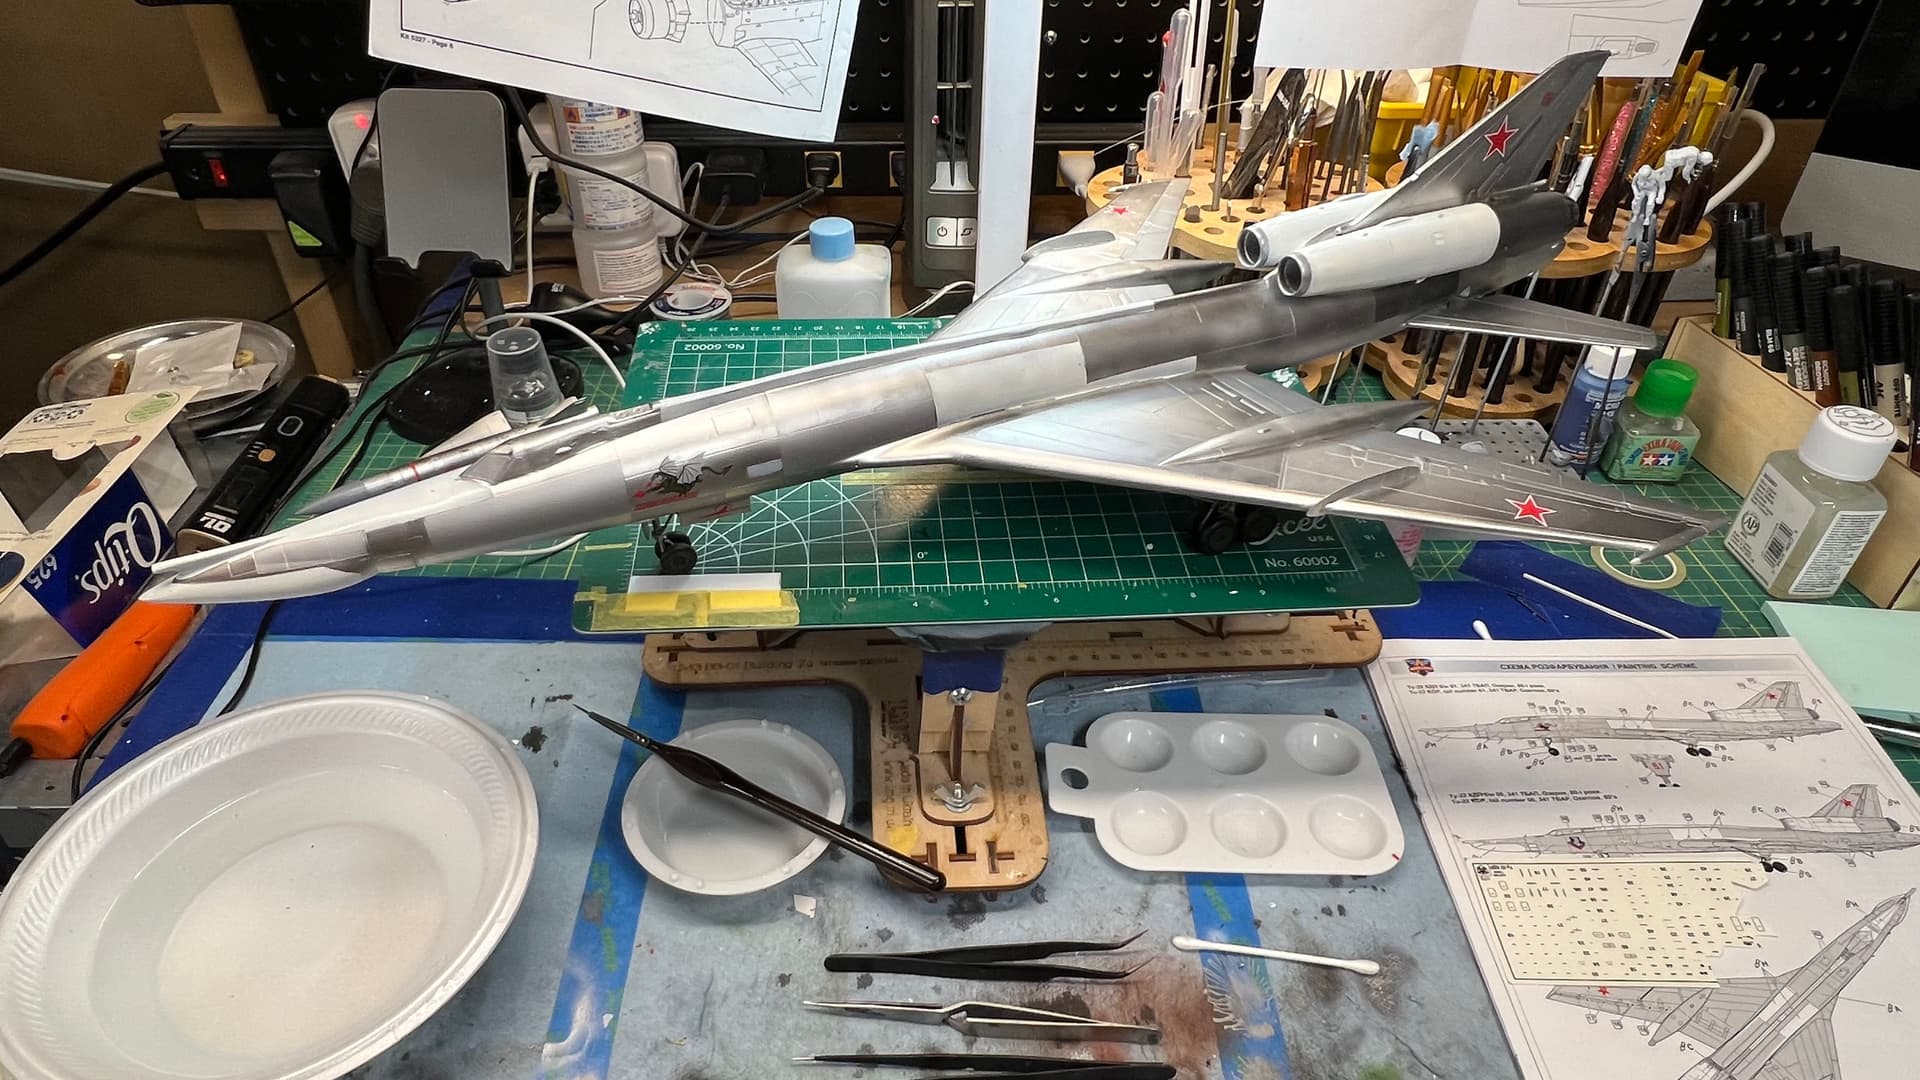
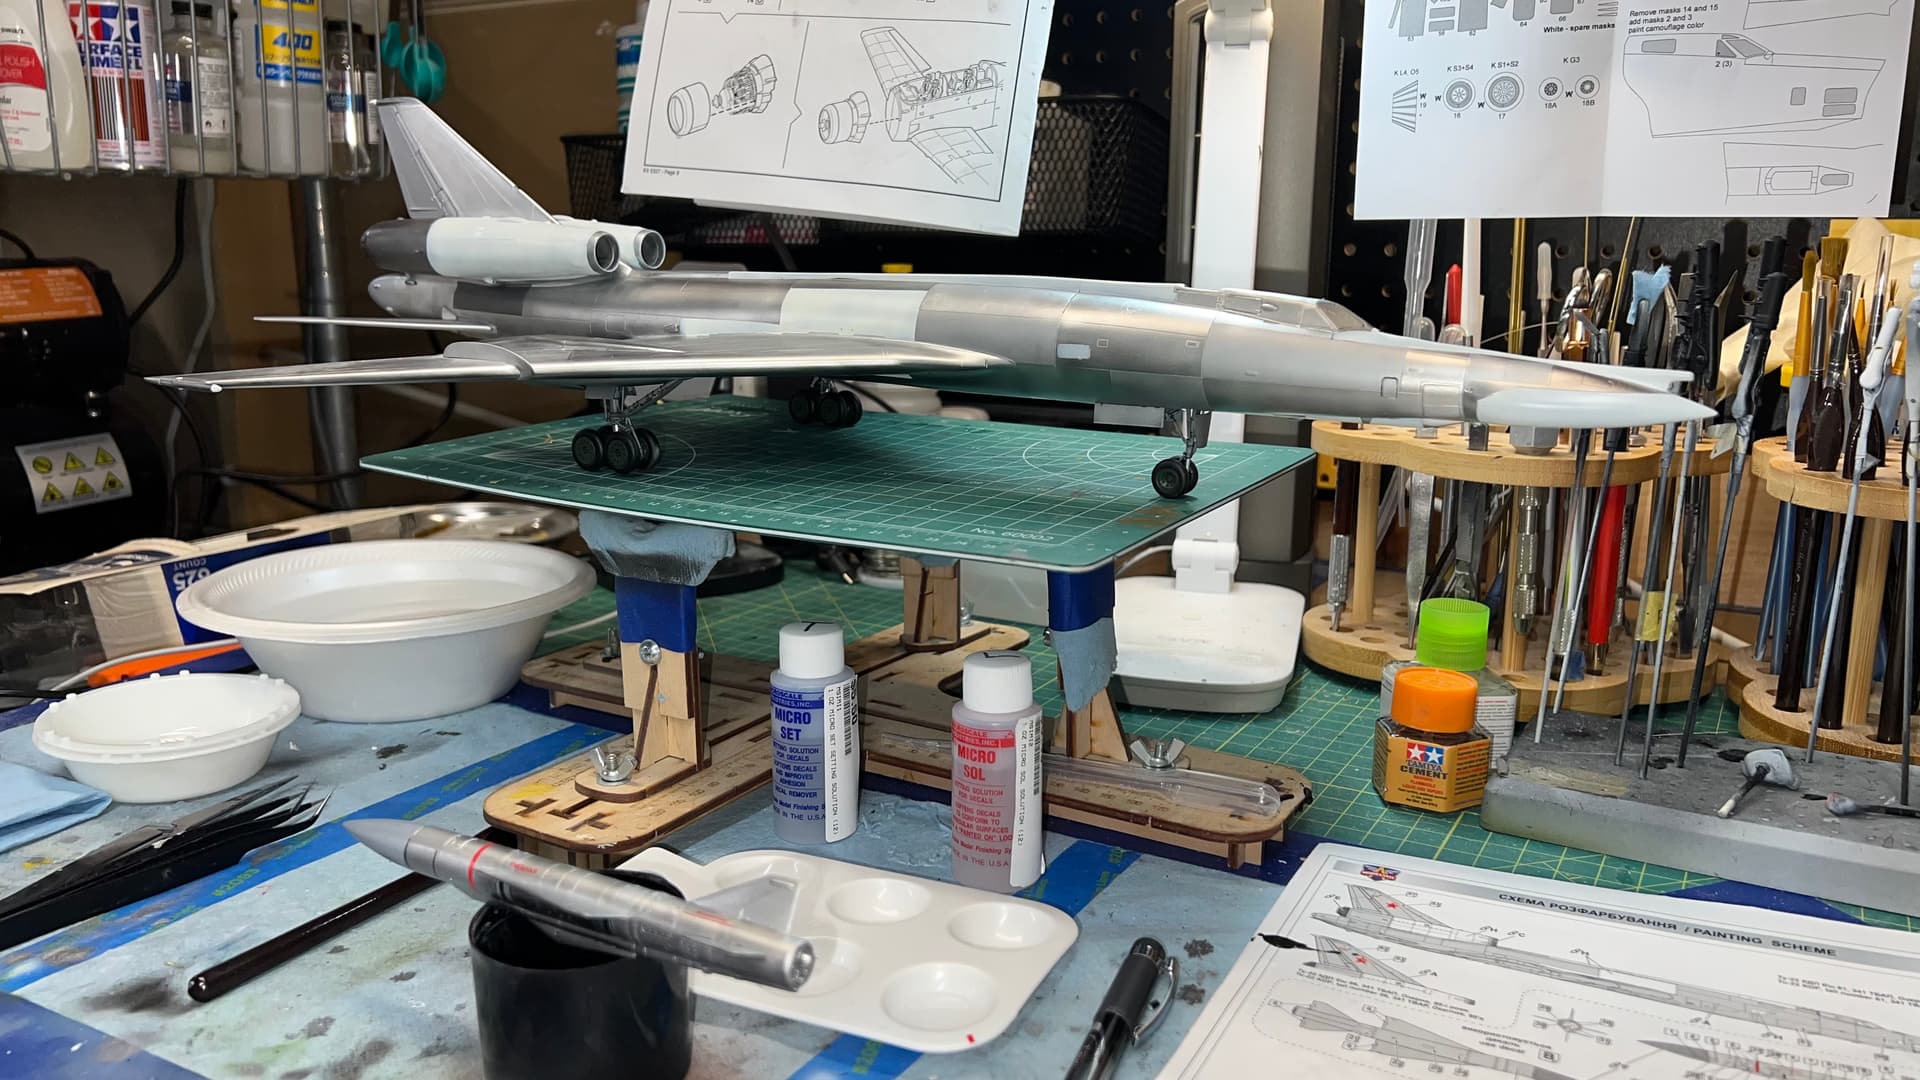
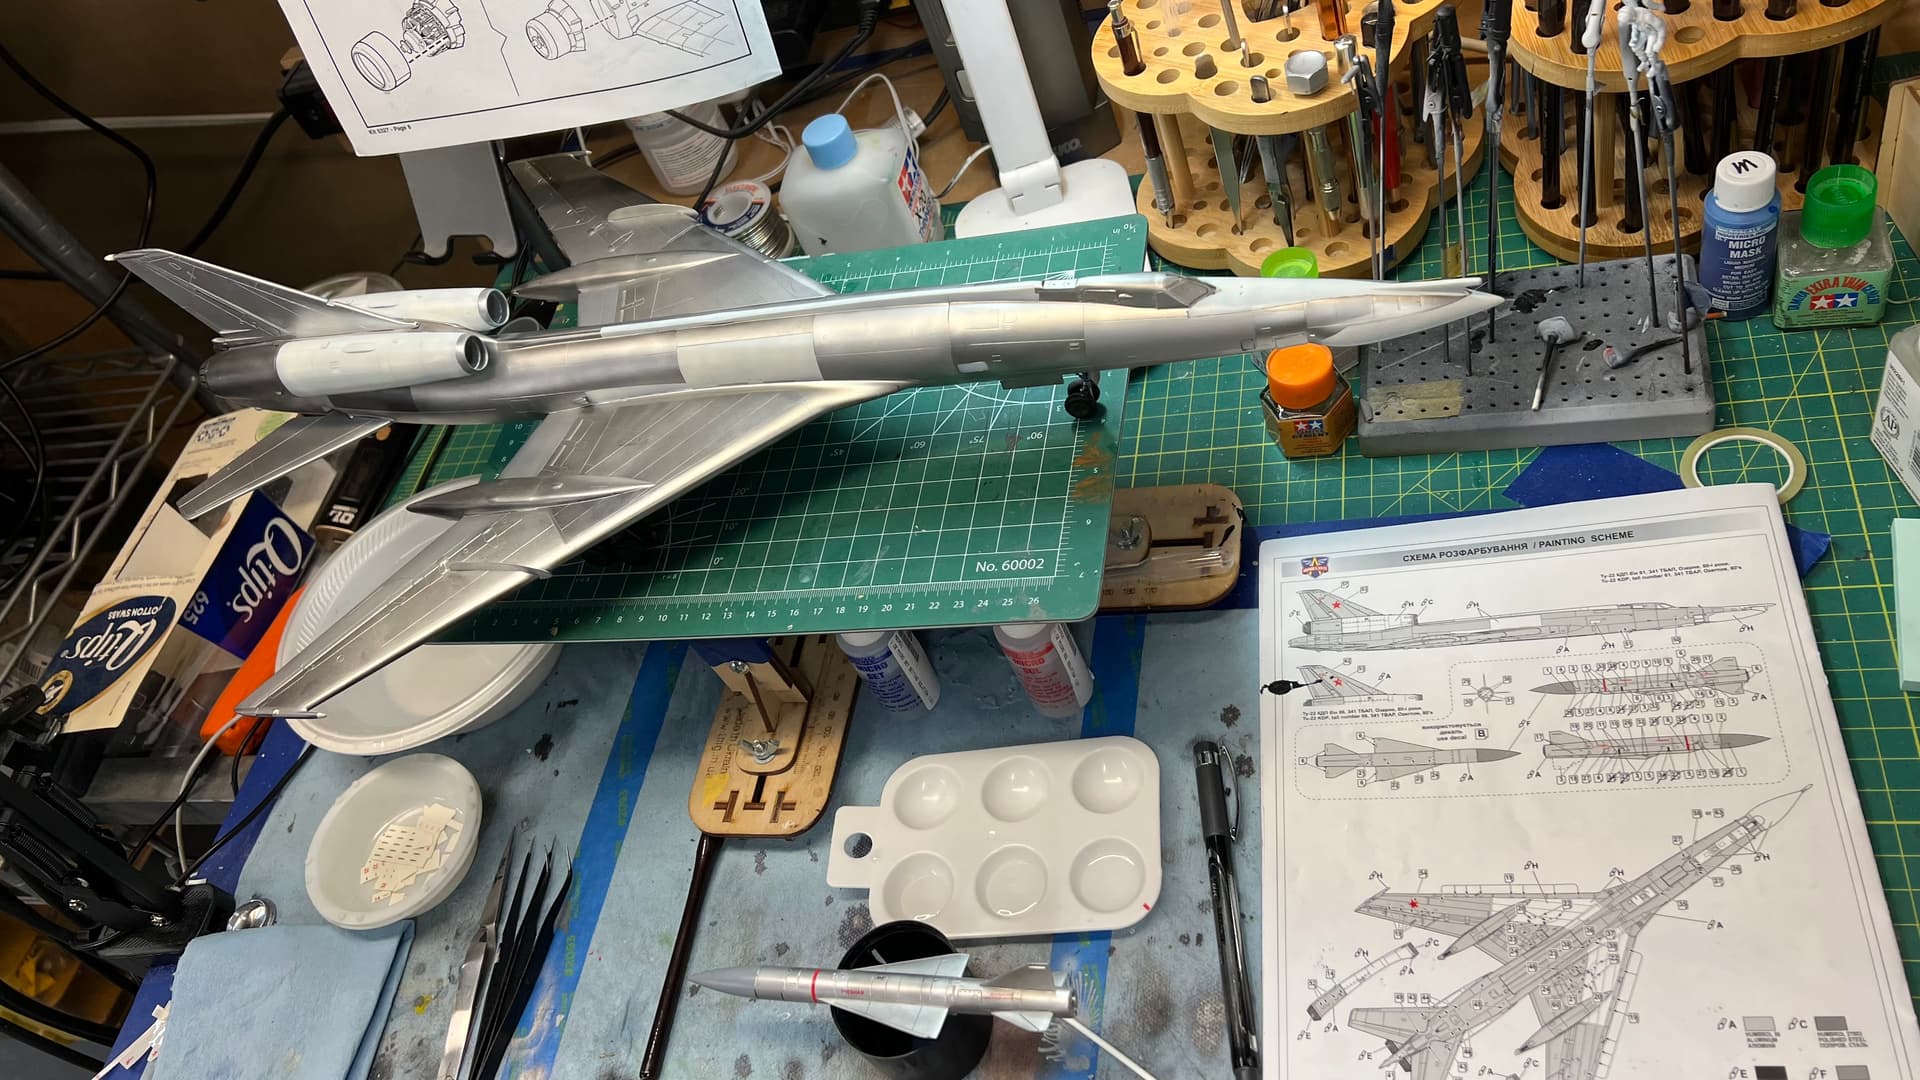
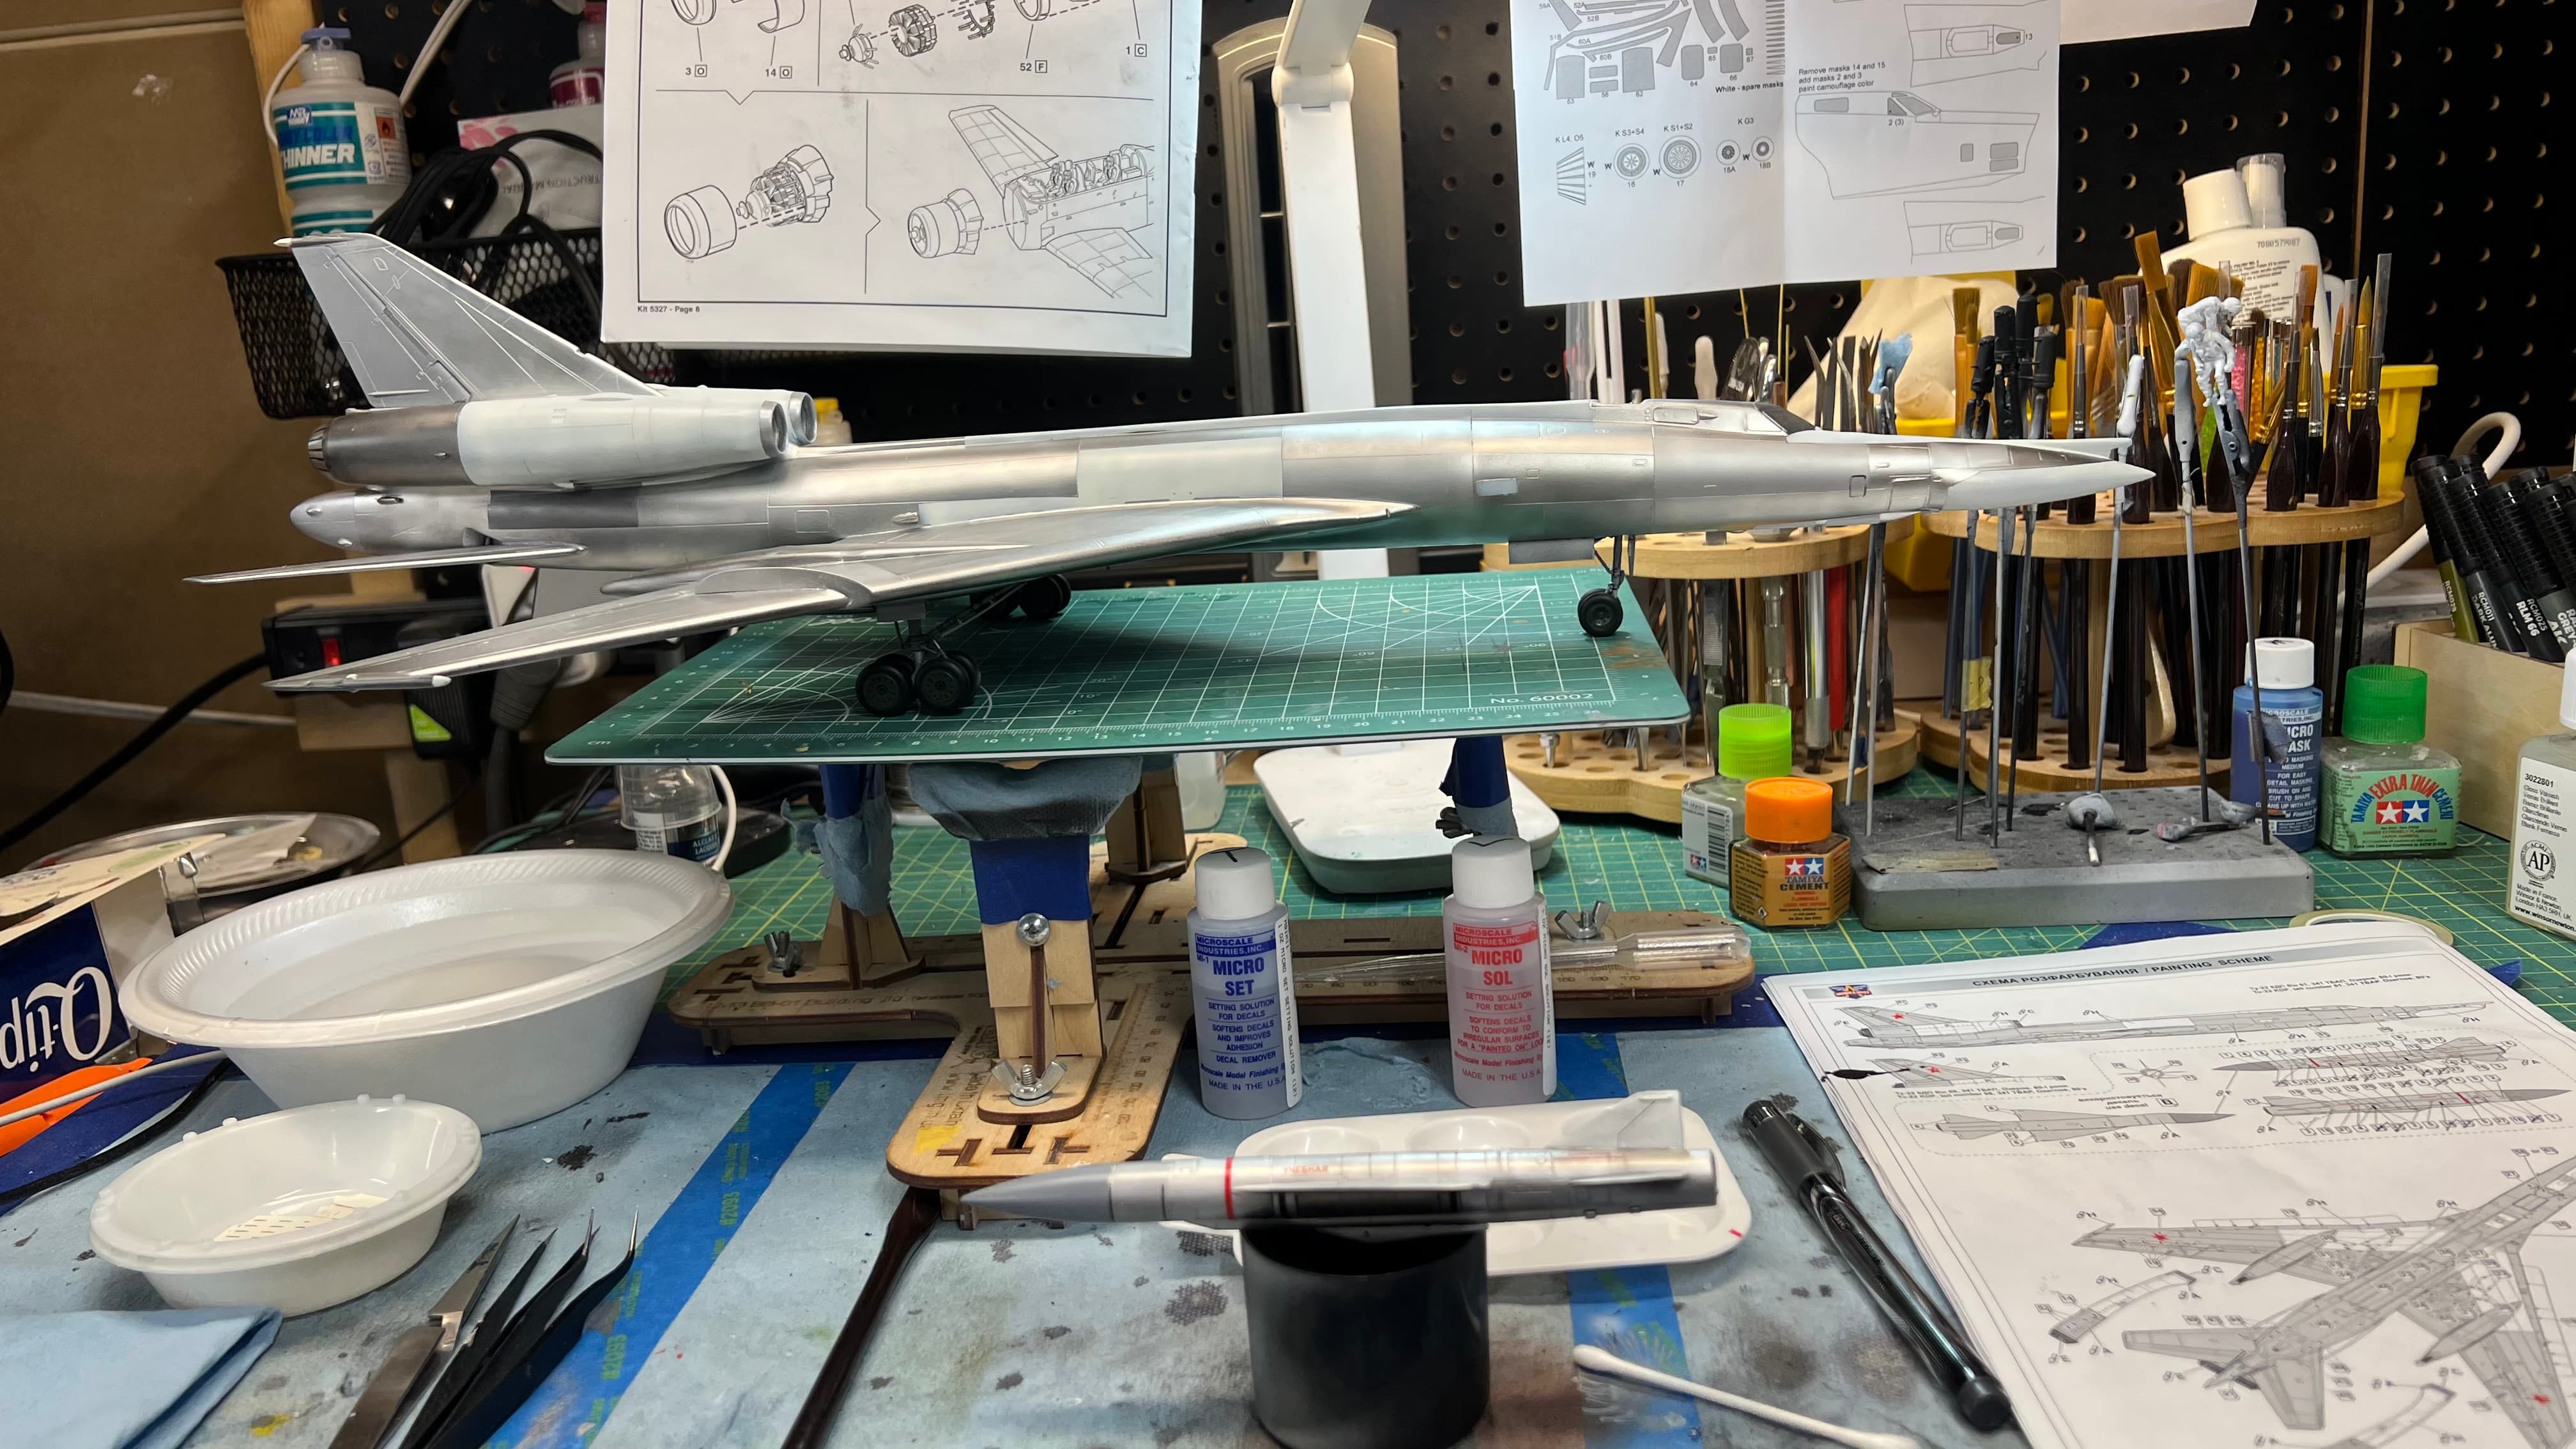
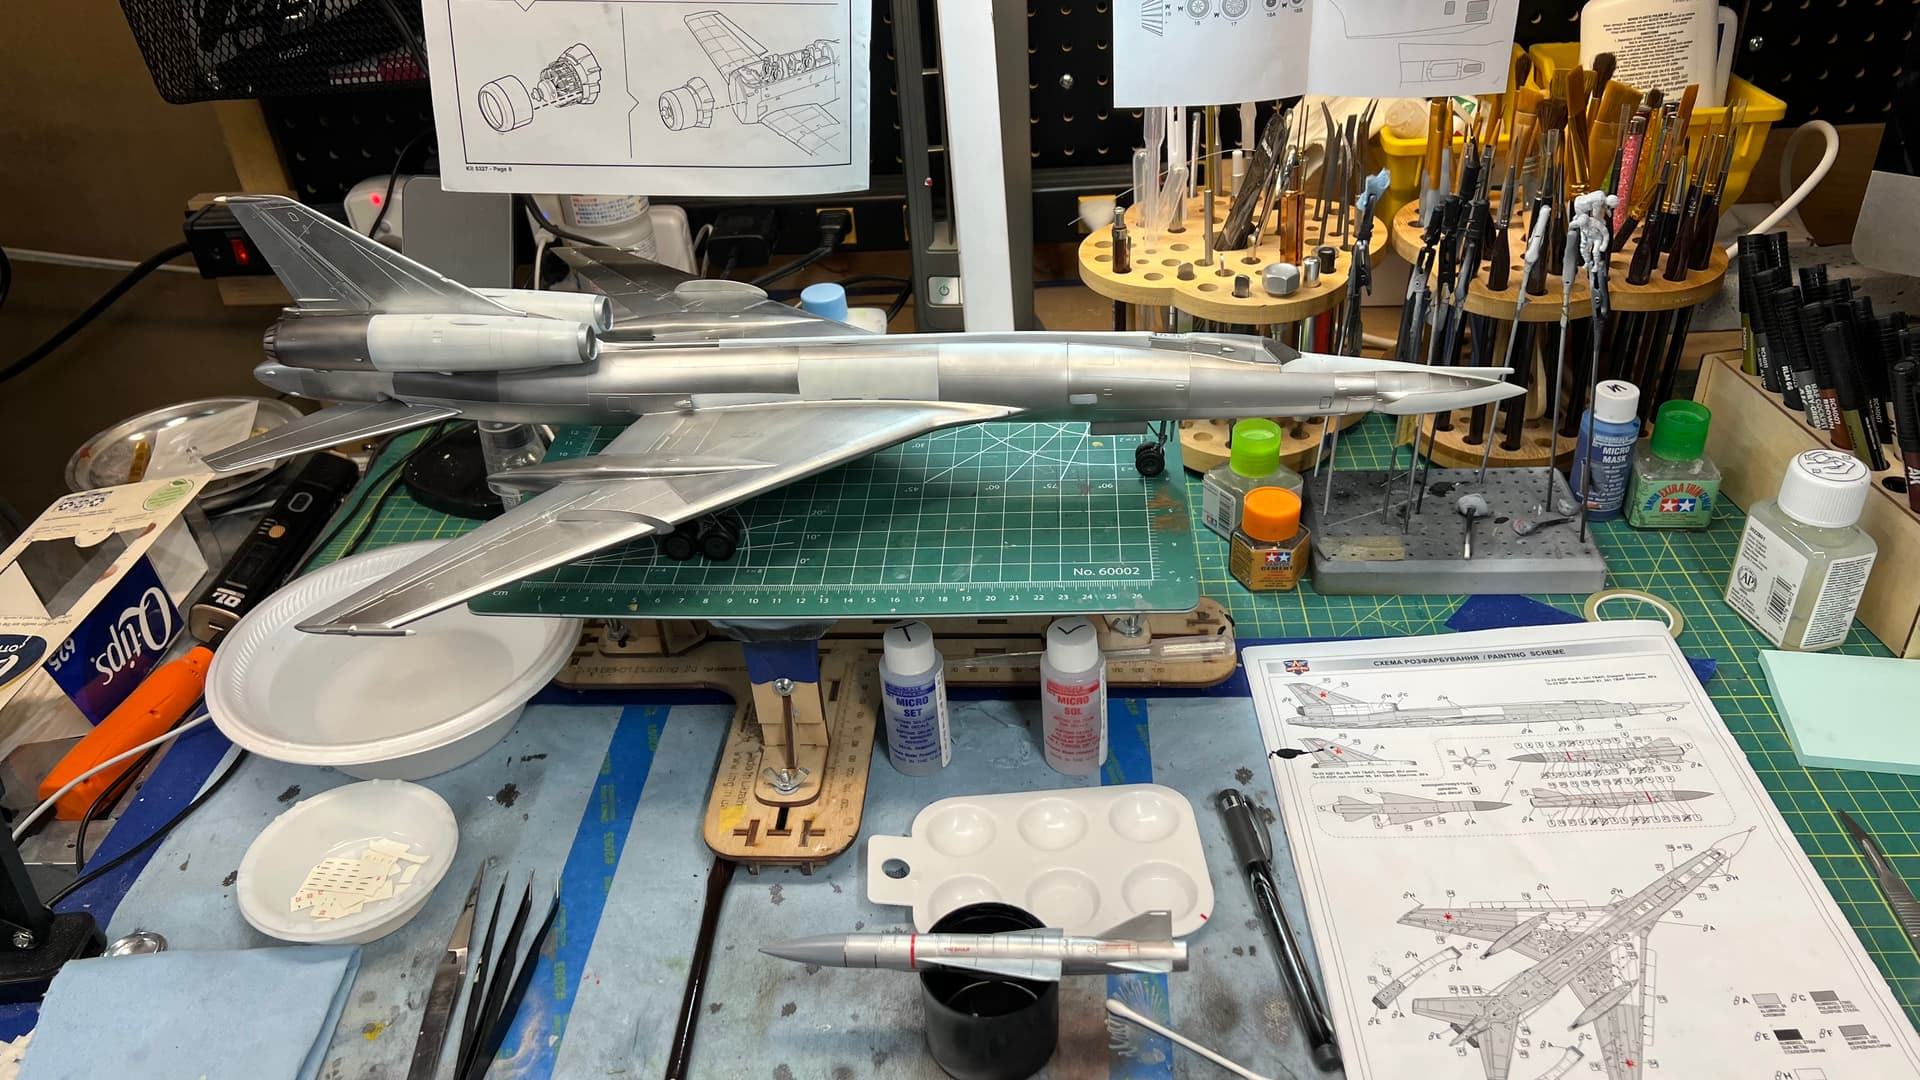
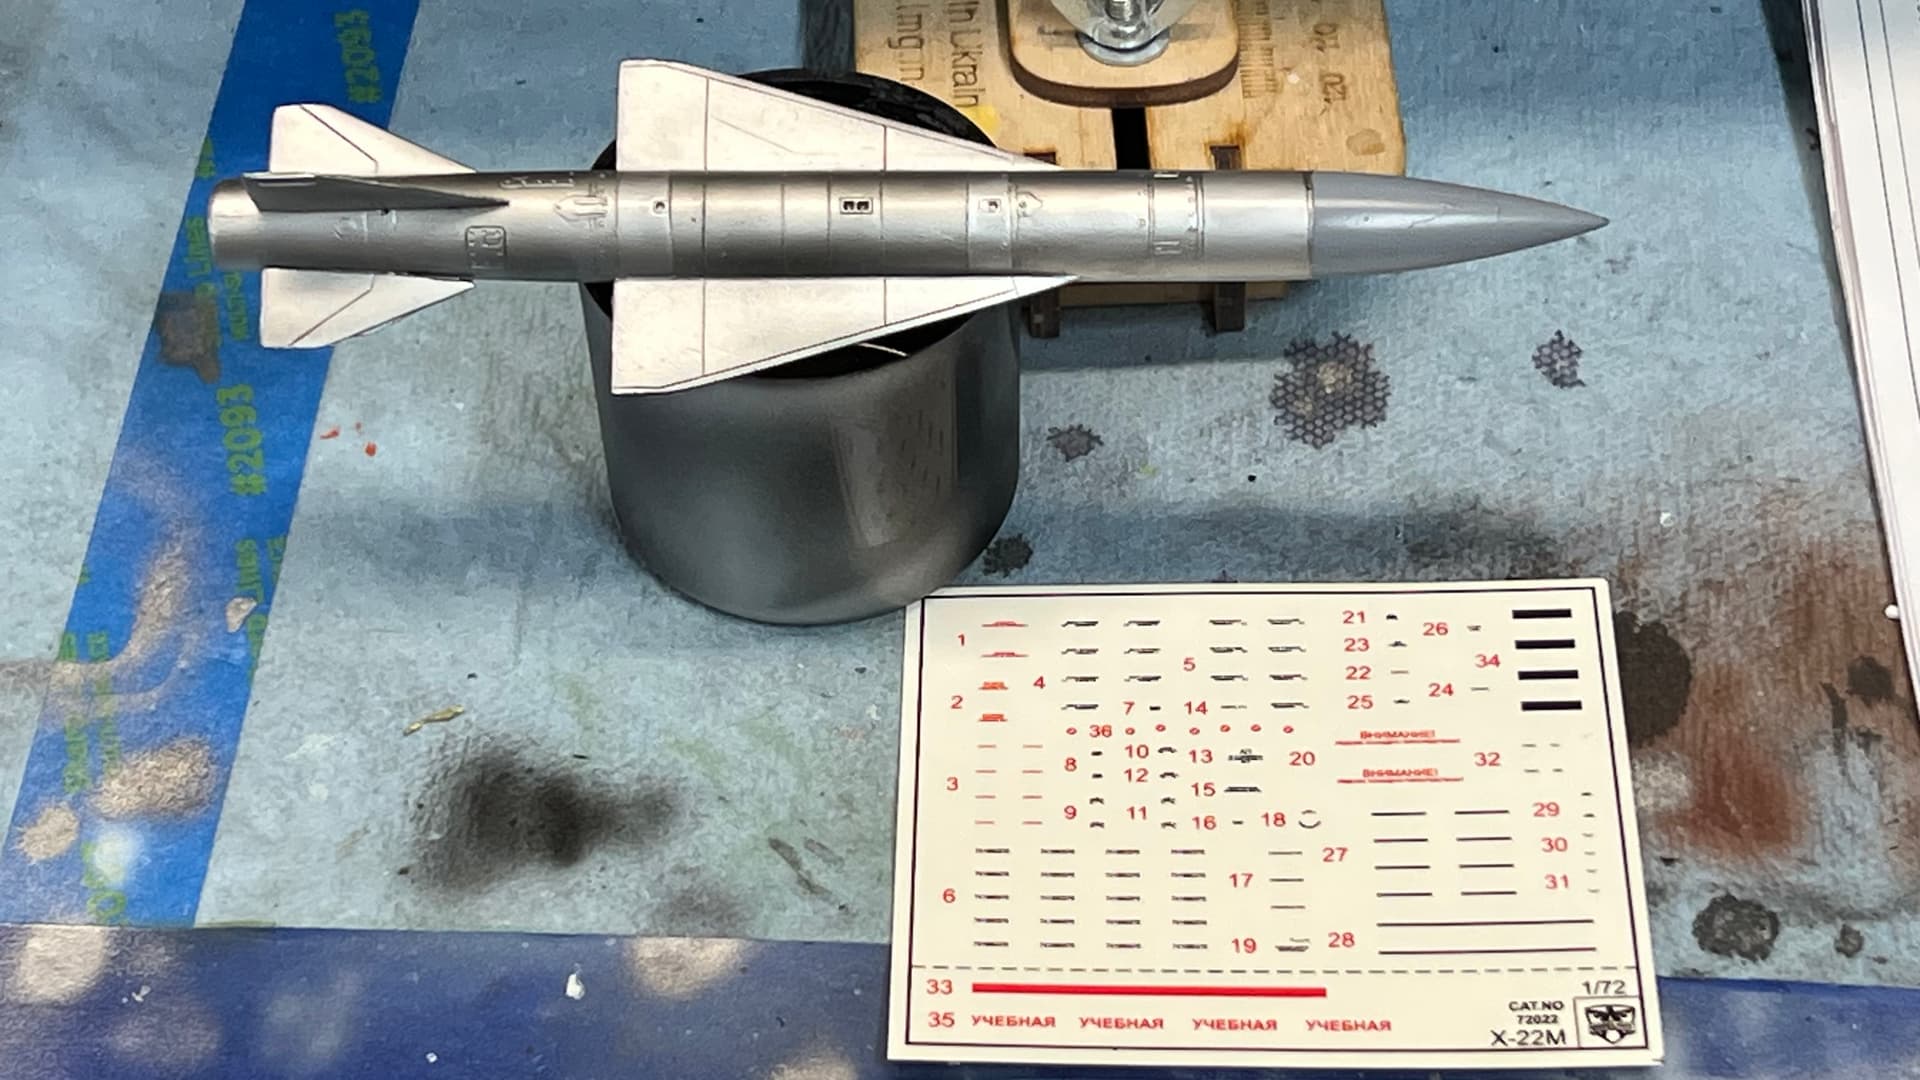
Excellent paint work. Love the variation.
1 Like
Loving this build! It’s look great - nice natural metal work. And man that is a big piece of ordinance!
1 Like