Very nice work so far, sir!
No problem, I’m glad I can at the very least guide you in that direction.
Patrick206, yes I have. I have to break this B-17 into sections to be able to paint the exterior. Thank you for the read and reply.
Toshi
To Tony T,
Thank you sir for the read and reply!
All done with the PE. 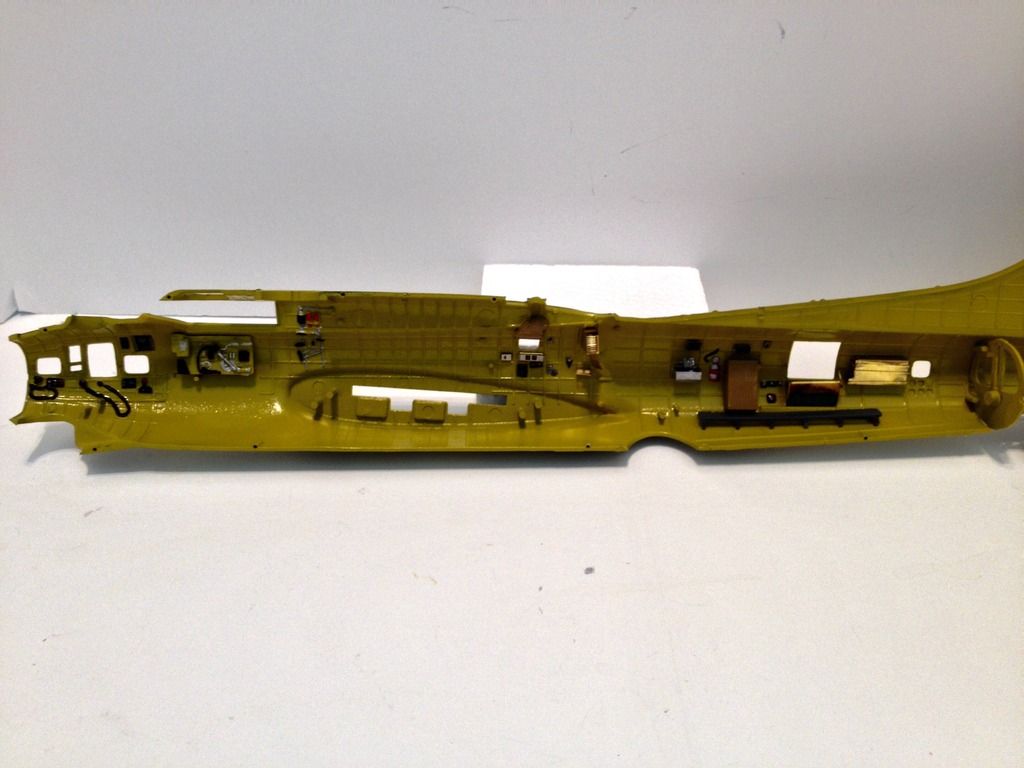 The interior cabins will be the last pieces to assemble.
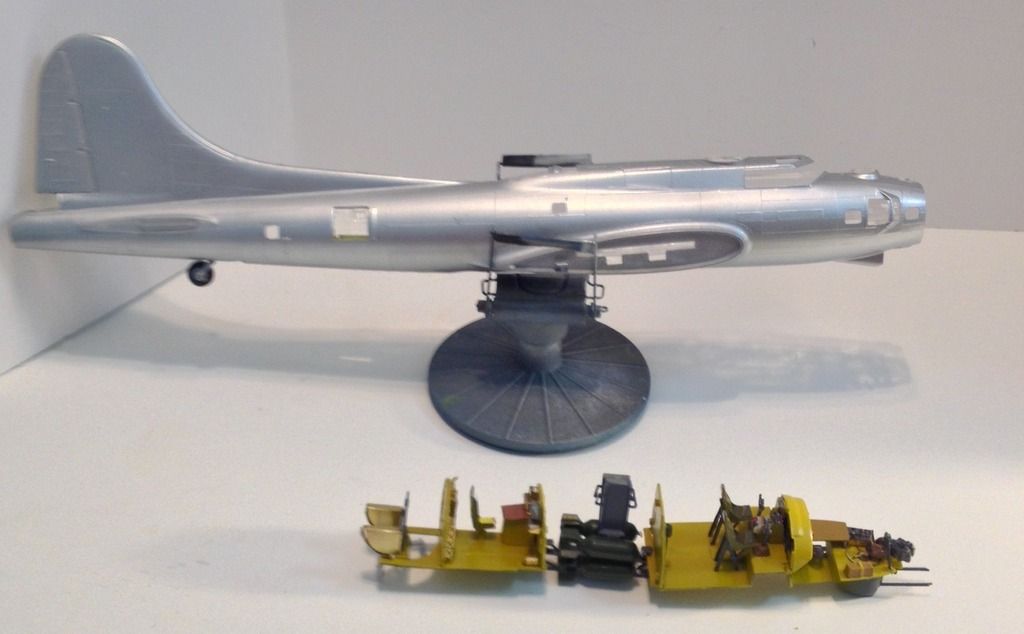
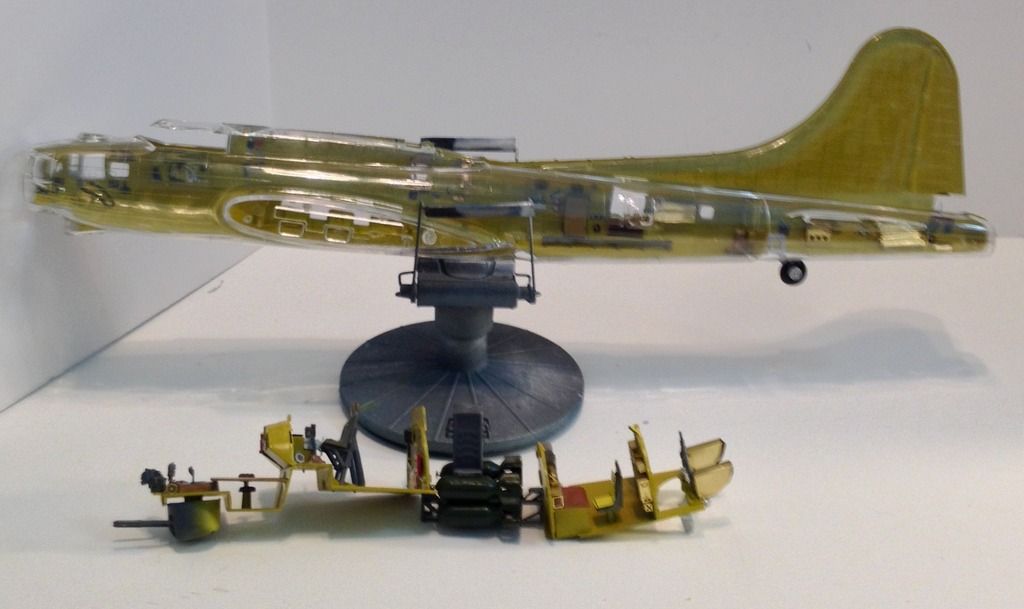
 Pre-prep, prior to the external paint scheme.
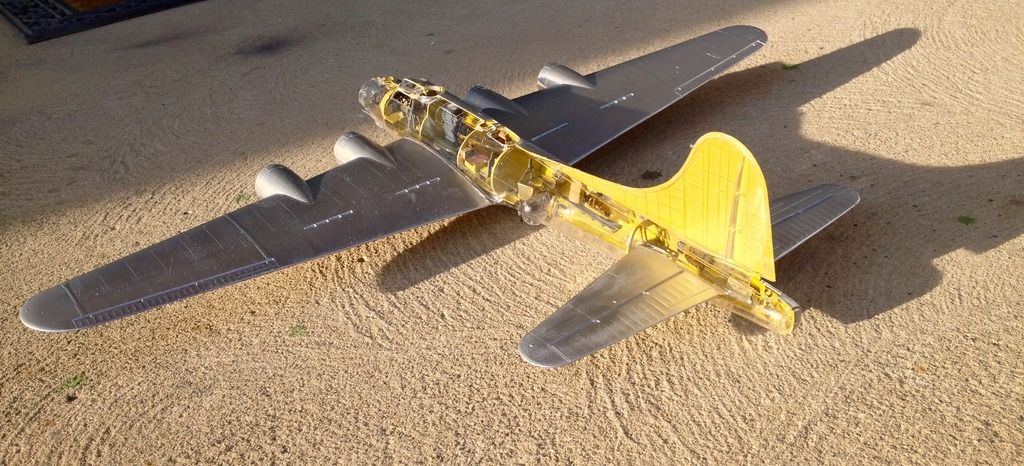
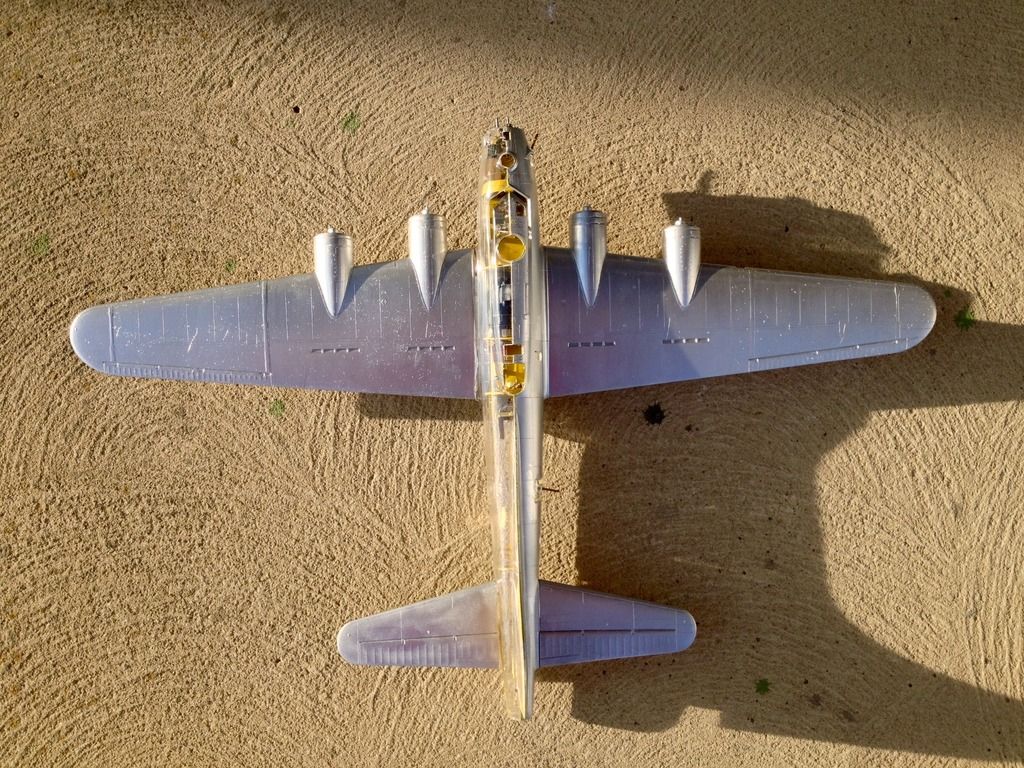
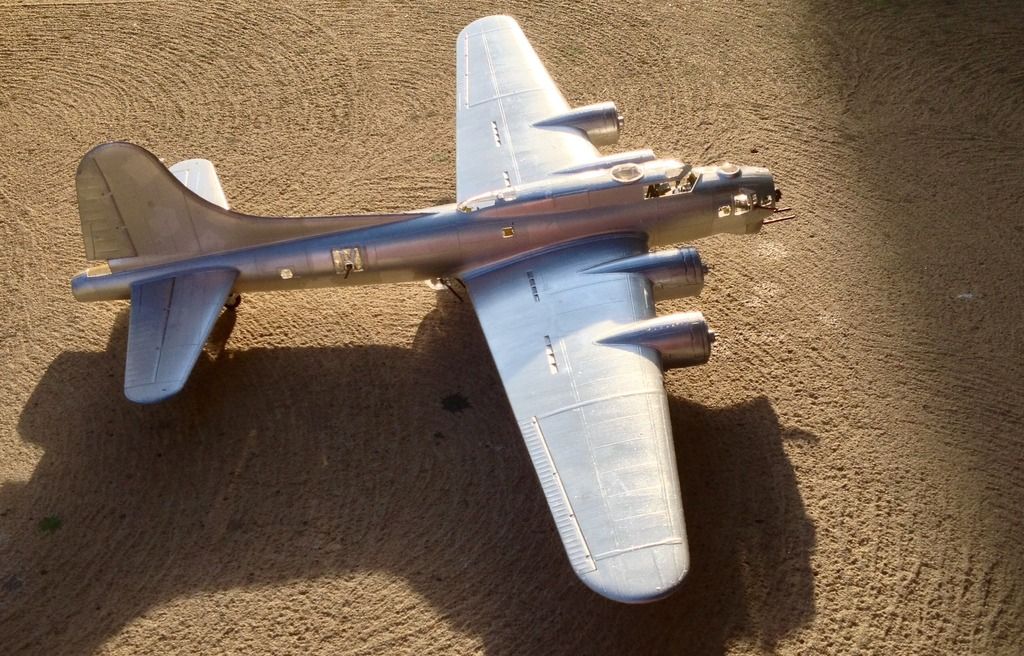
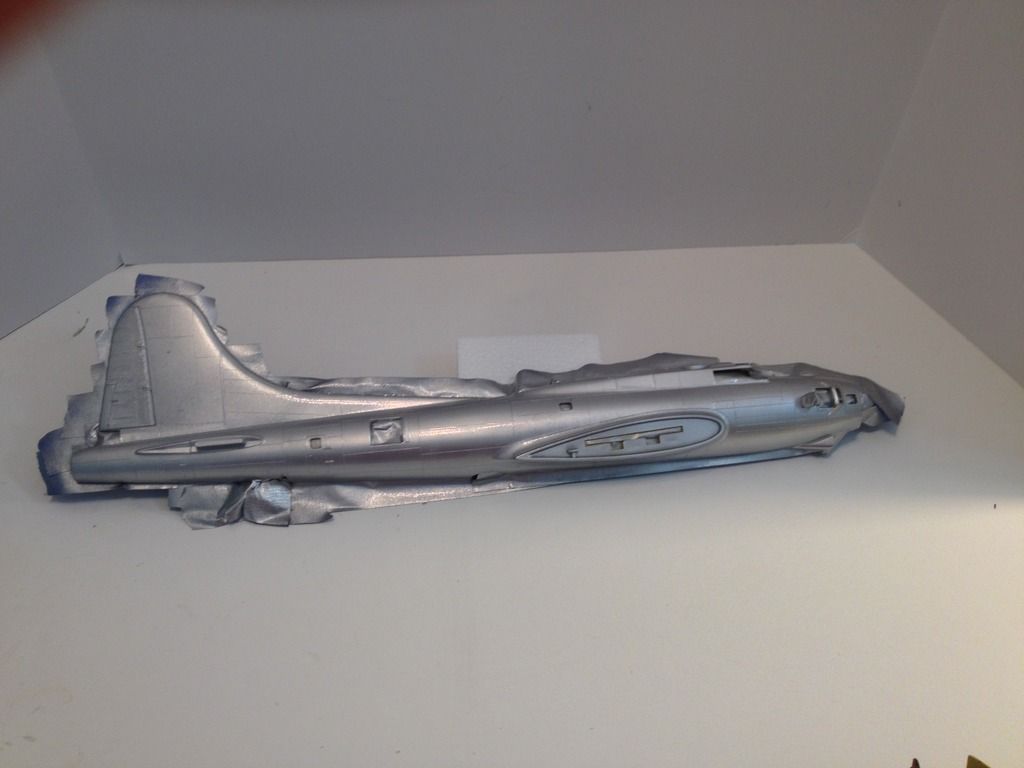
 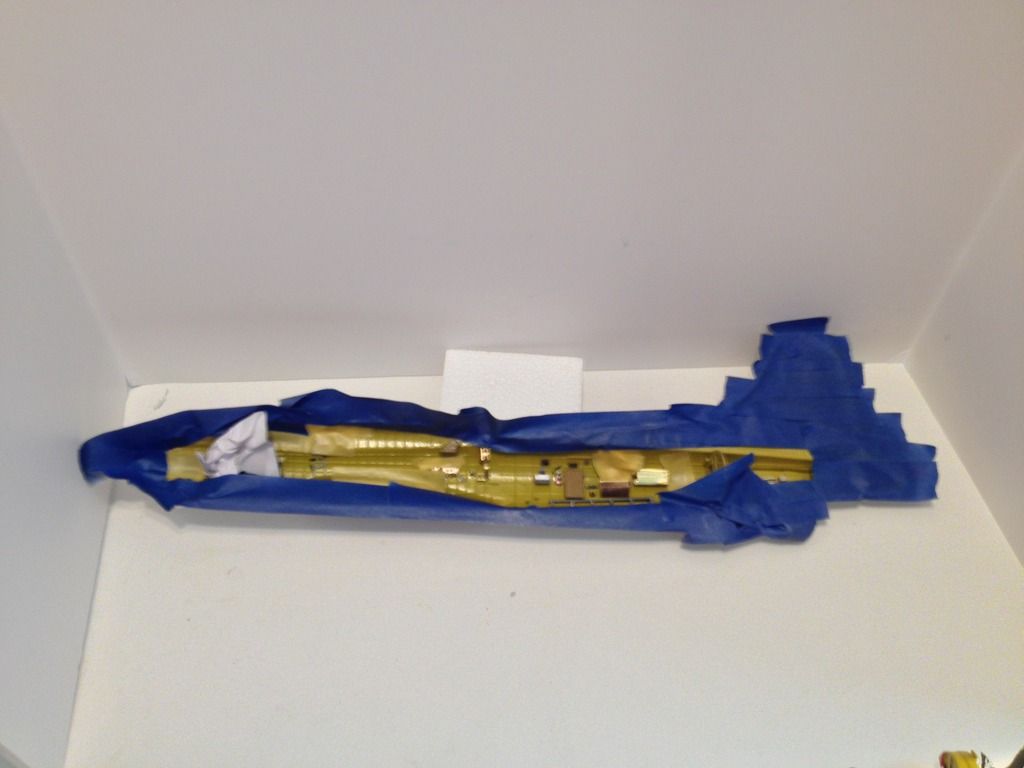 I AB the entire B-17 with Tamiya Lacquer Liquid Surface Primer. I then utilized Testors Model Master Silver and then sealing the silver paint scheme with Testors Lacquer Clear Coat. Next up, this process will be executed with the rest of the B-17G. This will be followed by decals and a final coat to seal the entire “Flying Fortress” with Testors Model Master Gloss Clear Acrylic #4638.
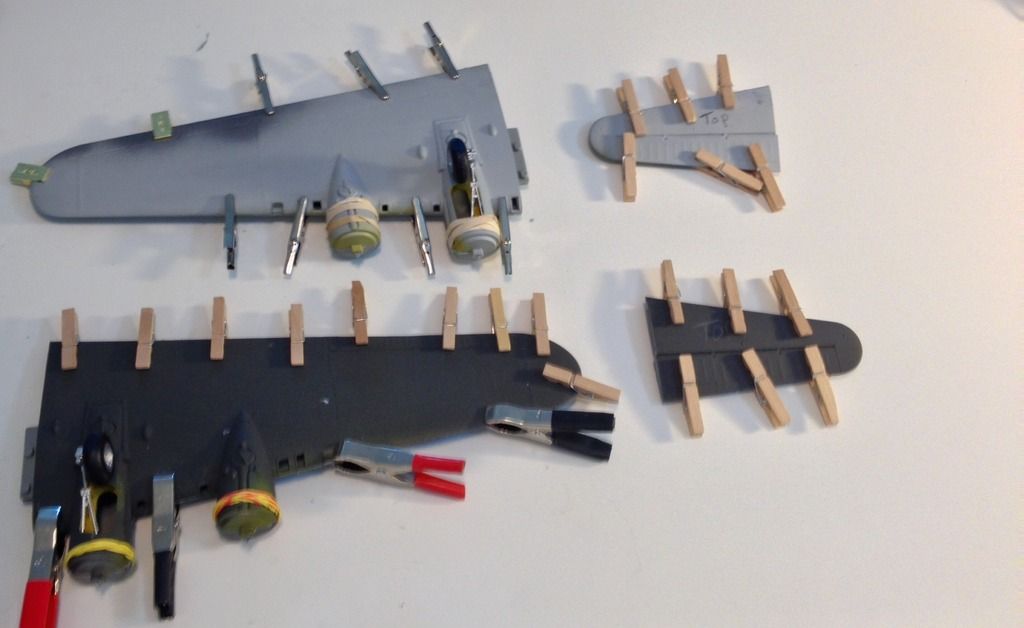
Yesterday afternoon I set the wings up with old school Testors glue in the toothpaste style tube. Does anybody on the forum use this anymore? The small joints and cracks and crevices were sealed with Tamiya Extra Thin Cement.
As you can see, there’s lots of clips and clothes pins holding the wings together as these wings are extremely thick and heavy. The landing gear is enormous and is designed to hold up the B-17. The set are some of the most heavy duty landing gears I’ve ever assembled.
Almost next to none sanding was done as everything sealed accordingly. All I had to do was lightly sand the edges of the wings and buff it out. Later this evening, as it’s too hot, I’ll spray the wings and tail section. I’ll also spray everything down with clear coat as well.
While the paint cures, I’ll mask all windows and canopies and then spray silver then shoot a clear coat. I plan to have everything nice and shiny from the clear coat to stage the “Flying Fortress” as a showpiece.
Toshi
The clear half is very reflective. I feel like a cut-a-way could have worked much better. The Phantom Mustang still will always have a place in my heart though!
Toshi - About cements, I don’t use the old tube types, too messy and hard to control. I use a combination of supplies, Tamiya Extra Thin, Testors thin liquid and Testors cement in the triangular black plastic container. It seems close to the thickness of the old squeeze tube cement.
Caution ! There are two of the triangular black plastic versions, the one I use has a very small metal tube, (syringe needle size,) the other looks the same but has a much larger plastic applicator, useful sometimes, but way too much at each squeeze for almost all jobs. The one I use is labeled #8872, it works VERY well for the larger jobs like cementing upper and lower wing sections together, where there is a rather wide mating surface.
The one I rarely use is labeled 3507, it’ behaves like 8872, but the applicator tube is too large, for precise applications.
Remember to look for #8872, triangular container with black label, the other one has the same container, but with a red label. Hope you find it useful. Your -17 looks just super.
Patrick
To SubarooMike,
I also love the Phantom Mustang, they will never beat that kit! The reflective issue could be due to the type of lighting I use. I have nothing but LED lights when I work on models. I have really bad eye sight in one eye and I can’t see in the other due to my work related accident.
There is another forum member that has made a amazing scratch built B-17 that is a cutaway. When comparing my visible to the cutaway, the cutaway is definitely superior to what I’m building. Thank you SubarooMike for supporting my build, I really appreciate it.
Toshi
To Patrick206,
Ah, I purchased the wrong glue. My triangular Testors glue is the red labeled plastic spout #3507. My next purchase will be the one you recommend. I also use the Testors liquid glue and the Testors clear parts cement. Like anything else, it’s all up to the builder and what works for him/her.
You are correct that the old school tube can get messy. LOL! Thank you for the heads up on the cements, now I know. Also thank you for your support in all my threads, I really appreciate your visits and knowledge, I look forward to it.
Toshi
Looking good, Toshi! It’ll be cool to see it all finished. You did a good job building up that interior.
-BD-
Thanks, it’s getting there. I just hand painted the canopies last night and am installing them today. Once these are installed, I’ll assemble the interior and move onto the superstructure. Thank you BrandonD for visiting and repllying on this thread and many others that I’ve wrote.
Toshi
Toshi, I have a Visible B-17 that is a future project, but I have looked it over. It seems that a light dull coat might knock down some glare. I would want to try it on an inconspicuous area like the tail wing before committing to the whole fuselage. Then, you still have the opaque fuselage half that you could cut out sections and see how it goes.
Of the many glues that I use are Faller’s EXPERT and SUPER-EXPERT. They are in standard and extra strength; both with a metal tube. They are my serious glues!
You are doing a real bang up job on this bird Toshi!!! Wow! All that detail is really shining right now. I was thinking about the clear half as well as showing off all the detail, it will also show the unwanted areas of that it like the undersides of the flooring and all that. As a thought, the bottom sides of the L/H half of the fuselage could be masked off and painted the silver finish to cover the lower areas that you wouldn’t want to show. Again, just a thought.
The B-17 is coming along nicely Toshi, I love how the NM on the opaque side came out.
To Shipwreck,
Your plans are very sound. I think that it can and will work step, by step. I have never heard of such a cement. I’ll look it up, thank you for the tip! Also, thank you for your visit to this thread as well as your reply.
Toshi
Thank you Mustang1989, I appreciate your critique on my B-17G build. Thank you sir for the read and reply.
Toshi
To Gamera,
Thank you sir. I try real hard, thank you for the read and reply.
Toshi
To my fellow forum members,
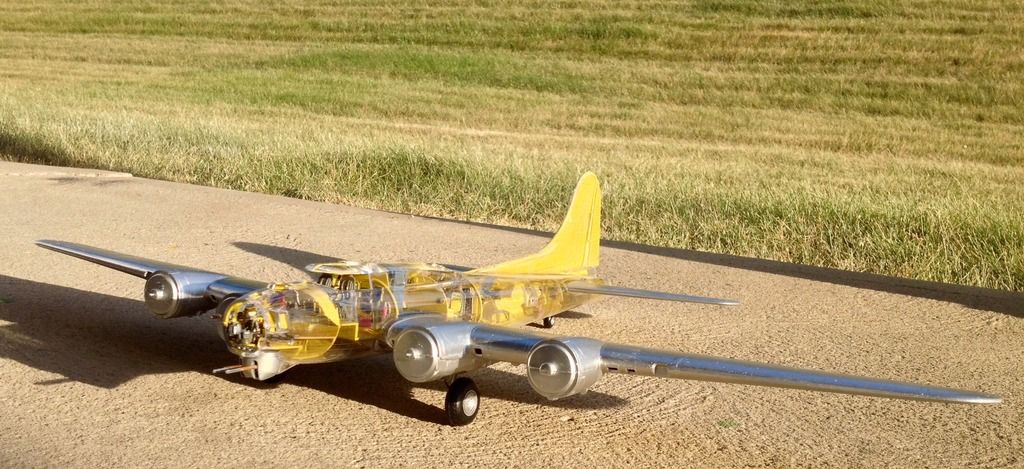
I have just assembled the joining of the two halves of the “Flying Fortress”, to complete the model, I still have much to do. The rest of the canopies, machine guns, turrets, and engines will be added on tomorrow.
Once this has been accomplished, I can then add the decals and seal the entire aircraft. Please see below for progress.
Toshi
