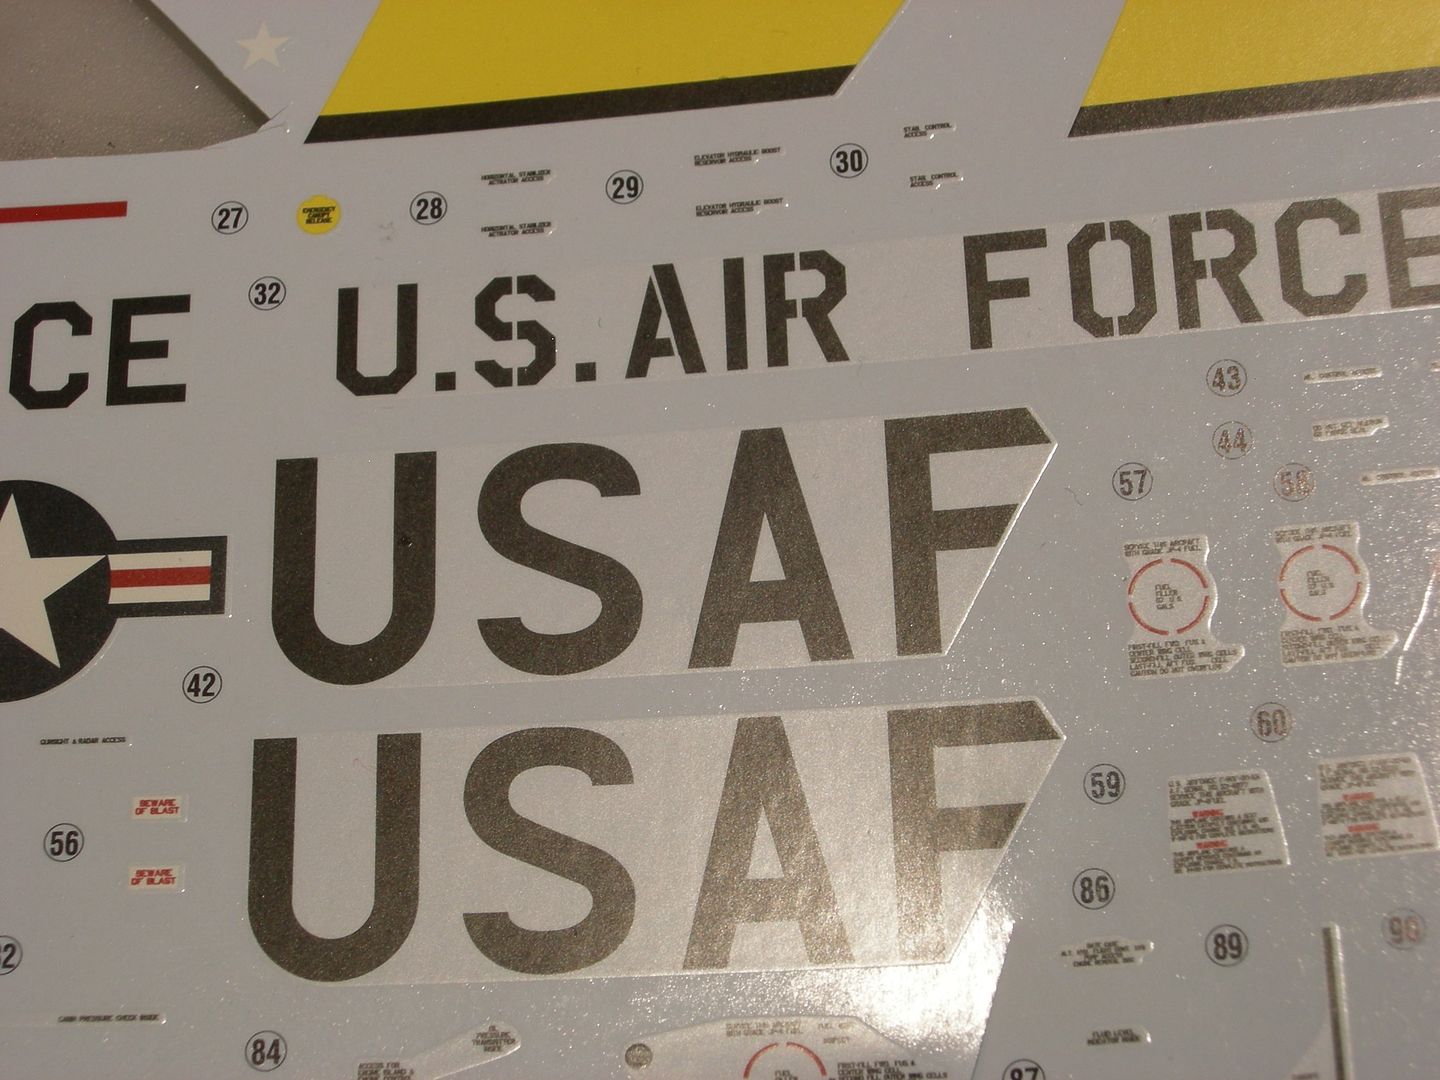
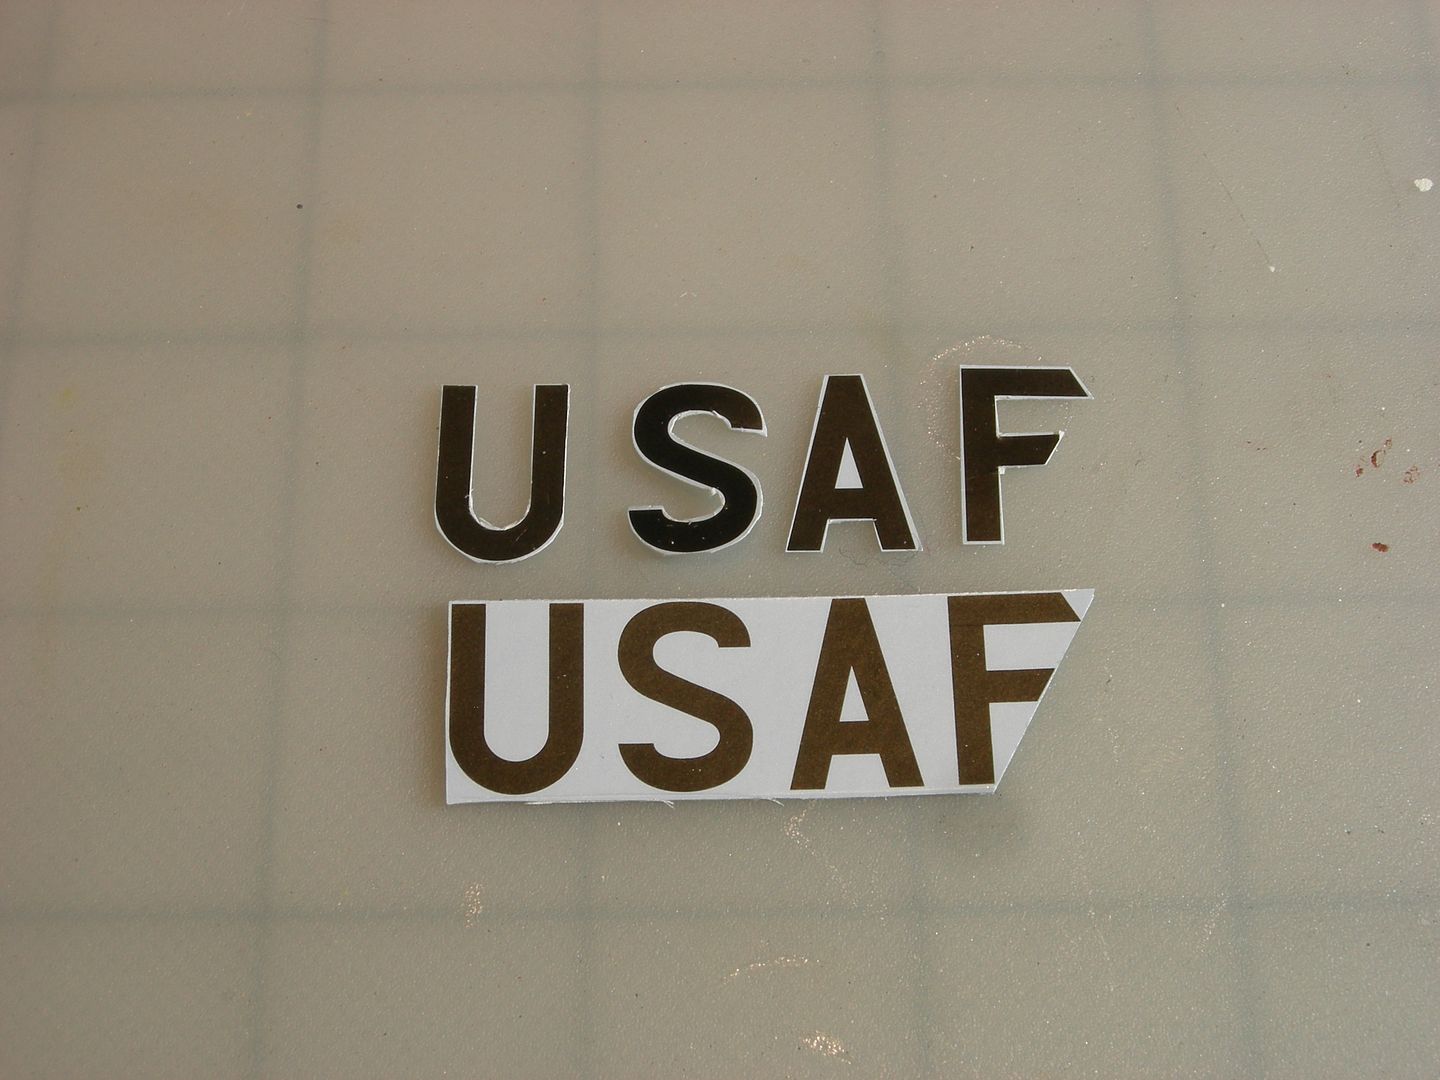
I tried this on a test model. The mineral spirits did nothing. I then tried testors enamel thinner which is mostly mineral spirits. That removed the carrier film and the decal (note the top decal). I then tried Purple Power. That gave the same results as the thinner. Then I tried something really insane. I purchased some micro Q-tips by Tamyia. I dipped the Q-tips into Purple Power and scrubbed away the carrier film that was between the painted decals. That worked, but one needs to be very carful because it is real easy to damage the decals (note the letter “U” in the lower decal). Also, it is difficult to remove all the carrier film (note the letter “F” in the lower decal).
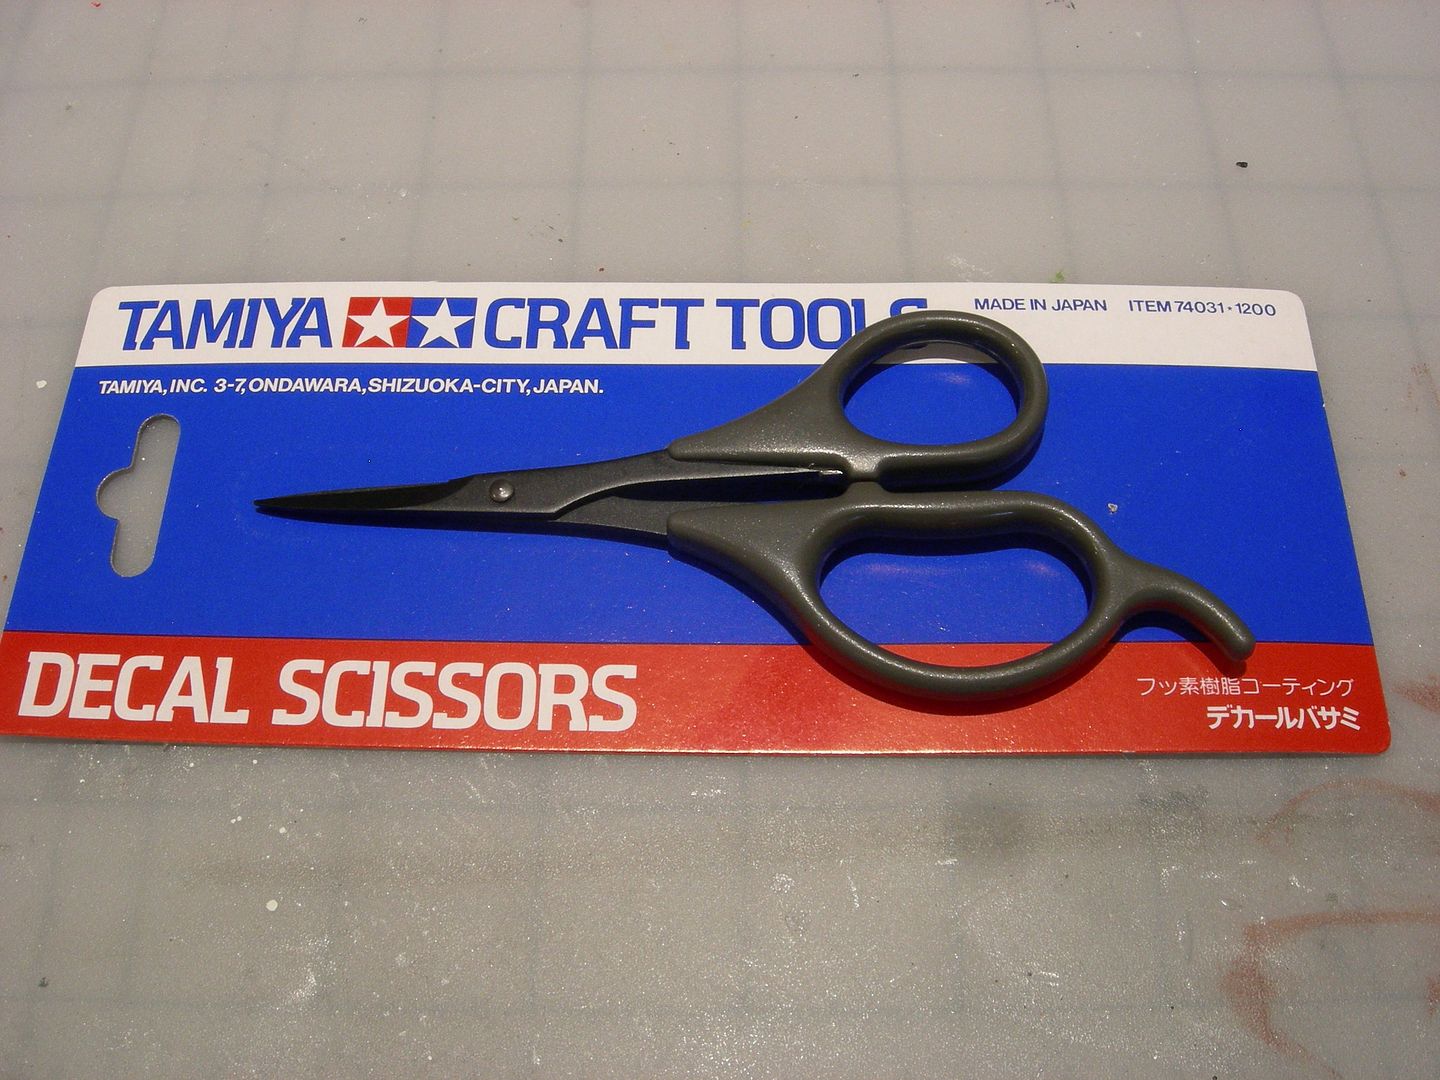
Removing the carrier film after the decal is applied does not work, so I thought that I would cut out each individual letter in “USAF” for the main wings. I ordered a Tamyia decal scissor. The scissors are nice, but the instructions do not help much [8-)]. However, do we really need instructions as to how to use scissors? I would guess that the text includes warnings against cutting your fingers and nose off.
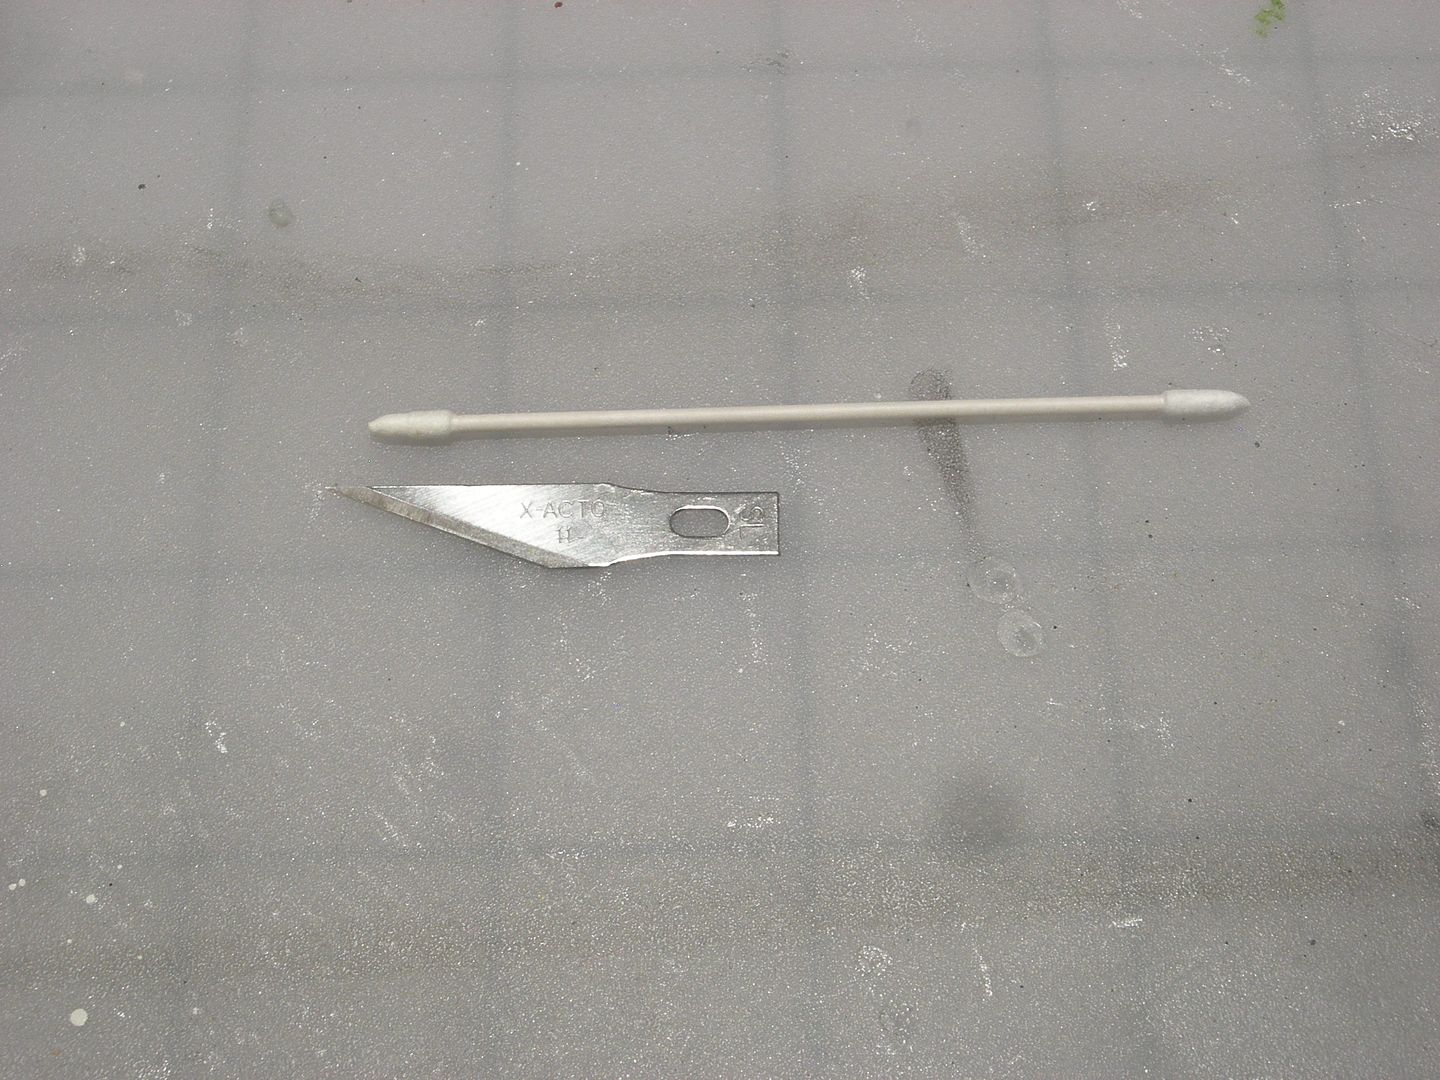
So, I used the scissors and a hobby knife to cut the letters apart.
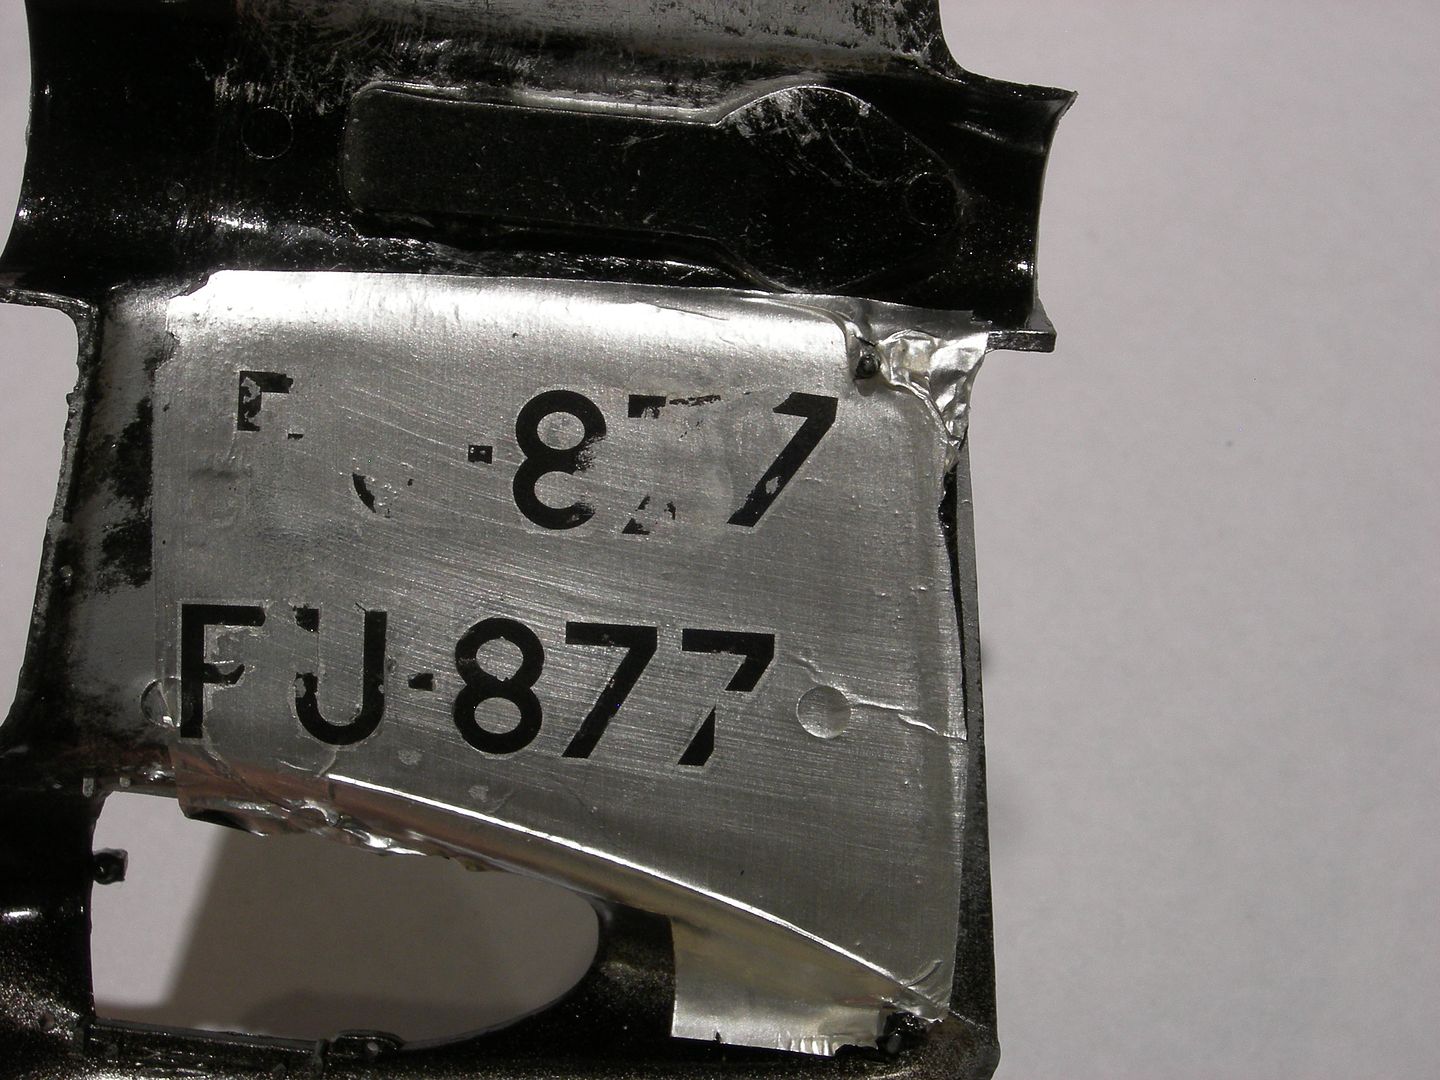
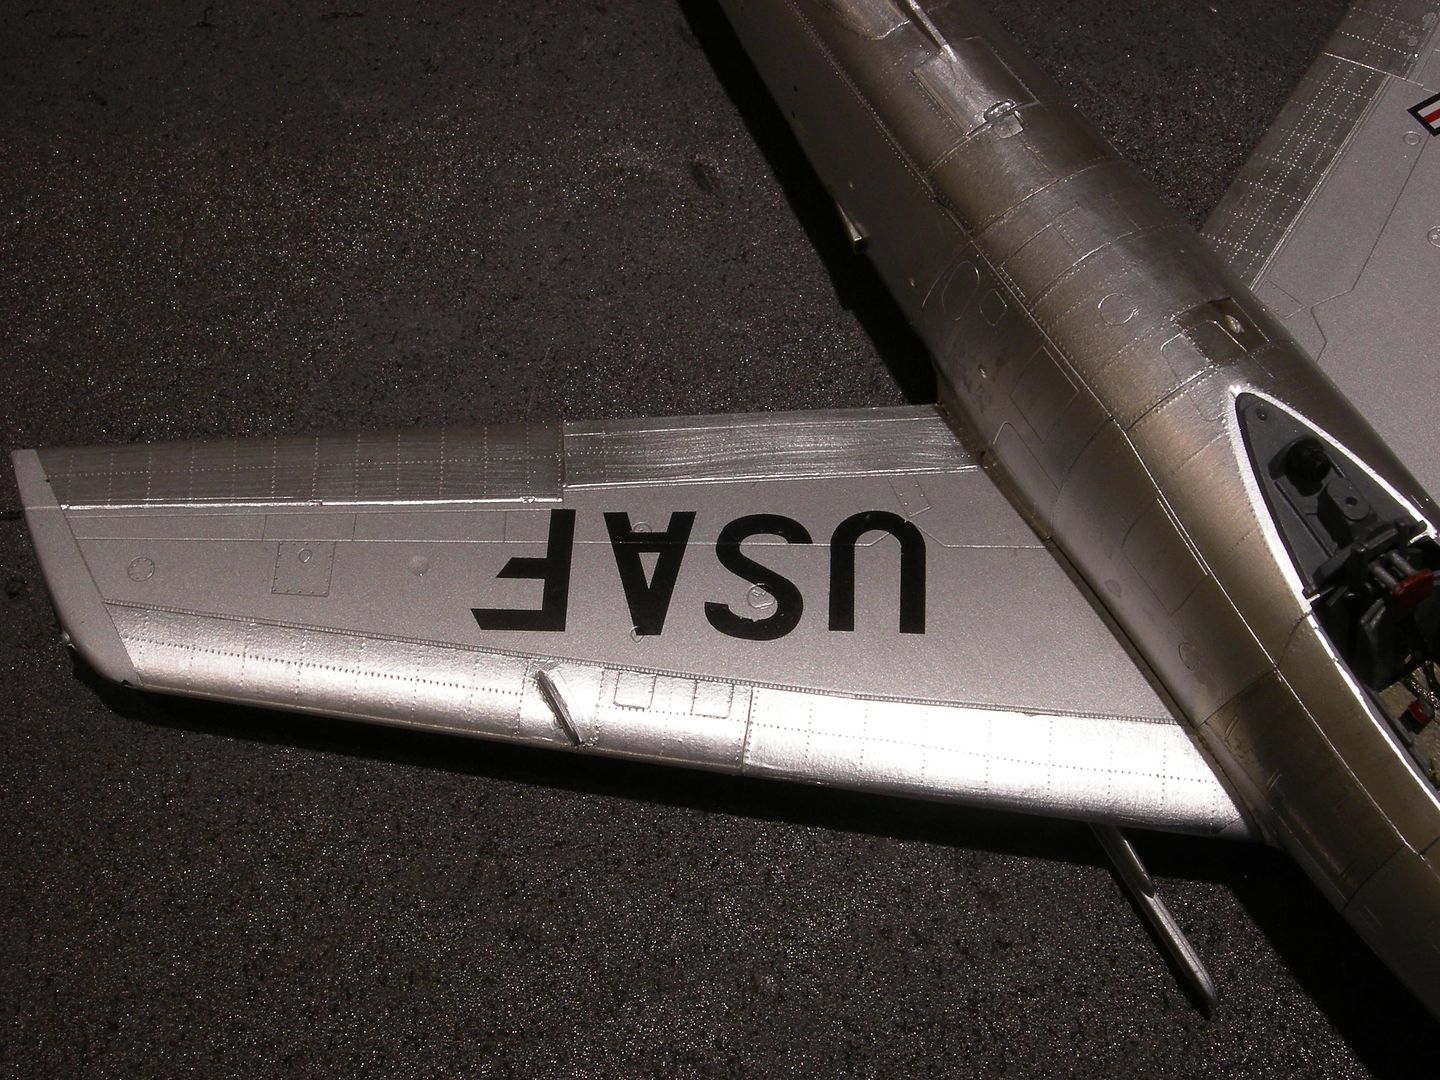
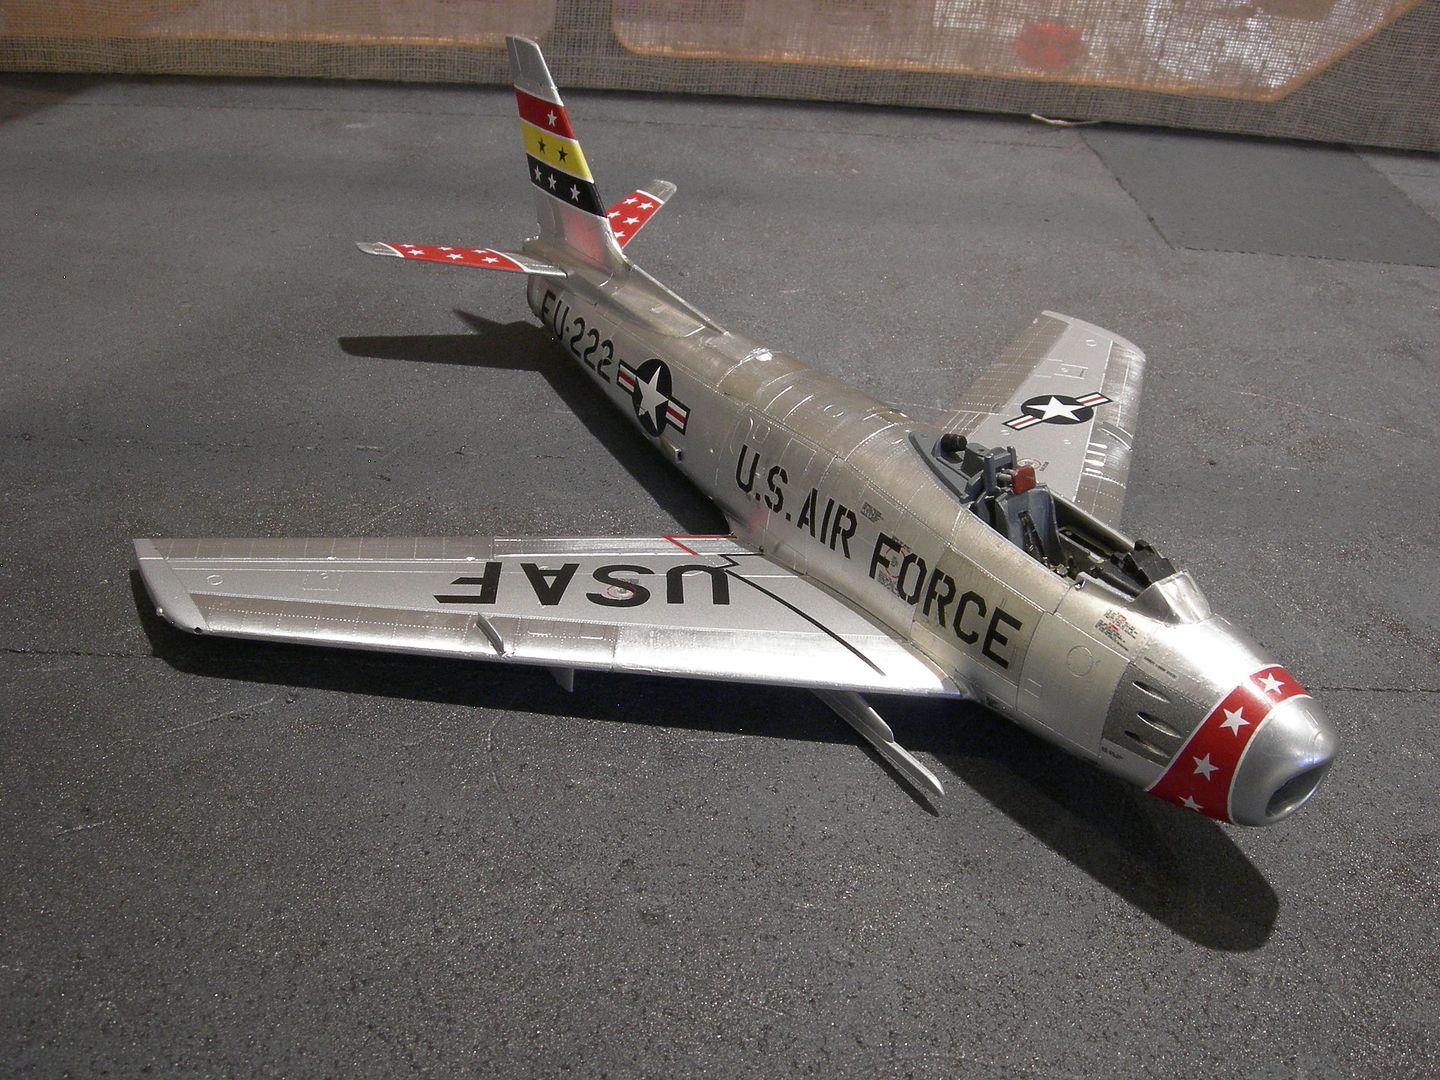
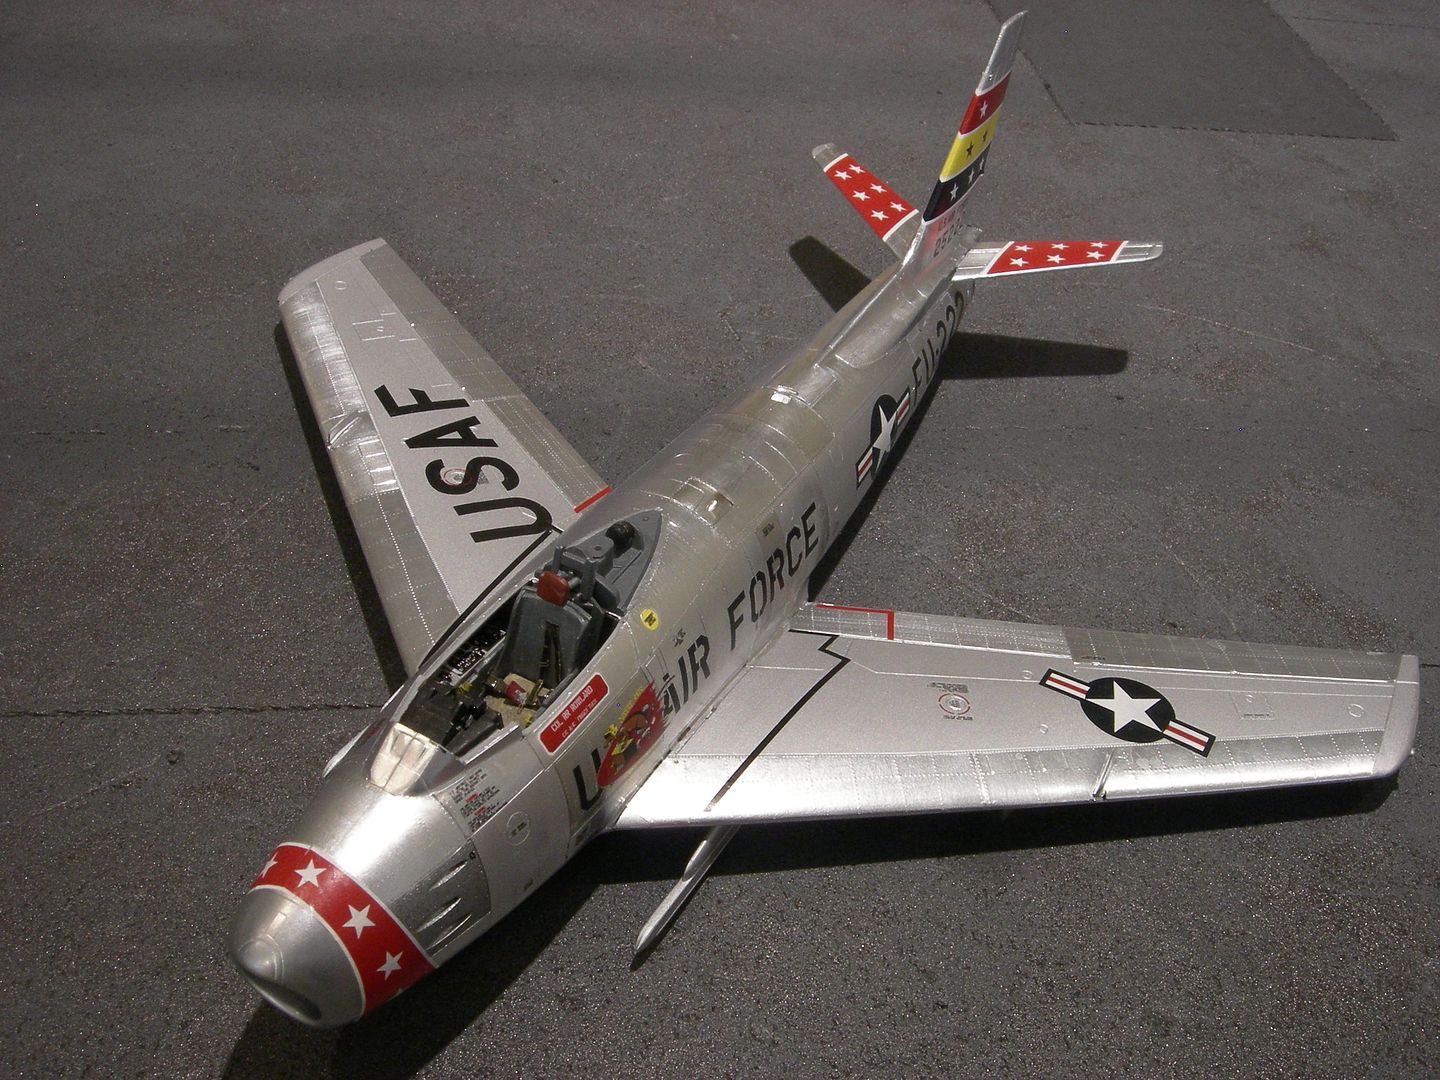
I used a lot of water and Micro Sol and Micro Set. The letter “S” was the most difficult to apply. I really like the results. Individual letters with no carrier film.
These are large letters and it is not too difficult to cut them apart. I think that cutting smaller letters such as “U. S. AIR FORCE” may be nuts!!!
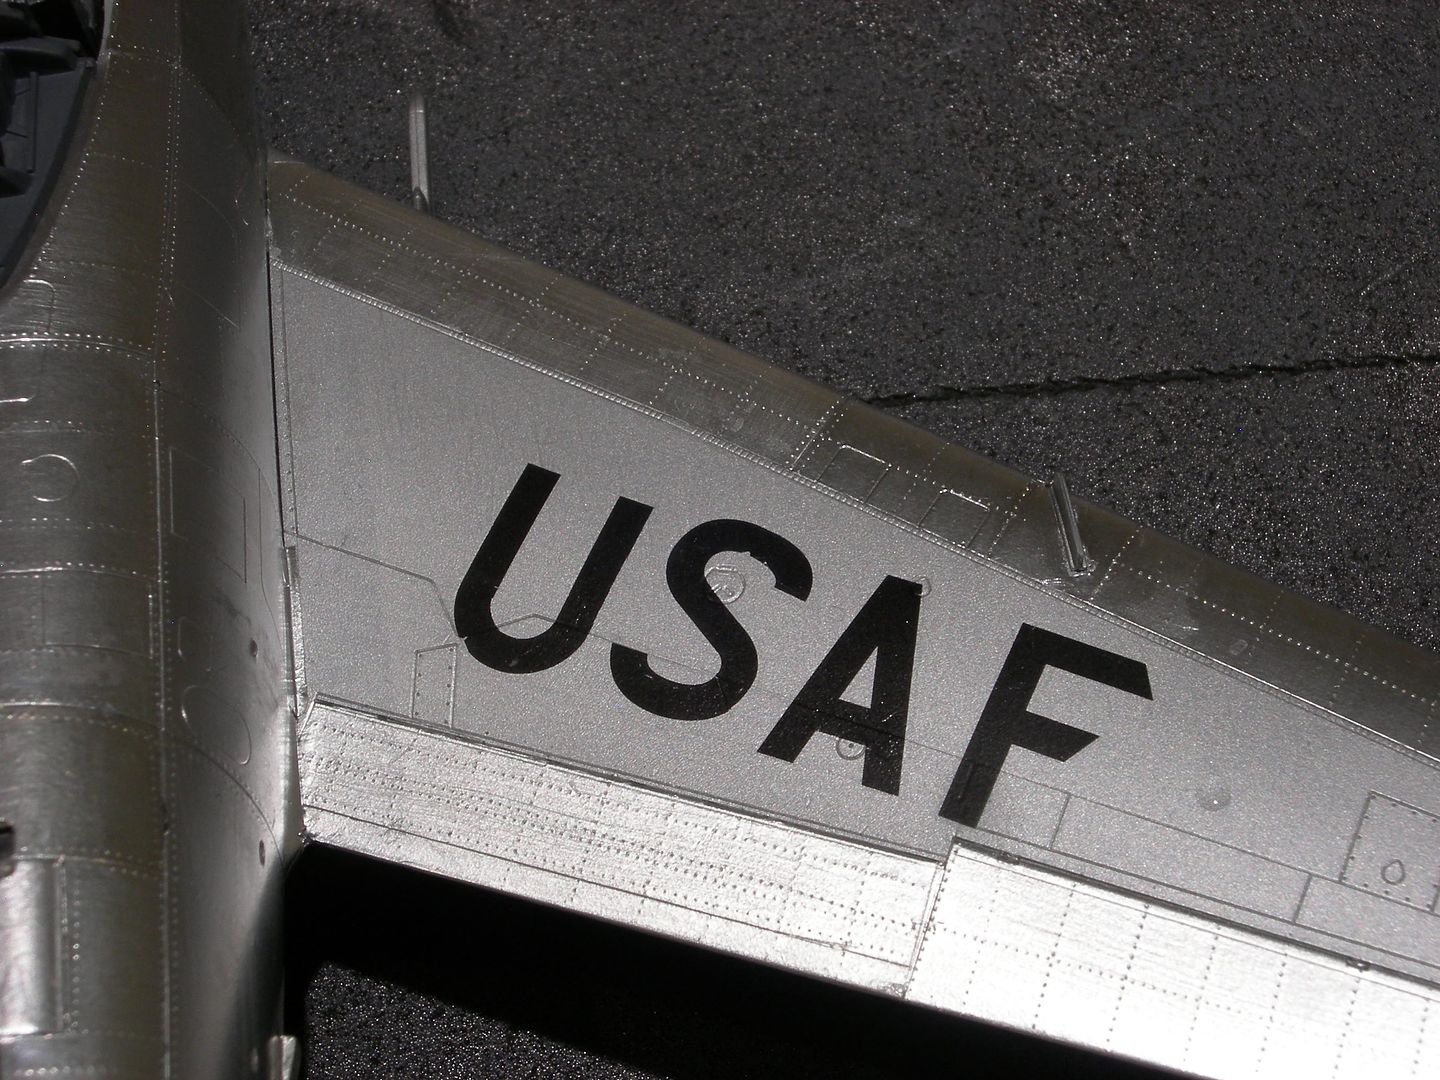
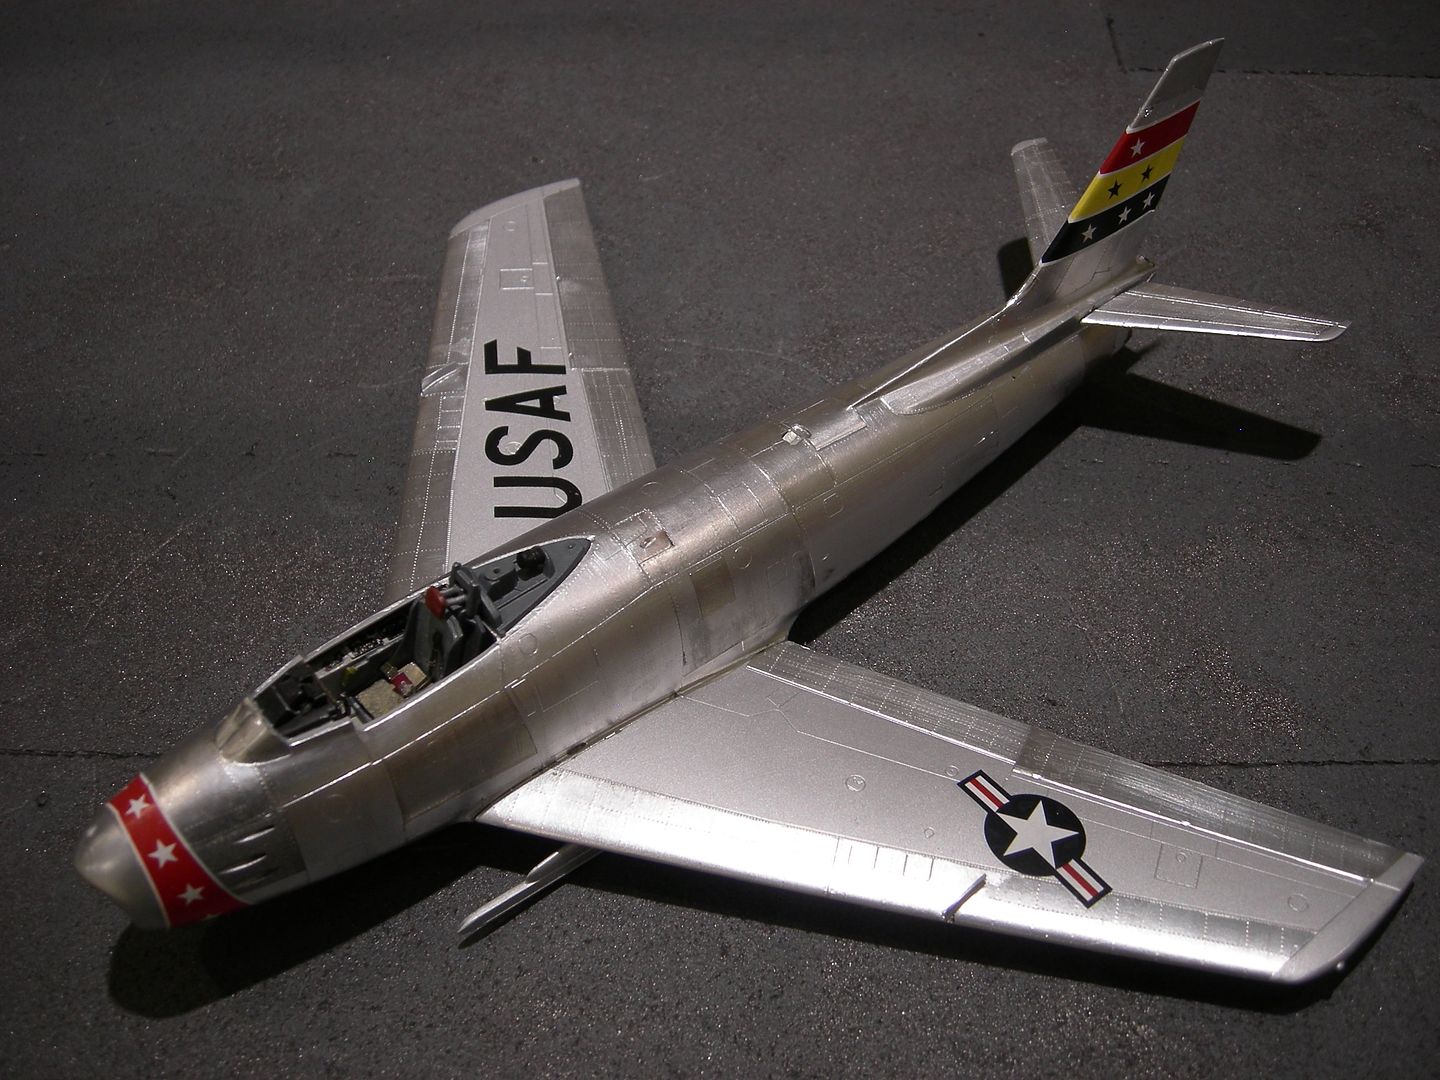
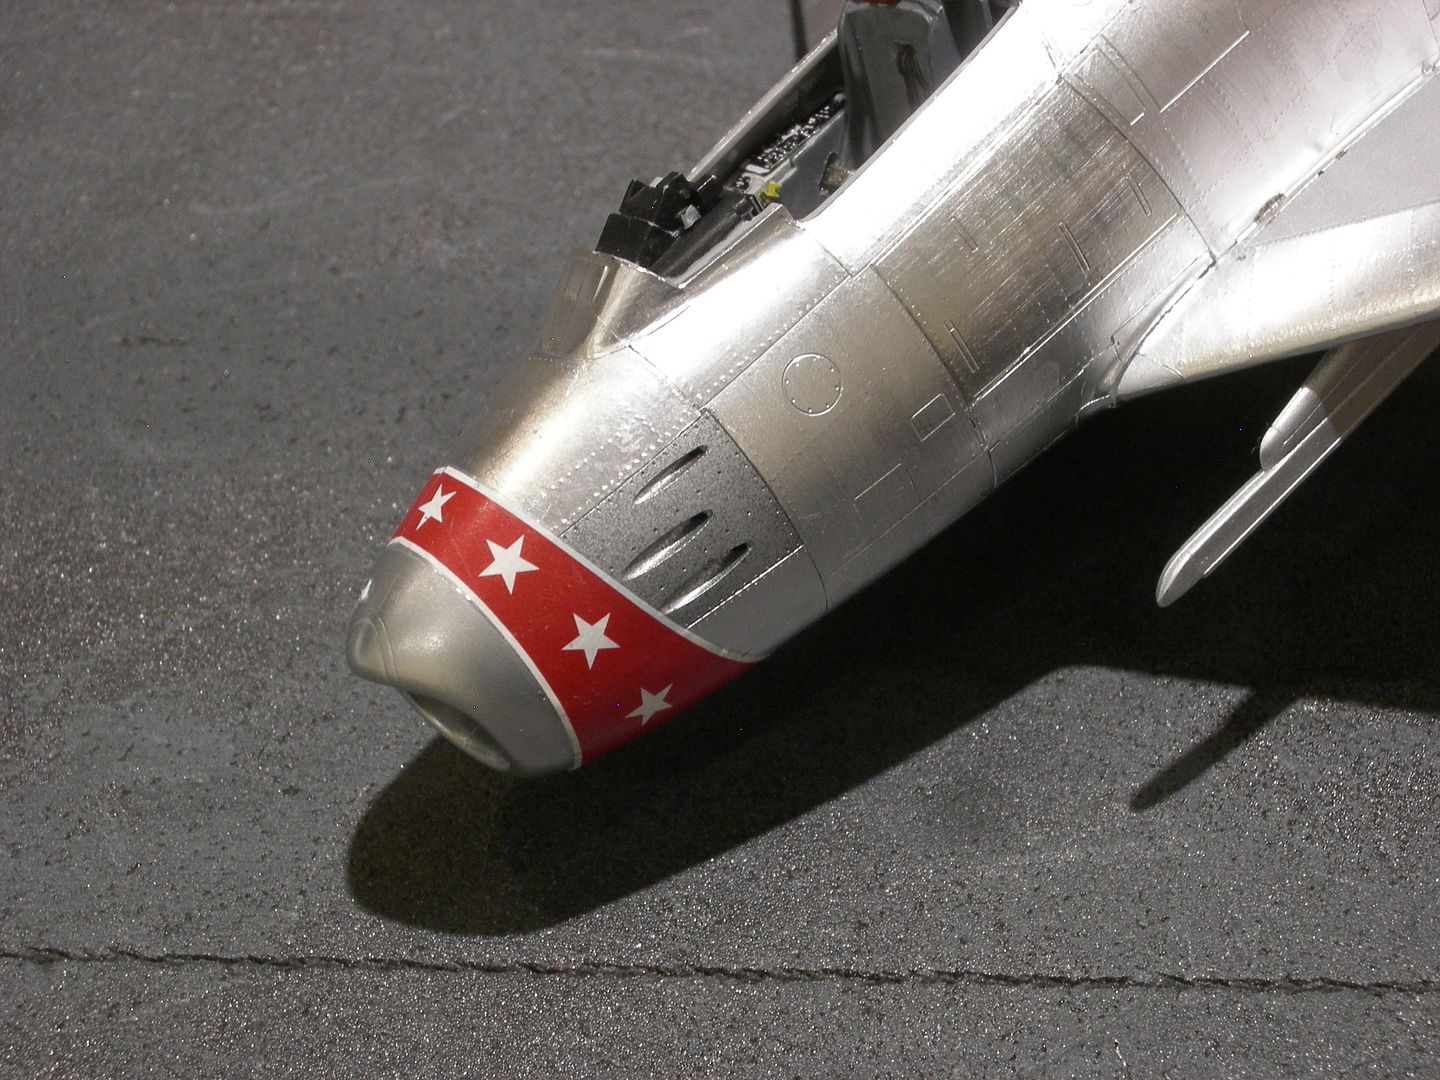
So far I have applied the following decals. The decal on the nose required a lot of Mico Sol to sit down properly, but it looks okay.
Next step is to apply what seems to be thousand of small decals [proplr].
Nice work so far! I too hate Hasegawa decals, but they include some nice schemes. To cut away the carrier film just use a sharp hobby knife and trim around the decal. It helps to use a straight edge or even a swivel knife for round shapes. You don’t need a scissors and you don’t need to slice through the decal paper. Then, after dipping and when the decals is ready to slide off, just scrape away the film
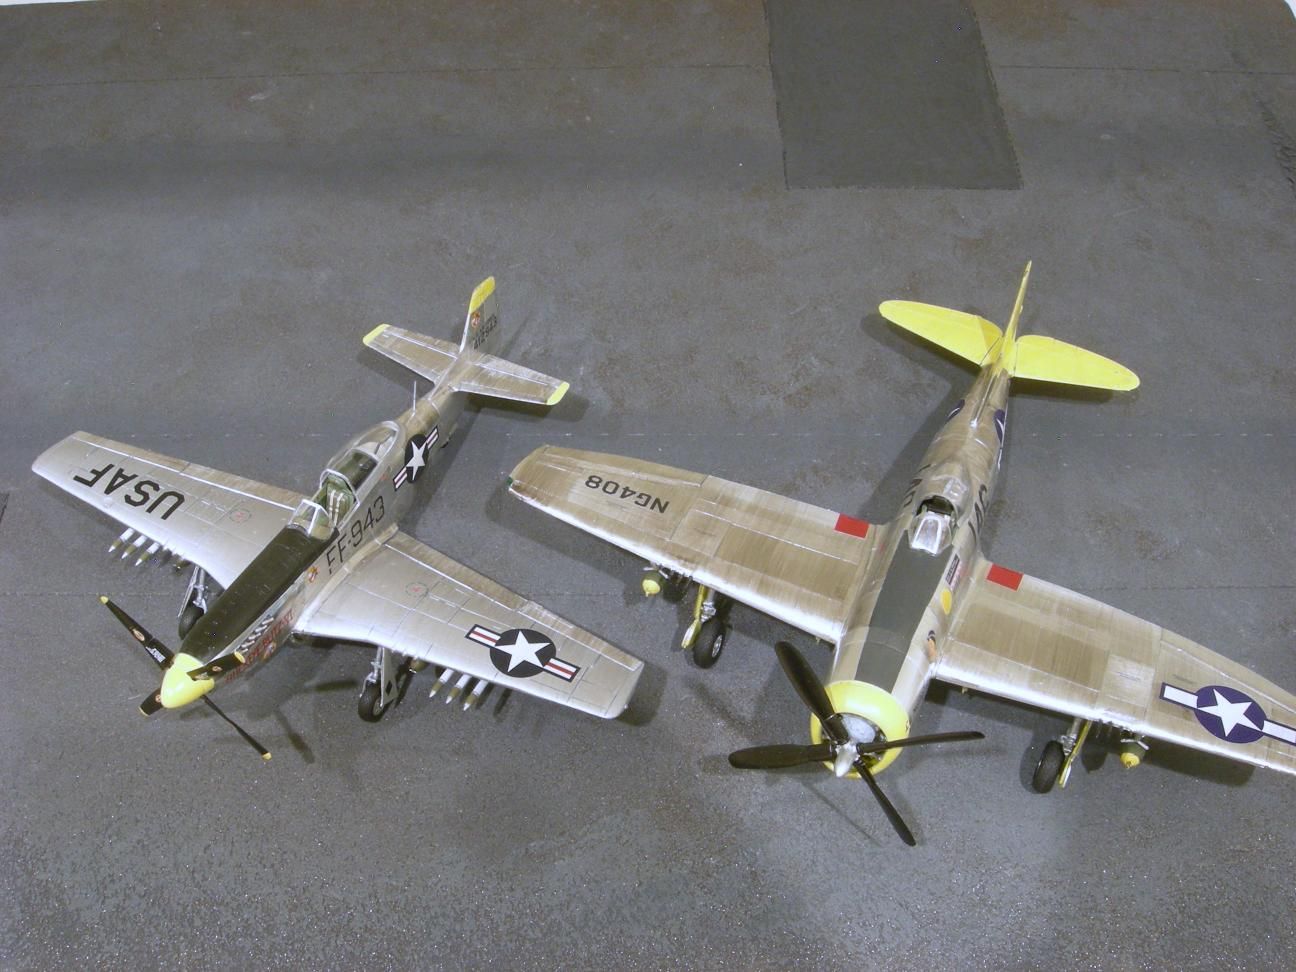
Note: The P-51 wing was in fact painted in the assembly process as a way to improve the laminer flow of air over the wing. I have pictures of wings being painted before being attached to the fuselage. I think they also filled the dimples from the rivets as part of that process. Unfortunately there are not many color pictures from that time frame.
I am building the same, just the Academy version. It’s for the shelf of DOOM GB. Looking at these pics, I feel like putting it back on the shelf. I have never attempted a NMF.
Here is a photo of my P-51 with painted wings and BMF ailerons and flaps. The fuselage is also BMF. The P-47 is all BMF and looks like a beast next to the Mustange.
Coming along nicely, Johnny. As others have mentioned, Hasegawa decals are a dog. I applied Hasegawa kit (#9705) decals on an Alclad painted 413 Sqn RCAF Sabre 5 many years ago. As you have done, I trimmed most of the main decals as close as I could to reduce the amount of carrier film on the decal but it still took me a while to beat them into submission. The stencils really showed the carrier film. I will say they were a bit better in appearance when applied to a gloss coated finish and then clear (gloss or flat) coated after application. Keep it up!
Almost finished with the decals. The letters “USAF” on the main wing are incorrectly located. They are too close to the fuselage. Oh well!!! The last decal that needs to applied is a large band of stripes behind the main wing.