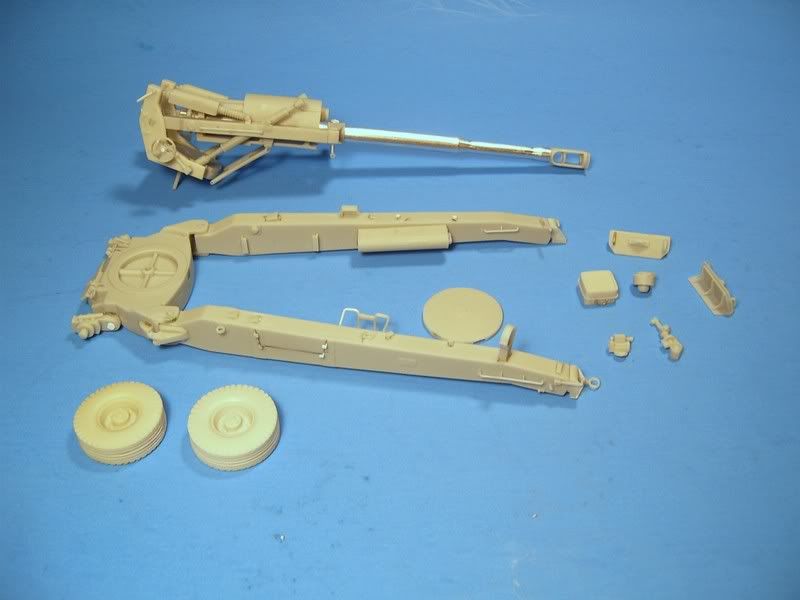
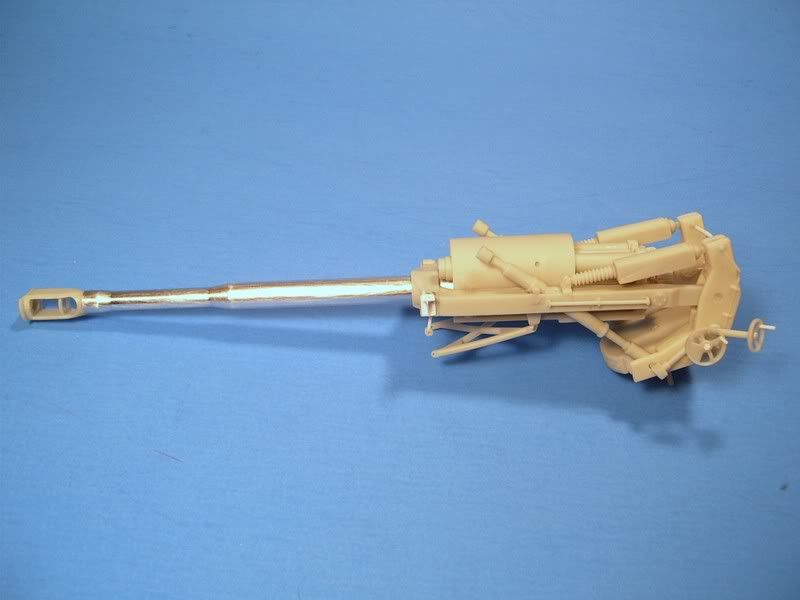
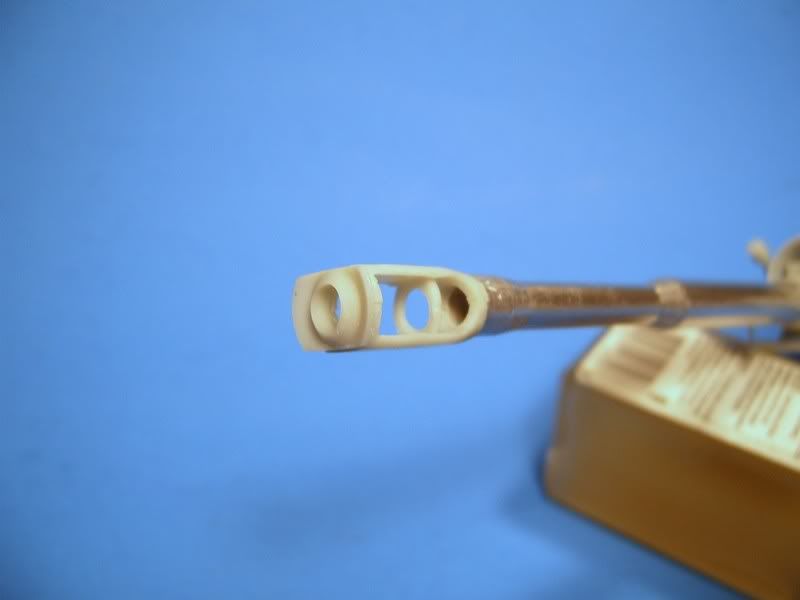
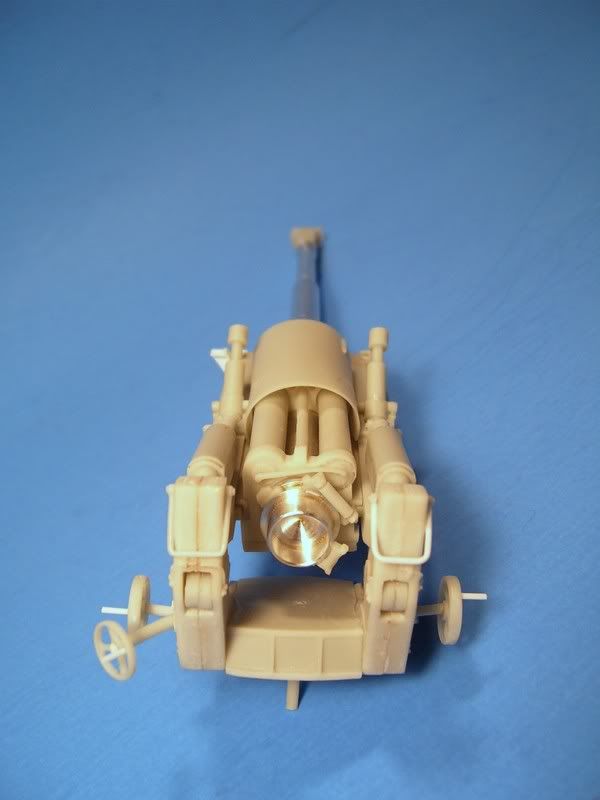
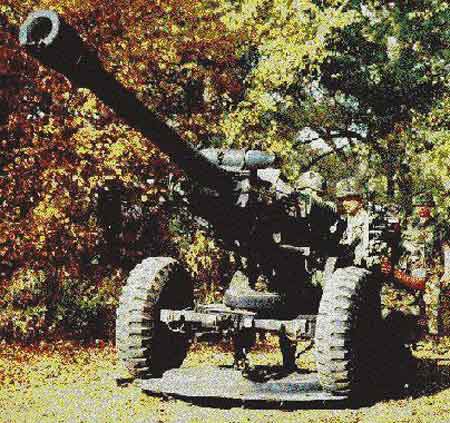
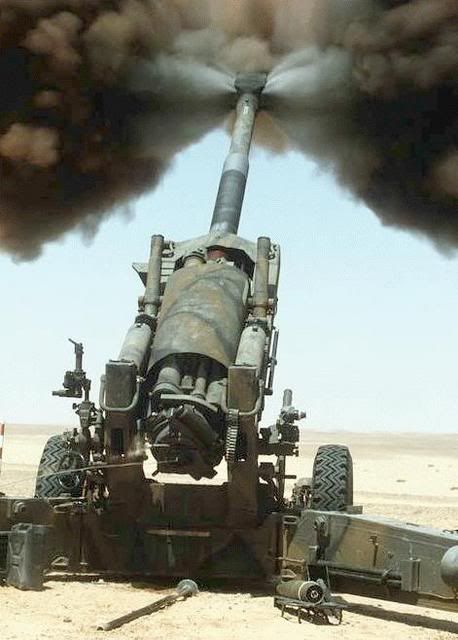
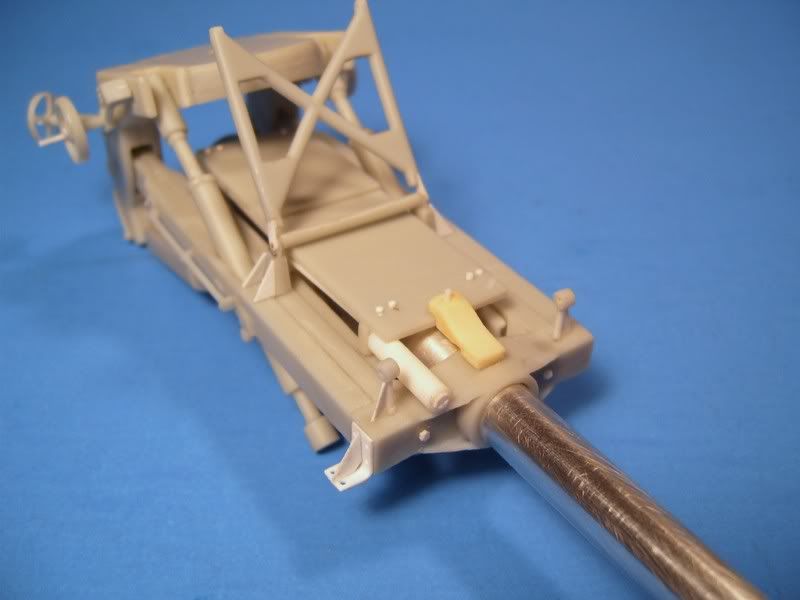
I started on the Airmodel M198 155mm Towed Howitzer a few days ago. It is an all-resin kit with a turned aluminum barrel. The pieces are molded nicely and had almost no air bubbles. The few that were there were easy to fill. The details are great. I had to replace a few pieces with wire or plastic rod and sheet due to breakage, but it was minimal. It went together really well wit no issues. I have left most of the movable parts movable by pinning them. This way it can be displayed in either the towed position or firing position. I plan on displaying it with a still-to-be built M923A2 5-ton truck as its prime mover. I’m not sure if it will be a Army or USMC piece yet.
Opened up the M119 to inspect. In general it is good. No noticable bubbles. Lots of flash. Main wishbone has a mold seam mark around the middle which will have to be worked out. The tires are crummy, look like jeep tires. Will have to replace. As I remember the US M119 uses HUMMER tires?
Details look good. Comes with 2 barrels and 2 muzzel brakes for the M118 or M119 version, both in resin.
Directions are pictures with part #s and arrows.
Comparing it to the AFV M102, the AFV kit is much better. But since no one else makes an M119…well we are kind of stuck.
On a scale of 1 to 10 I would give it 6.5 to 7.
I’m looking at mating it with an M998 with 101 markings. Hopefully I will get to it after by the spring. I have a few others waiting before I get to the M119.
If you are still wondering if it is worth the money, I would not pay full price. I caught this on ebay for about half price. For that it is worth it.
Thanks for the rundown on the M119. It sounds about how I expected. I’ll keep an eye out for it on eBay.
For the wheels, either type is correct. HMMVW-style tires are a new addition, whithin the last couple of years. Before that, they used unidirectional tires similar to those on the old M151 MUTTs. The new tires are not the same tread as a standard HMMWV tire though.
The ones included with the kit are the size and shape of the old MUTT tires but the tread looks a bit like the aggressive tread of the M925 or HEMTT tires in smaller scale. Either way they don’t match the US version. Will need replacements no matter which wersion you build.
Update and a question for the light-fighters out there:
I have added a bunch of smaller fittings and pieces that were missing from the kit. These include small bump-stops on the trails where they connect with the cradle, strengthening wedges on the gun crutch, a locking mechanism under the barrel, various bolts here and there, a recoil shock under the cradle and a few other pieces.
I am currently working on plumbing the gun. I have added the hoses to the gauges on the right trail and brakes lines up front. I am not clear on the other hoses and cables on the trails. From what I remember and photos, I think it has two air lines (?) coming out of the outside right trail where there is a rectangular plate. On the left trail, there is one brake light cable (?) coming from about half-way down the inside of the trail where there is another rectangular plate. Does that sound right?
What you are saying sounds correct but I don’t know the M198 like I know some other weapons and it has been a while but…this will get you to a download of the 10 and 20 series TM on the M198. Hope it helps
Nice to see a WIP from you, Arty. I don’t know much on this subject, but it looks like nice kit, and judging from your previous work, I’m sure you’ll do a bang-up job on it!
I’m working on a M923 right now. Also have a M925 on the shelf. I’m sure you have built one before but the two I have were molded with divits in the doors and tailgate, also tons of ejector pin marks, especially in the cargo bed and wood rails.
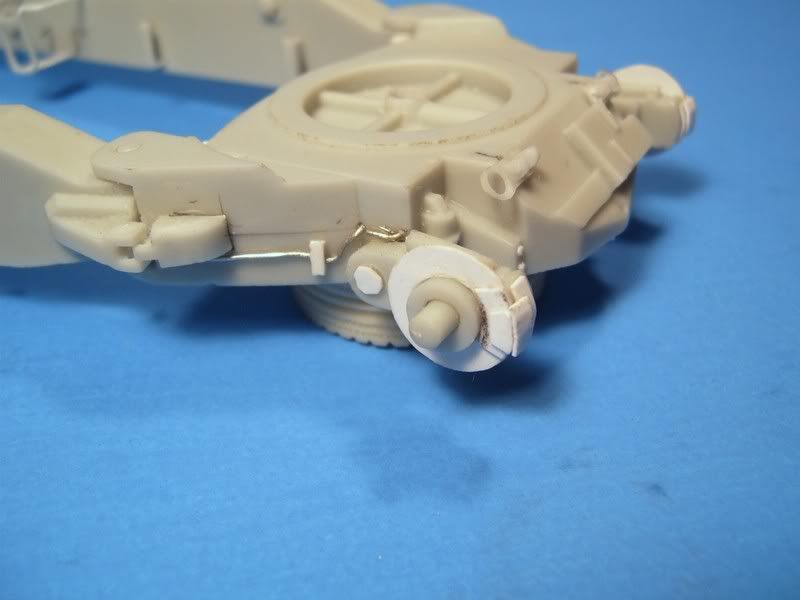
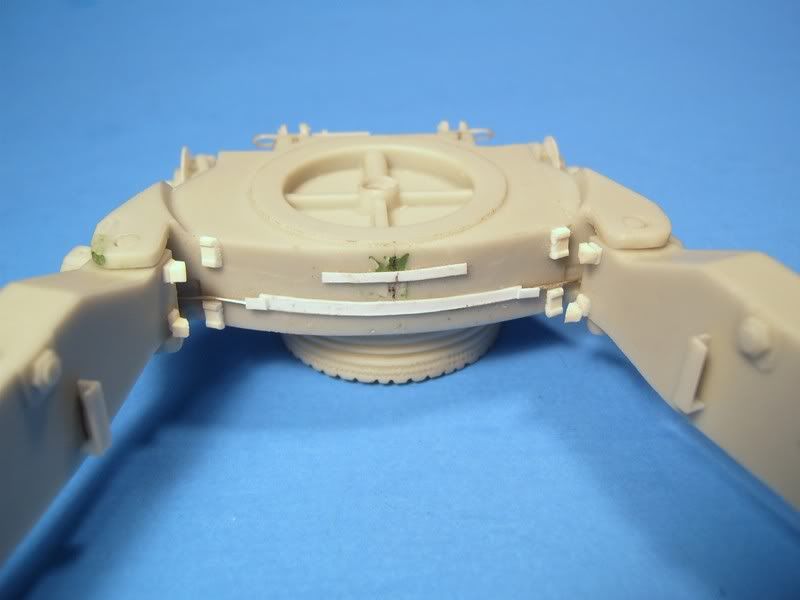
Construction is complete on the M198. I added a bit of detail that was left off the kit.
Here are the disk brakes and calipers, along with brake lines on the base. I also added the bump-stops at the hinge ends of the trails.
I also added strengthening gussets to the gun crutch parts, bolts under the cradle where the lower plate bolts on, the locking mechanism in the center, and a recoil shock on the left side.
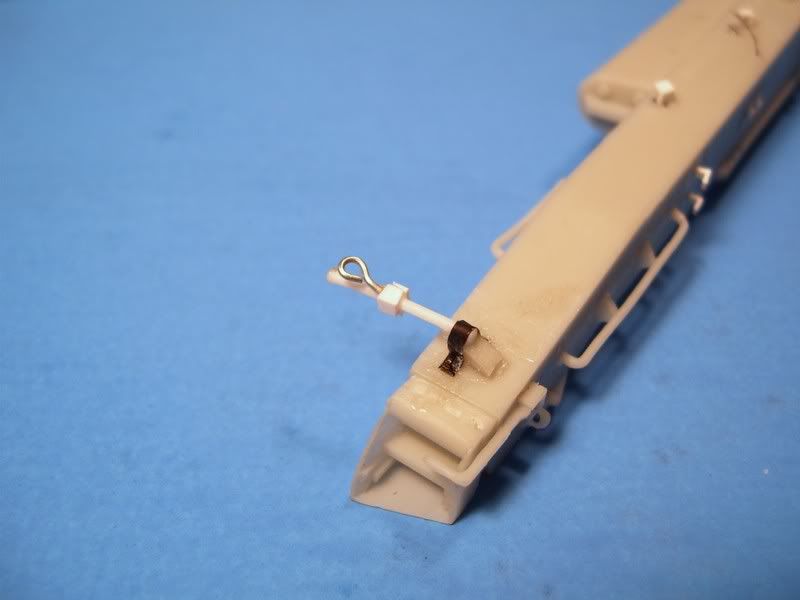
Finally, I detailed the locking mechanism on the trails that holds them together during transport.
I have also added the fittings for the air lines and brake light cable, and various bolts and screw holes all over it.
Wow, Arty–those little details are incredible! The brake calipers and locking mechanism, and all the other little pieces–top notch stuff that are really gonna put this build into orbit!