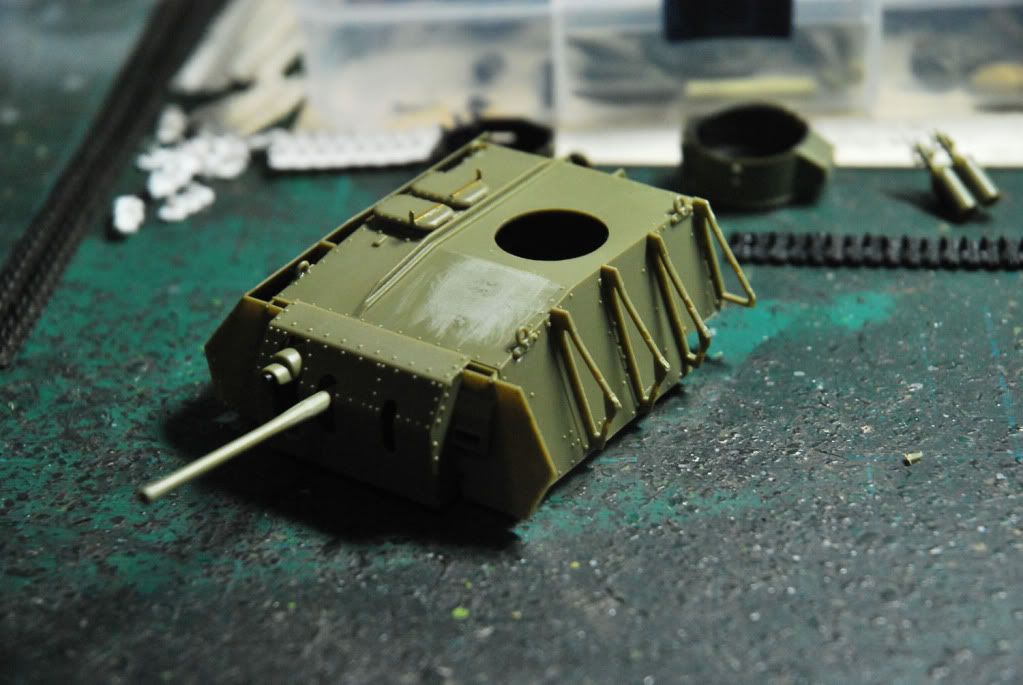
I started to add the armor on the turret using the mounting brackets. I had to try one side first to see if there will be any fit issue. There was none.
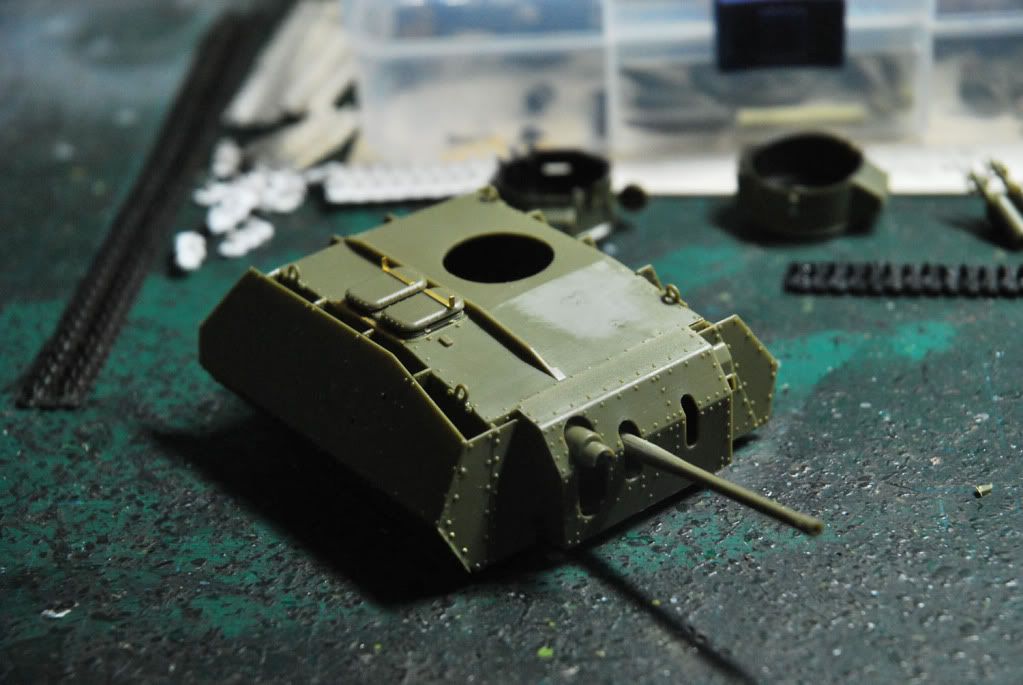
Would you say that this is a pioneer in space armor. The brackets and the armour fit is very good as well as the joint between the sides and the mantlet armor.
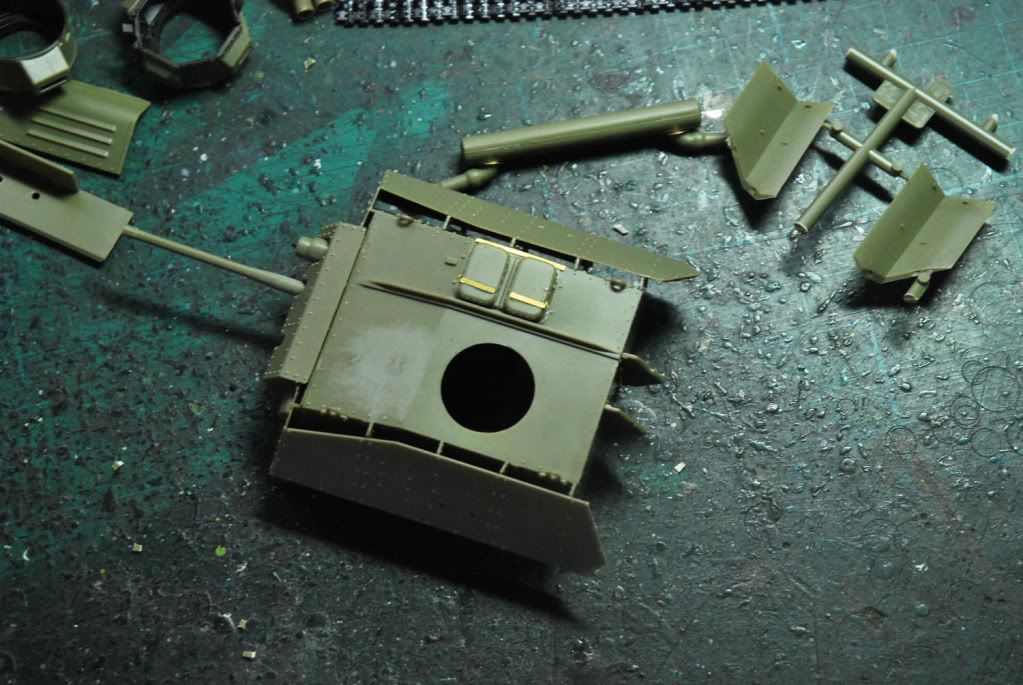
This is a picture of the mantlet armor mounted with the bevelled side armor.
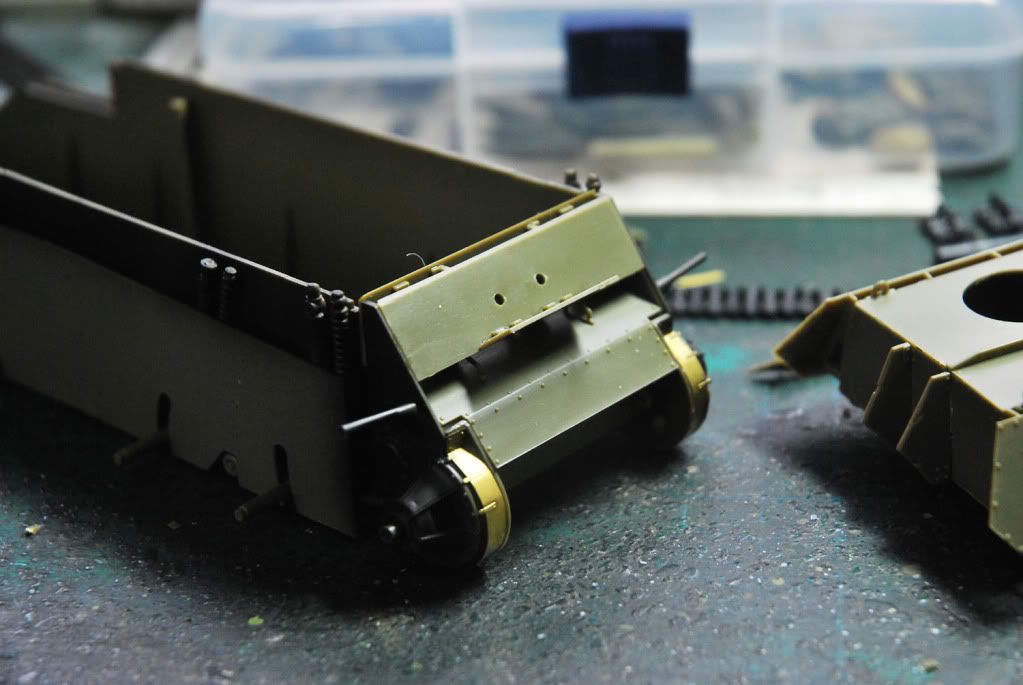
I have cemented the road wheels together prior to painting.
There was a little confusion in the instruction regarding the exhaust pipe assembly but I got it figured out. The convinient way is to cement part E11 and E1together and then cementing it to the rear part where it should go. I will then mount the exhaust pipe/muffler assembly to it so that the orientation of the pipes will be correct,
The Germans used spaced armor as well on the Pz IIIs (and tested on IVs but never implemented in production) in an effort to improve survivability without adding too much additional stress on the chassis, so it was a concept that was played with on both sides. That and of course the concept of schurzen as protection against AT rifles (and later bazookas and shaped charges) and there was a lot of experimental effort when it came to armor…stuff that’s still being applied today when you look at things like bar armor to protect against RPGs or reactive/spaced armor on battle tanks. [;)]