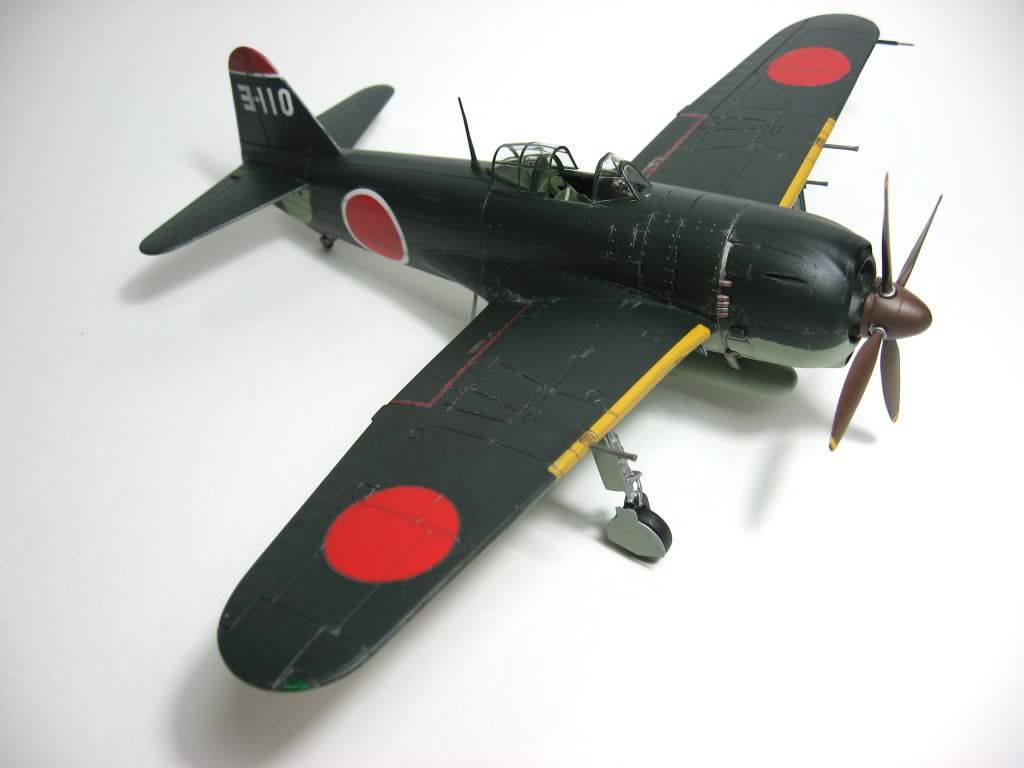
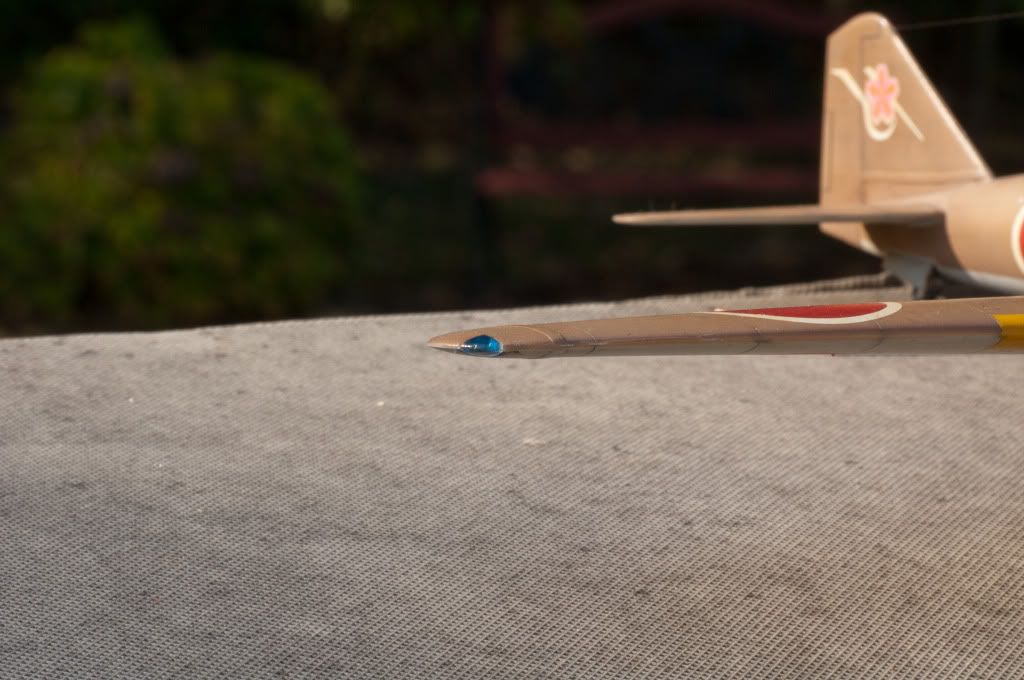
I am building a Tamyia 1/48 KI-46 and decided to cut out the wingtip nav lights to make it a little more realistic. The problem I am having now is that I do not have any clear sprue that is big enough to fill the ensuing gap. I am torn between several products to fill the space. Super Glue, Gator Glue or Epoxy. I am leaning toward super glue as it will dry hard and be sandable, but I think the other two will be easier to work with. Any thoughts?
I just use testors clear glue/parts maker…fills in nice and dries clear…afterwards I hit it with some clear red or green paint and future on top of that…no complaints so far…
the glue is thick enough to stay in place…as long as there is no big gaps behind it…it dries pretty quick…also you can add to it as it dries if it starts to shrink…I’ve never sanded it…but you can mold it a bit right after you put it down
Another way is to carve in a wood piece a shape nead to the light , heat a piece of clear sprue and force into the mold till he 's hot, and cut the needed piece, i molded something so.
Ditto the “toothbrush handles” approach… BUT… Unlit, the green lights tend to look blue… Japanese aircraft generally had a yellowish lightbulb that was housed behind a blue lens…
I’m sure I read recently that Eduard do an etched brass scribing template with something exactly the same, namely they provide several nav light shapes for you & you just force hot clear plastic through it to make instant lights…damned if I can find a pic though
not take previous picture of the used selfmade mold but this was one of results: i just drilled a piece of hard wood with two differents diameter pins, one for the out lens and one for the collar, but the clear part was more narrow that the result piece
Ditto Ray. Find a clear plastic fork at the salad bar at the grocery store and stick it in your pocket. I regularly stage raids for those little clear plastic salad dressing containers that have a snap on lid, twist ties, all that kind of stuff. Sometimes it’s not a colored lens, it’s a clear lens with a colored bulb. Those you can do, or a silver searchlight in a housing by drilling a hole in the back and filling it with paint. Usually at 1/72 I just paint them on.
I dig the colored/clear plastic route (have had trouble finding a proper green though). Anyway, another option with clear sprue…if it’s not large enough, you can heat up the end, and press it against a hard surface. This will “bulge” it out. I’ve even heated it up, and pressed it right into the wingtip cutout. Does take some trimming, but you know it’s gonna be a perfect fit! I add these before sanding the wing seams, and mask (obviously) before painting.
I got the plane finished, and I think the lights came out great. Thanks to everyone for the tips I picked Fermis tip for the melted sprue manly becasue I am lazy and that looked like the easiest way to do it. I will file that tip away for my future use.