In the WW1 group build I said I’d do a WIP so here it is. Any mistakes will be shown as I’m fine with people seeing my mistakes and I hope some one can learn from then, just as I do. I consider myself an average modeler (on a good day).
So here goes. The kit is below and in the box looks great
So the build starts as always with the cockpit. I’ve read in a few places that the cockpit floor can cause a problem as its a little thick. Rather than trying to sort that problem later I decided to sand it thinner now as it would be easier and I could keep an eye on how thin I was making it.
After that I attached the supports for the feet control. Then I decided to start the impossible task of making some turn buckles. These things are so small!!! I have cheated a bit by buying the parts from a company called “Bob’s Buckles”. I have some smooth grip pliers which I used to hold the eye parts as I put on the tube. I tried to put them together all at once but soon realized that that wouldn’t work. I ended up putting one side in and letting that set, I’ll do the other side later when I feel up to it.
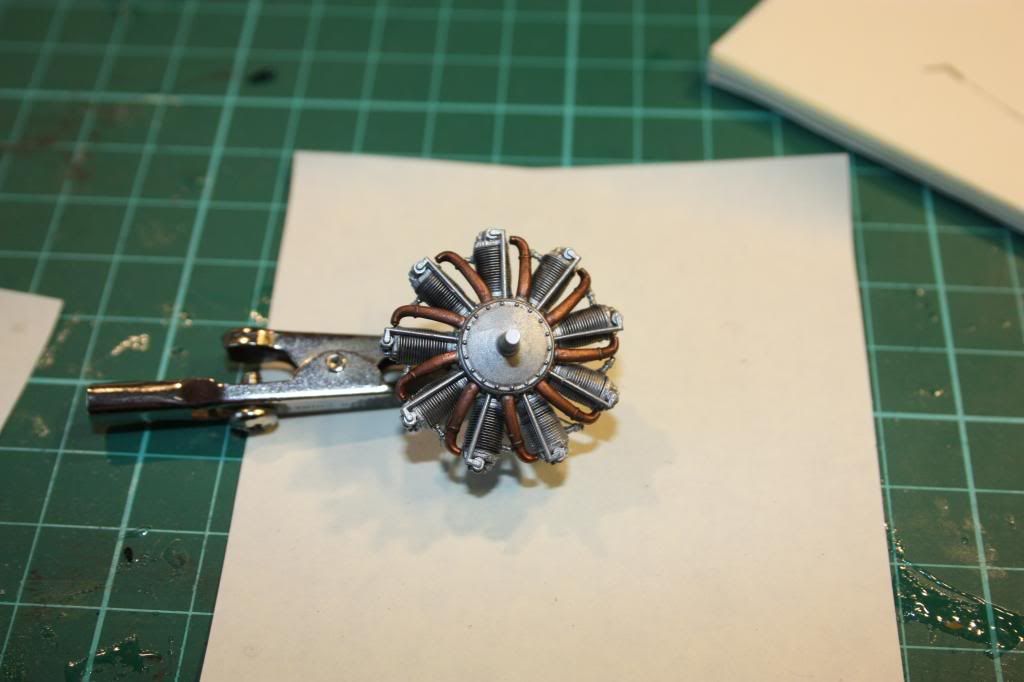
At this point I decided to work on the engine. its an easy build which i decided to complicate by removing the spark plugs with some from “TaurusModels” again these are tiny but I found that rather than (after loosing one to the carpet monster) that using the side of a set of tweezers rather than the tip held the part and allowed me to place it well on the engine. I wanted to add as much detail and I could so decided to add the electrical wires for the spark plugs, to do this I used EZ-line in rust colour (it was the first one I picked up but think it will look good)
So thats where I’m up to so far. Please let me kow what you think any ideas or suggestions please say so if I can I’ll add it to the build
It looks like you’re on the right path so far. I’ll try to keep tabs on this build as I am looking to learn as much as I can. Thanks for taking the time to post your project. Bob
Phil, you’re off to a fine start. The only thing I may have done a little different is used a finer monofilament thread or stretched sprue for the ignition wires and ran them straight from A to B with no curve. Taurus models really makes some neat stuff, don’t they! - those spark plugs are cool! [Y]
VTmodeldude28 - cost me with shipping £60 so will be about $80 or so
ruddratt - I agree on the thread and need a lot thinner for the rigging but I’m having trouble finding it thin enough. Can’t figure out what weight I need so if anyone can help with that it would be great
Ok quick loot today and monofilament (or fishing line to us mortals) will go down to 0.06mm, I’ve got some of that and 0.25mm on the way. As an experiment when it arrives I’ll use both so everyone can see the difference
Update to the experiment for the turn buckles. The 0.25mm (10lb line) is way too big, it will go through but there is no way it will double back and go through again. The 0.06mm (1.4lb line) will go through twice no problem but looks too thin to me. So it looks like I’ll need 0.1mm to look right and work, lucky i have a friend who fishes really! Below is a picture to show what I’m talking about, as always any suggestions happily recieved
First I’ve decided on the line for the rigging. After my experiments I decided on 0.1mm, thin enough to be workable think enough to be able to see it. Pitty the EZ-Line is just way too think, Picture below shows top 0.25 middle 0.1 and bottom 0.06
Next I did some more work on the engine and after the suggestions took of the line I had used for the plug leeds and used 0.25mm which looks much better. The engine was painted Allclad Stainless Steel then a wash of Tamiya Black was used to pick up detail.
The exhaust was painted Copper using Oro Liquido - not a company i have heard of before but I like the look
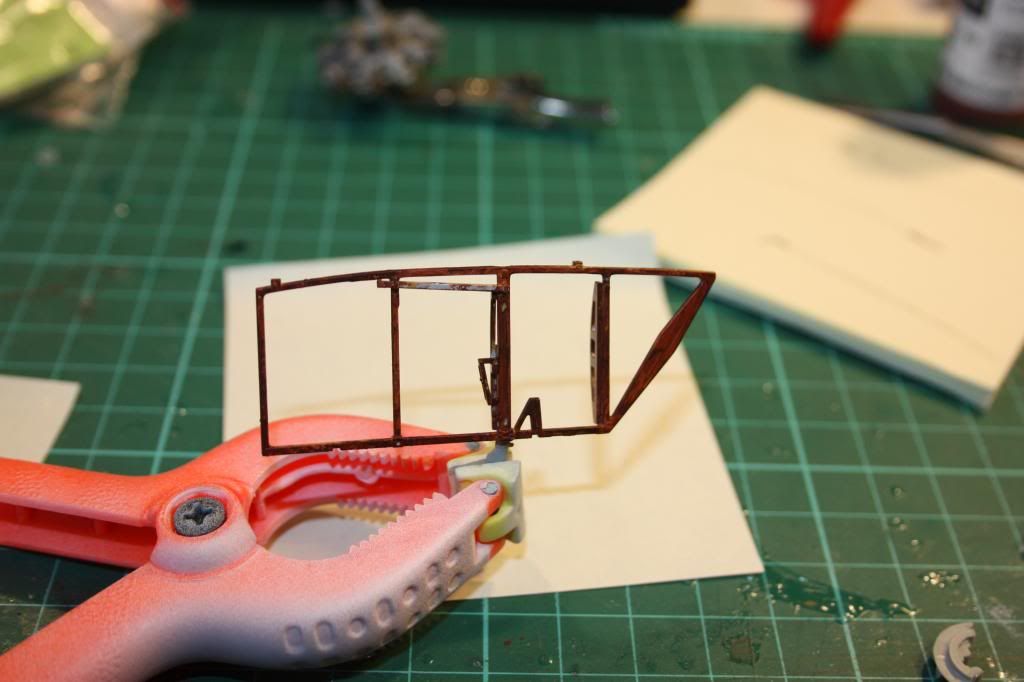
I have done some work on the cockpit wood painting up the inside frame
I also decided to be clever and try preshading for the wing spars. As I said at the start I would be honest about mistakes and I made some here, got a bit too excited and put way to much paint on for preshade, I need to decide whether to just paint over with primer or see how the top colour works. I could always just use some sanding and take it back that way.
Phil - great idea to shade the ribs, but have you considered post-shading them? I’ve seen it done and tried it myself, and the results blew me away. For the upper surfaces, start with a light-to-medium coat of your PC-10 color just on the ribs, then mask the ribs with tape the appropriate width. Next, apply your final coat of PC-10 to the entire wing, remove the masks, apply a very light coat of your PC-10 for blending and post-shade over the ribs front to back with Tamiya smoke. It highlights the ribs beautifully. For the underside, apply your CDL color, mask the ribs, and lightly post-shade with a thinned medium brown/earth color, remove the masks, apply a second very light coat of your CDL just on the ribs and just enough to blend them, and you’re good to go.
Like the idea and I’ll give it a go on this build. I’m looking to paint the wings as usual for a WW1 aircraft before I attach them to the build so it will be a lot easier to paint.
Last night I was building turn buckles so didn’t get a lot done other than that, my eyes just wouldn’t take it, but I’ll take some pictures and post when I can
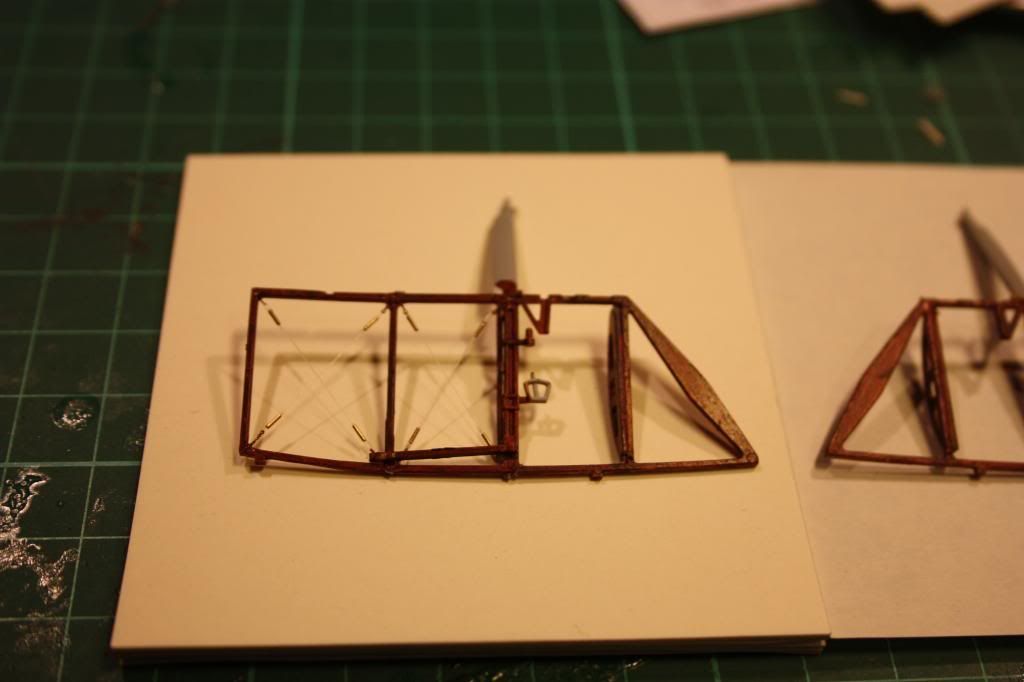
Doesn’t look like much today but its about 3 hours!!
Things I learn are the slower you go the better and breath deep often. I manages one side without problems, on the second side I was tightening the lines using a very little heat and they all just snapped. lesson there to all is as always you can always do more you cant do less. The way I did it successfully was to light a match then put it out and use the burnt match heat to give the heat. I’m not sure may sanity will take doing many more so I’m going back to the normal construction for a while.
Should do more next week as we have a four day weekend, I think its time to get some paint on some parts too. As always any ideas let me know
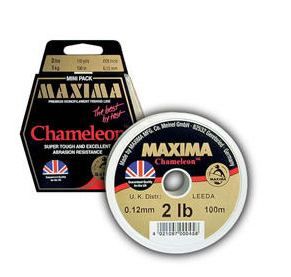
You may want to take a look at fishing line made by MAXIMA. Their 2lb (0.12mm) line is just the ticket for 1/32 birds. It’s the line I use 90% of the time. It passes through the 0.5 tube and eyelet with wiggle room (tube run through with a 0.3 HSS drill bit to clean out swarf) to spare. Image below.
Looking good Phil. I can relate to the time involved in fabricating and wiring in those buckles. A lot of it can pass quickly - probably why I opted for the Gaspatch buckles this time 'round - actual bench time is hard for me to come by these days. [;)]
Bob, I’ve been tempted to try that 2lb test, especially for the added structural strength it gives to the airframe (IOW, does what rigging is supposed to do). A few ?'s though, like how well CA bonds to it, and also if there is a tendency for lines to sag over time, and if so, how to re-tighten them.