Greetings, I have been building 1:35 scale model tanks since I was an adolescent and now, at age 62 years, I consider myself a mediocre modeler at best; and frankly, when I look at the models and dioramas in FSM (which I’ve subscribed to for decades), I question if I’m even that good. Notwithstanding, I have a question for the community: Do most armor modelers paint kit pieces before or after assembly? Historically, my tack has been to assemble the tank first and then prime and weather it. But, for some components, like road wheels, track, weapons and stowage, I paint first and then glue them in place. Because cement doesn’t readily stick to paint, this necessitates chipping the paint where the cement is to be applied followed by a touch up. However, looking at step-by-step builds in the magazine and online, it seems to me that many, perhaps most, modelers build the kit entirely before painting. I suppose there are advantages to either approach; I’m just curious which one folks prefer and why.
I usually assemble the whole tank first,including tools.However,I do the tracks and roadwheels separately,I paint the tools and details by hand masking with small pieces of index card as I go along .
Here’s an example
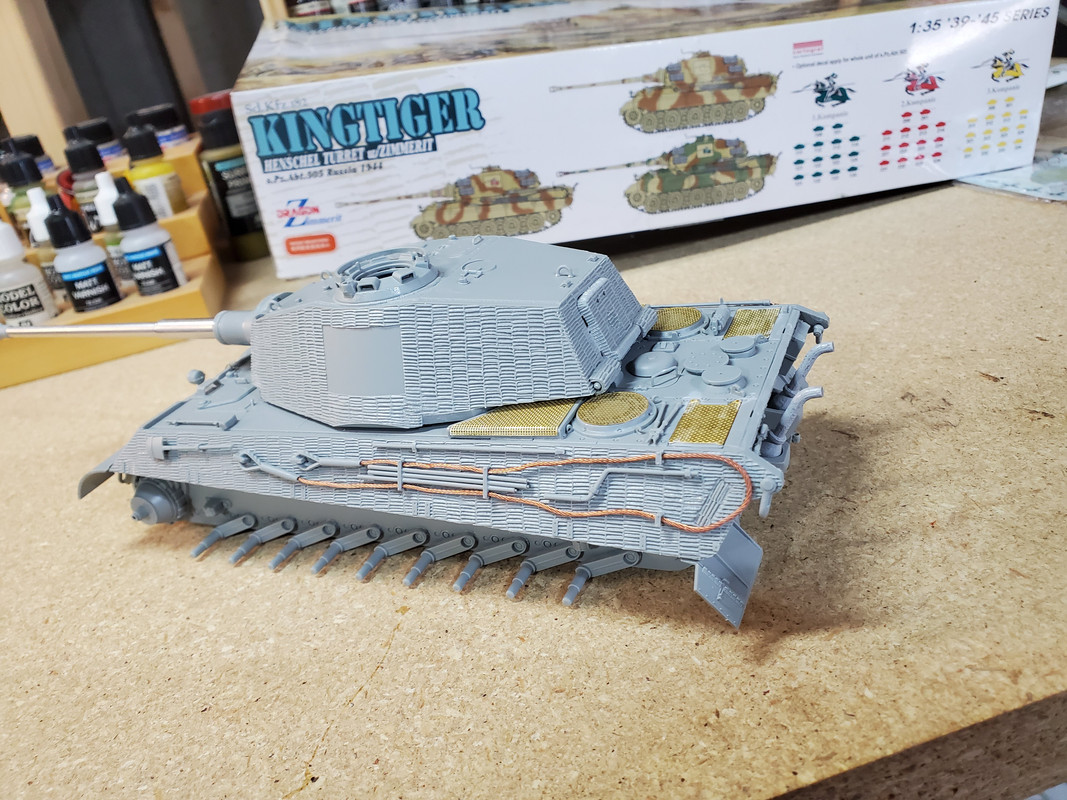

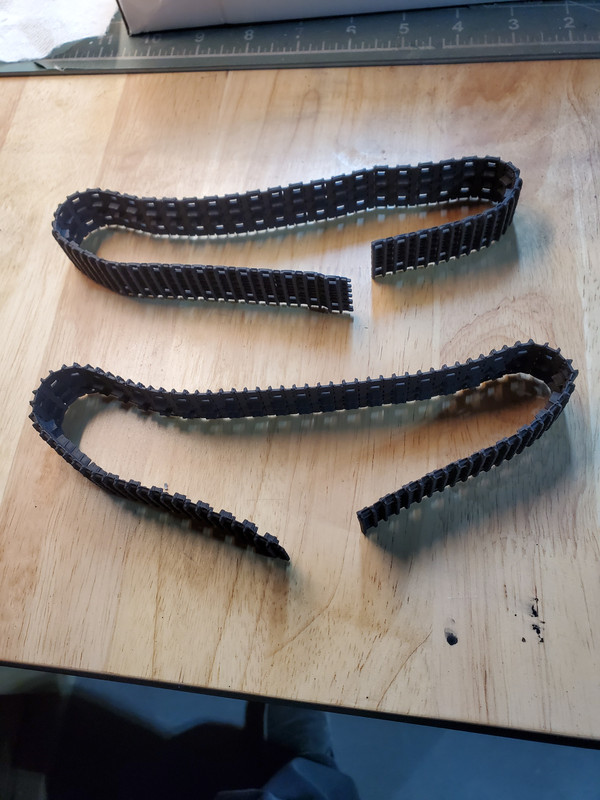
Sometimes though,it’s really hard to get the assembled tracks on under the fenders,in that case I’ll finish off the lower hull first add the tracks then attach the top shell,mask the bottom with tin foil and paint the top.
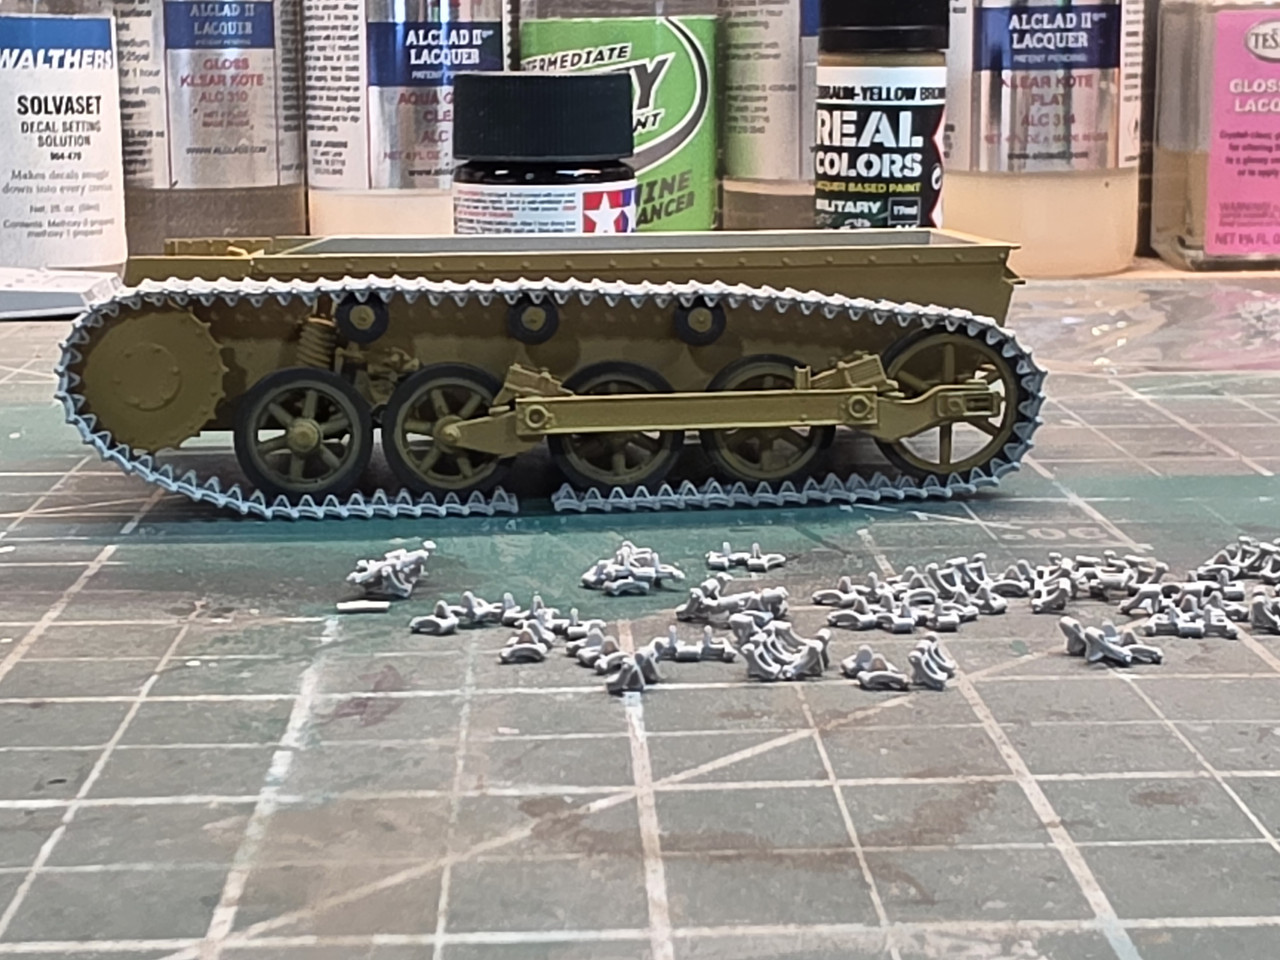
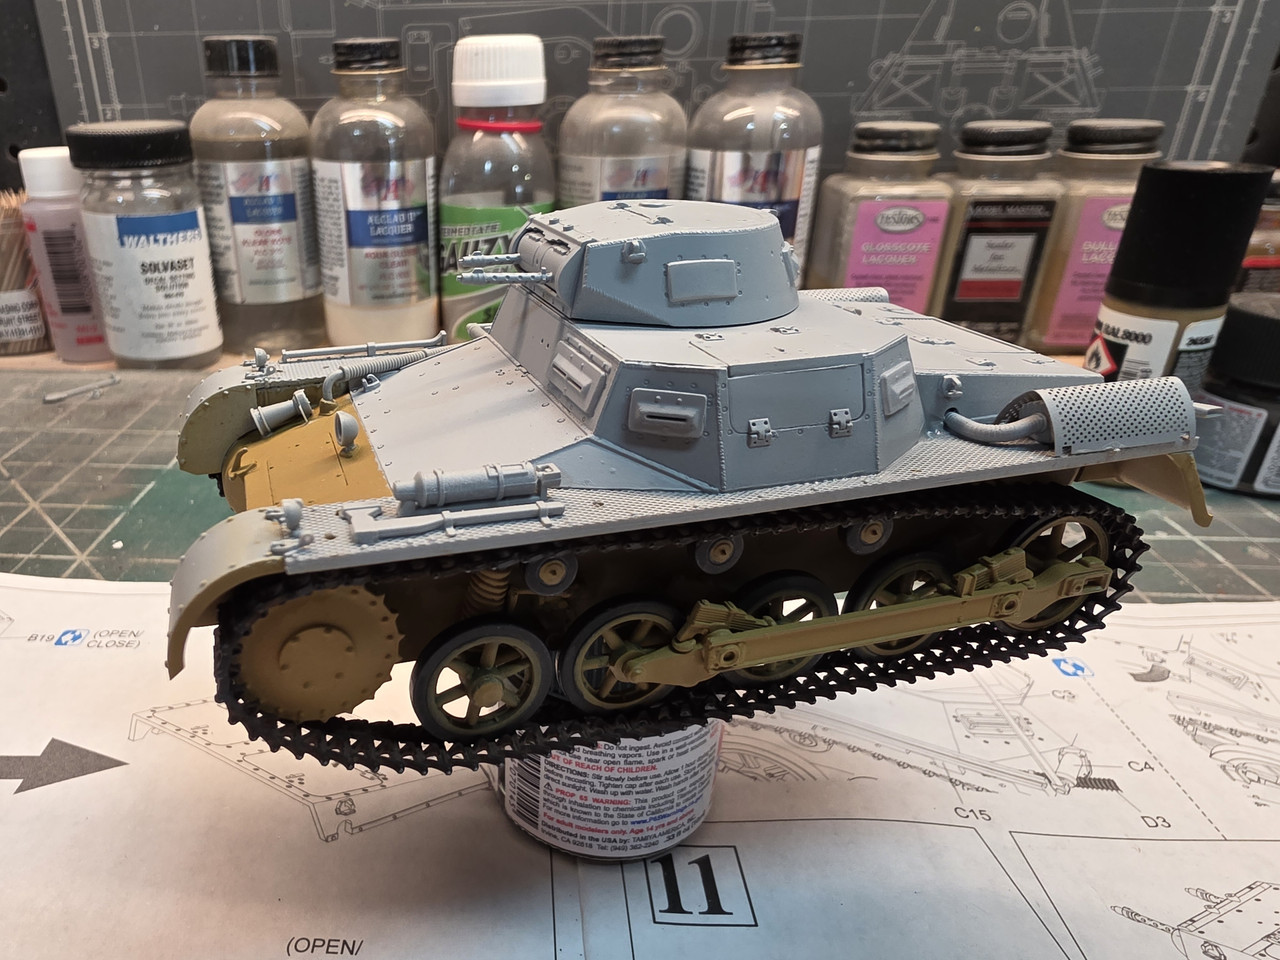
Hope this helps a little,I can try to clarify more if needed.
Thanks for the reply. Love that King Tiger.
FWIW, it depends. I usually end up painting parts up depending on the model, then assemble them. But not always. Sometimes it works to do them all a the same time, but mostly I paint assemblies, then put them together, masking as needed. I do the same with tanks as I do with planes. (Nice tank by the way)
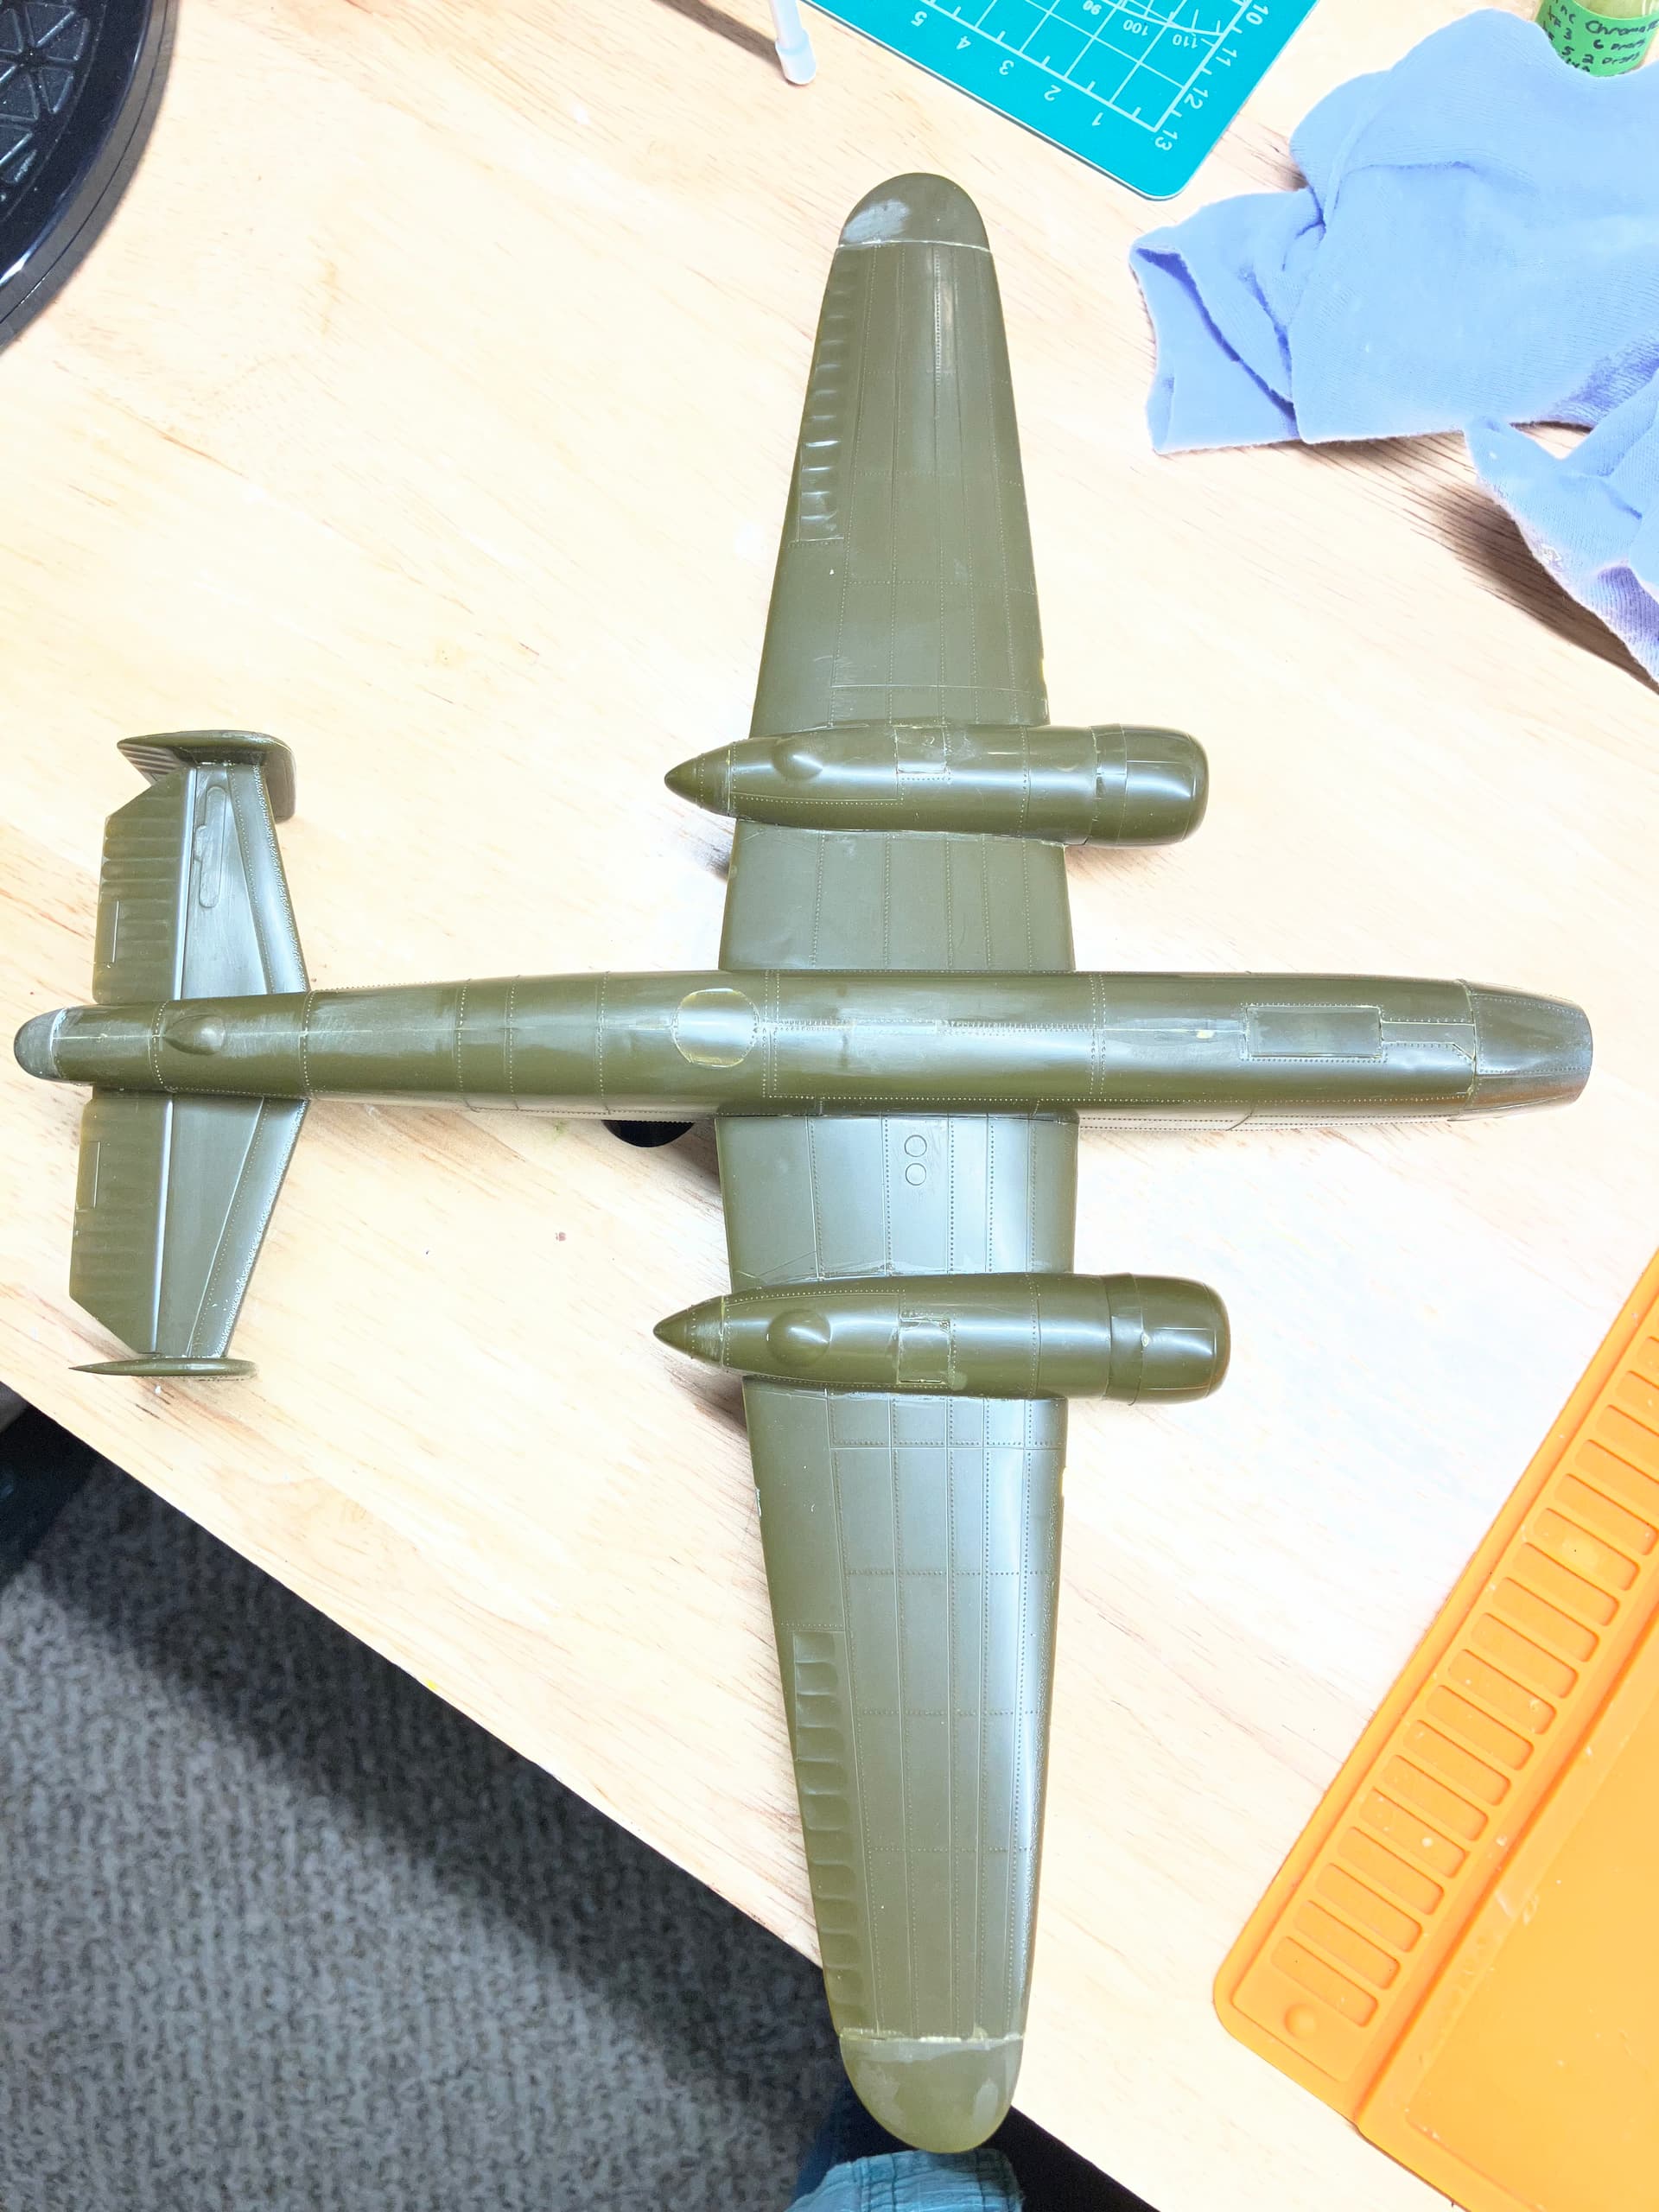
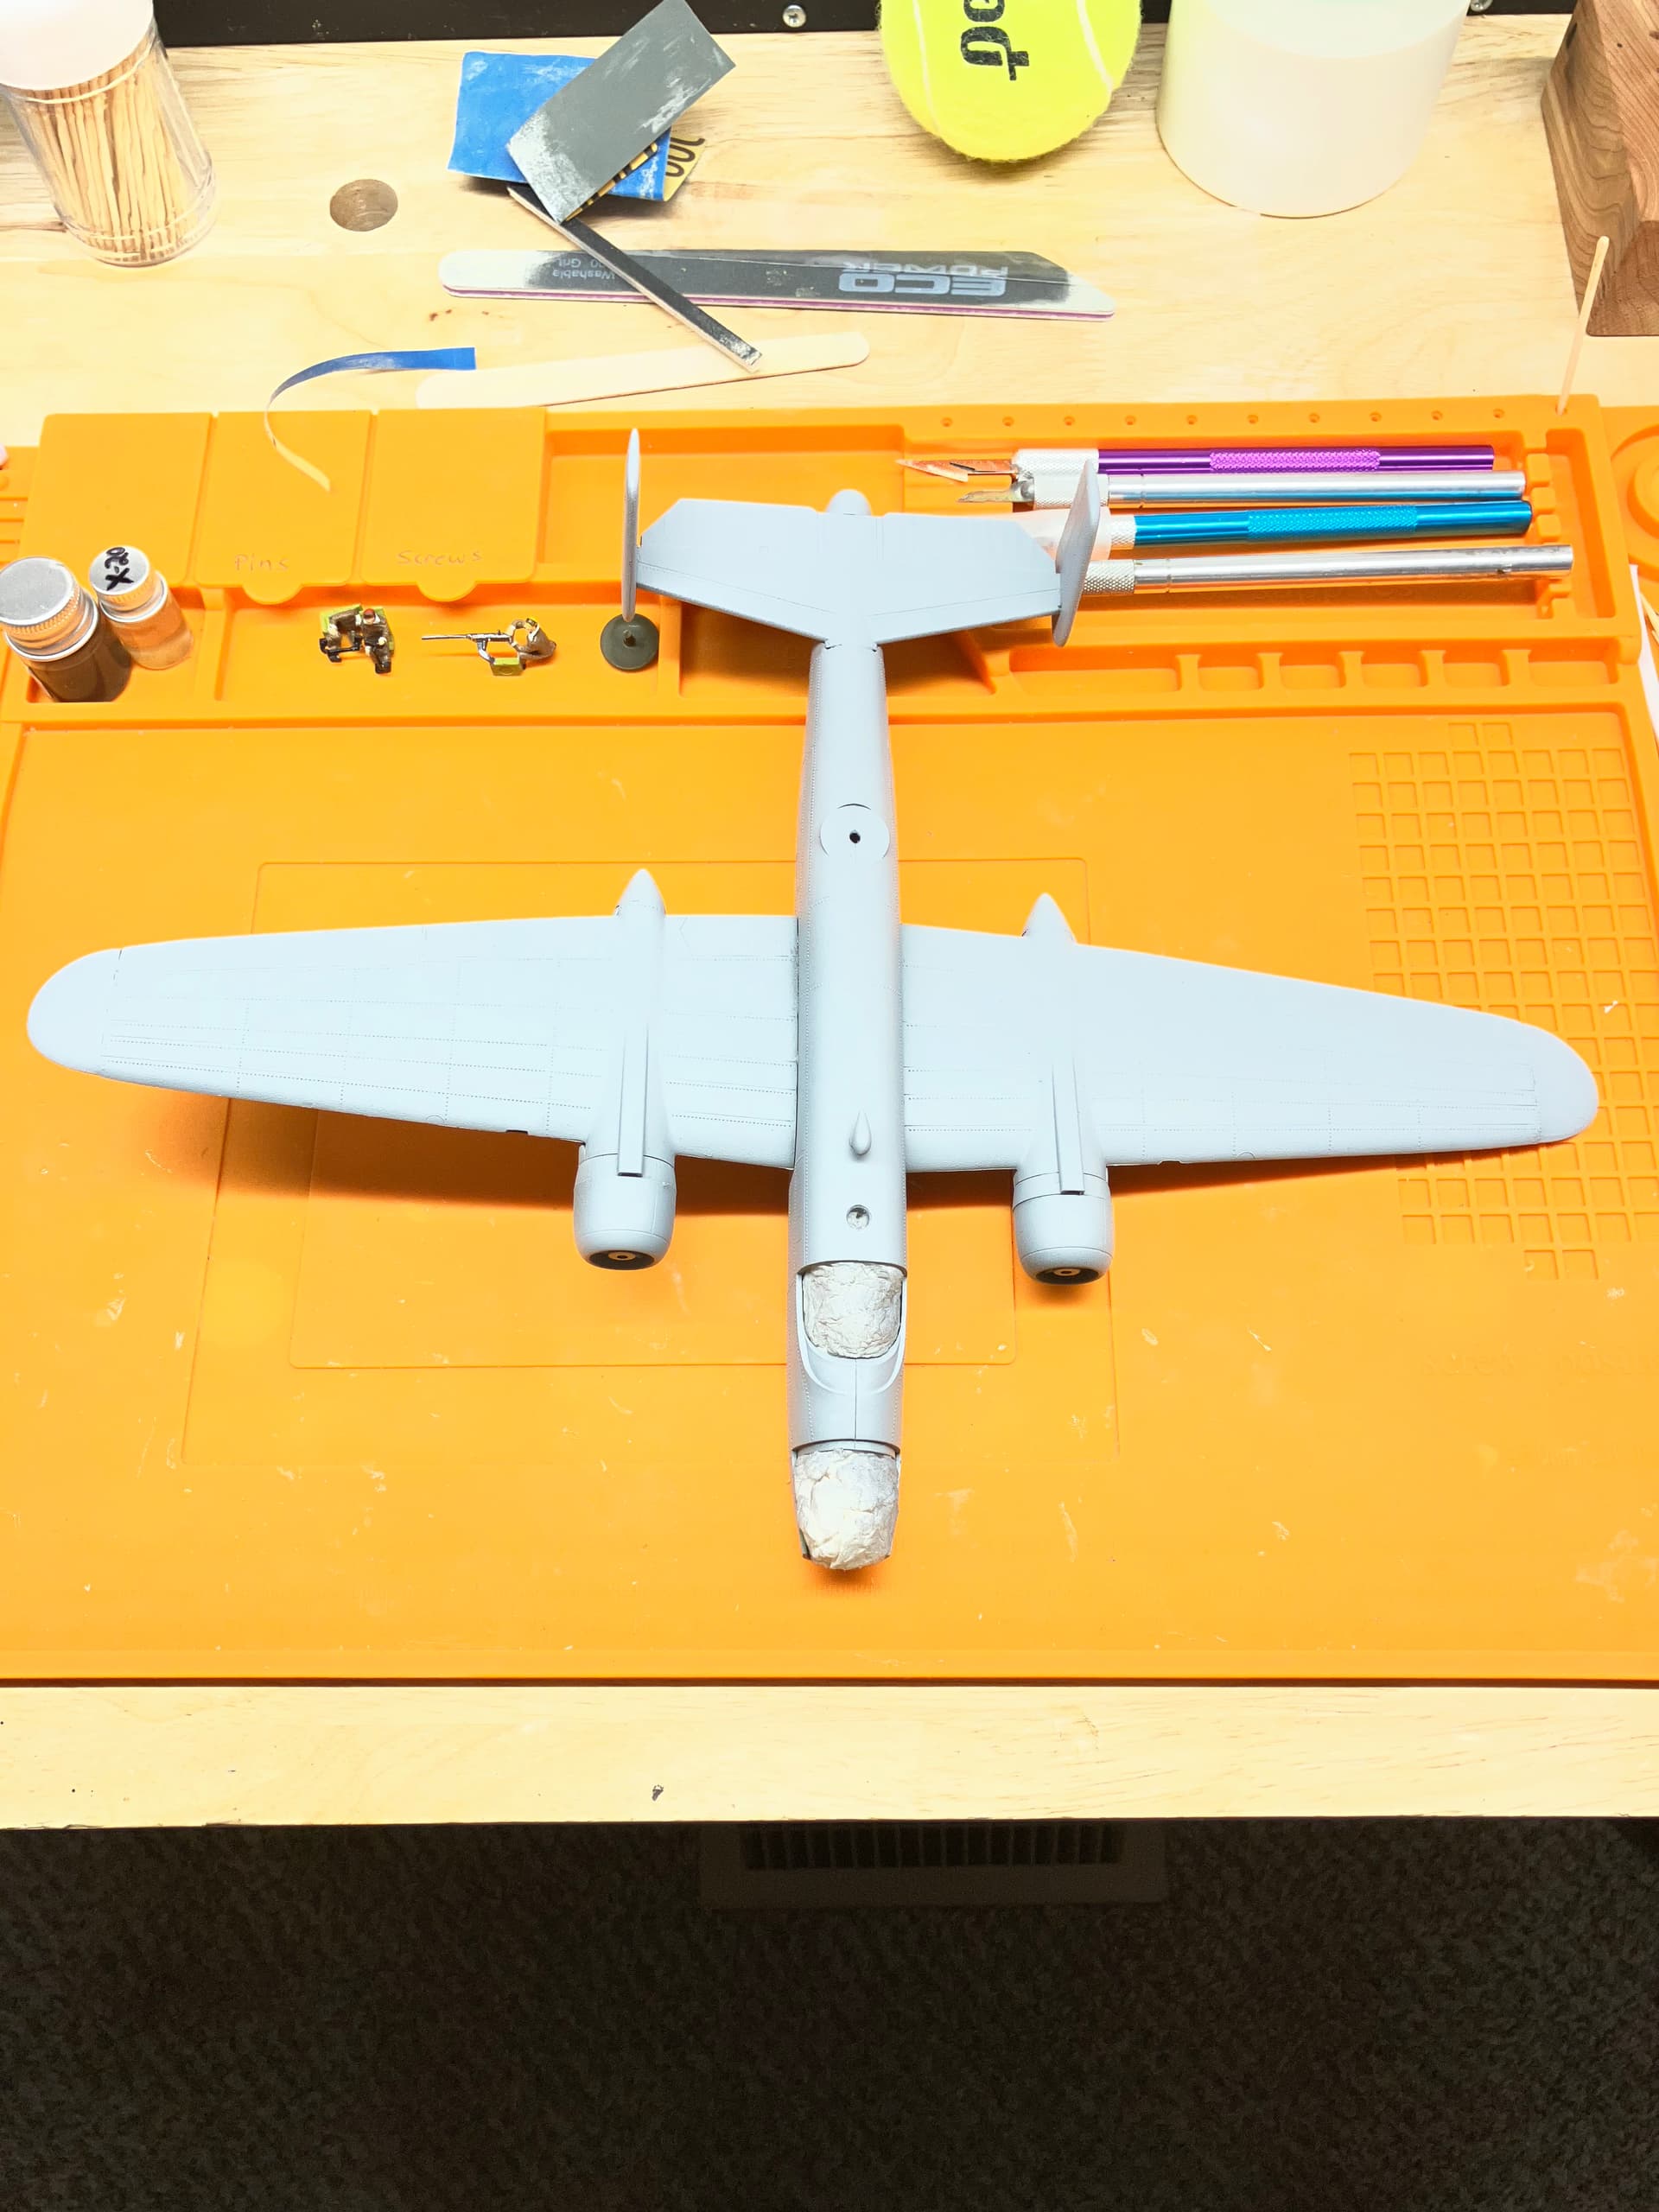
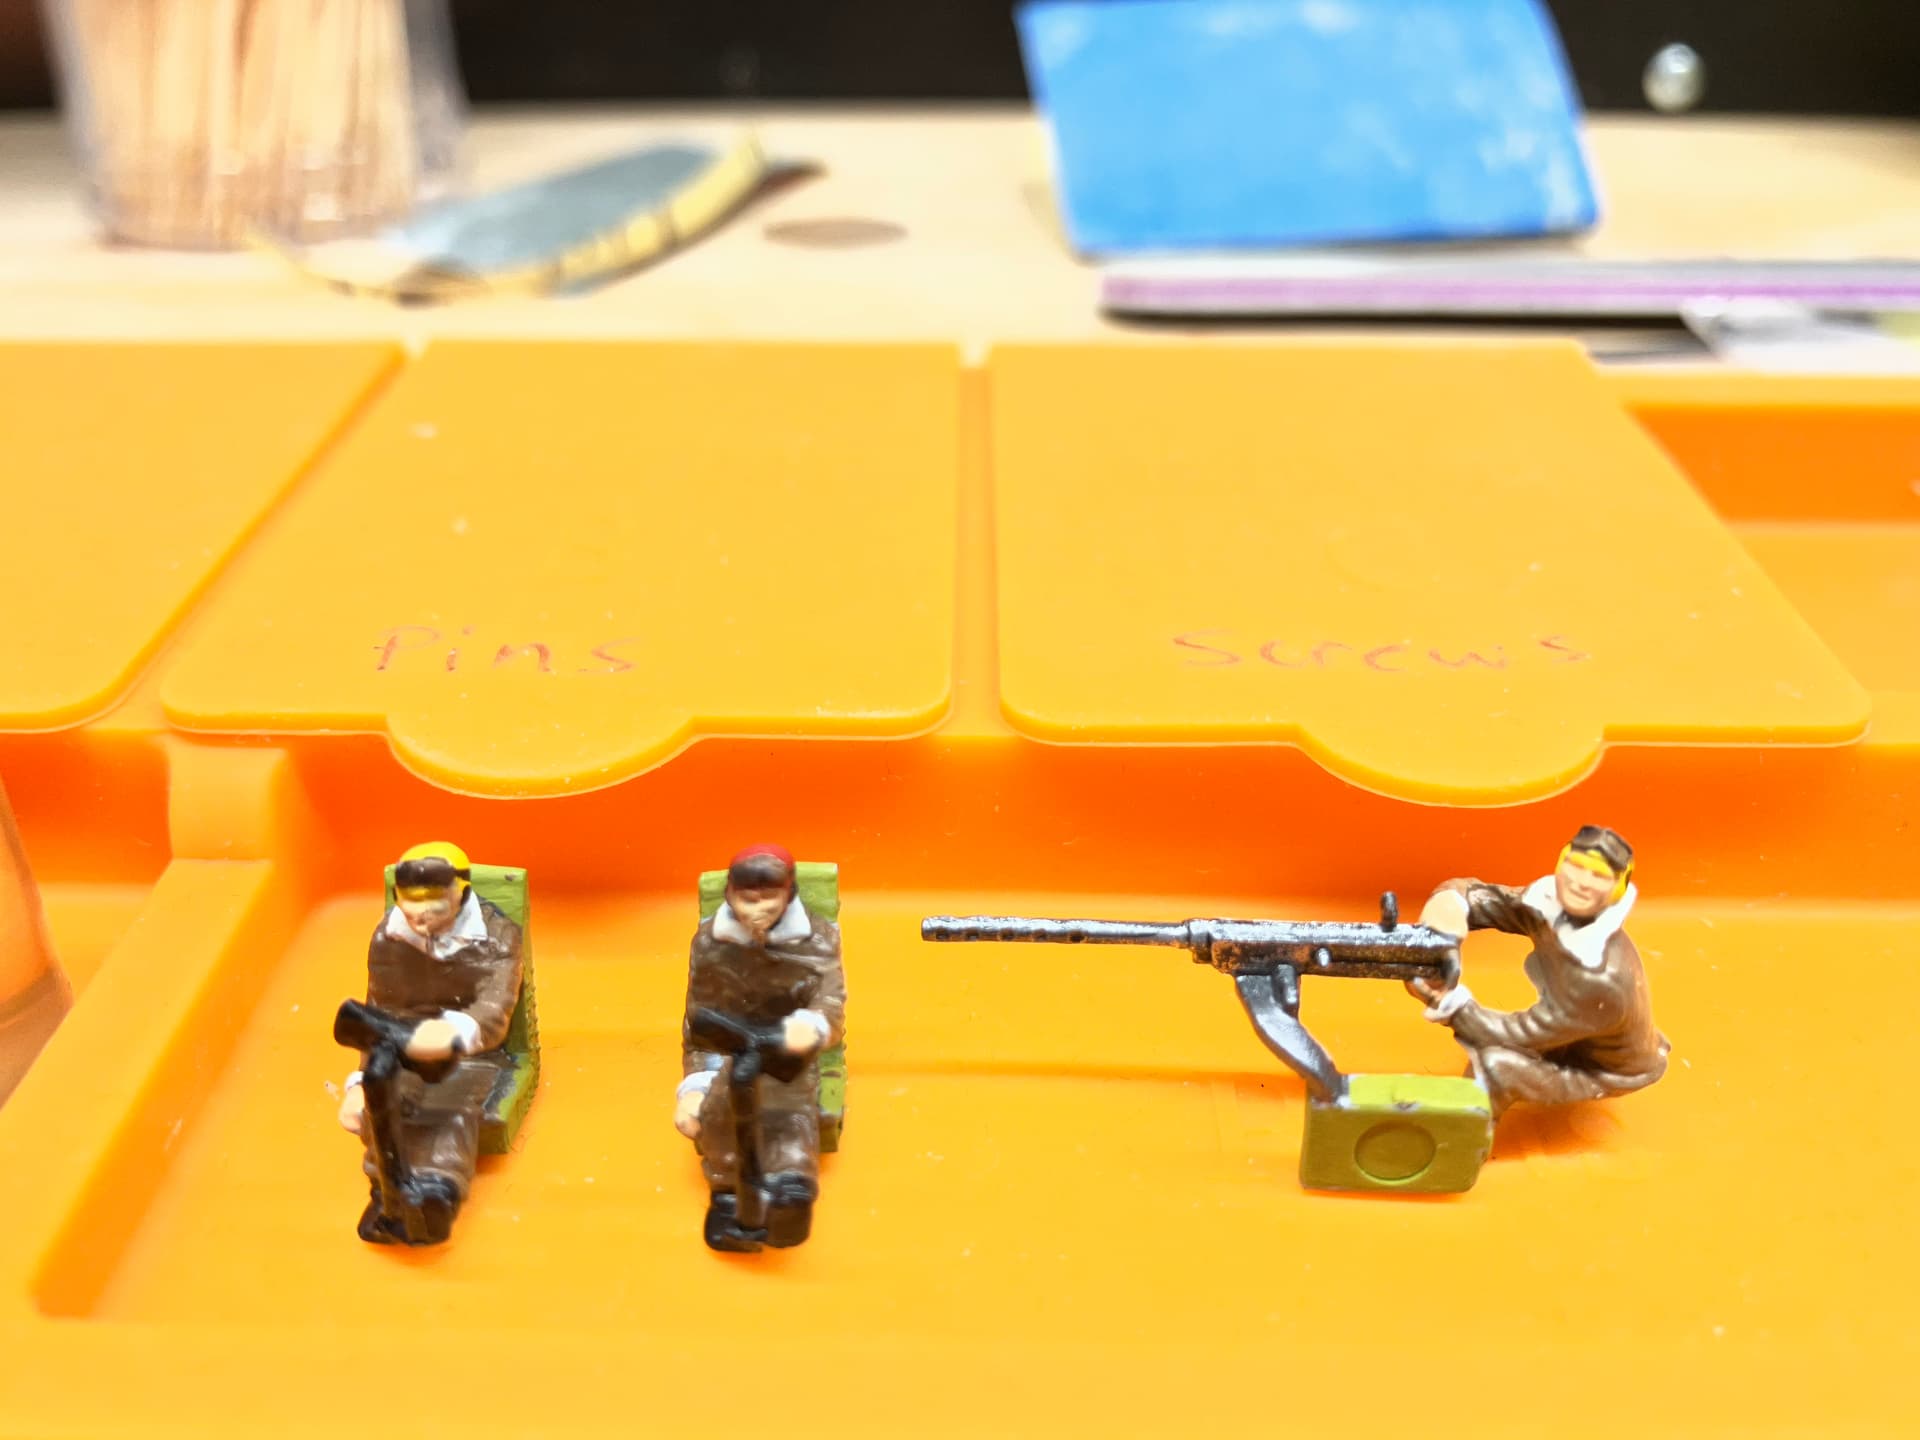
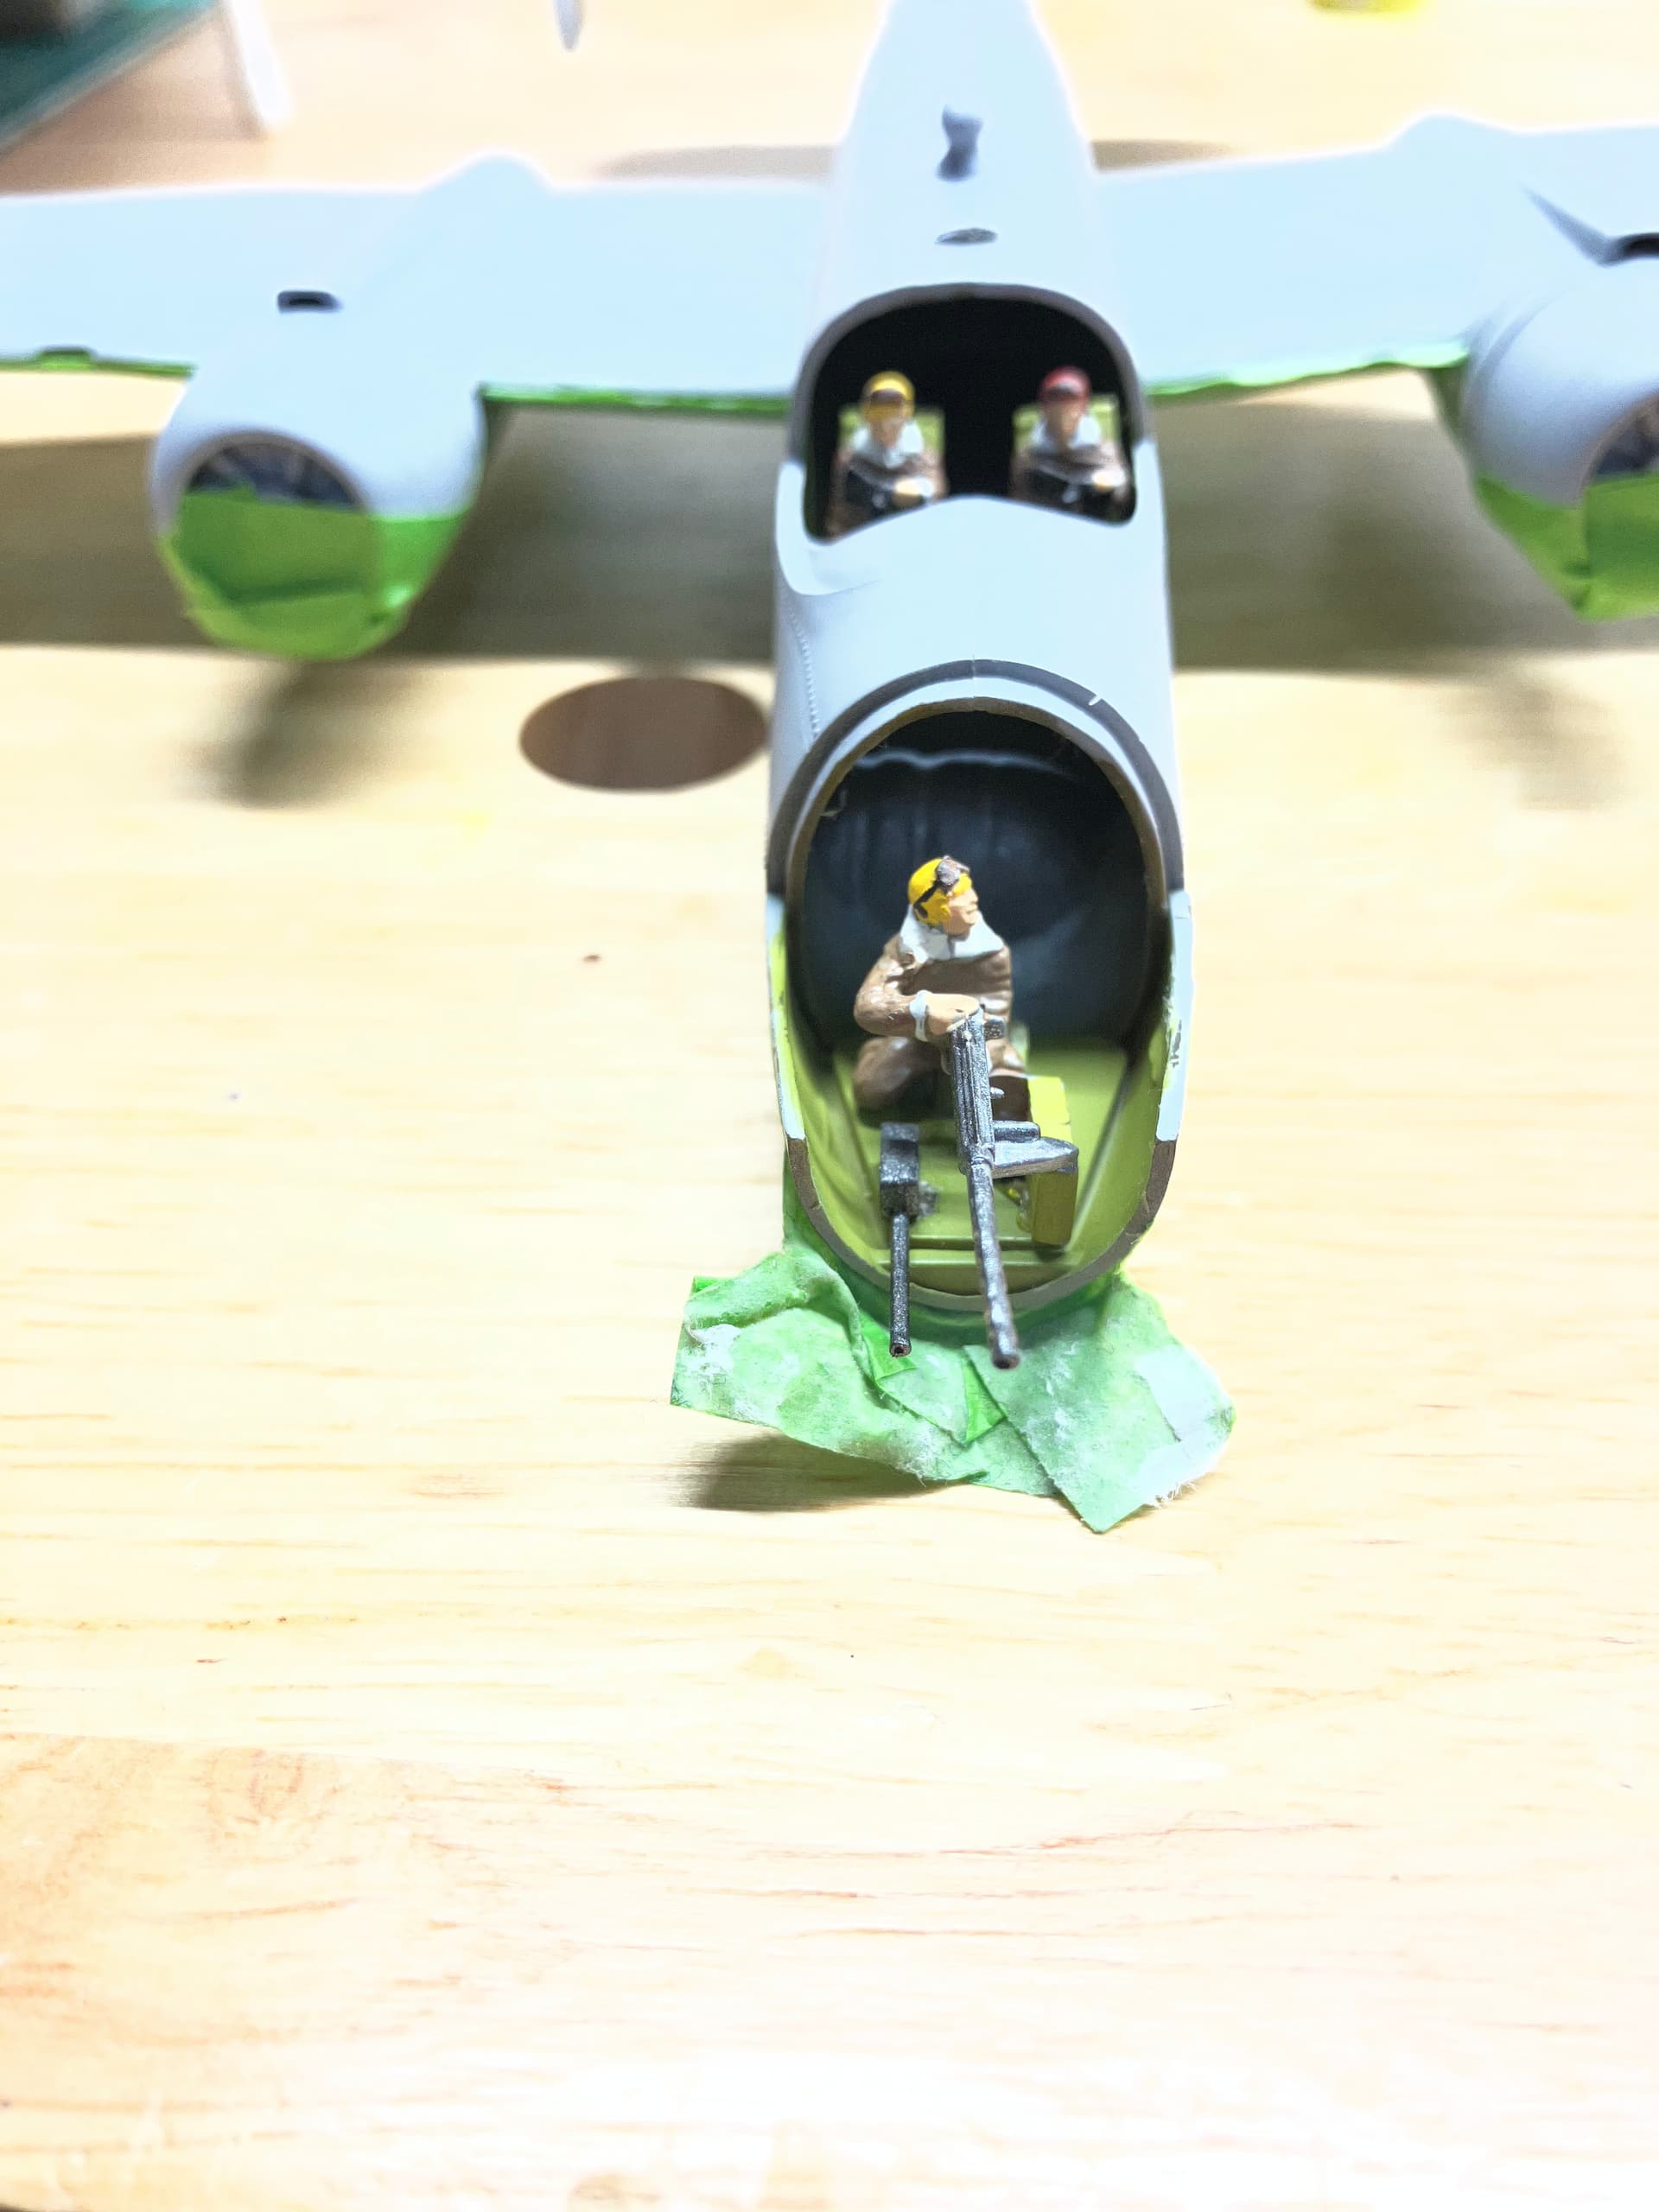
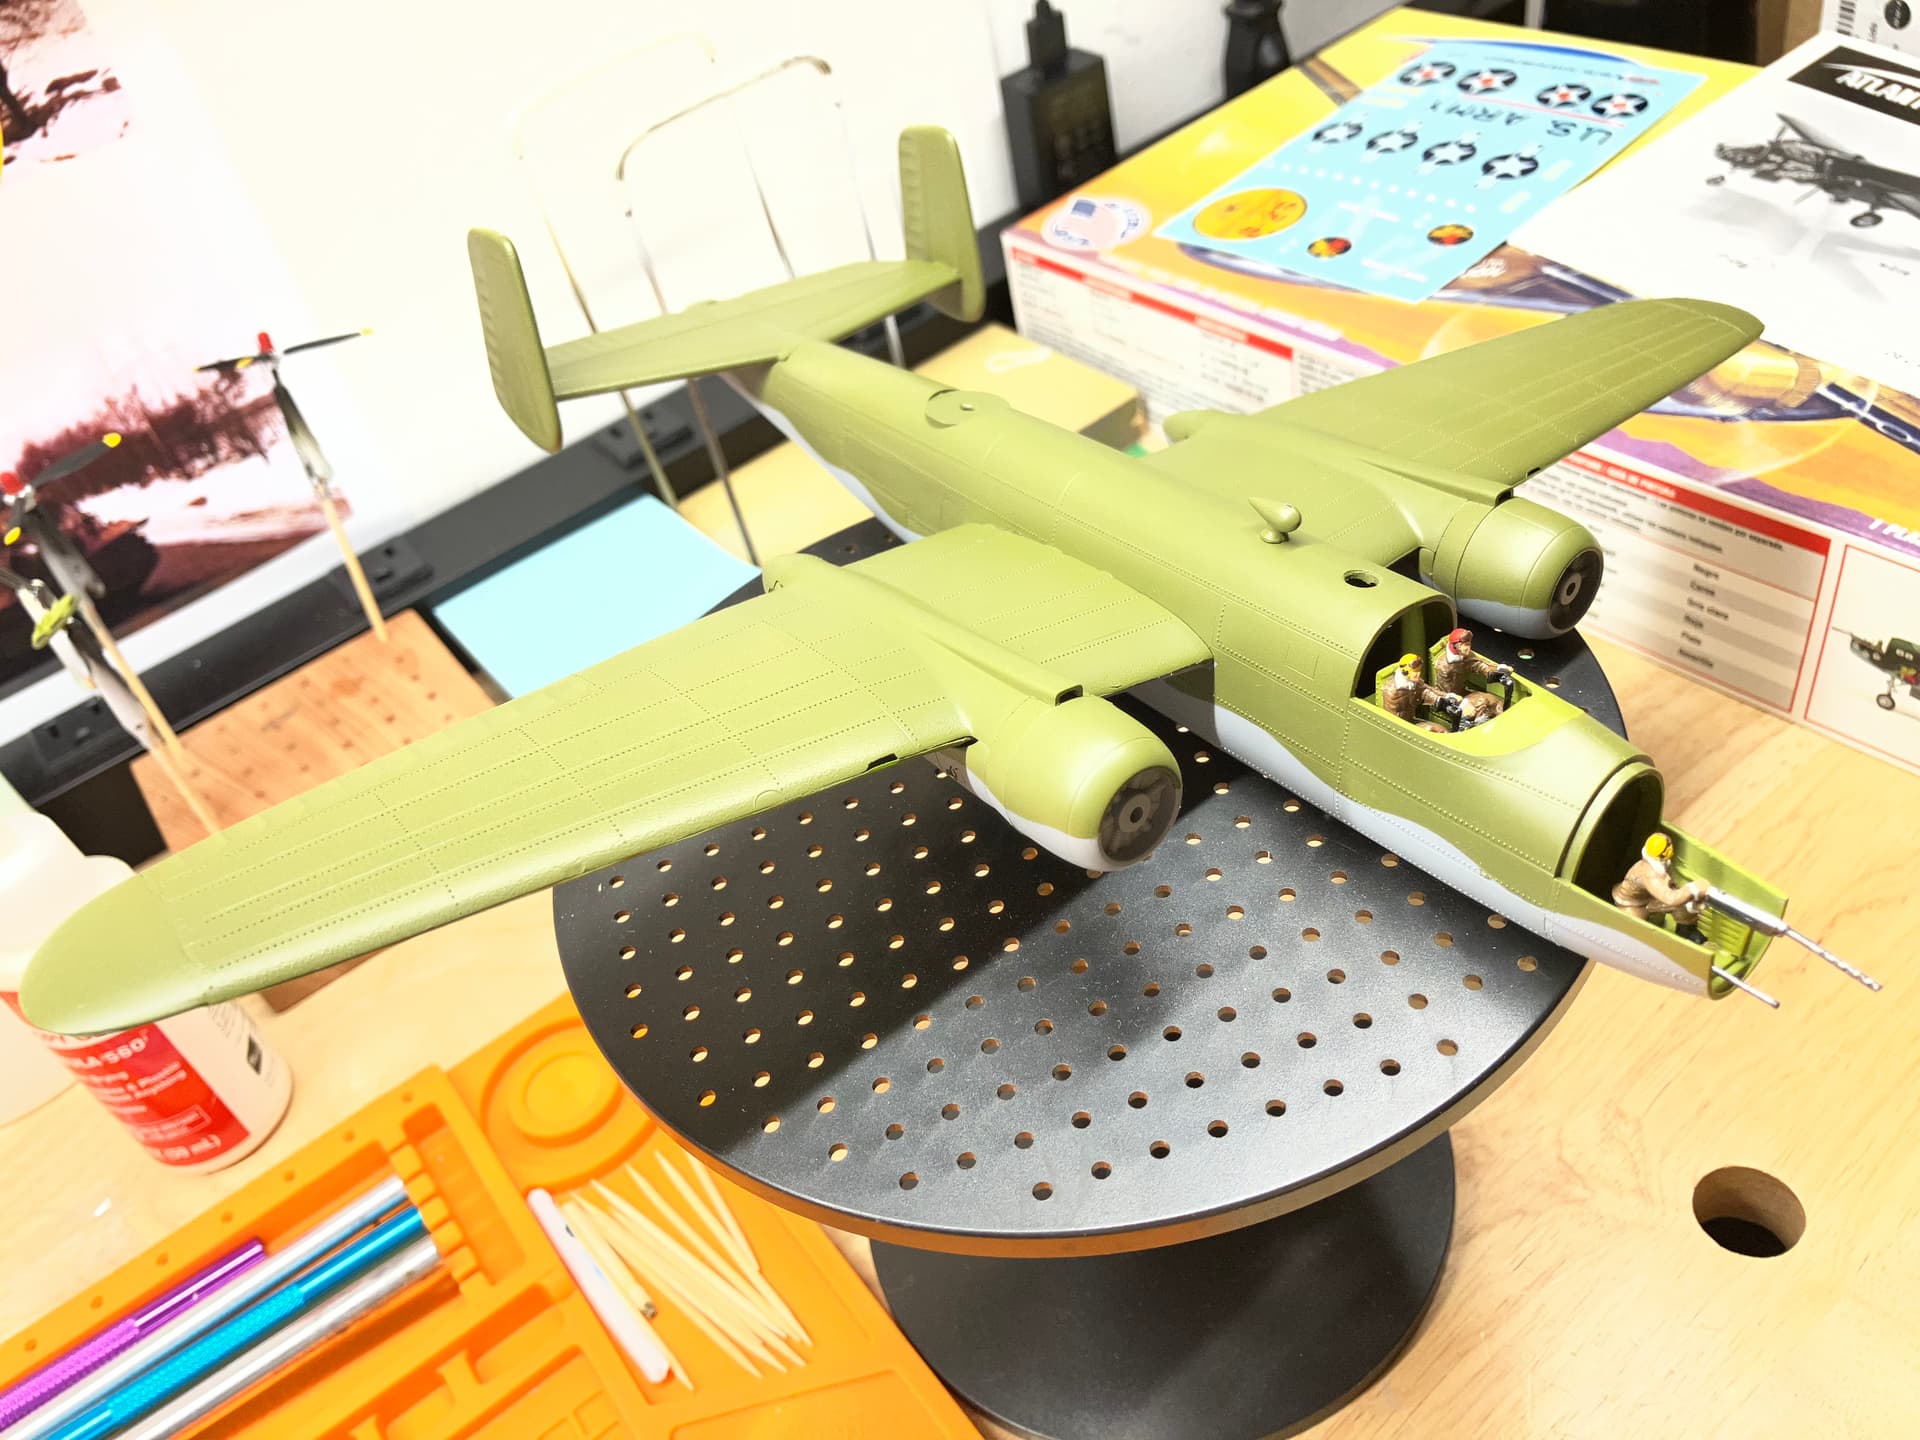
I’m in the camp of, “It depends.” I tend to do major phases of assembly, then paint. I’ve never really liked having to paint the hard to reach spots AFTER the model is built. I started off as a put it together and paint model maker. Then I tried the whole, ‘paint it all on the sprue,’ technique. From those two methods and a good deal of thoughtful consideration, I decided that the build in phases or sections path was the better overall choice.
And if you ARE going to paint a part that needs to be glued, you can always gently smear on some true Elmer’s on the seams (if you don’t or can’t mask it with tape) and let it dry, then paint. When the paint dries, you can take an X-Acto blade, a utility knife, a plastic scraper or your fingernail and pry off the Elmer’s and voila! Clean glue seam.
Lessons learned from the Hard Way of model building over many, many years of attempting to improve my output each time over time.
Nice hint with the Elmers. I have painted items on the sprue (usually because they are really small), but then have to scrape the paint off to use the glue.
Unfortunately the Mk.I Eyeball and Mk.II Camera Lens have a way of peering into crevices that are otherwise inaccessible to a brush or airbrush, so over-assembly can potentially create issues later in the build. The undercarriage is the area most likely to be missed.
It’s very common to see modelers painting and weathering undercarriage before bogies, road wheels or other suspension items are attached. Suspension and road wheels are also painted separately and then installed over mudded and weathered undercarriage. Tracks are installed over suspension and road wheels and then final mudding and weathering applied
Probably the best overall routine I’ve seen lately comes from @stikpusher, who will pretty much builds, paint and weather everything below the mud guards in the manner described above, and doing it all before the upper/lower hulls are mated. This prolongs ease of access and ease of workability when it comes to installing the tracks. He’ll then mask off the undercarriage and then proceed with painting everything above the mudguards.
Maybe that’s why he’s called @stikpusher because of all the sticky notes he pushes into his undercarriage to mask it off  Totally trying this on my next build because it just makes so much sense regardless of the style of track you’re working with
Anyway he very kindly described his process here:
Prepainting other items before assembly such as tools, racks, external fuel cans and stowage are really down to your confidence levels on getting complete and precise paint coverage from prying sightlines. There’s certainly no shame in painting separately and then fixing with CA glue later, especially if it means not losing your sense of immersion in the kit over some misplaced colour at an interface of parts.
I really enjoyed reading this thread and picked up some great ideas. Thanks everybody, Keep on Modeling!!!
Lots of great responses here and all are very valid. When I’m building a kit, I tend to think about how the real item was painted. Then usually that’s how I assemble and paint.
Tanks painted before pre-painted wheels put on. Cars with bodies assembled, but no lights, windows, etc, all other pieces painted before application. Aircraft painted once fully built, gear painted separately. Space ships, well your guess is as good as mine.
Now this doesn’t always apply, but it seems to work for me 95% of the time. There is always some part of every kit that requires a modification of this process.
Thanks for your reply. The B-25 build is looking good.
Thanks for your reply.
Very helpful, thanks for the reply.
Very helpful, thanks.
I typically build the entire model except for the tracks, paint and weather it, and then paint, weather, and install the tracks. By the way, welcome back to the forum @COLONELDOC.
Thanks for the reply. Glad to be back.
I generally assemble everything then paint, unless I have an open top afv or soft skin where cab or interior work would be too difficult to achieve good results.
Thanks for the reply.