well started this last night and am moving along preatty good i guess
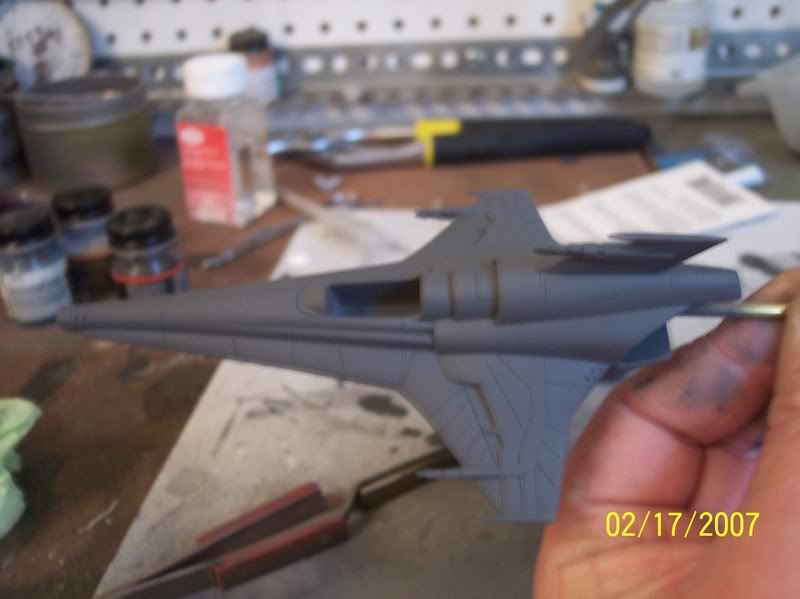
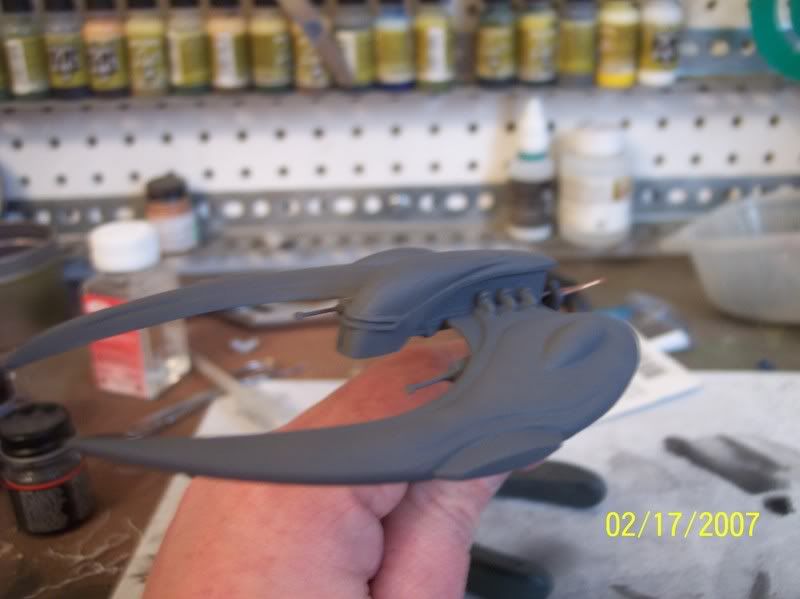
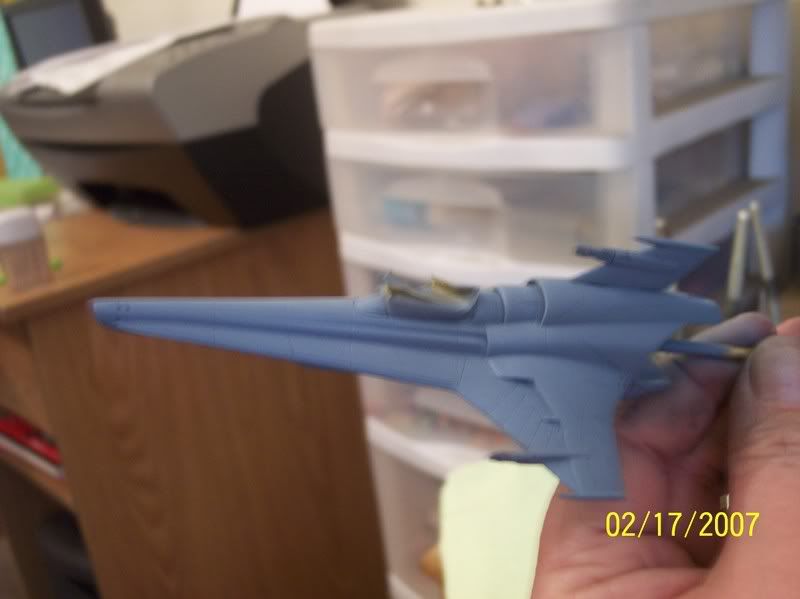
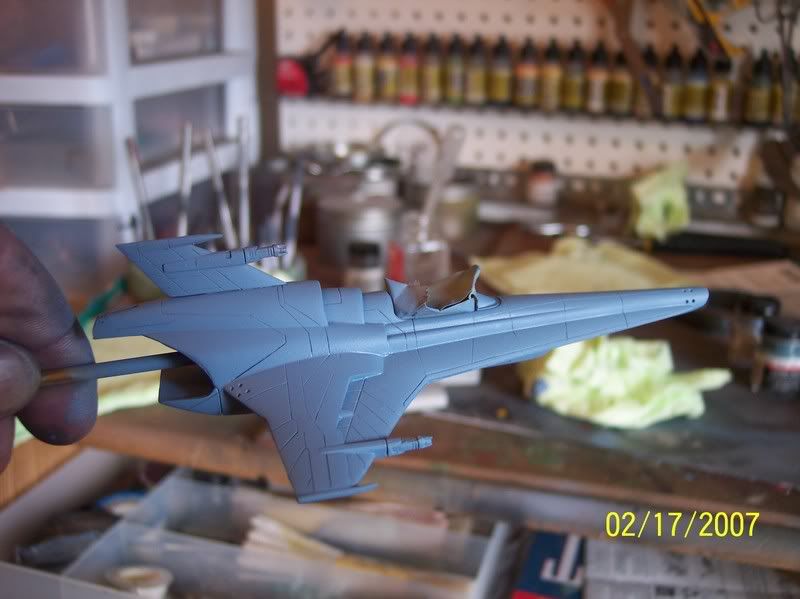
priming
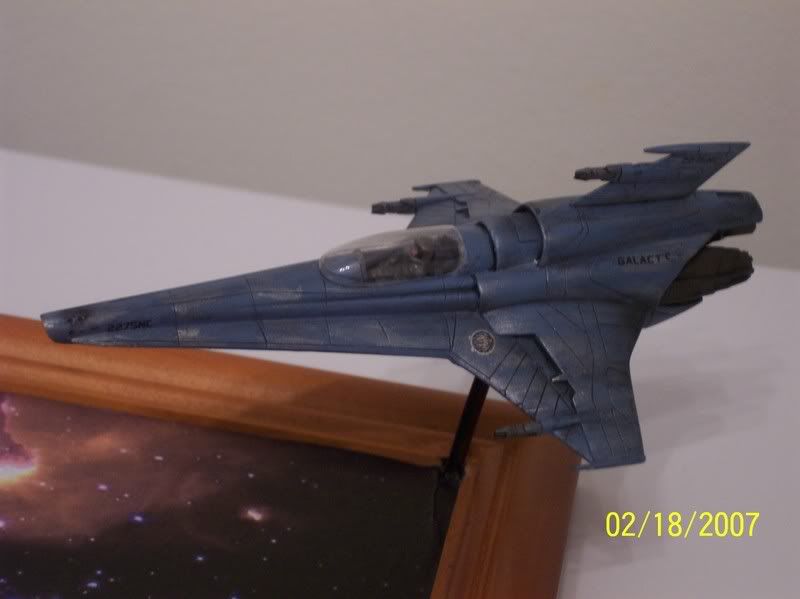
first paint coat for the viper its for the weathering process ill seal this and then paint ht emain color and come back a lightly sand the top coat off to revel the metal underneath
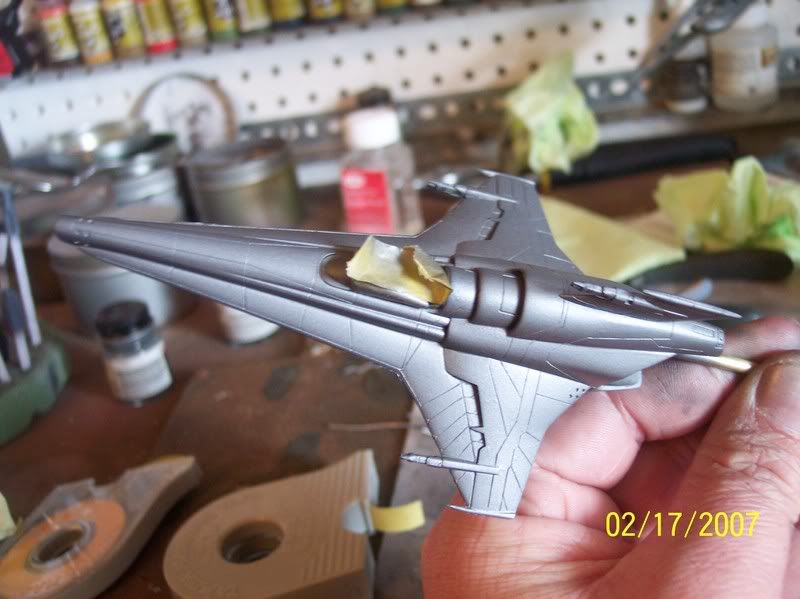
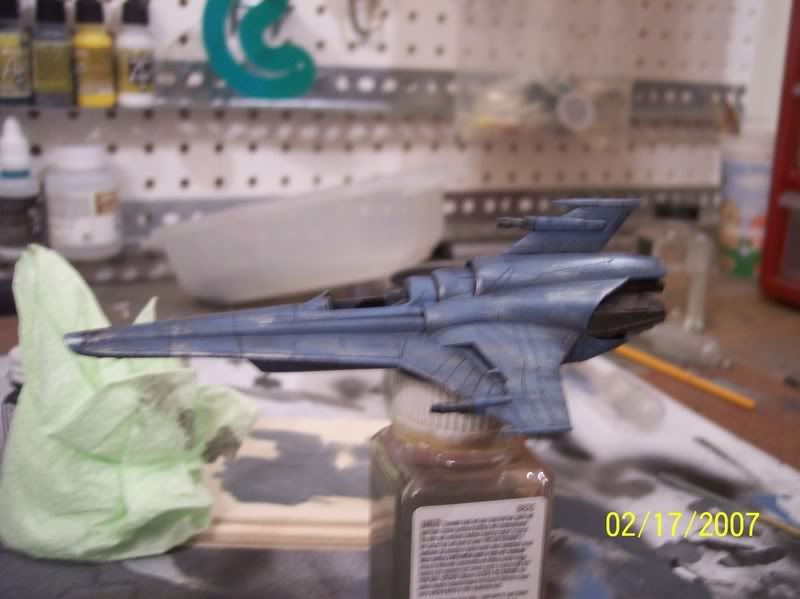
and then th etop coat i mixed equal amounts of navy blue/gray and RAF azure blue i think it looks almost right on
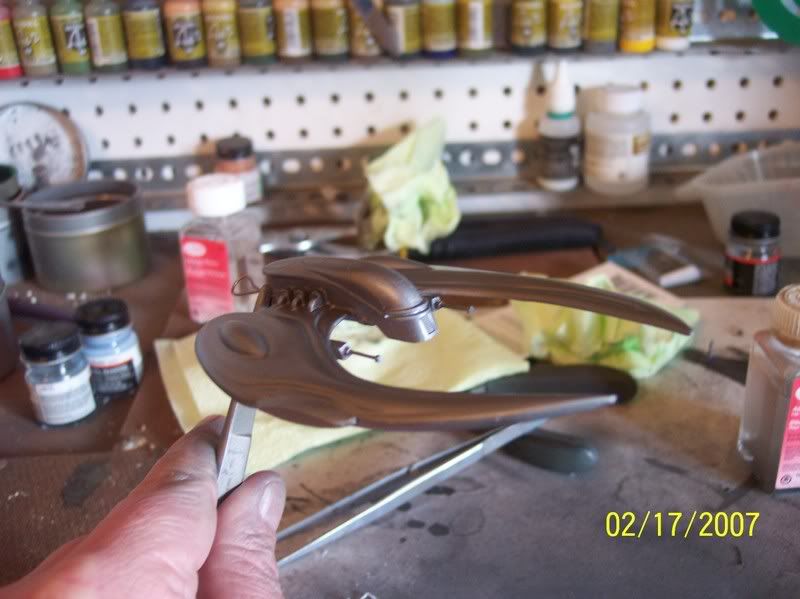
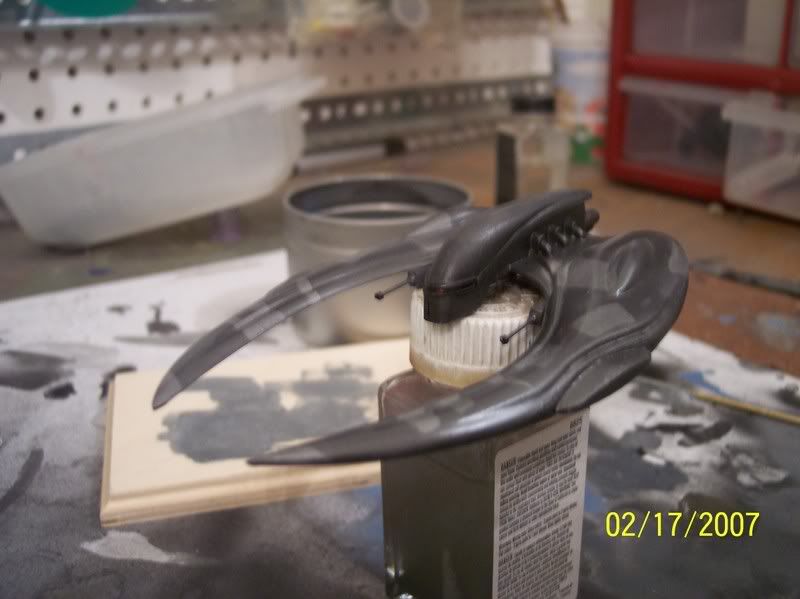
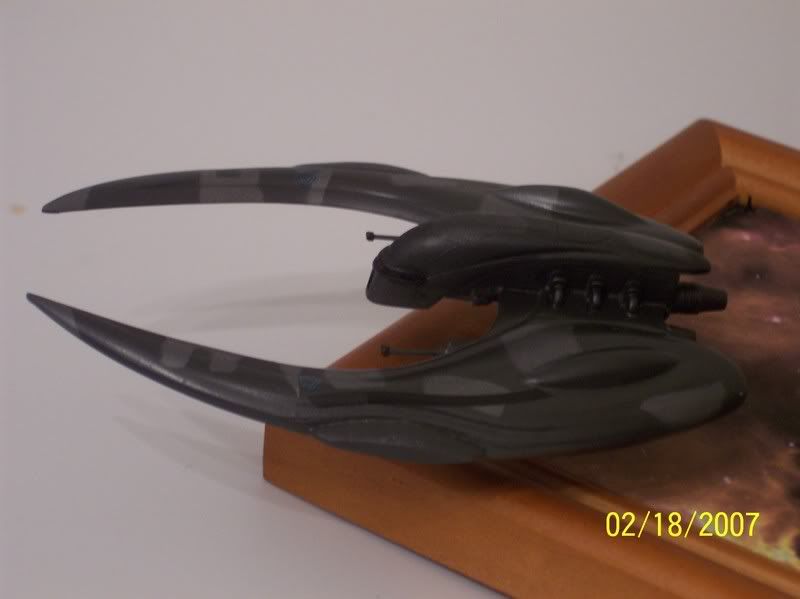
now i have to mask the raider and finish it up and then i need to start weathering the viper
Those look really nice. I think they will turn out to be a couple of eye catchers when finished painting. They look impressive right now. May I inquire as to who makes them and where you got them from? I have been off this forum for awhile. Thank you!
Sorry, my previous comment was to the pictures of the unpainted models. If I looked close to the last pictures, they were both painted. They look very nice. Great job on both of them.
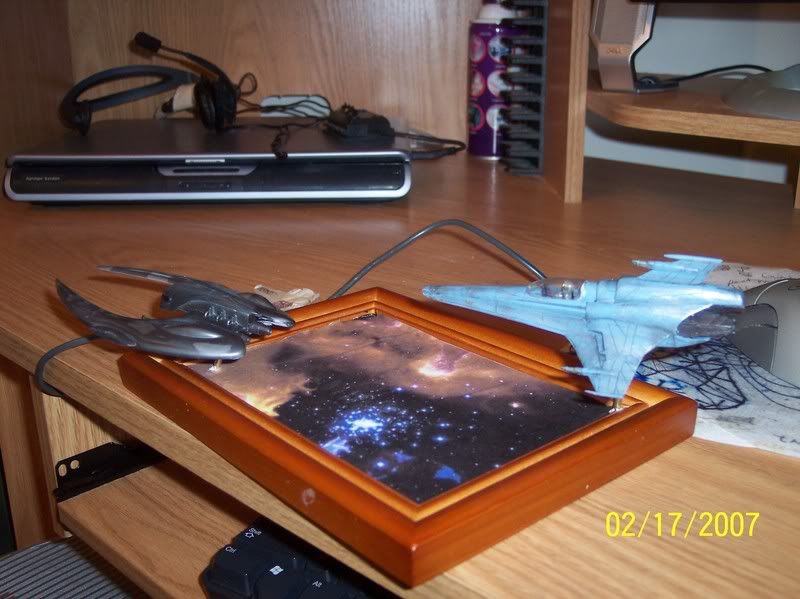
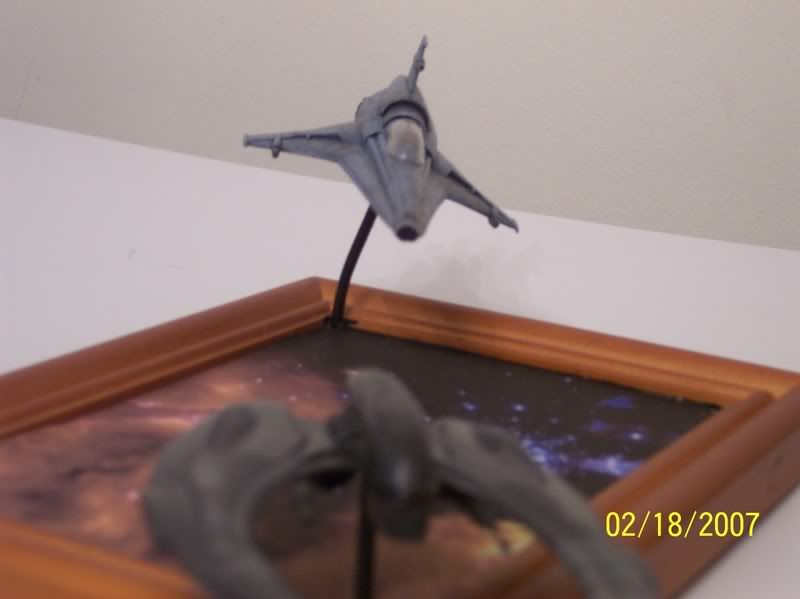
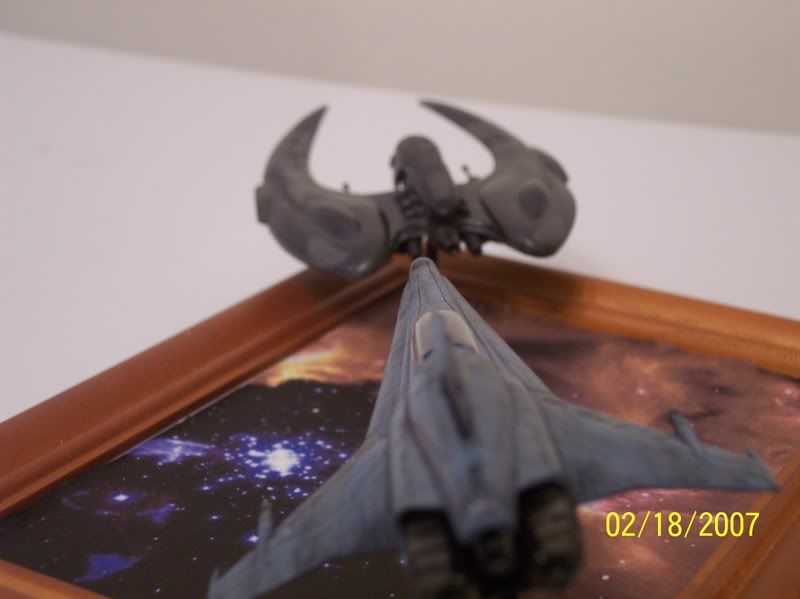
well this project is about done the canopy is still givin me fits but its close enough before i throw the model (i would never do that)
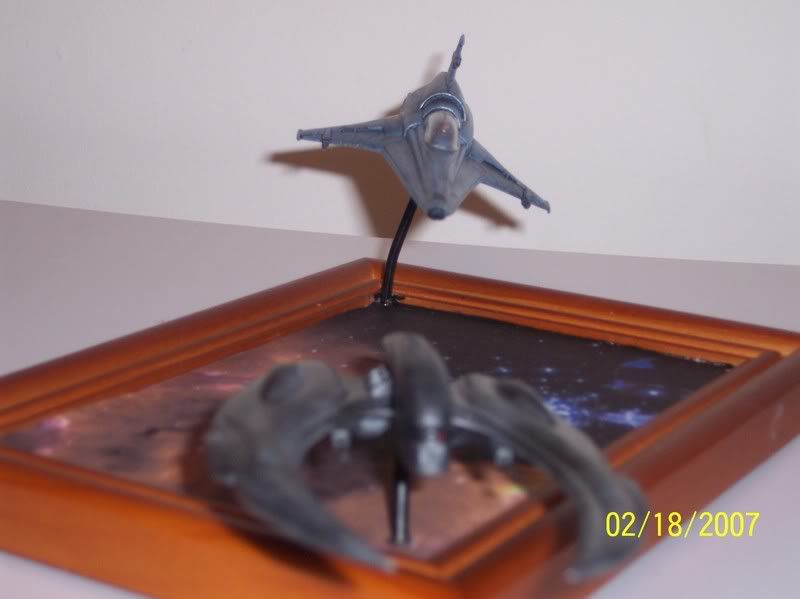
im calling this dio the KILL SHOT as the viper is in th ebest killing position
had fun with this and it was much easier with two great kits i will be getting more of these and doing them in differant colors and schemes
rob
edit
i did have a problem with a few decals shattering so some may want to hit the sheets with some more clear just to ensure you dont have this problem My prob decals where to Galactics and the pilot names for the side of the cockpit the galacticas worked out as i just blended them in as part of the weathering
I had to sand down the canopy on my studio scale too and it still never really fit the shape perfect. A weak spot for both kits I guess. My decals went on fine, though a bit thick. After spraying on another coat of Future and weathering they were fine. I used the back of an Exacto blade to “break in” the decals.
You should paint your next Viper in grey like in season 3 opener.