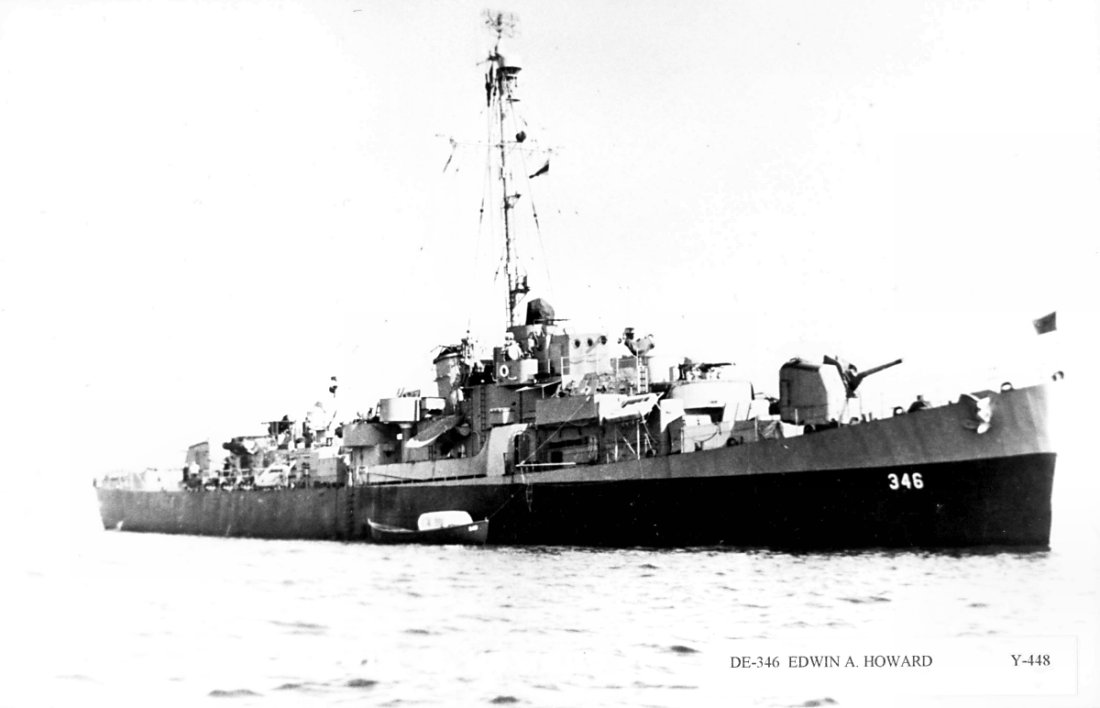
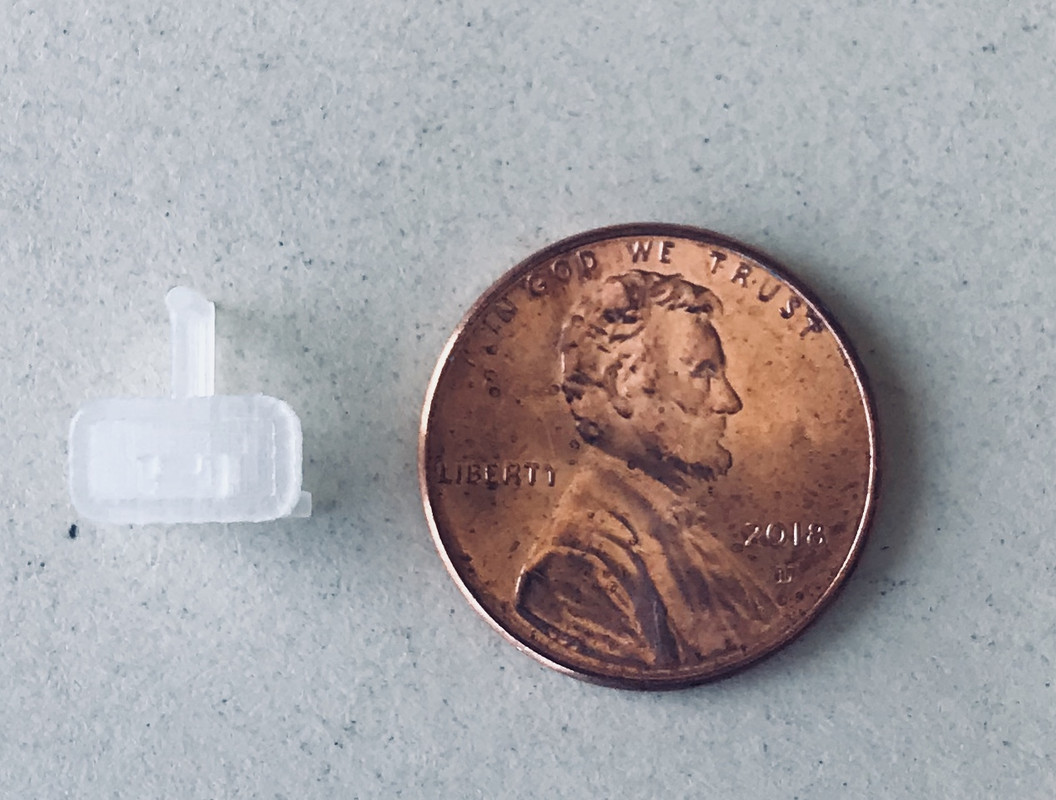
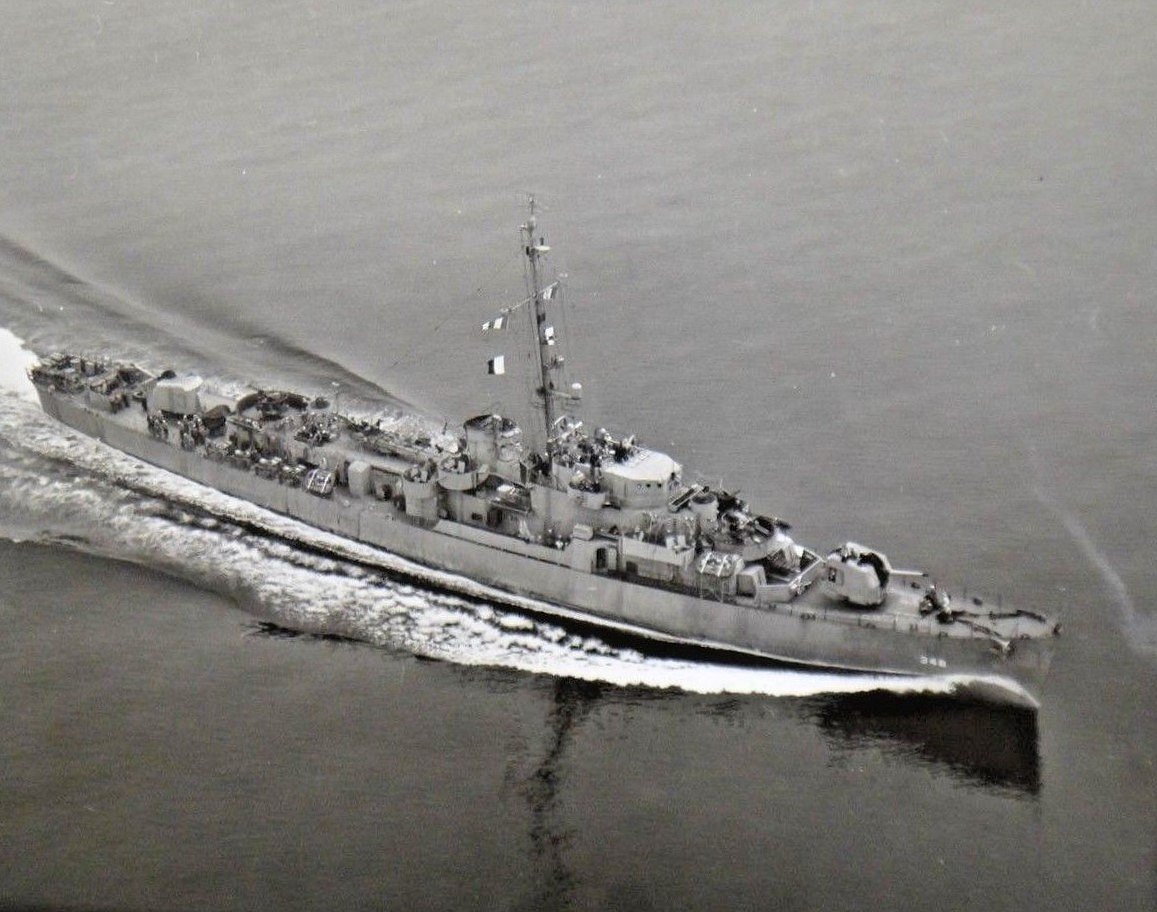
Some time ago I was asked by a close friend if I could build a model of this particular ship for him, a John Butler Class Destroyer Escort. He was a former sailor and served on FFGs in the 80’s and early 90’s, but this ship was before his time. Why did he want a build of this particular ship? It was one of many of the class built, participated in no major engagements, and was mothballed shortly after WWII. Just another small ship with a small part in a big war. But… the man for which the ship was named was his great uncle, Lance Corporal USMC, Silver Star recipient, killed in action on Guadalcanal. My friend has the paperwork, medal and champagne bottle top from the ships commissioning to back it all up. He wanted a model to display along with his uncles medal, citation, and ship stuff in his home. How do you say no to that?
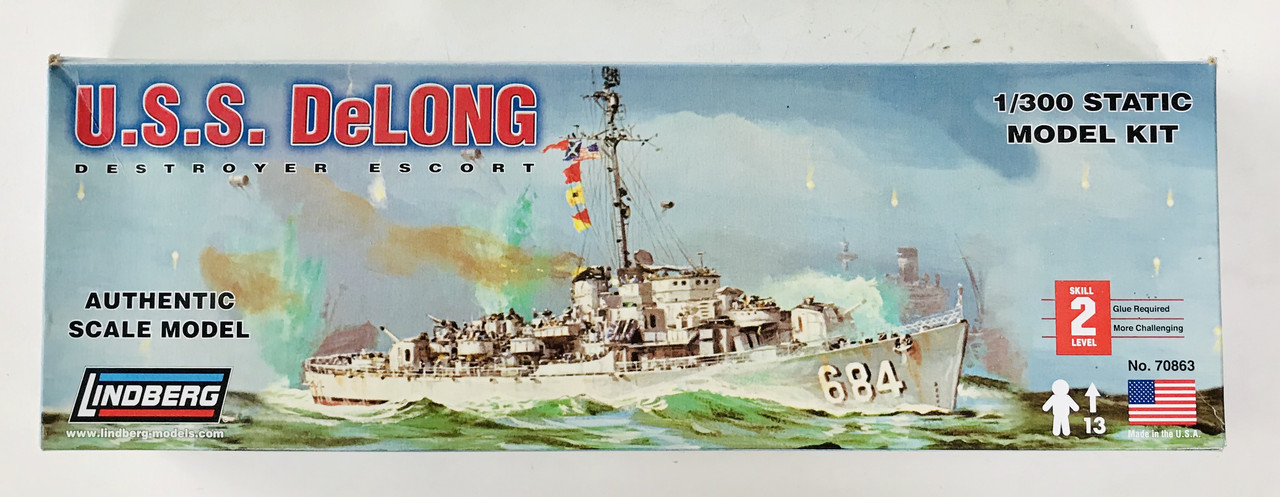
So since then I have been slowly researching the Butler Class, and gathering the items I would need to make this happen, and make it happen properly. A 1/350 DE is a tad bit too small to display with the medal, citation, and photos. But 1/300 is a bit bigger and would look ok. Lindberg makes a Rudderow Class DE kit in 1/300. The Rudderow Class and Butler Class were visually identical, but had different power plants. And the old Linberg kit, well it needs help. Quite a bit of help. 3-D printed items from Shapeways and a 1/300 PE set for the Revell USCG Roger B Taney will help. As for anything else that comes up along the way, modeling skills required.
No Greg, I sure could not turn that request down. I had already offered to build a kit of one of the Perry Class FFGs that he served on in the Gulf. His ship was assigned to assist with USS Stark during that incident. That will be another build for another time. But yes, I will be doing a WIP thread on this project, and here is the first bit…
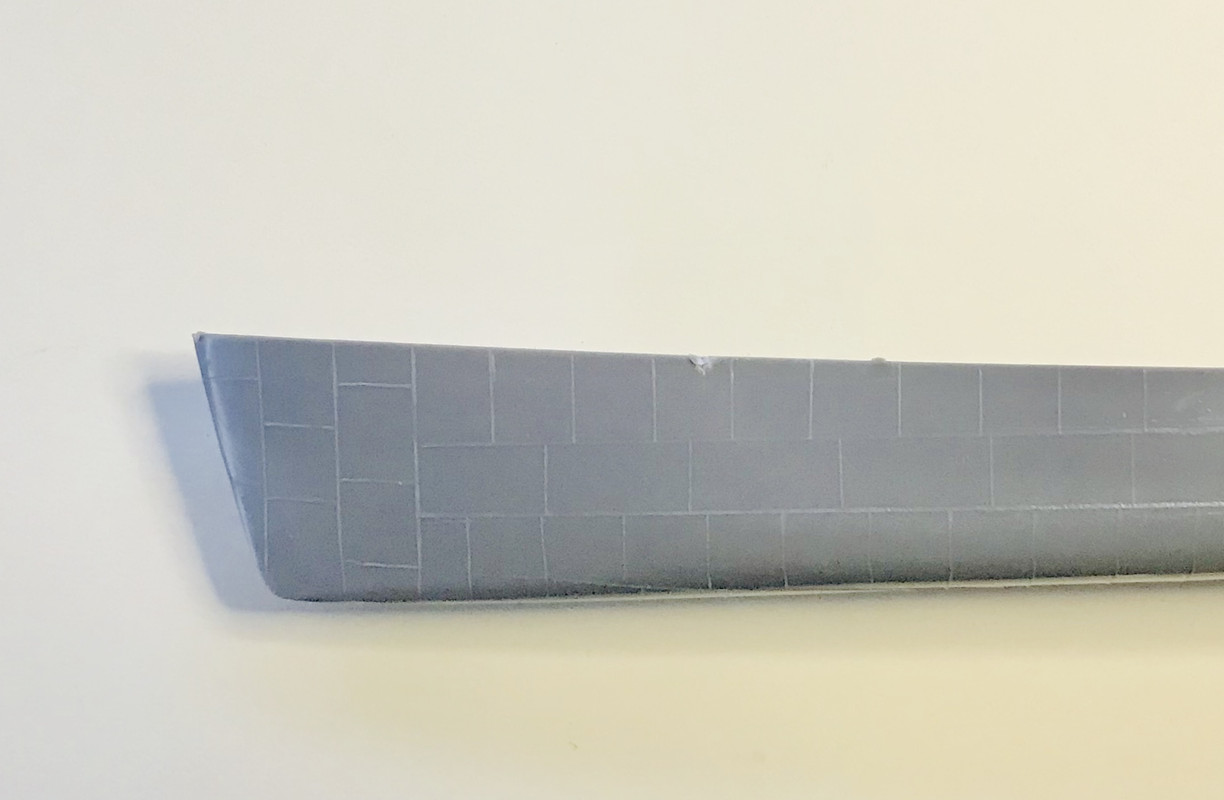
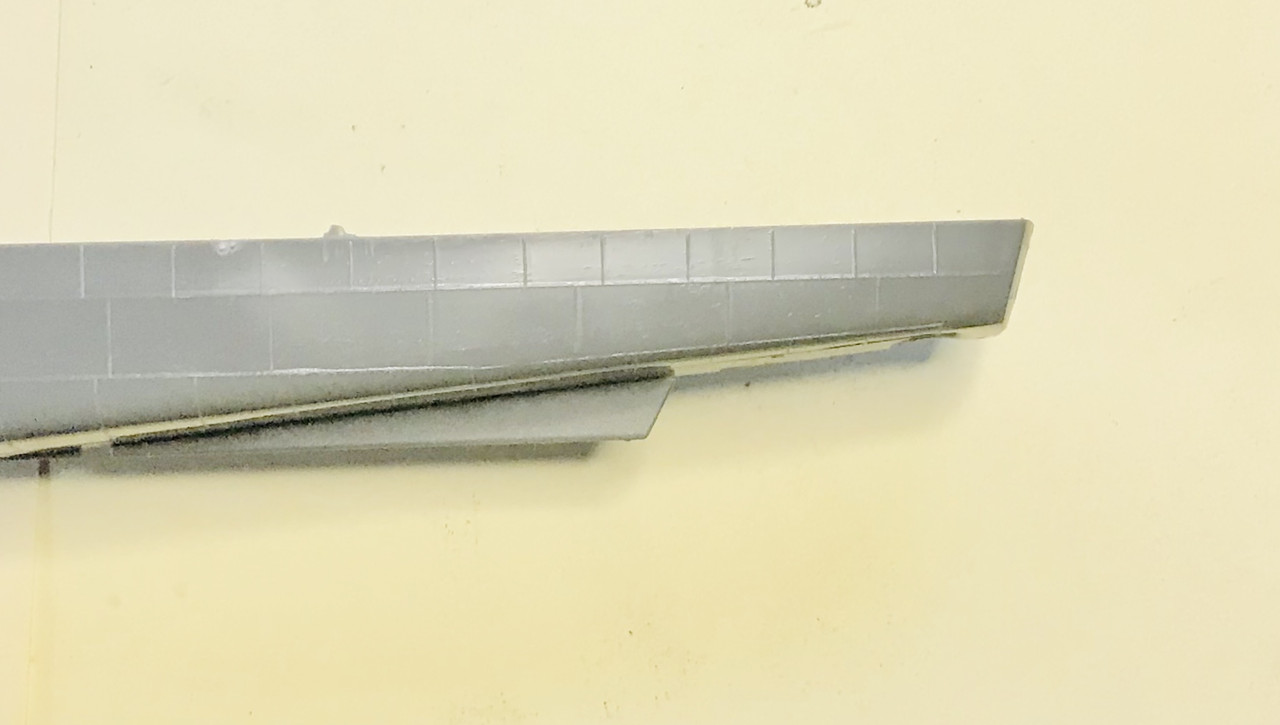
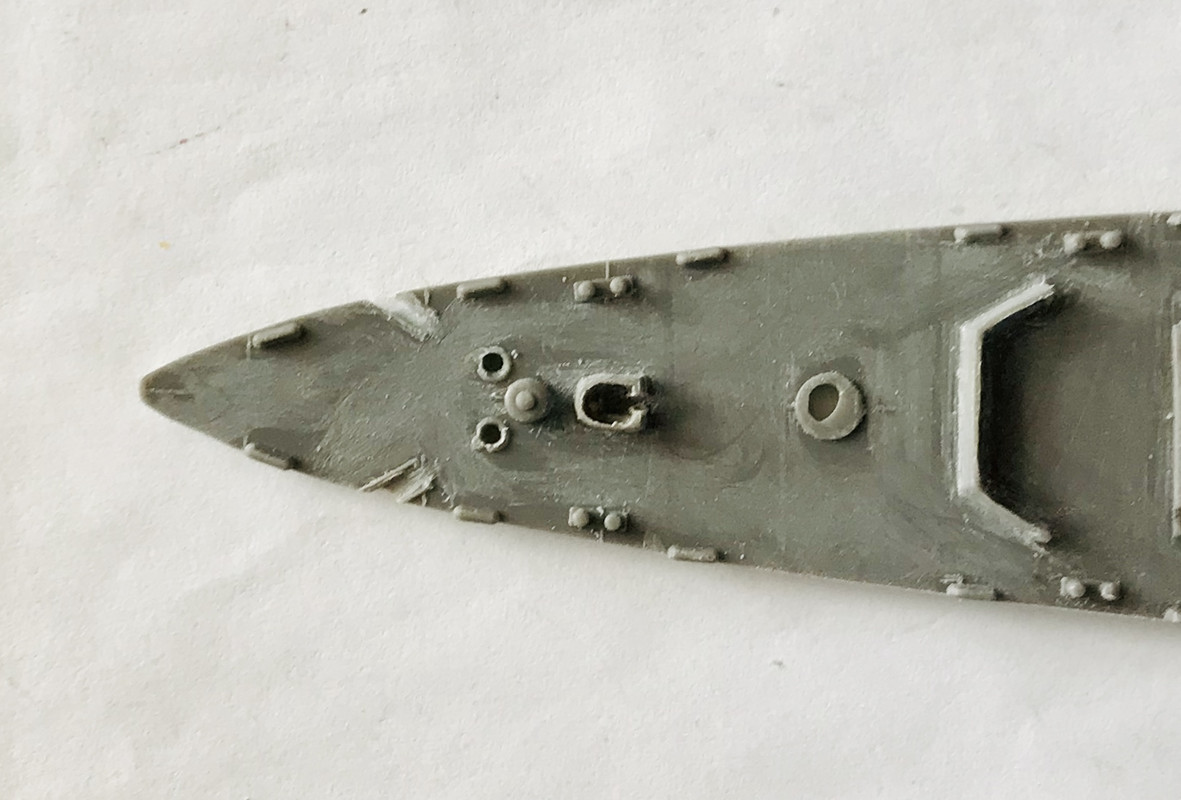
The hull had some very pronounced weld lines, as do the decks and bulkheads.
So I sanded them down a bit. In photos of Butler Class DEs, the weld lines are visible, so I just toned them down a bit by sanding
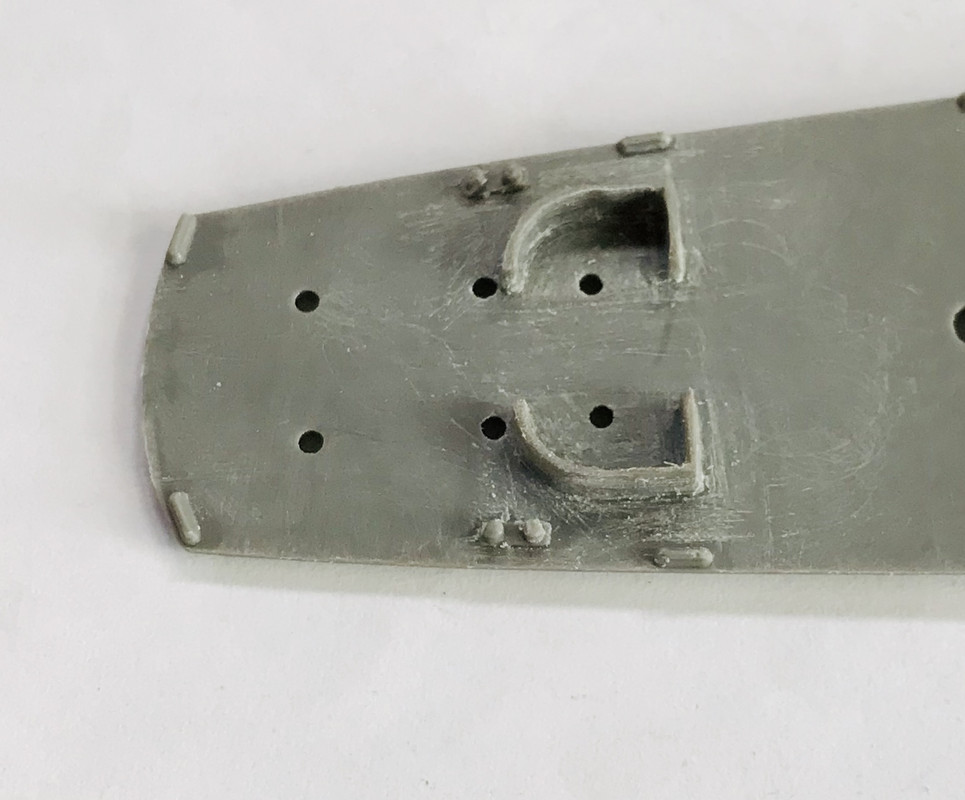
And again after examining every photo on Navsource of Butler and Rudderow Class DEs, and finding none visible, I decided to sand off the deck weld seam lines, and thin down the thickness on some of the deck fittings. I also sanded off the anchor chains, drilled out their openings, and filed the slots where the anchors sit on the deck. All your Navy types please forgive me for not knowing the proper terms.
It looks a bit rough now, but I’m sure that it will look better after primer and paint later on…
If you are open to any advice, I’d be happy to offer some.
Blue Jacket of course makes an exquisite Samuel B. Roberts, if I ever saw one on sale I’d grab it. I looked at their site to see if they sell the instructions, which are always worthwhile. No luck.
Chances are though if one had that kit they’d want to build it as, well, the Samuel B. Roberts.
The ship camo database indicates that during the war she only was painted in Measure 22, like your photo. That’s an easy one.
It looks like you are off to a good start. Don’t forget to also fill in the “depression” above the props that Lindberg added so that you could fit a bigger prop (if you wanted to motorize the kit).
GM, any tips or advice will be welcome. I just ask that itnpertain to this kit and making it look like the Howard. I am set and off on this one, no turning back. Thanks for that link to the Roberts build of this kit, I had seen it before.
PF, I was wondering about that depression and will take care of that on the next session, along with the motorized prop shaft opening. Which now makes me wonder, did these ships have twin rudders, or only the single rudder as in the kit. The line drawings that I have are not clear on that feature. Only side and overhead views, no head on or astern views.
I built the 1/302 scale Taney kit a few months ago. Rather than try to remove all the clunky, oversized detail on the deck, I made a replacement deck from .040 in. Sheet plastic, and added detail to it. Some was scratchbuilt, some was aftermarket. The Alliance Models 1/350 scale Destroyer and Cruiser sized bitts looked perfect on board.
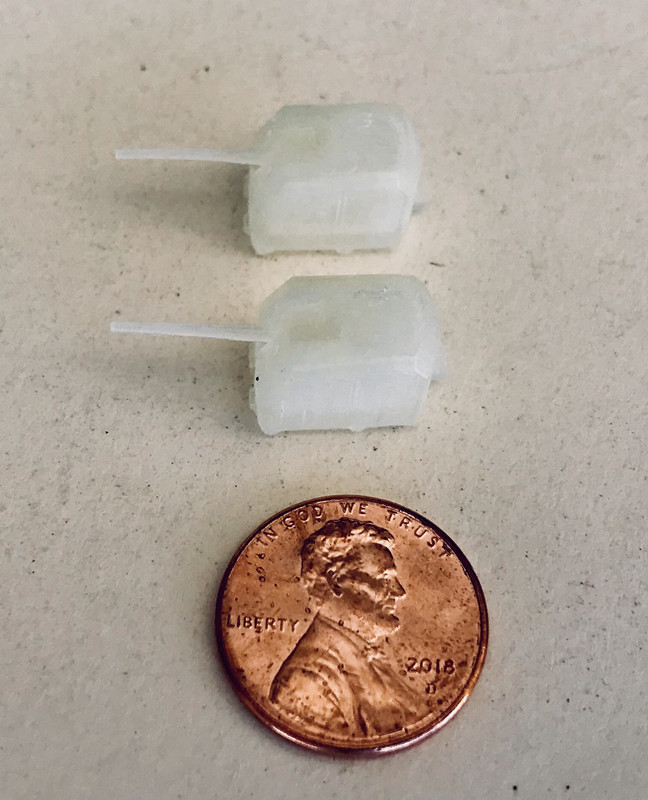
ModelMonkey has a great 1/300 5” gun turret, will be much nicer than the kit one. (I found it too late to use on my model.)
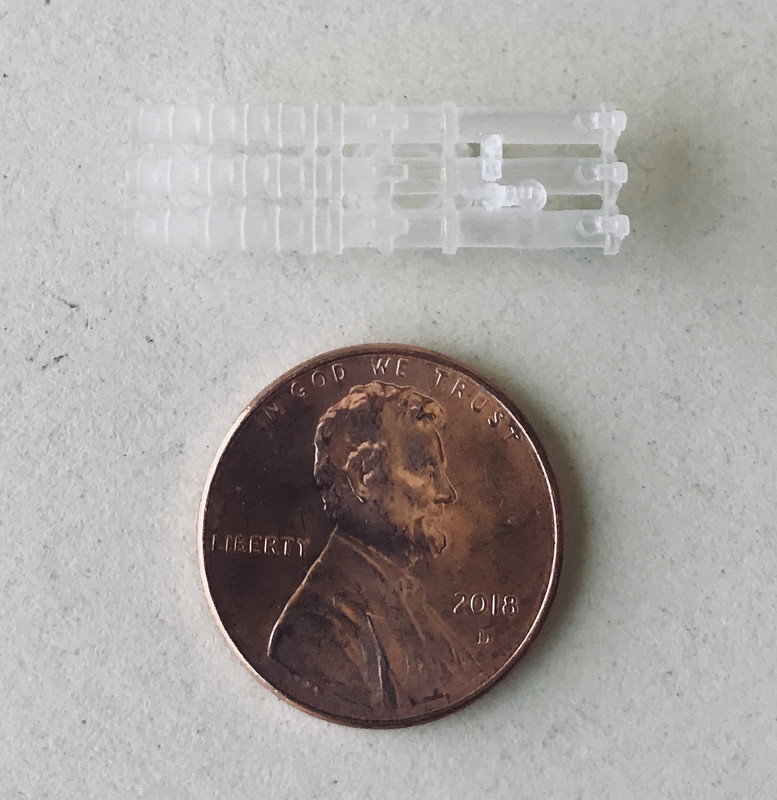
Thanks for the heads up on the 5” turrets RC. I a.ready grabbed a pair for this. Along with some 3-D printed 1/300 40mm twin Bofors, 20mm Oerlikons, the triple torpedo tube mounts, and some Carley Floats.
The replacement 5" gun rooms are a key thing. It’s nice to see that 3D folks have them.
The Revell Sullivans destroyer kit had somewhat better ones, but yours look right.
The Butlers had twin screws and twin rudders. Look at other models online and you’ll see the set up.
I’d immediately cut off the splinter shields. The PE from Tom’s or wherever you get the railing has a frame around the outside that will give you brass sheet to make new ones.
I also second the idea to just make a new deck. Ship modelers have been doing that with Revell since the Campbelltown.
Paul Budzik’s process for recreating hull panels using spray primer is a good technique for dealing with the over-sized weld bead panels on the old DeLong kit
The Floating Drydock’s plan eBook for the Cannon/Edsall class, while not directly applicable to your Butler build, will answer many questions. Included, on page 167, the size, shape, and location of the rudders and prop struts
Thanks for all the heads ups guys. The idea for replacing the deck splinter shields with PE fret framing sounds ideal. If anything comes to mind, please let me know. If I use it, thank you. If I disregard it, please do not be offended. I do have limitations now of budget and timeline. Not to mention not a whole lot of experience in multi media ship projects. Especially requiring such work as this one. But it is for my friend in his Great Uncle‘s honor, so I will do my best with what I have.
On another site where I posted this project, I was pointed to a great 1/96 build of one of these, and it is most thorough and accurate, answering many of my questions.
Navsource image of sister-ship USS Key DE-348 (may not hot link – Navsource sometimes works, other times it doesnt. Go to the site and look around).
You may need to go back to Shapeways for some more armament. Hedgehog launcher aft of #1 5-inch gun under the 40mm overhang. Ready service lockers P&S adjacent to it. 8x depth charge K guns with racks at the waist P&S. 2X depth charge roll-off racks at the stern. If not available in 300 scale, contact the designer and see if they can rescale it for you.
USS George Davis DE-357 on Navsource has a good deck layout shot, immediate post war. The torpedo bank was landed but uou can easily see the mounting point
Thank you Ed. My PE set comes with the K gun and depth charge racks, so I’m not worried there. I just need to come up with some styrene rod for the the charges themselves. Not a problem there, the local railroad hobby shop carries the full assortment of Evergreen strip and rod stuff. I was looking at 3-D printed hedgehog throwers and searchlights. That will take care of some of the kit shortfalls. One thing at a time… I went thru my ship spares and kits today for excess parts that will help and came up with stuff there too.
One detail I have yet to figure out… sometime between DE-341 and DE-348, the bridge top opening went from being straight across, as in the kit, to having a step back on the starboard side. Howard is DE-346 and none of the photos on Navsource show definitivly when the change was made.
At this scale, it’s probably not an issue, but ASW had changed by the time these ships were in the fleet.
The K guns (and usuall the next two reloads) were set up with “streamlined” 350# DC, with straight 500# after those. (Stern cans were never streamlined–blowing off one’s own stern made for complicated After Action Reports).
You wanted to drop an oval pattern of DC. So, you got up to 30 kts (about 3000’/minute; 50’second) rolled 2 from the stern, waited 2-3 seconds and popped two from K guns, waited 2-3 more seconds popped two more K’s, then, 2-3 seconds, rolled two more. With Shallow Mid-depth, and Deep the basic three depth settings on 500# DC (later ones would gain a QA (Quick-Acting) and XD (extra Deep) settings).
So, this was pored out upon on paper with all of the vector match laid out to achieve Time-On-Target based on possible contact types.
The faster sinking side DC were because the most typical way for a sub to evade a DC attack is to turn to one side or the other, so as to take the length of the sub out of the long axis of the DC oval.
Knowing when to turn was part of the skill set of a sub CO. Sonar of the day shut down about 18-20kts from cavitation and water noise overcoming the listening head. And, you wanted speed laid on before 1.75 tons of (4x500 + 4x350) explosive detonated 50, 100, or 150’ below your ship.
Interesting about the depth charge pattern, but the ASW kill record held by the USS England (DE635) of 6 in about 2 weeks, were all due to Hedgehog attacks.
The received vertical sonar depression angle of the target was used along with the known sink rate of the Hedgehog mortars to determine the range offset to launch these ahead thrown weapons. Speed was not as important so that a creeping attack could be made. Also to the point that these were contact fuzed warheads of relatively light weight (compared to a depth charge) minimized the effect of a weapon detonating under the keel
Remember the part in Cruel Sea where, after Compass rose is torpedoed, Erickson and the 1st mate defuse all of the DC’s on the rack before the ship sinks?