Hi all,
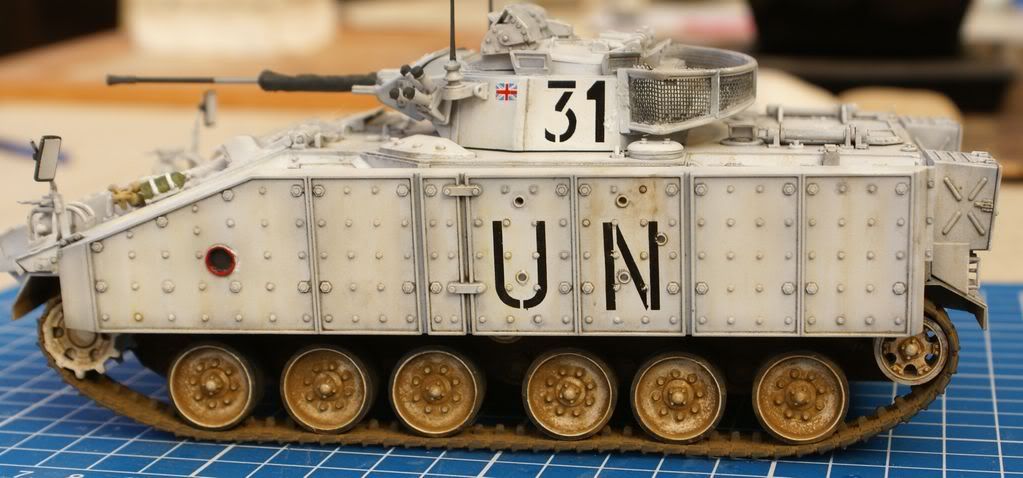
Just thought I’d post a couple picks of my current project. Still a W.I.P.
Comments, suggestions and/or advice appreciated.
cheers,
Jurgen.
Hi all,
Just thought I’d post a couple picks of my current project. Still a W.I.P.
Comments, suggestions and/or advice appreciated.
cheers,
Jurgen.
Is that an academy kit? It looks good overall. Only thing I really noticed is that you may want to trim the netting on the rack.
Thanks m1grand.
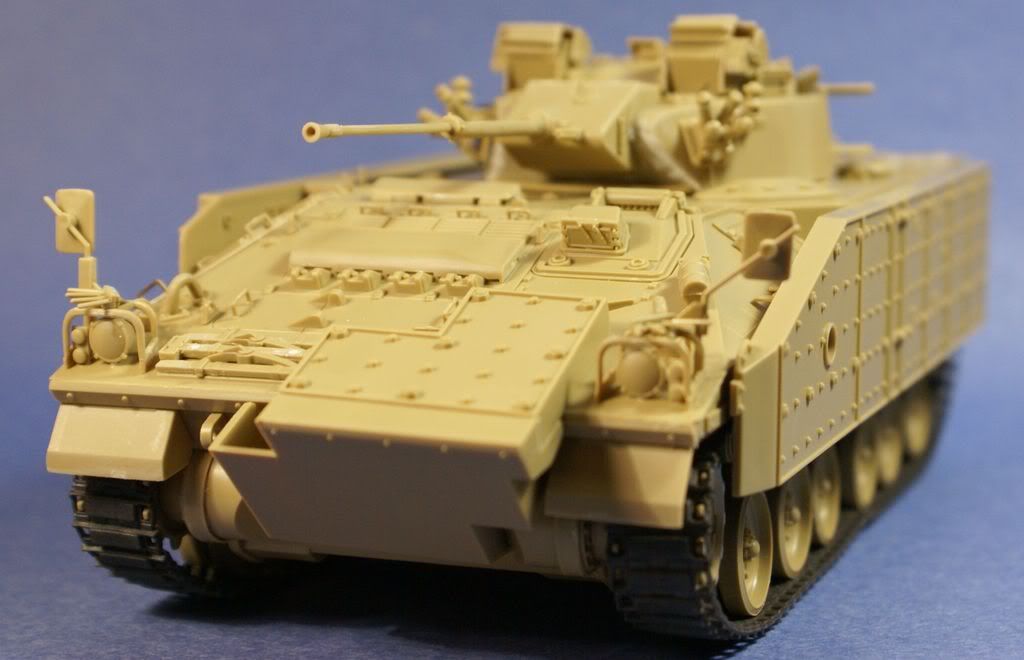
Yep, that’s the Academy kit. The earlier one.
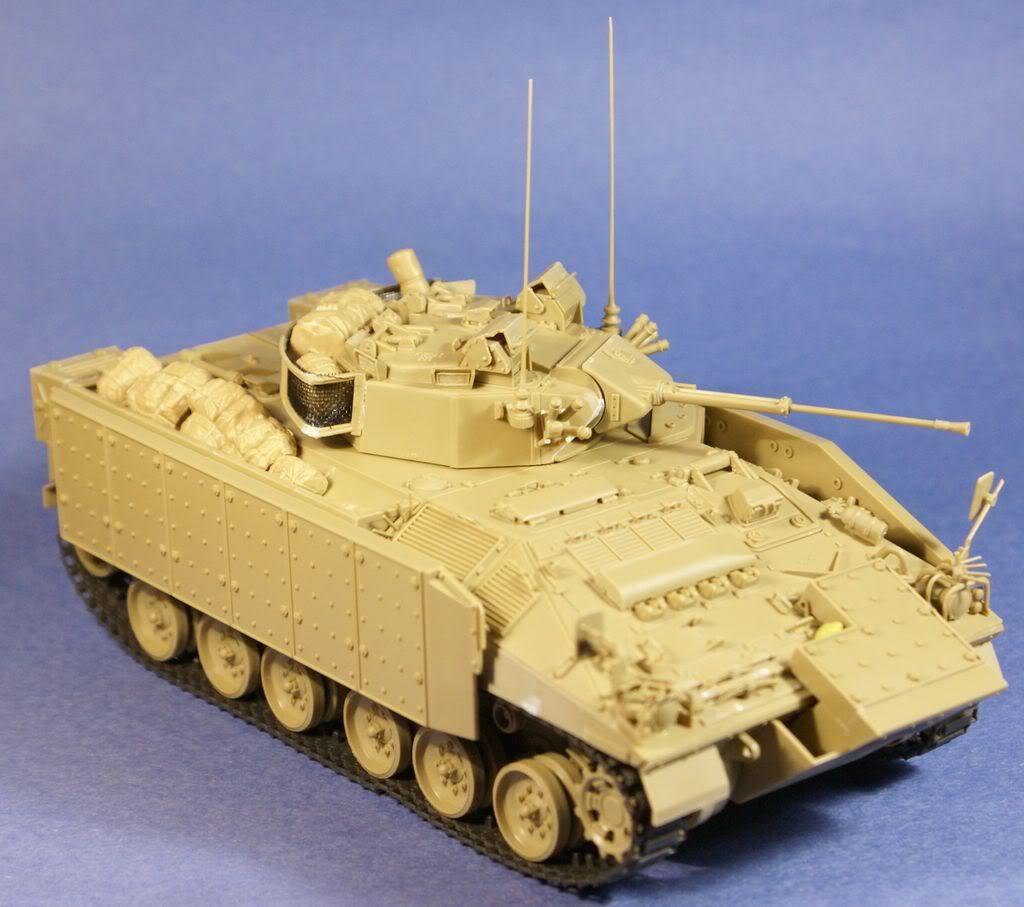
yeah, that *$%#$& netting!!! I have to say, other than minor inaccuracies, the kit is quite good. But that NETTING is a nightmare!!! Got some surgery to perform there. Will also be adding some stowage that will hopefully cover that up.
Jurgen.
its looking quite nice so far. is this the british equivalent to the bradley? and just out of curosity, what is the circle on the side with the red ring around it? looking forward to seeing the finished and weathered product.
thanks Chris.
Yep, this is the British equivalent of the Bradely. As to the red ring, your guess is as good as mine. Underneath the armor in that spot is a square rubber flap. I’ve love to hear from anyone who knows what it is/used for.
Sometimes they’re the same color as the vehicle and other references show them red. I liked the contrast in the colors. (and it matched my reference in the the Osprey book).
Jurgen.
The British would tell you that the Bradley is the American equivalent to the Warrior.
Anyway, a pretty sweet-lookin build!!! I’ve seen one of these take a heavy IED and just keep on a’rollin. The TC took a look out to see what that bump was.
maybe the exhaust? but on a bradely, the exhaust is on the side/back, and i think that this tank is VERY close to the bradely design. maybe gino can clarify.
I think it’s a step to get onto the vehicle… looks good man!
Not at all familiar with the Warrior, but it looks like a logical place for an external fire extinguisher pull handle. May also explain the red surround.
Nope, you’re all wrong–the red circle is the toilet “dump”–you know how much tea those bloody Brits drink!–and the red circle is there to warn ya “STEP AWAY!!”[(-D]
Seriously, a cool looking build! I always thought this was a neat-looking model, and your job here on it has done it justice!
I’ve got one of those sitting on my shelves, waiting for its day on the bench. Any hints, tips, tricks, or misc. warnings about assembly?
Phil is correct. It is a pass-through hole that allows you to pull the external fire extinguisher handle that is on the side of the hull.
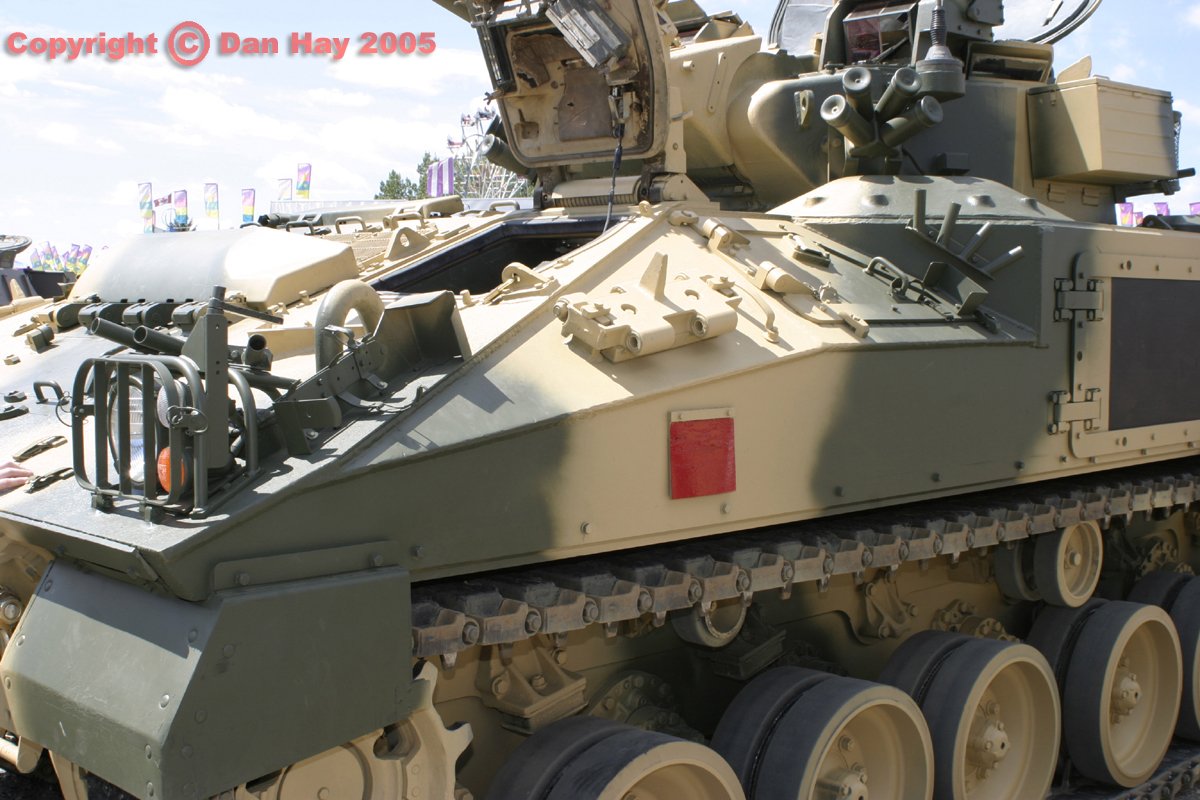
Mystery solved I think… I believe this may be the rubber flap in question. http://data3.primeportal.net/apc/dan_hay/warrior/images/warrior_235_of_390.jpg
EDIT: Oops - the one above is on the opposite side, mid-way down the length of the vehicle. This flap is on the left front and appears the same: http://data3.primeportal.net/apc/dan_hay/warrior/images/warrior_370_of_390.jpg
gino to the rescue. man its good to have him in your corner, lol
thanks guys, and thanks to Phil_H to clearing up the mystery of the red ring. Sounds bad, doesn’t it [:D]
Outlands,
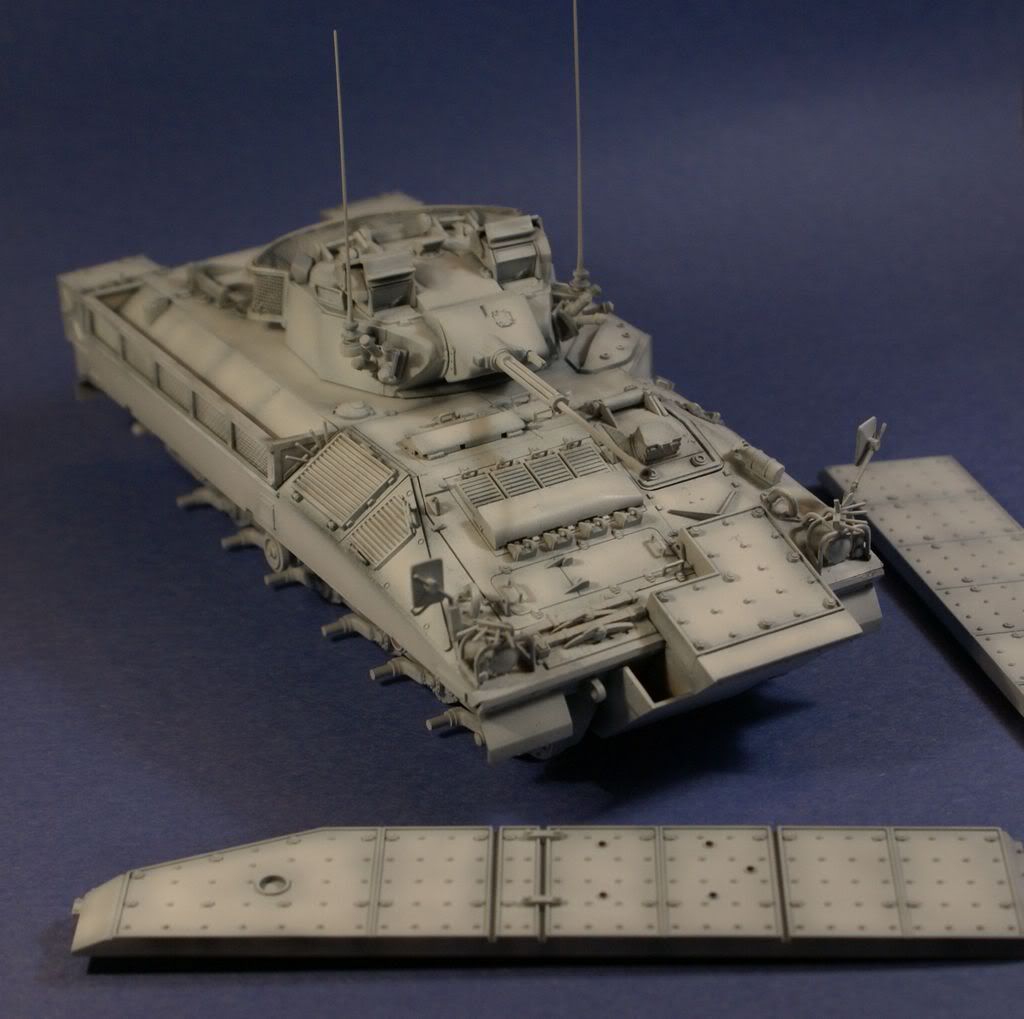
it’s a great little kit. This is the earlier one (not the OIF one). It appears as if the front add on armor is a little to large, but Accurate Armor sell and addon kit that has the correct one.
As for hints, tips, etc… I’m doing a blog of my build. In case you interested:
http://www.militarymodelling.com/forum/forummessages.asp?dt=4&UTN=2034&V=6&SP=
My modeling skills are not as good as some, but I’m trying and learning new things all the time.
Sites like this and input from you all really help!!!
Cheers,
Jurgen
Hi all. I realise this is a bit late but i have only just seen thispost. I was in an Armoured Inf battalion for 12 years spending a couple as a Warrior gunner but then 8 as a driver, so thought i would add a couple of things that might help clear things up.
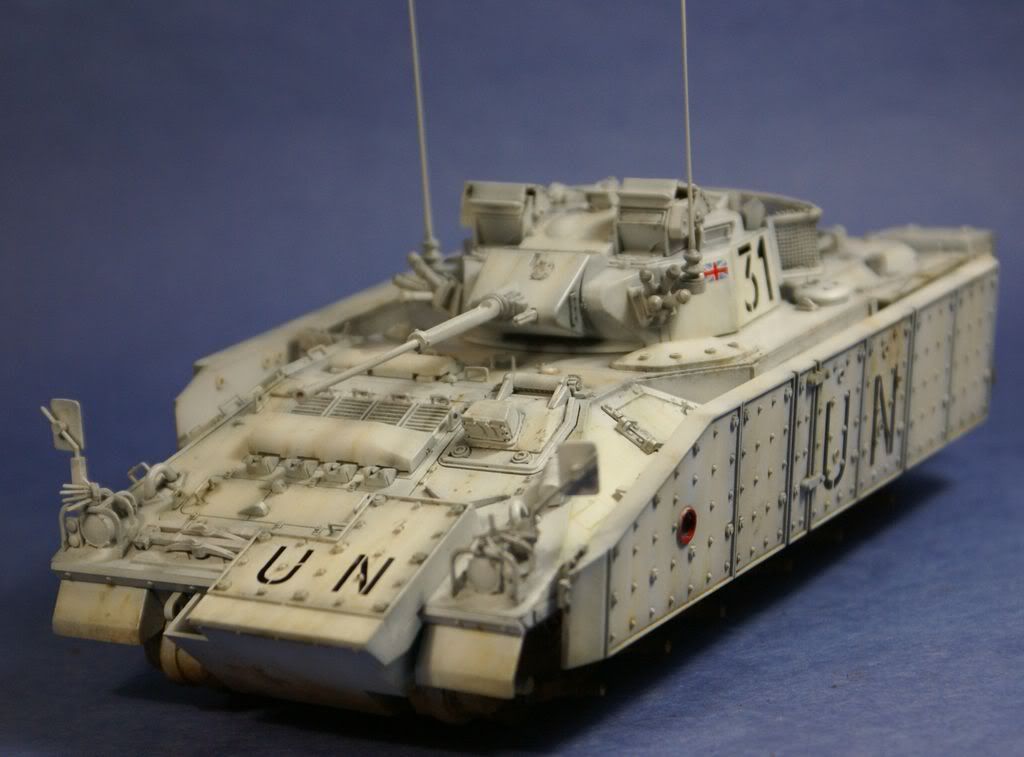
You guys are correct in that the hole with the red circle is for the fire extinguisher. When the extra armour is fitted only the one on the left of the vehicle can be accessed. The flaps you mention, which are also painted red, are removed when the extra armour is fitted.
Thats a very nice looking Warrior, must get around to building one myself one day.
P.S. doog, we don’t drink that mutch bloody tea. And anyway, the toilet dump, as you put it, is in the rear of the hull next to the back door.
Outstanding build so far Jurgen ! I love it. Great subject matter and very well executed.
Larry