Well, Karl and GMorrison commented above on folks doing stuff in group builds and taking away from the other forums. So what the heck I’m going to try cross-posting this as a WIP here.
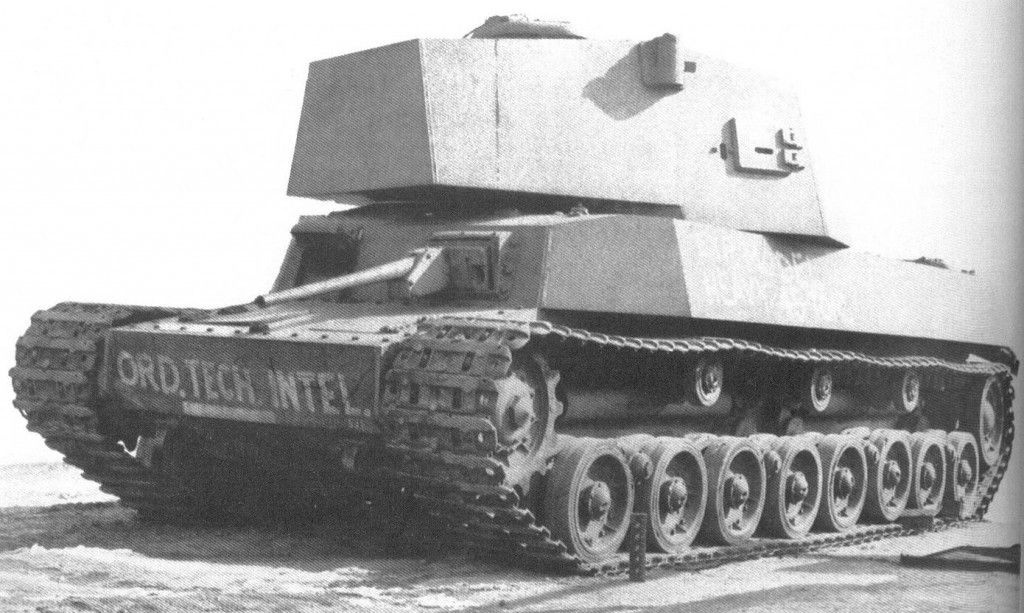
The Chi (Medium) Ri (Five) was an experimental tank design of the Japanese Imperial Army during the waning days of the Second World War. From what I’ve read only one prototype was constructed and it was run though trials. It was recovered by US Army tech services at the end of the war complete but missing the main gun which apparently had been removed for some reason. None entered production and none entered service.
The real thing:
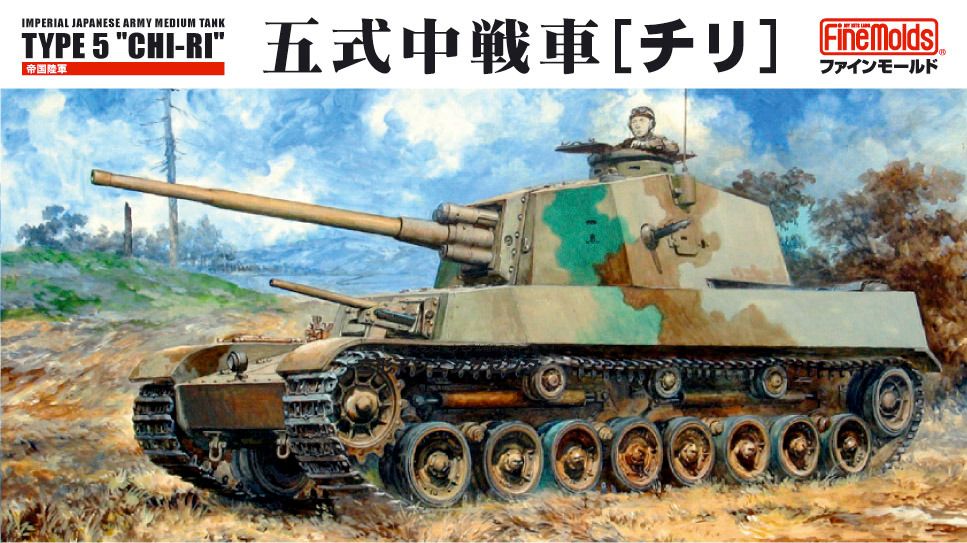
Box top, it’s one of FineMolds 1/35th Japanese armour line:
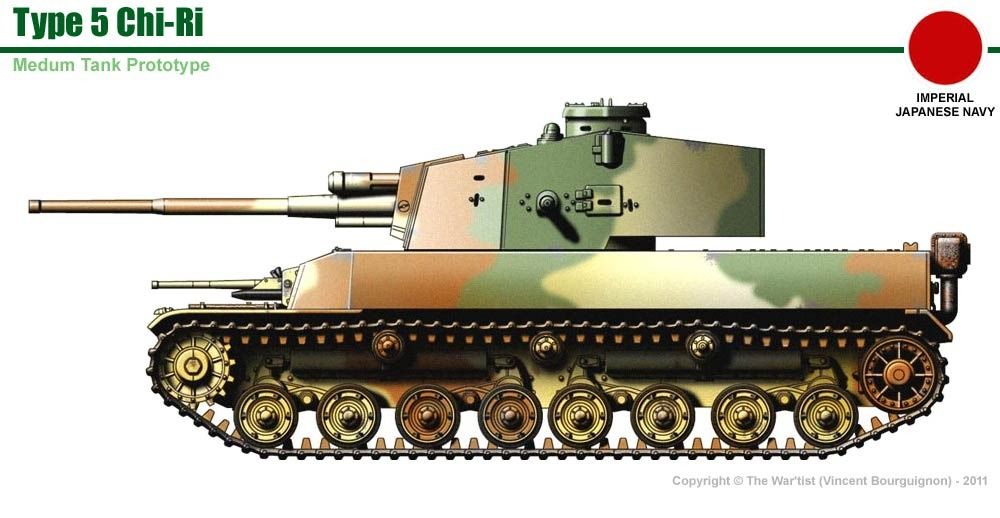
Artist’s rendition of what an operational version would probably have looked like:
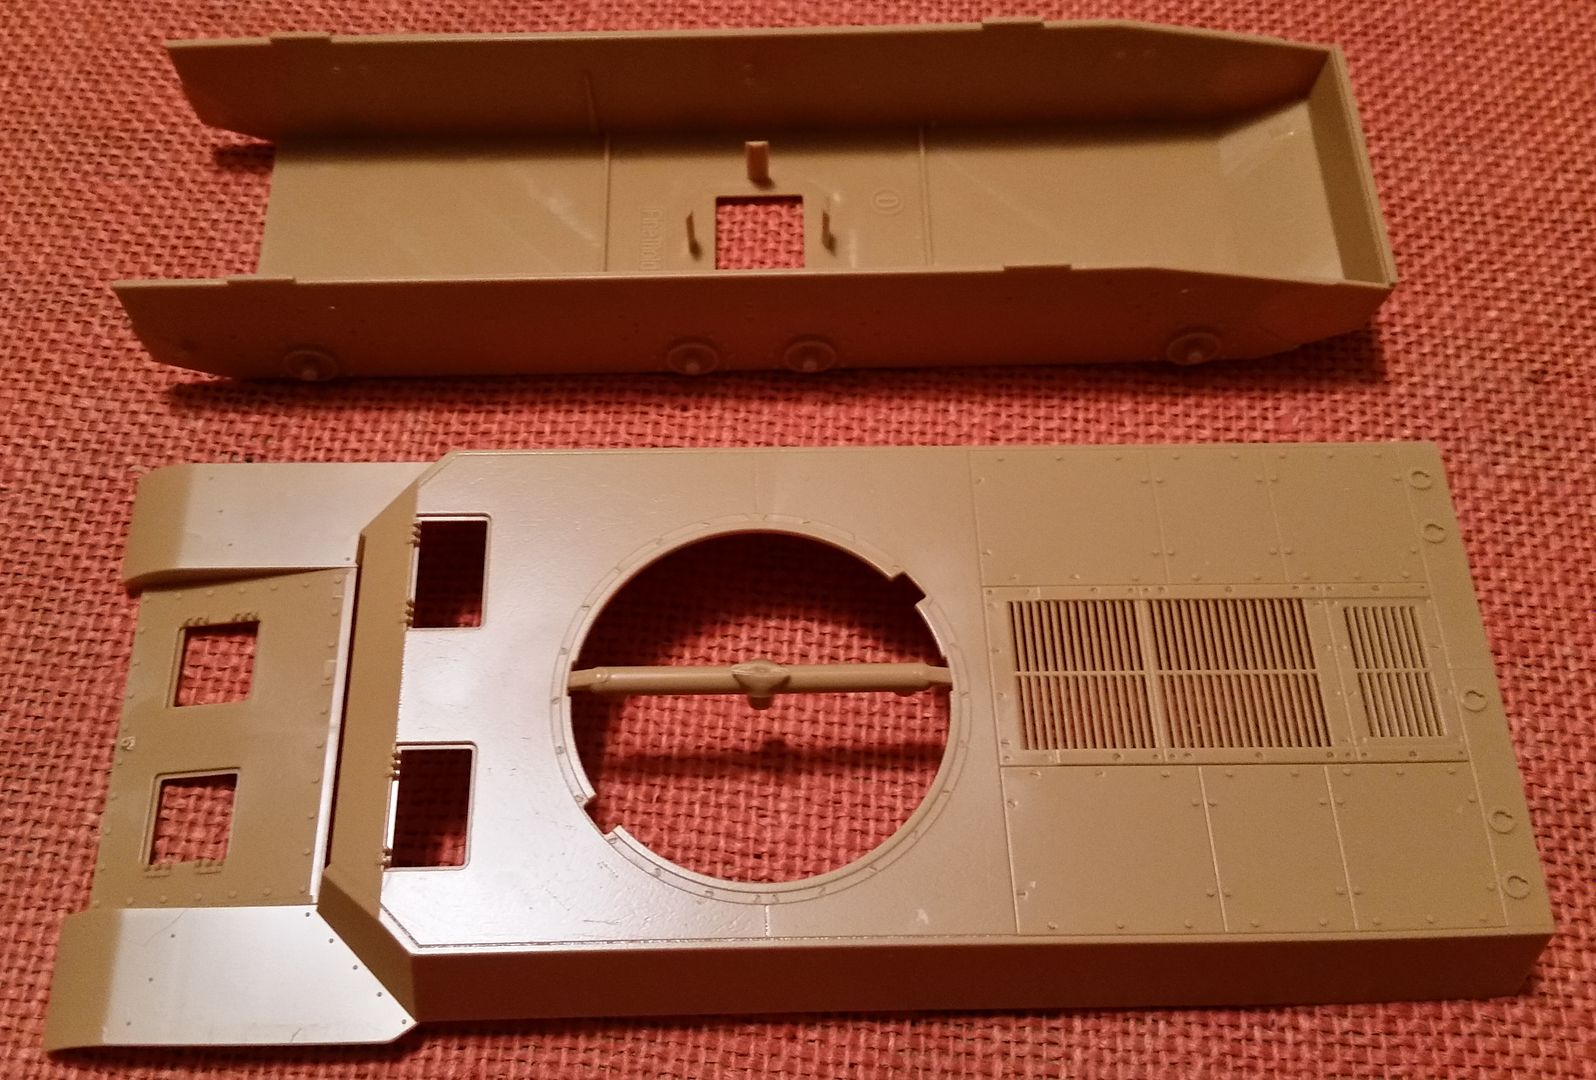
Main hull parts, hole I believe is the lower escape hatch and not a battery/motor mounting hole:
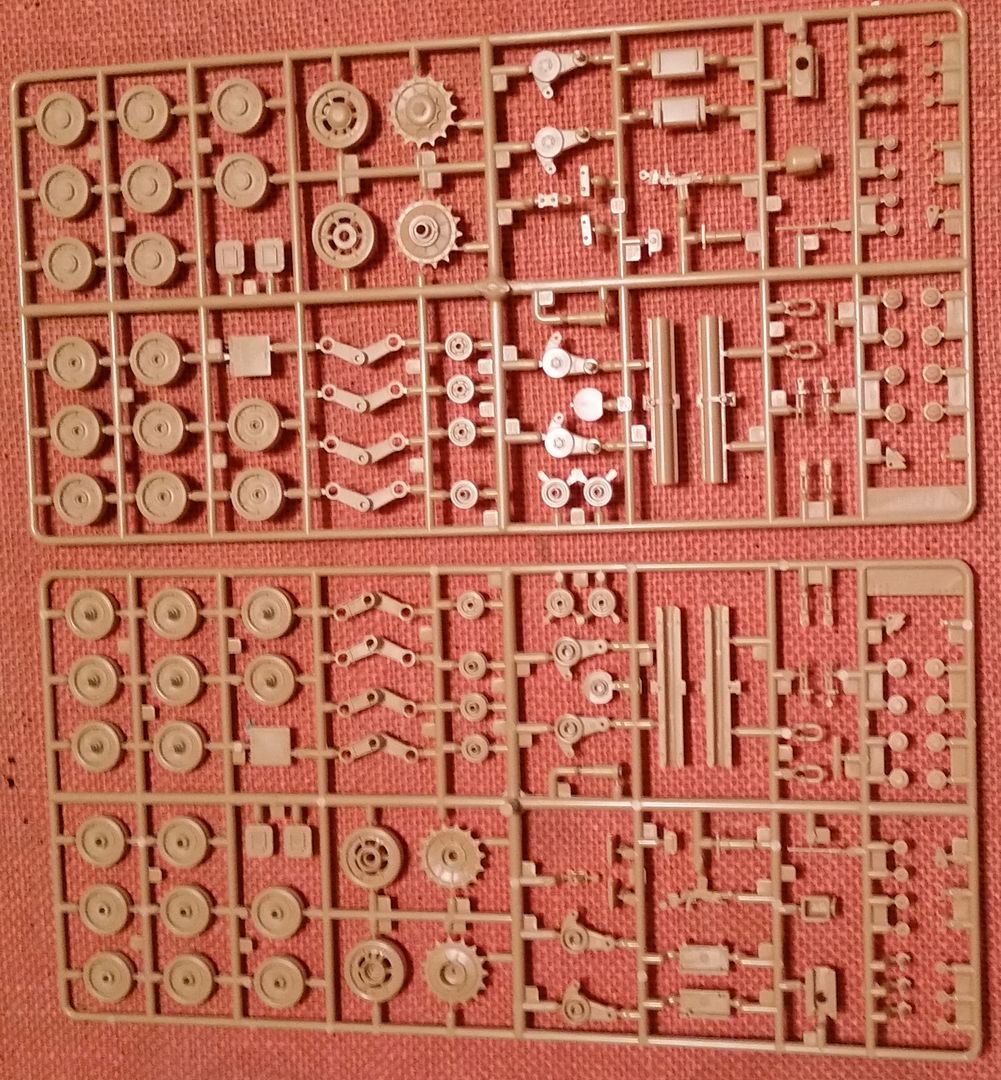
Yay! Lotsa road wheels, you need lotsa road wheels to make a good tank model!
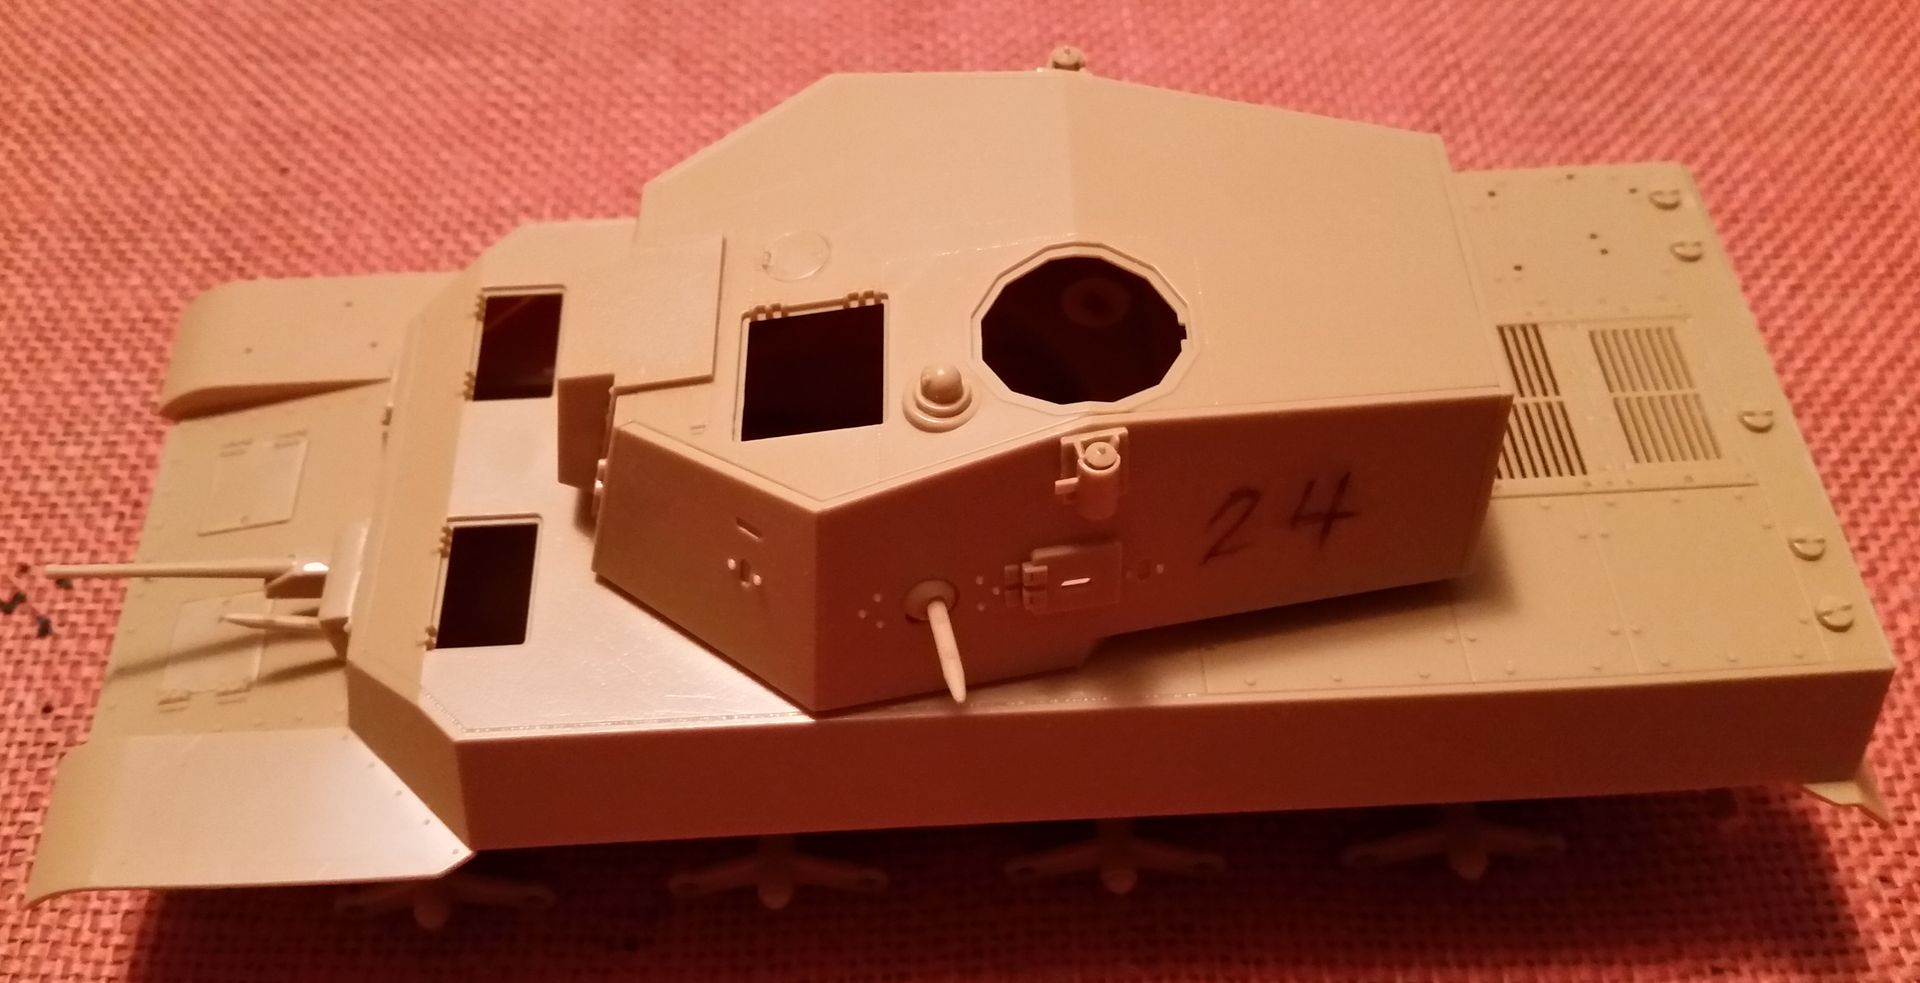
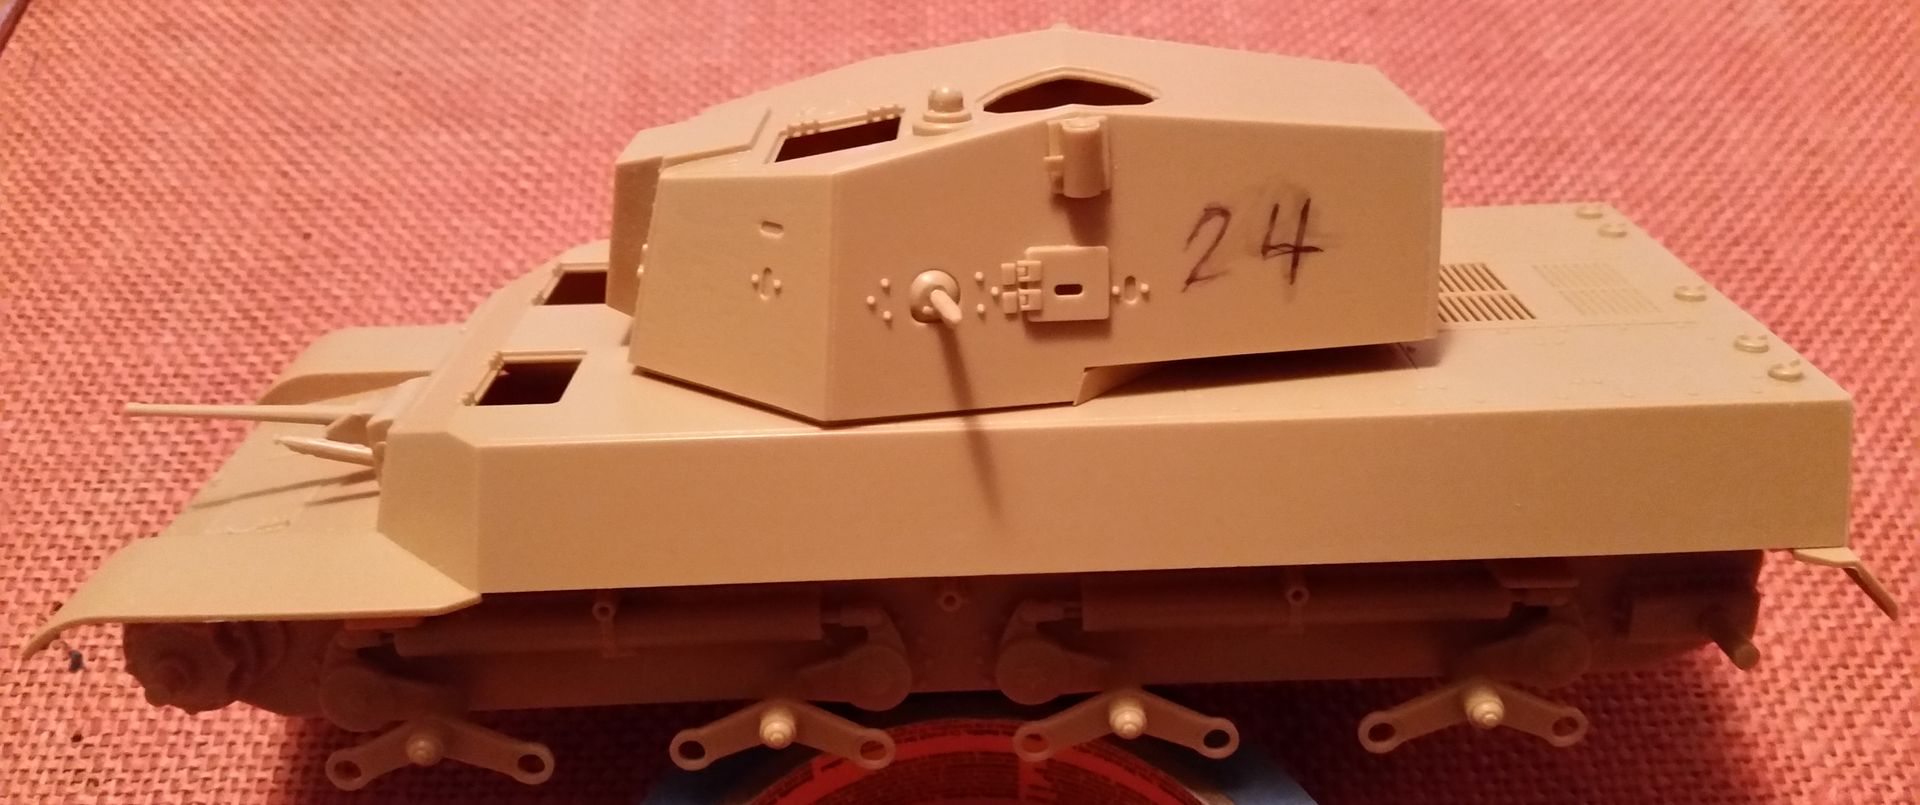
Most of the rest of the parts, turret, full main gun, and rest of the hull. I didn’t photograph the clear parts and a few other odds and ends:
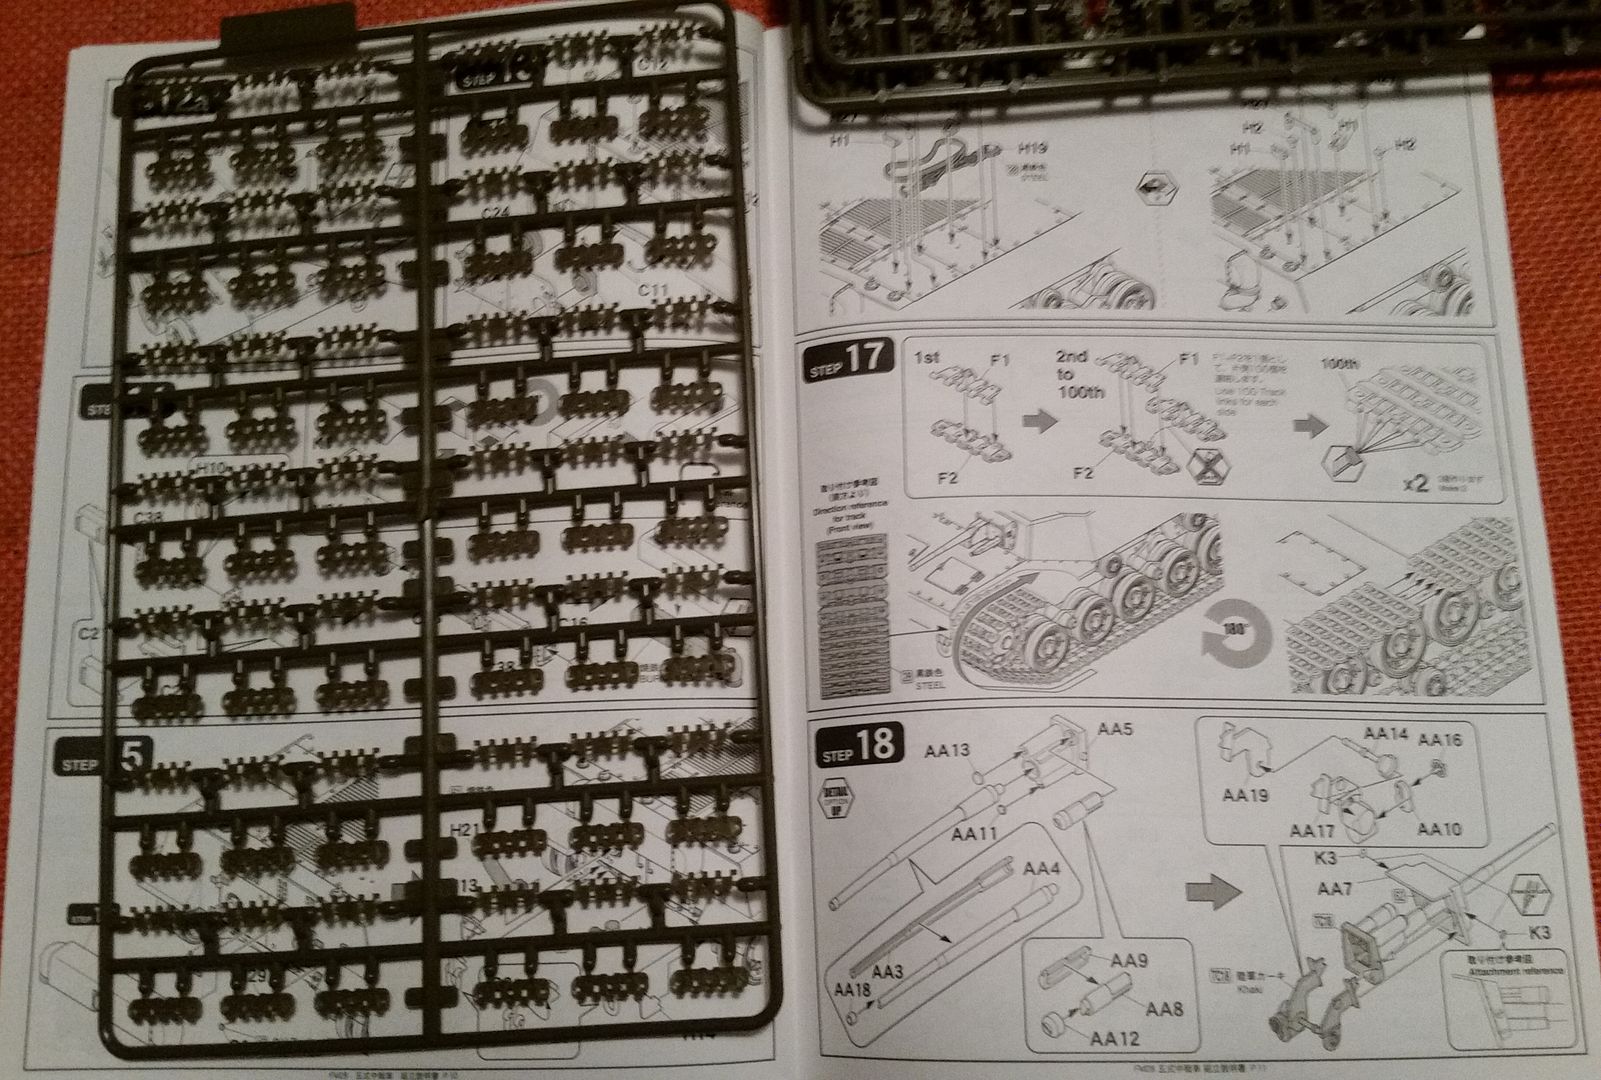
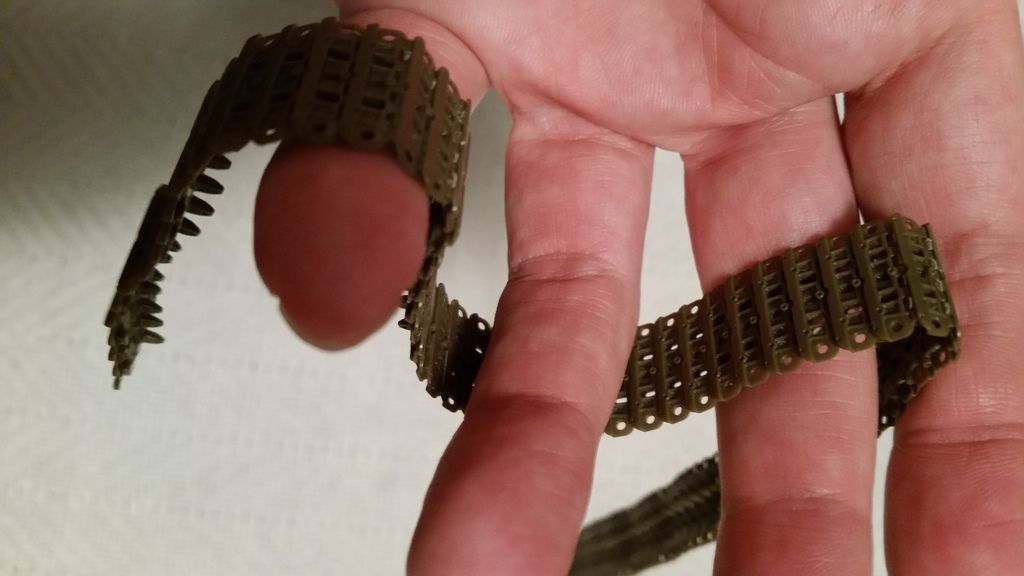
Four sprues of tracks. They’re molded in two parts a link, an upper and lower part that are sandwiched to hold them together. It’s there in step 17 of the instructions. They should be workable when finished.
So far I’ve got about half- two/thirds of the running gear together. Excellent fit and thoughtful engineering IMHO. I’m used to AFV Club and Dragon kits with a zillion parts, this one is much simpler though just as detailed.
SprueOne: The instructions just give a part number. It does have bolts in it and is underneath the ammo storage under the floor (so if you wanted to escape though it you’ve have to move a bunch of shells) so now I’m guessing it’s to access the transmission from underneath. No big deal, it’s just when I first saw it, ‘hey they’re still putting battery/motor mounting holes in there!?!’
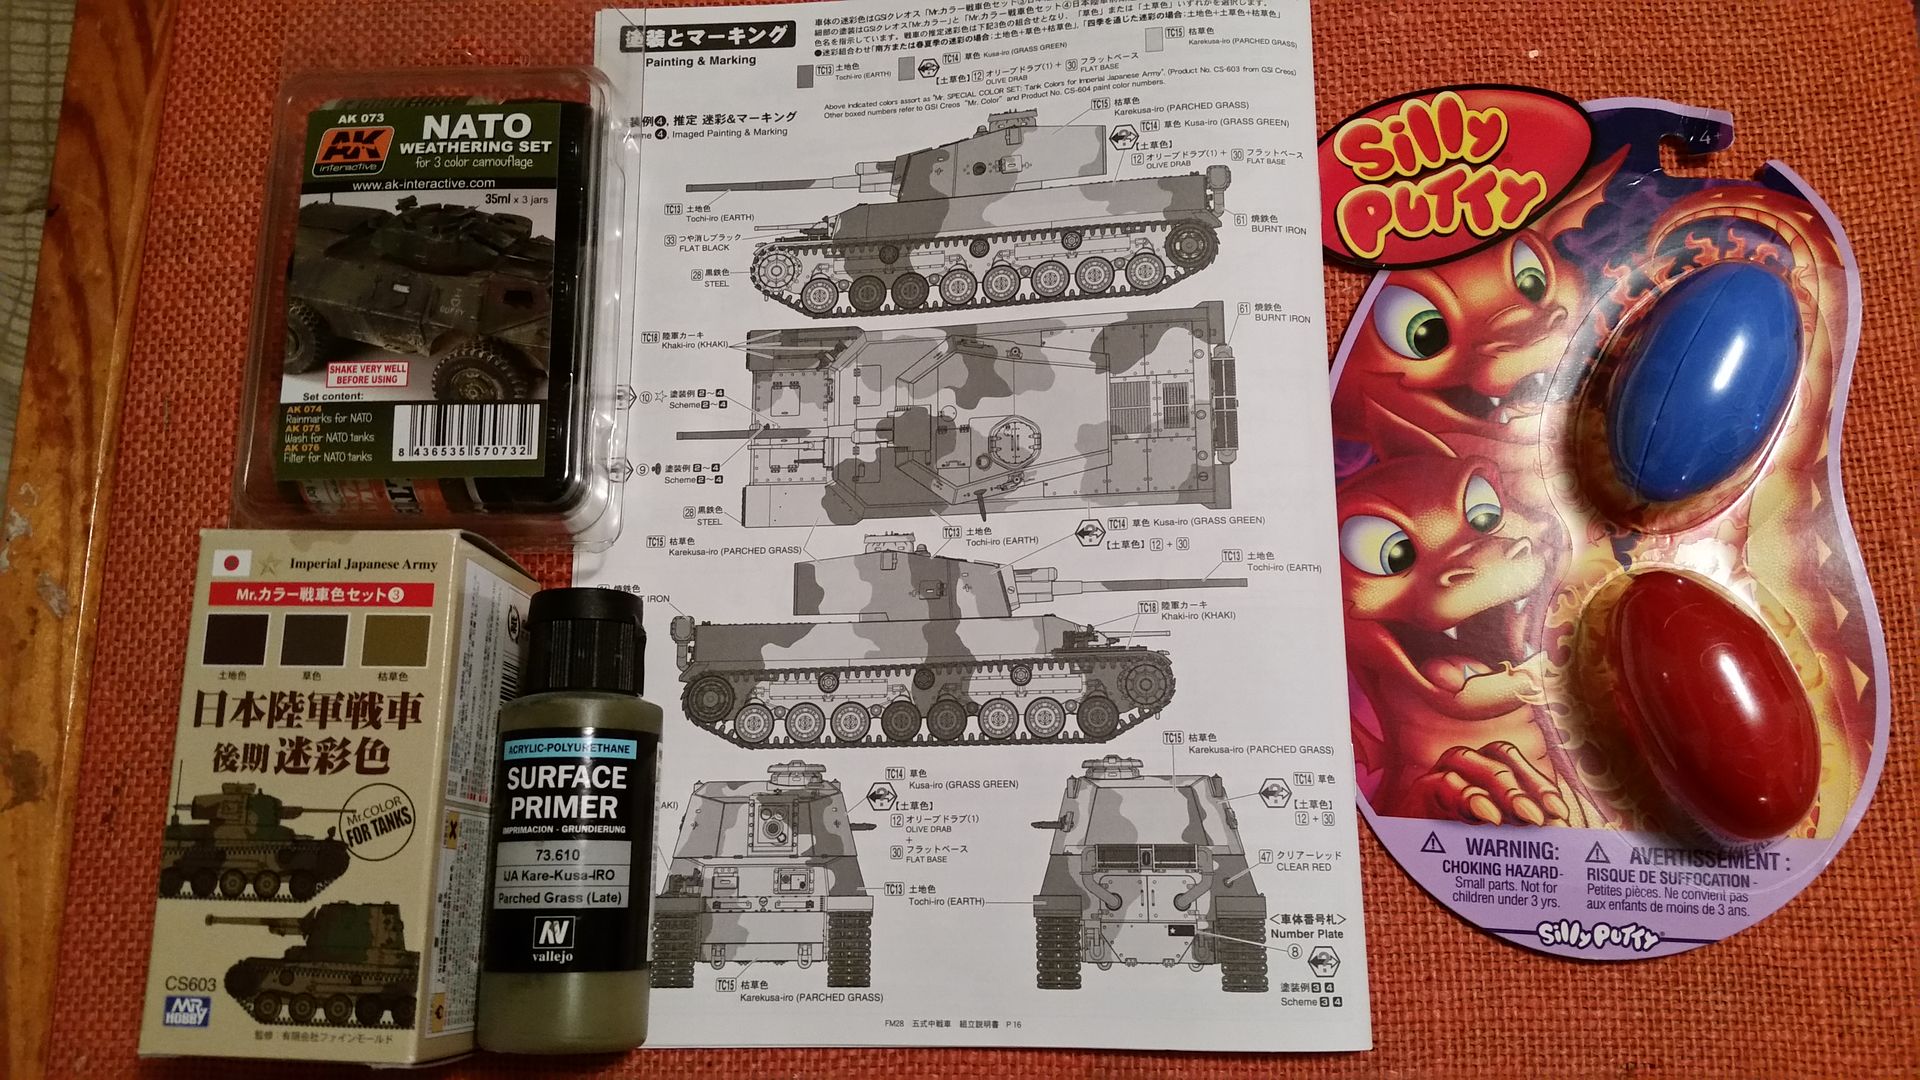
Anyway I picked up some Silly Putty for the masking. The instructions show mosty single colour schemes which would make more sense this late in the war but I kinda like the three-colour one. More eye-catching and I like painting them if the Silly Putty works:
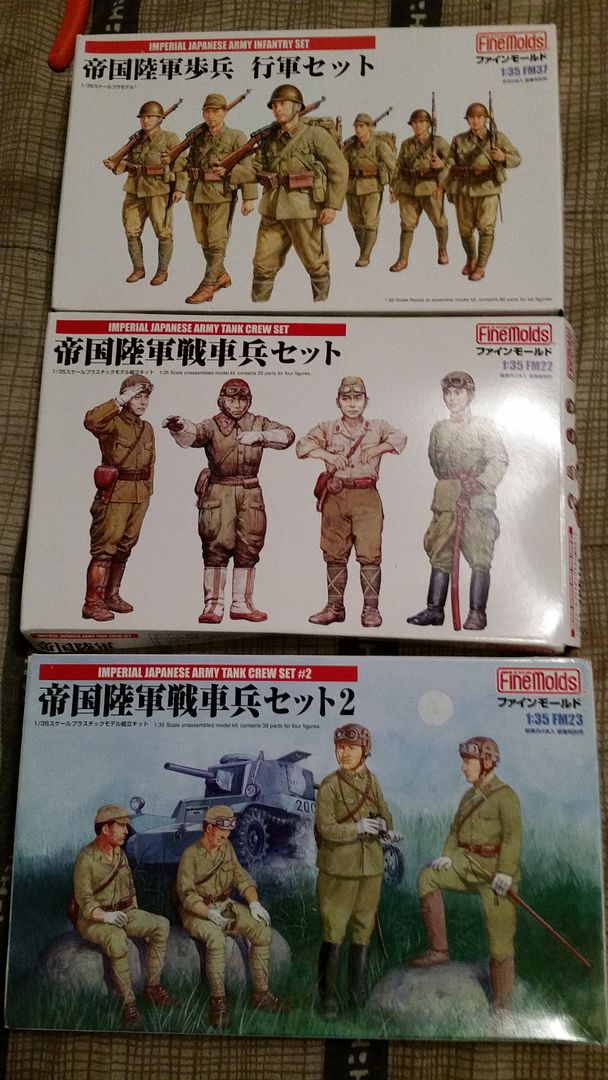
Pulled out my figures too, not sure what I’ll use though:
Gamera you have a nice grouping of figures to choose from, could easily turn into a larger dio and it’s too bad we dont see much in the way of Japanese armor. They had more pieces than I ever thought. Nice choice.
Thanks Terry, not sure what I’ll do yet. I’ll probably put an infantryman or tanker beside the vehicle to show the size of the thing. I’d like to do street scene of a bombed and wrecked Japanese city but not sure really how to pull it off.
I’ve subscribed to this thread, Gamera, and will be following with great interest! I “had” the Chi-Ri for a short period of time in World of Tanks and it was interesting. Do you think FineMolds produced this because of WOT?
Thanks Qcarr! Actually this kit came out a couple years before WoT brought out the Japanese line. Dragon’s T28 and M6 I wonder about though since they did come out after WoT made them much better known.
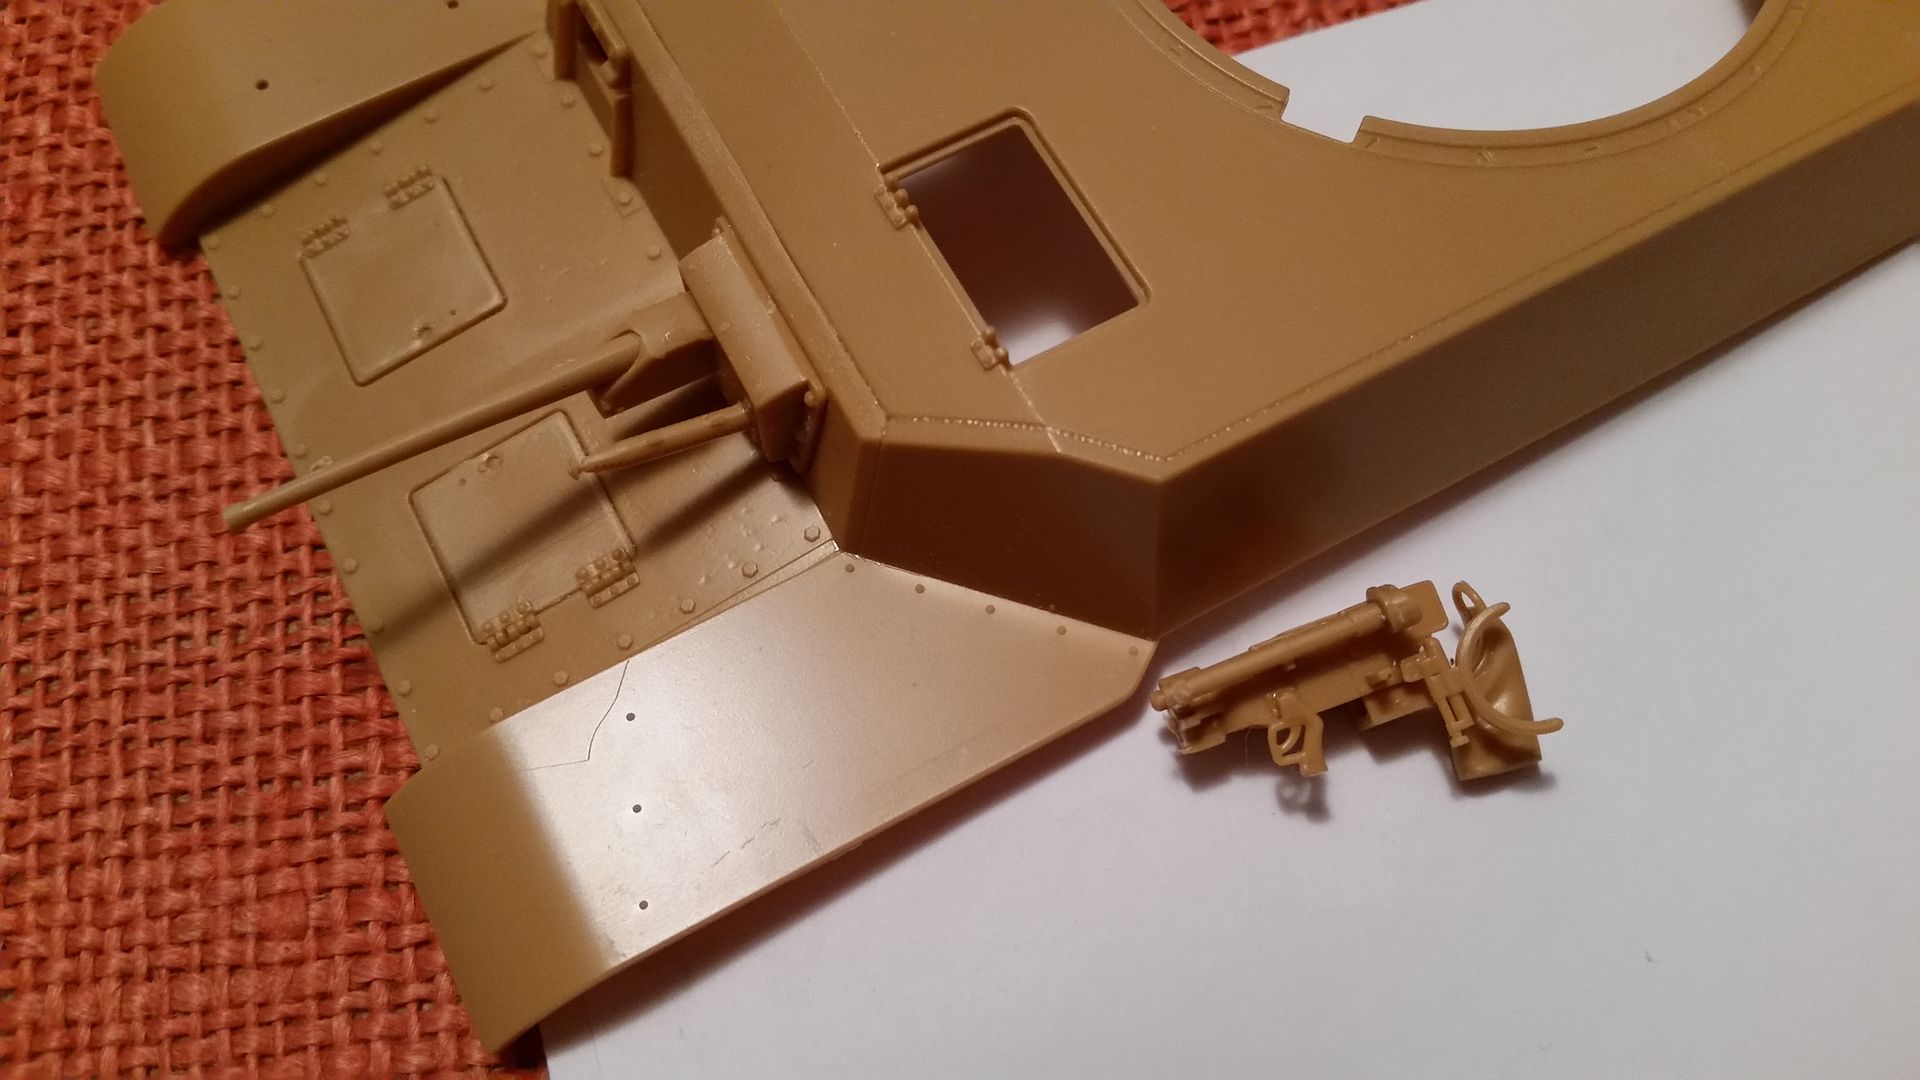
The kit comes with a complete 37mm gun for the hull front but no other interior details like seats etc. I think I’m going to mock up a simple interior just so it’s not a big empty hole. I’m still working on the 75mm which again is a complete gun with the breach and interior parts replicated. Btw still not sure why they put a 37mm in hull when you’ve got a 75mm in the turret, sounds like a M3 Lee/Grant in reverse to me:
Well, not much work on the hull but I did finish up the road wheels and have only three return rollers to clean up now.
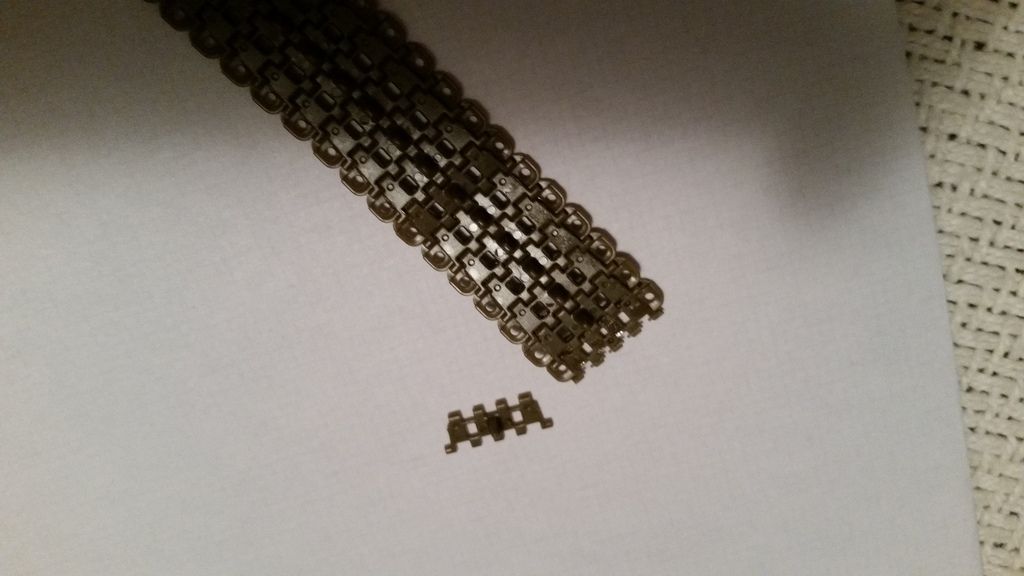
I finished the tracks on one side and am working on the other. I was a bit duboius at first but love these now. You sandwich two parts together for each link, they capture the pins of the next link between them. If you’re careful and keep the cement off the pins you’re rewarded with workable flexible tracks!
Not sure if you can tell from the photo but the piece the left is cemented to the other piece already in place on the end:
Kinda hard to tell in the photos, I couldn’t get the phone to focus any closer but the part on the end of the track is the bottom part, the left part sandwiches over it to trap the pins in the link before this one. If you don’t get cement on the link the tracks are workable.
I meant M3 Lee/Grant in reverse since it had a 37mm gun in the turret and the 75mm in the hull. The Type 5 has a 75mm in the turret and a 37mm in the hull. Why you’d want a back-up 37mm is beyond me, one guy on the internet thought it might be for use on soft targets. Still I’d think using the room to store more 75mm ammo would make more sense.
Hectic weekend but the 75mm gun is done, waiting for the wash on it to dry before I try to post any photos.
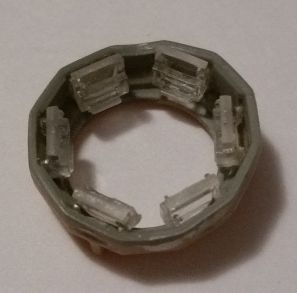
Here’s the cupola, FM gives you a sprue of clear parts for the periscopes. I masked off the glass areas with a little white glue last night and cemented it to the turret.
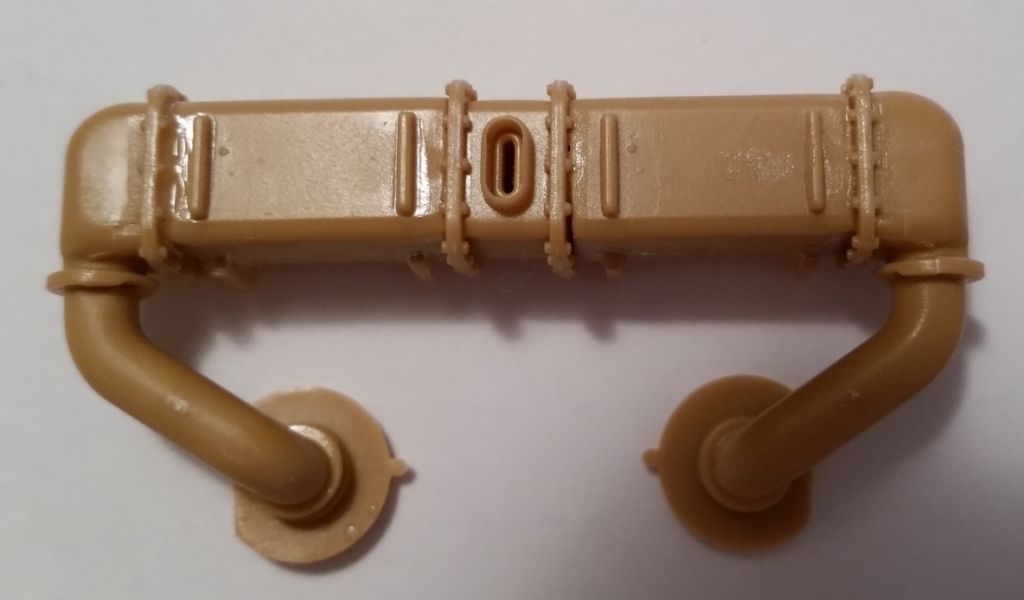
And here’s the muffler, the instructions tell you to paint it burnt metal but I’m guessing rusty metal would make more sense?