Hello everybody,
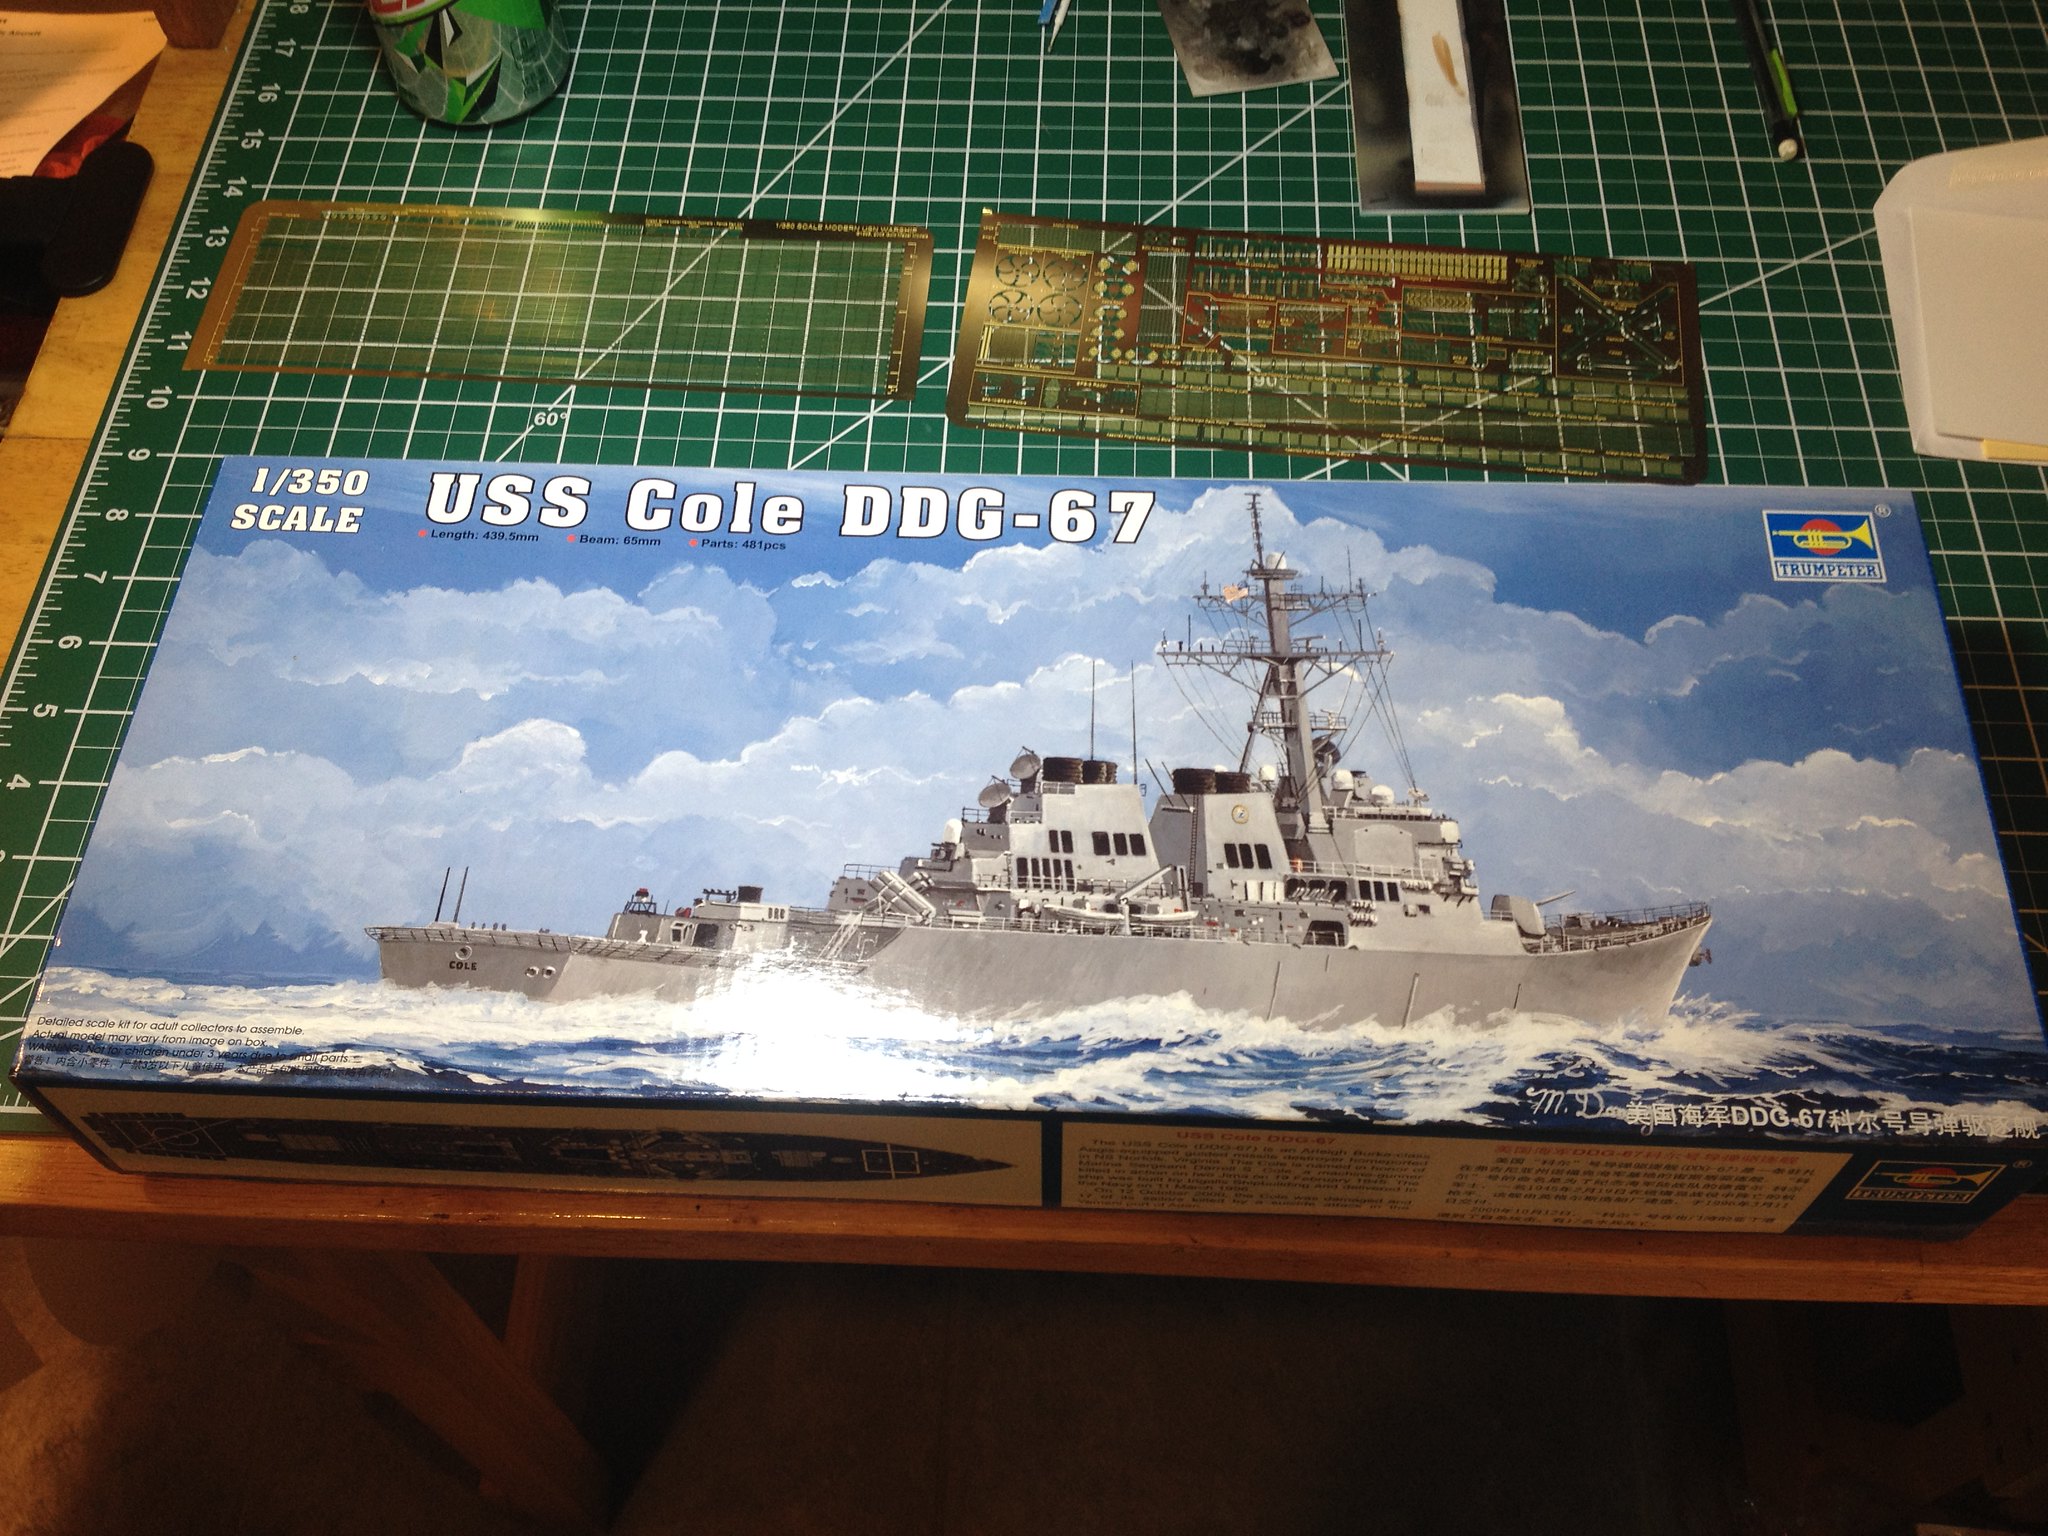
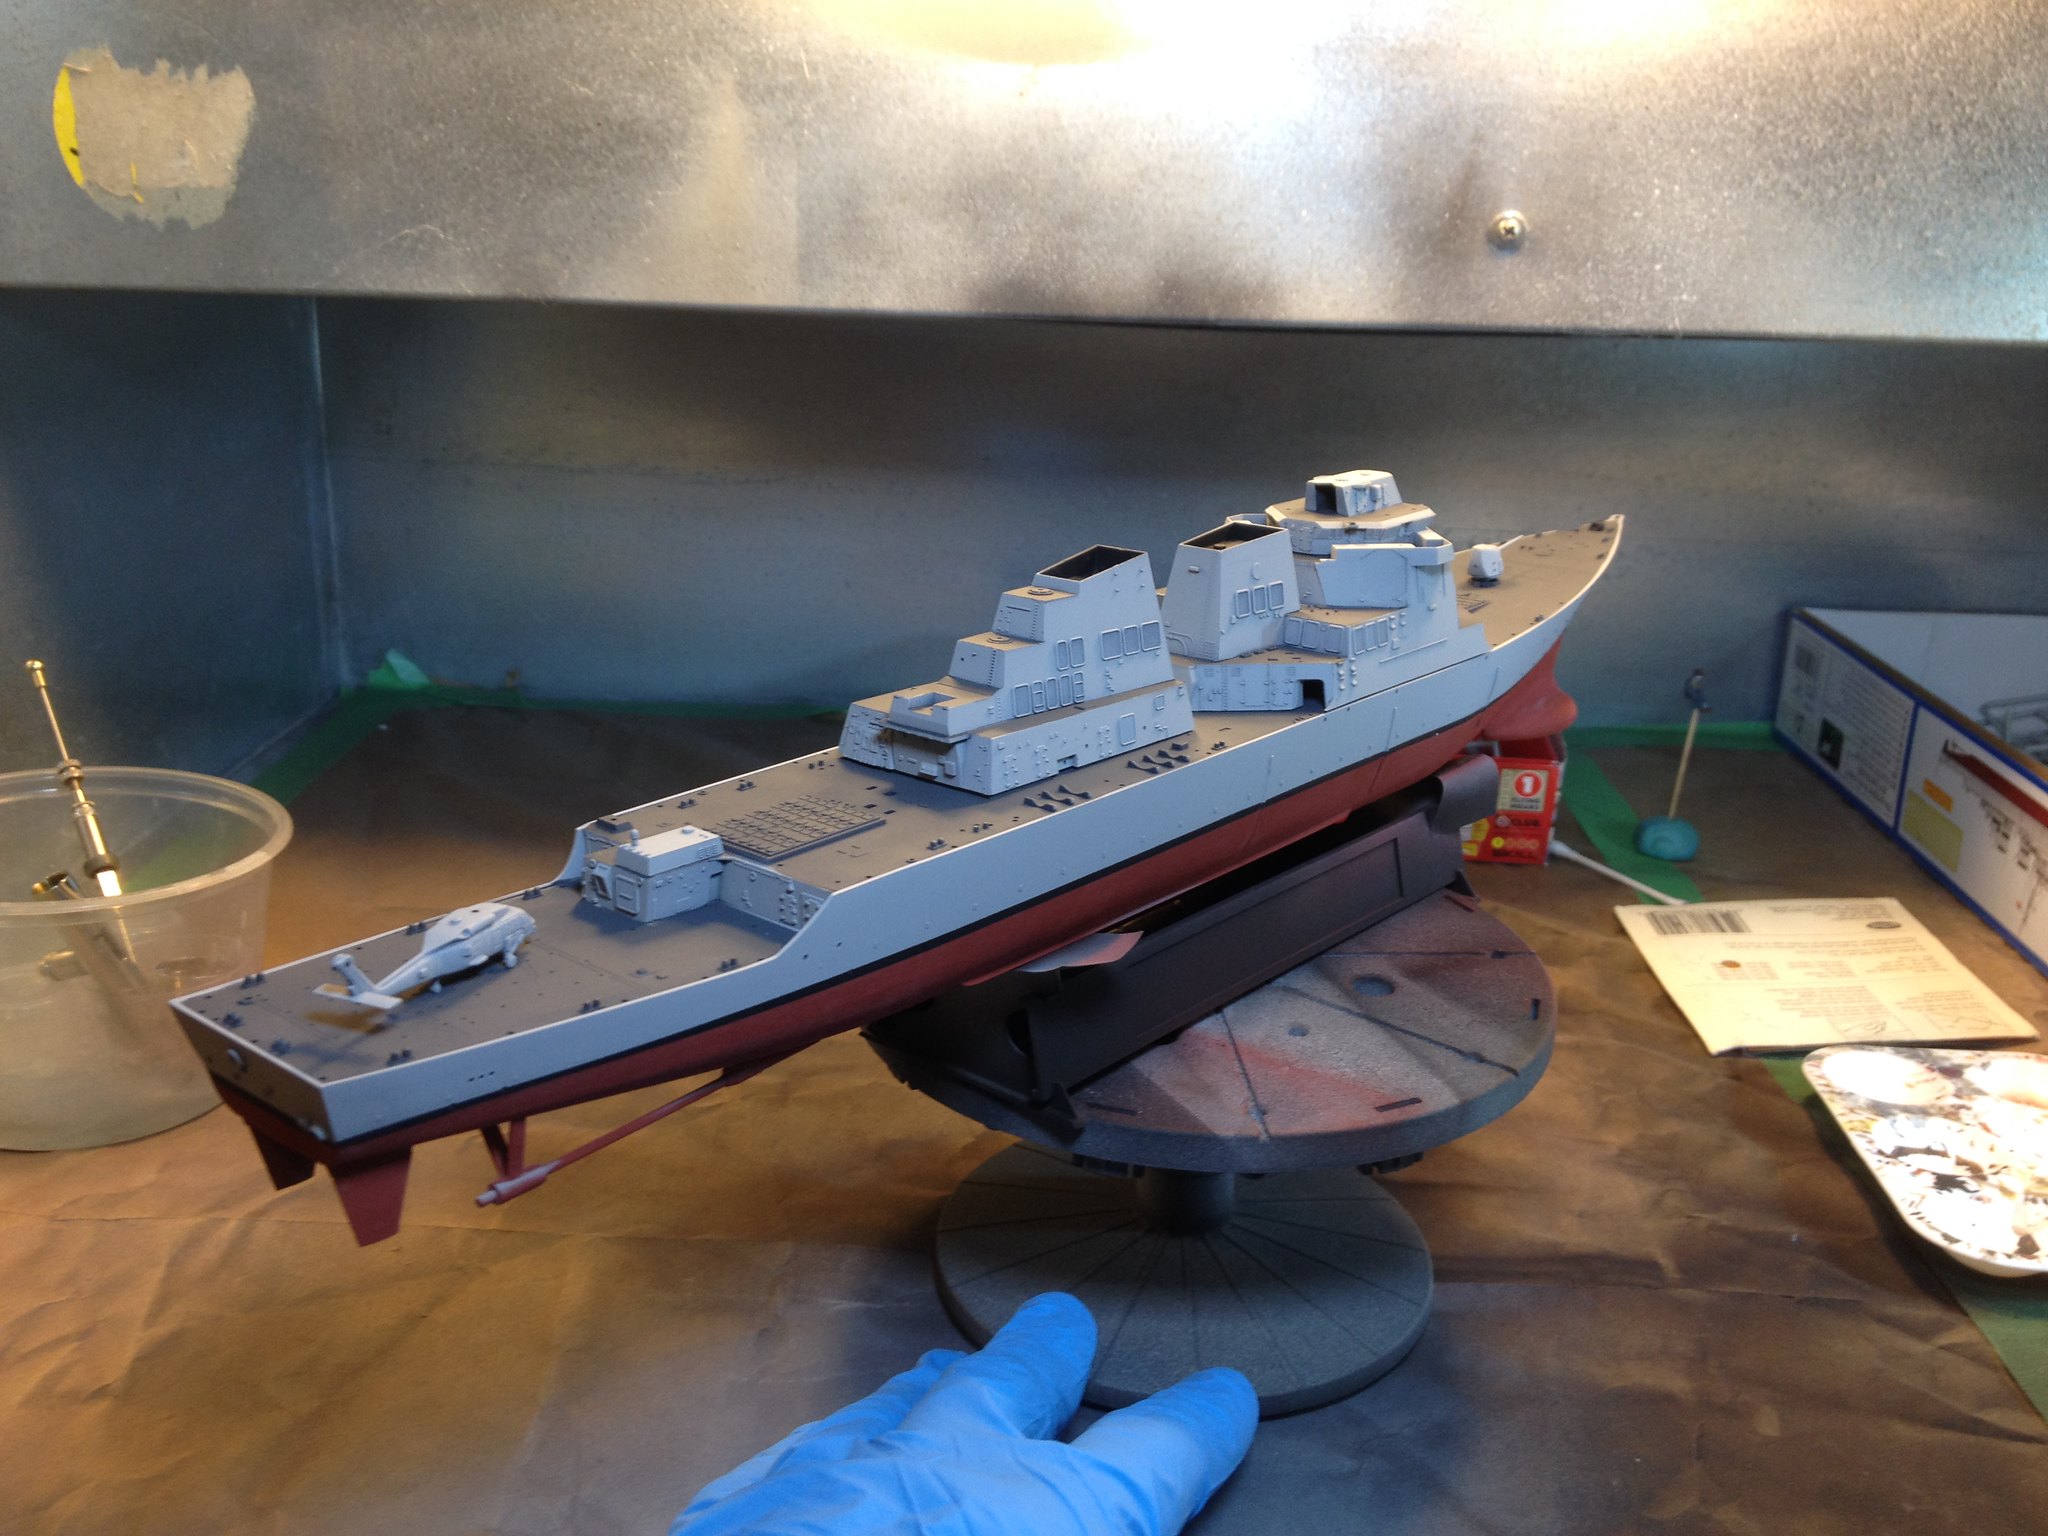
This project was a challenge. I started it in September, so it’s only been about 3 and a half months. Ships are tough. Trumpeter makes a nicely detailed kit. The fit is pretty good, but not quite perfect.
 IMG_2335 by Christopher Ridle, on Flickr
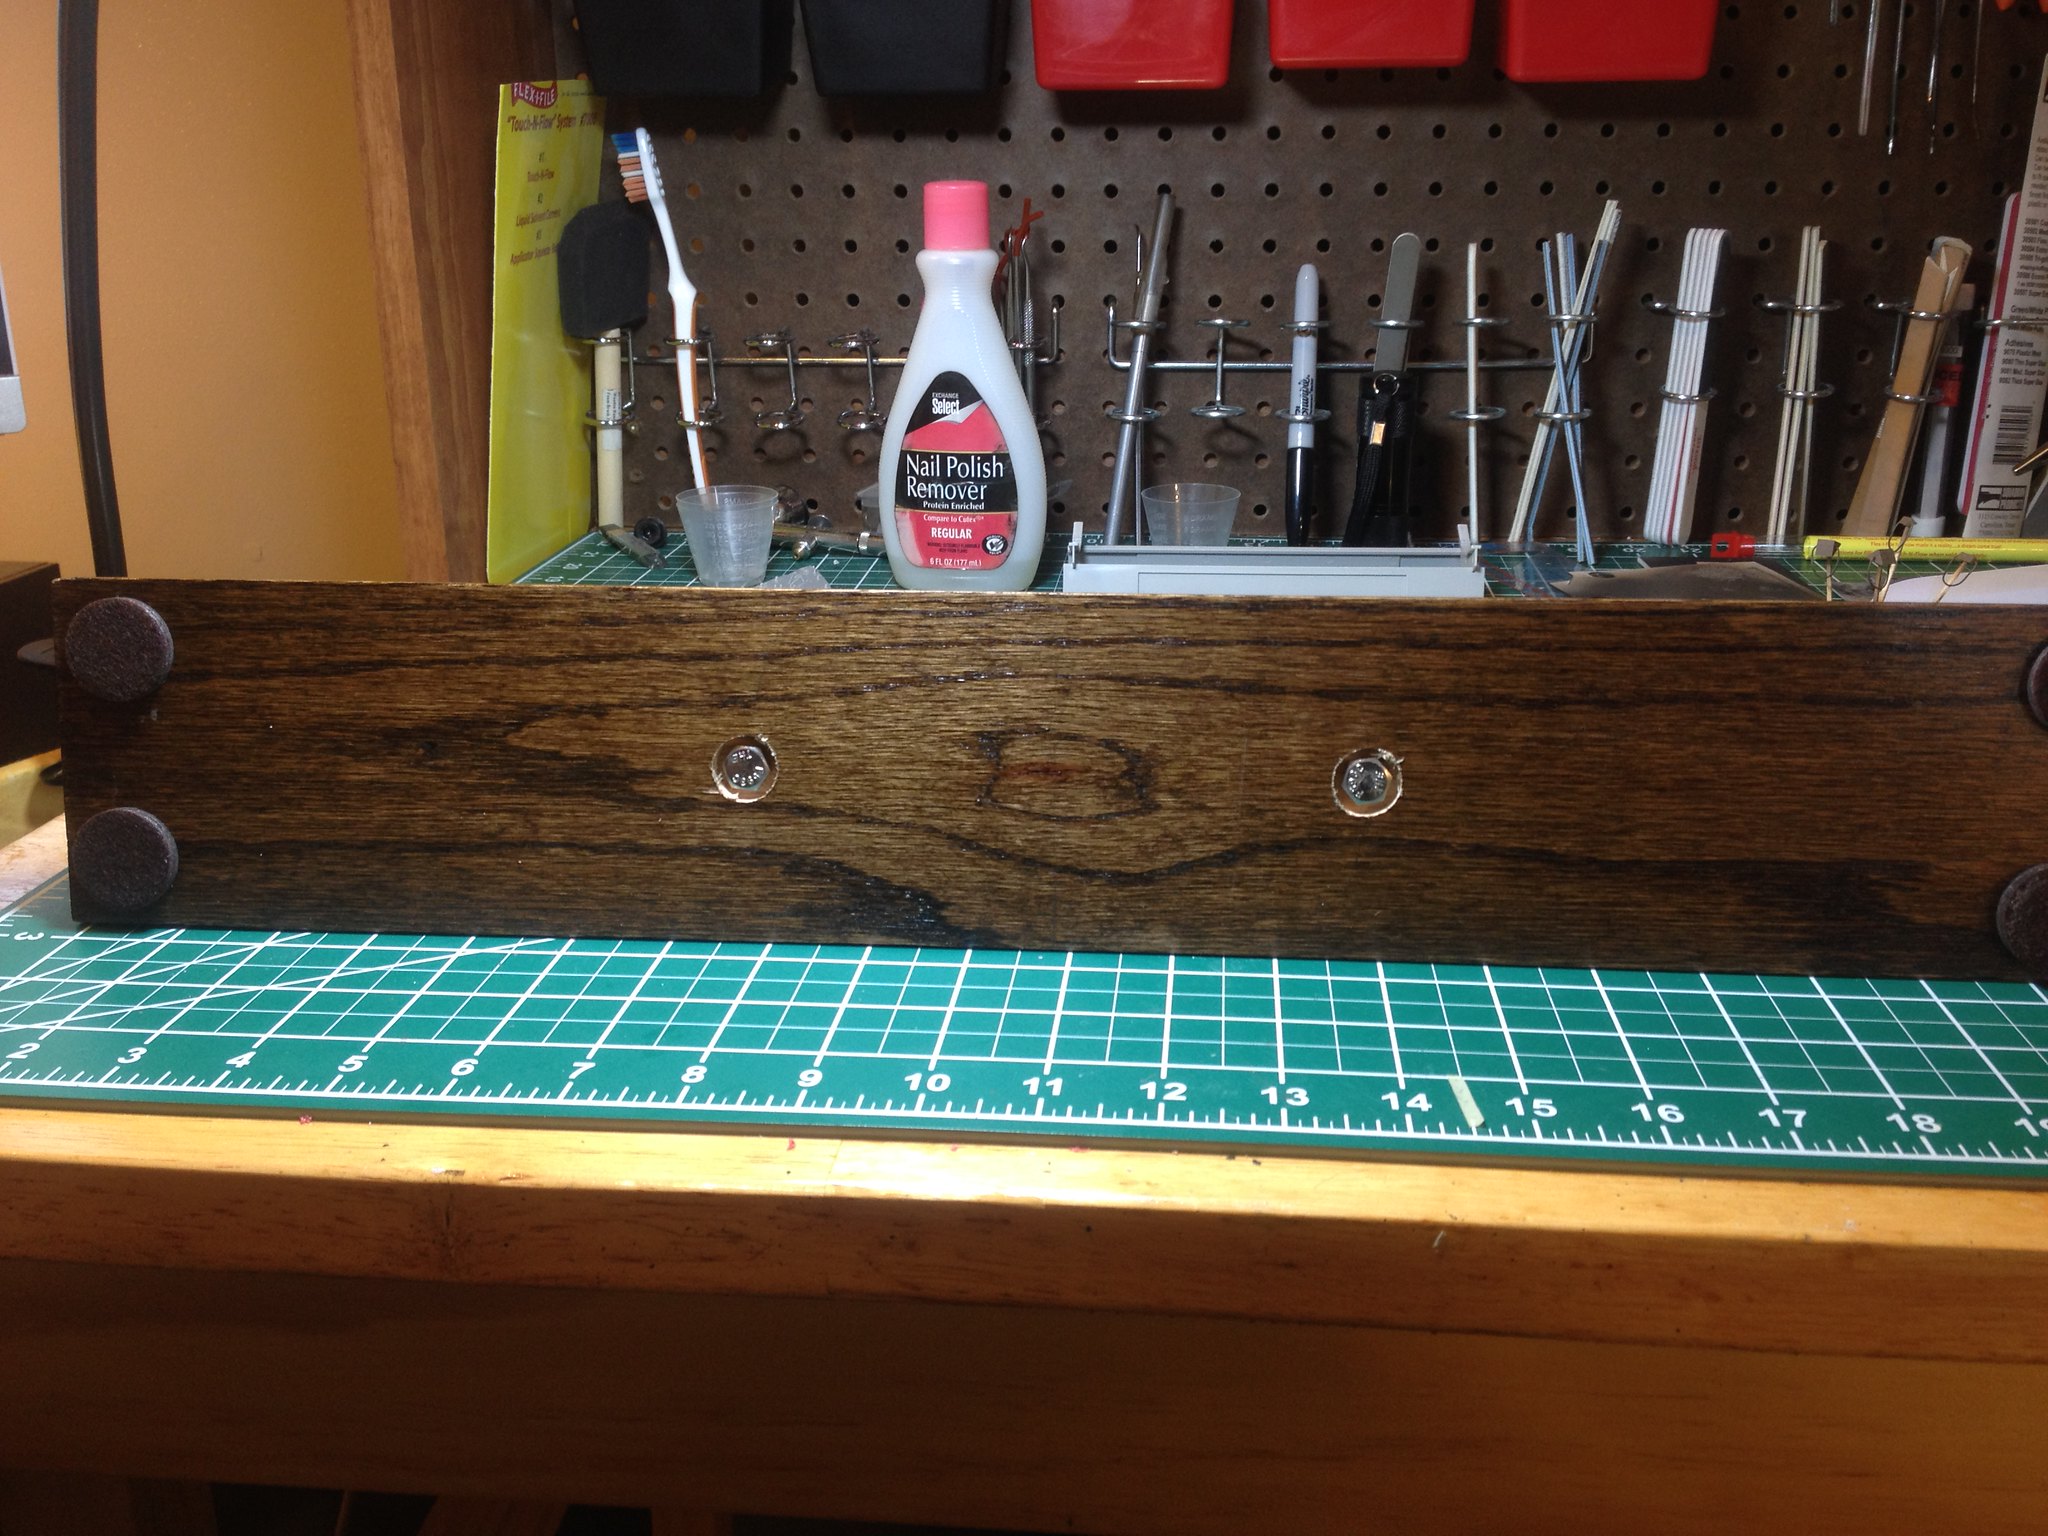
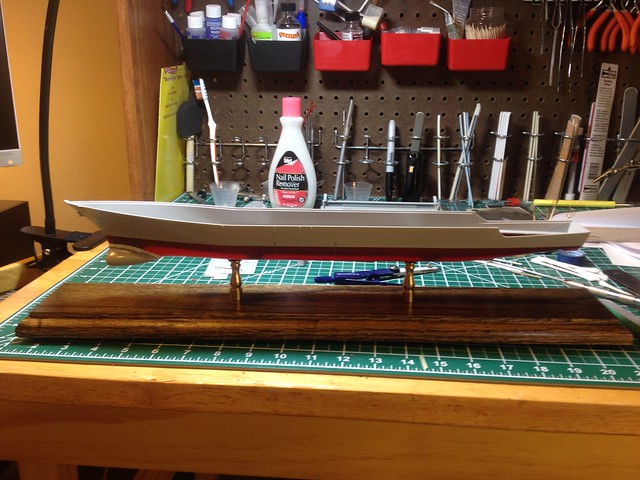
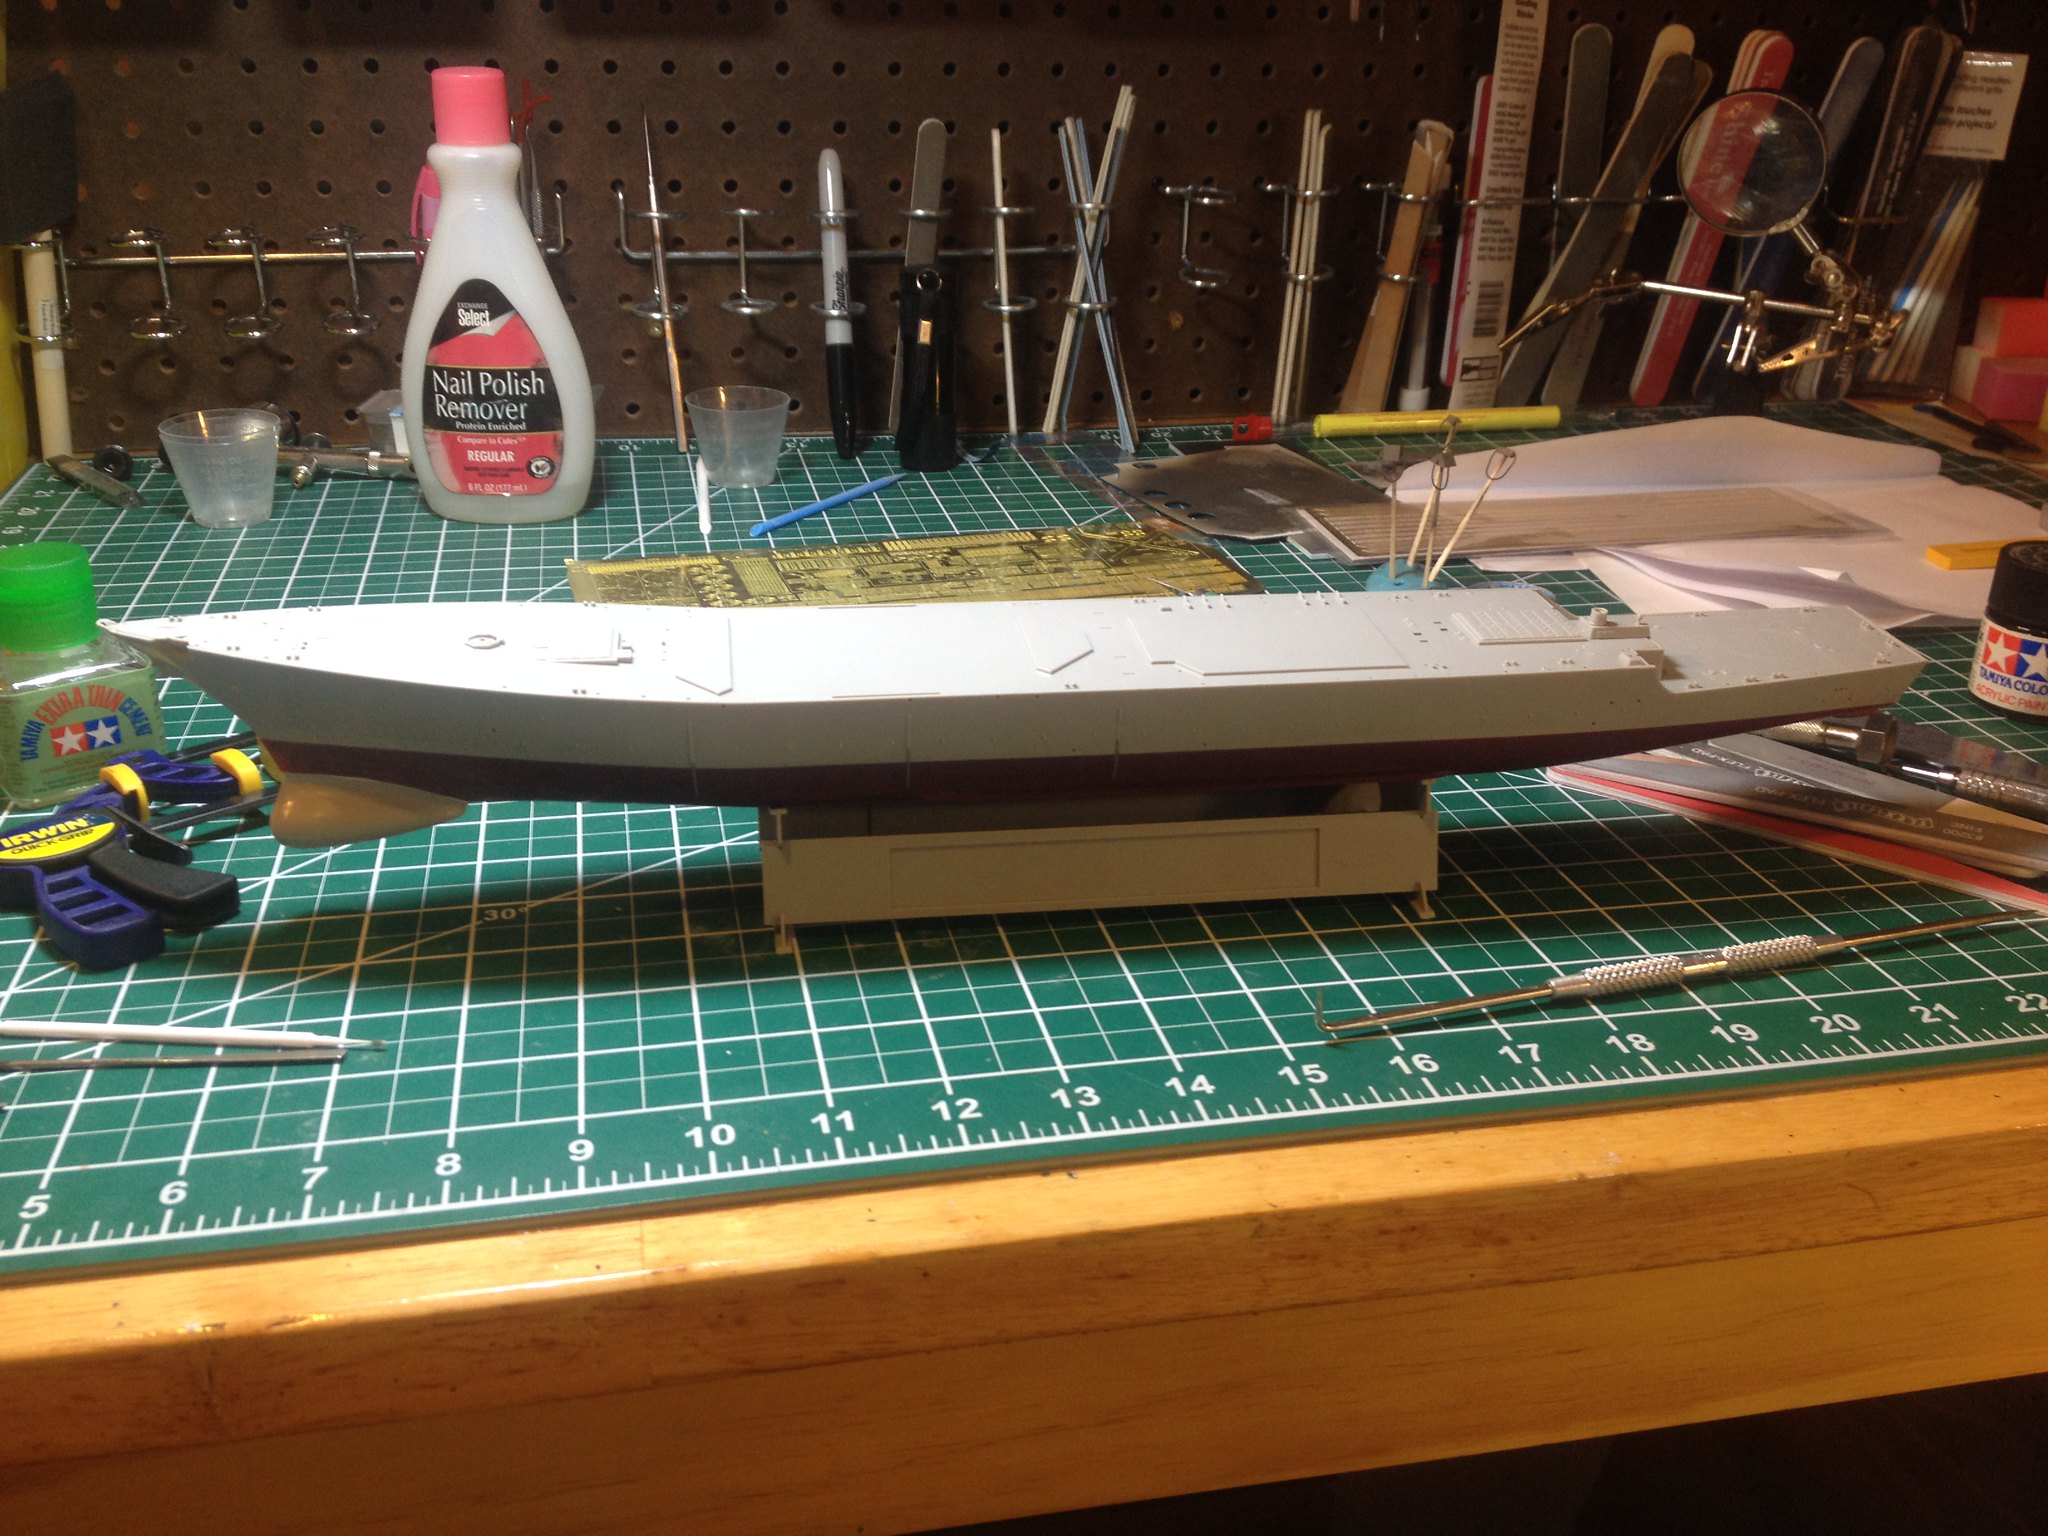
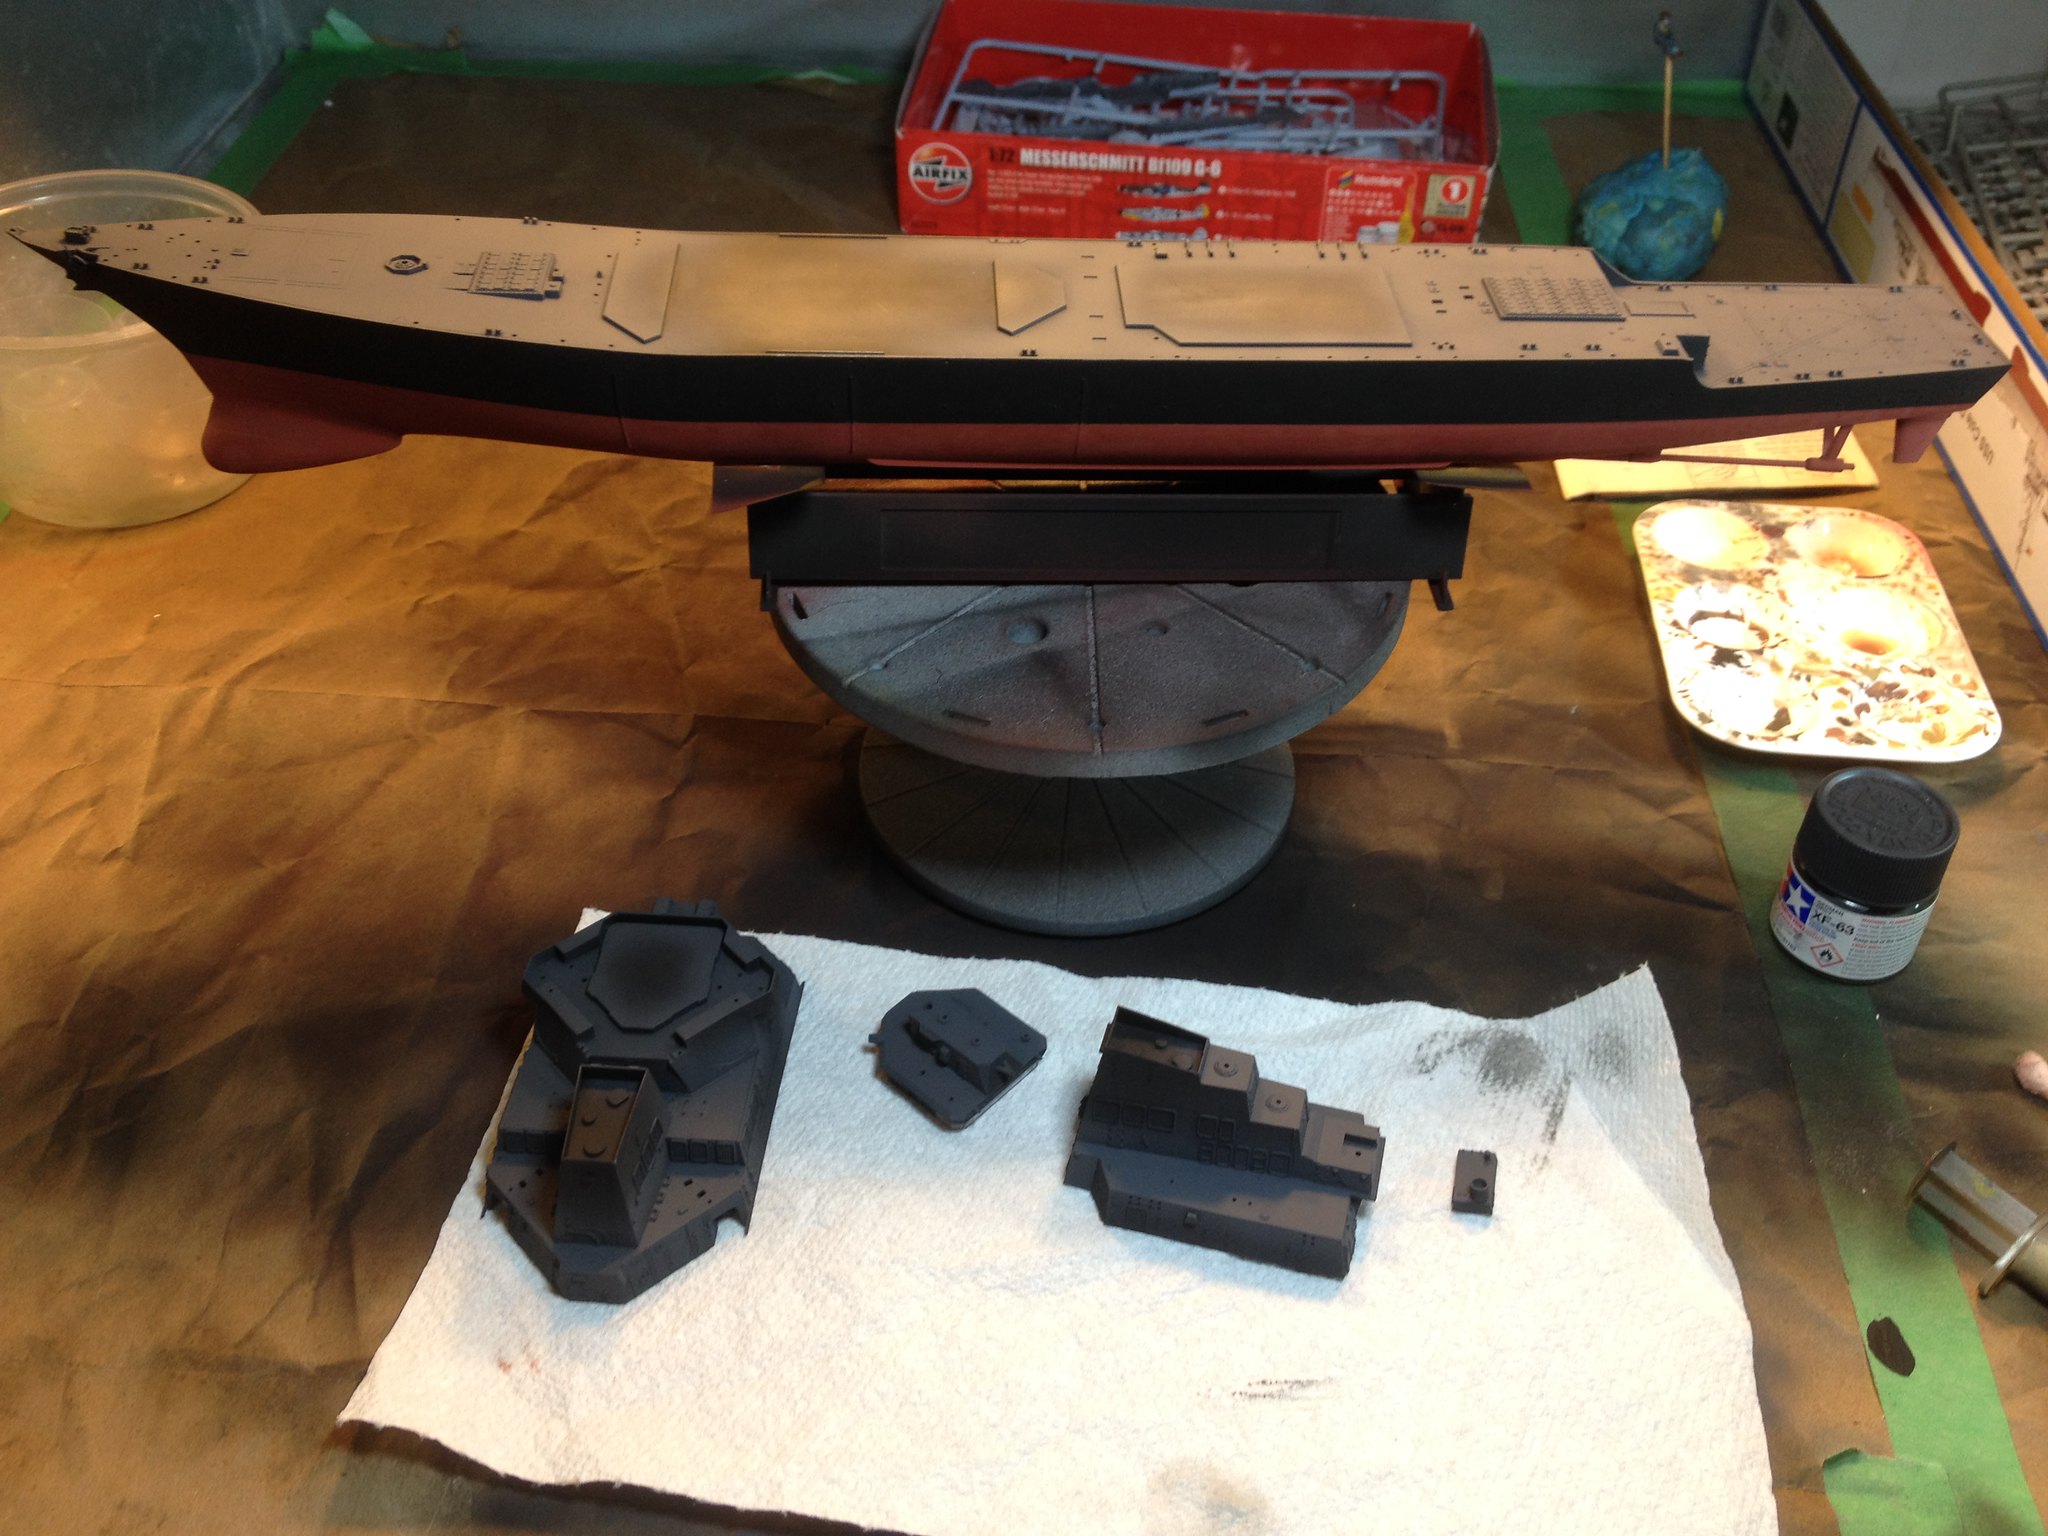
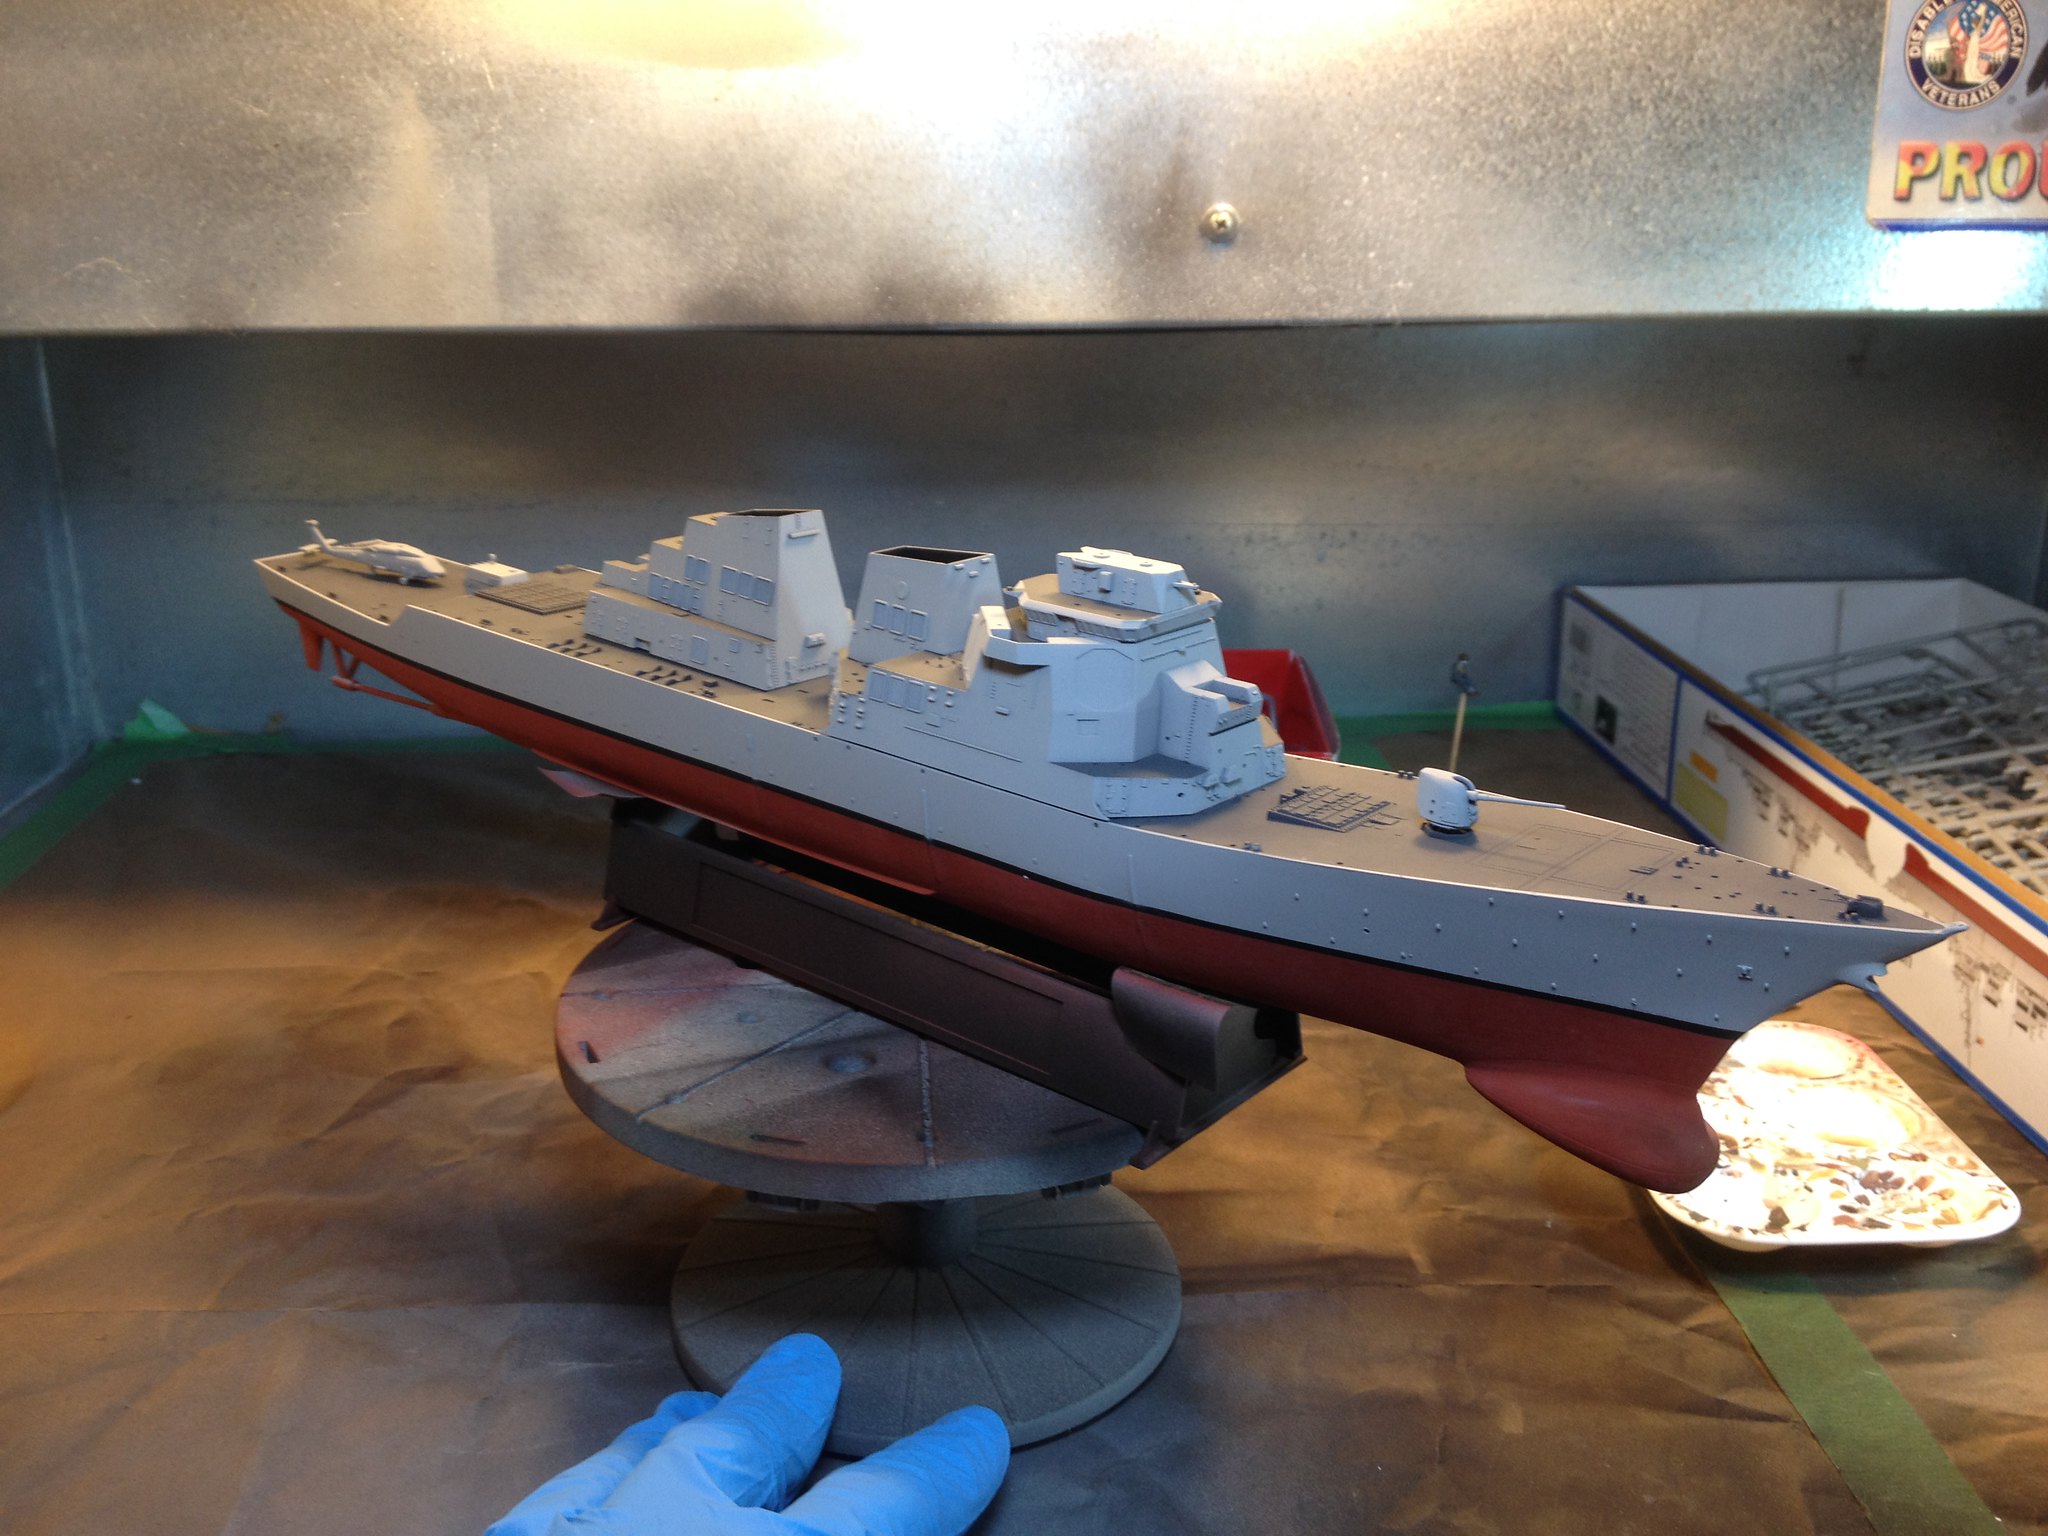
I had challenges with a large step between the upper and lower hull. There was some filling and sanding. The base was cut from poplar, and the supporting columns are lamp finial extensions. Bolts go up from the bottom of the base, the finial extensions run from the base to the ship, and nuts in the hull mate with the finials. The nuts are held in the hull with milliput.
 IMG_2386 by Christopher Ridle, on Flickr
 IMG_2387 by Christopher Ridle, on Flickr
 IMG_2385 by Christopher Ridle, on Flickr
 IMG_2384 by Christopher Ridle, on Flickr
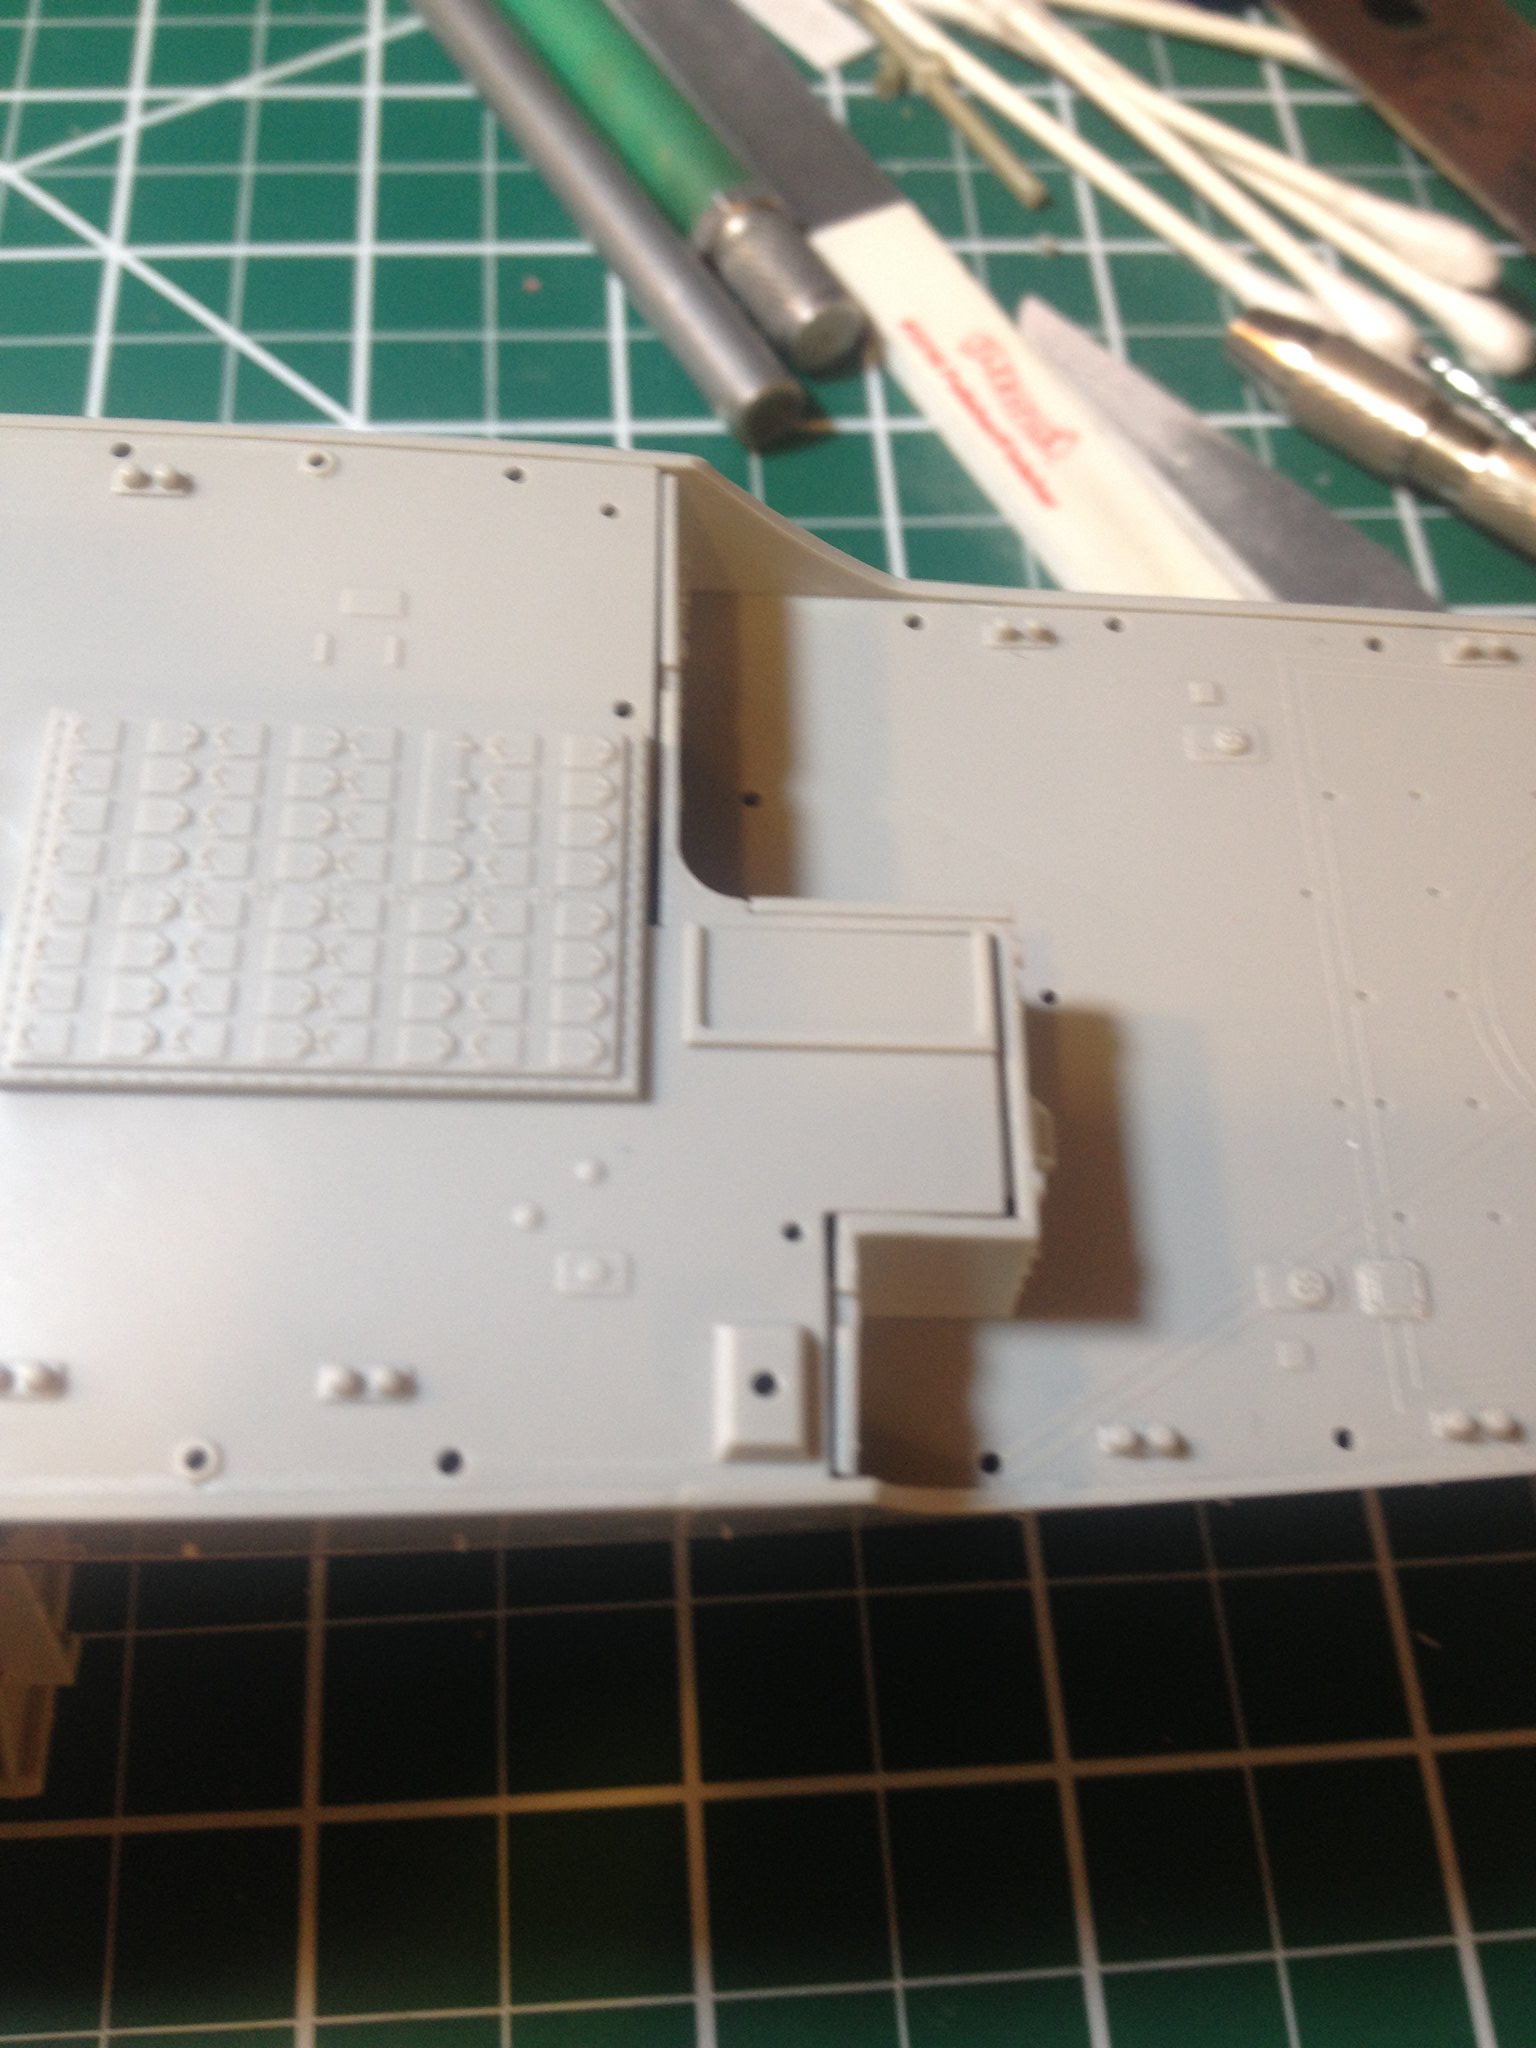
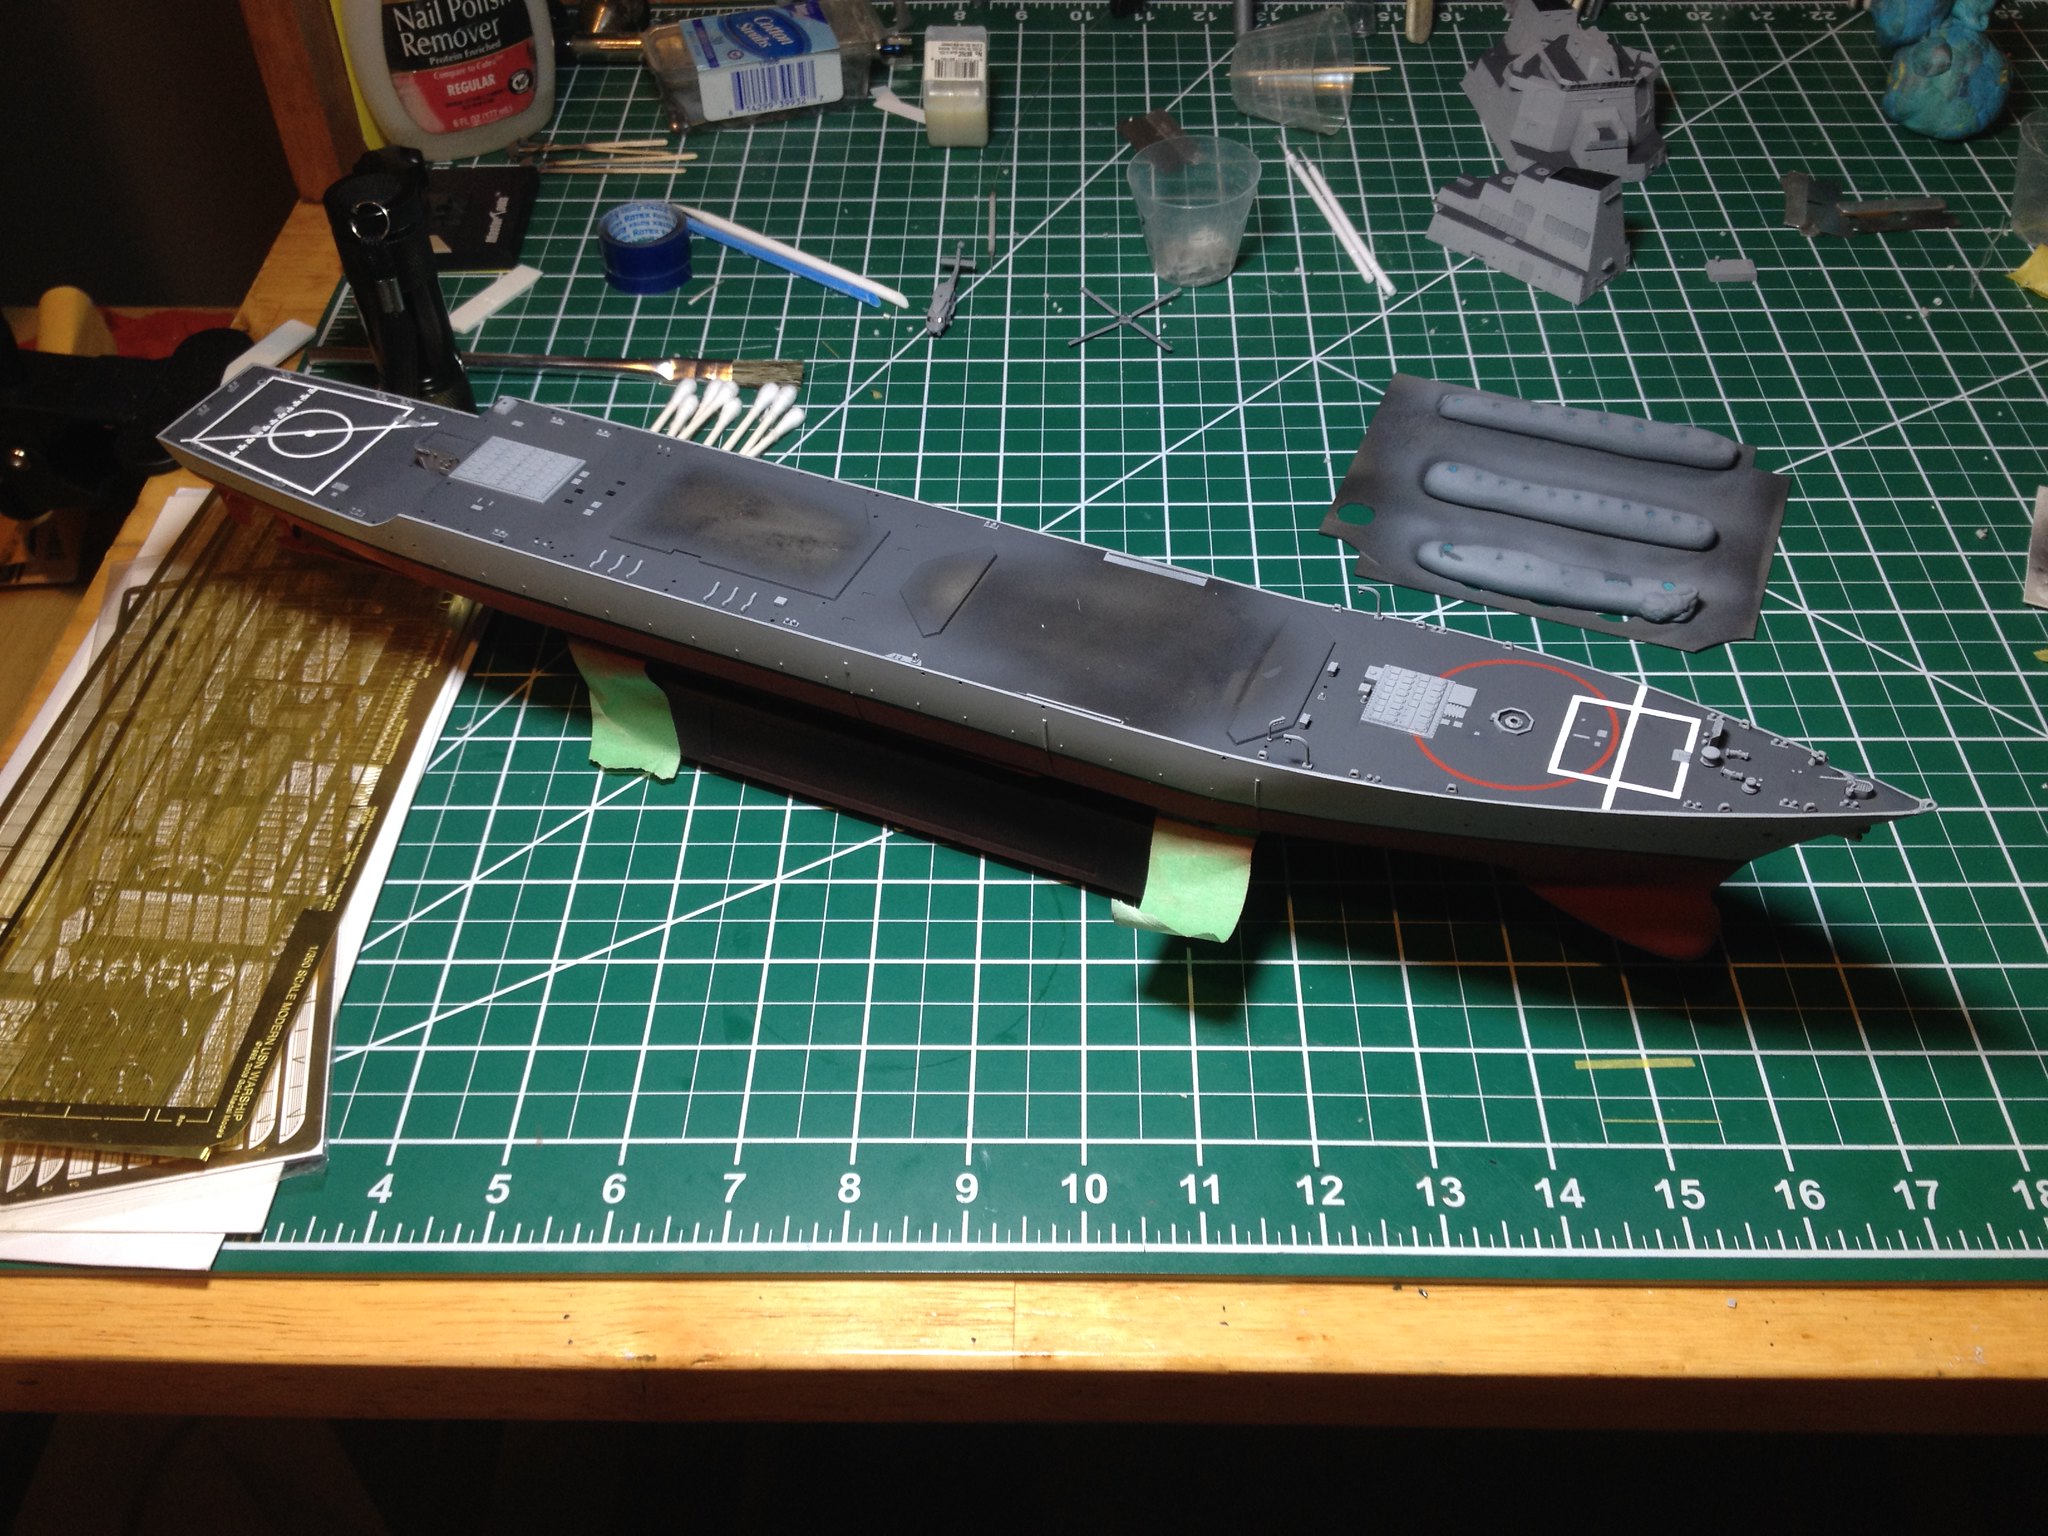
The main deck fit well,
 IMG_2388 by Christopher Ridle, on Flickr
but there were minor gaps at the aft end of the main deck.
 IMG_2390 by Christopher Ridle, on Flickr
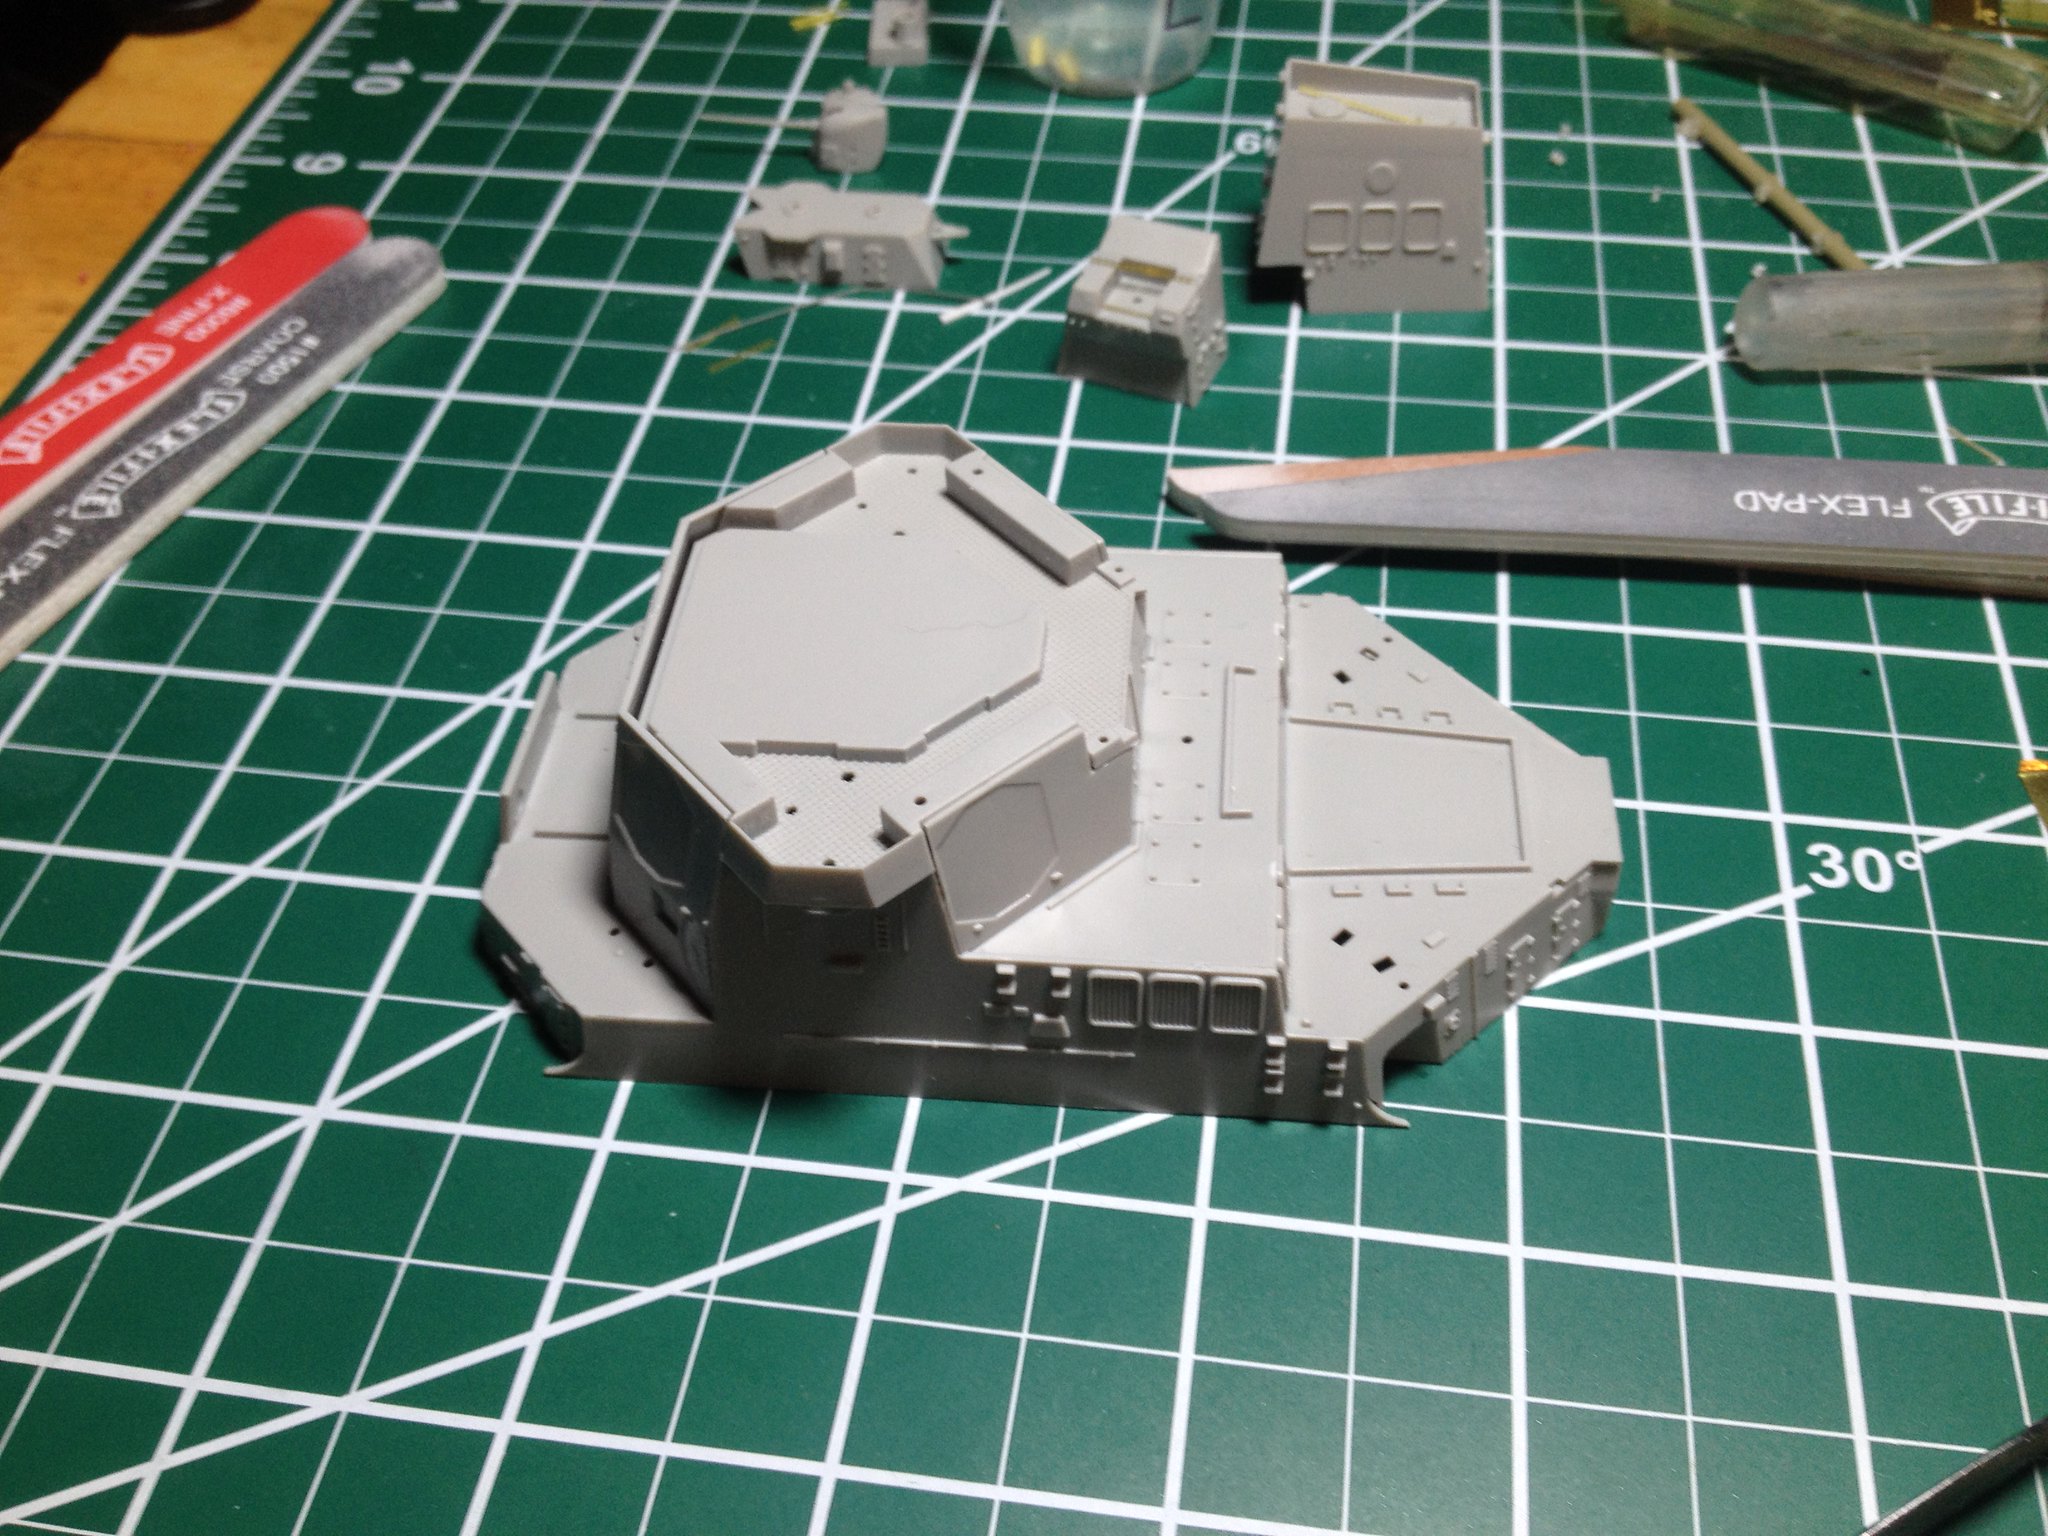
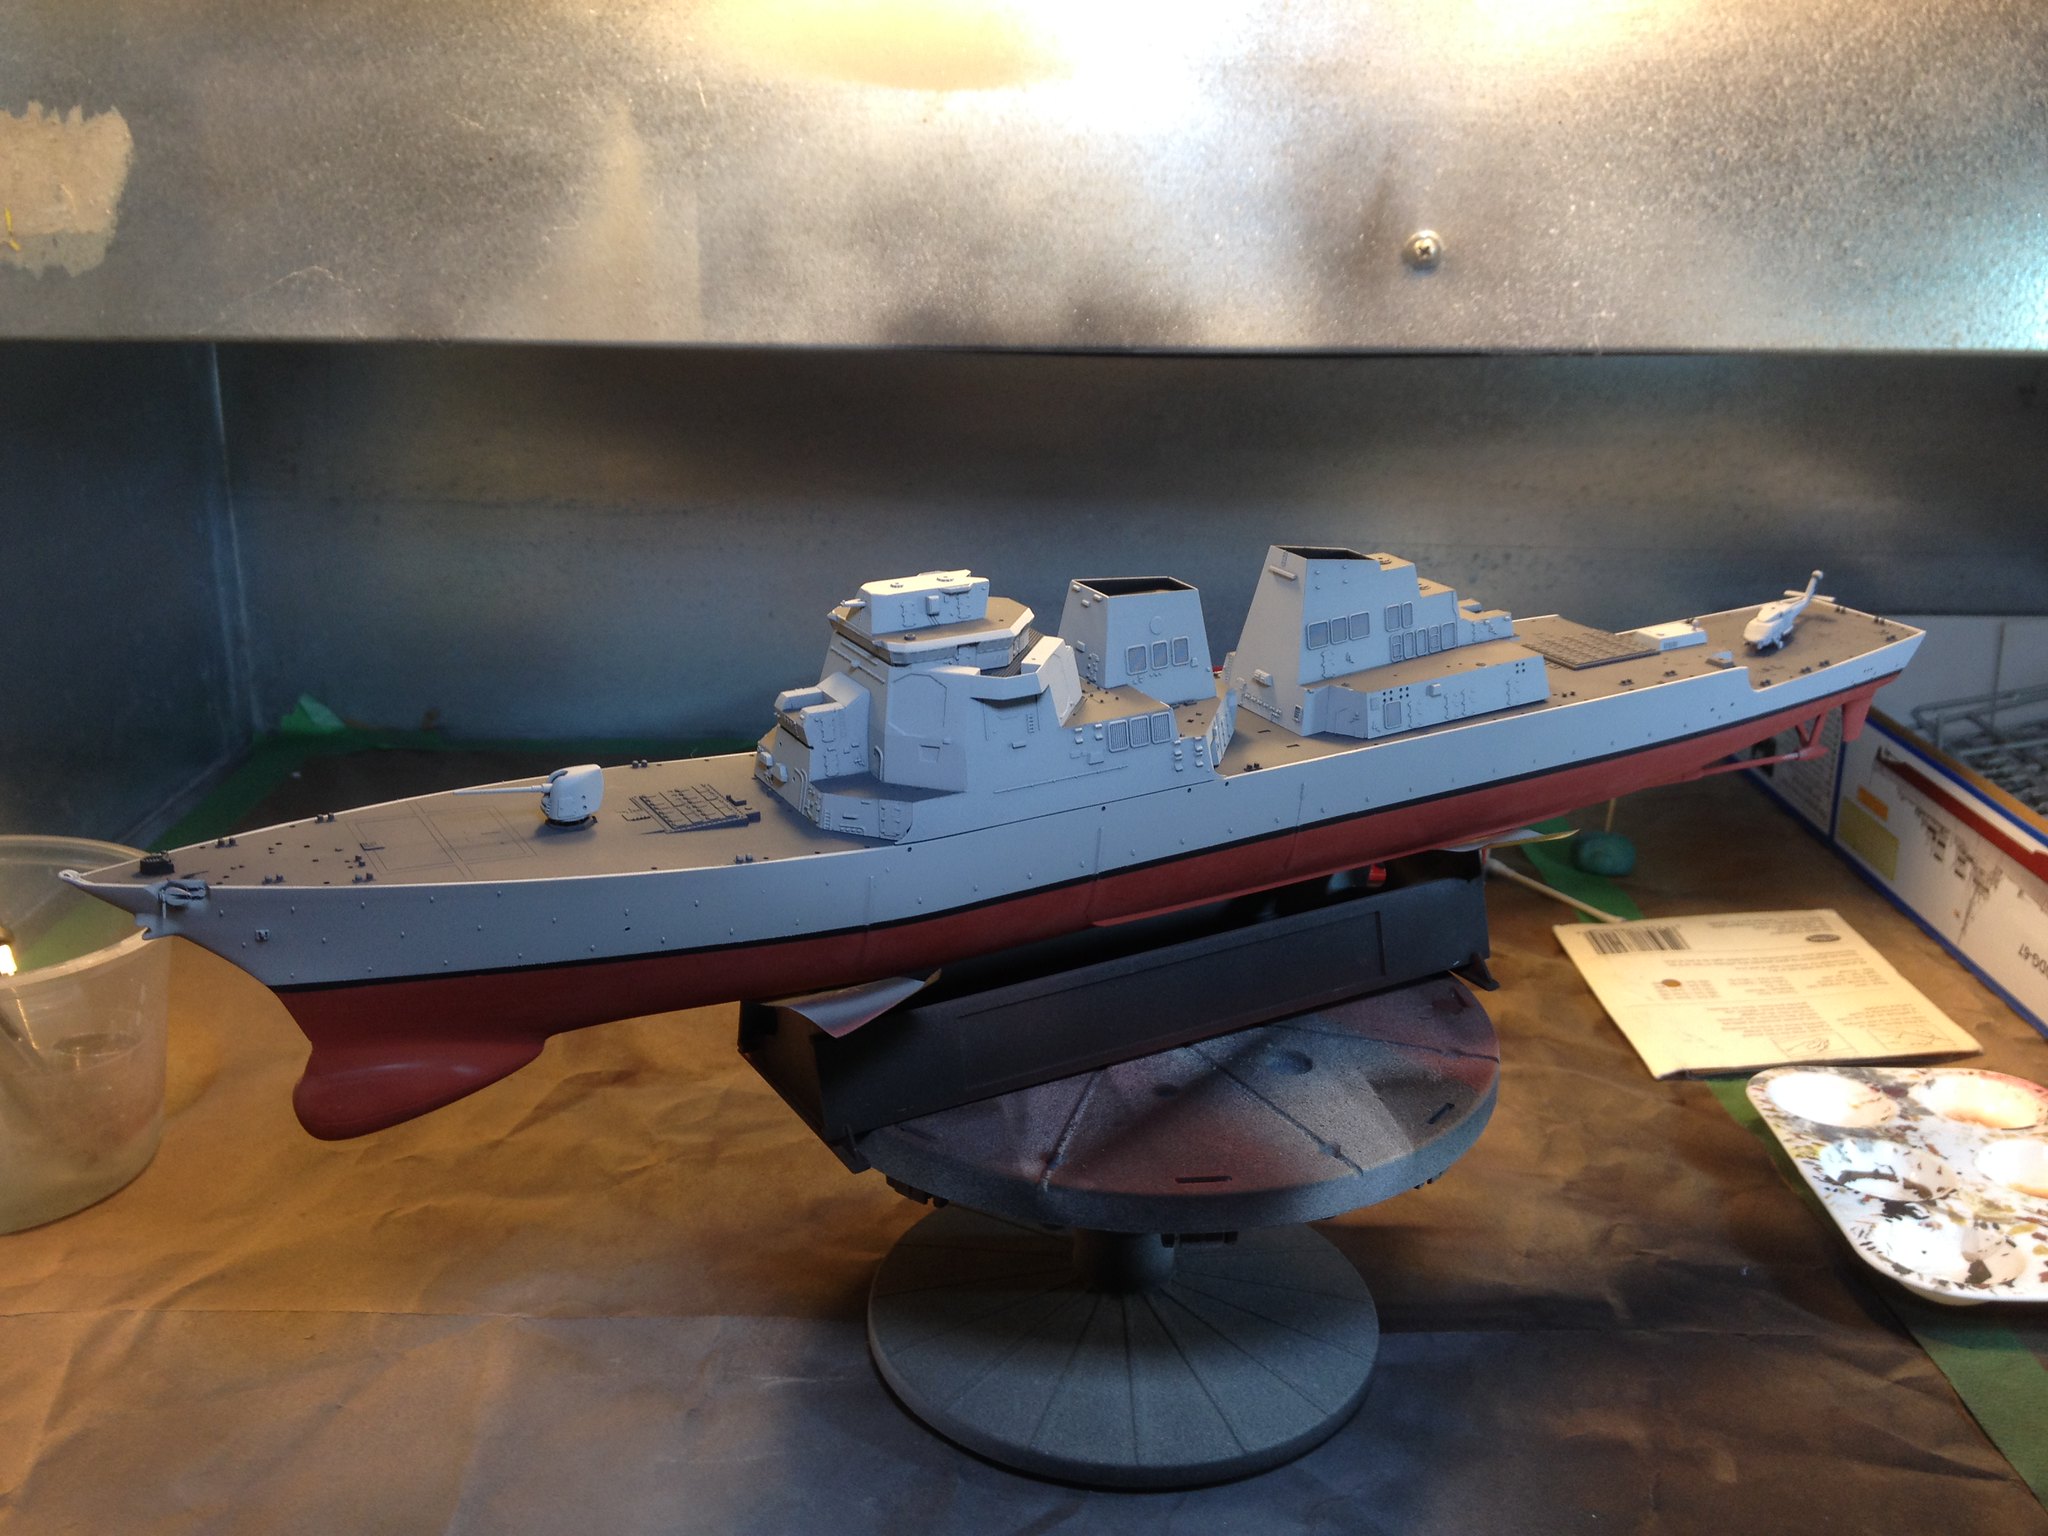
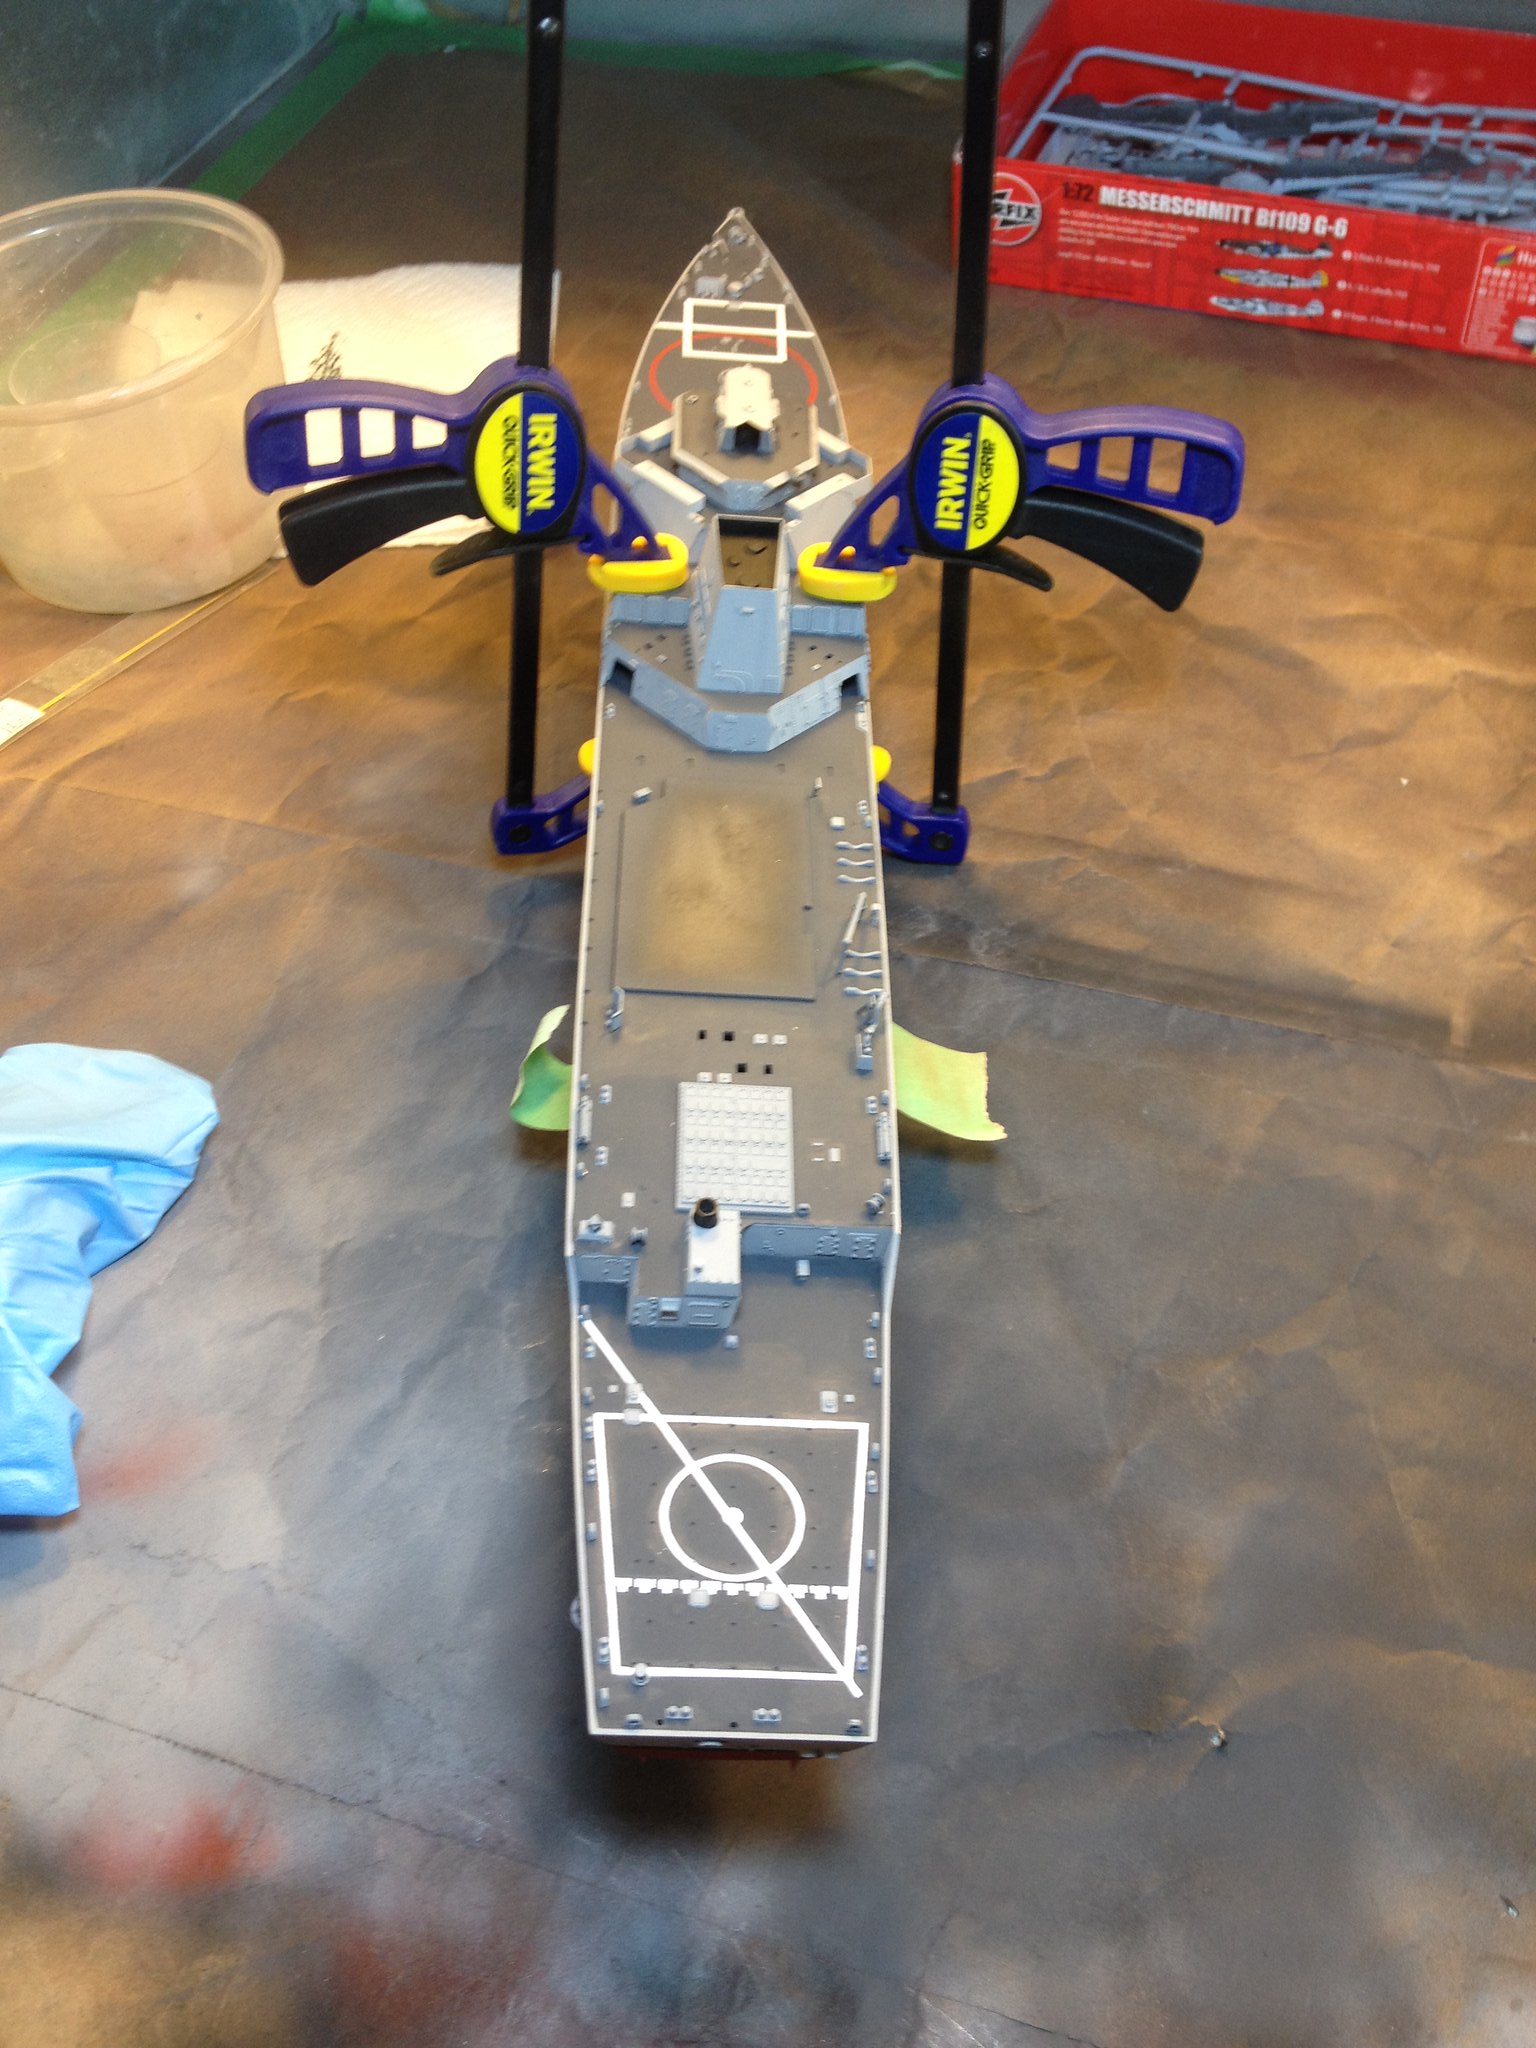
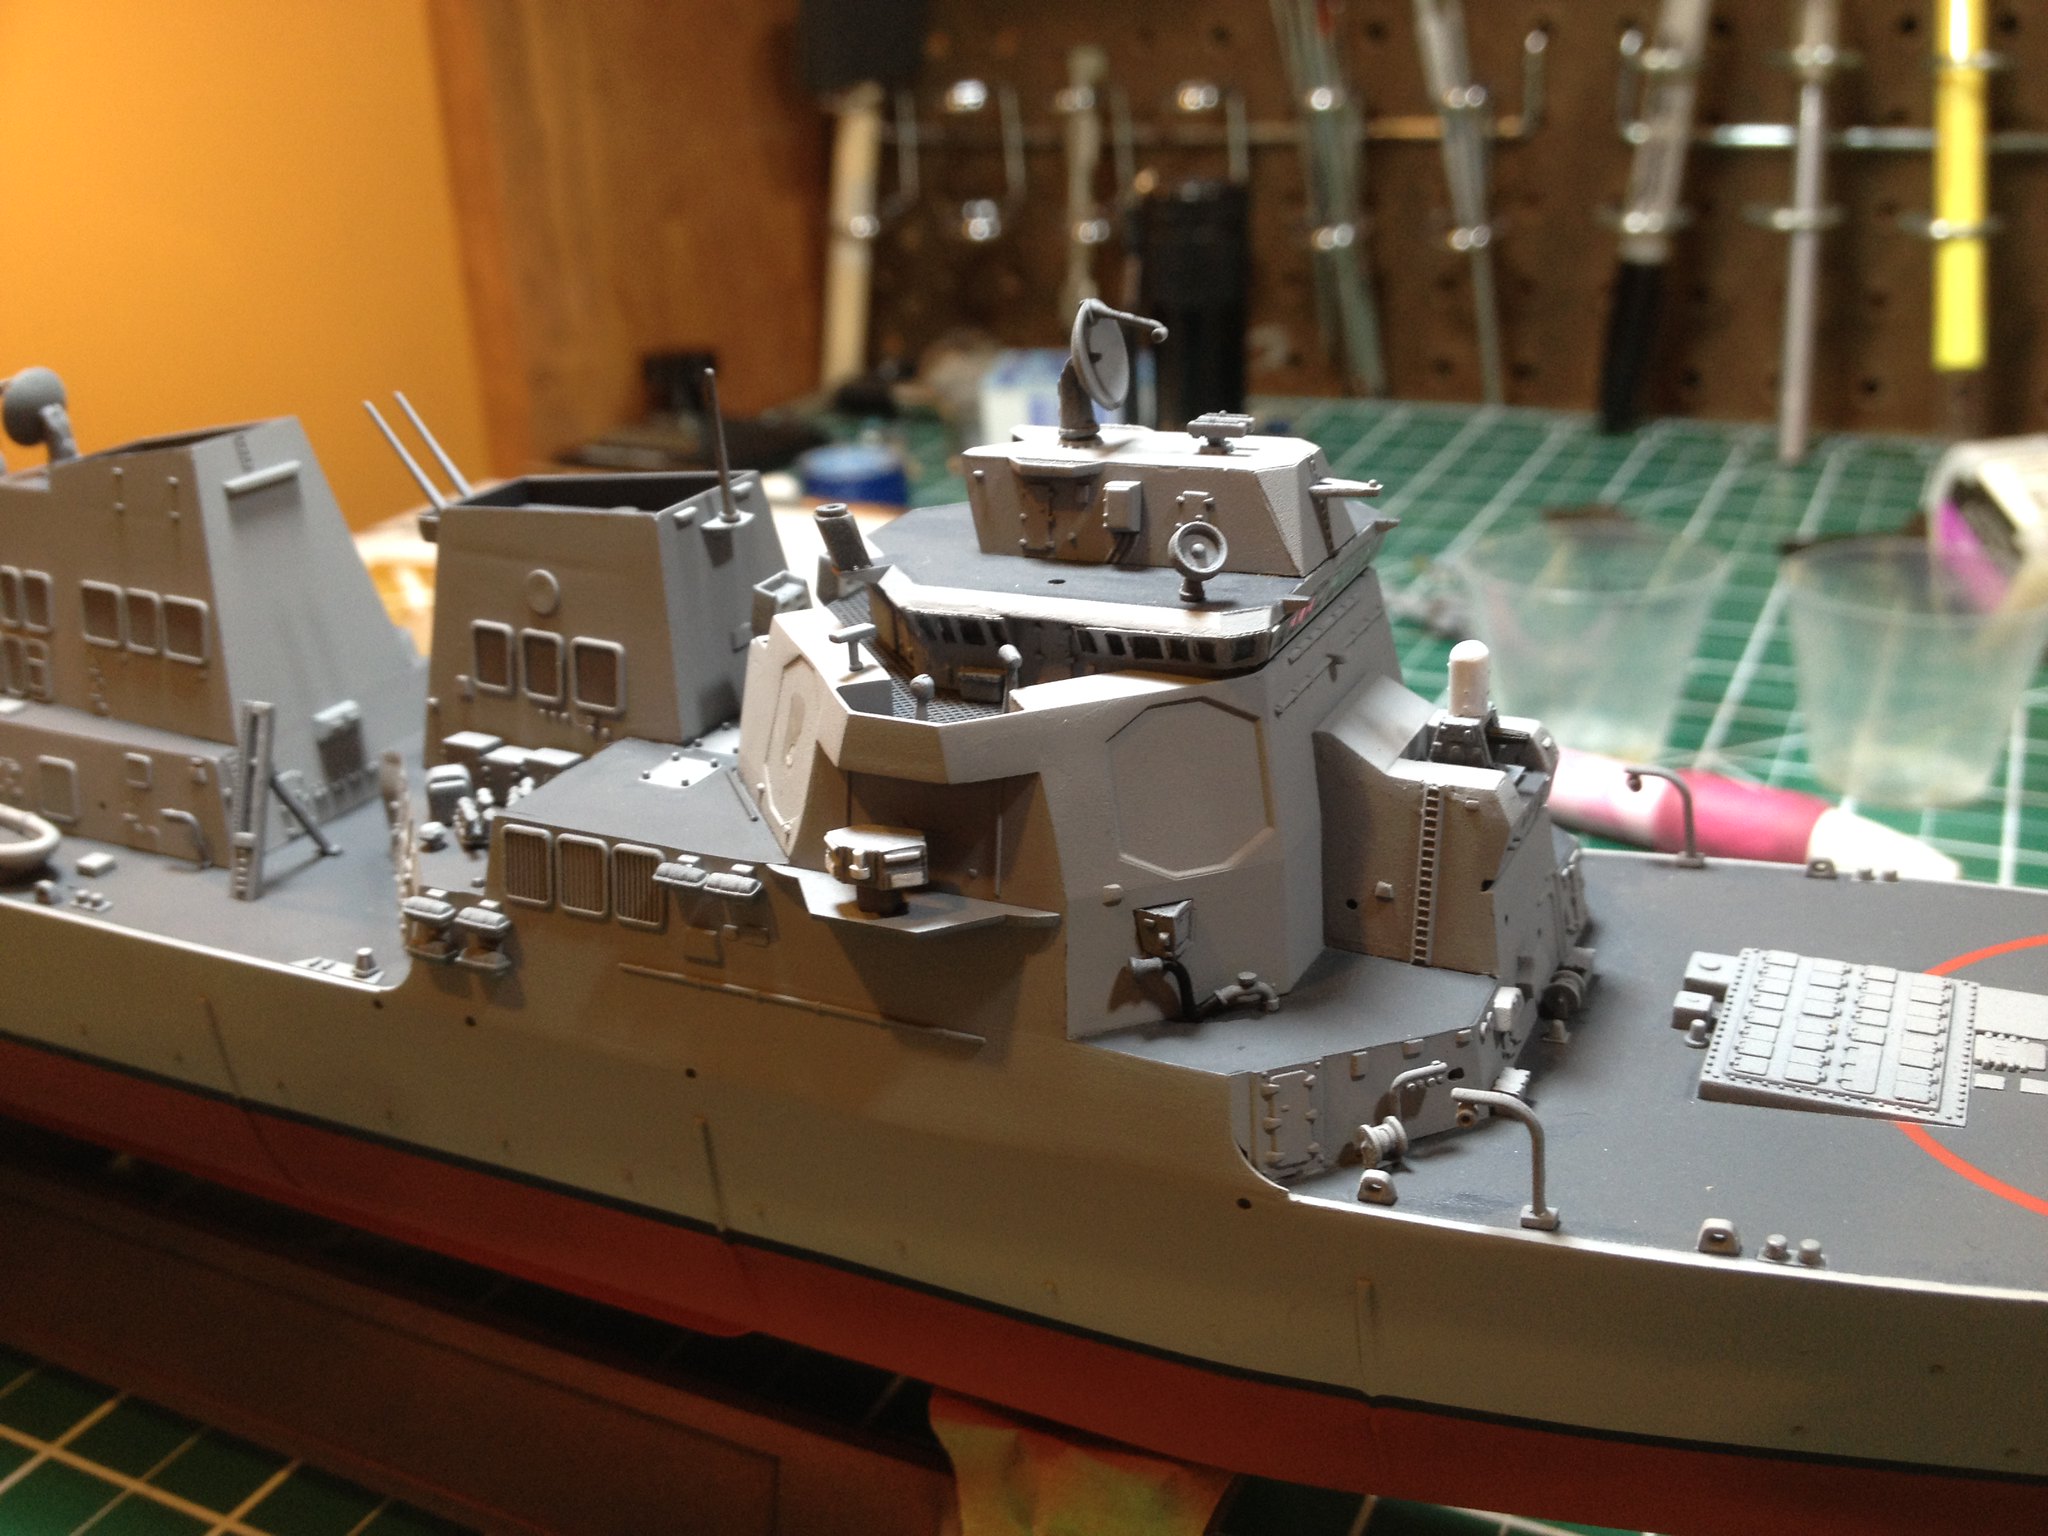
Regardless of their complexity, the superstructures went together well. I used some slower setting cement to give me time to install and align all of the sides of the structure.
 IMG_2453 by Christopher Ridle, on Flickr
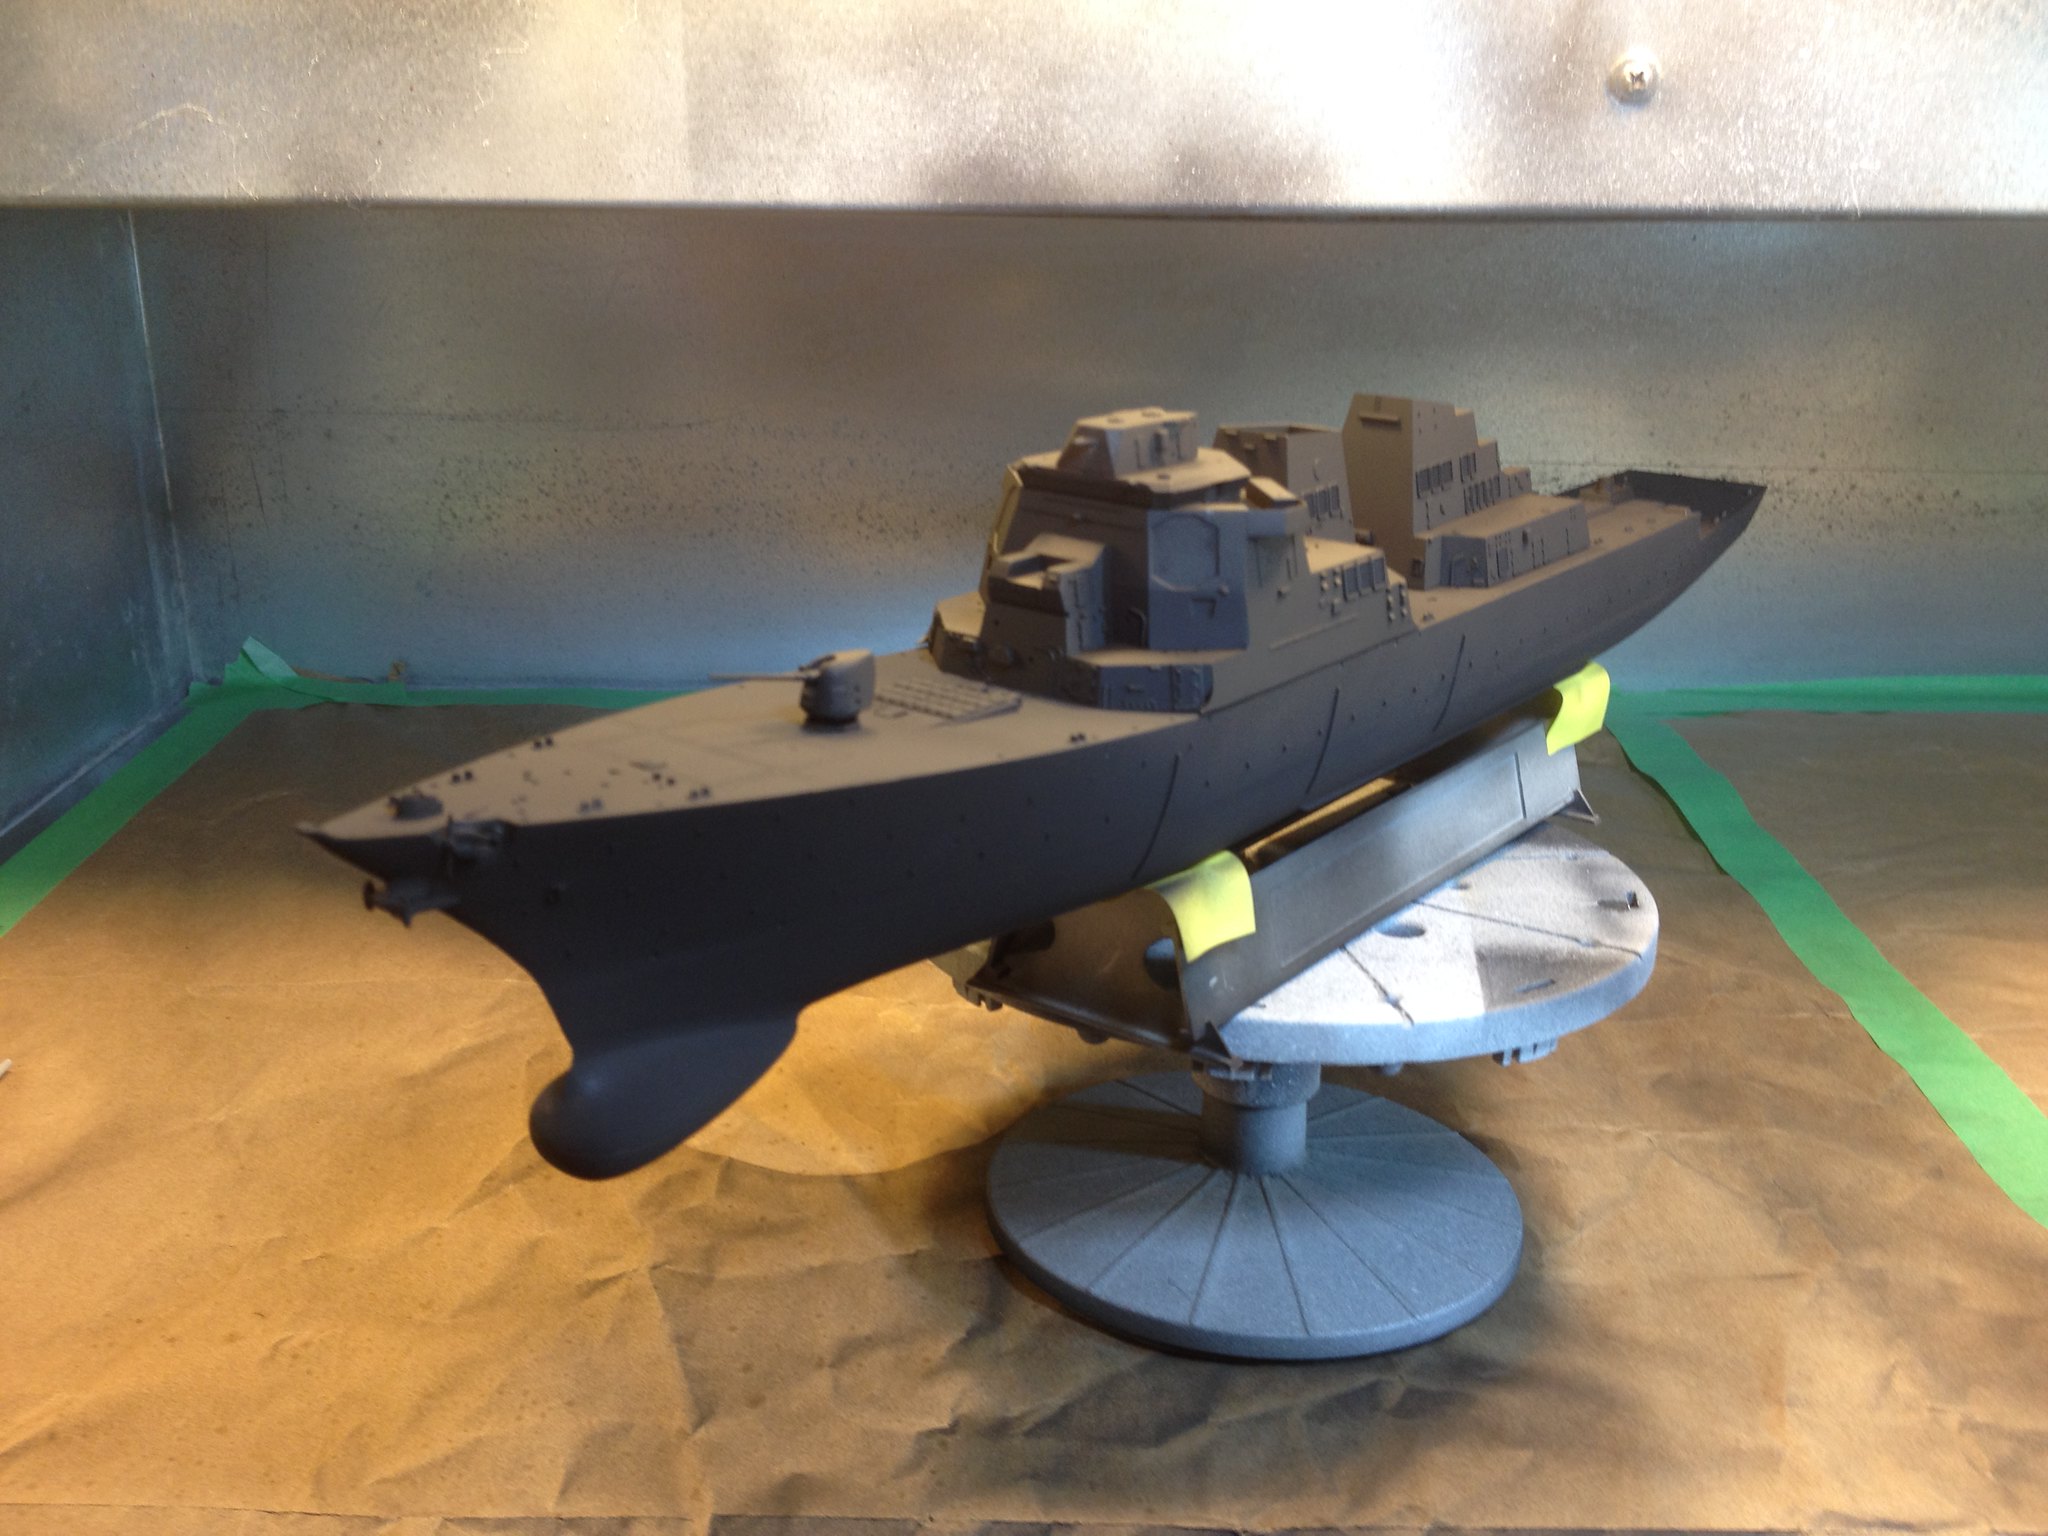
It’s starting to look like a boat!
 IMG_2456 by Christopher Ridle, on Flickr
Honestly, basic construction was the easy part. Painting was challenging, so was touch-up painting. Applying PE was challenging, and so was re-applying PE. I’m not good with gluing PE “just once.” I gave everything a black base.
 IMG_2462 by Christopher Ridle, on Flickr
 IMG_2463 by Christopher Ridle, on Flickr
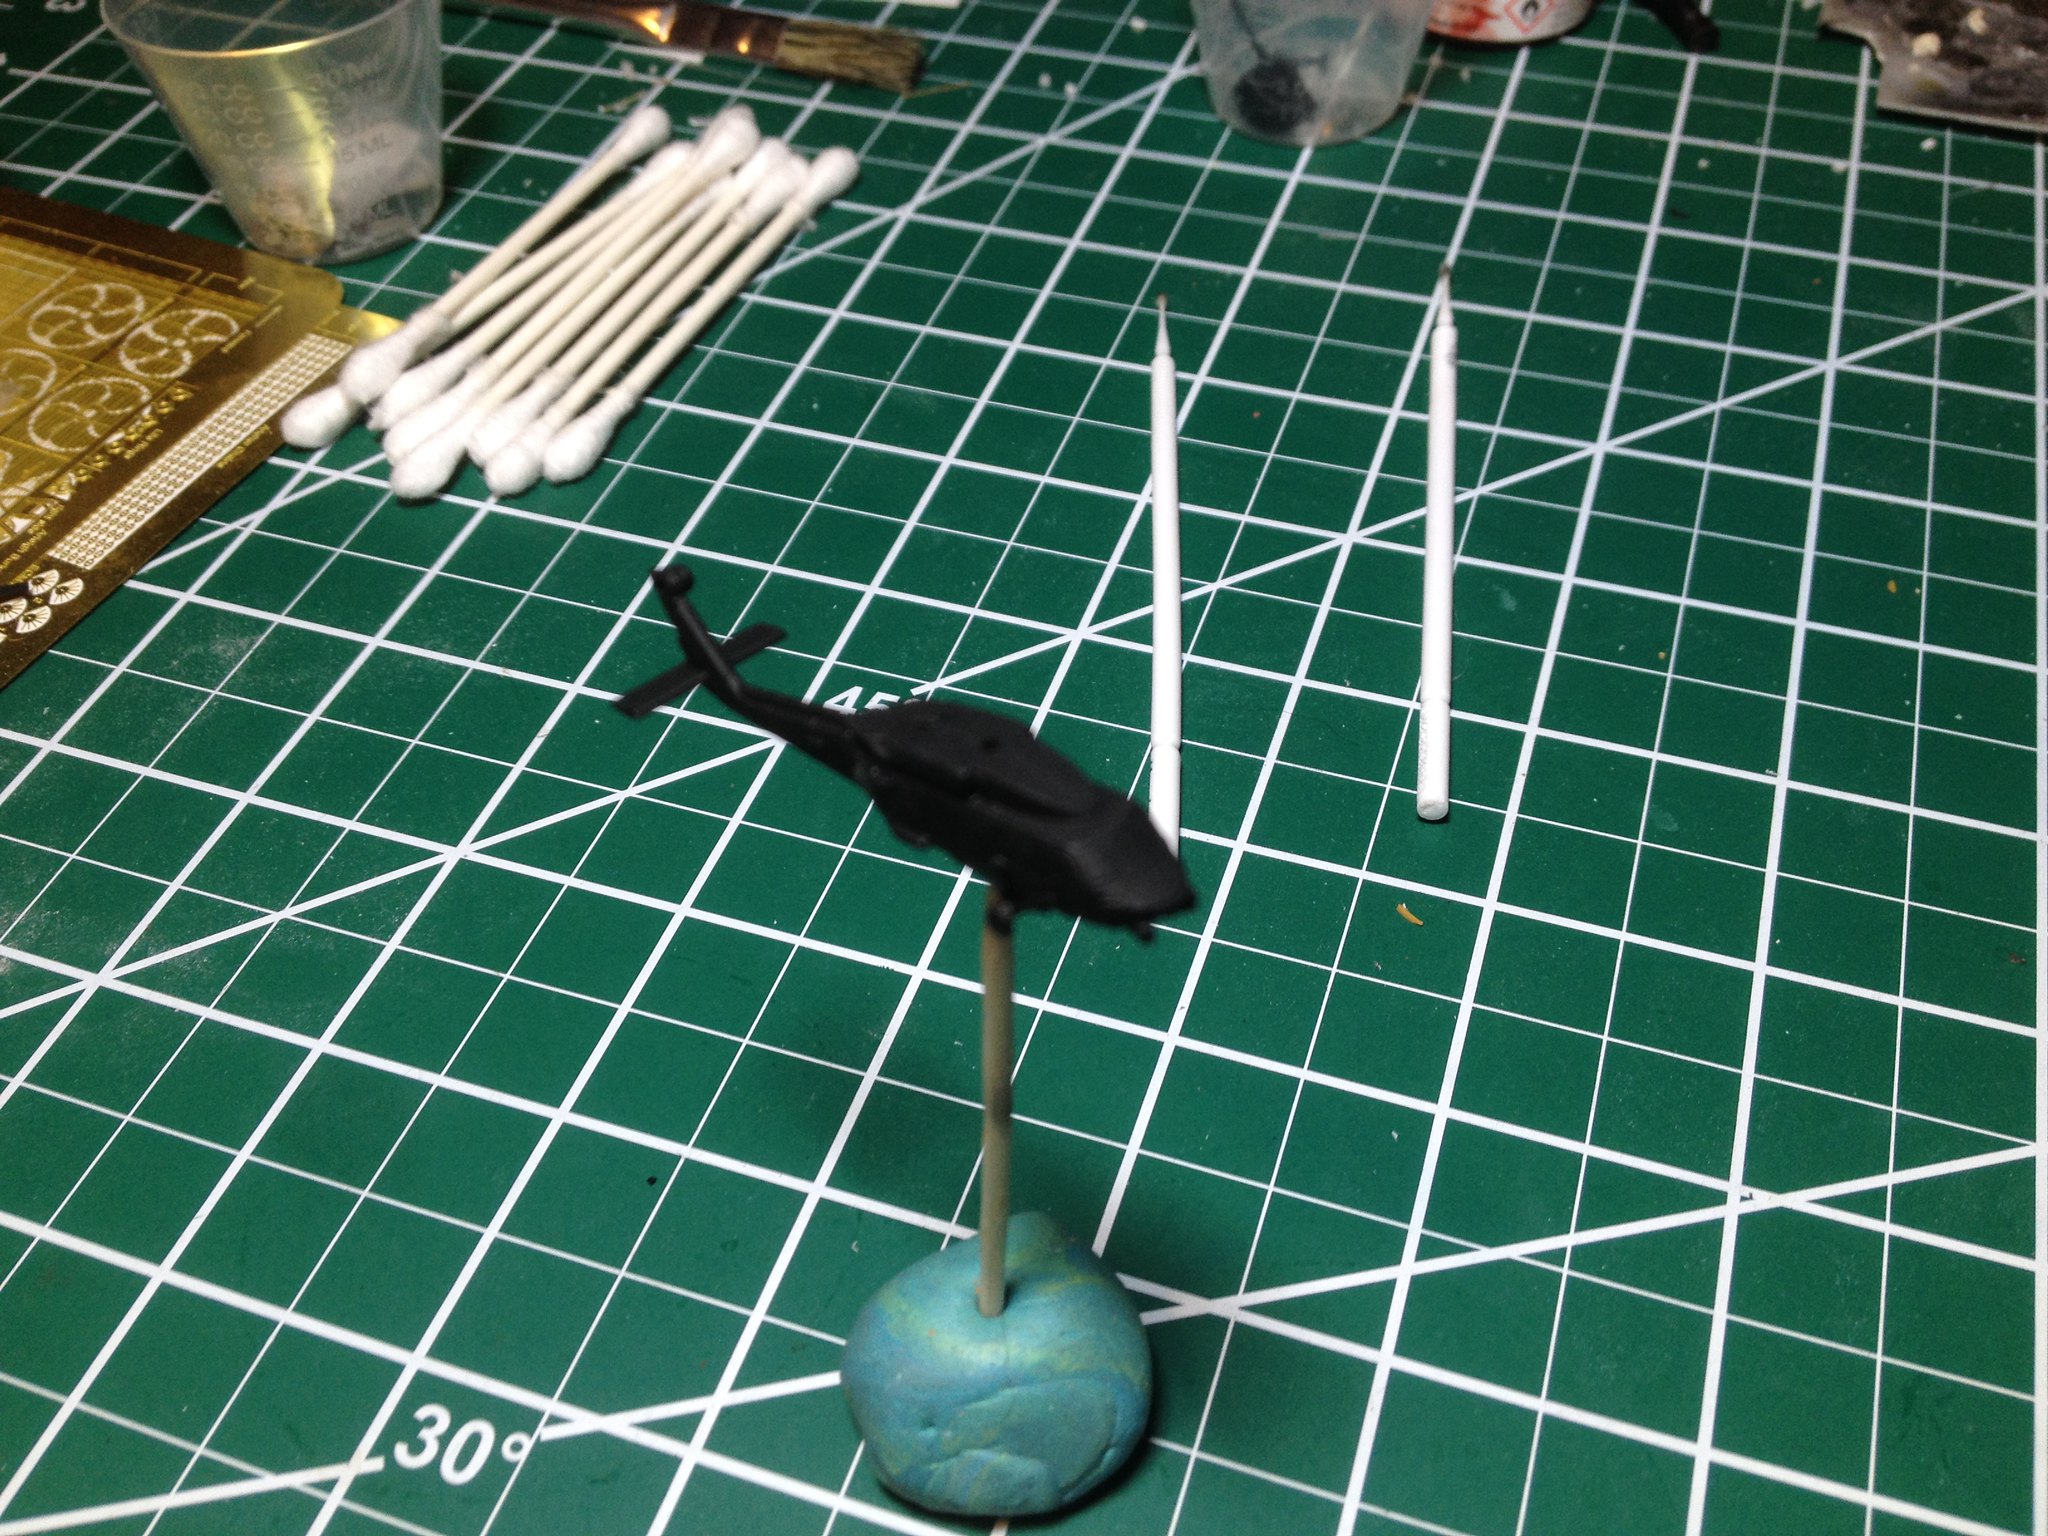
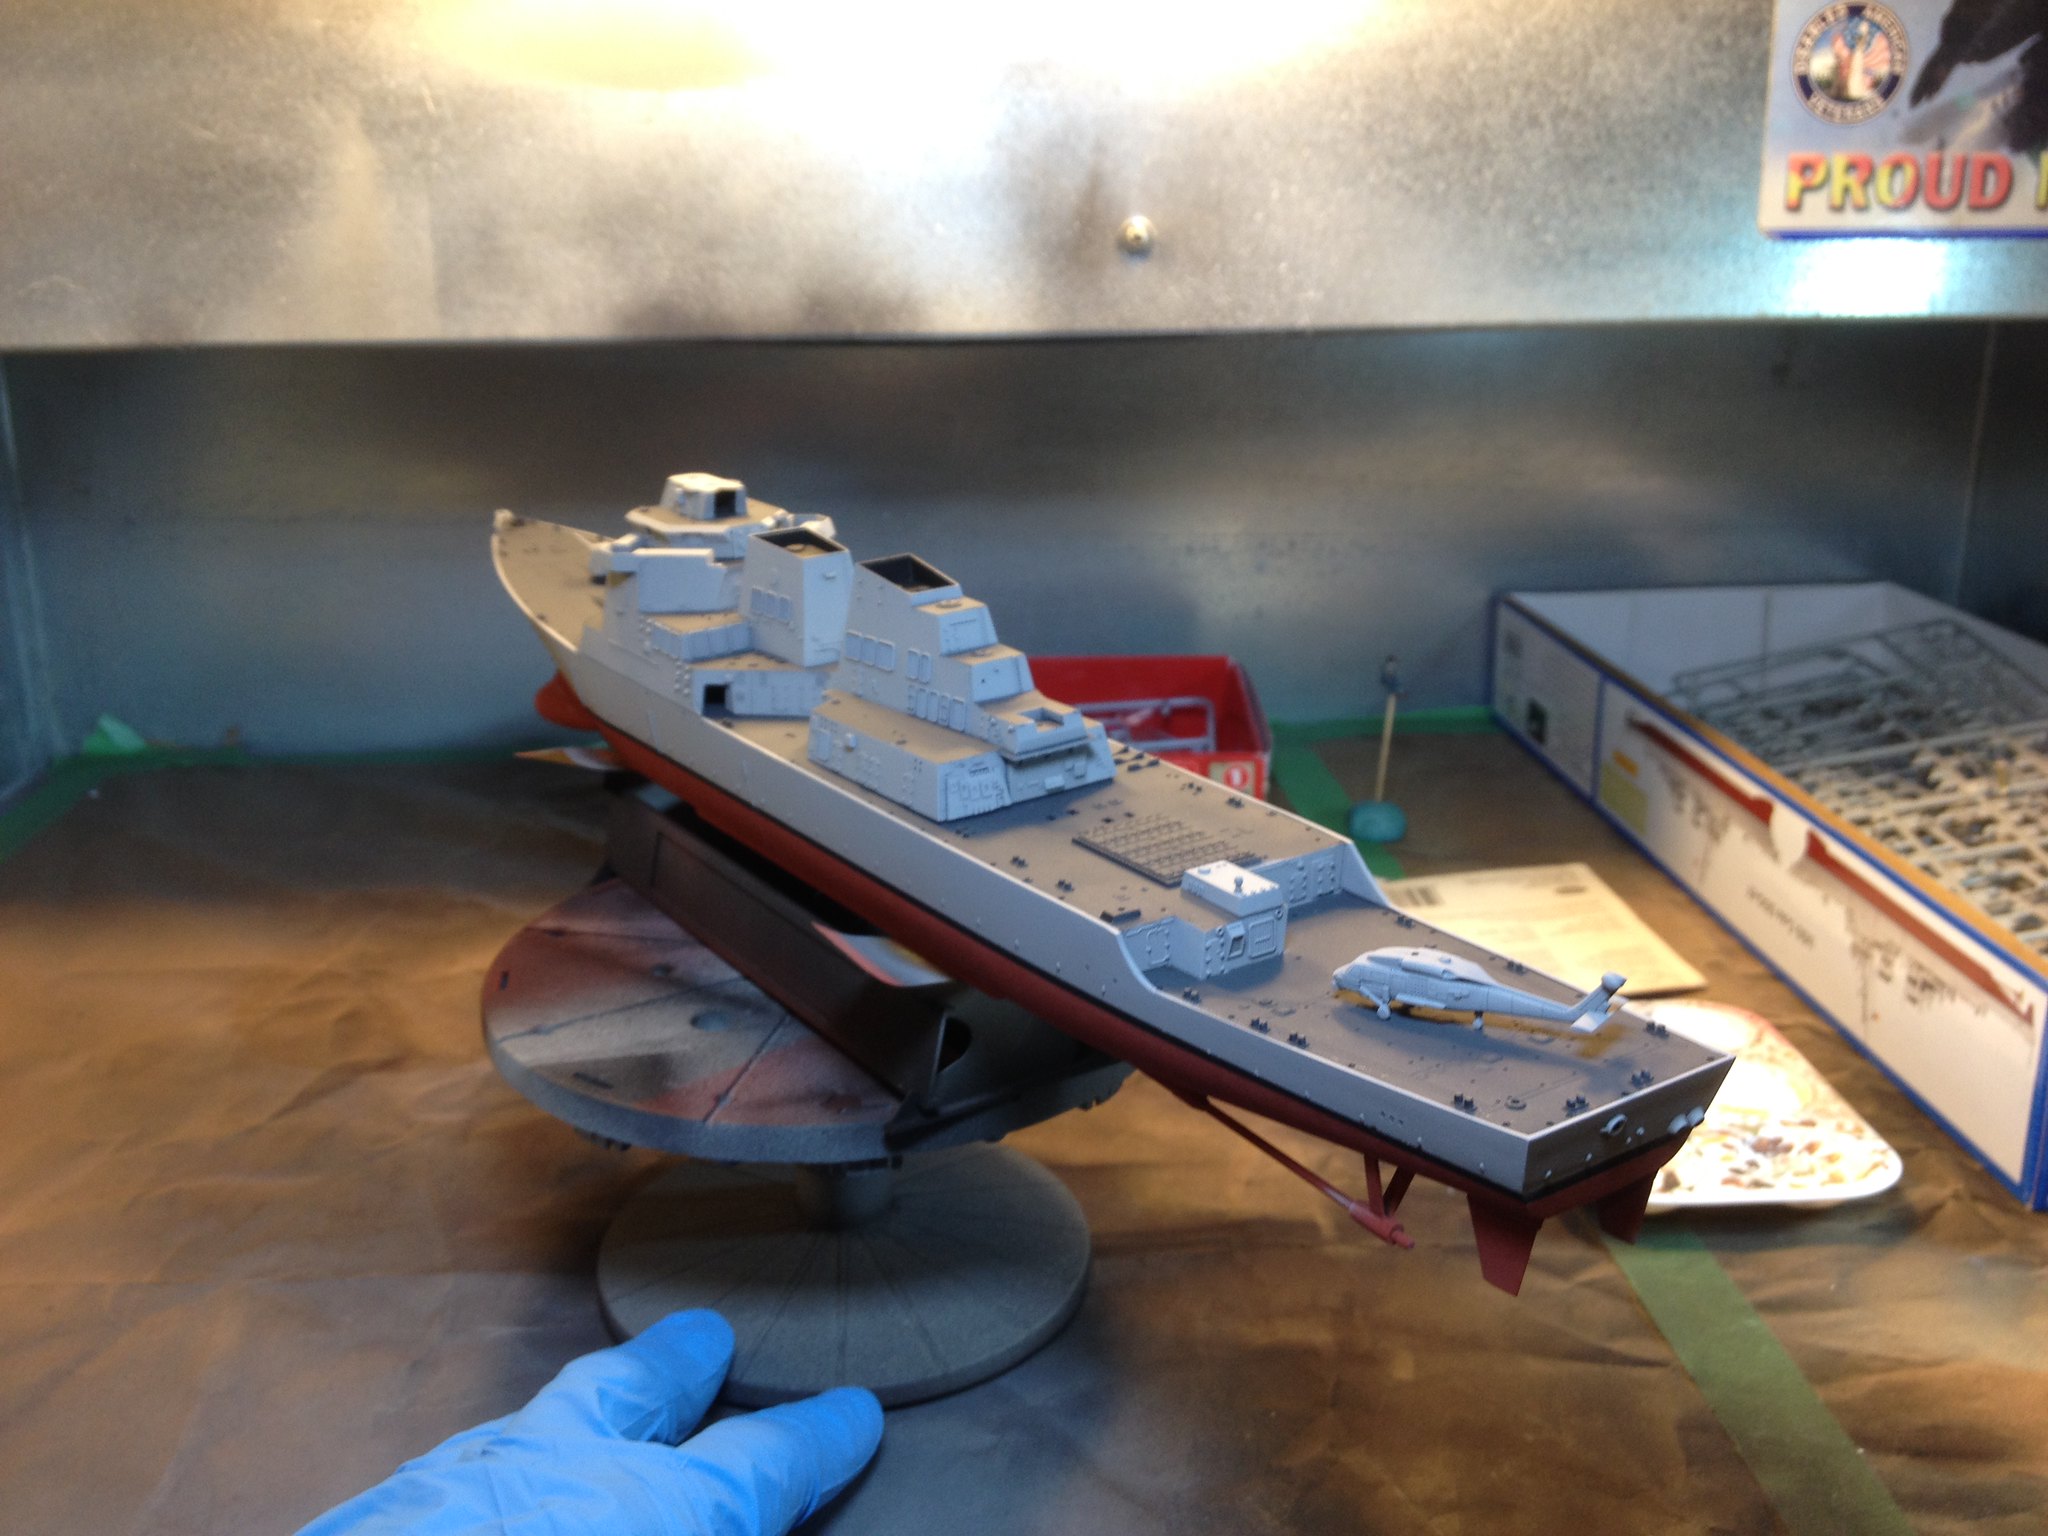
Blackhawk Seahawk (SH-60B from Trumpeter).
 IMG_2497 by Christopher Ridle, on Flickr
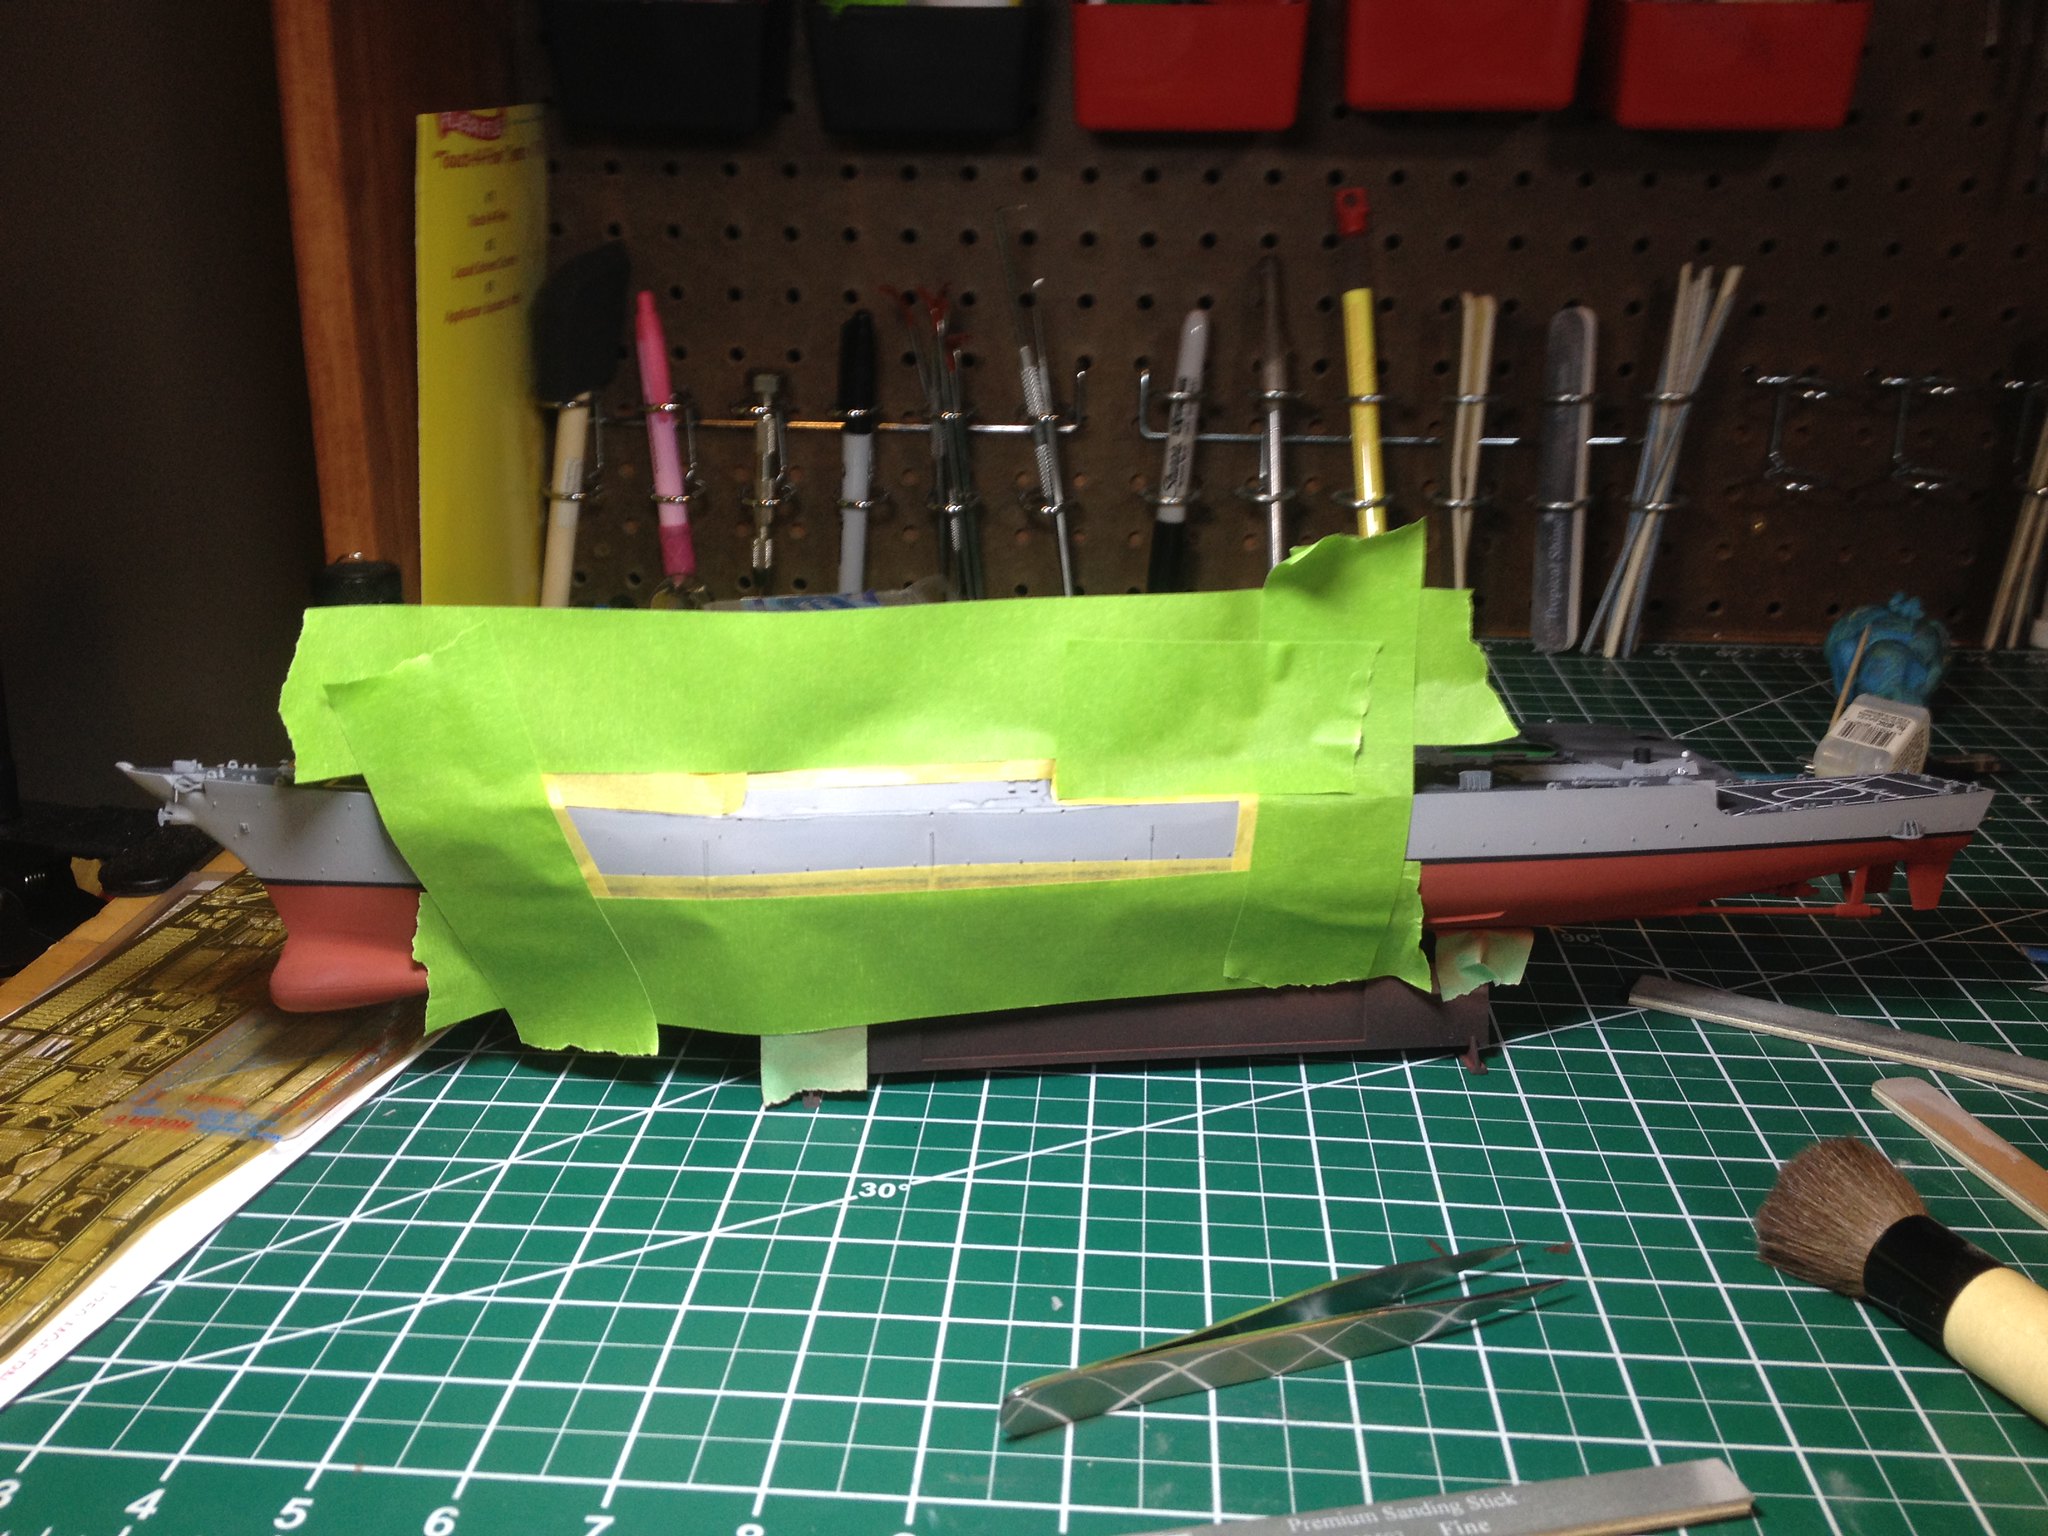
The hull is painted with about a 50:50 mix of Tamiya Red (XF-7) and Hull Red (XF-9). Horizontal surfaces were painted with German Grey (XF-63).
 IMG_2496 by Christopher Ridle, on Flickr
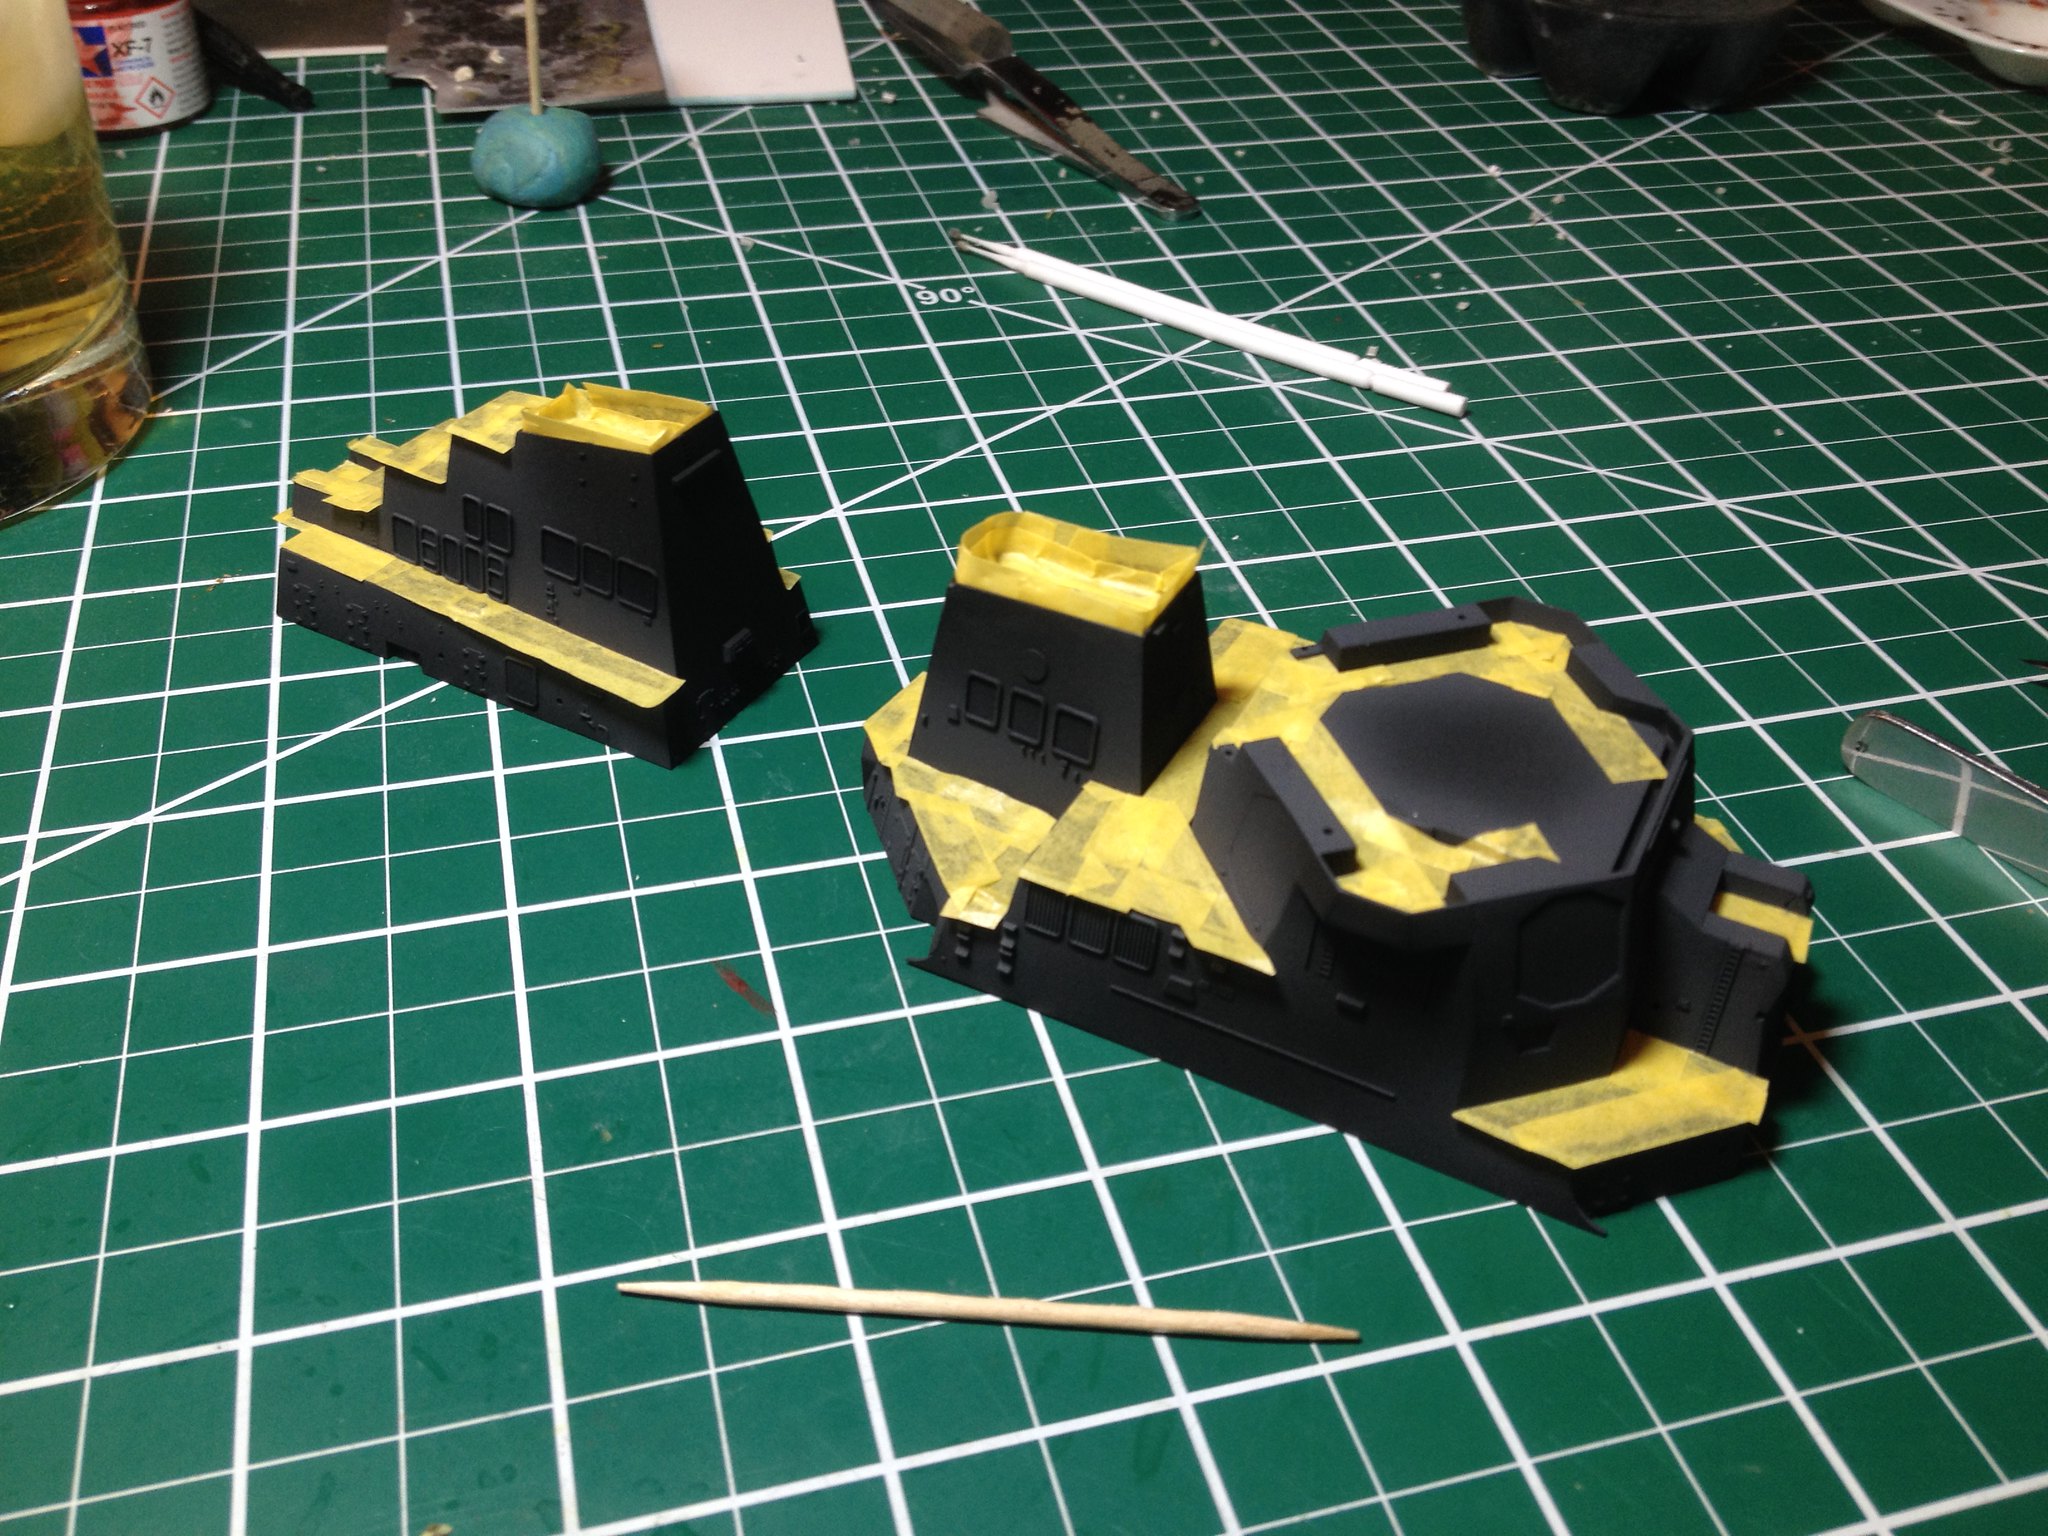
There was a whole lot of masking.
 IMG_2502 by Christopher Ridle, on Flickr
The vertical surfaces got Sky Grey (XF-19).
 IMG_2504 by Christopher Ridle, on Flickr
 IMG_2505 by Christopher Ridle, on Flickr
 IMG_2506 by Christopher Ridle, on Flickr
 IMG_2507 by Christopher Ridle, on Flickr
The deck marking were masked and airbrushed with white and red.
 IMG_2585 by Christopher Ridle, on Flickr
Some convincing was needed to make the forward superstructure sit flush on the main deck.
 IMG_2608 by Christopher Ridle, on Flickr
There were still seams to be filled, sanded, and repainted.
 IMG_2609 by Christopher Ridle, on Flickr
I did the multitude of little detail parts in batches. There was the forward deck details, aft deck details, forward superstructure details, and aft superstructure details.
 IMG_2625 by Christopher Ridle, on Flickr
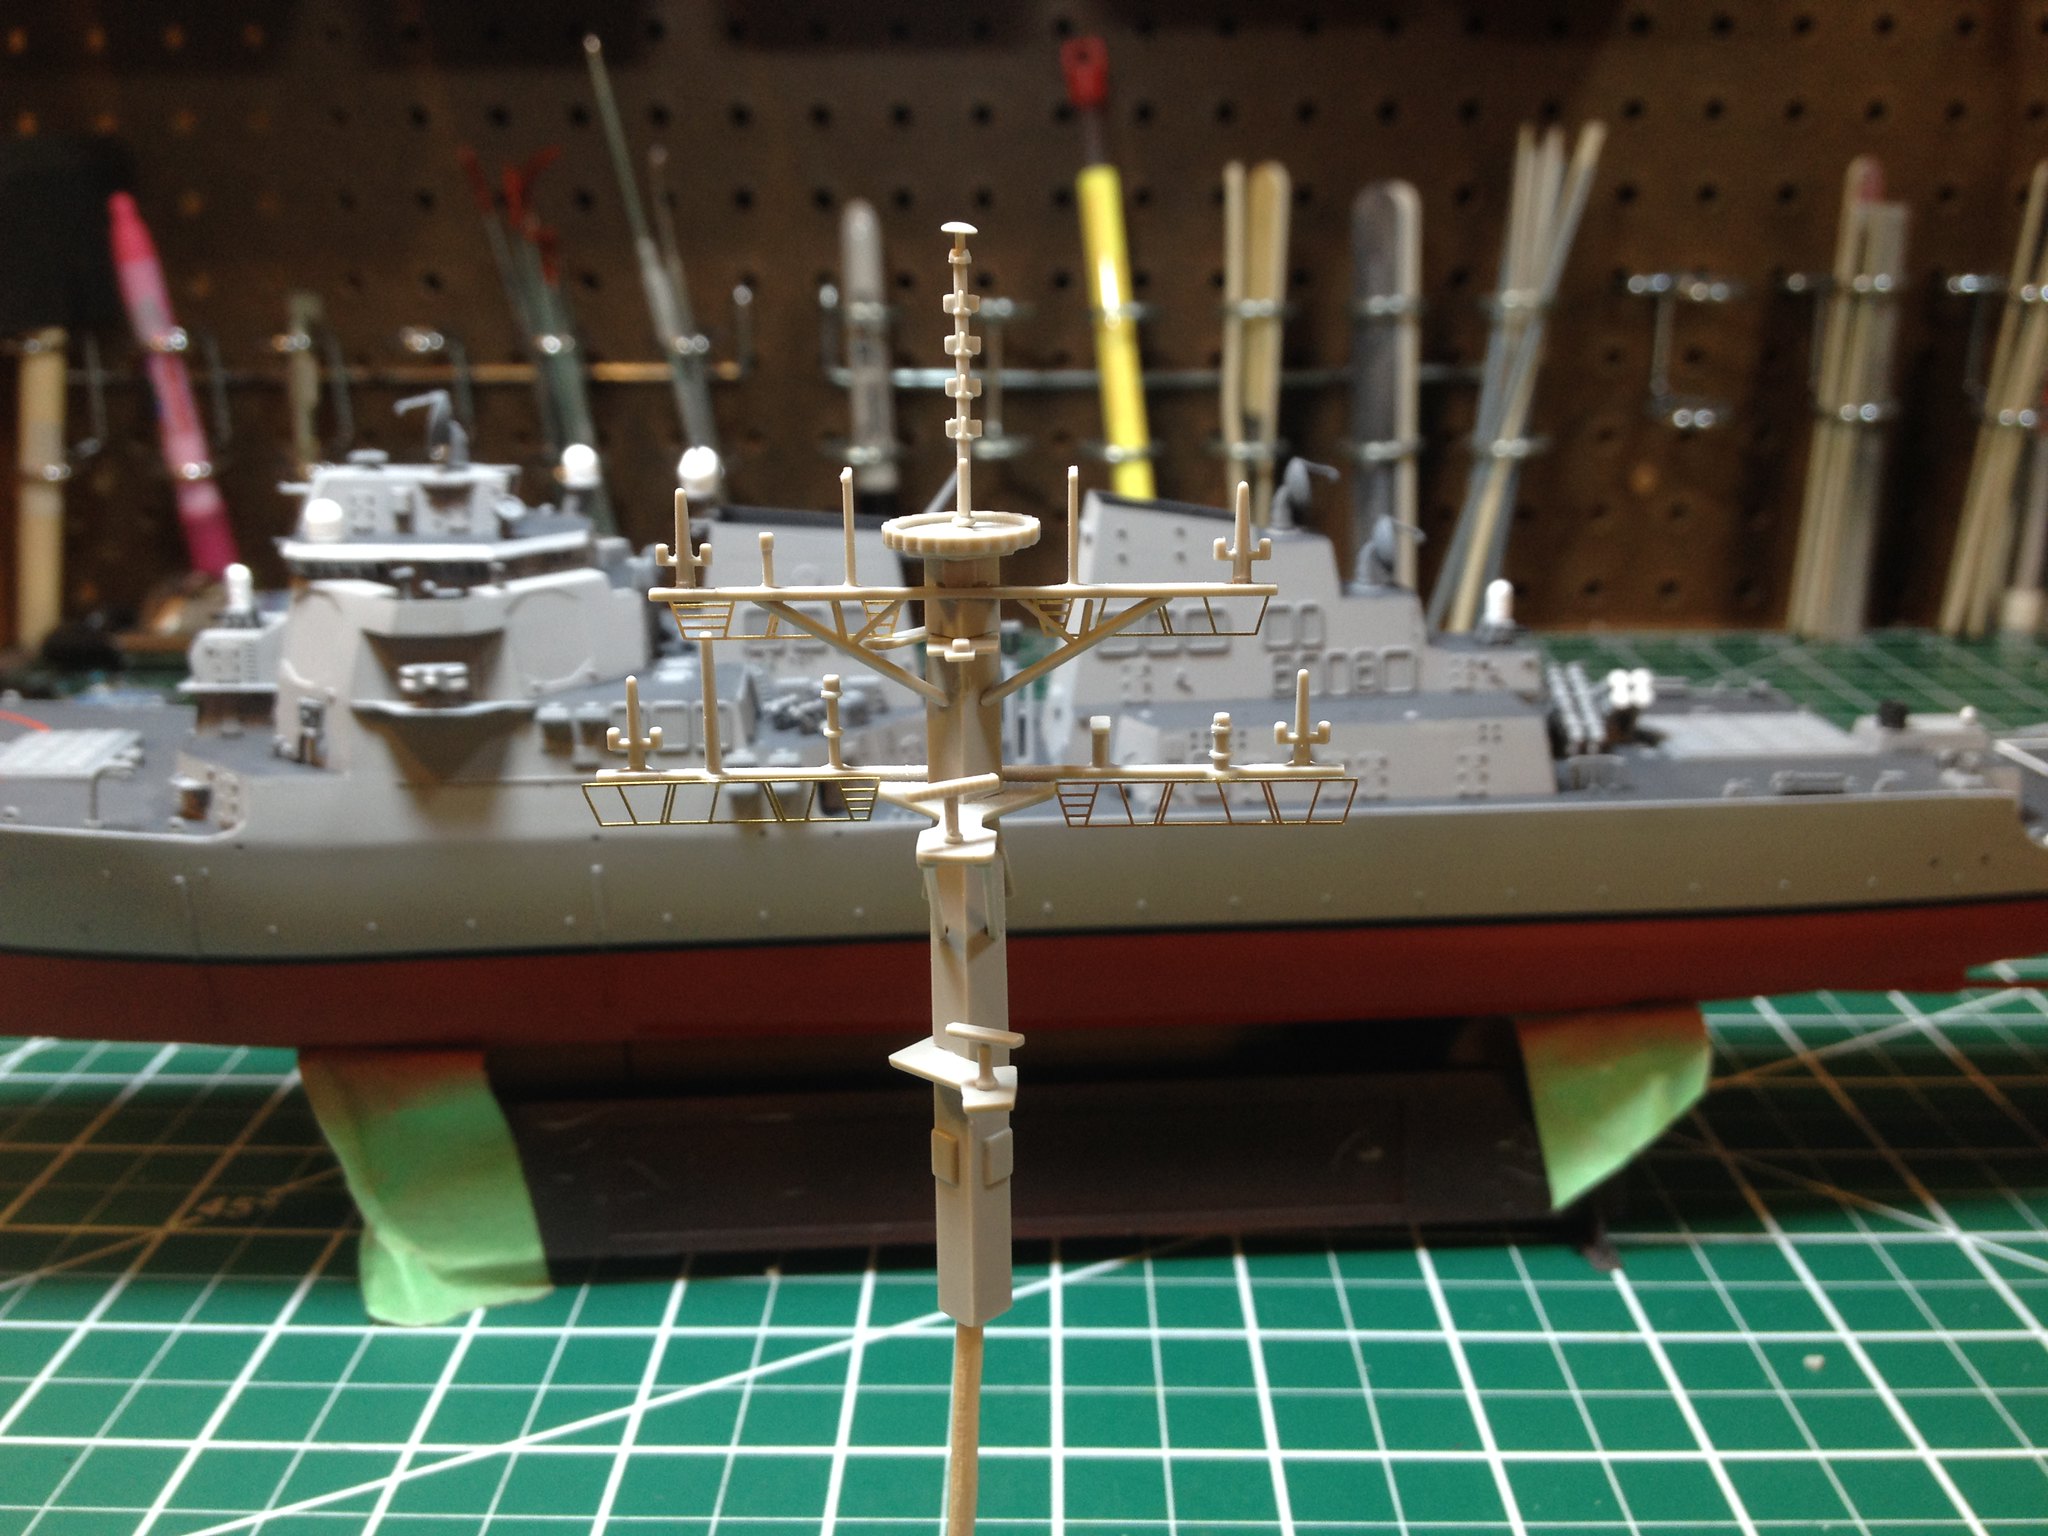
The mast was a fun little assembly, and it benefited greatly from the Gold Medal Models PE.
 IMG_2632 by Christopher Ridle, on Flickr
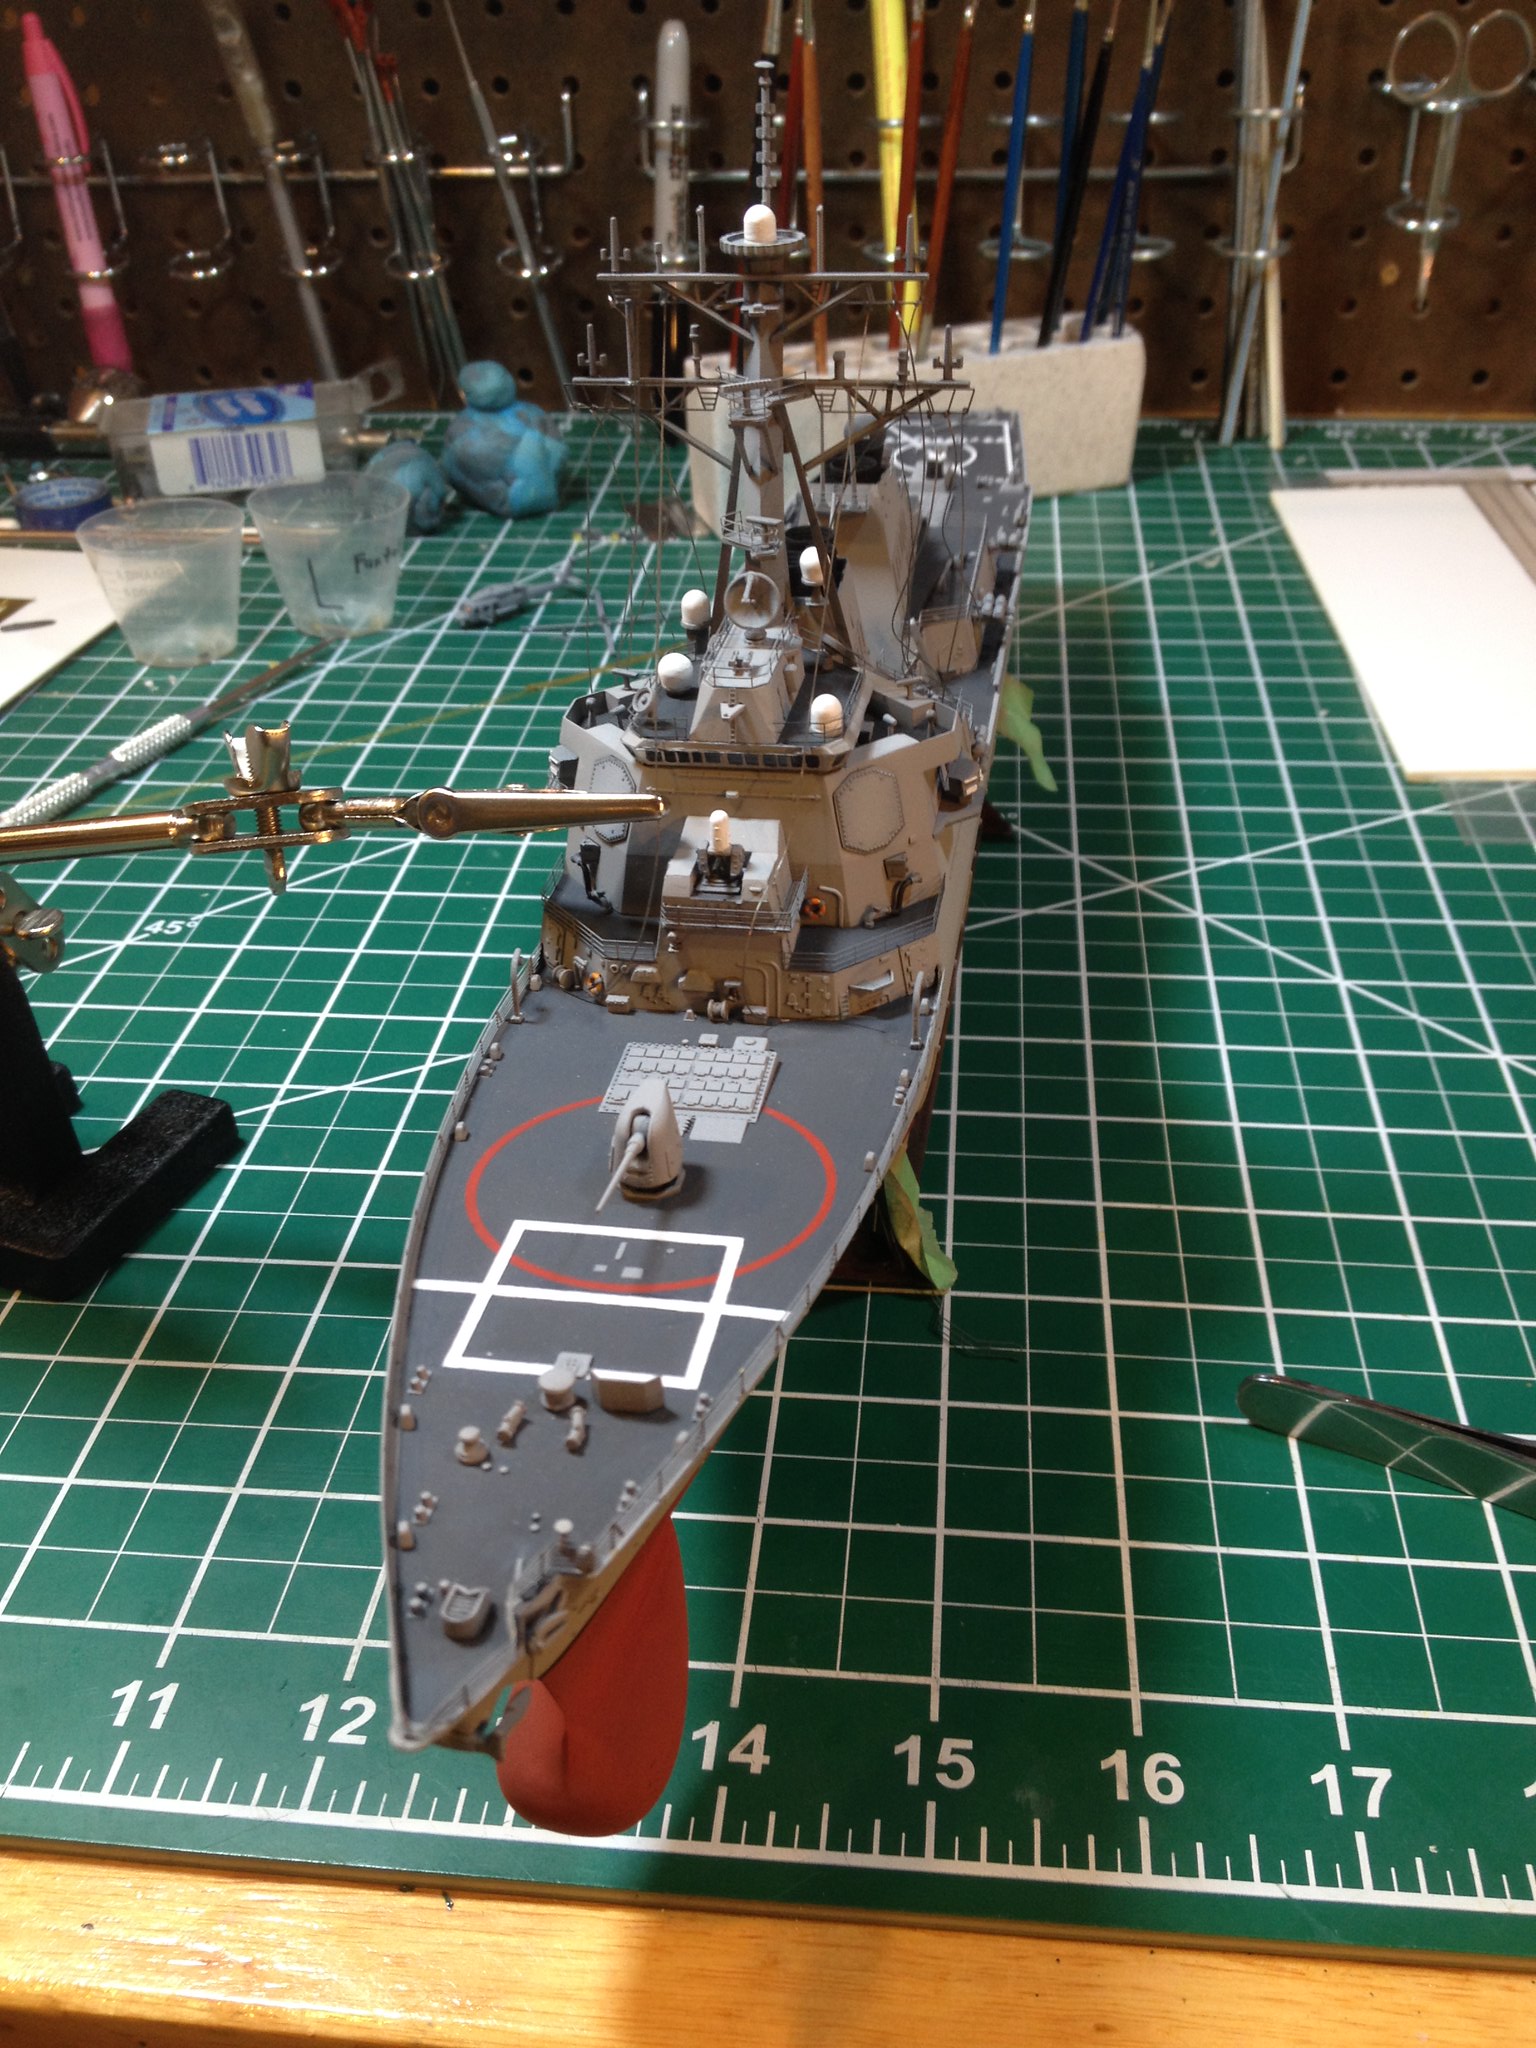
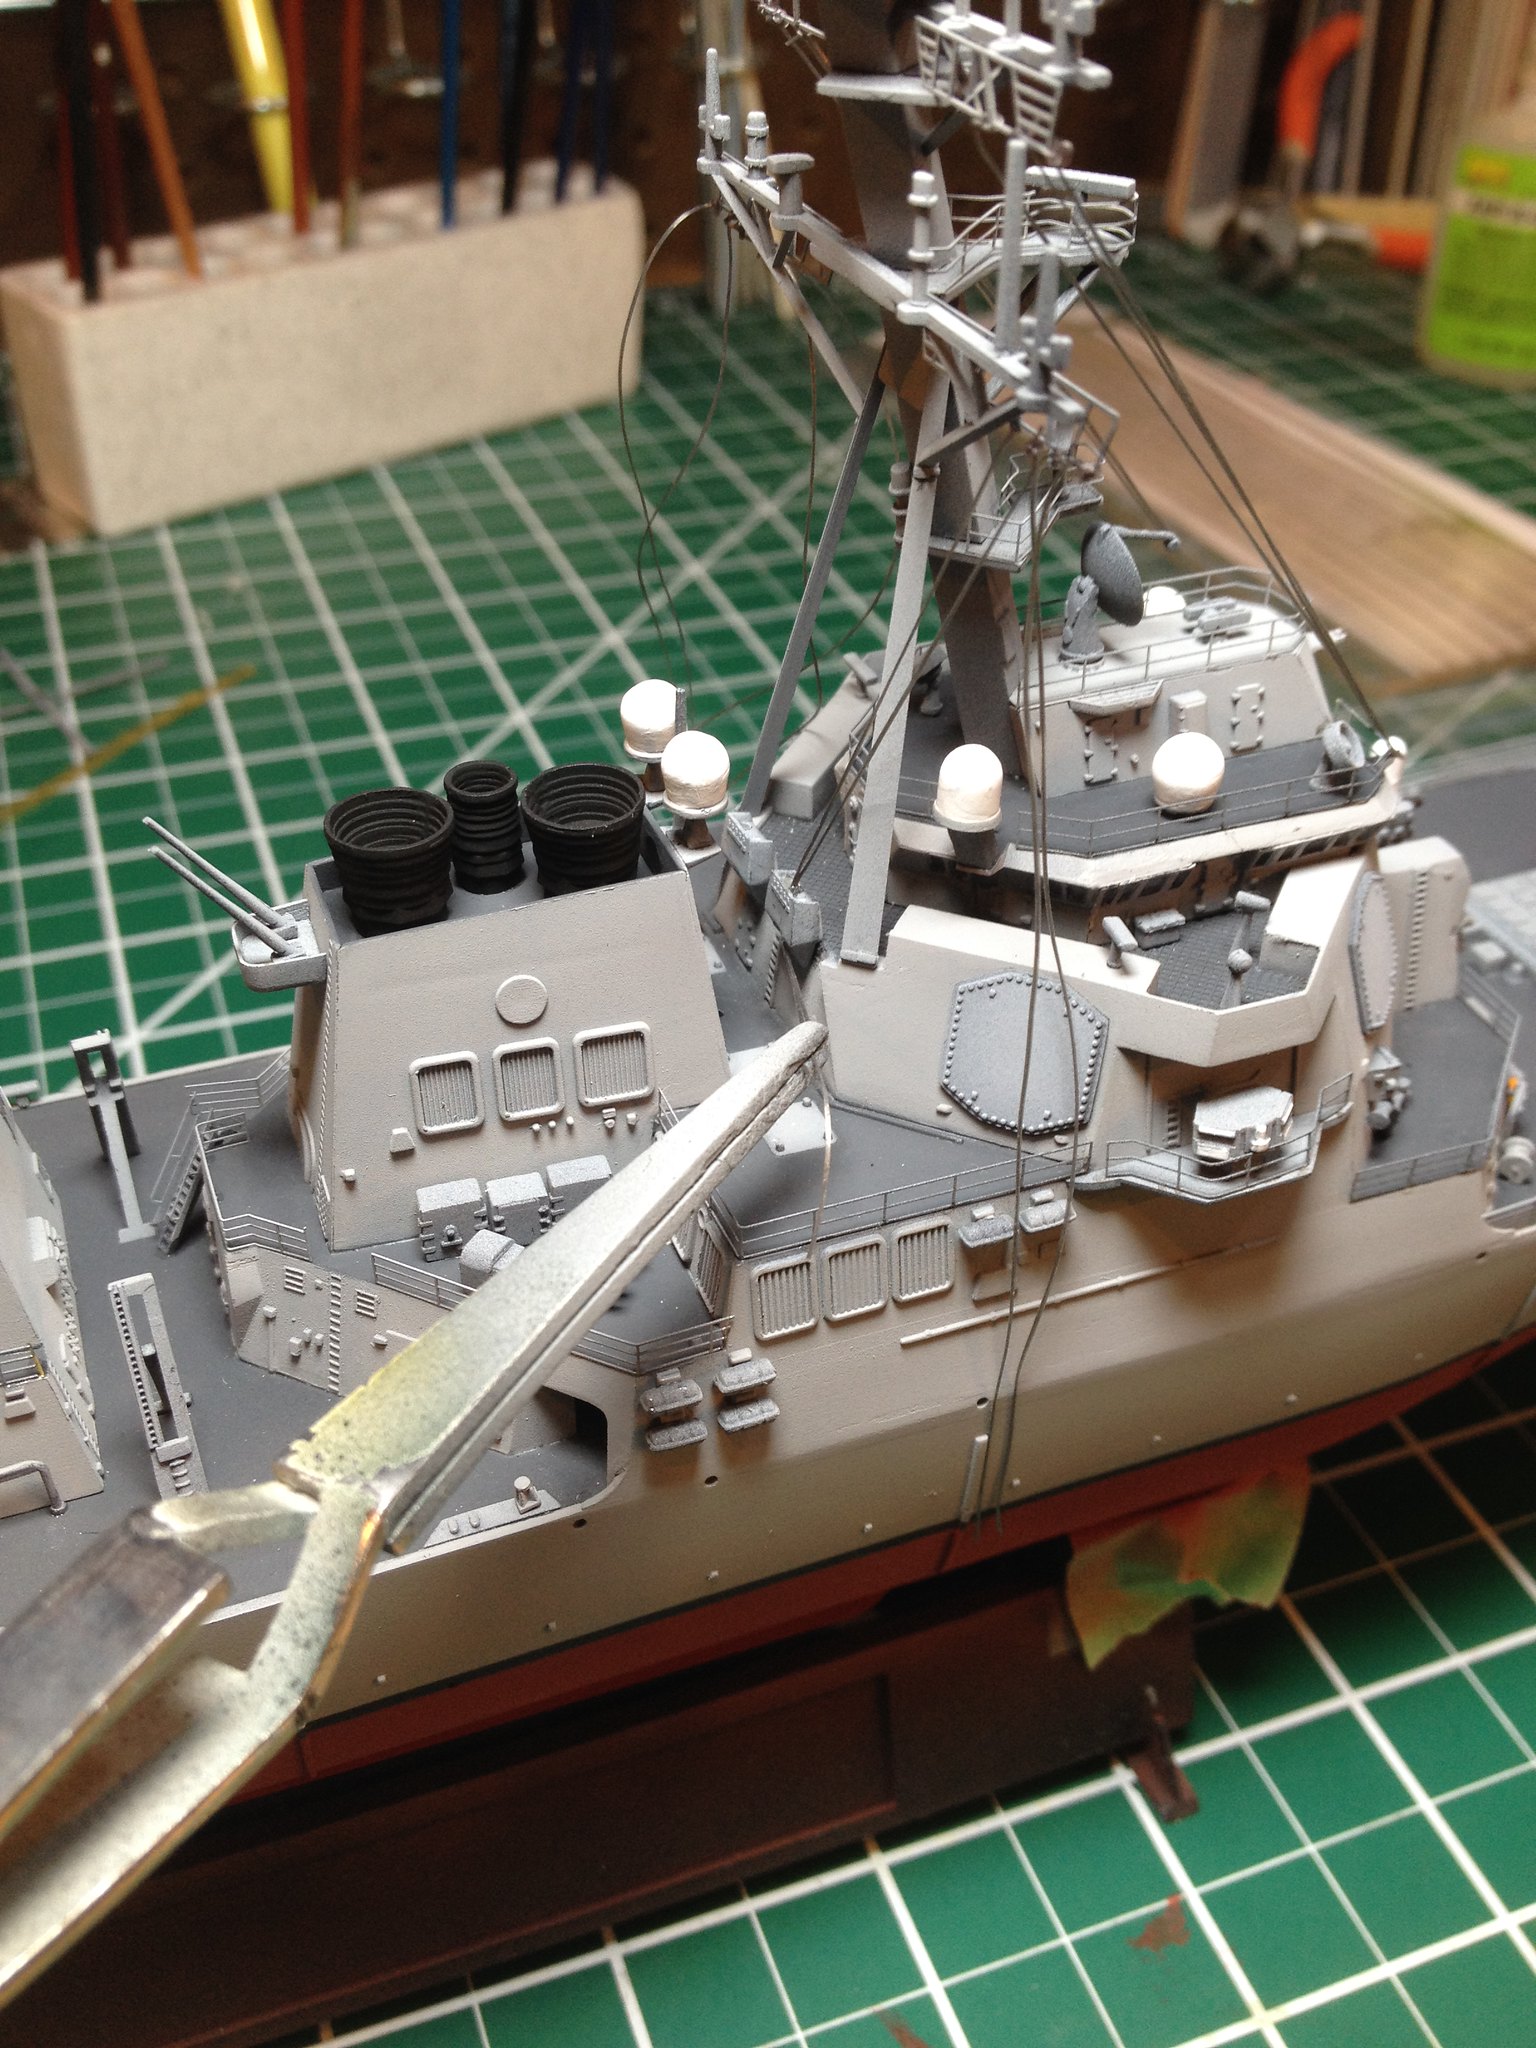
After painting, EZ Line rigging was installed. I assured I left plenty of extra line. Holes were drilled in the plastic “Flag Bags” to be an anchor point for the rigging. The mast was glued to the superstructure. I ran the forward lines over their appropriate horns with a minimum of tension in the line. An alligator clip tool held the line in place while the CA glue dried.
 IMG_2680 by Christopher Ridle, on Flickr
The aft lines were run through the holes in the “Flag bags.” Again, they were held with a minimum of tension while the glue dried.
 IMG_2688 by Christopher Ridle, on Flickr
 IMG_2690 by Christopher Ridle, on Flickr
