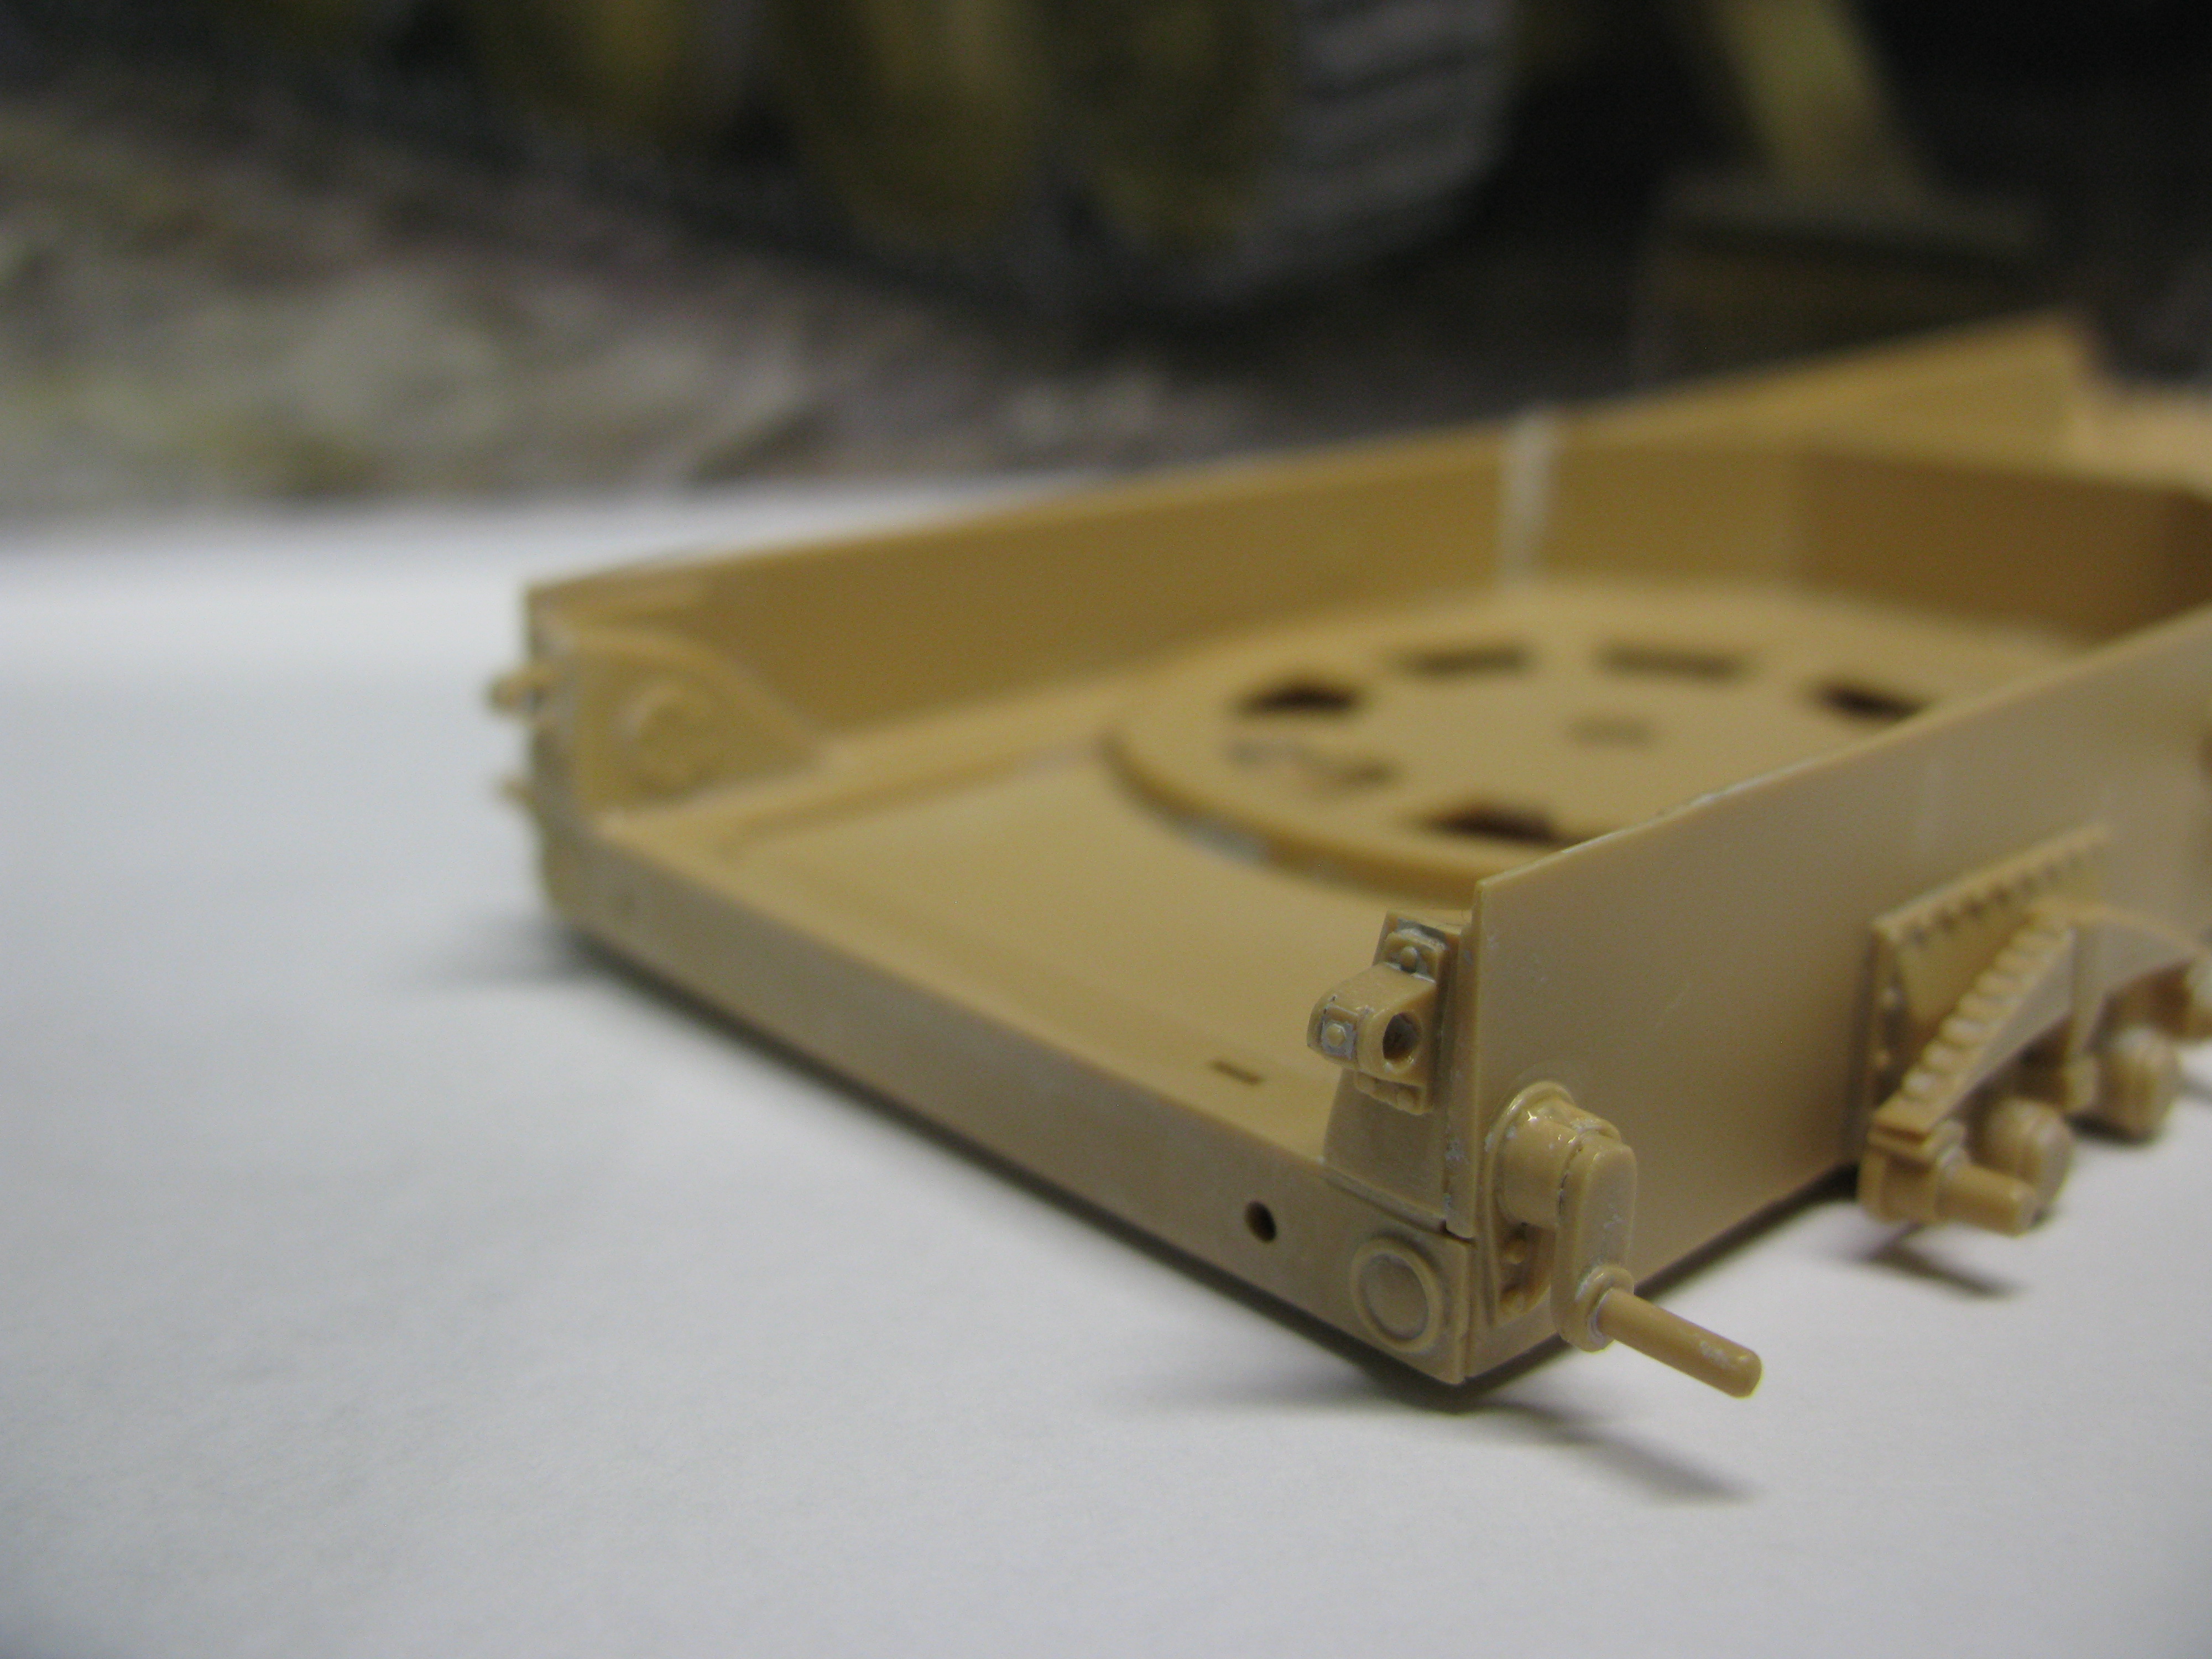
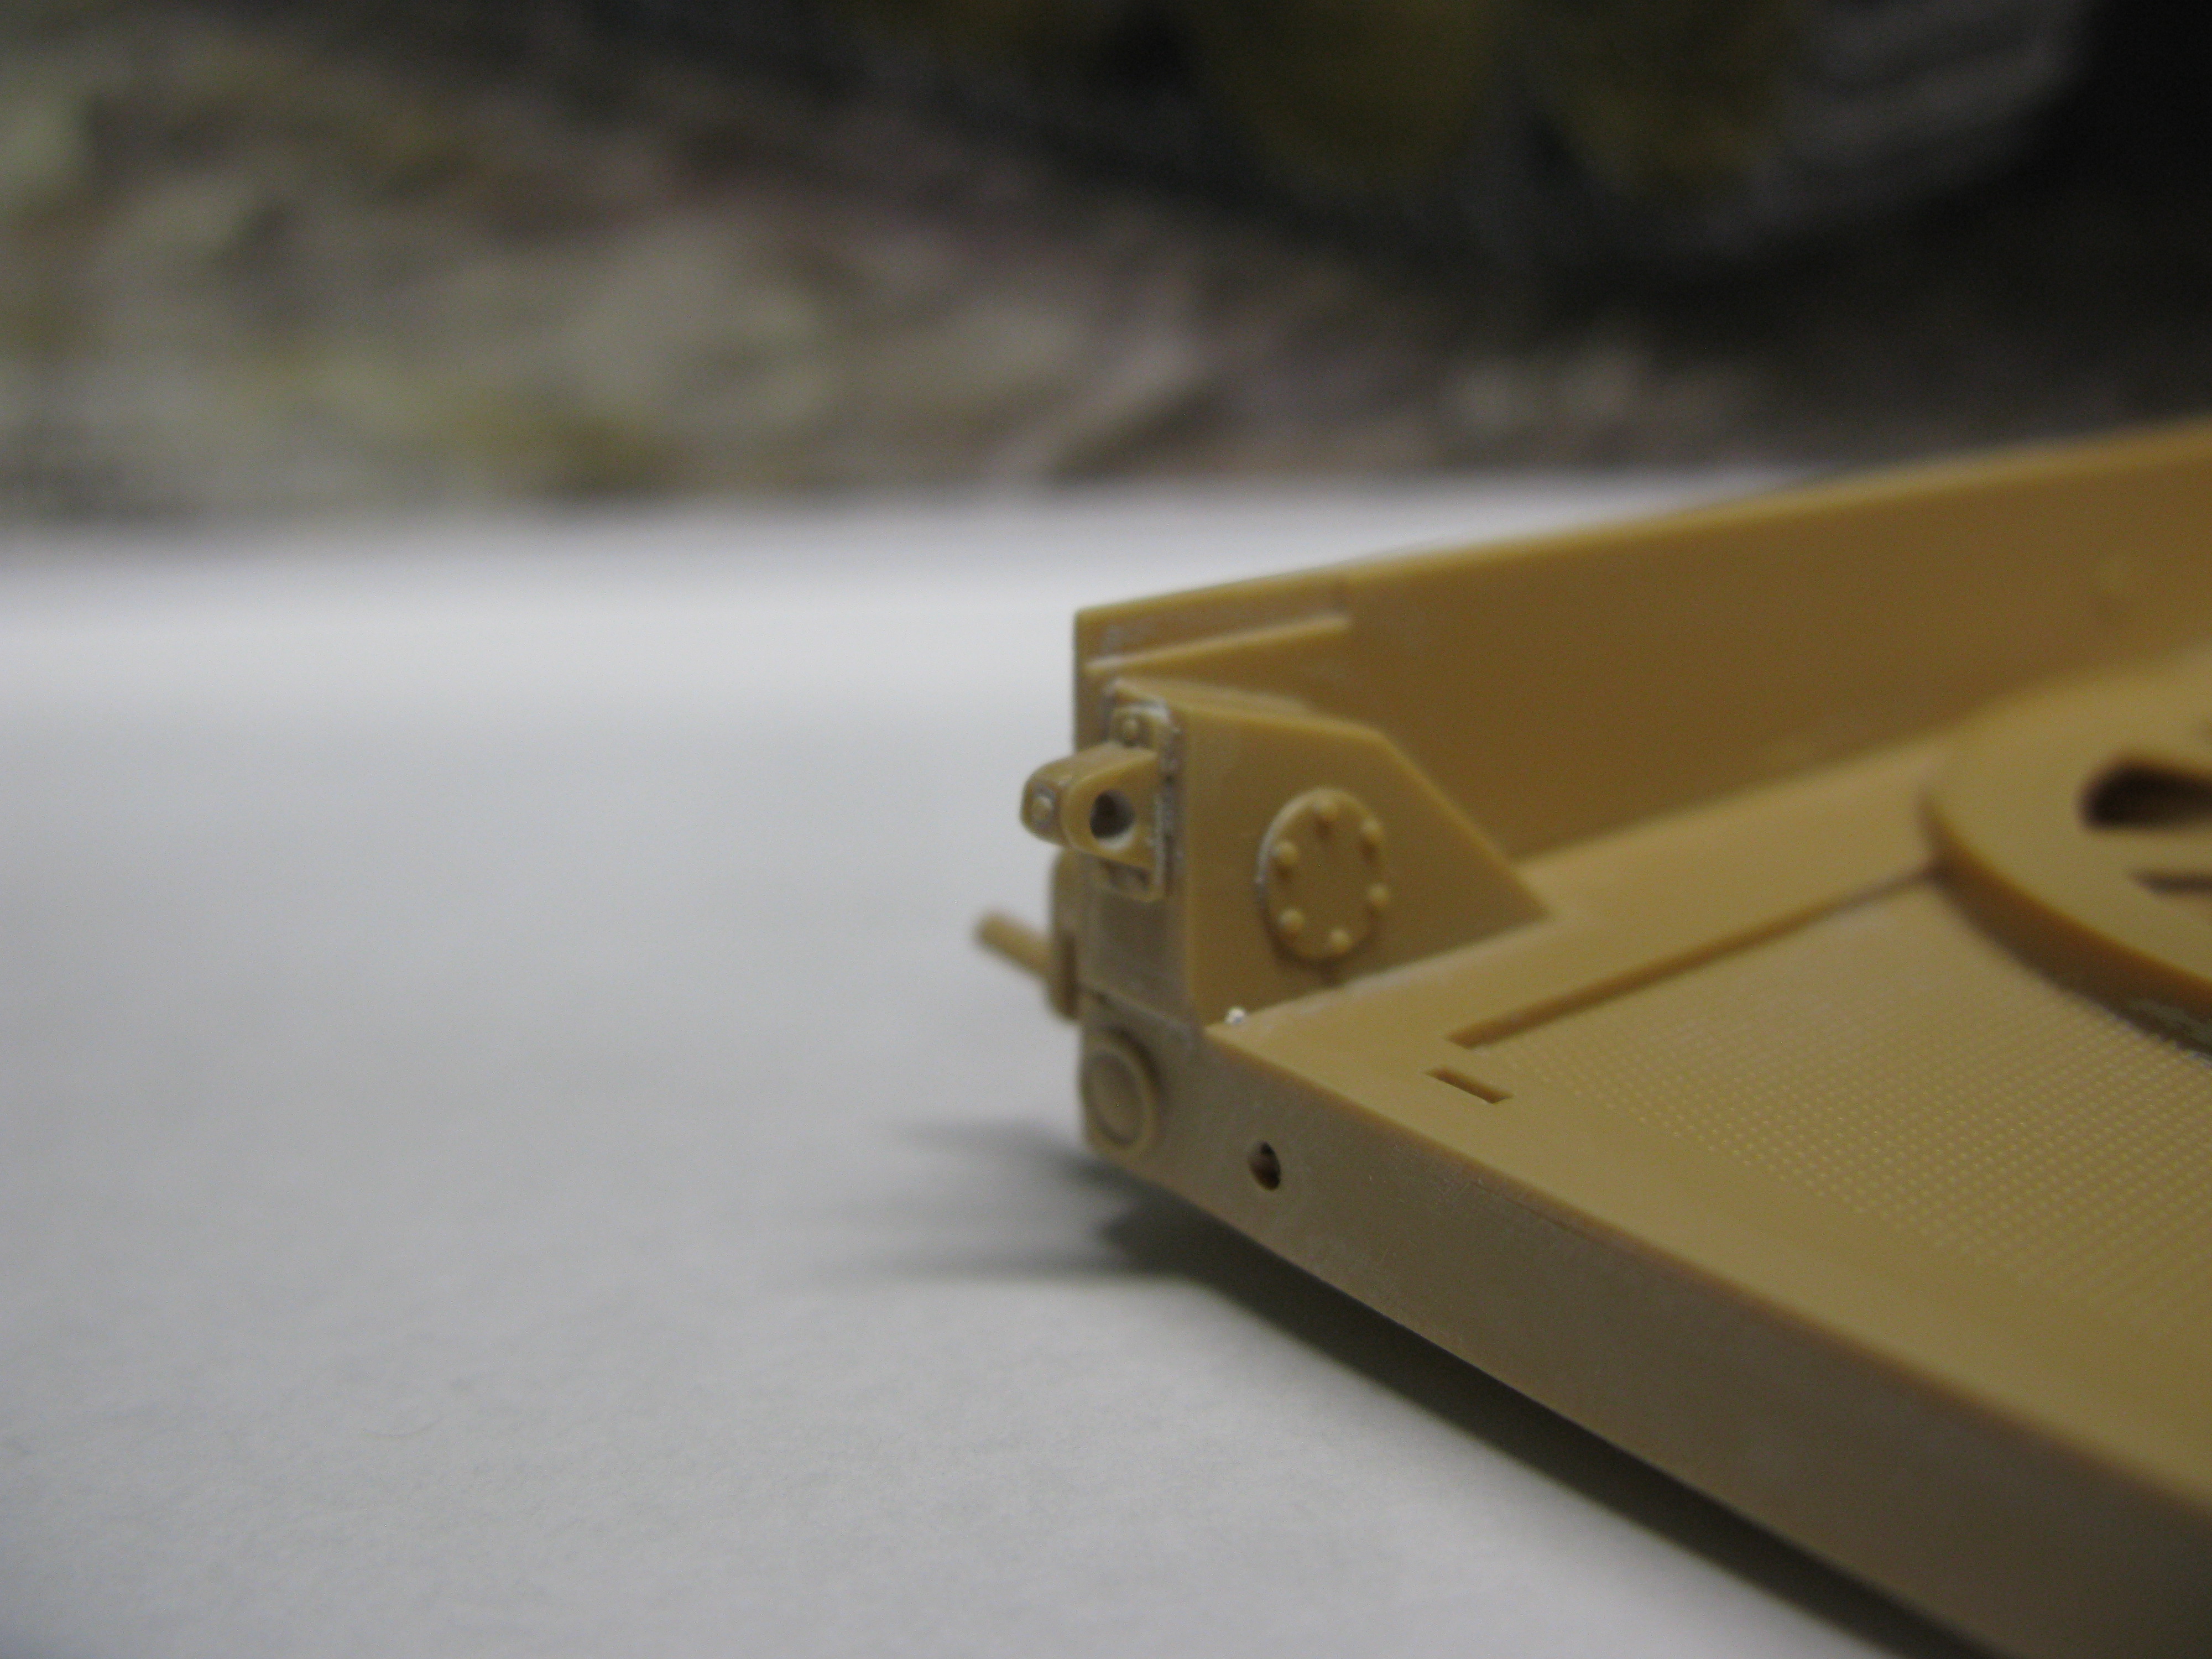
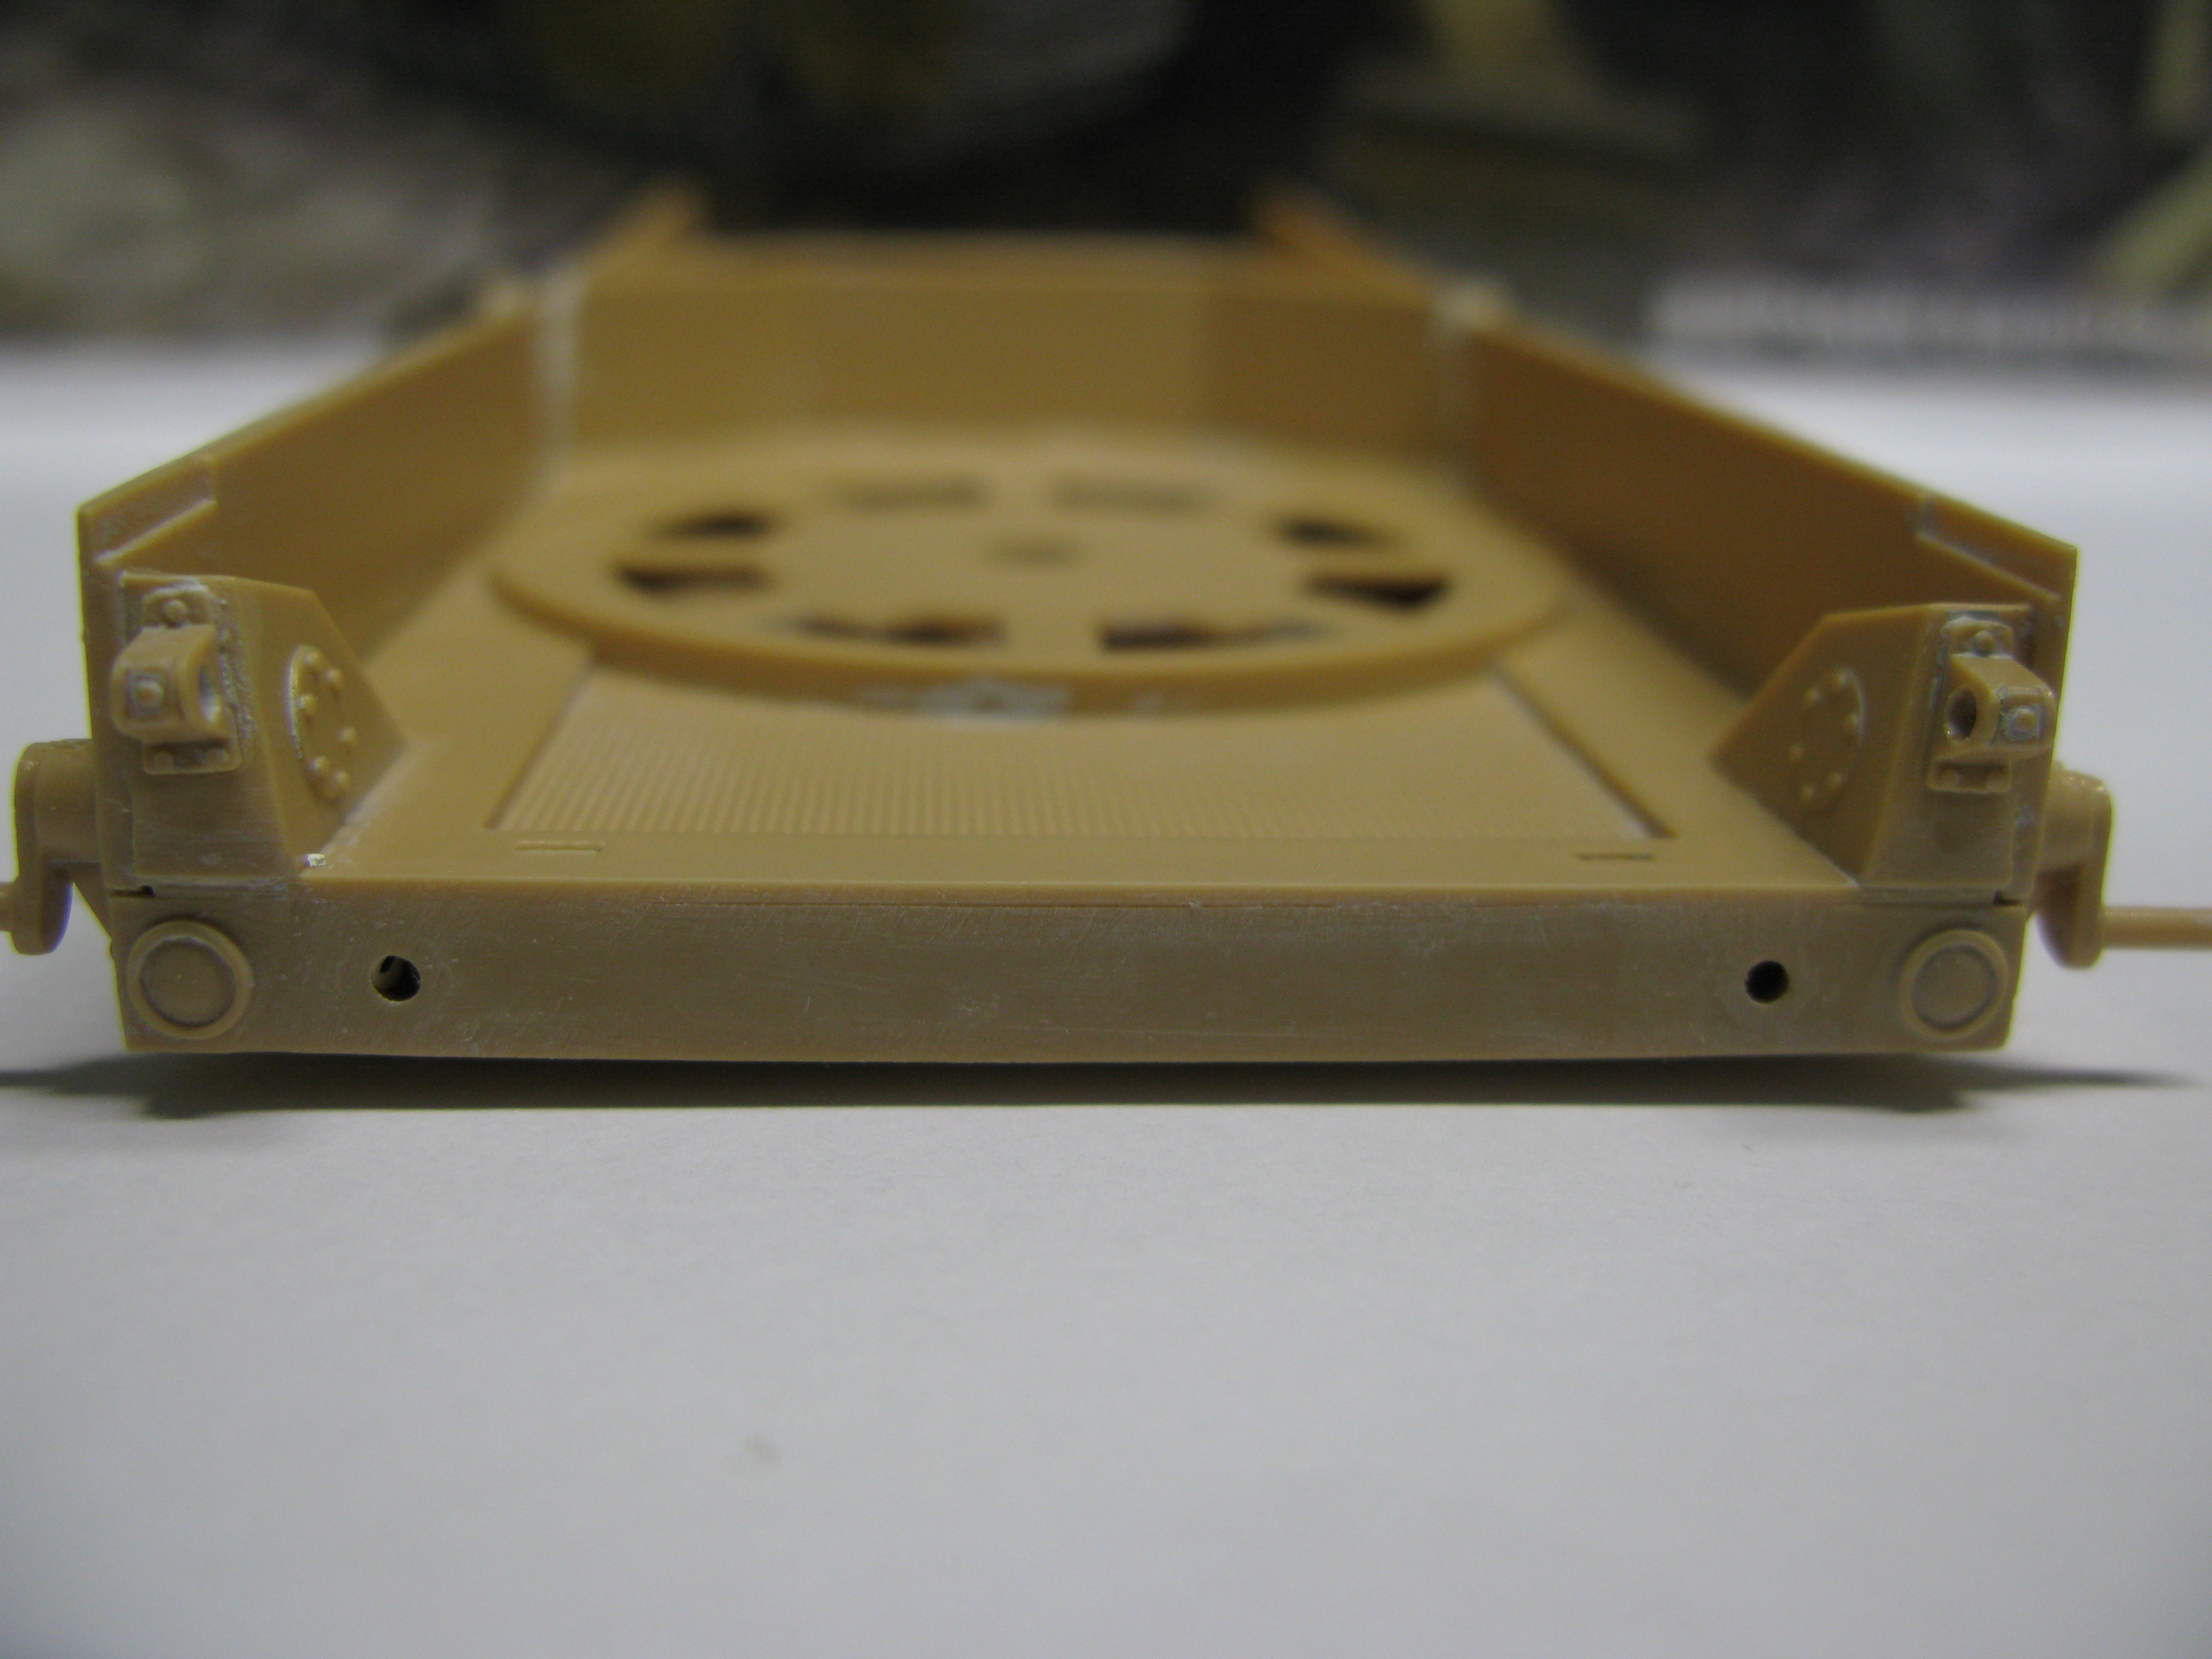
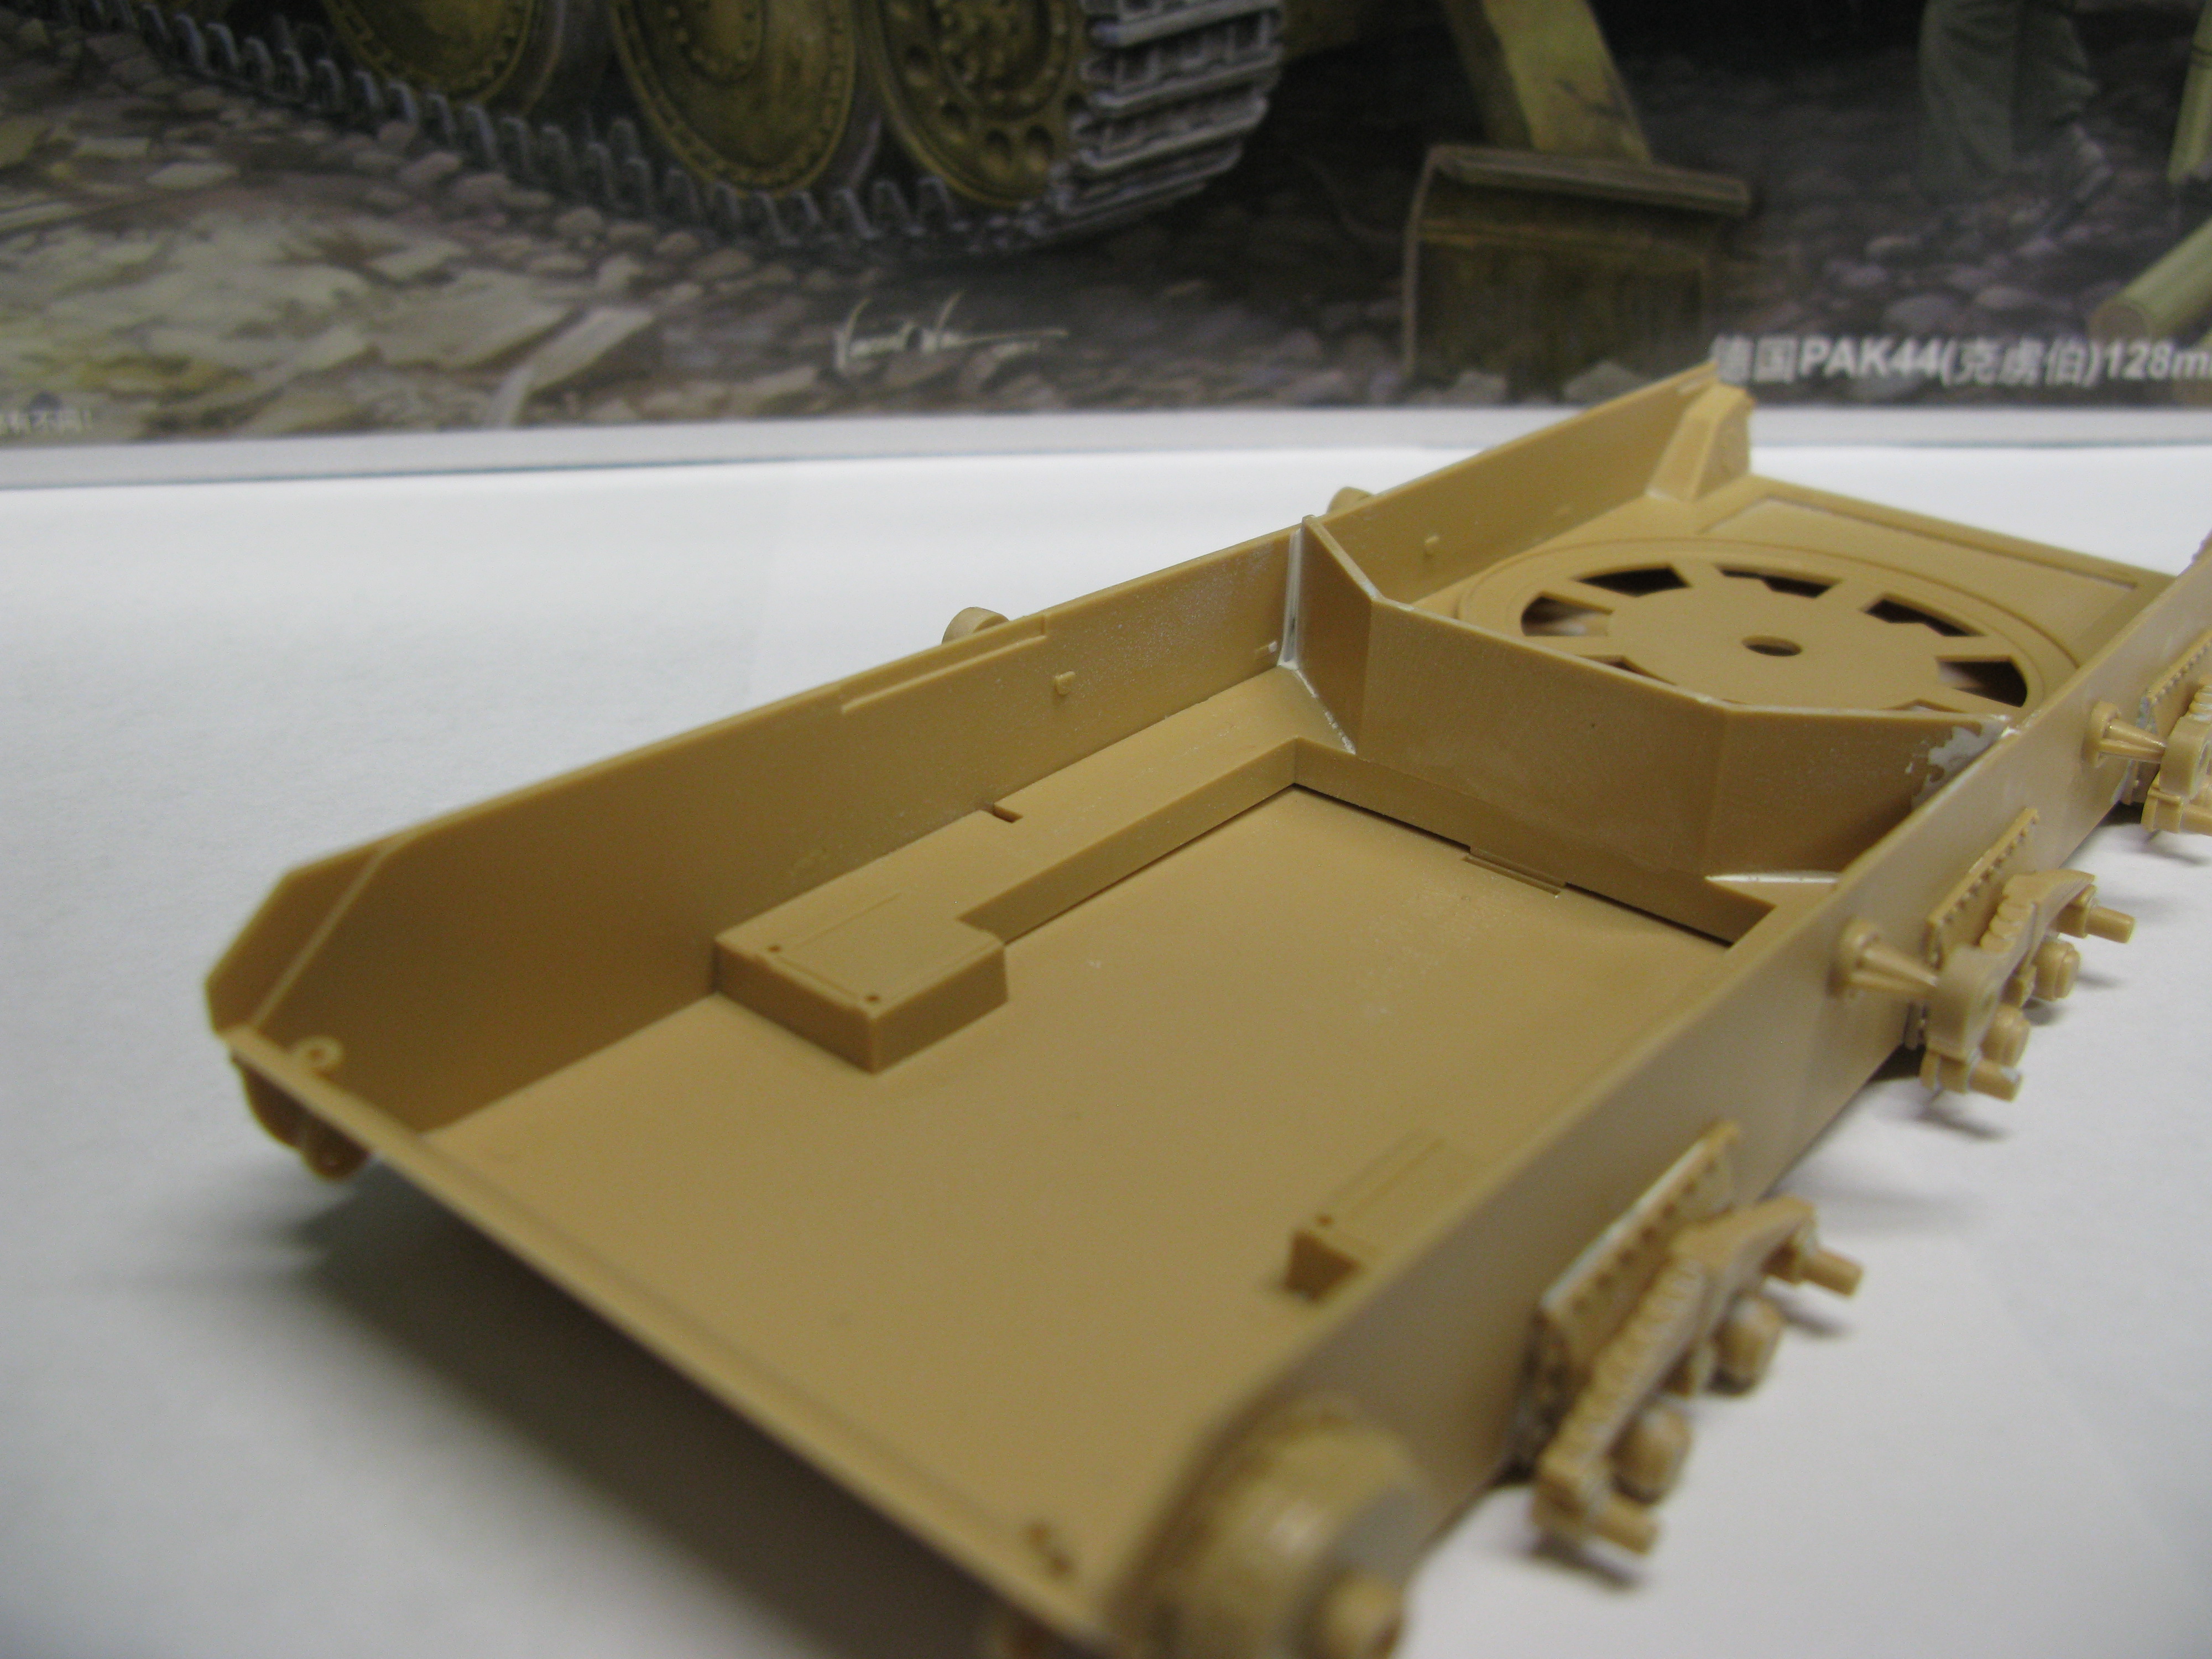
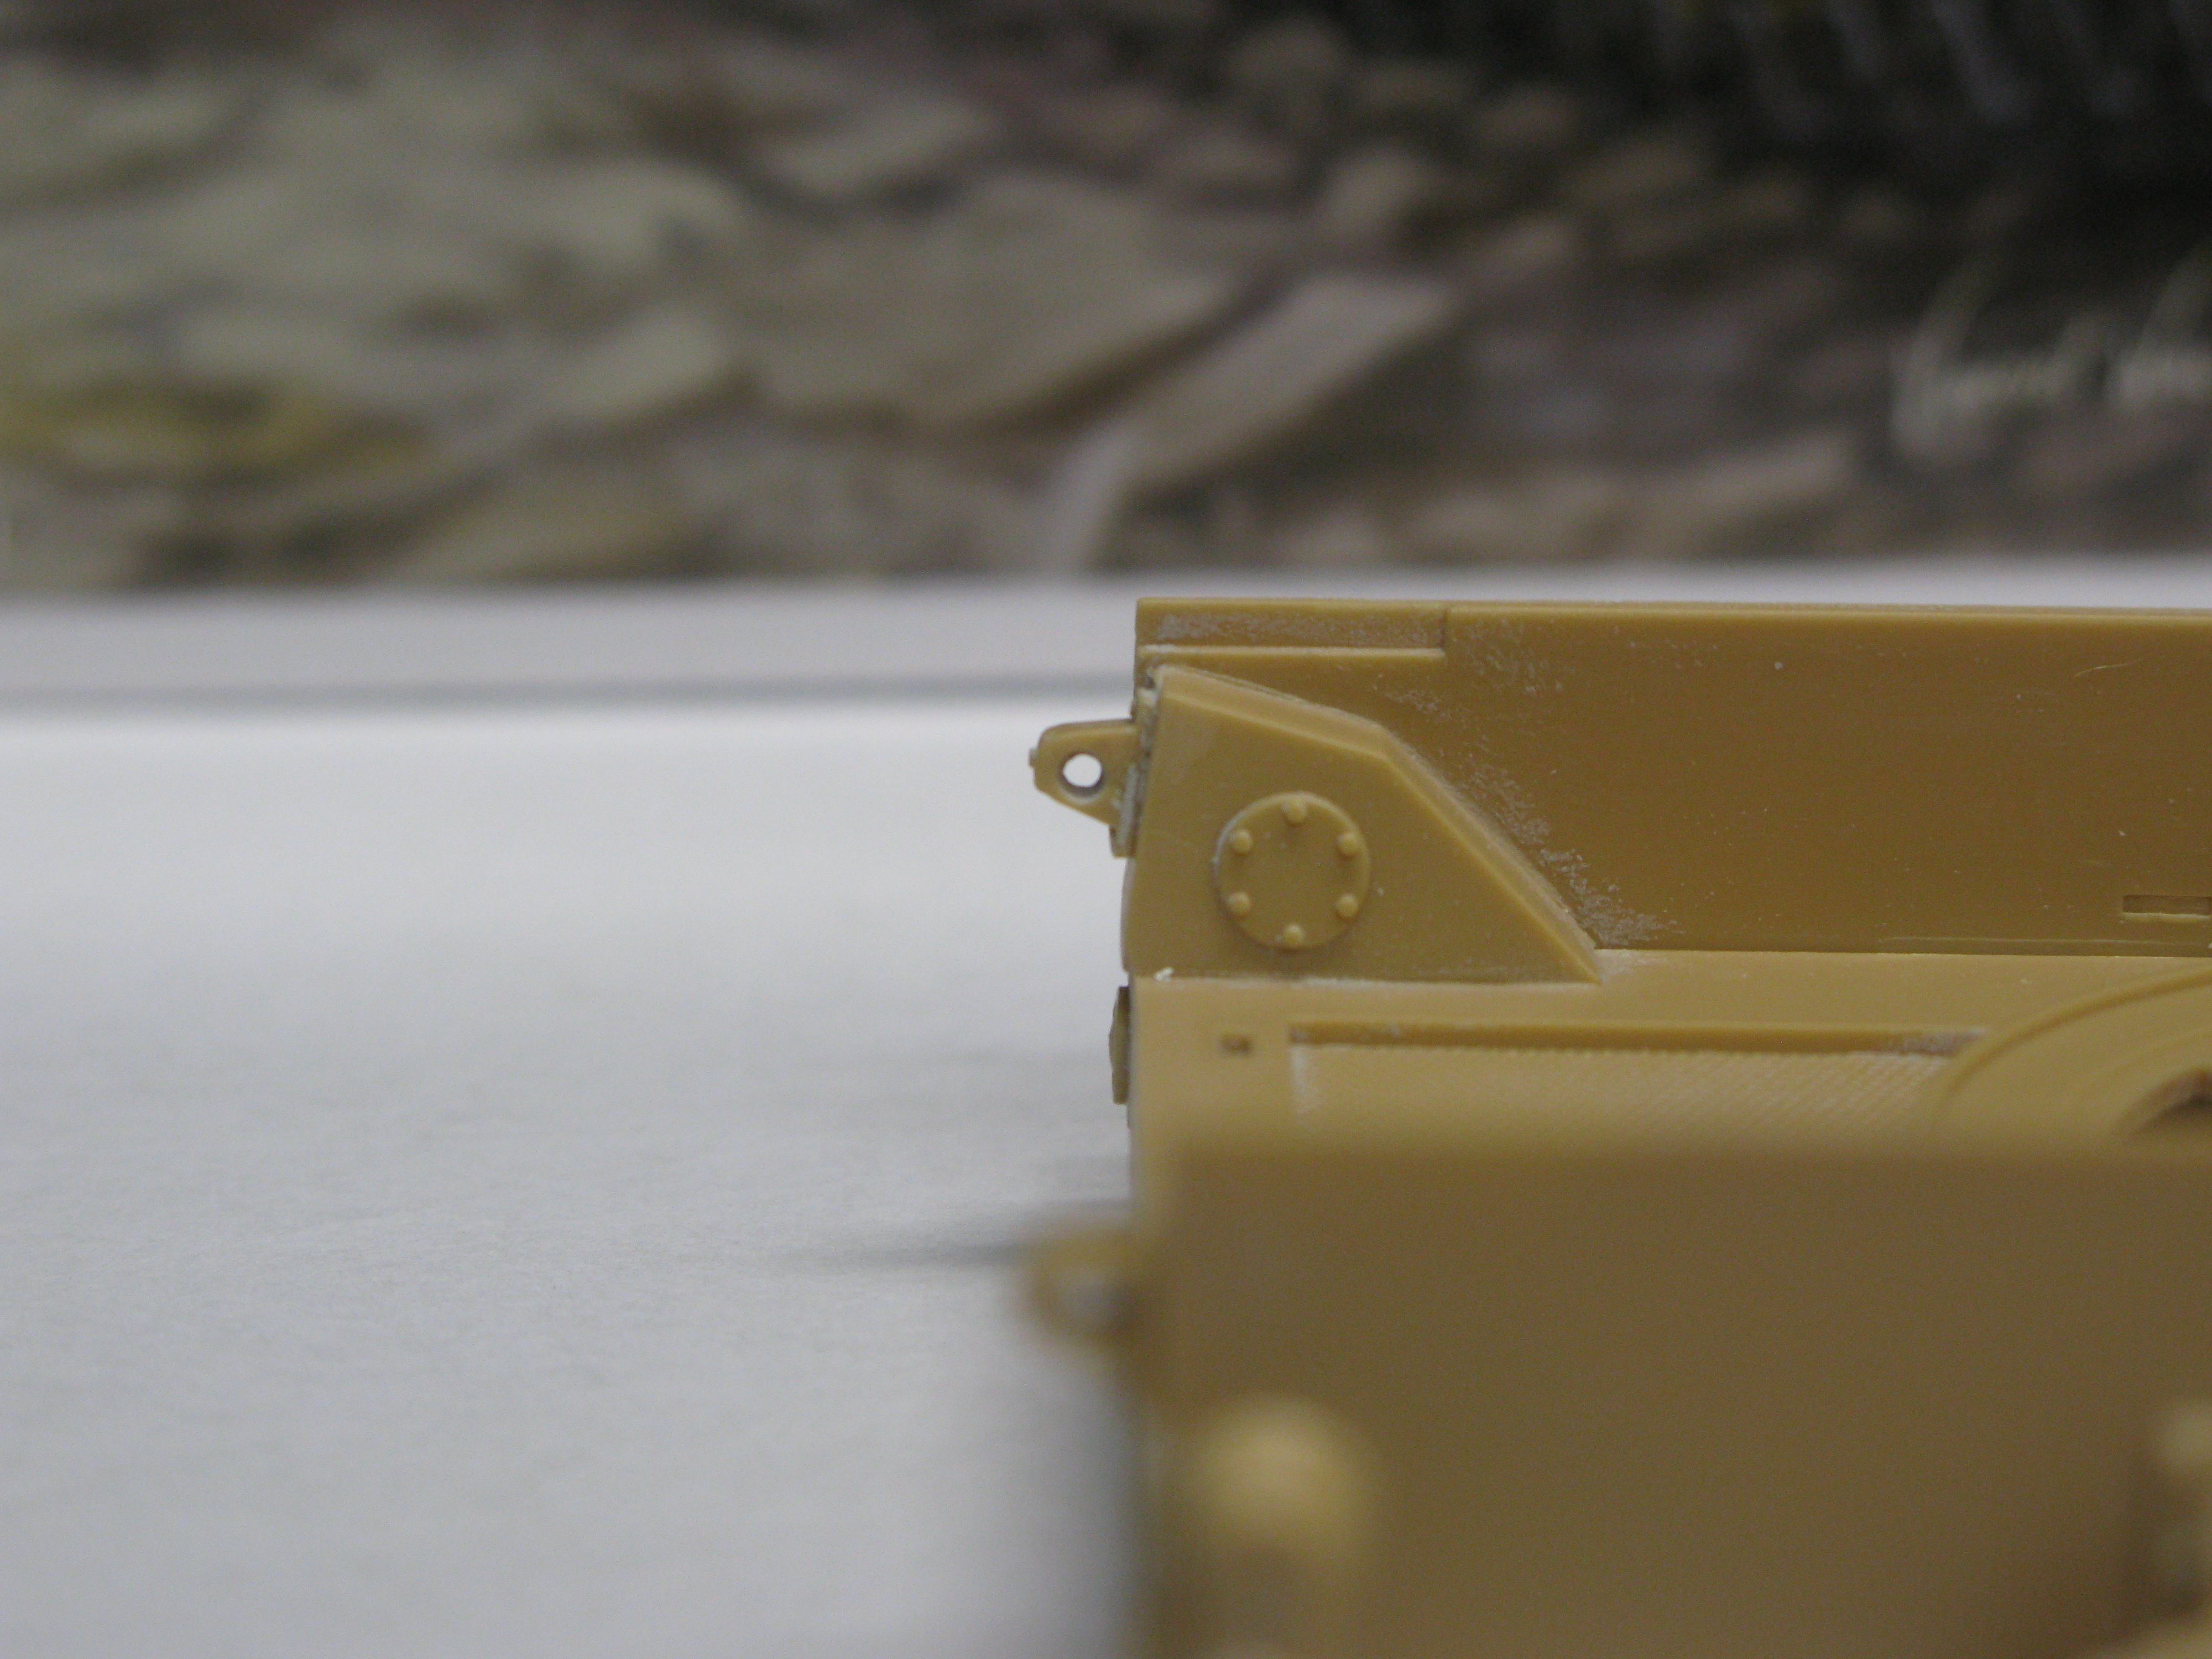
Unlike Doog, I have found Trumpeter’s kit engineering to be less than satisfactory…if I have one modeling pet peeve, it’s seam lines in inconvenient places. This kit has plenty of that. I’ve really only spent about 6 hours on this kit so far, as life has taken a busy turn. I’ve finished the suspension and spent a ton of time attempting to fill gaps.
I have a couple questions for Doog, if he would be kind enough to answer them when he gets a chance.
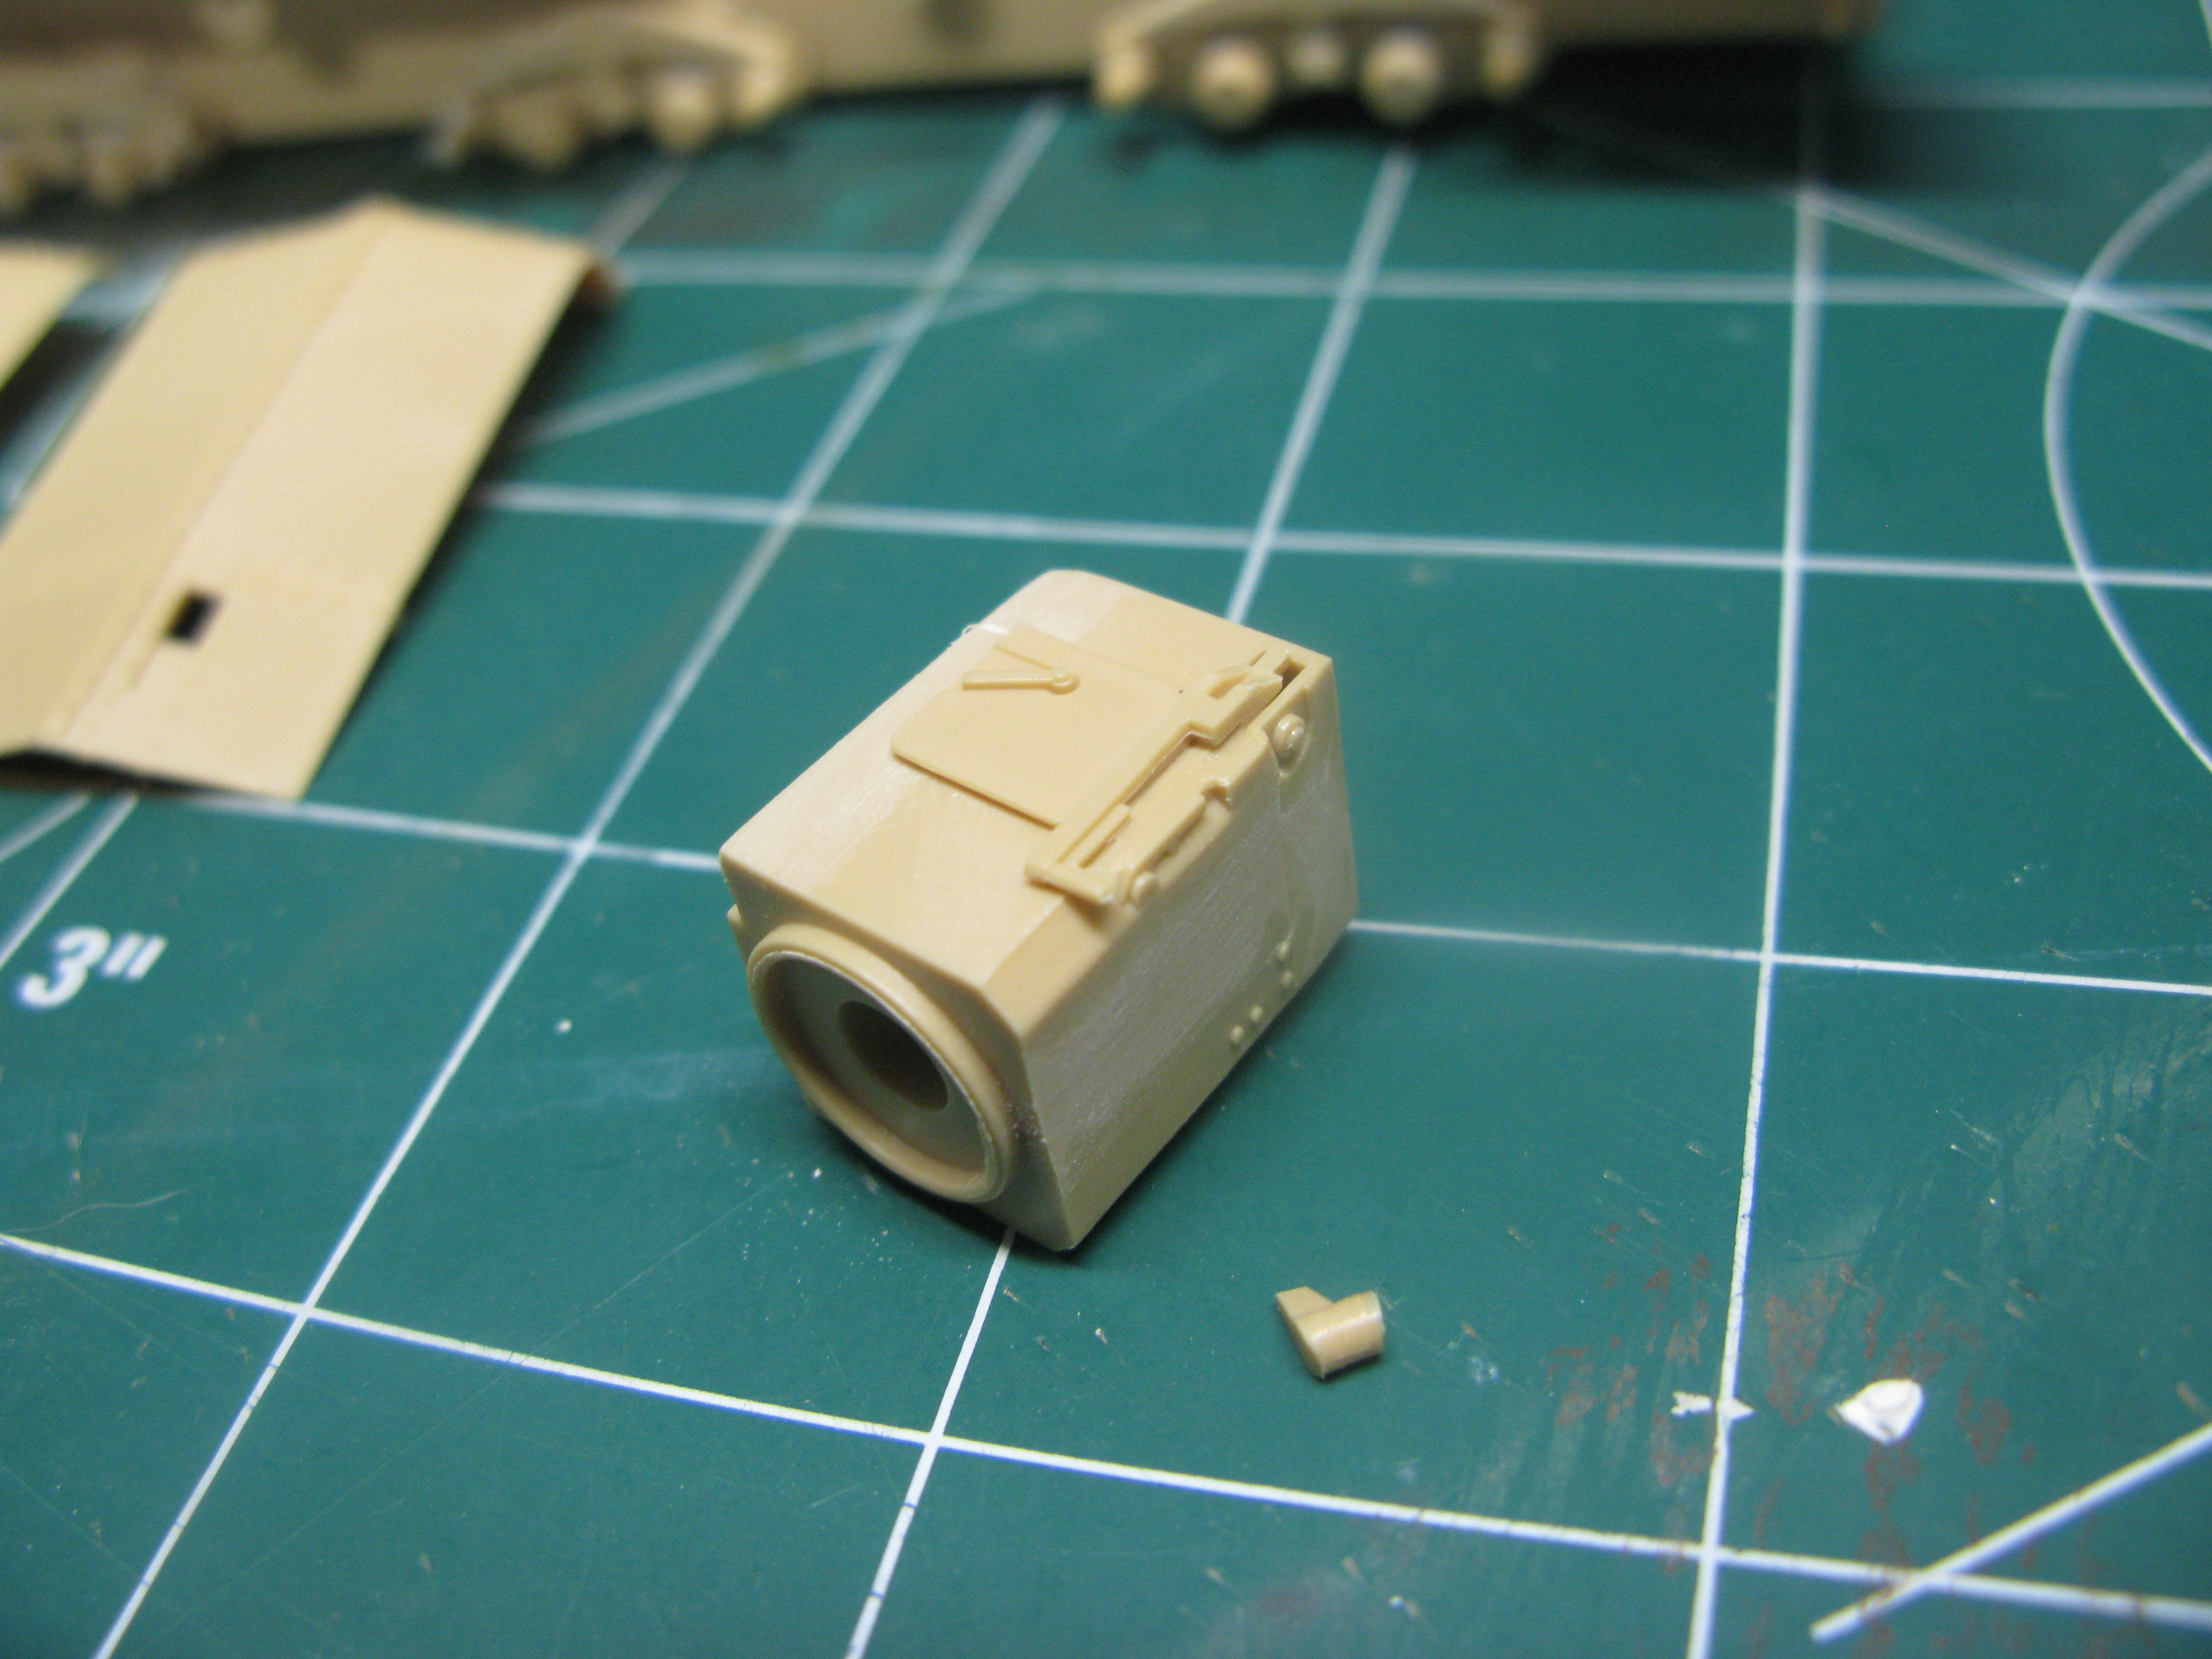
From what I saw of your build Doog, you hollowed out these headlight thingies, correct? You didn’t have a photo with a good view of the drilled out section, so I decided to wing it.
There you go: update number one. Like I said, life’s gotten busy at present, so don’t expect a deluge of posts for a while.
Sorry to hear hat you’re not quite enamored with the kit; yeah, it has some warts, but it build up nicely with a little care…anyway, I replaced those towing pintles on the rear if I recall according to my blog build on this, which is here if you don’t have it marked…
–they were solid I recall now after reading it. I scratchbuilt new ones.
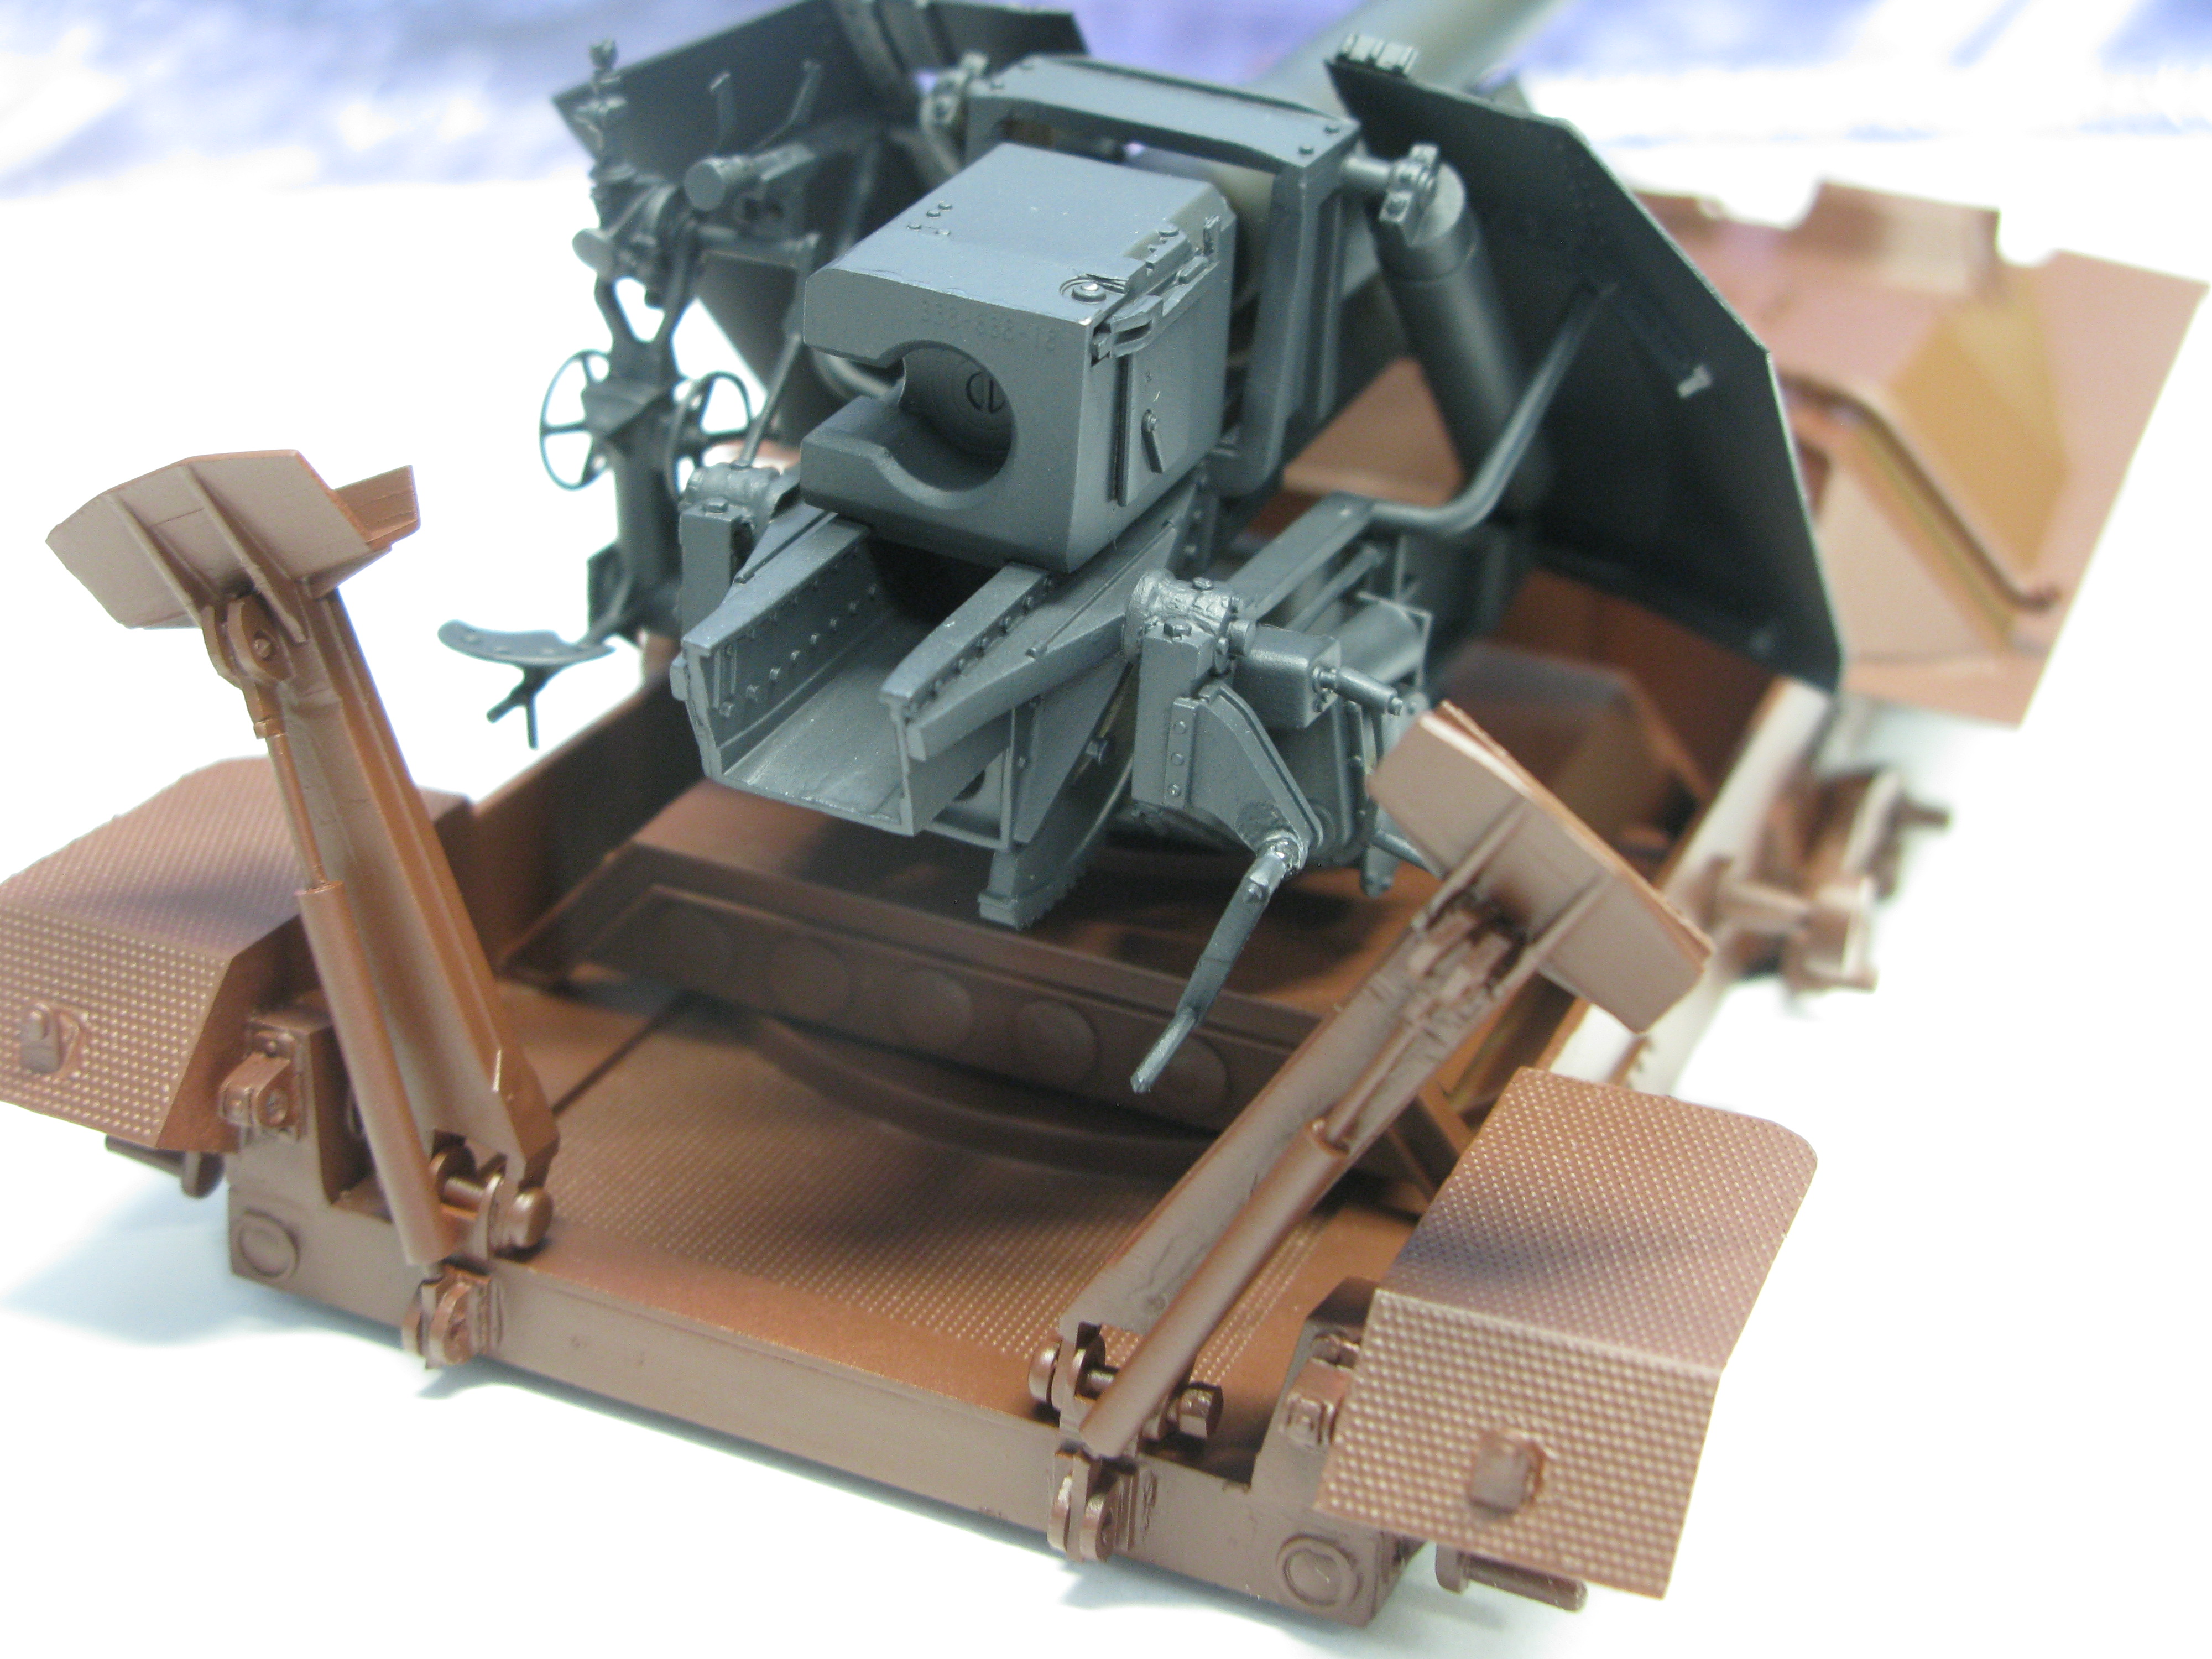
The gun assembly is a hoot; watch that seat when you remove it from the Sprite–it’s a daisy if you don’t cut it with care and you can ruin it if not careful. I’ll try to help you out with anything else you might need an answer on; just leave me a call-out and I’ll get back to you when I can; I’m in Europe right now business, so it may take a day or so…
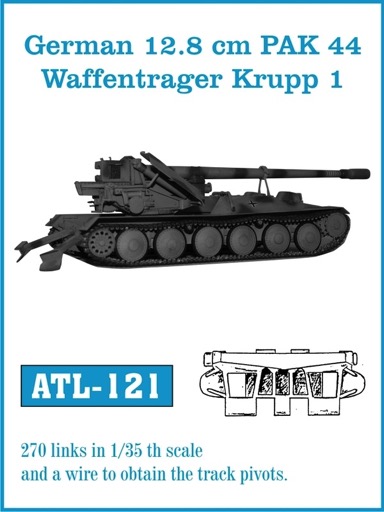
Looking forward to seeing your take on this cool weapon!
She looks good Moff, and I know what you mean about putting seams where they’re hard to get to without ruining the detail. I didn’t notice you’re adding all the extra goodies before- cool!
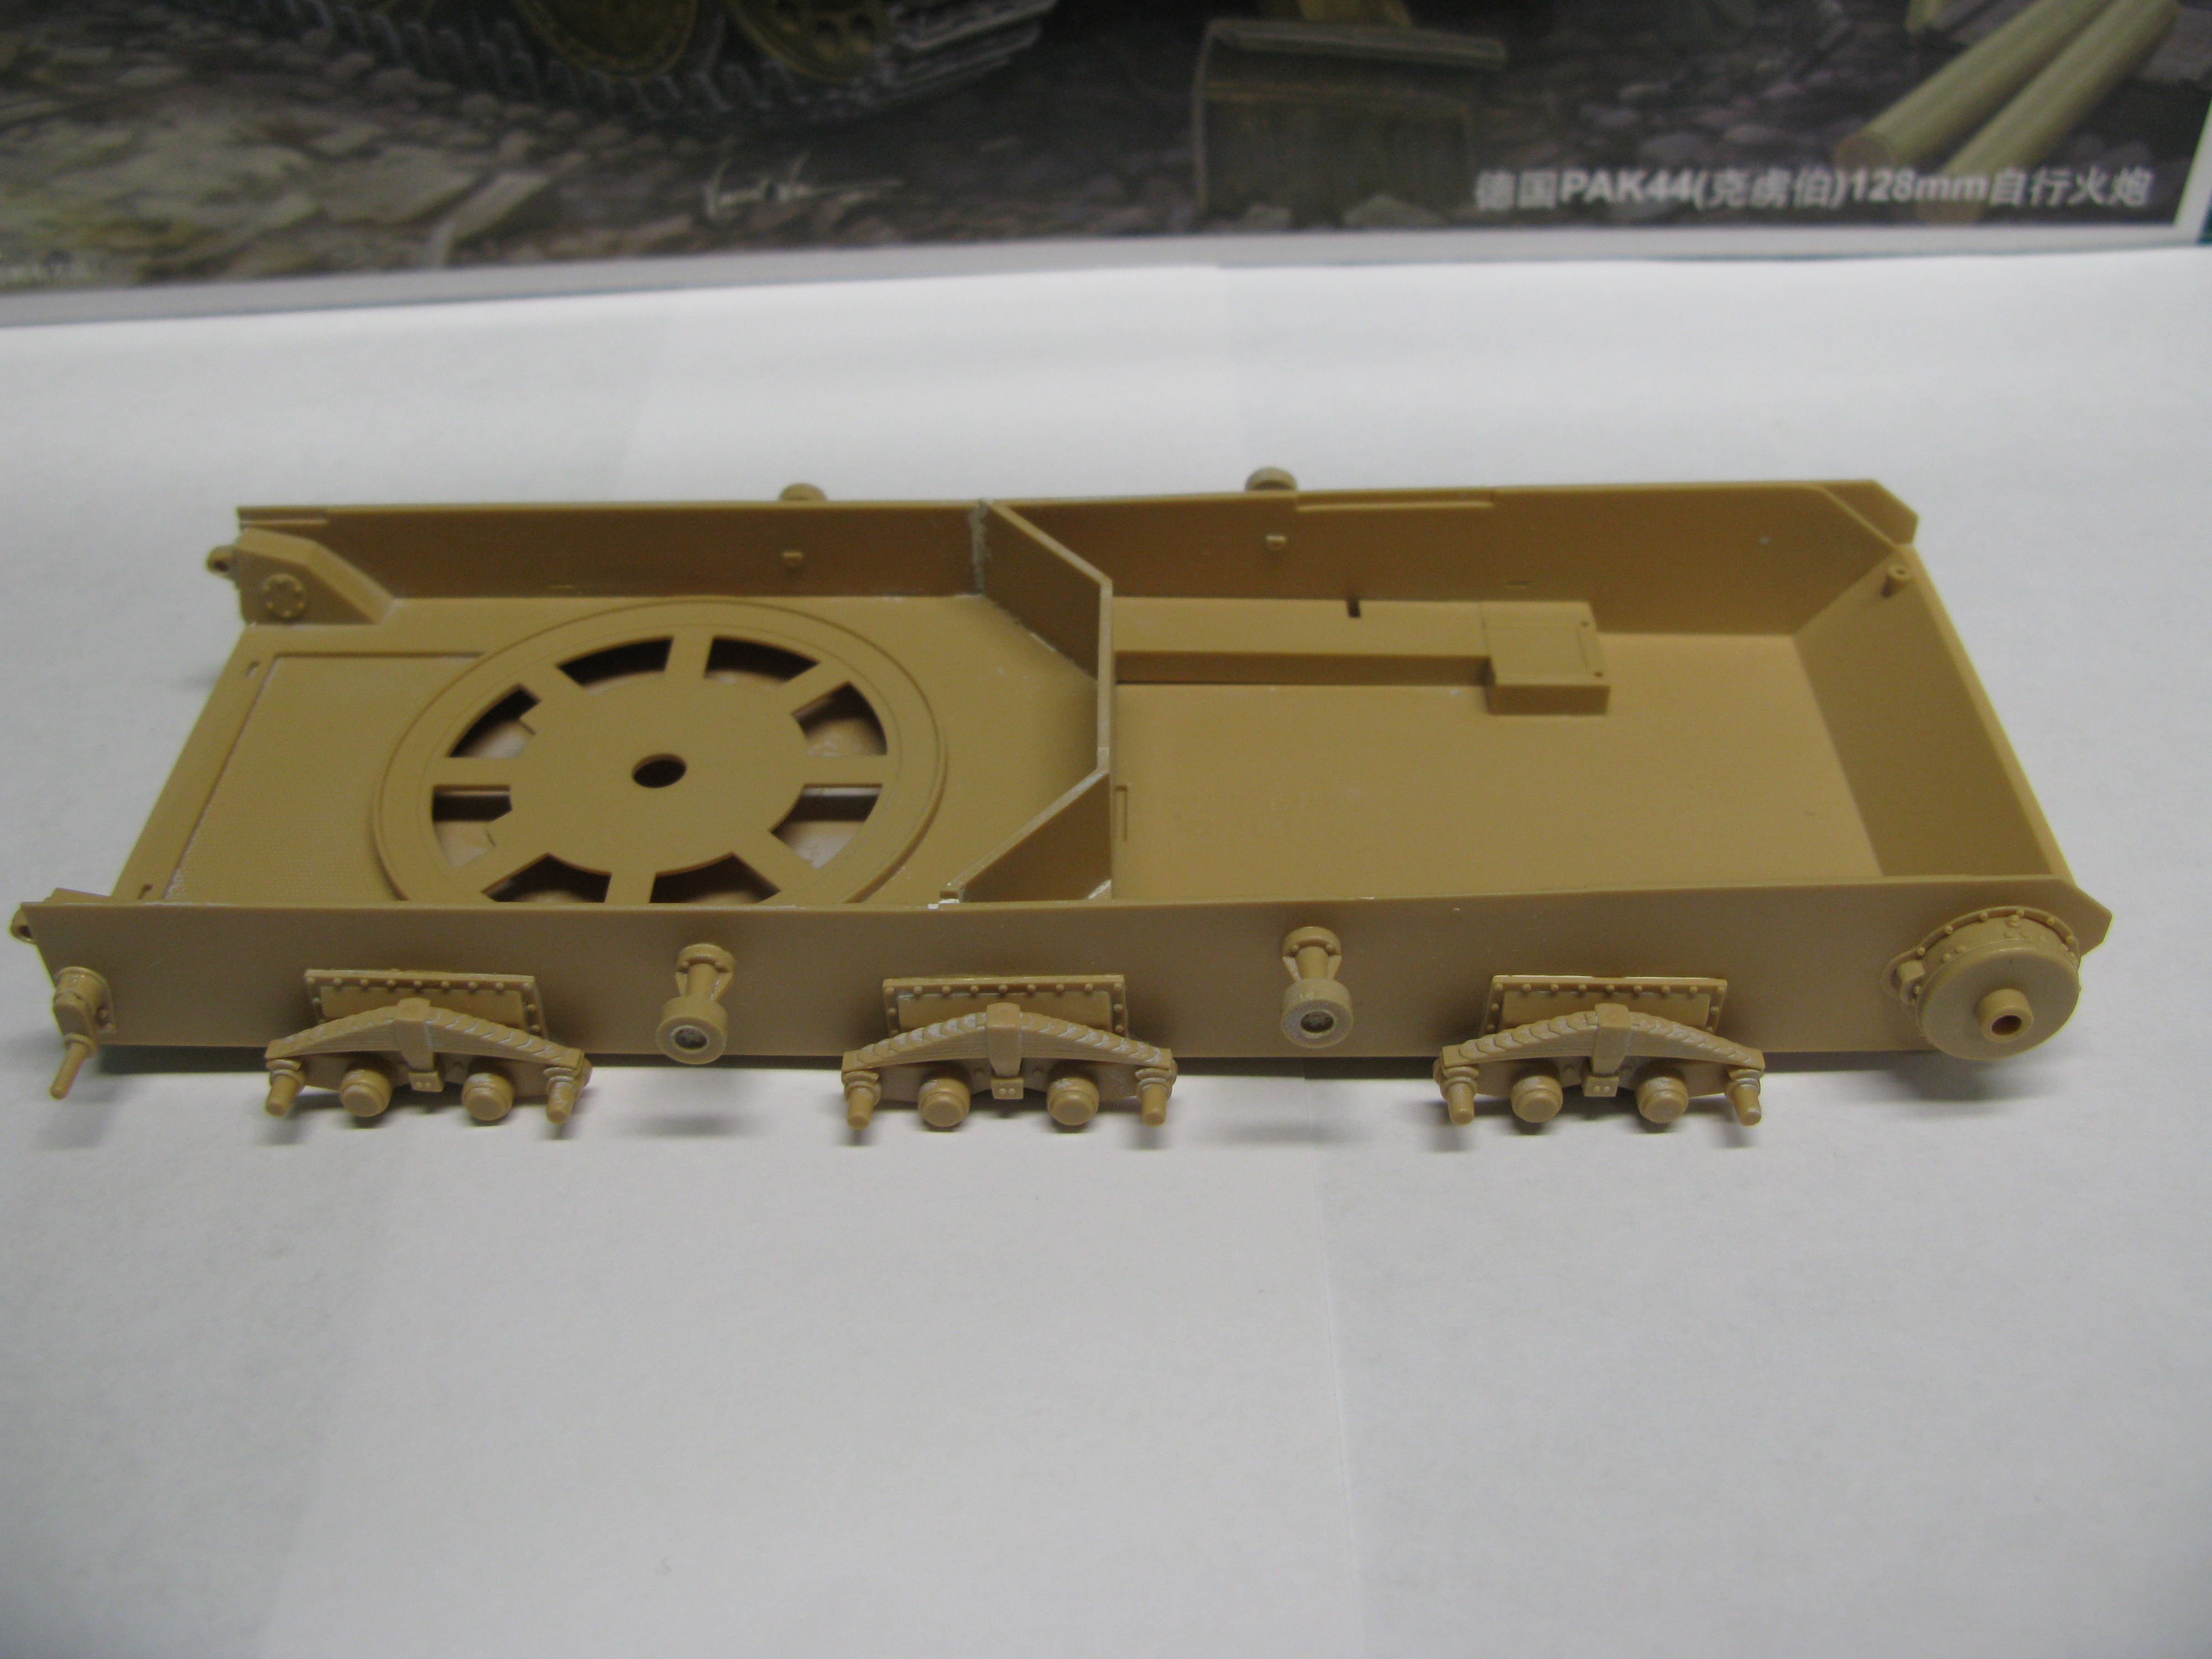
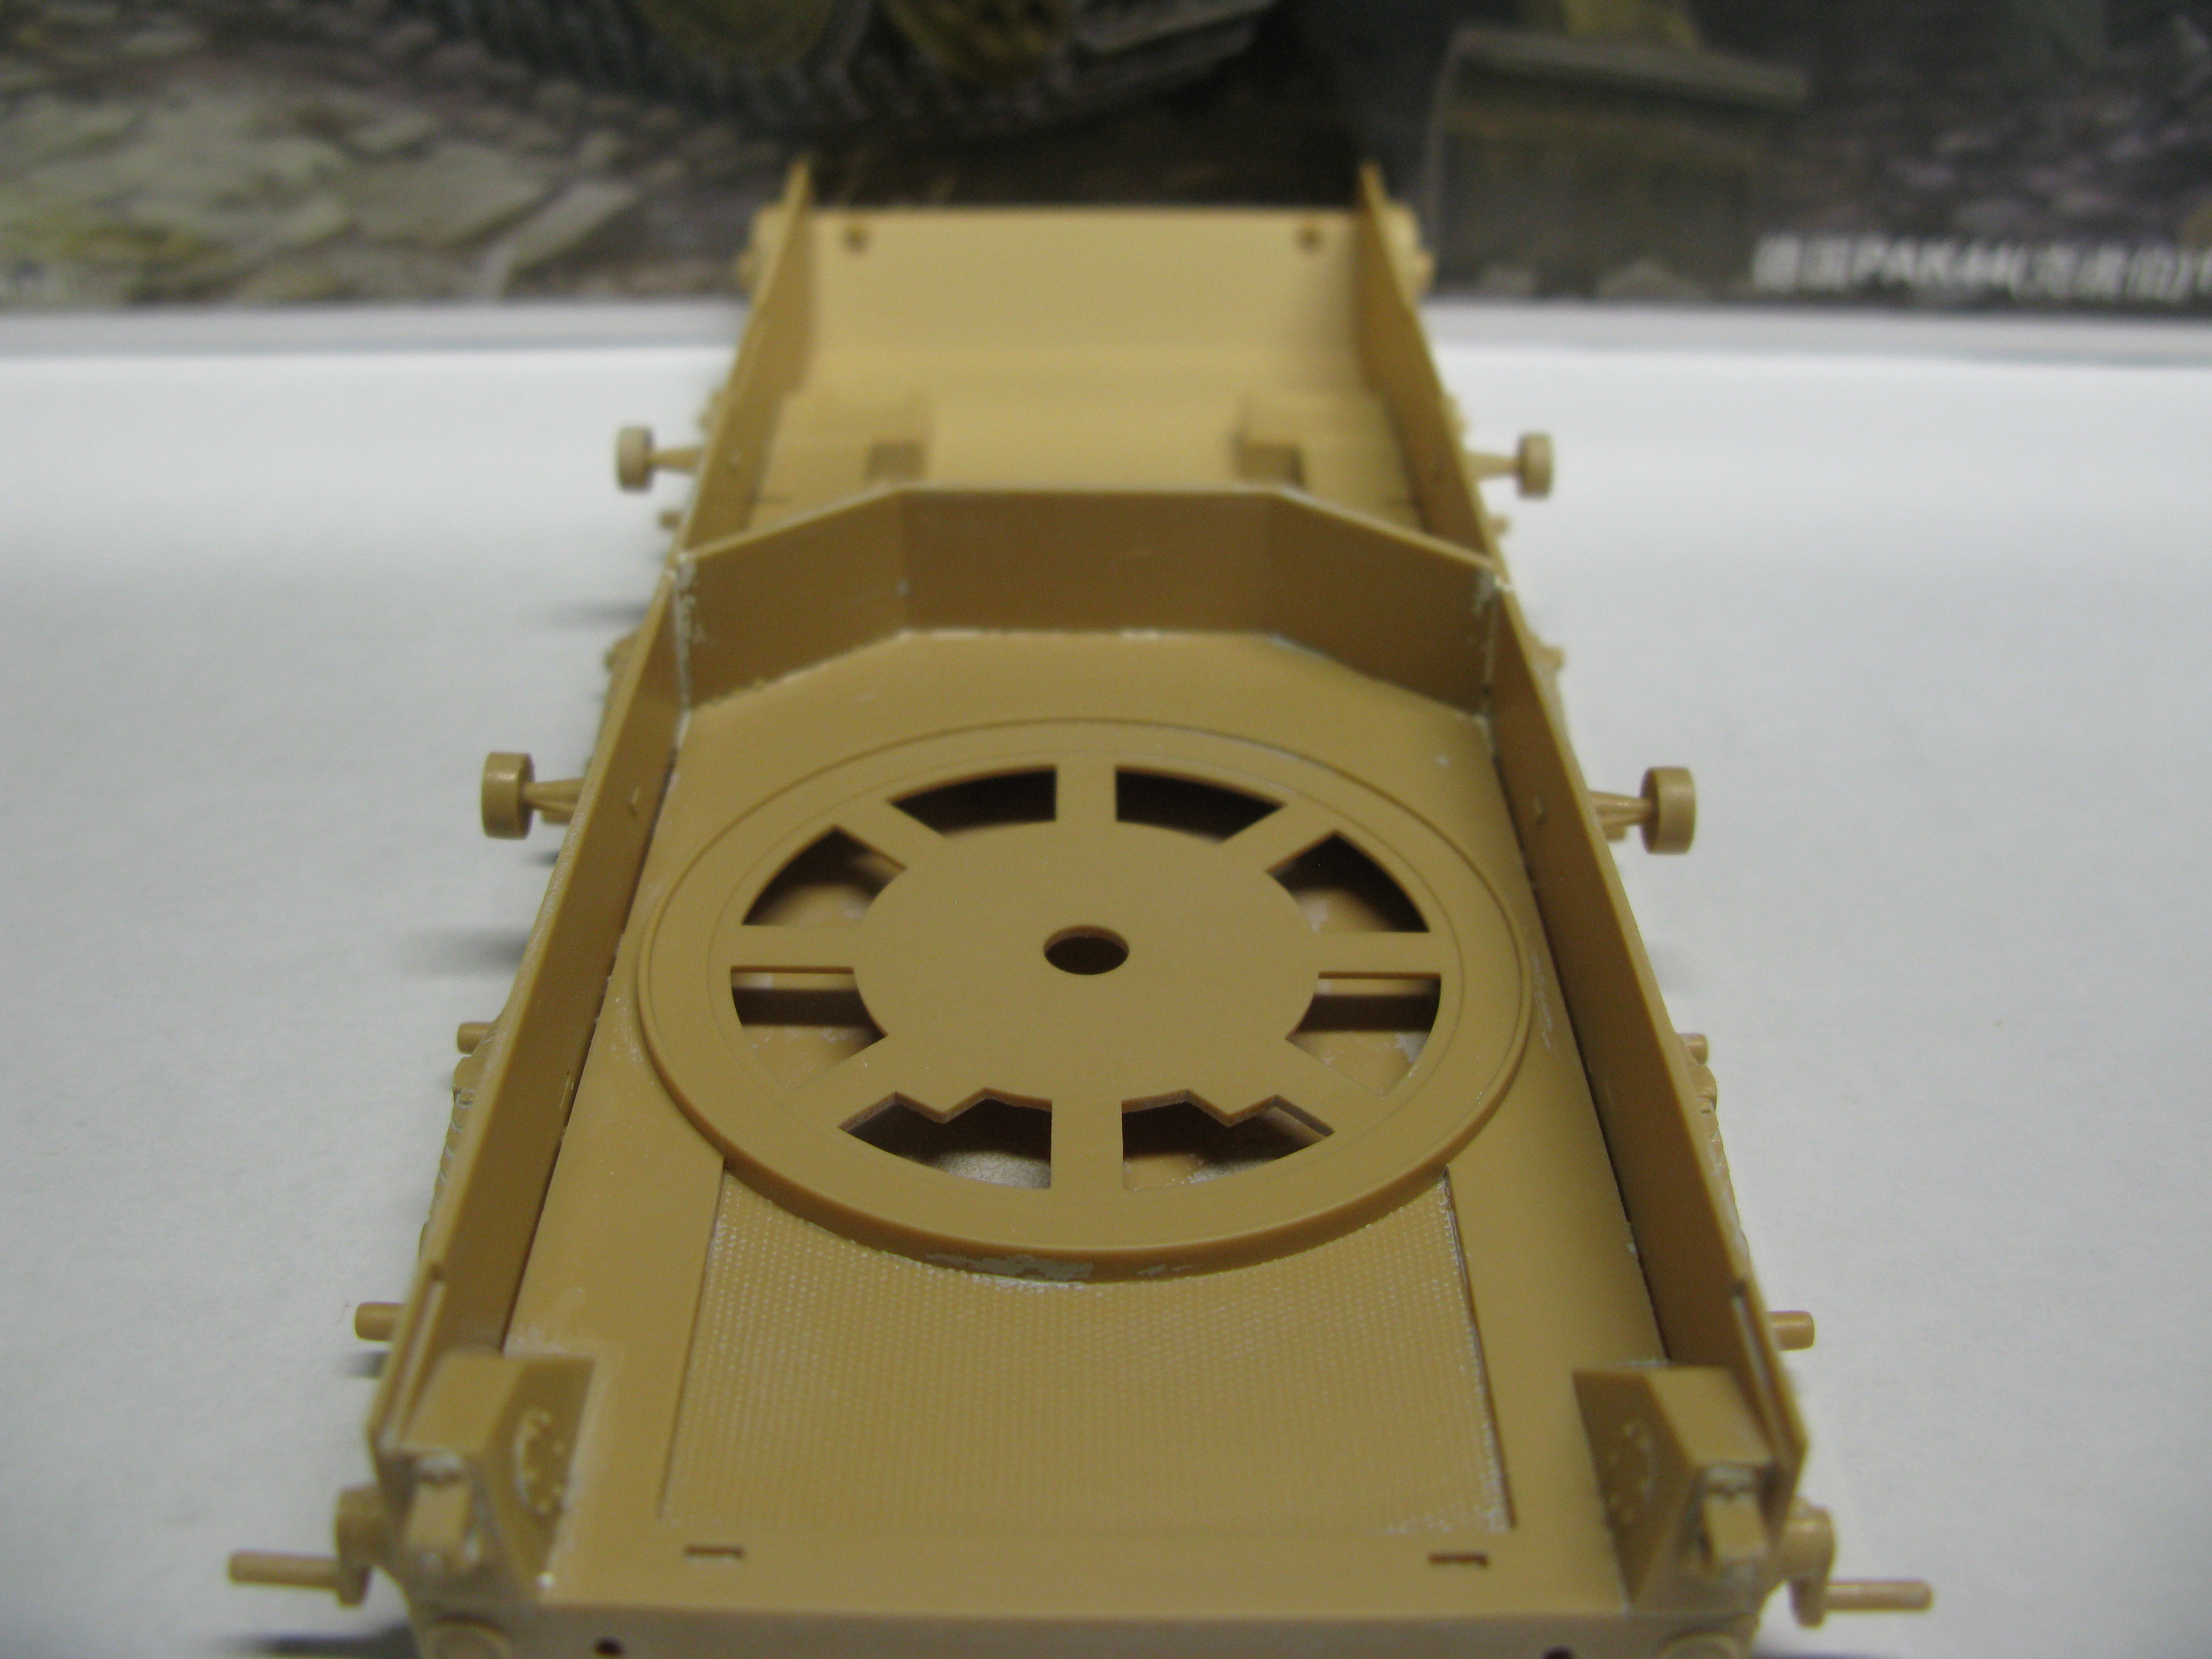
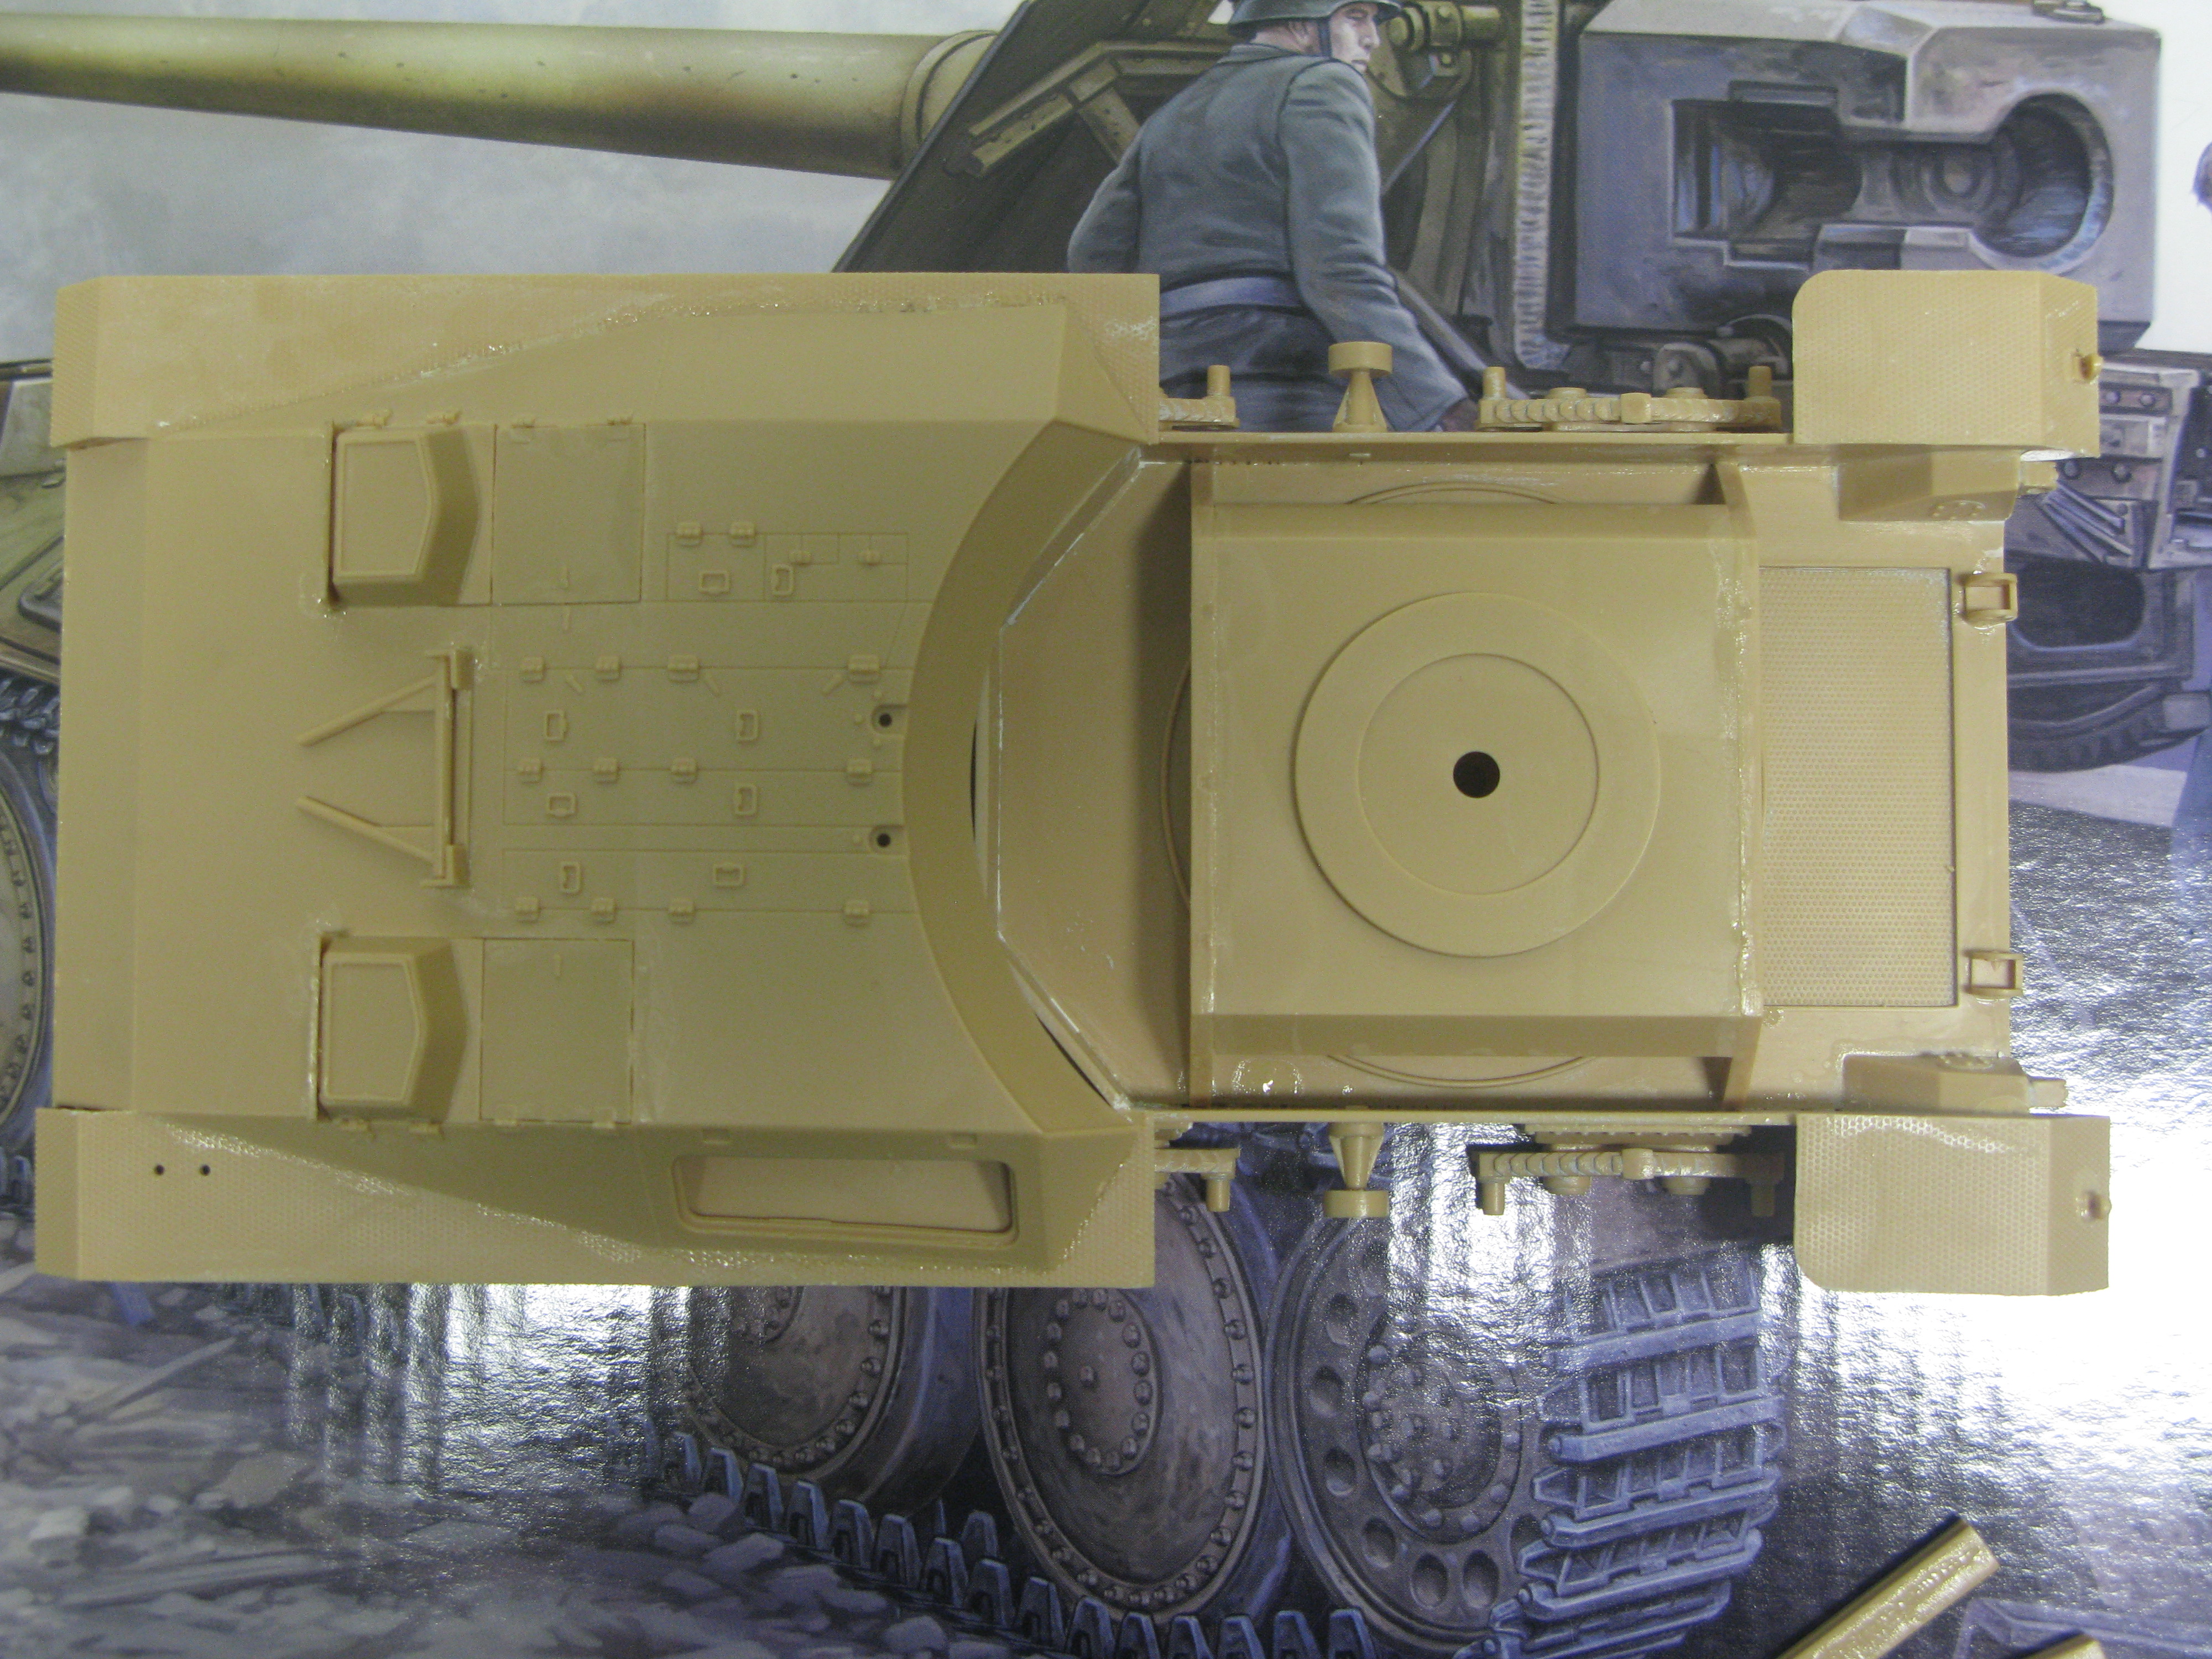
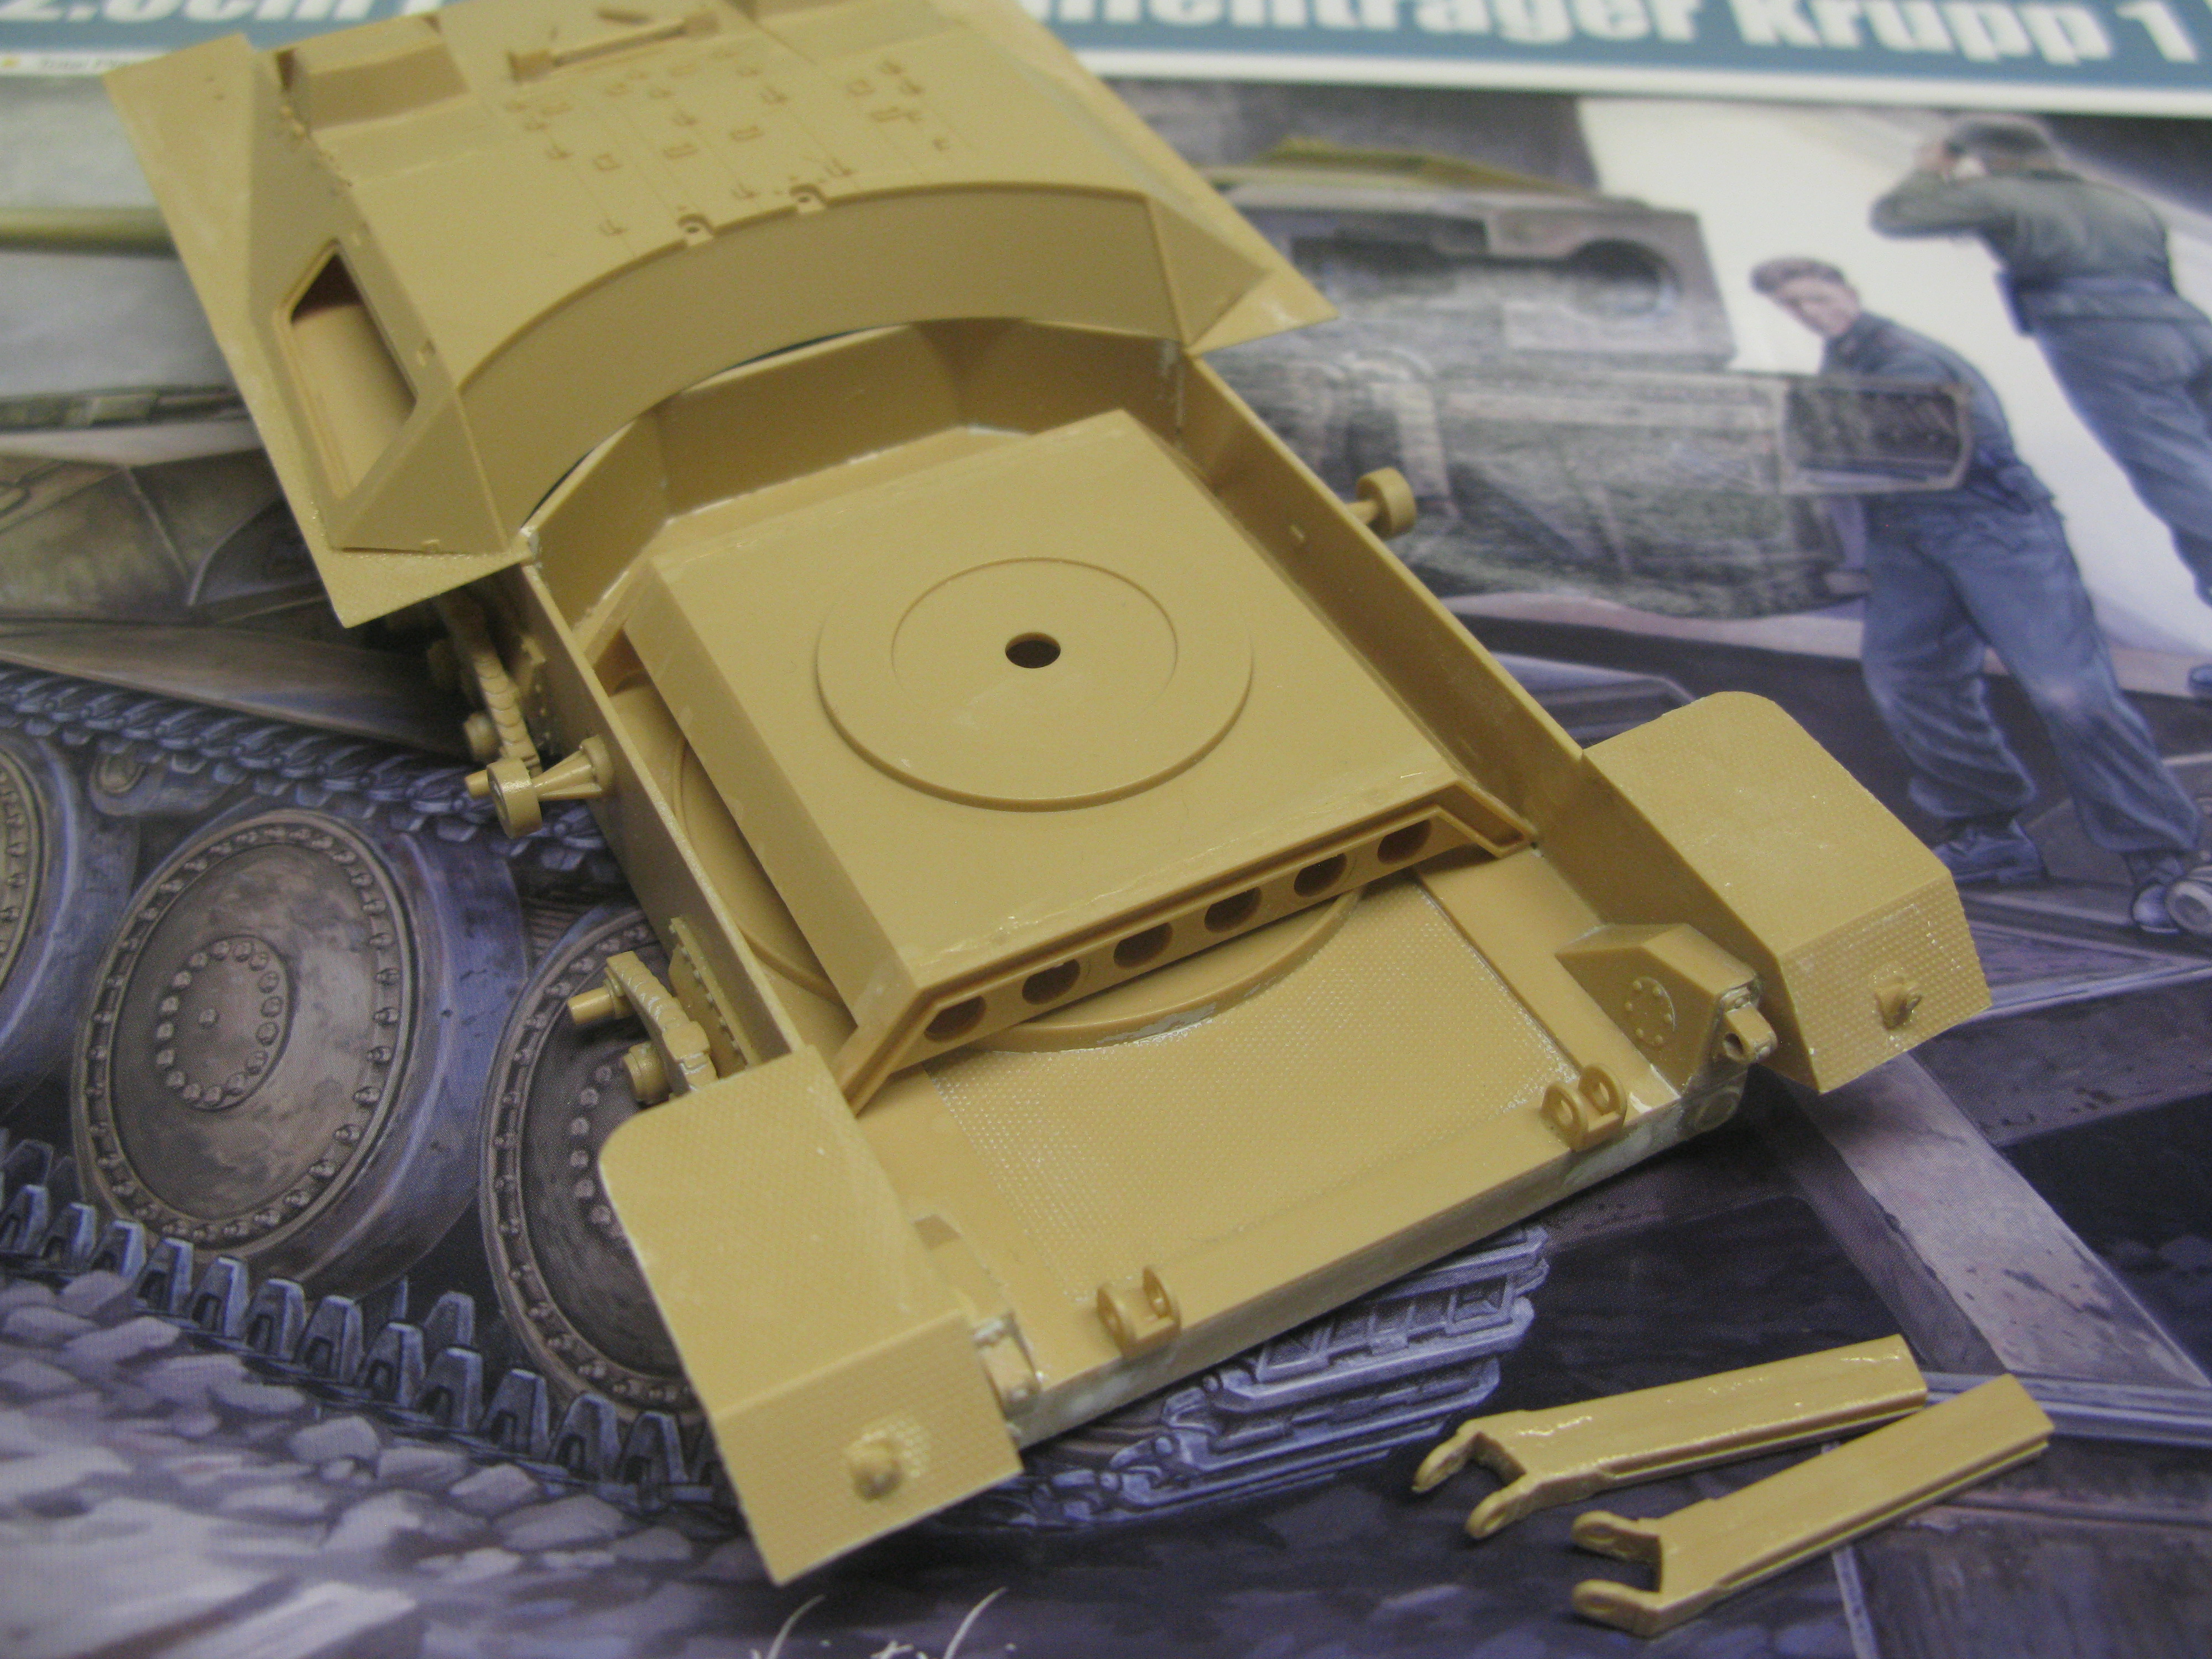
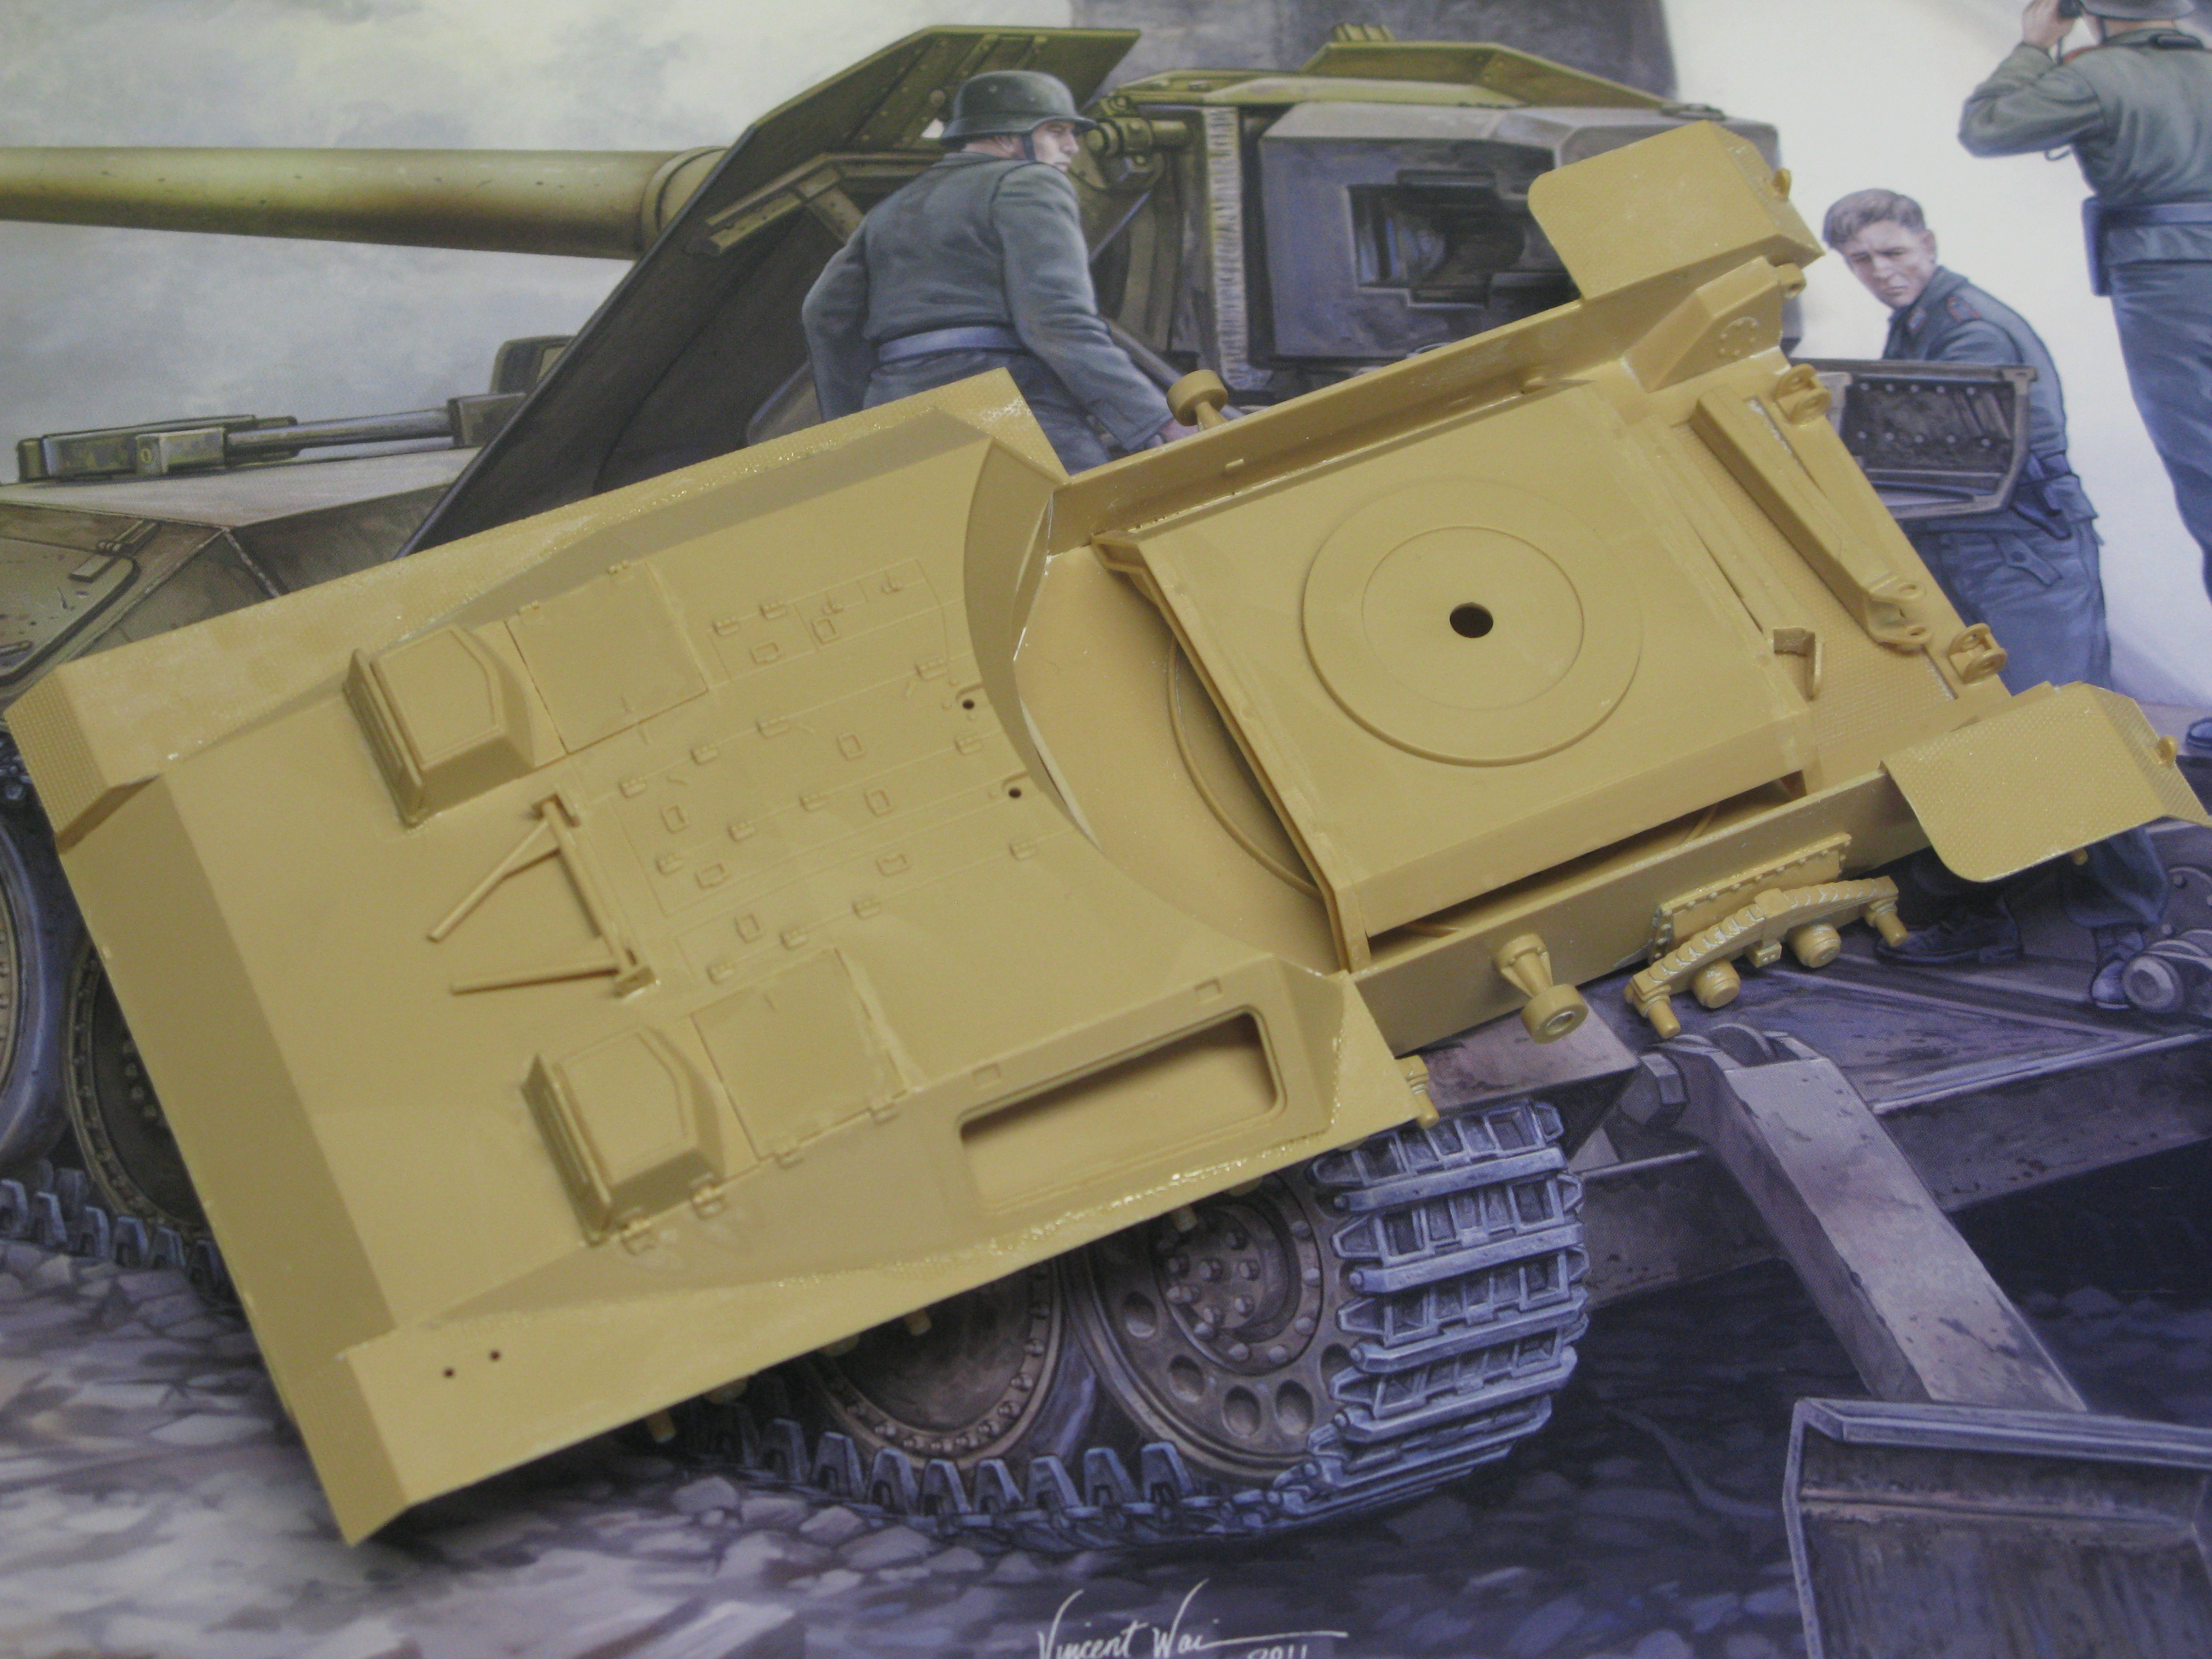
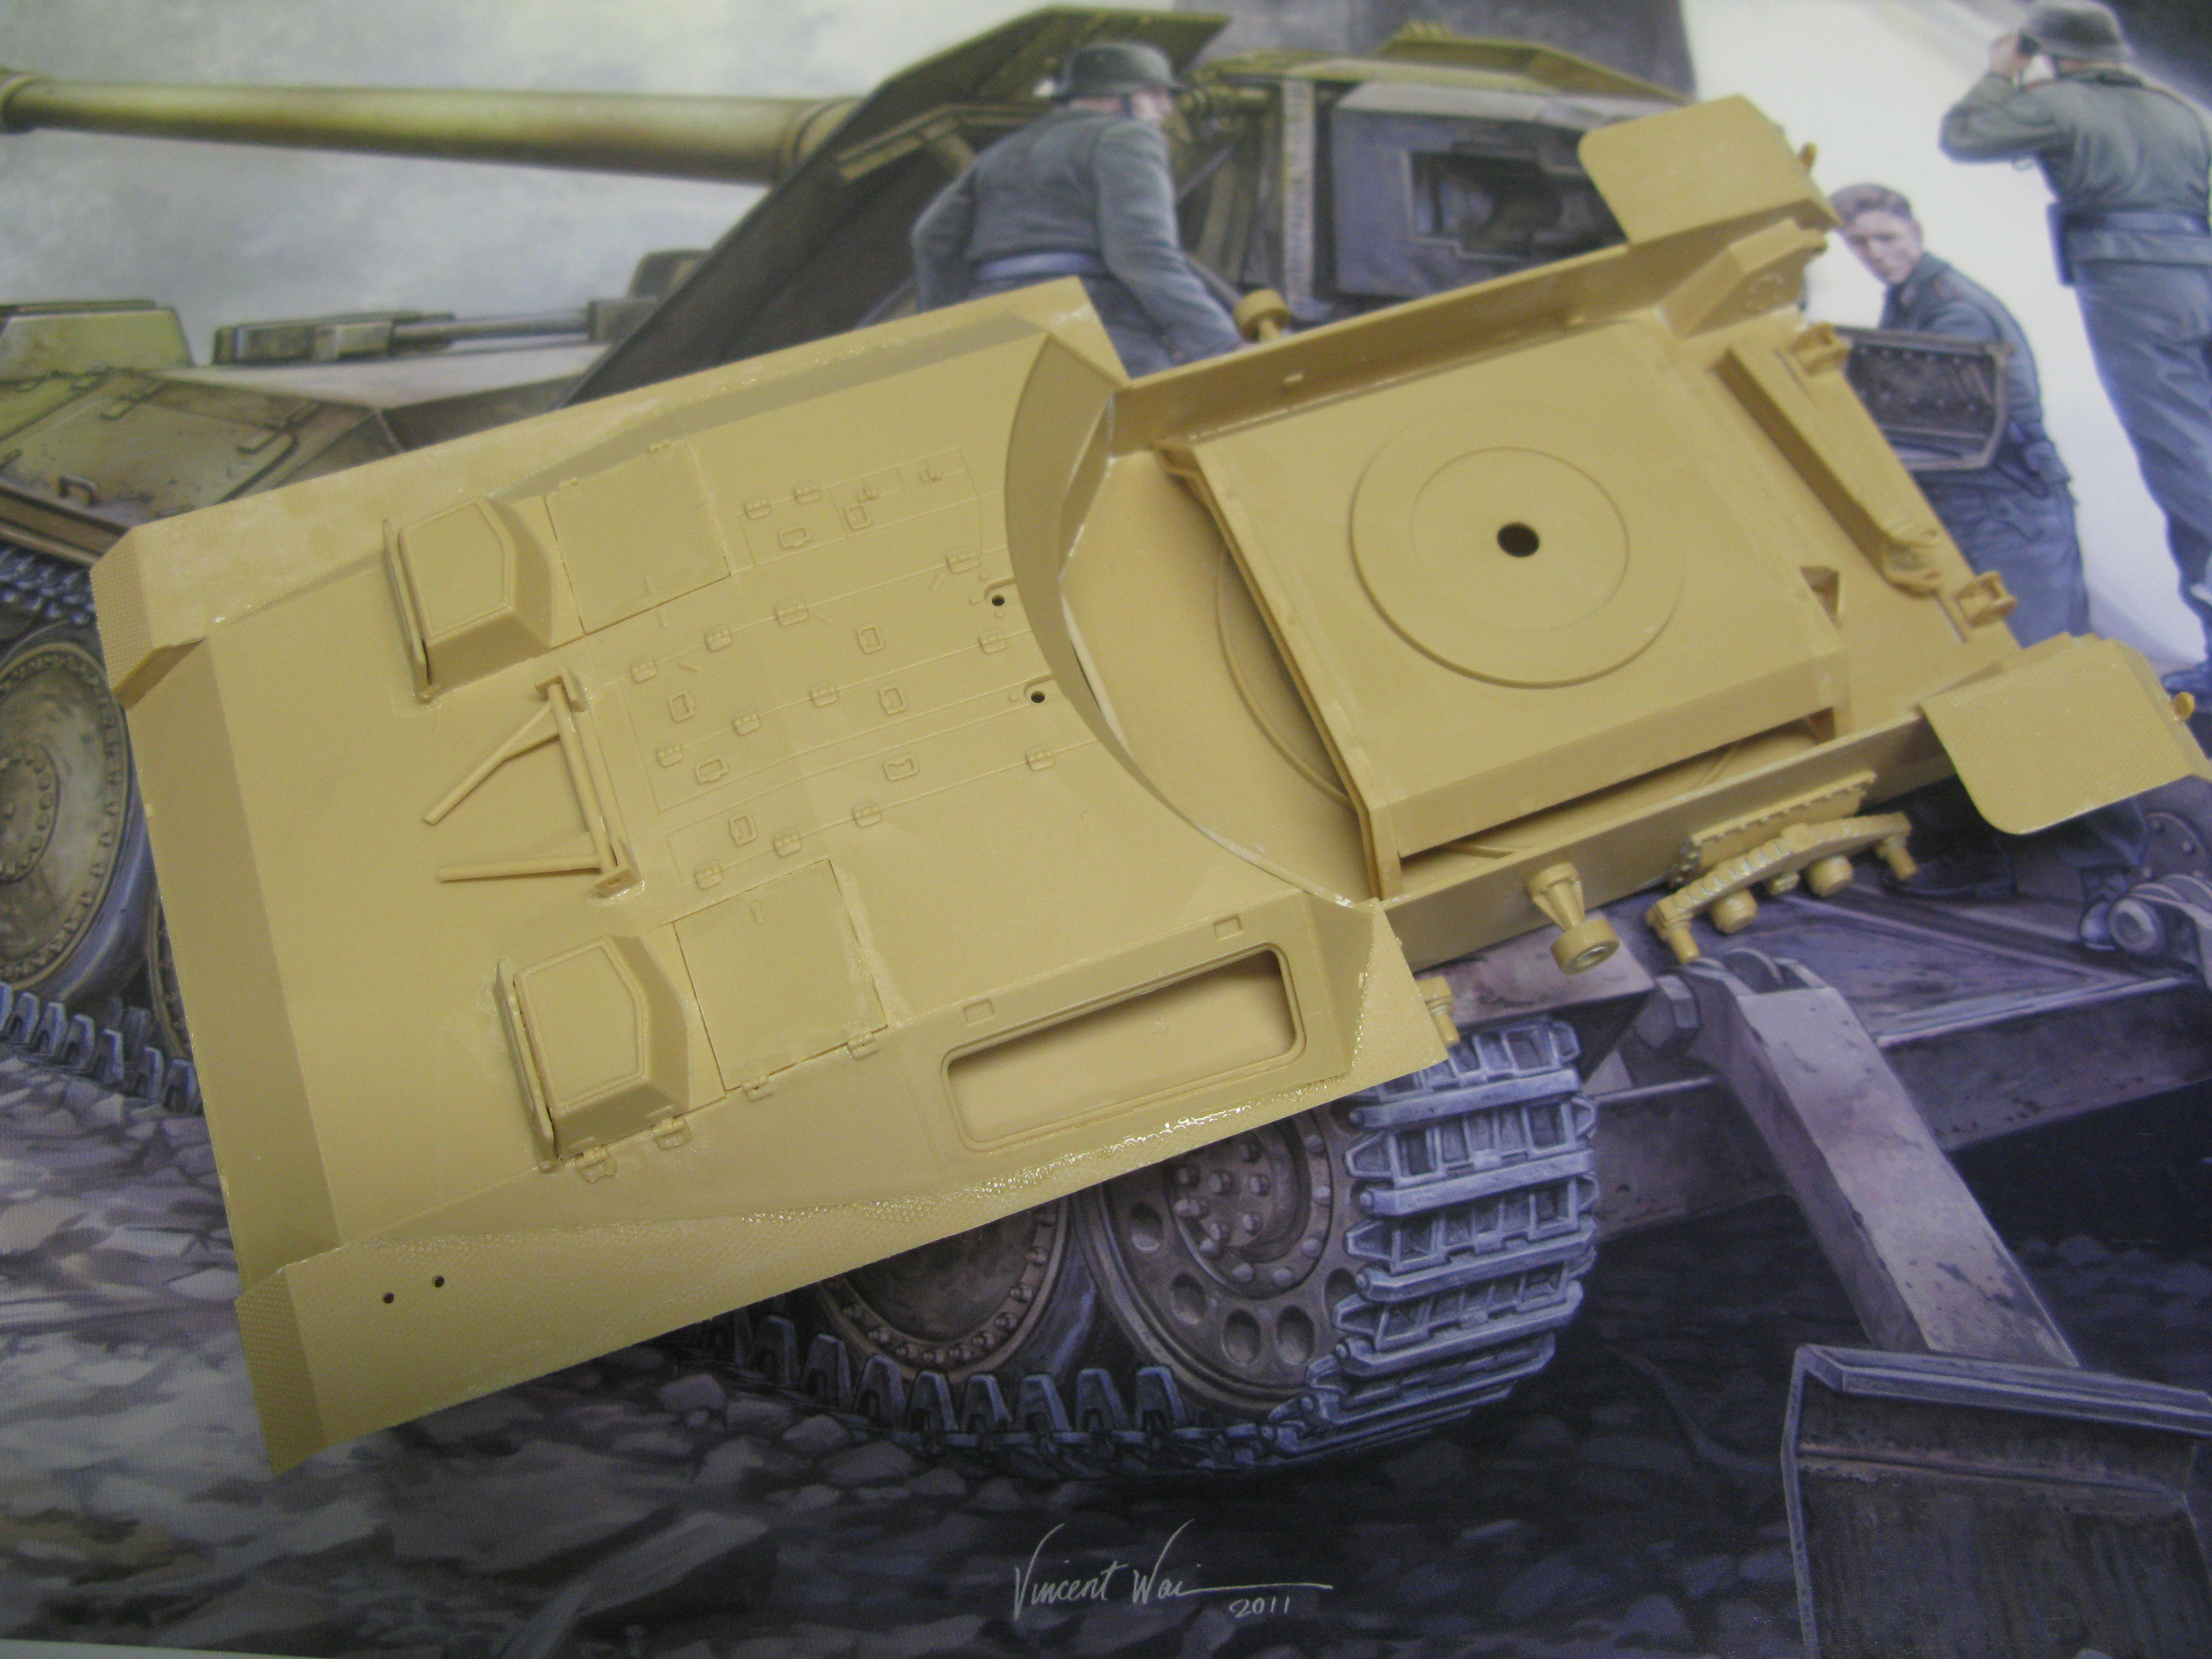
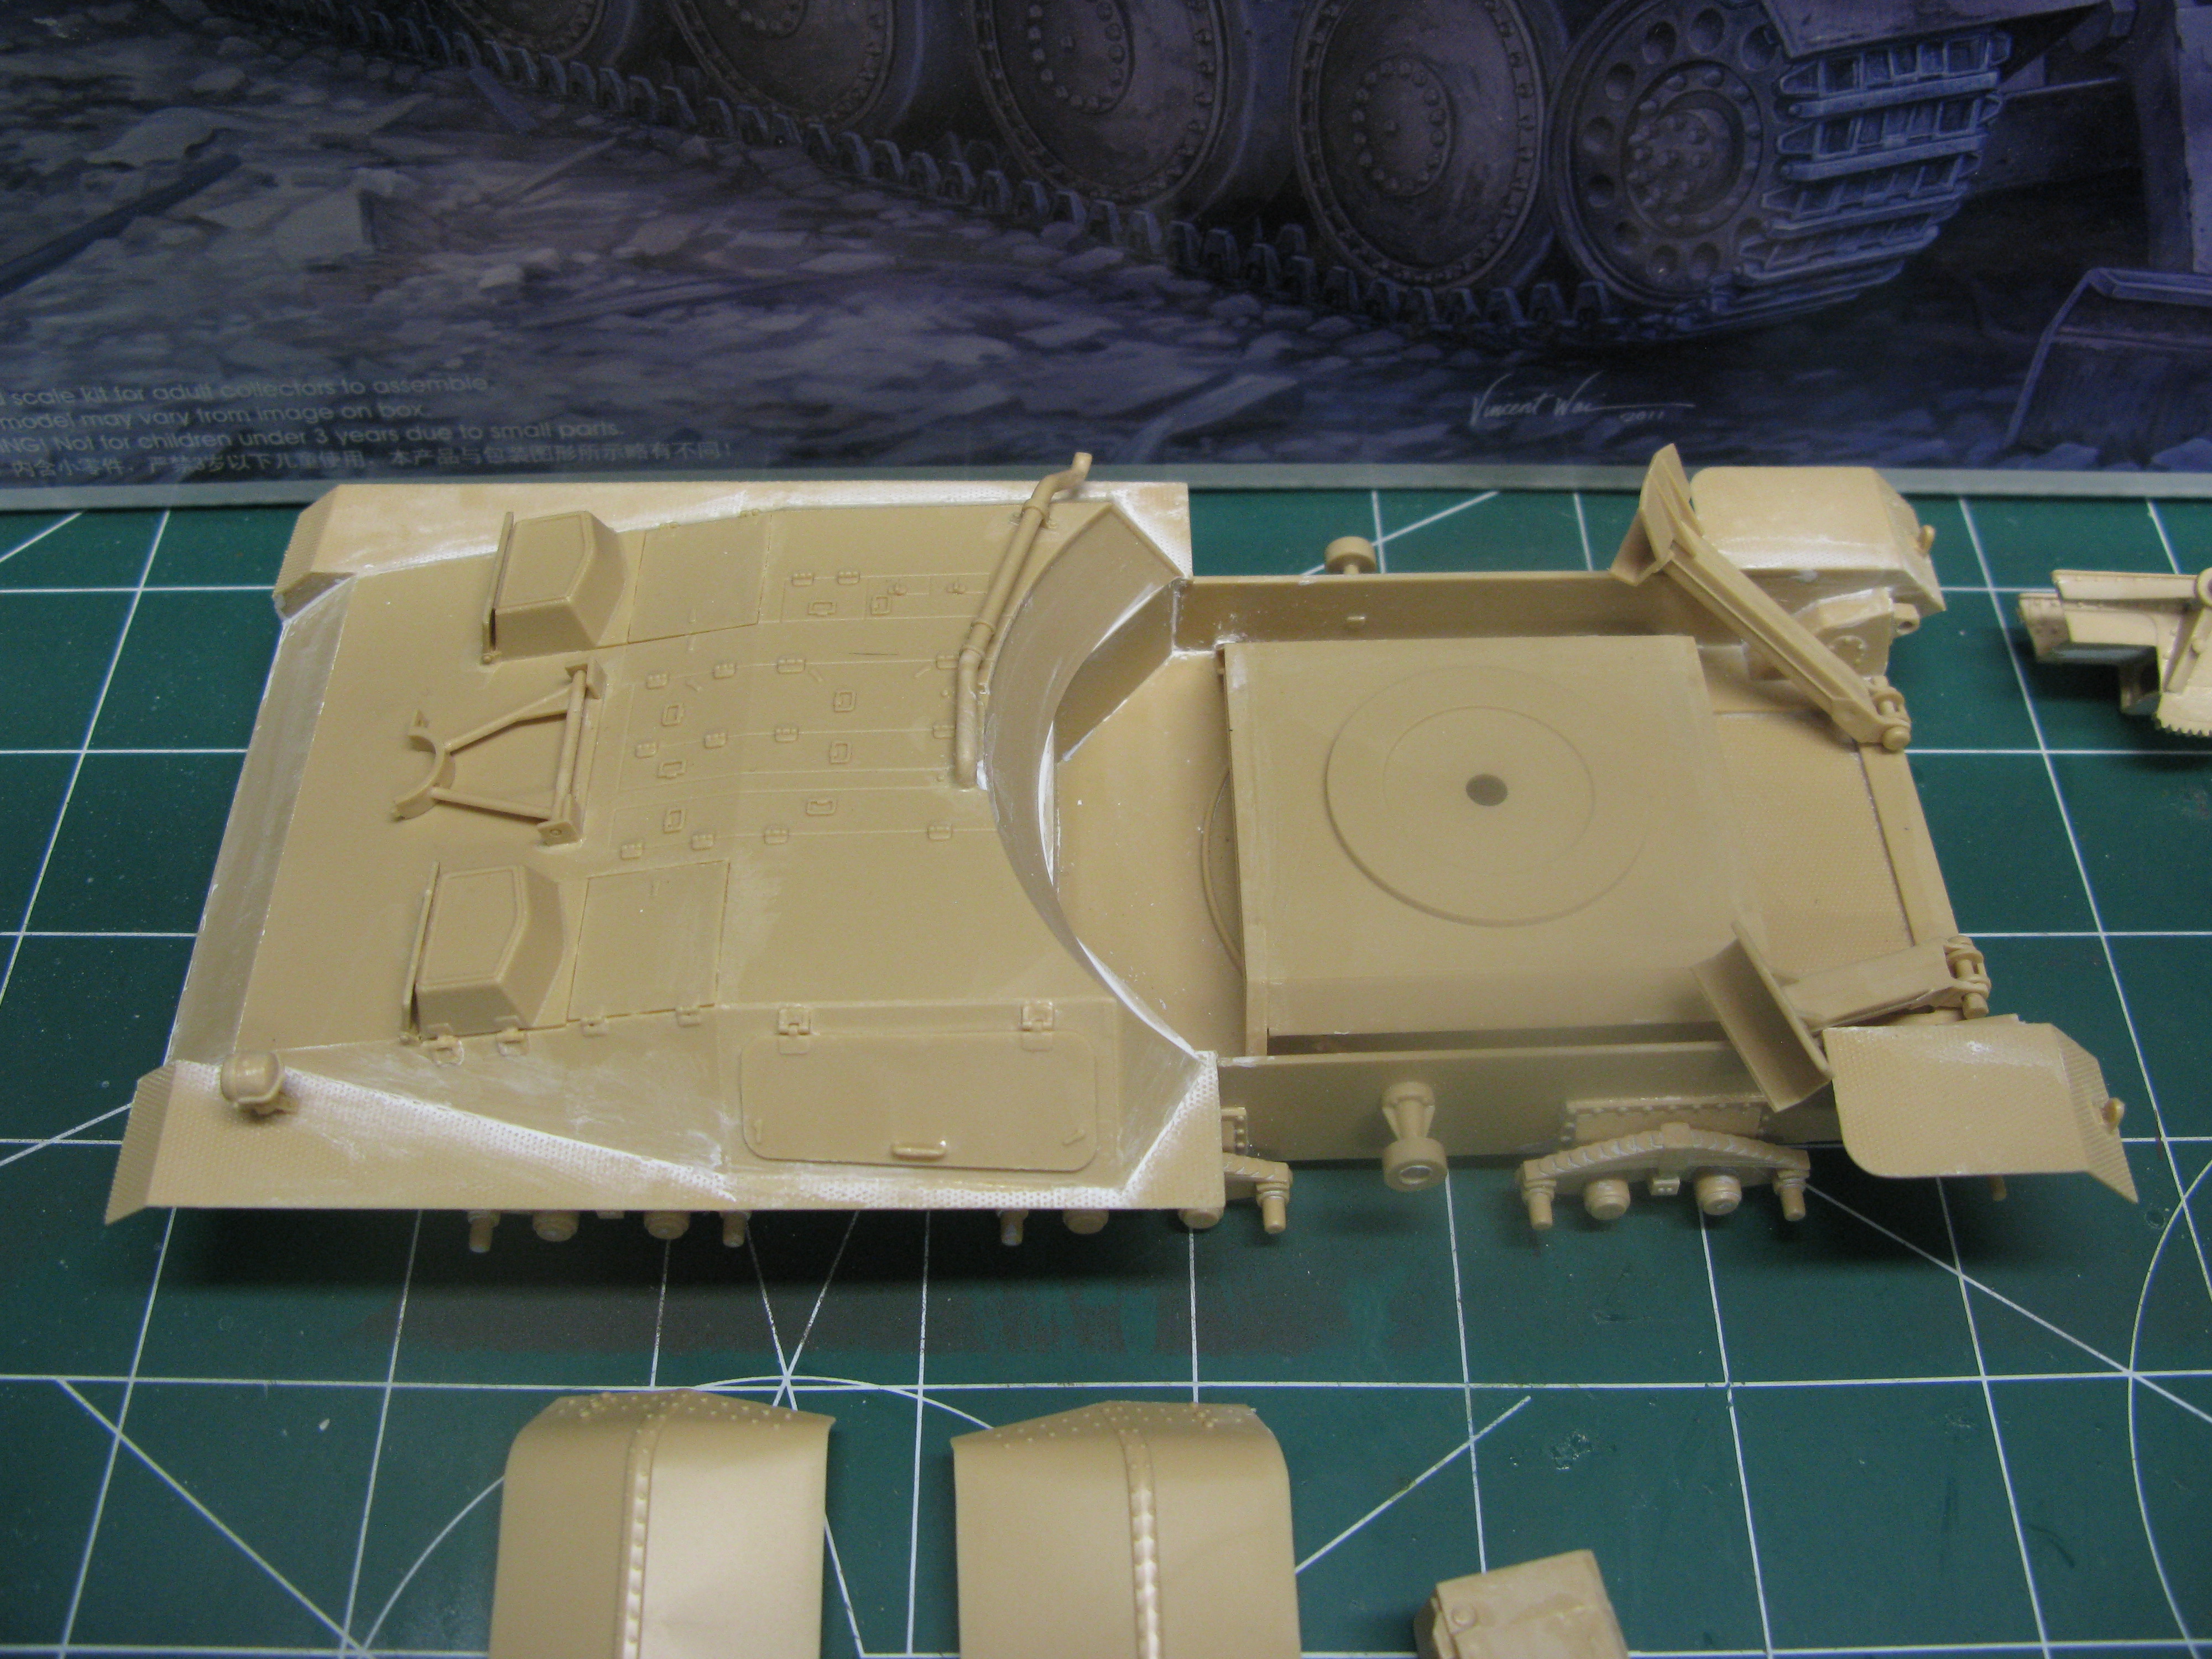
Here’s a quick update. I’ve gotten the front hull and fenders on, but I haven’t gotten much farther than that. I’ve basically taken a 4-month break from modeling after the intense JS-3 build. I finished the Waffentrager’s wheels in February, and that was about it for 4 months.
My building skills are horrible, and you can tell in the pics. Oh well, I can say it’s weathering…that’s what I love about modeling [:D]
Hey, thank you for giving me some criticism! Sometimes I’m dissapointed, because group builds seem to end up as a big echo chamber: lots of compliments going around, but no constructive criticism.
I’m into fine art (part of the reason my modeling participation has slowed a little) and I know from experience that constructive criticism is the best way to improve.
I’ll be sure to do what you recommend! I’m very bad at filling/sanding, but I guess practice makes perfect. I actually need some new sanding pads, so I’ll put that on my shopping list.
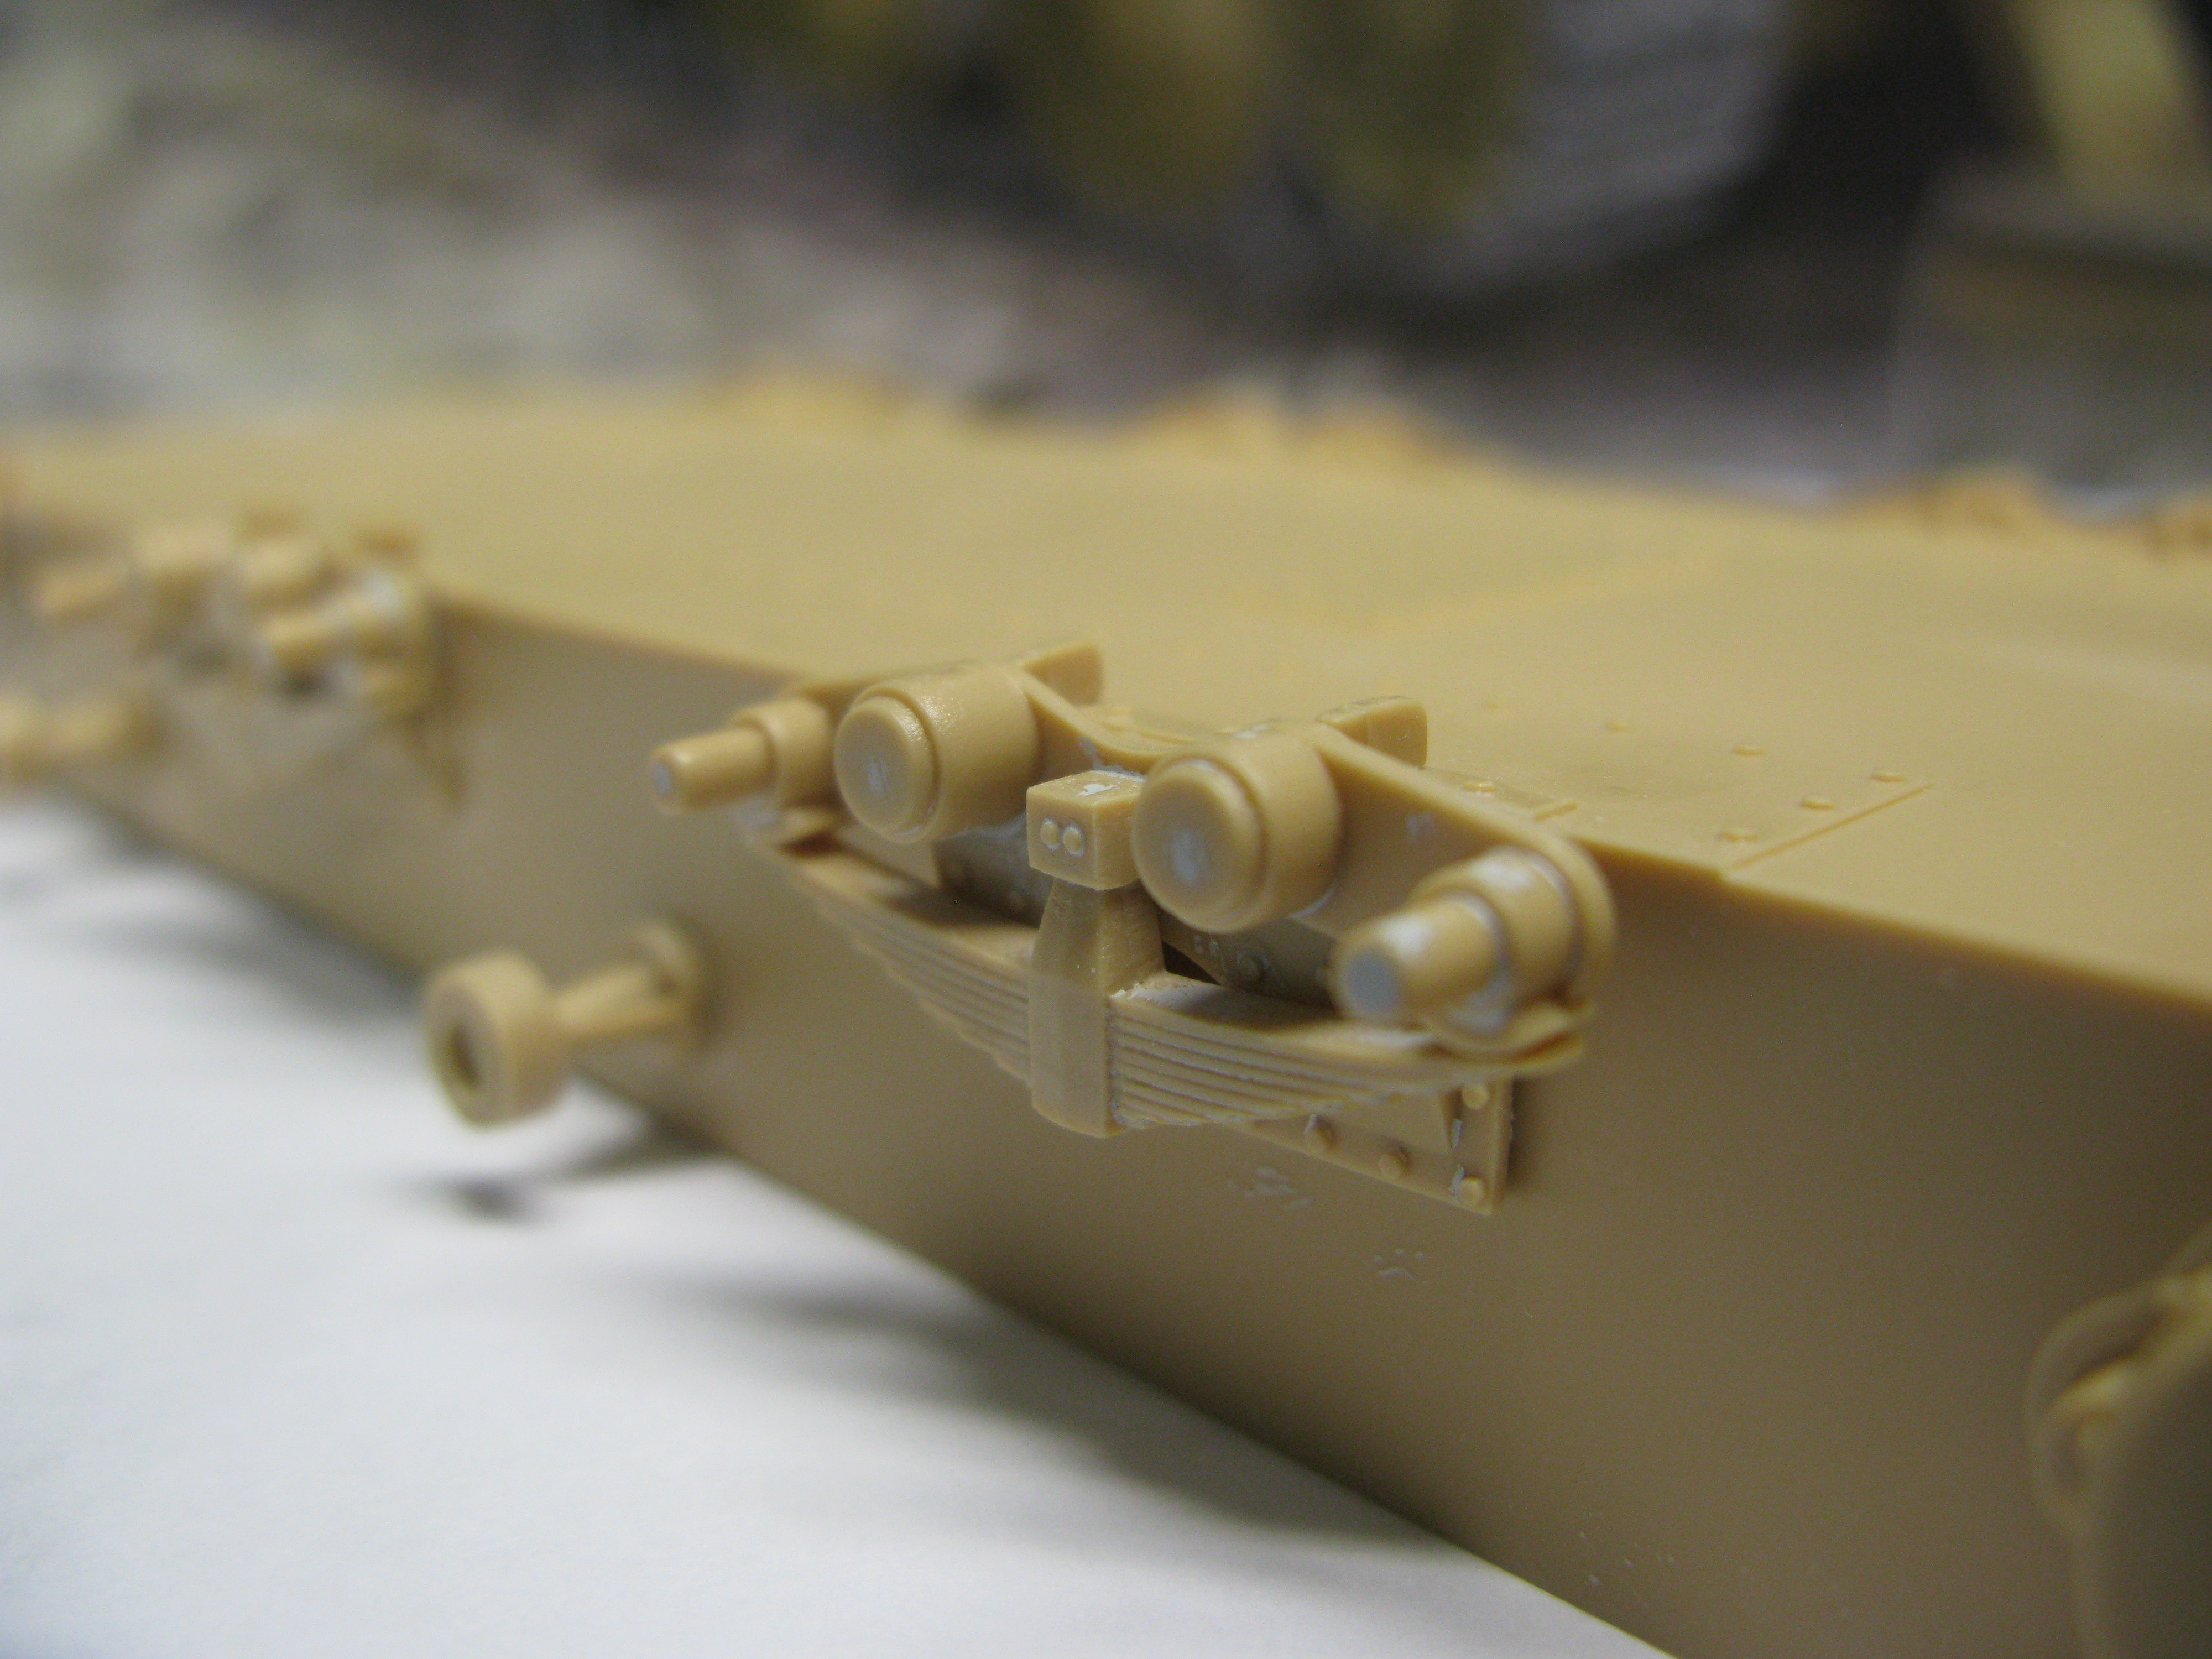
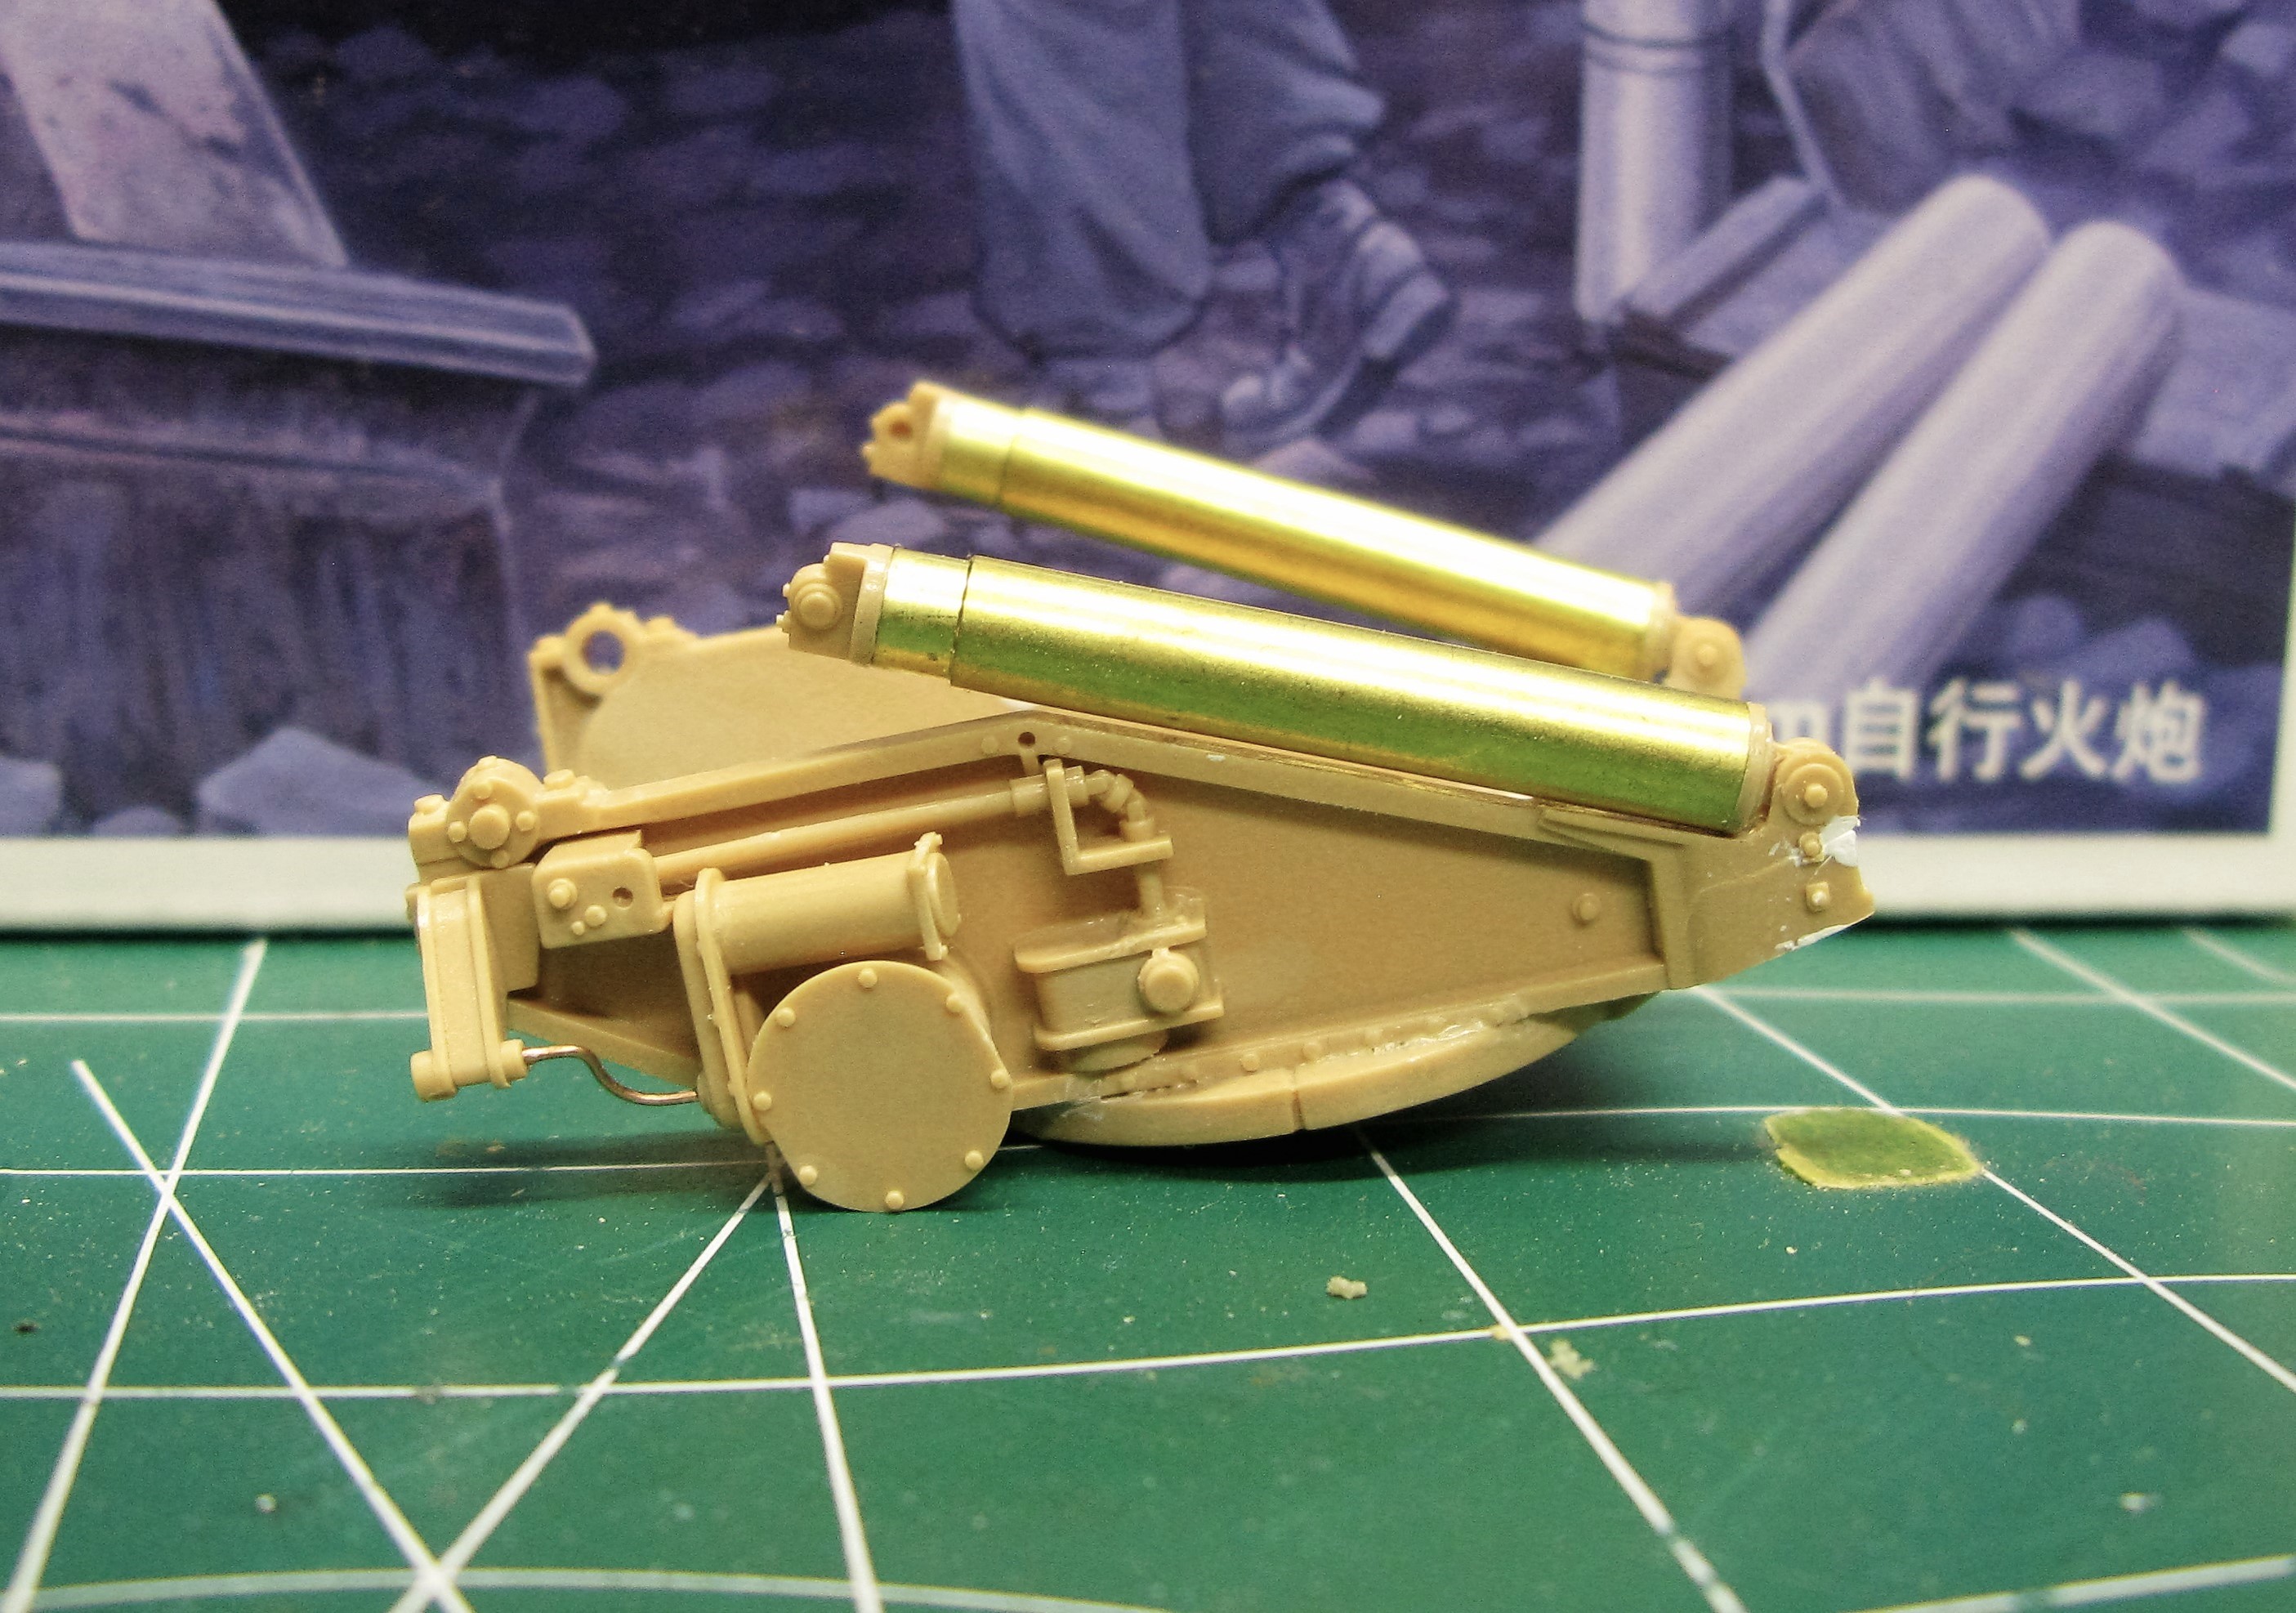
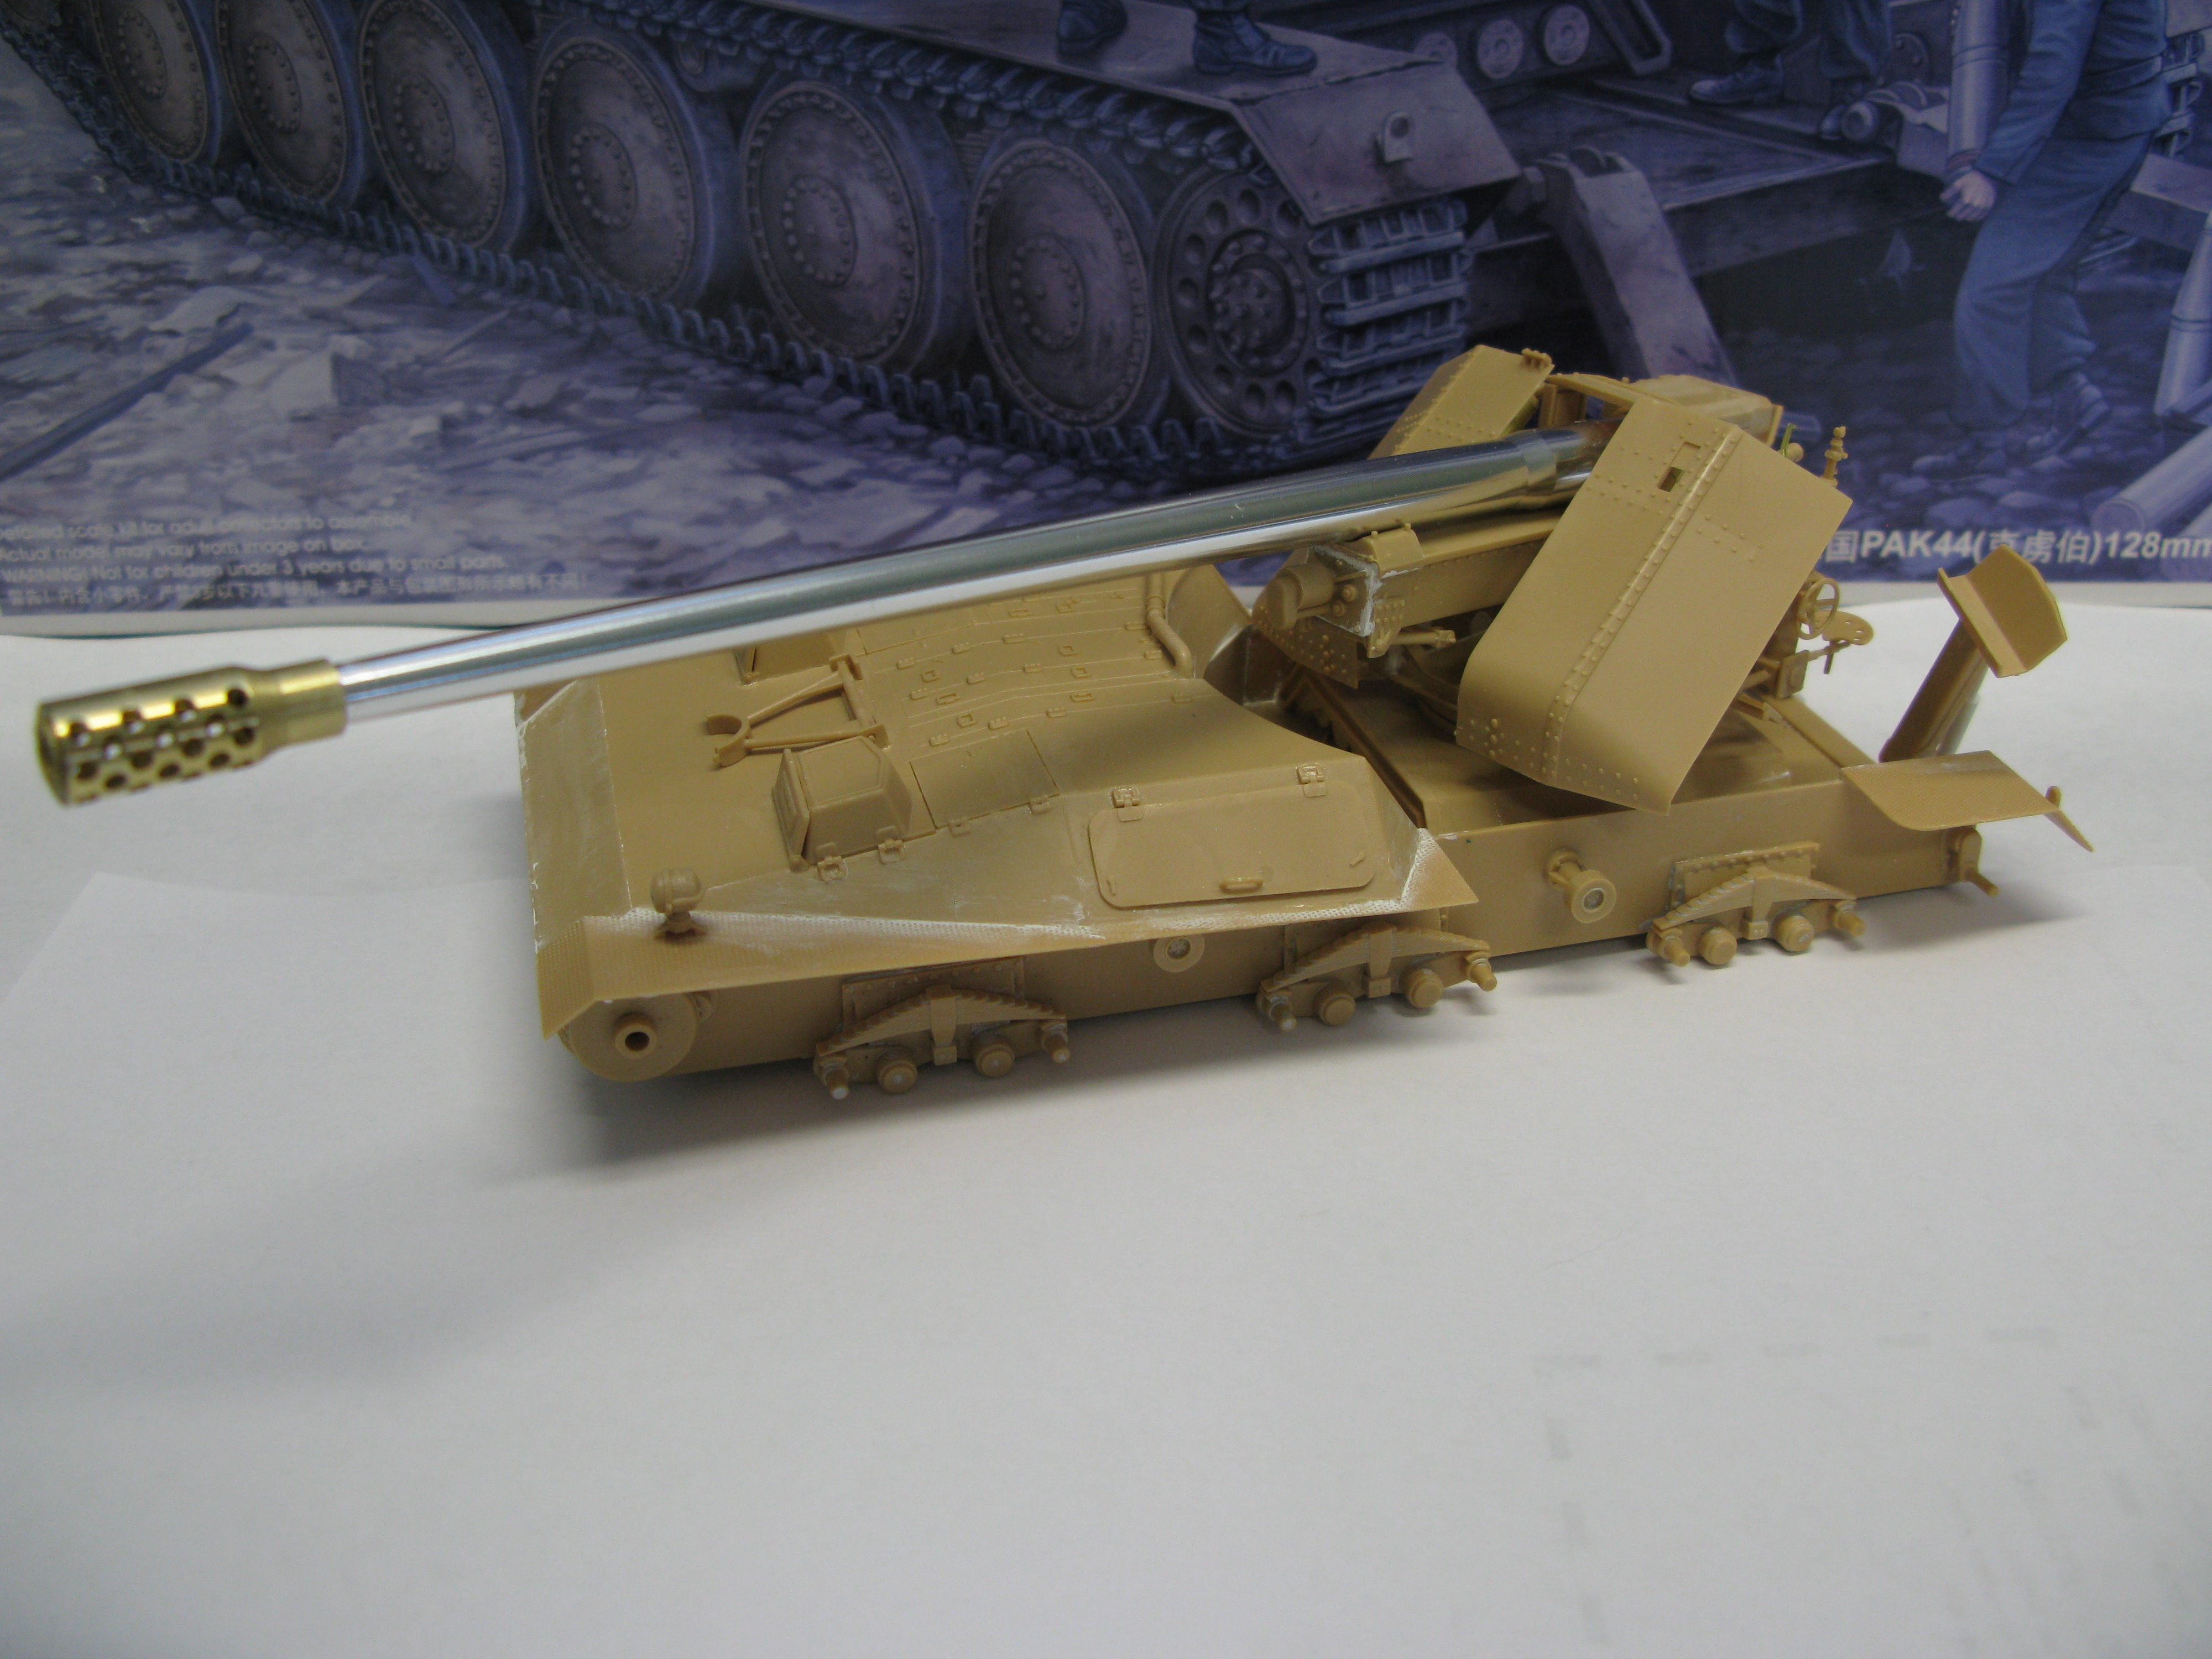
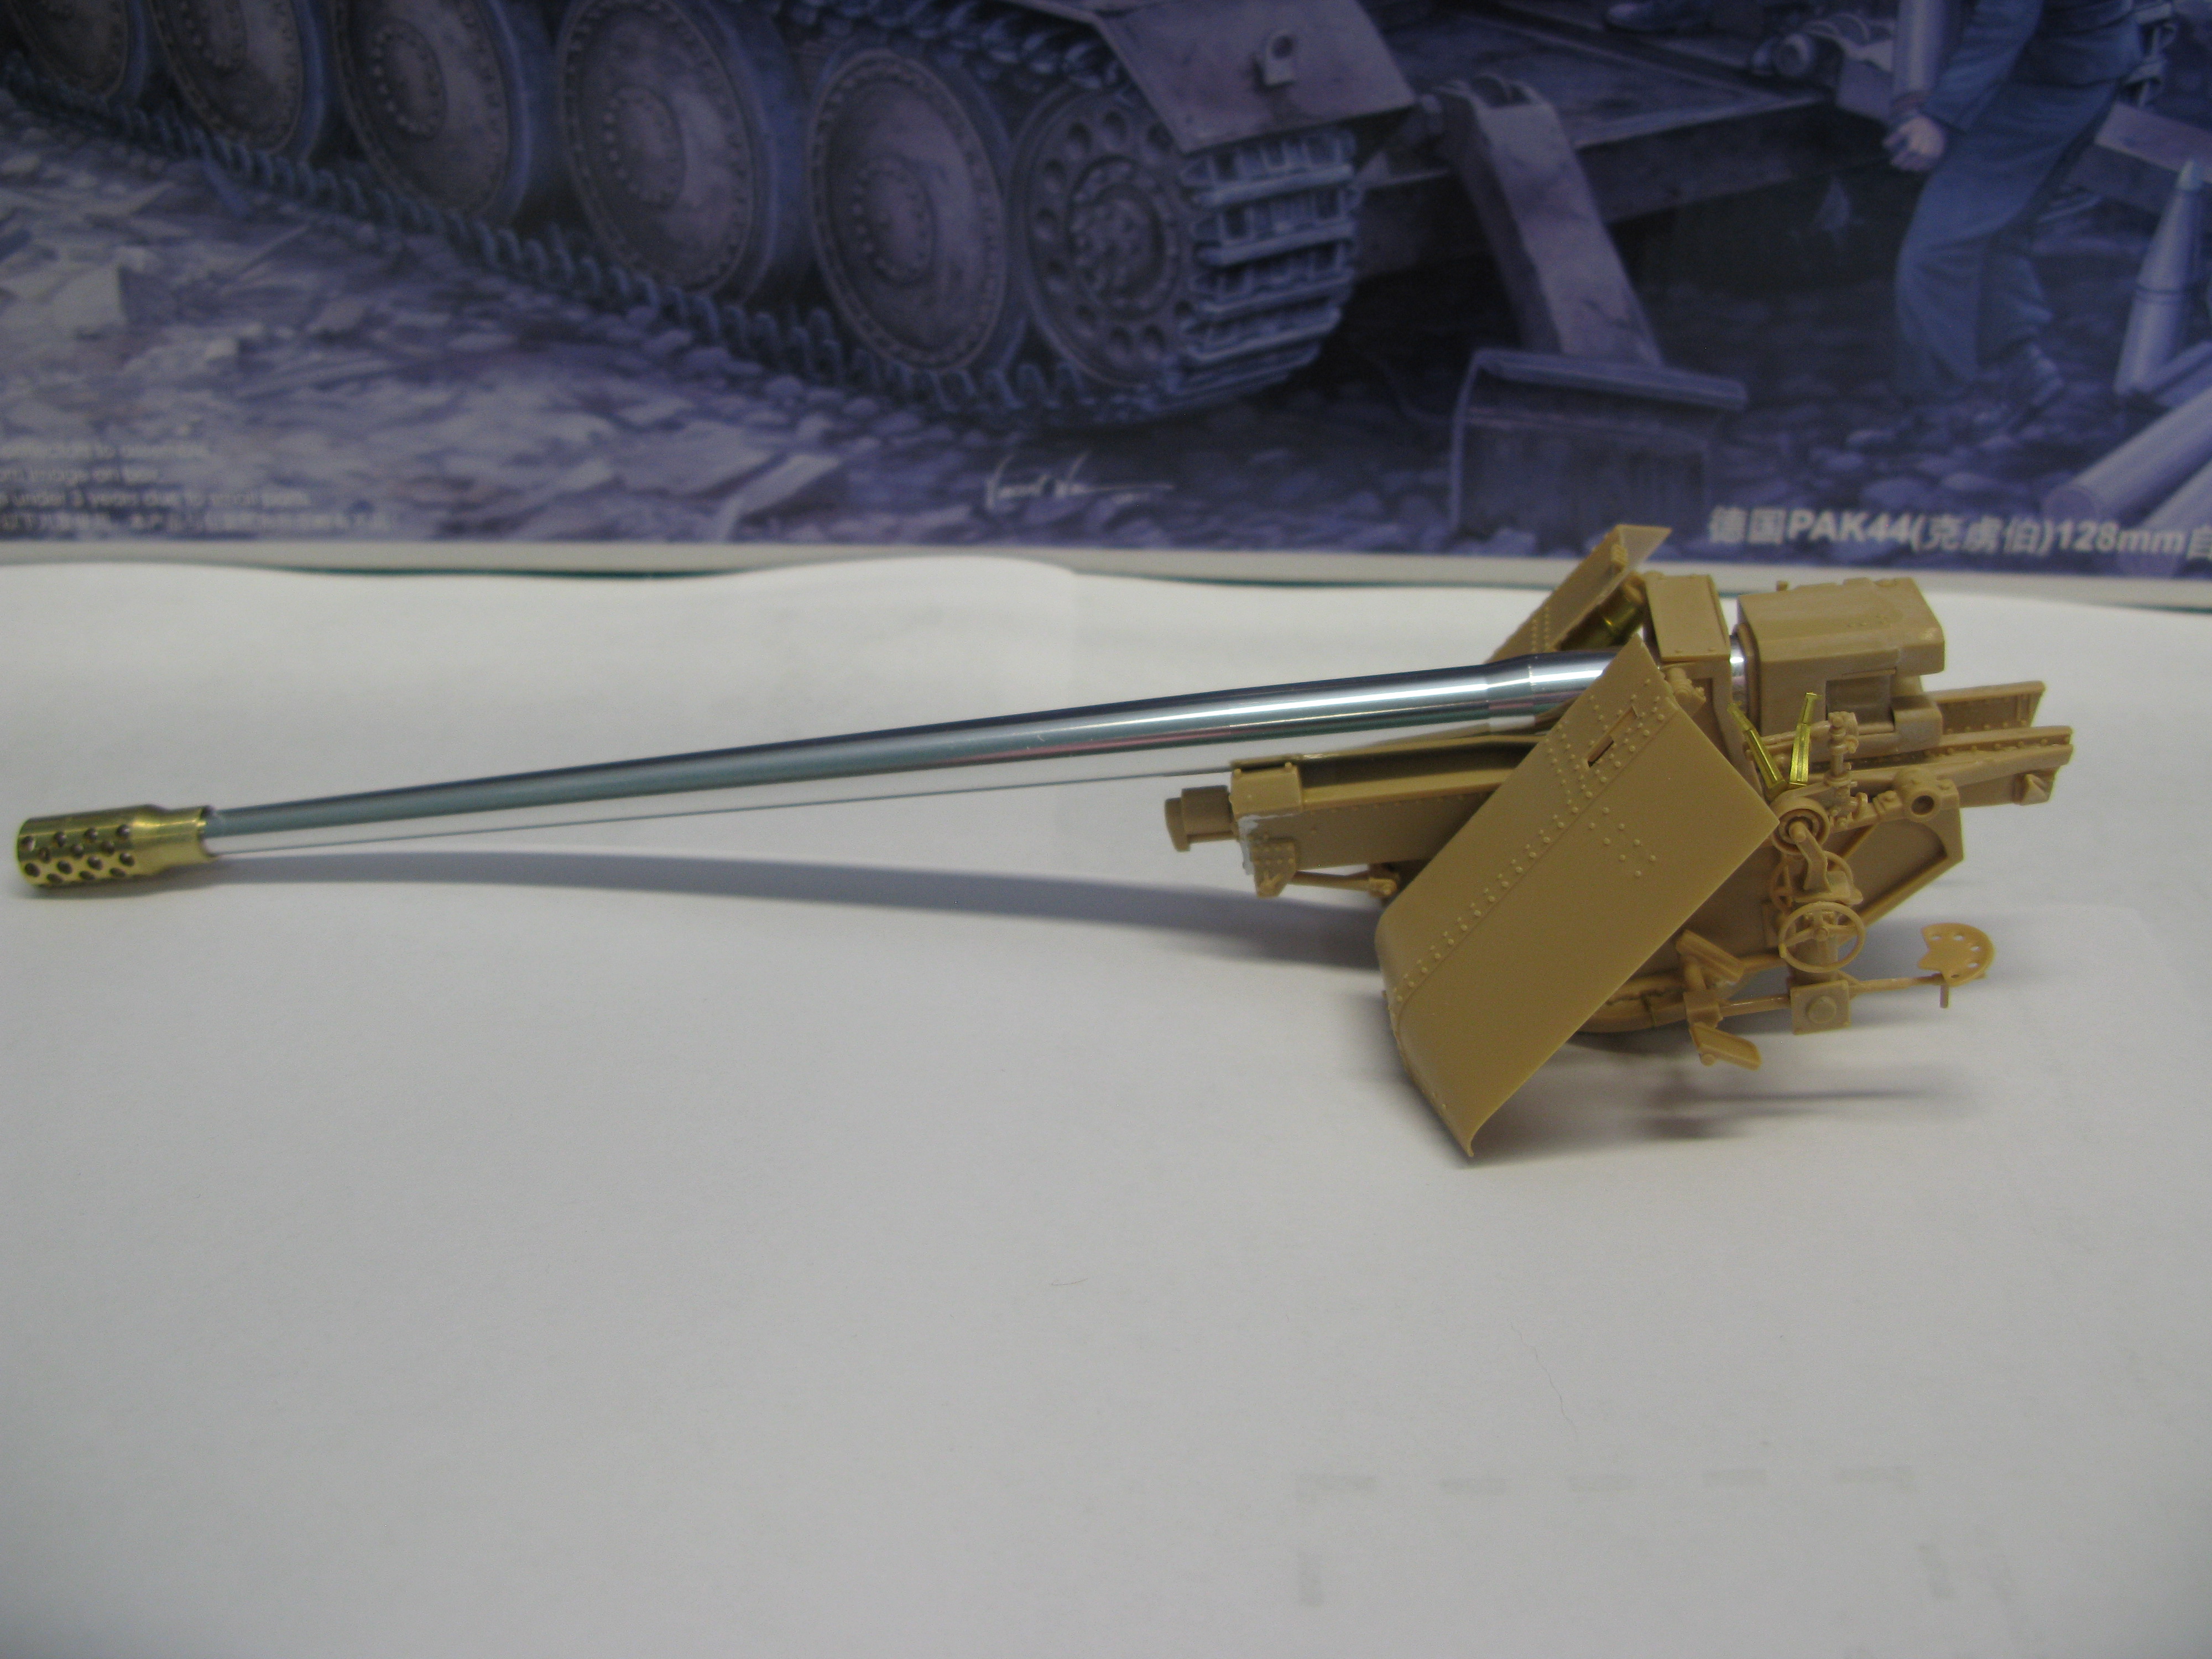
I’ve gotten to the point where I need to attach the muzzle brake. Unfortunately, the muzzle brake is a very thick piece of PE that needs to be bent into shape. I know basic soldering skills, so I could solder it, but I don’t have any equipment or space. I do know somewhere where they have a soldering setup, so maybe I can pull some strings and use their equipment.
The other option is to buy an aftermarket metal barrel/muzzle brake. I might do that, because I’m lazy. Problem is, I need to be sure it’s the right gun barrel and it’s compatible with the kit…aftermarket manufacturers really don’t seem very clear on stuff like that. It’s hard enough even finding their products online, let alone figuring out compatibility!
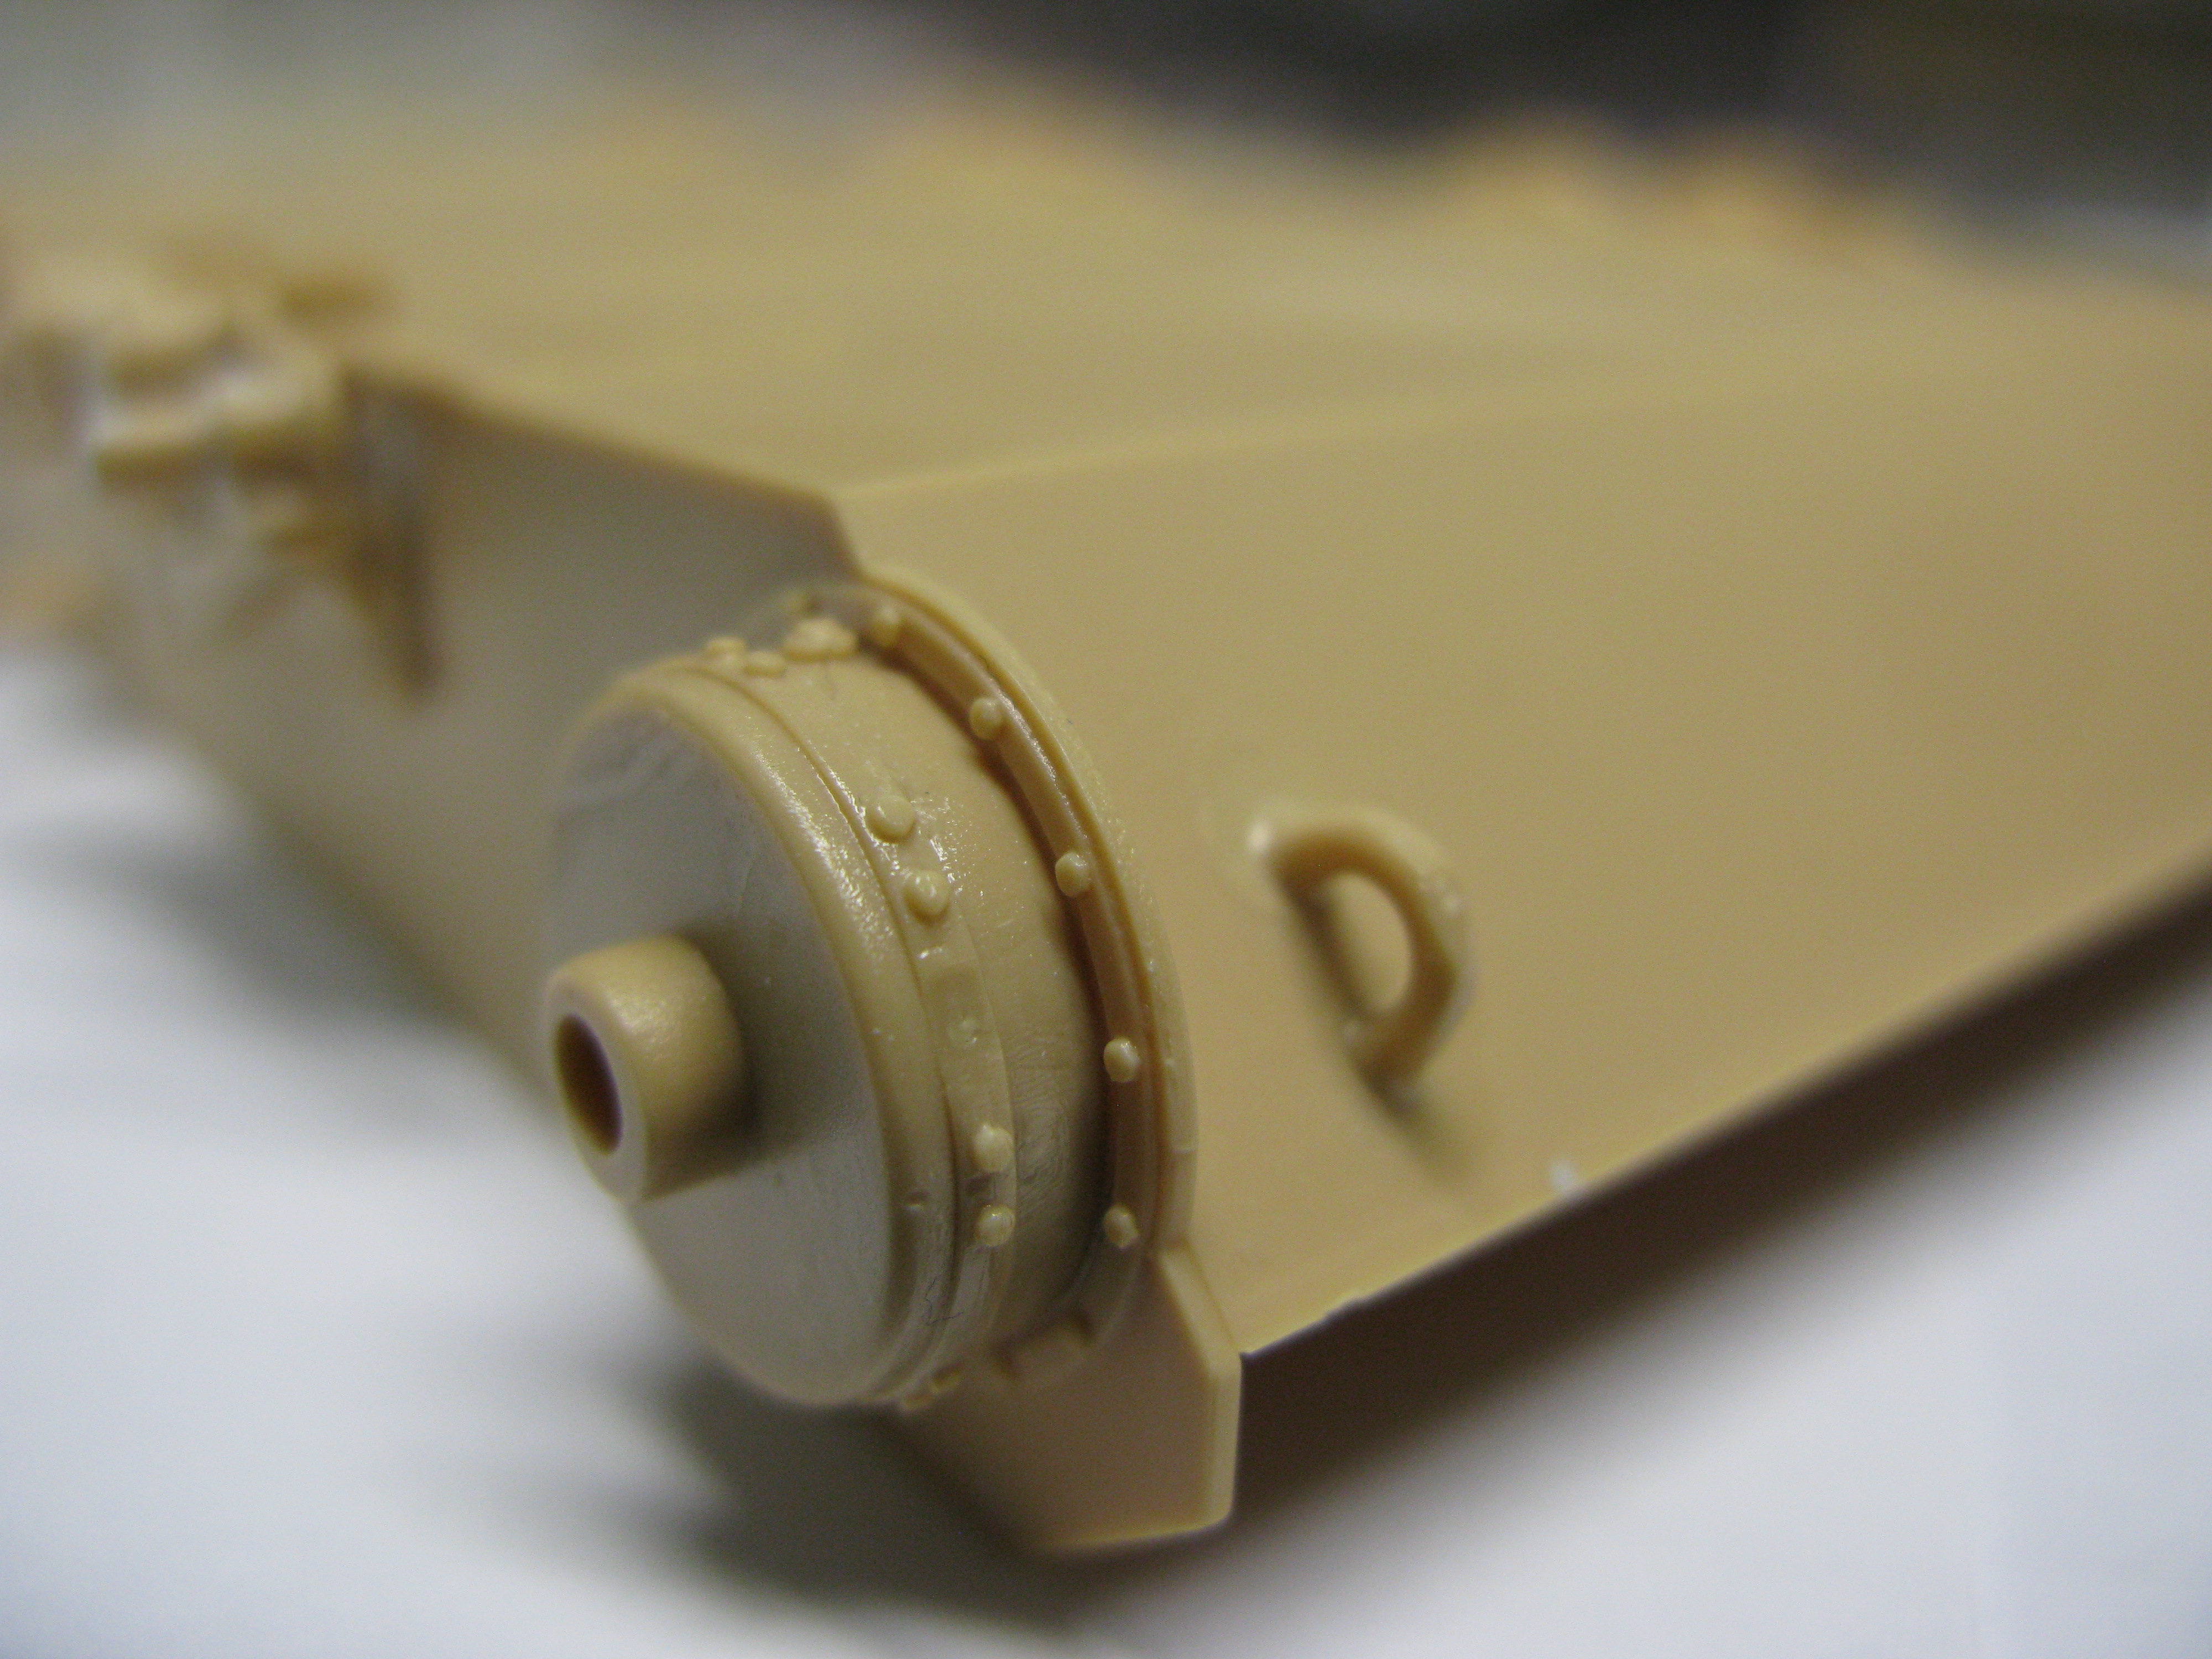
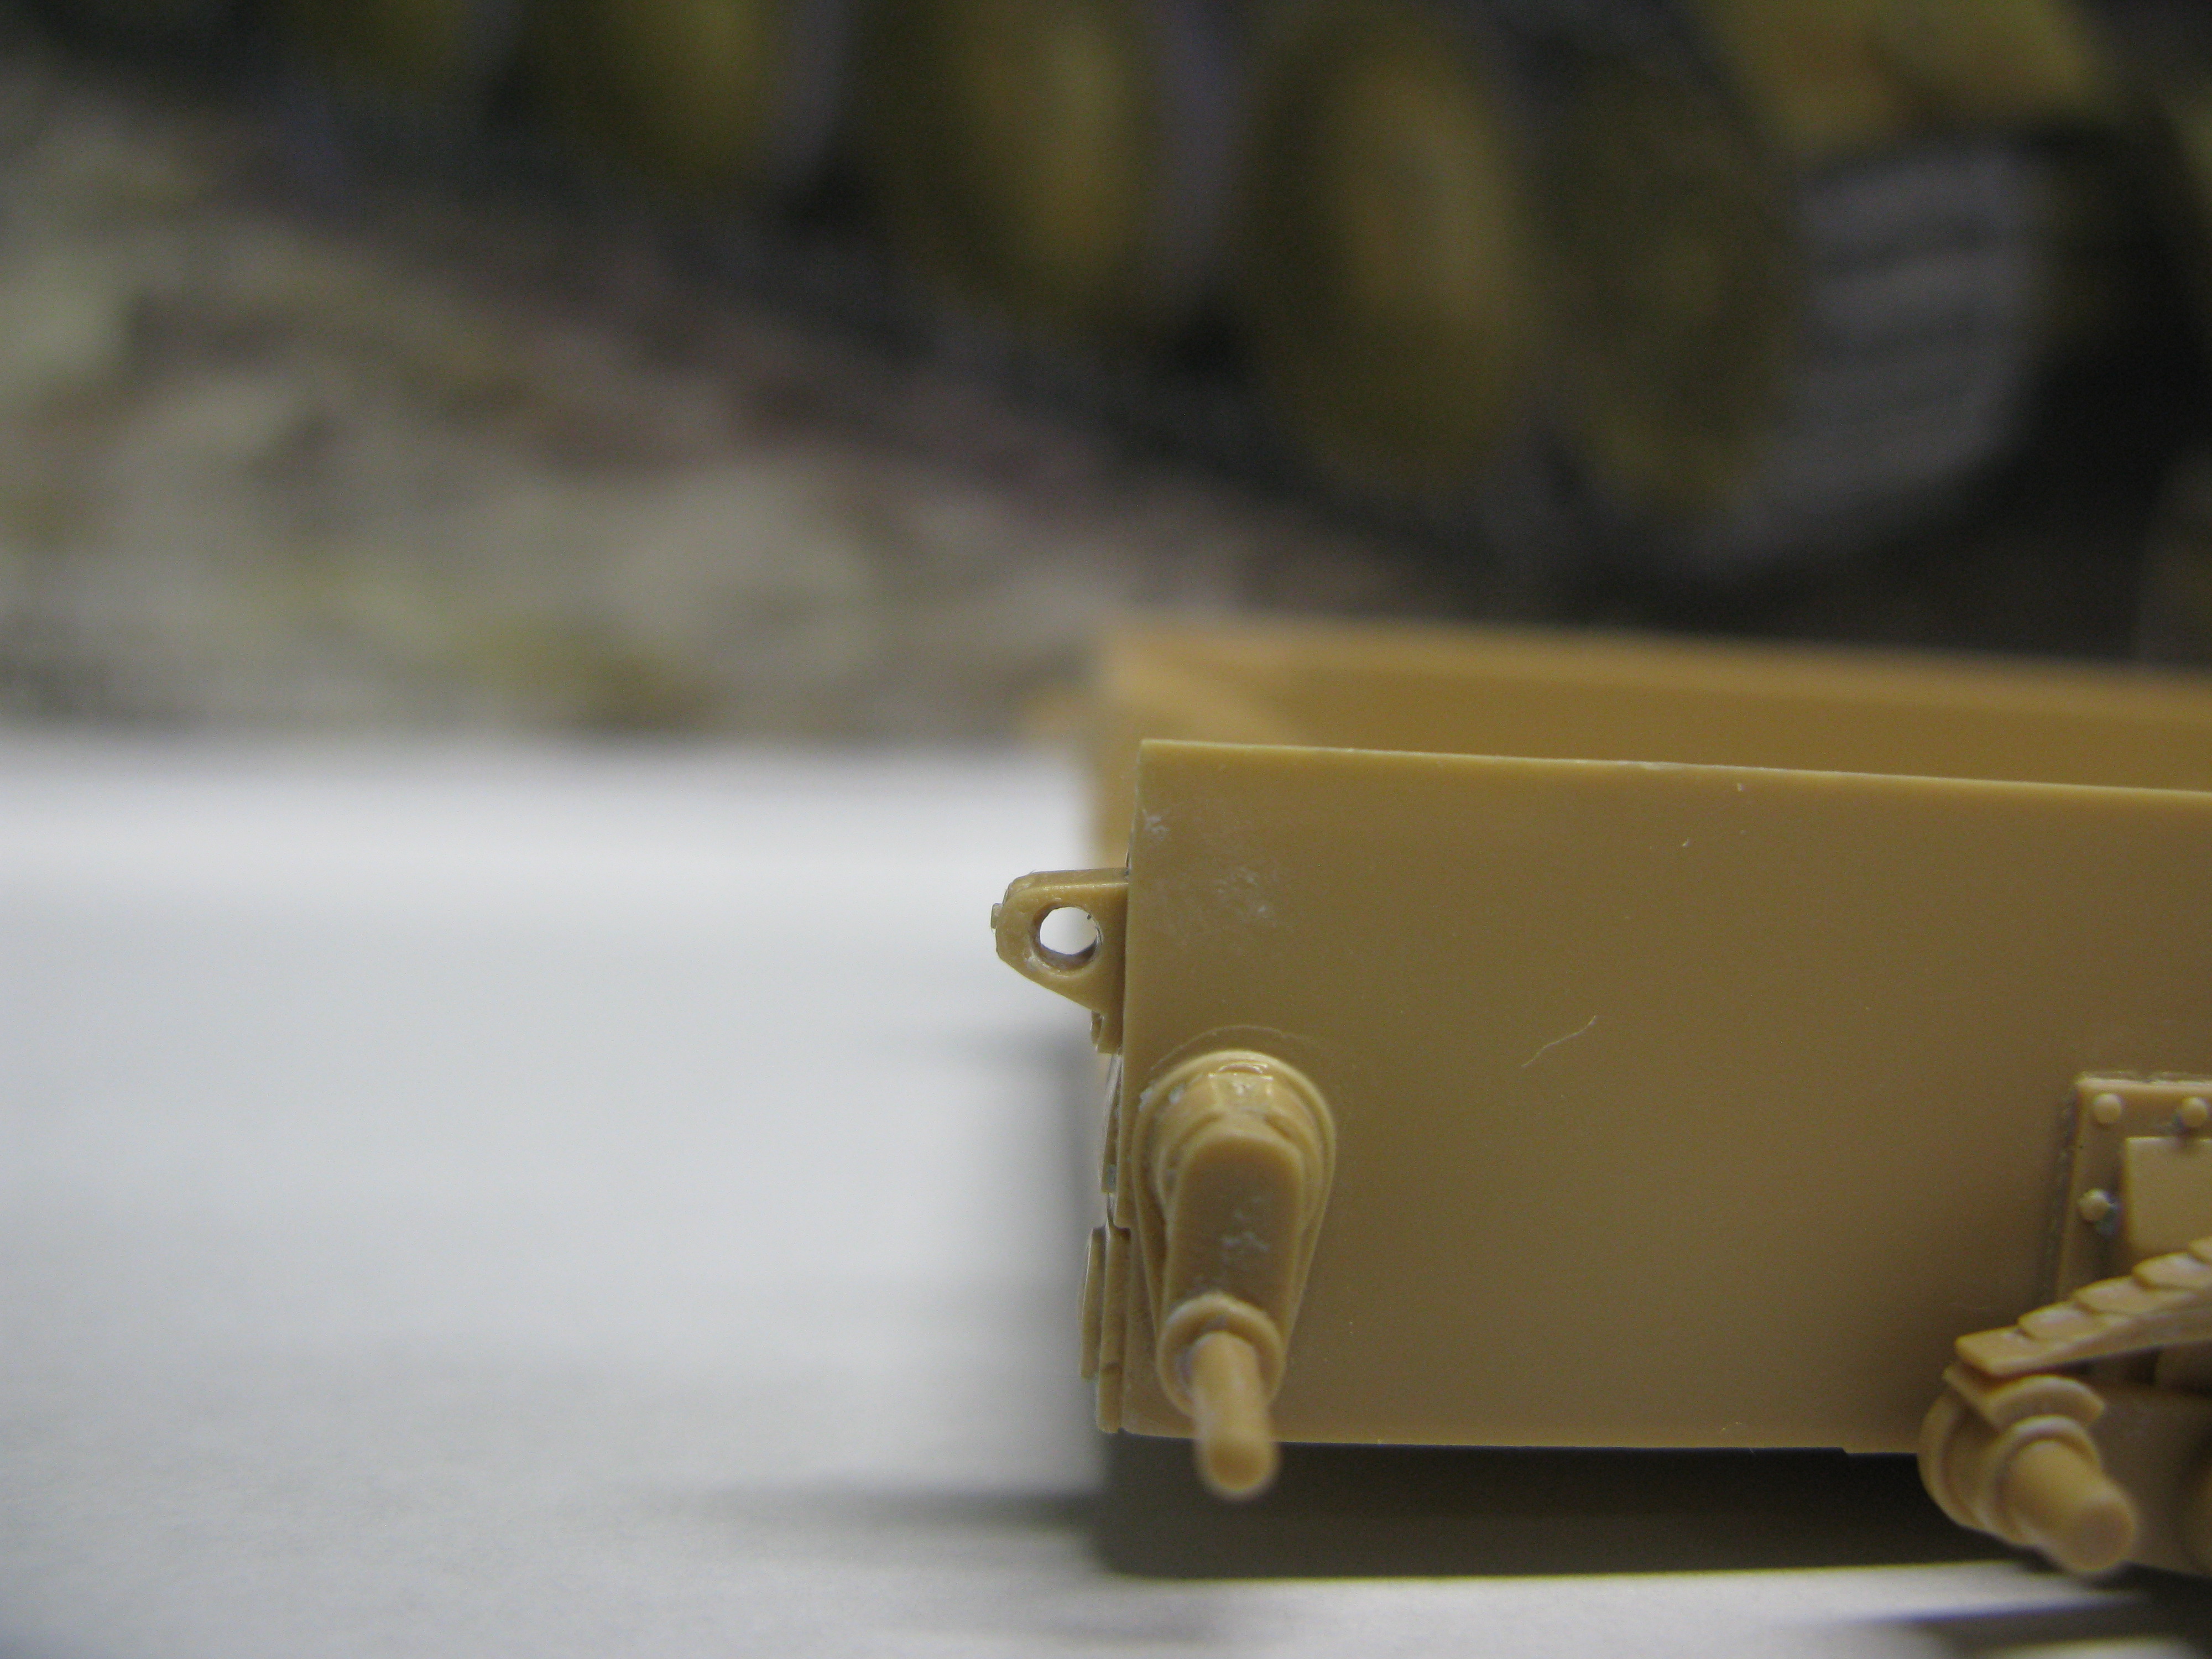
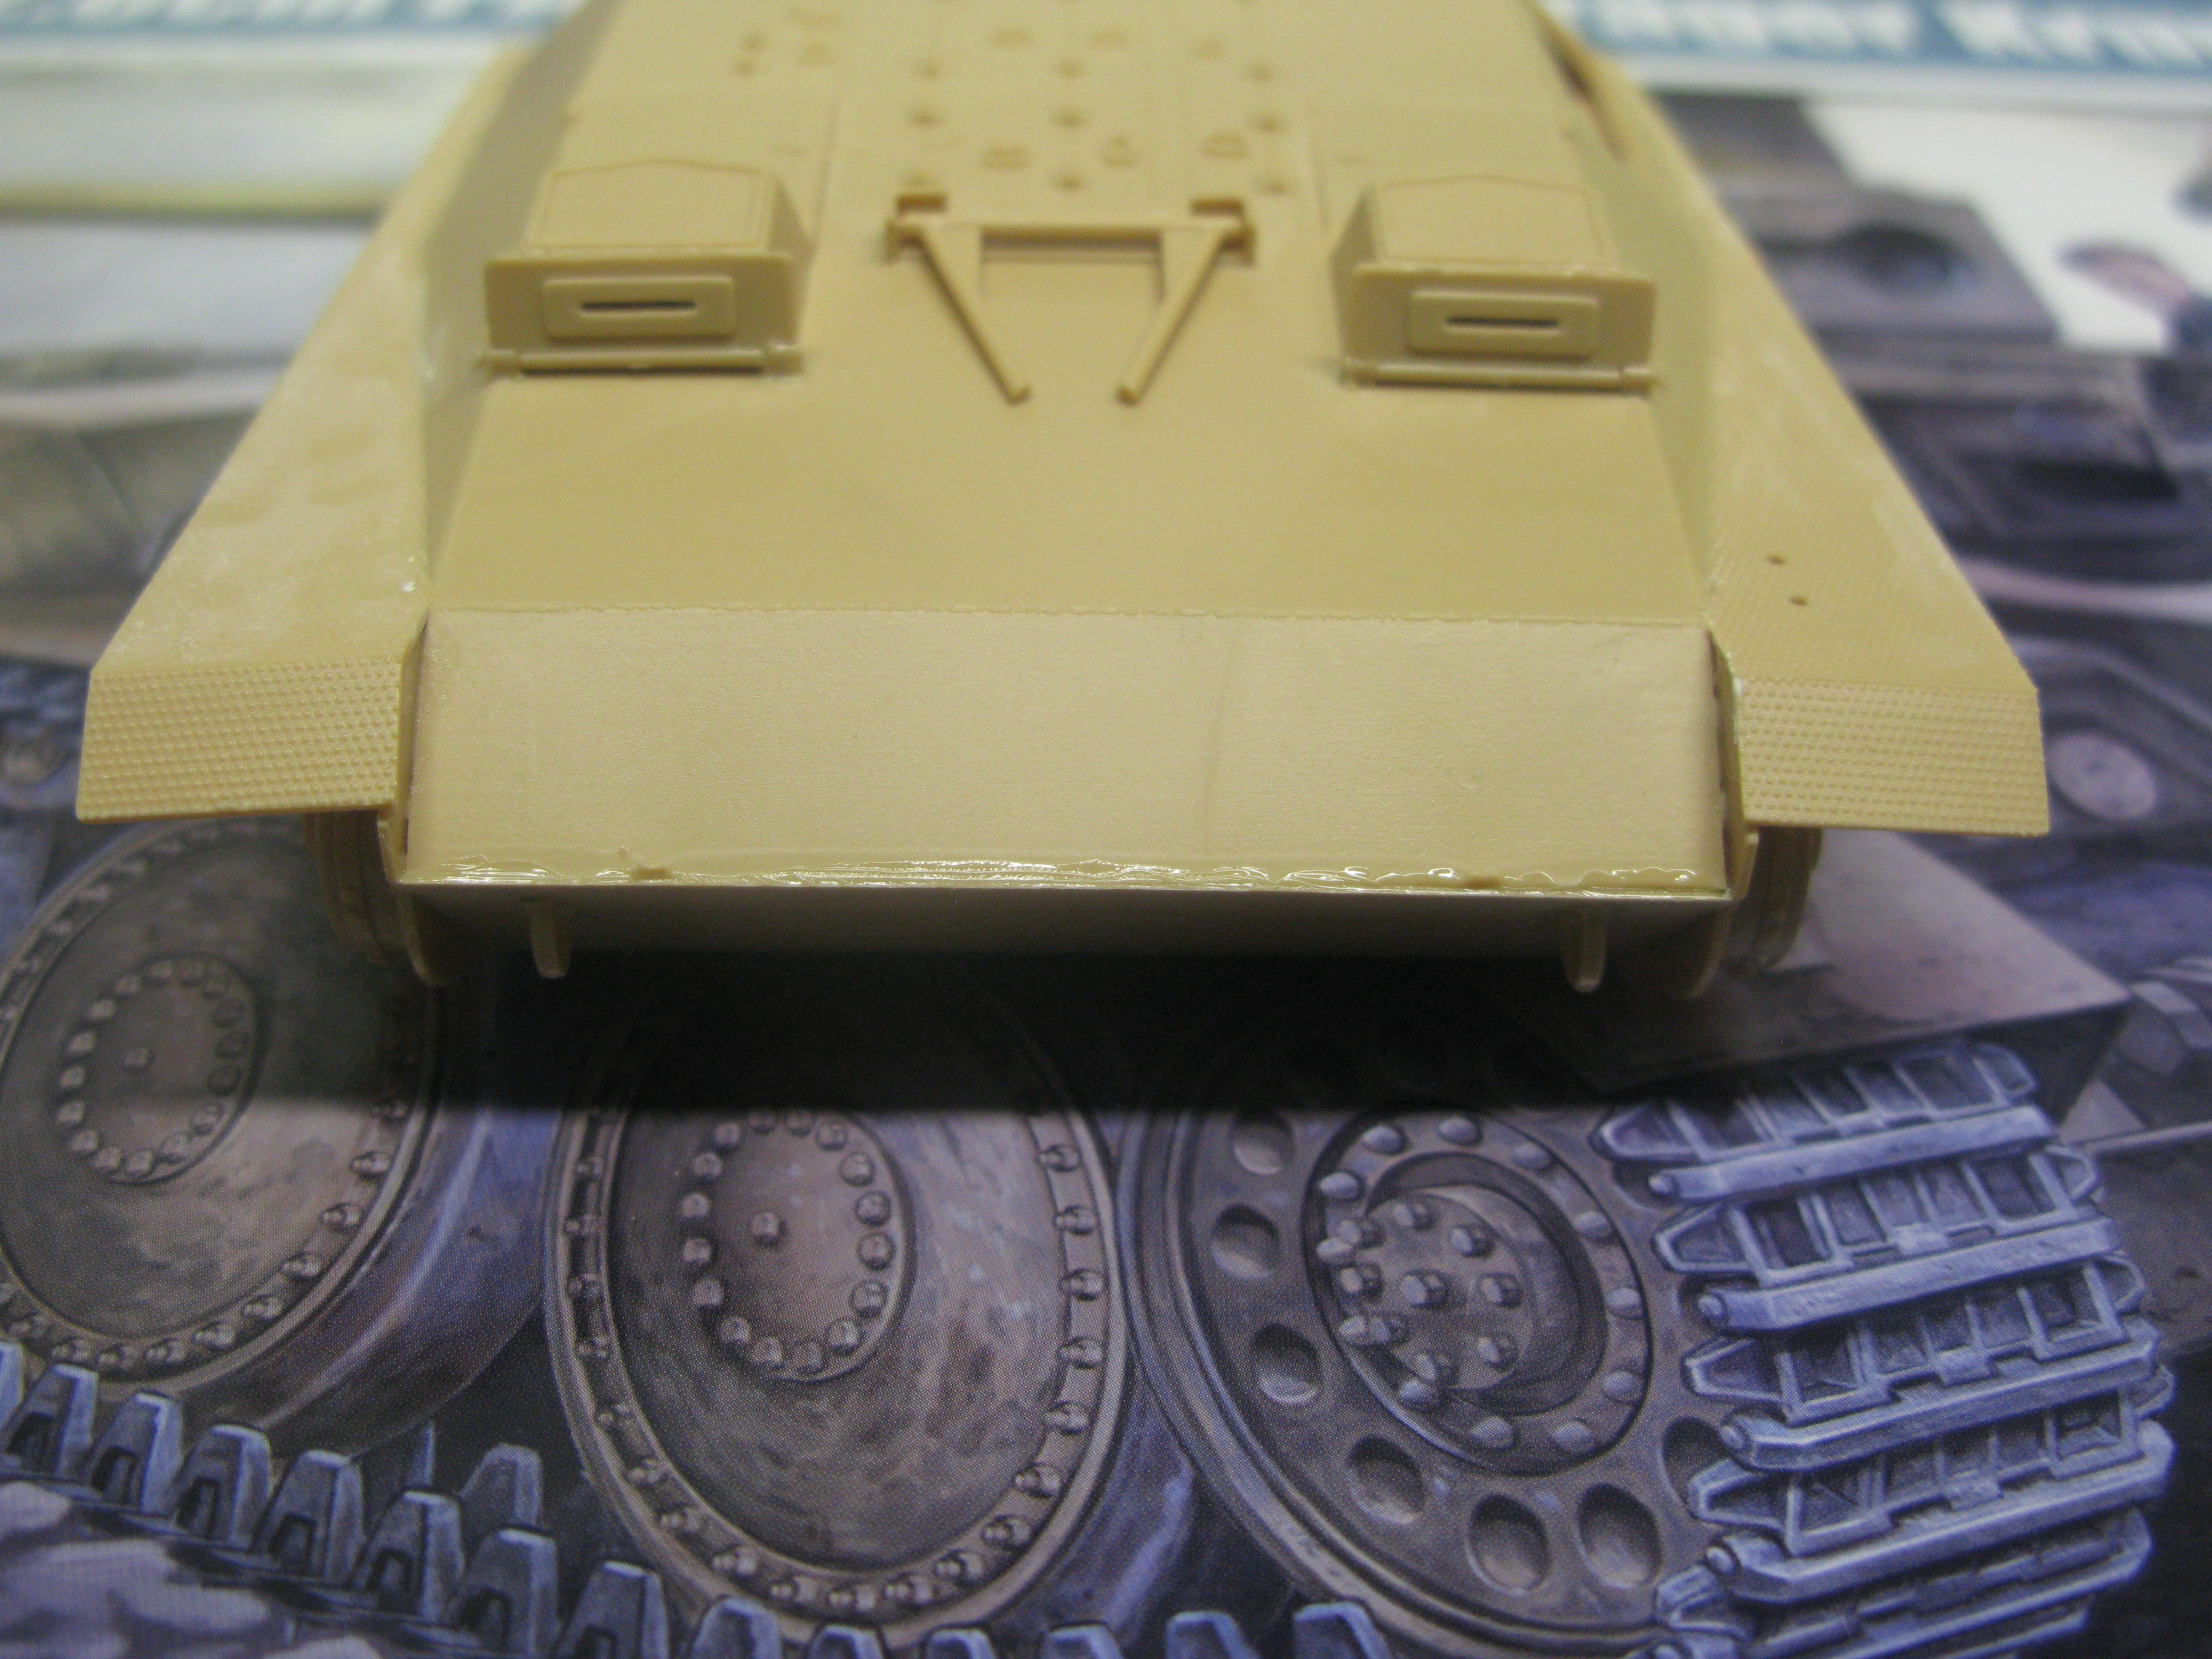
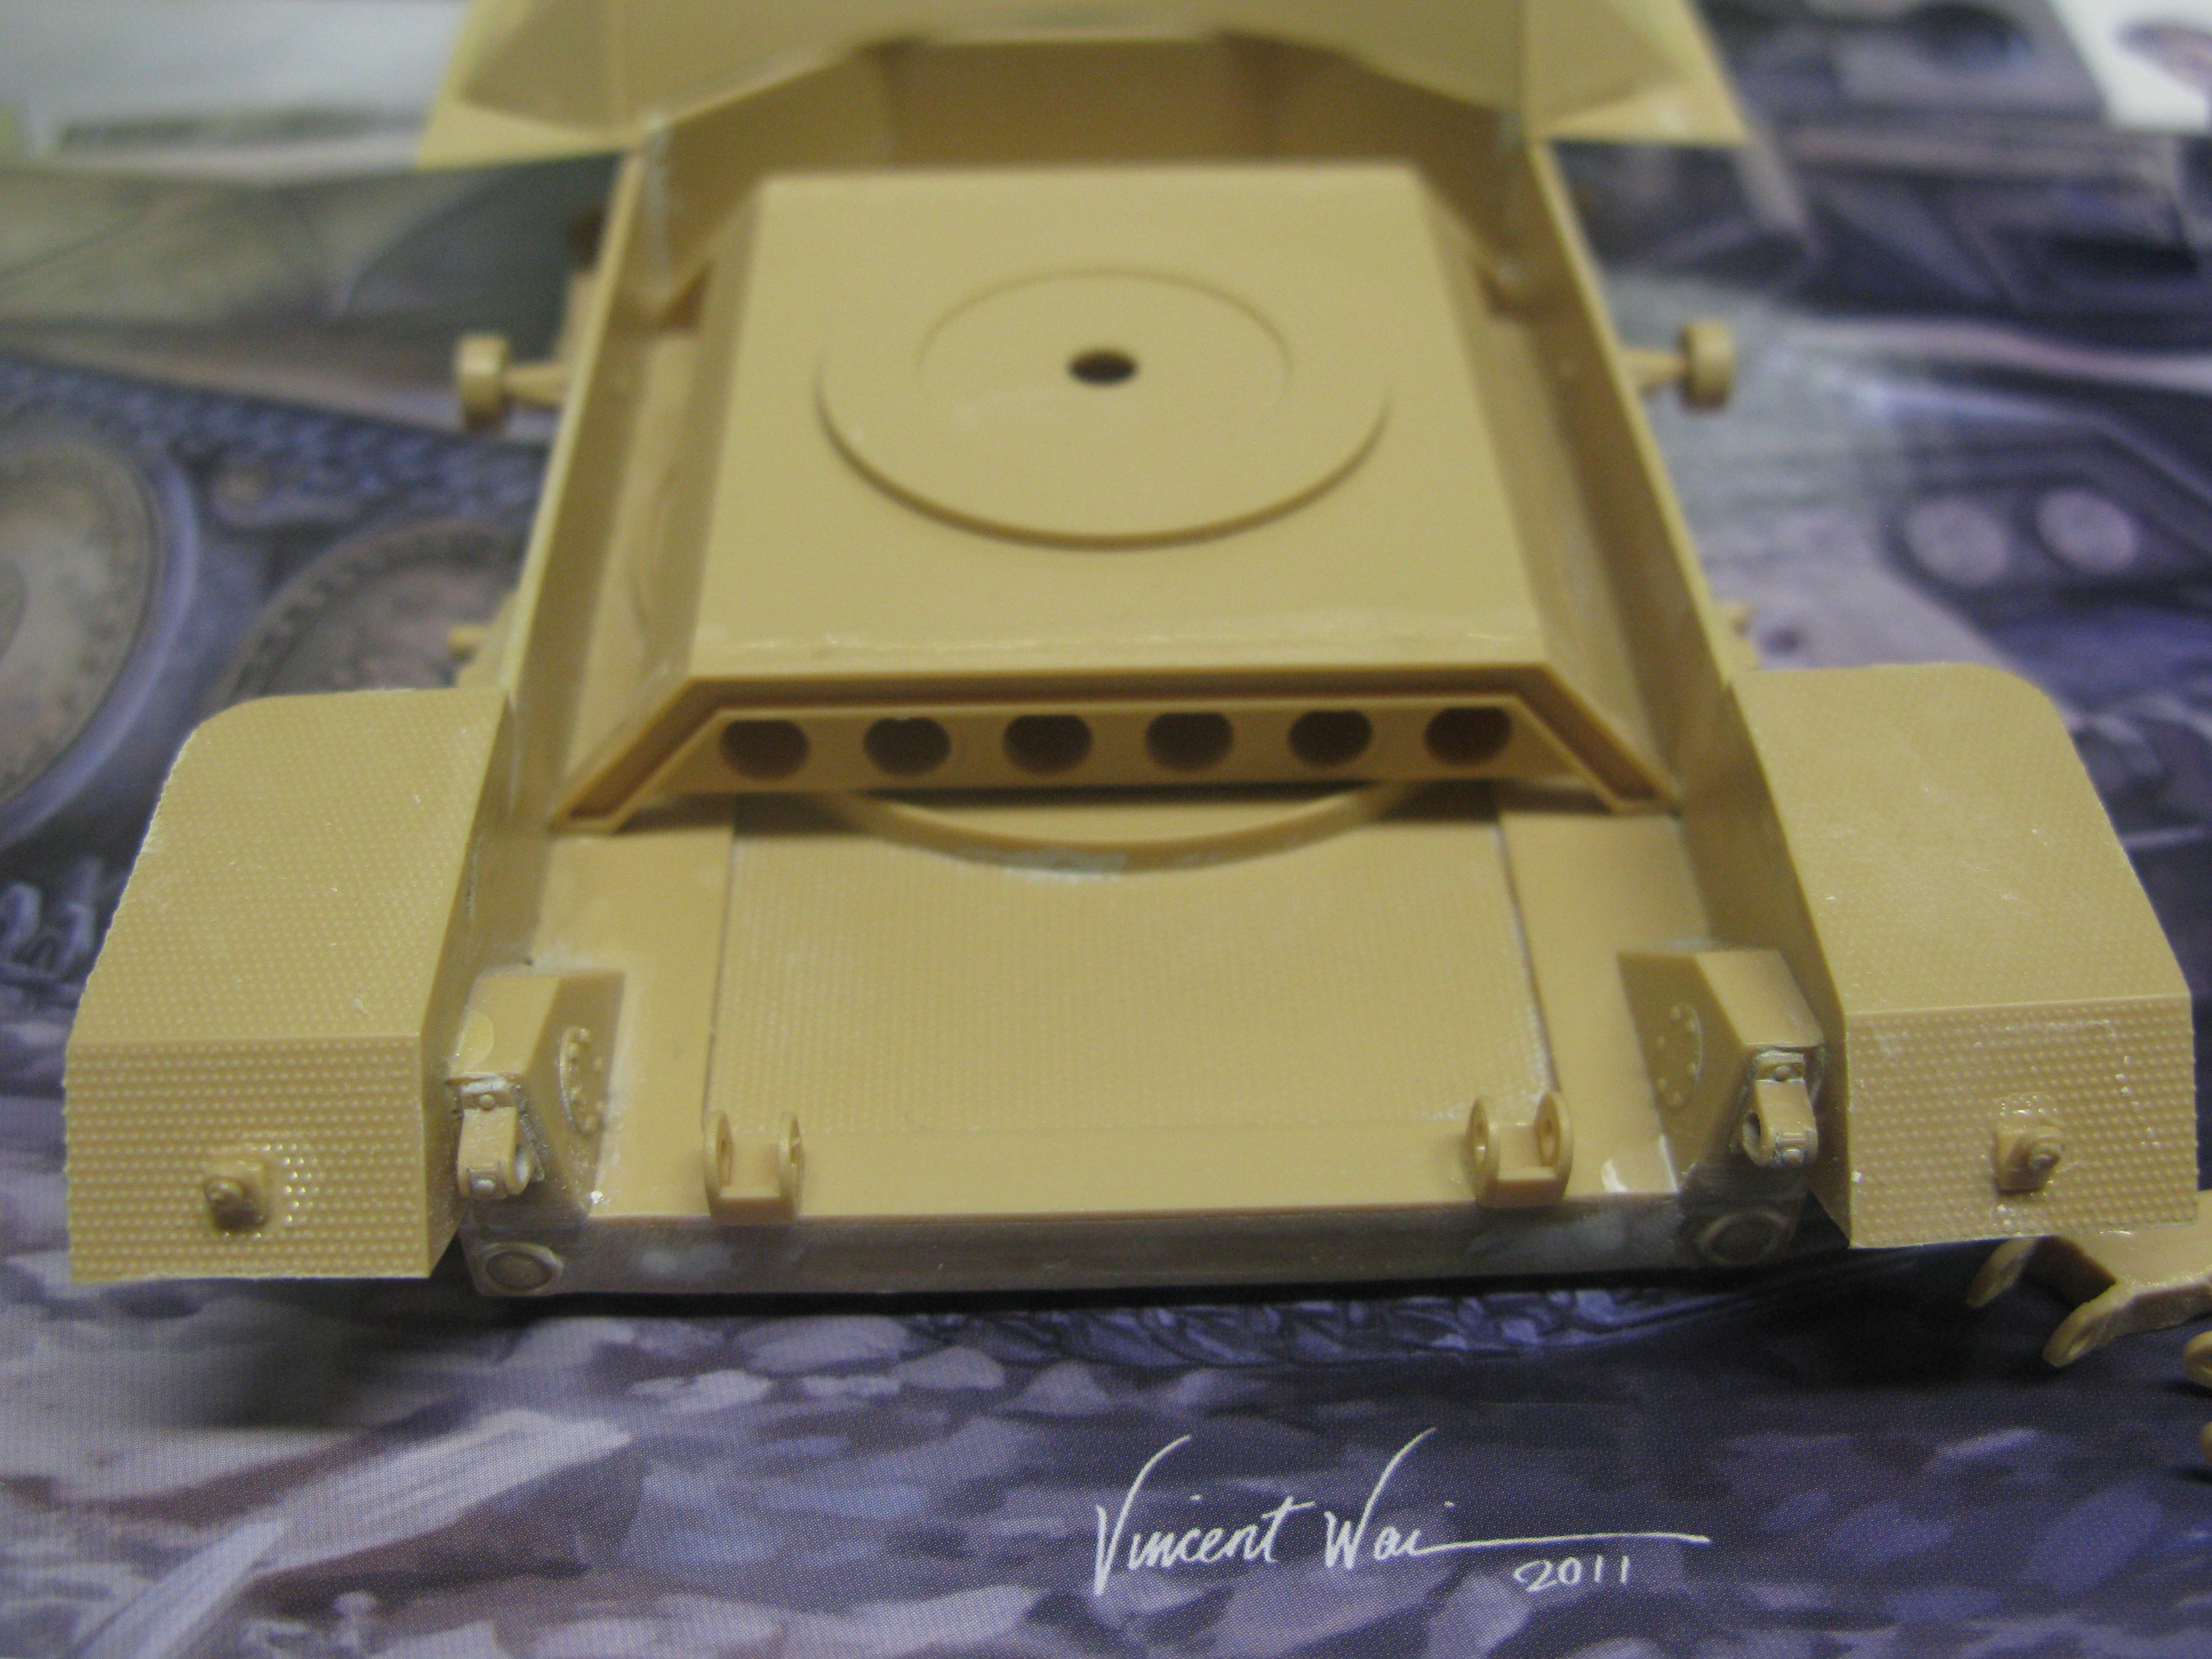
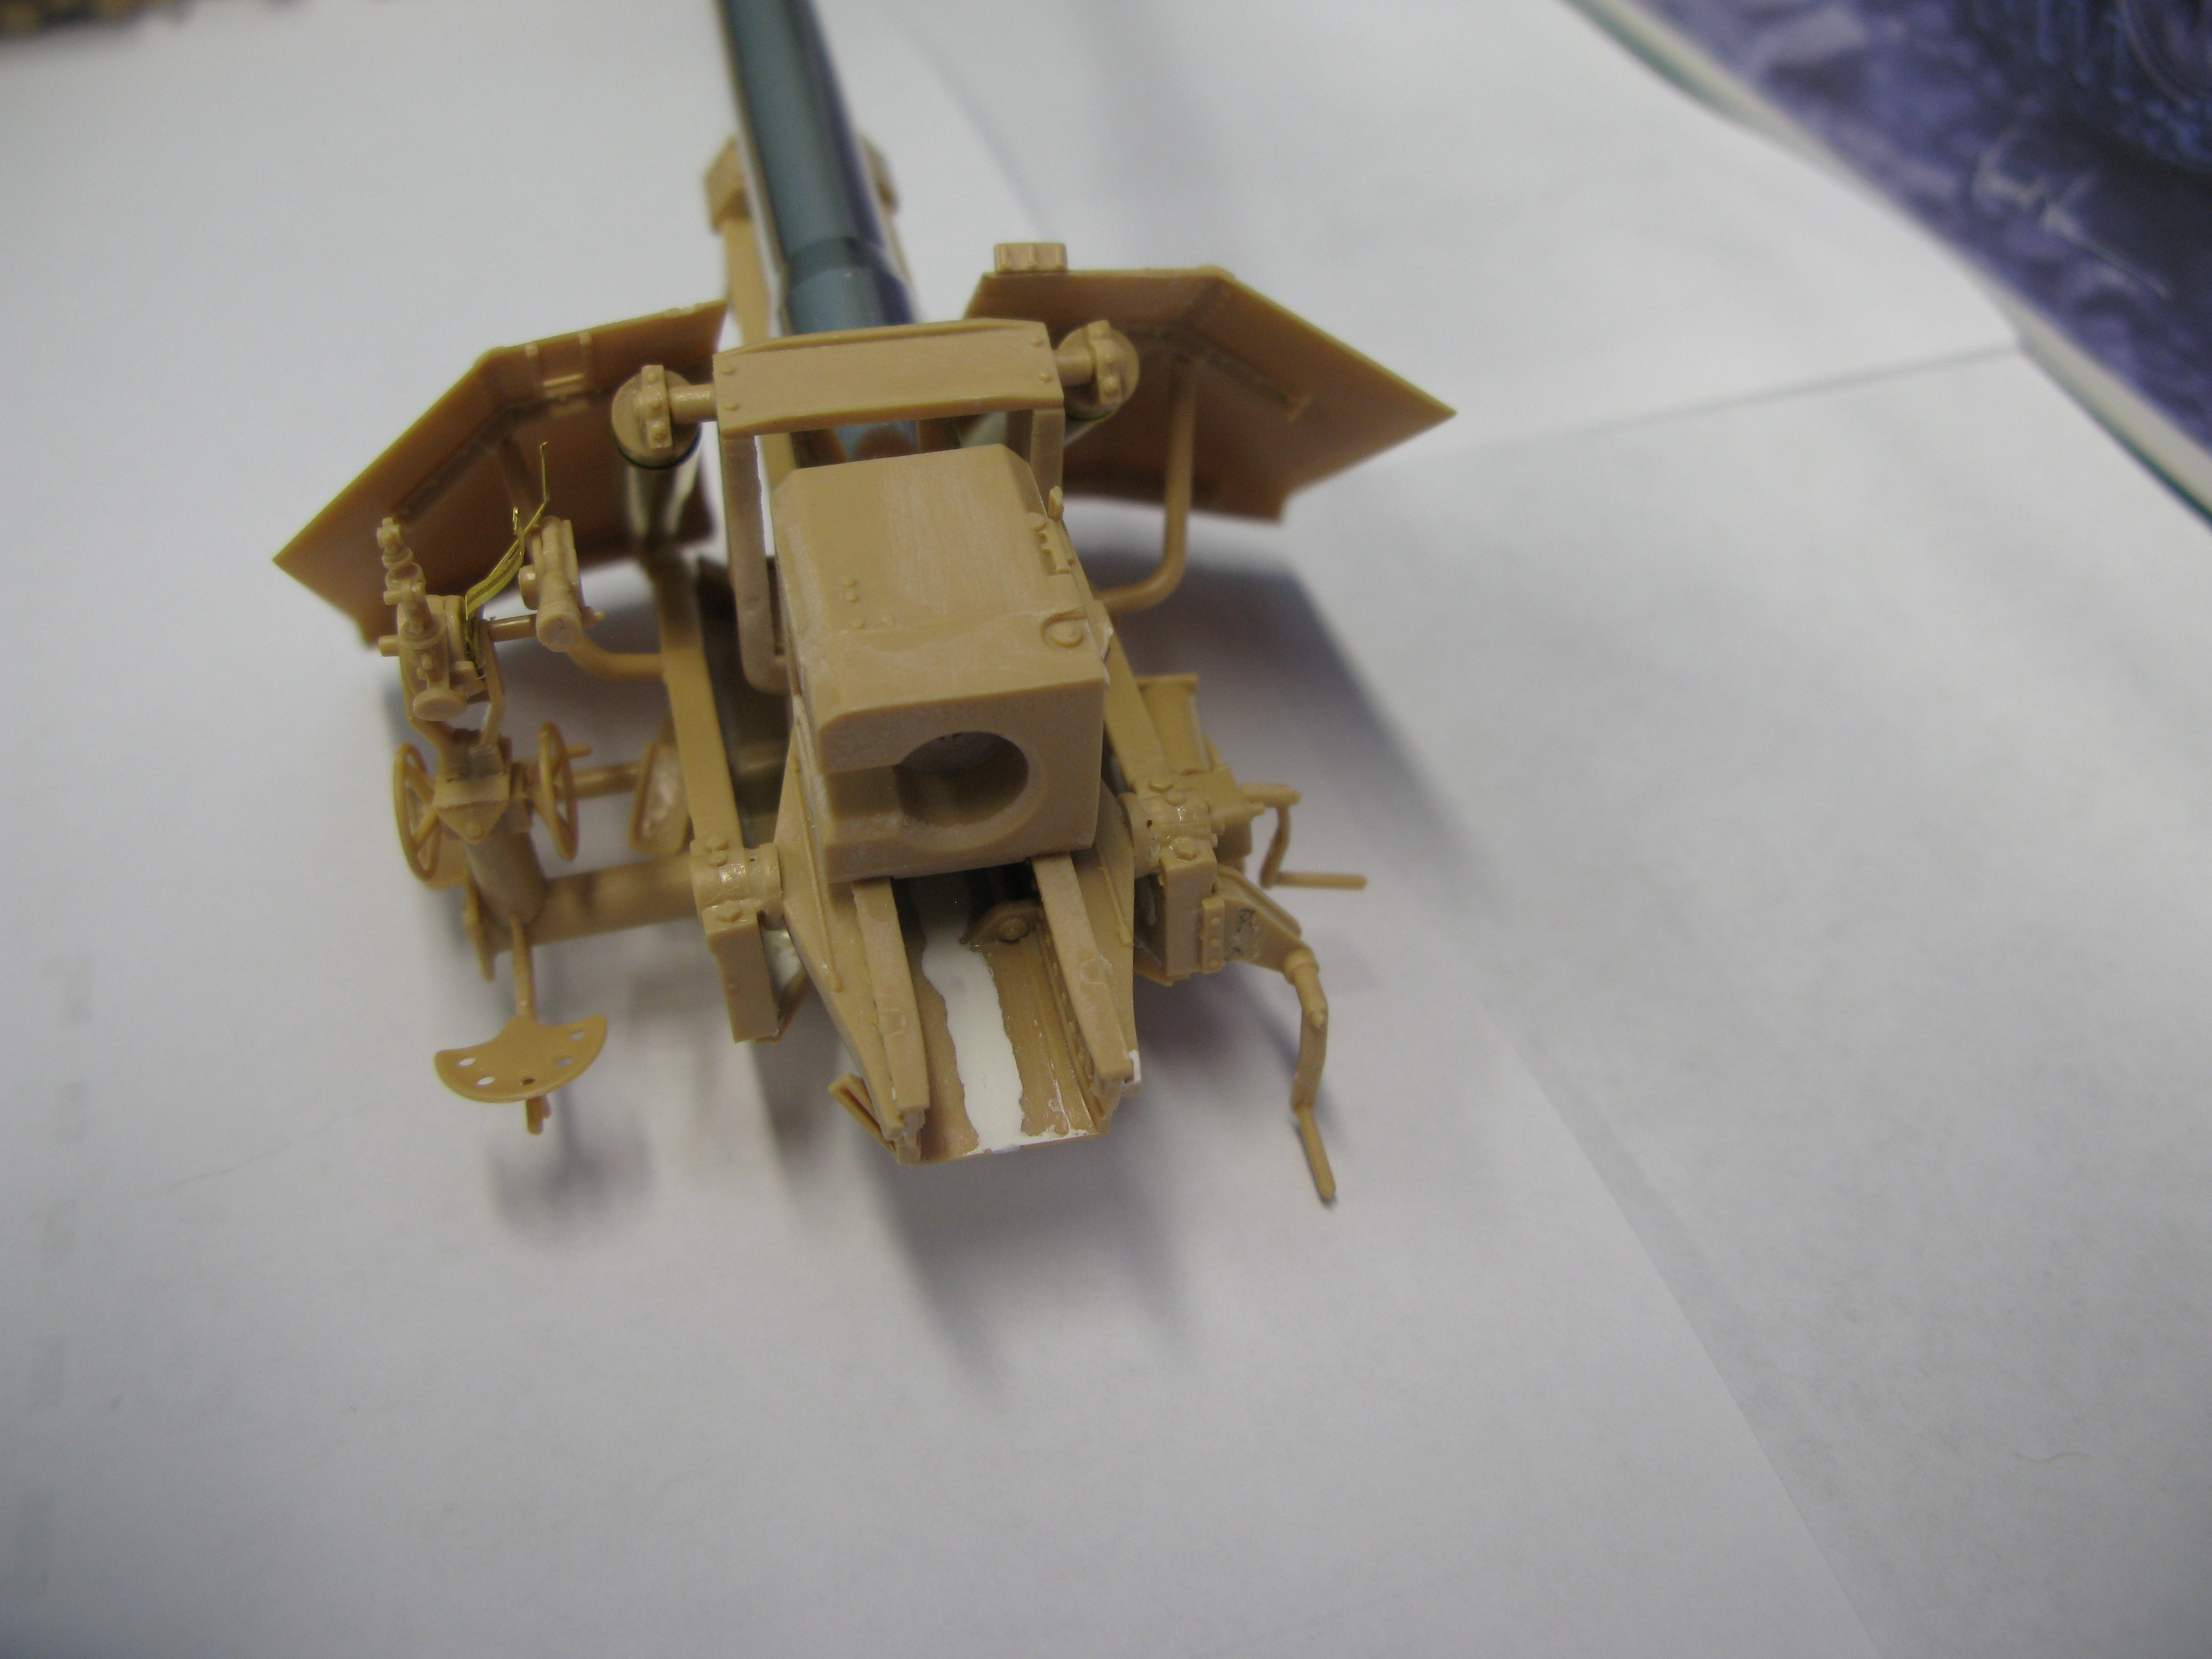
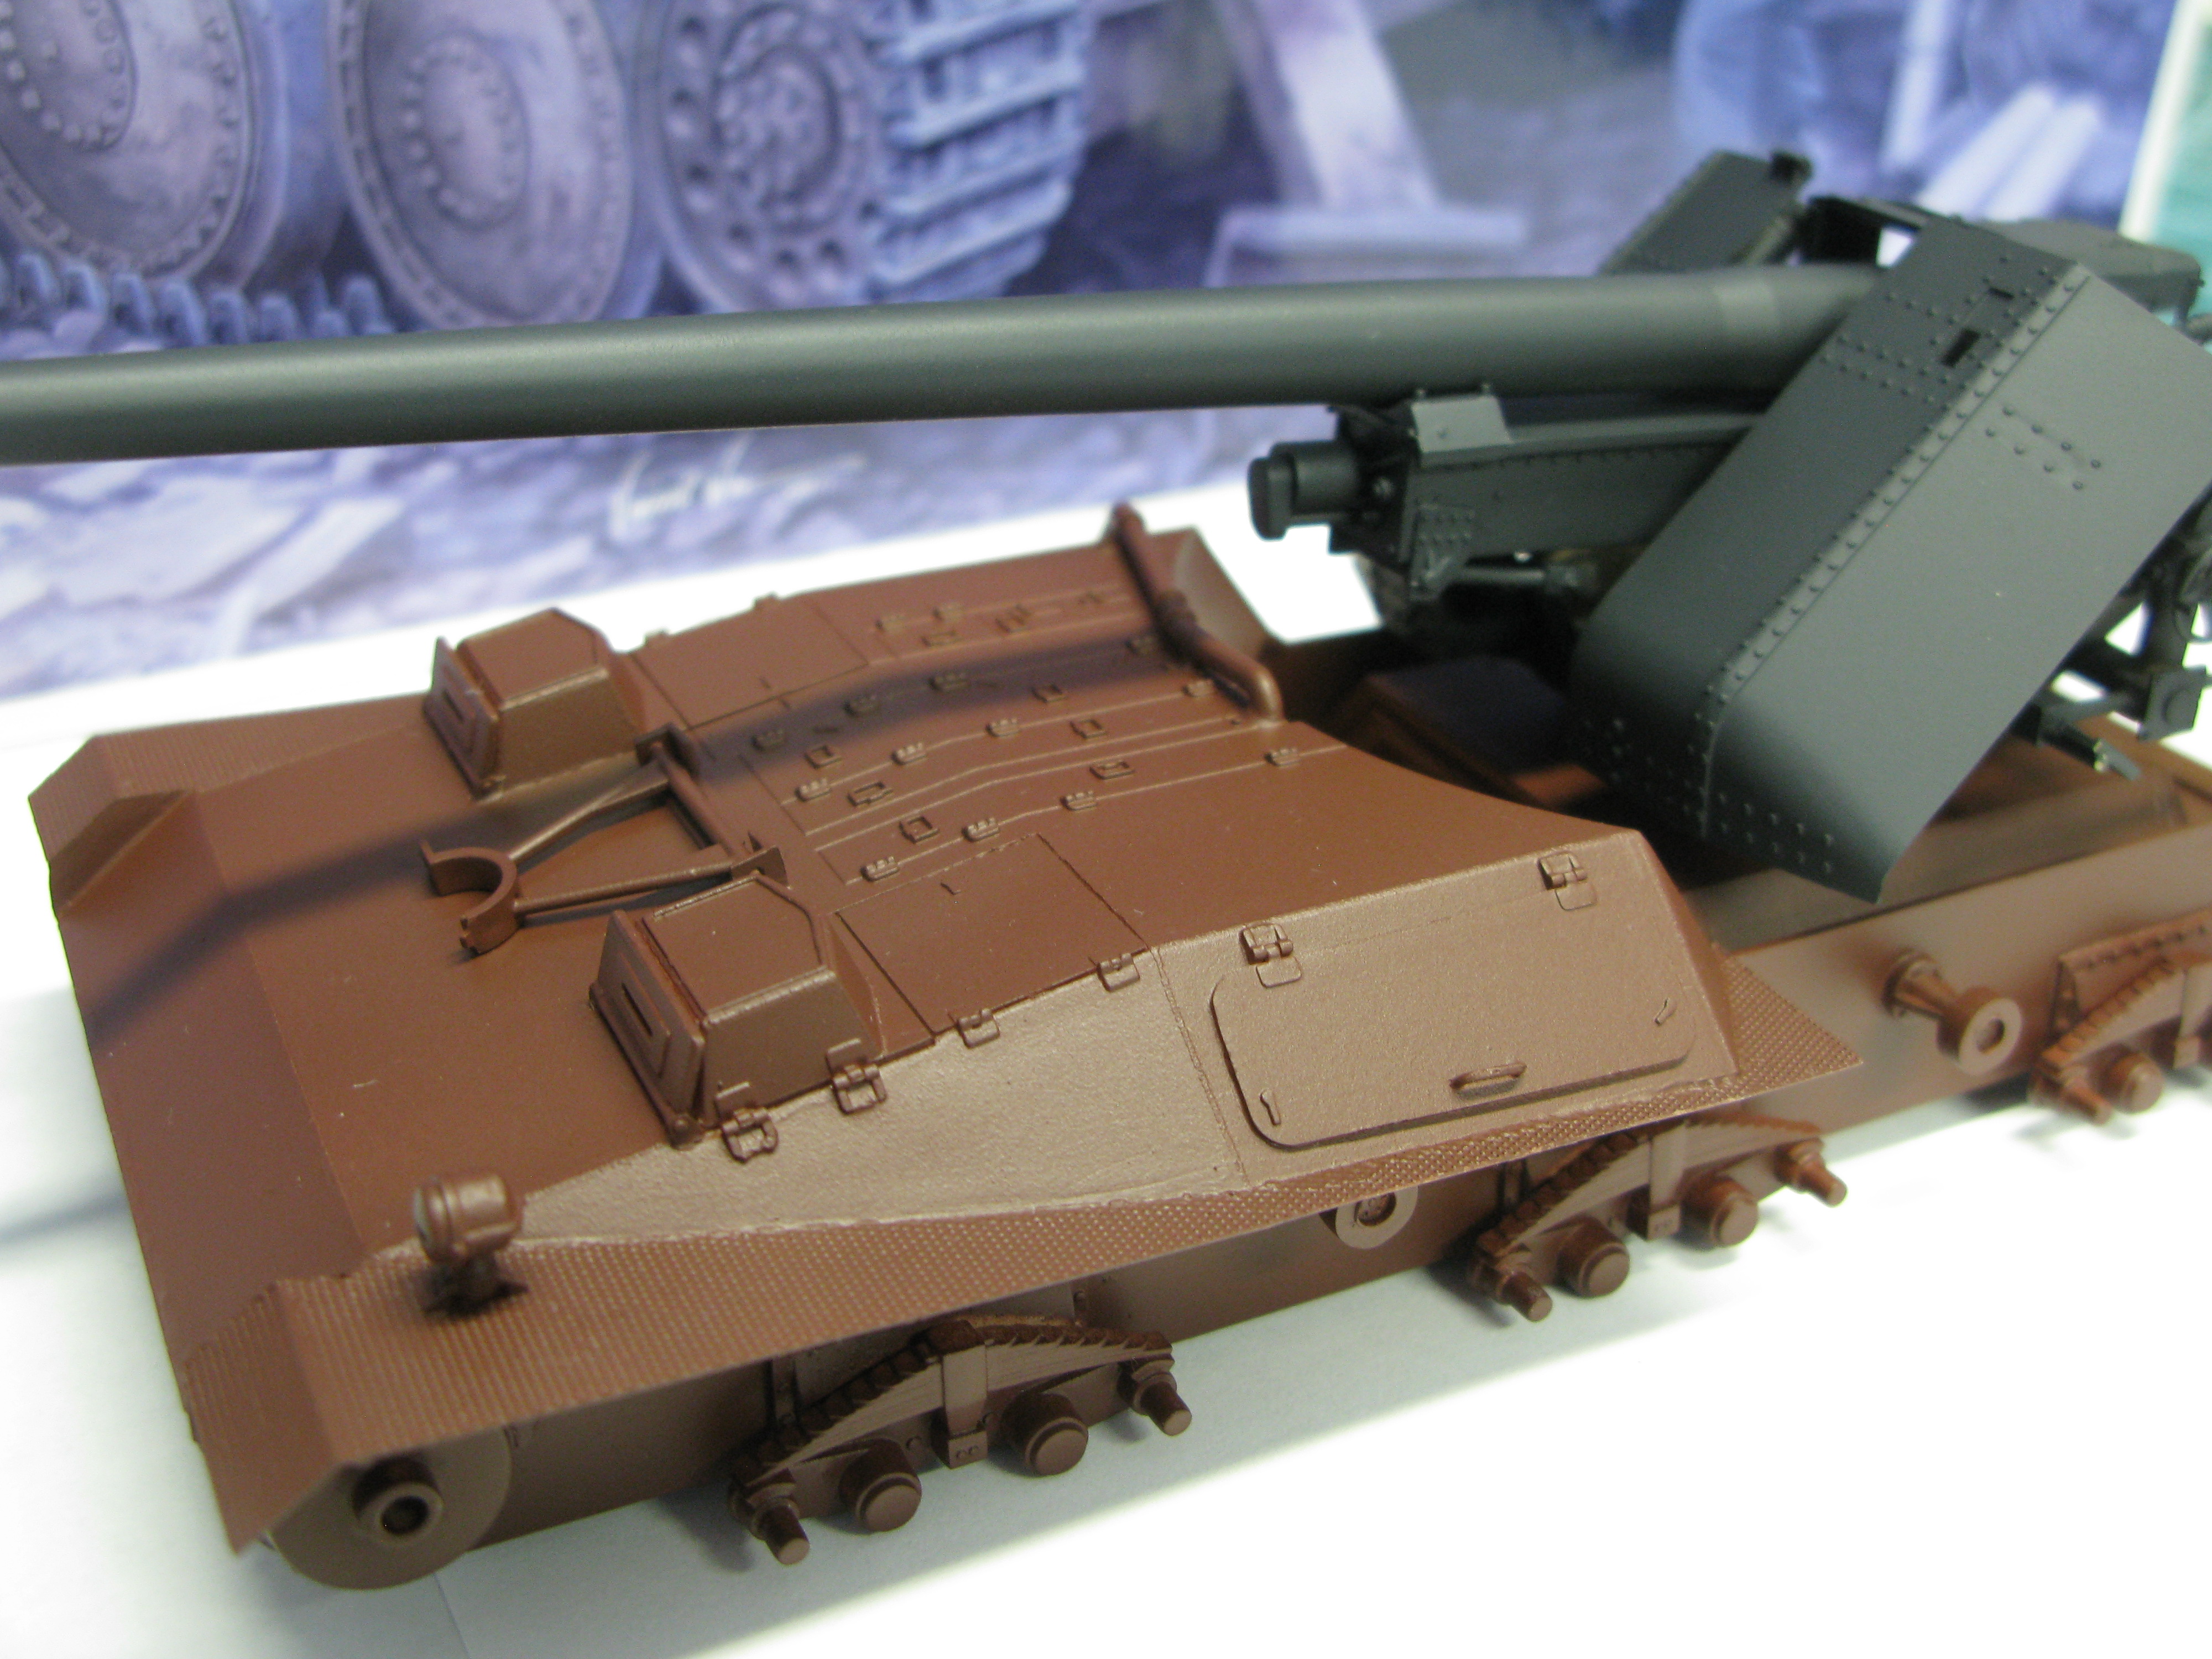
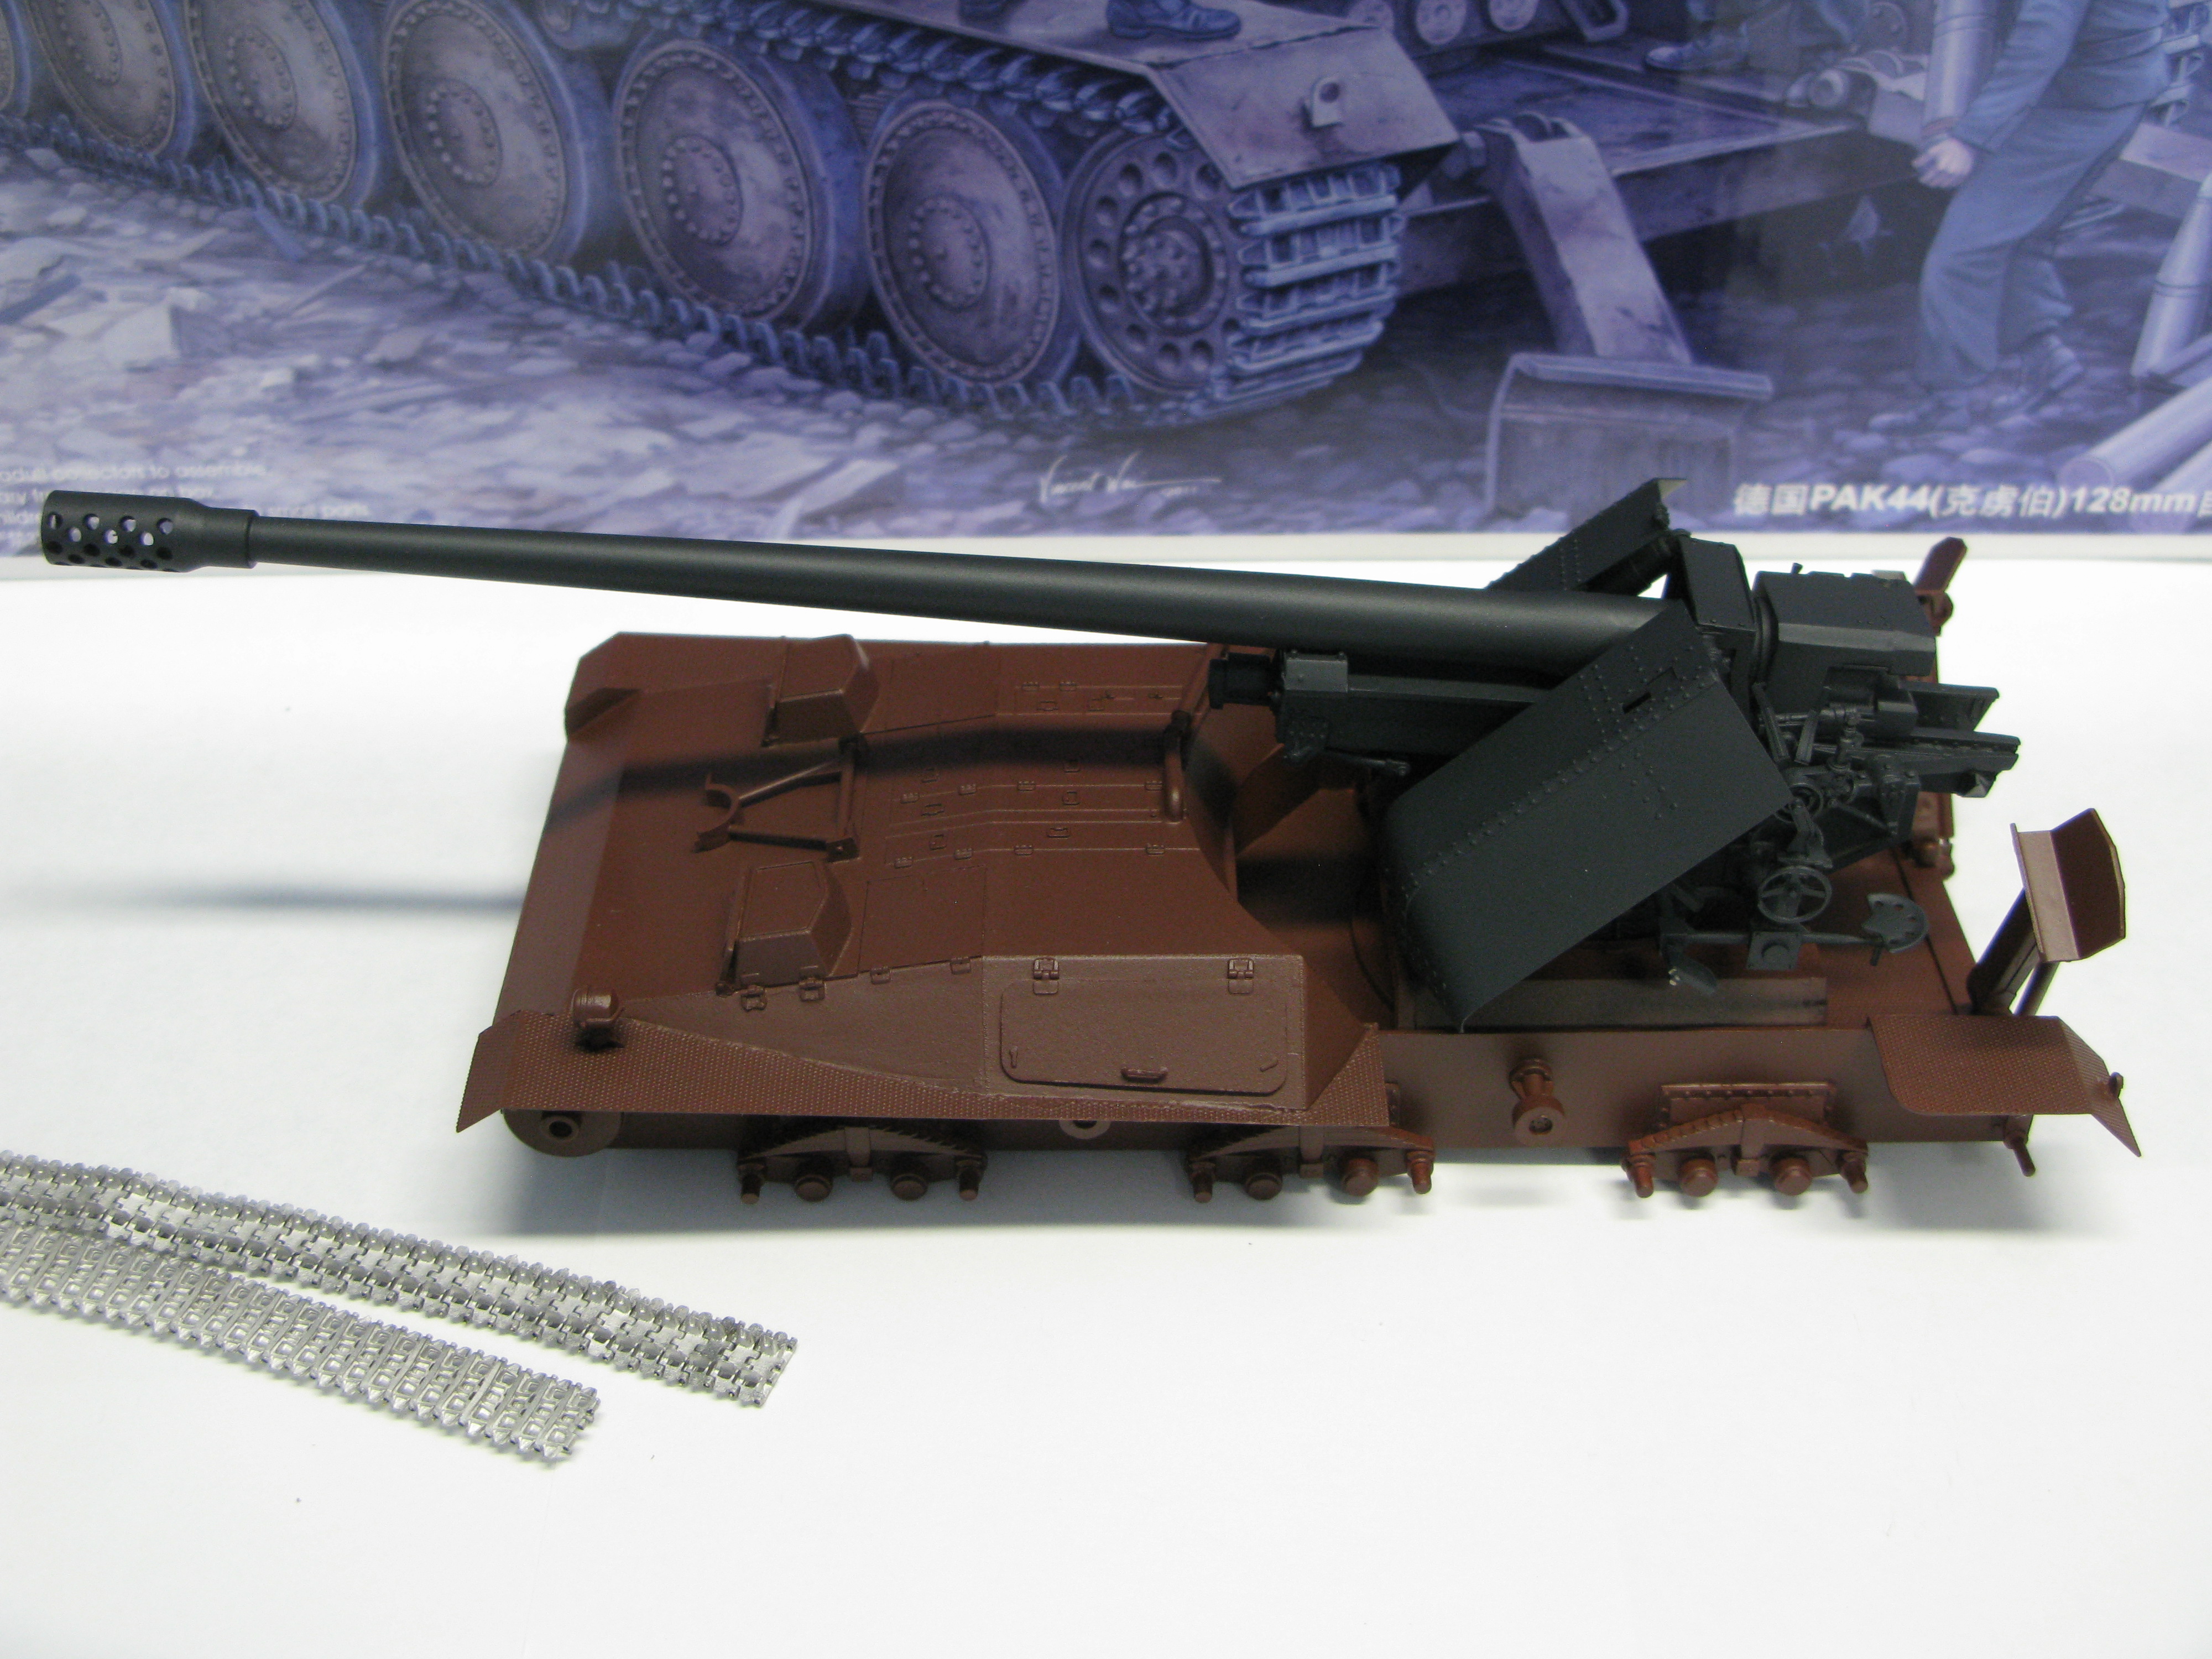
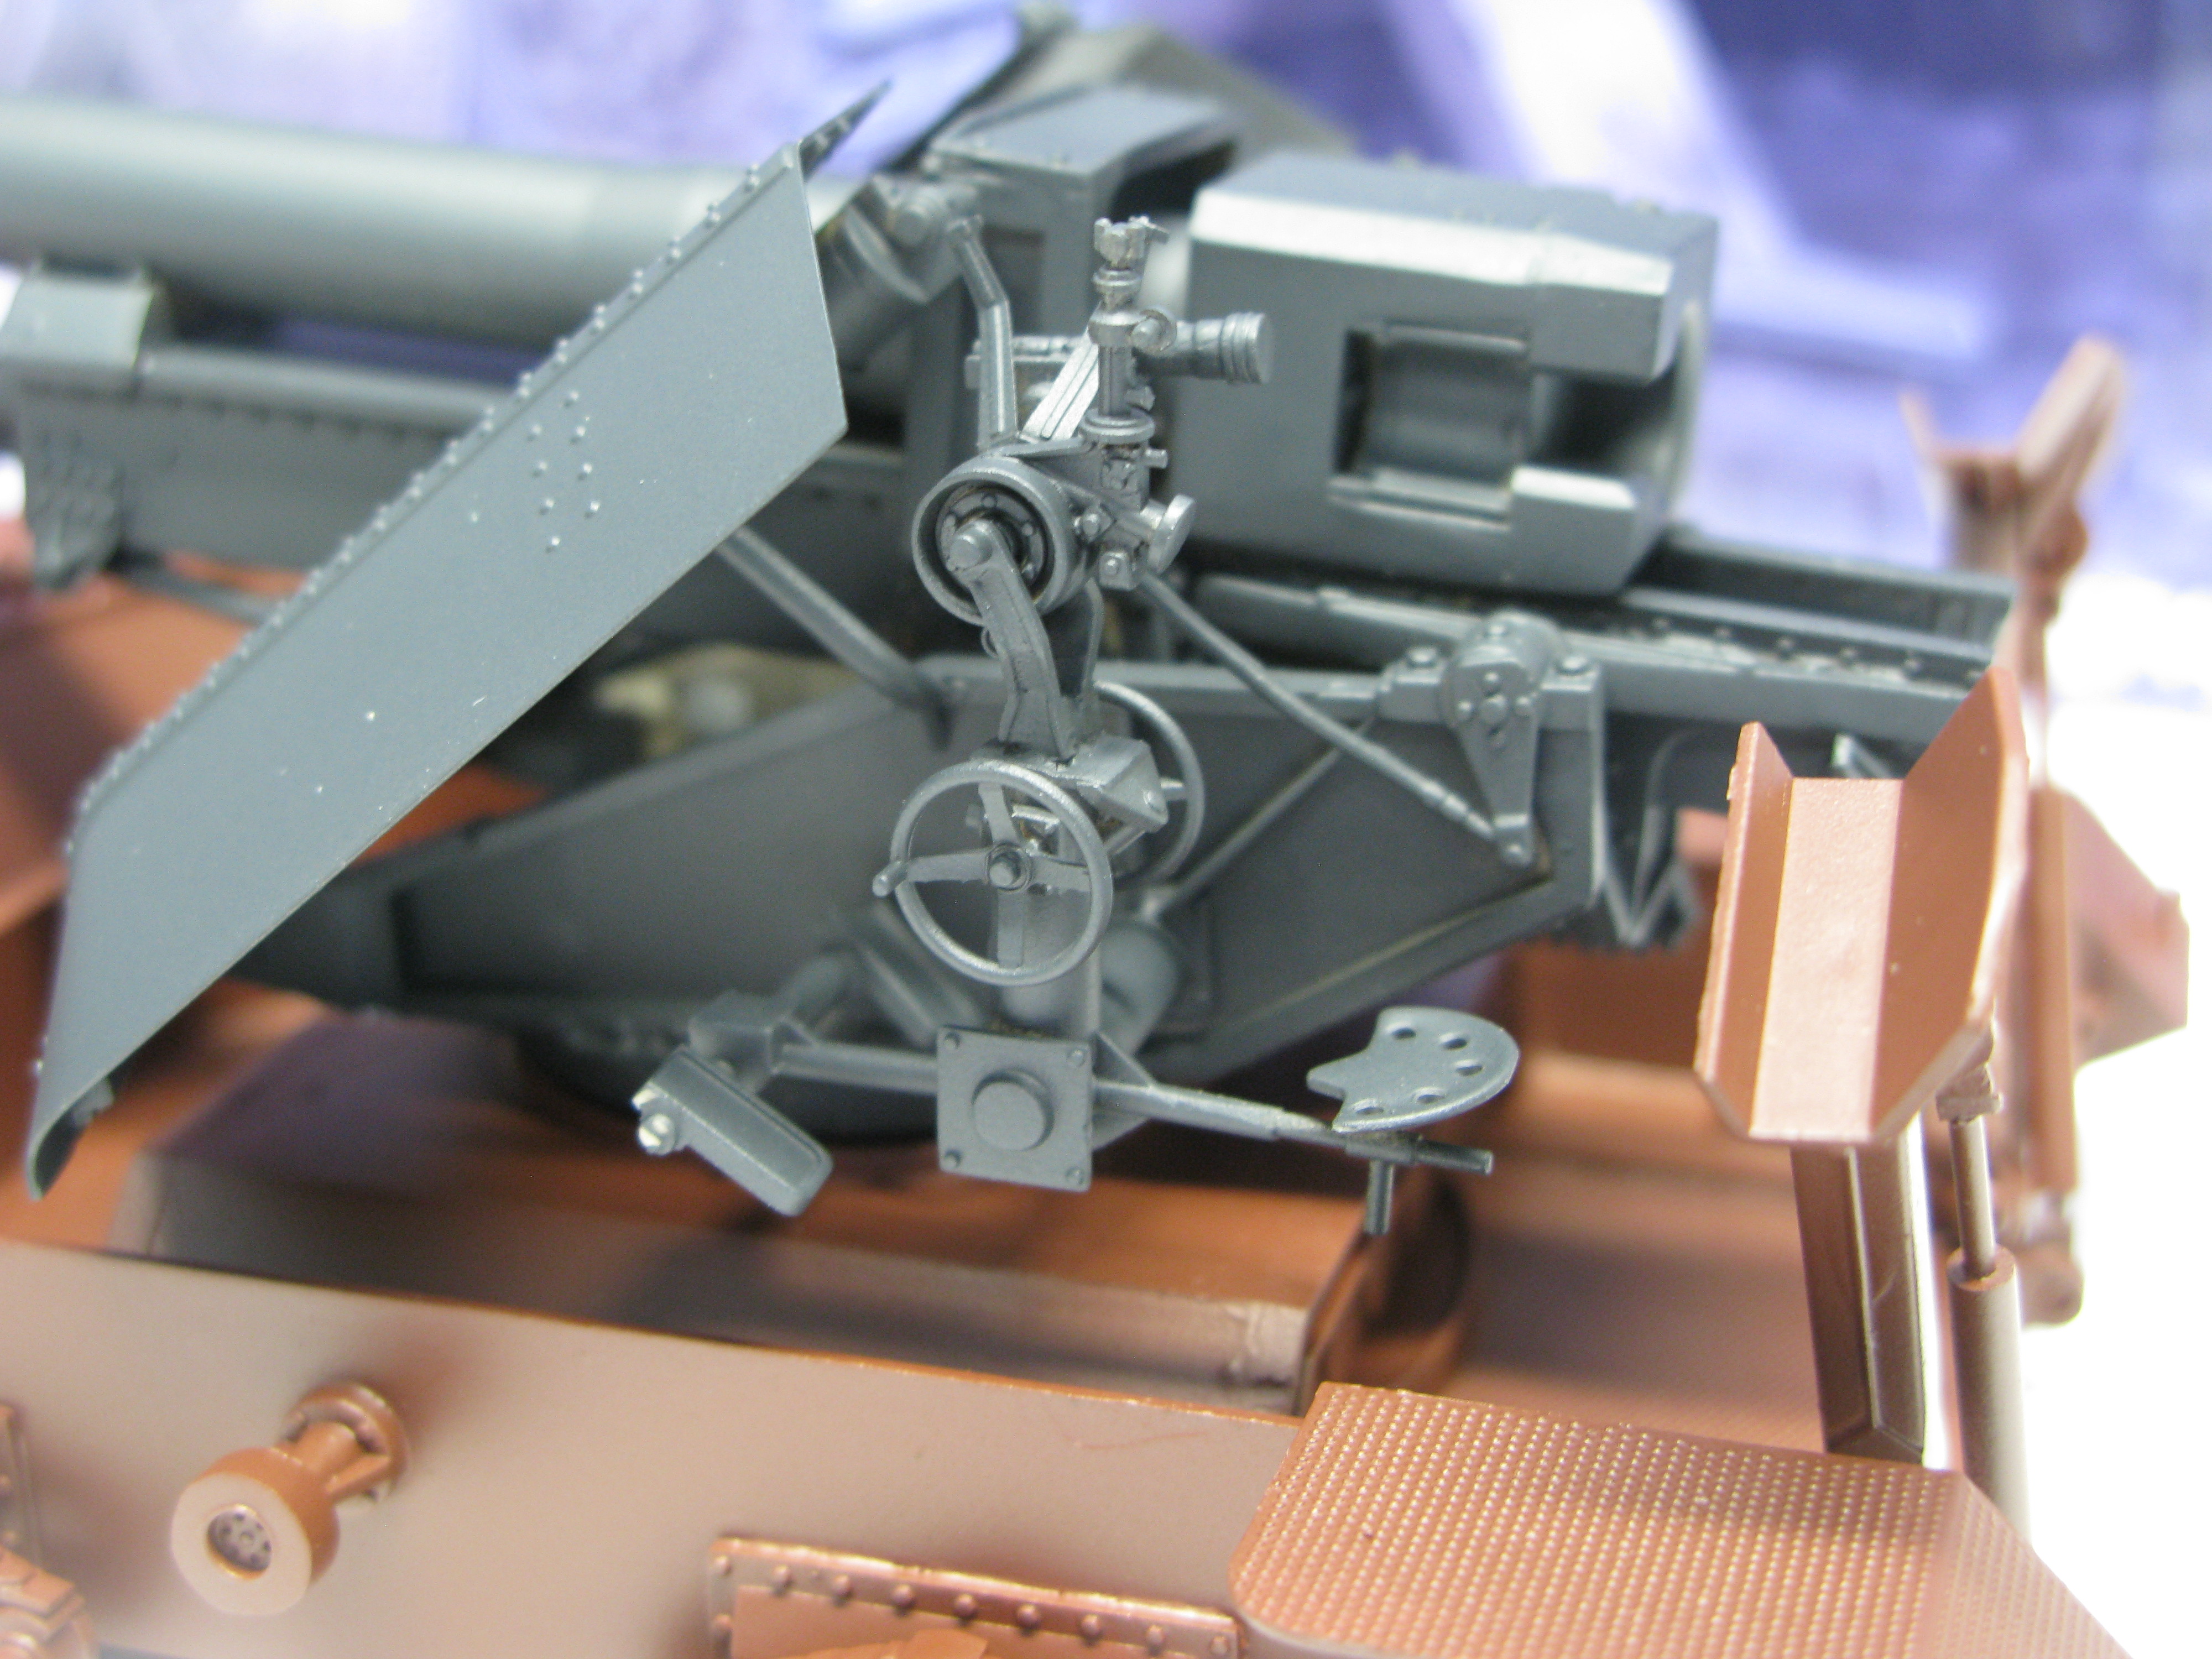
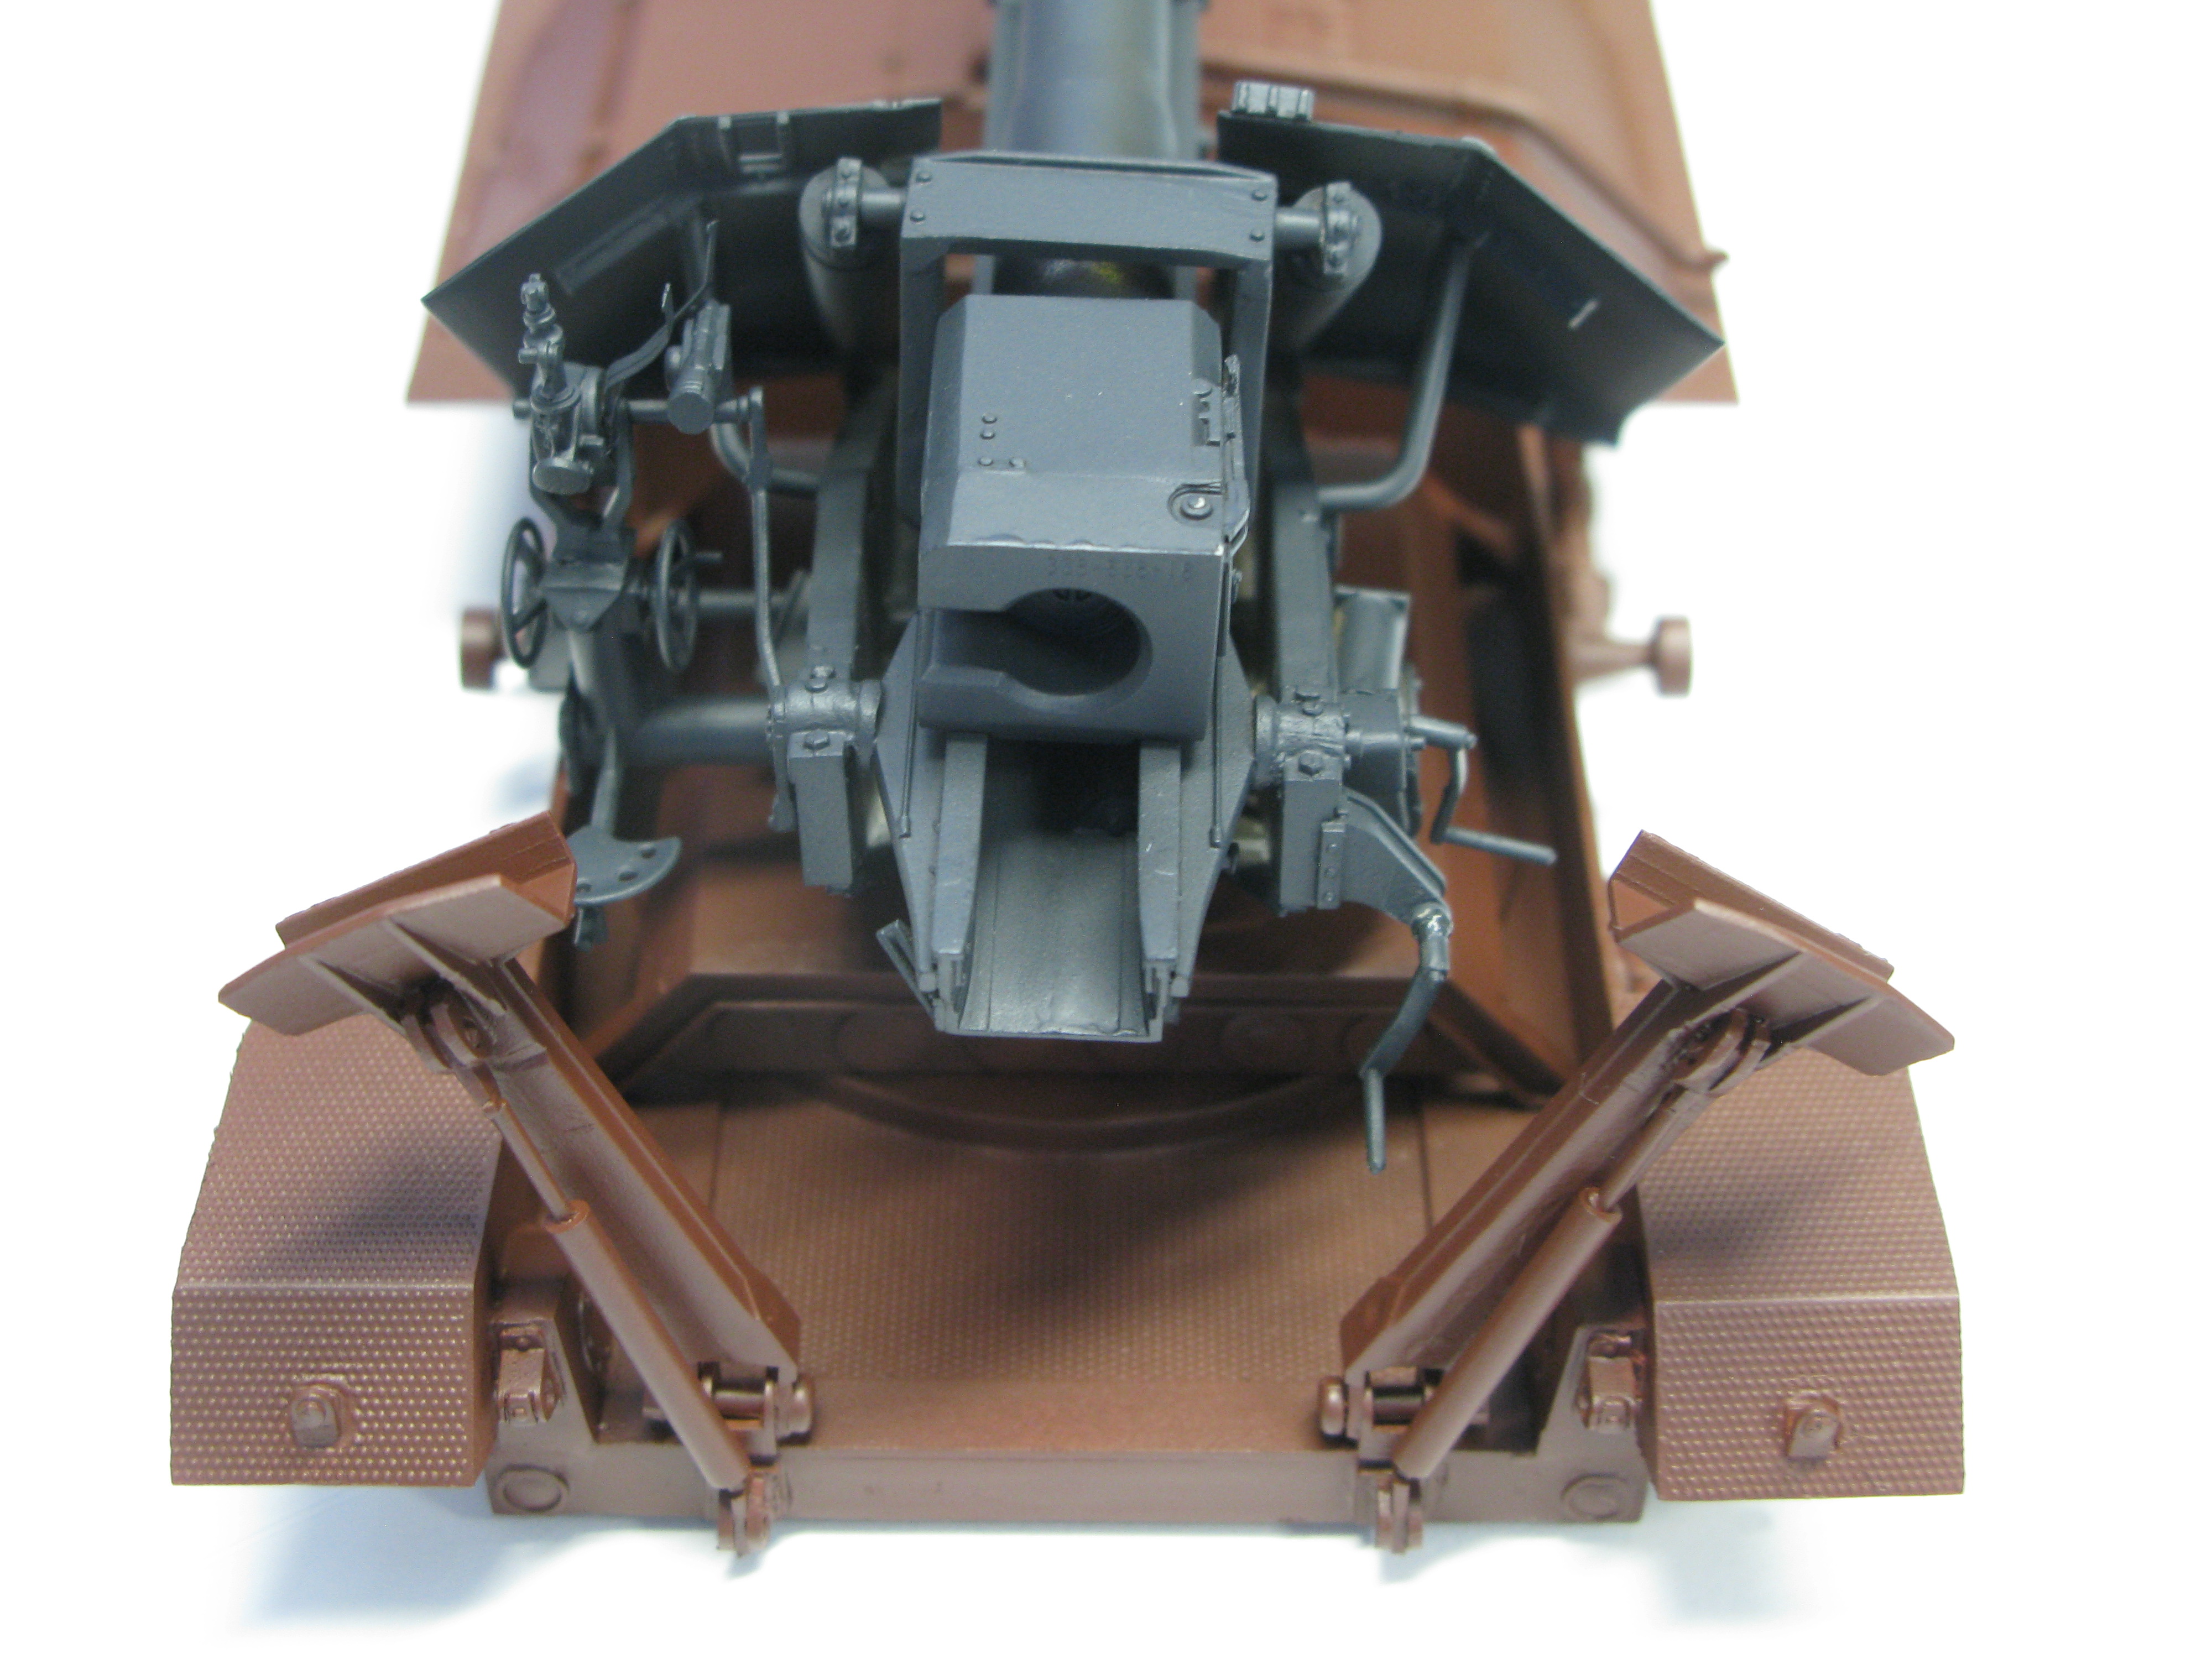
Here are some WIP pictures of the Waffentrager. Please pardon the recurring smudge in the lower right corner, I didn’t notice it was there until I was uploading the pictures.
I’m still a little nervous about how my filling will look on the finished piece, but you learn through mistakes I guess.
I’m waiting for a Voyager turned metal muzzle brake I ordered from Down Under, it’s supposed to come before the end of the month. I’ll be laying low until then.
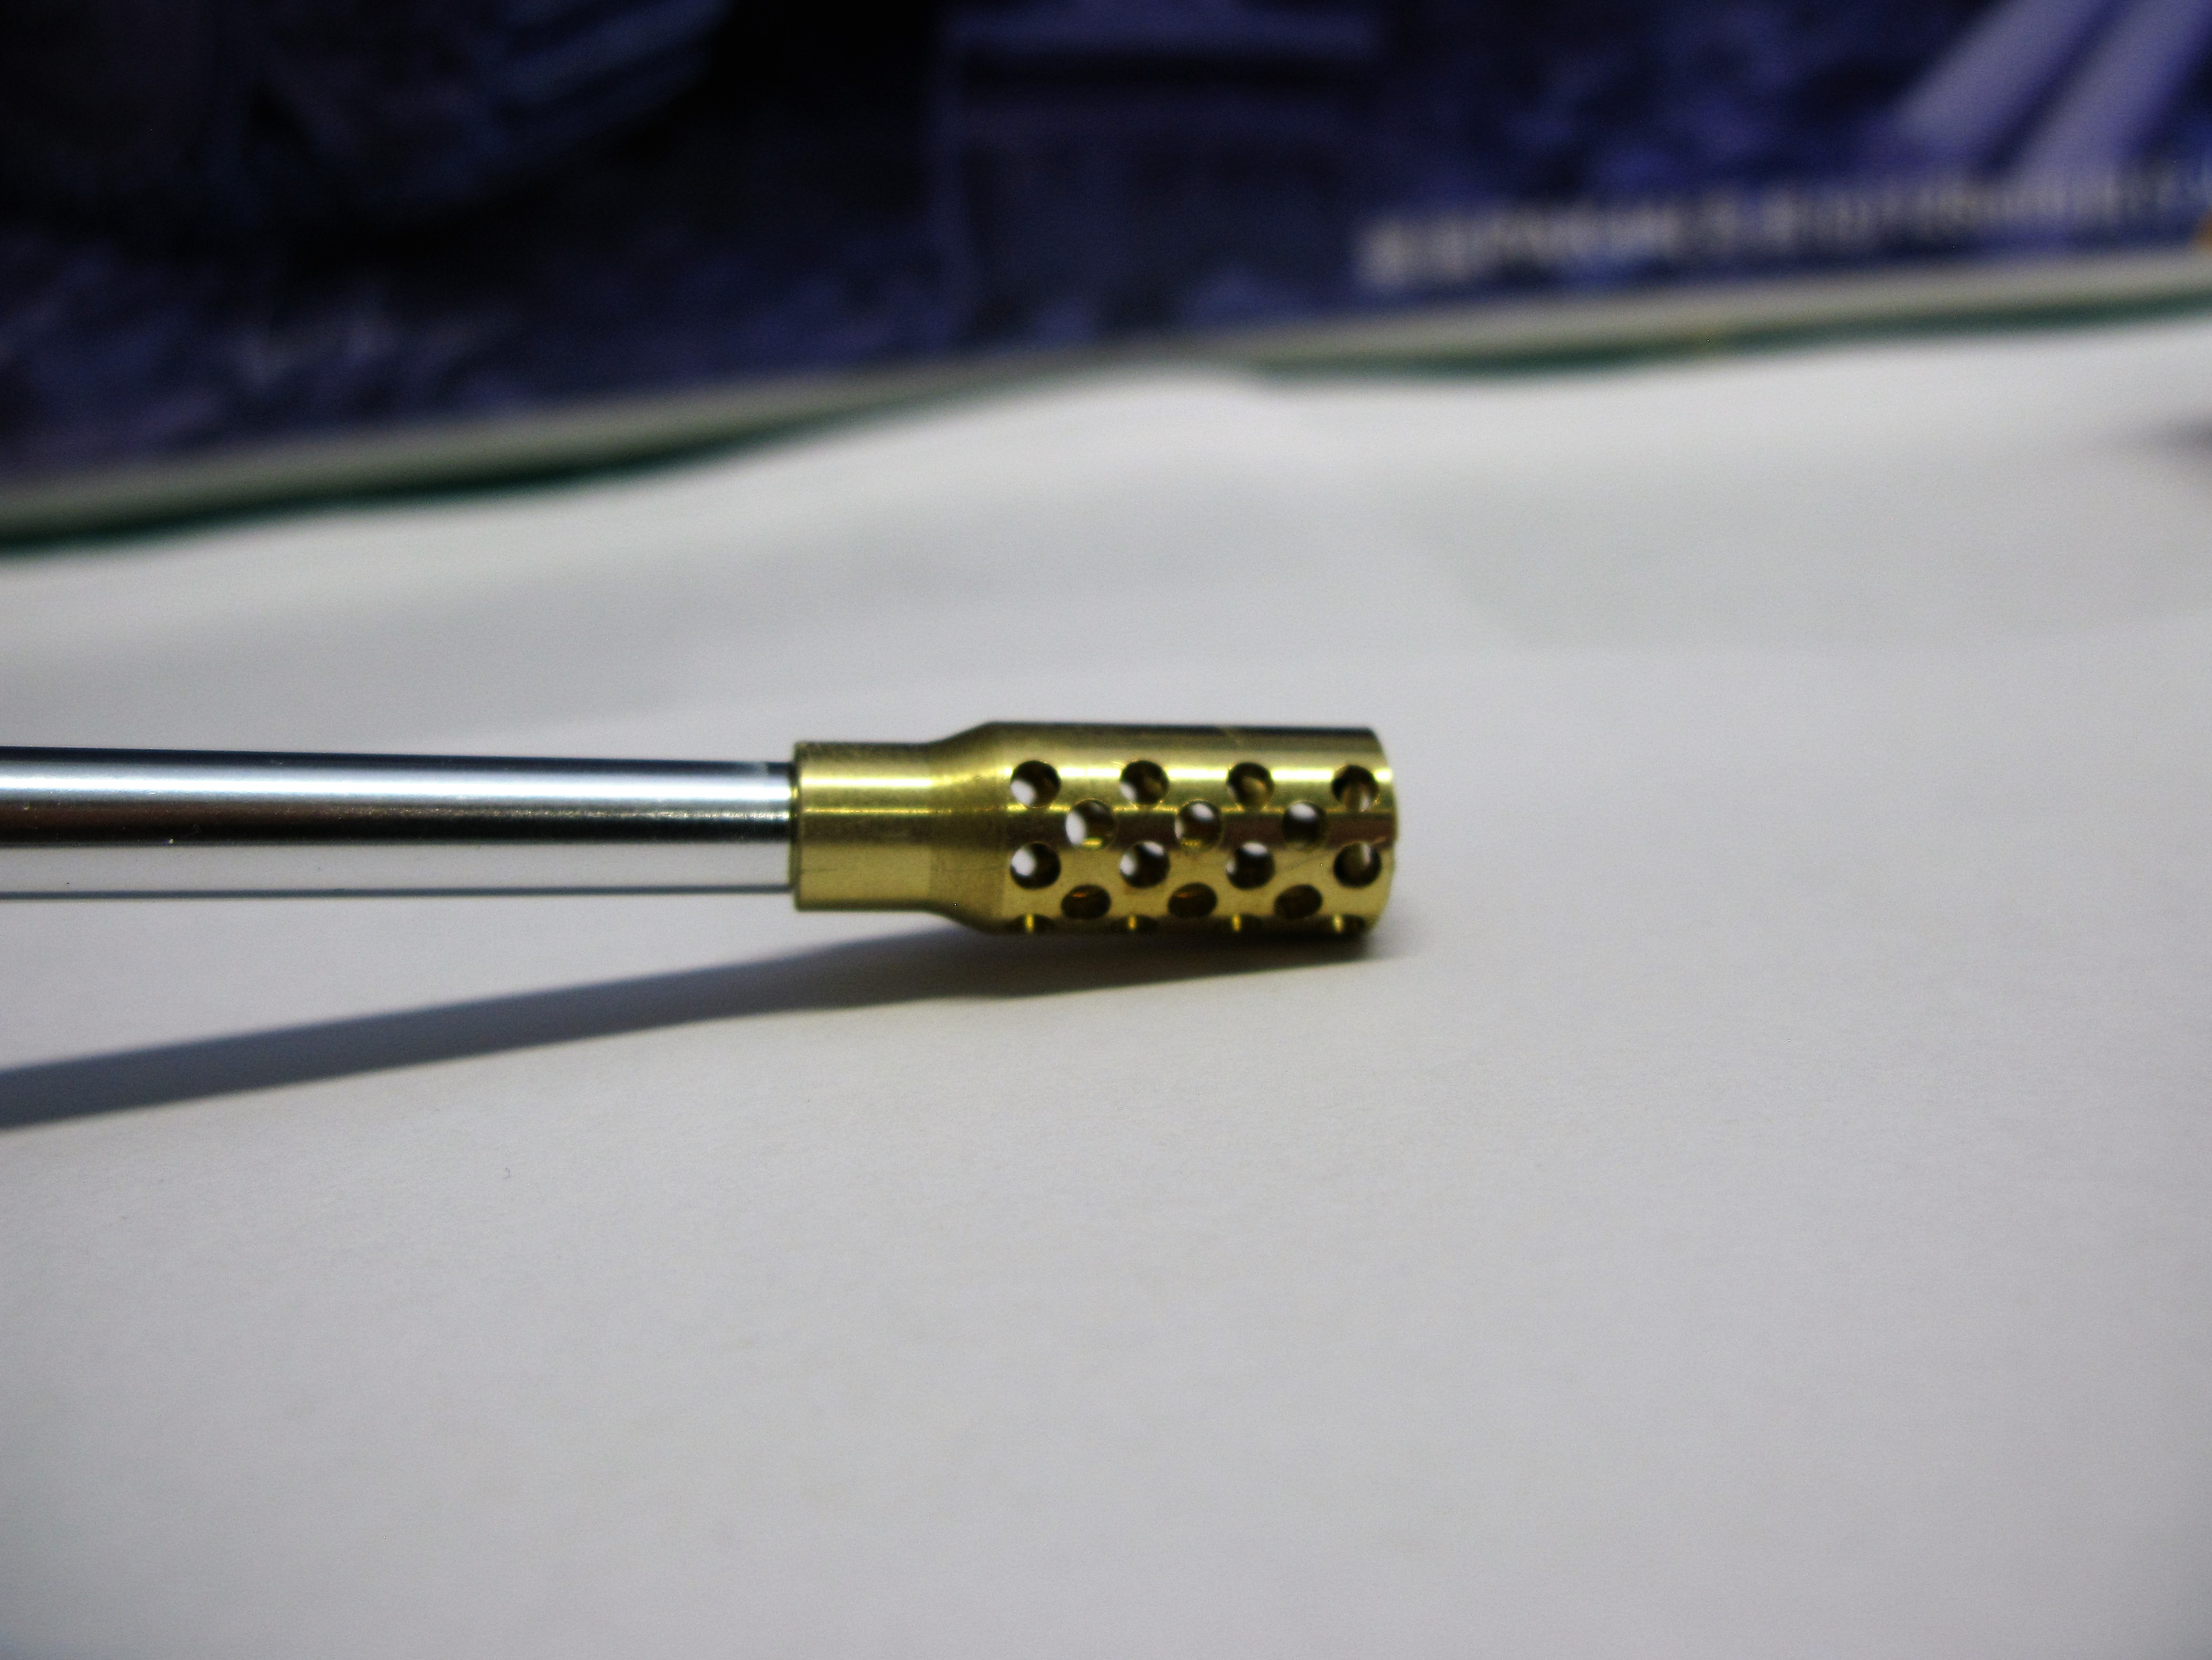
I received the replacement barrel two days ago. I would have posted an update with pictures earlier, but when I had finally gotten around to downloading the pictures, I discovered that someone had been putting finger smudges on the lens again. [8-)]
So, here’s the rundown, currently without pictures.
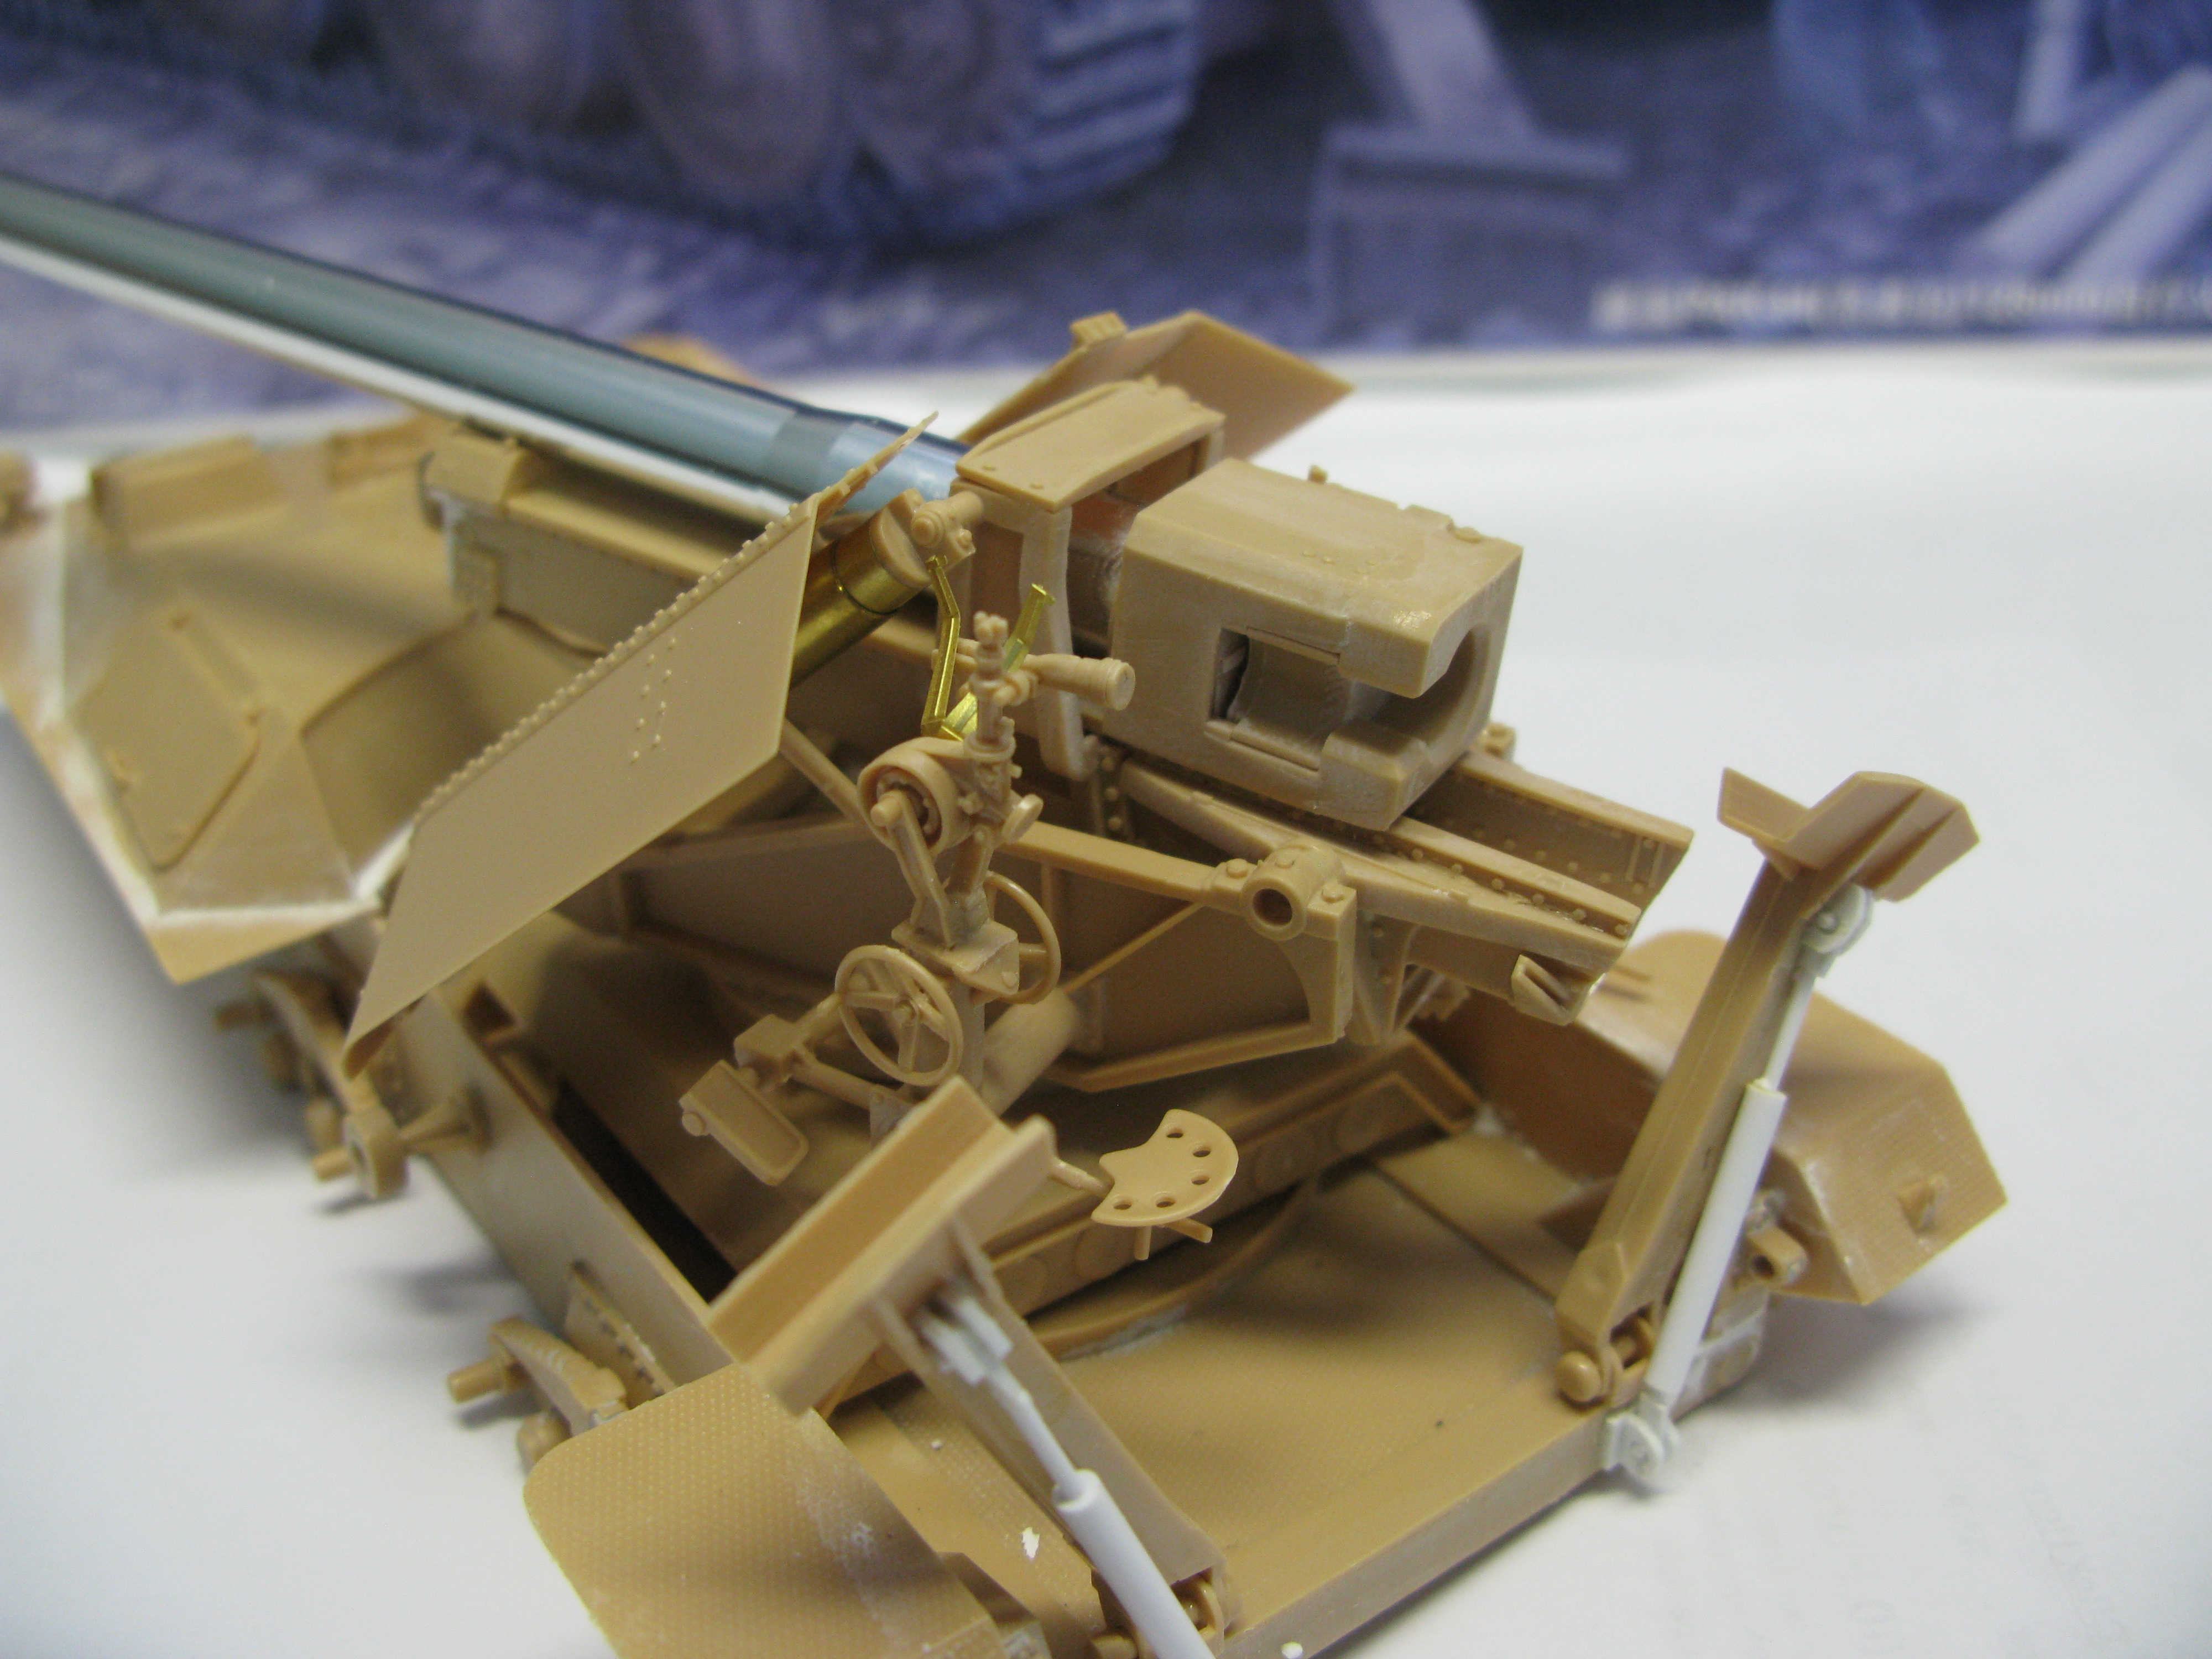
The actual turned metal barrel that comes with the Voyager set seems decent. The details look like they could have been crisper, and it seems too light compared to the Trumpeter barrel, but it’s okay.
The star of the show is the brass muzzle. Absolutely superb! It’s just two pieces, and it looks great. I’ll be fitting it to the Trumpeter barrel I think, since the connecting peg on the Voyager barrel isn’t actually a good fit for the muzzle, and it looks like someone did a really bad job with the metal lathe, as it’s really rough around the connecting peg. It takes a lot of force to jam the muzzle into place, and even then it’s not quite flush.
This must have been an early product from when Voyager was a new company, because otherwise I can’t explain the quality issues. Still, the muzzle is great, and that’s all I care about.
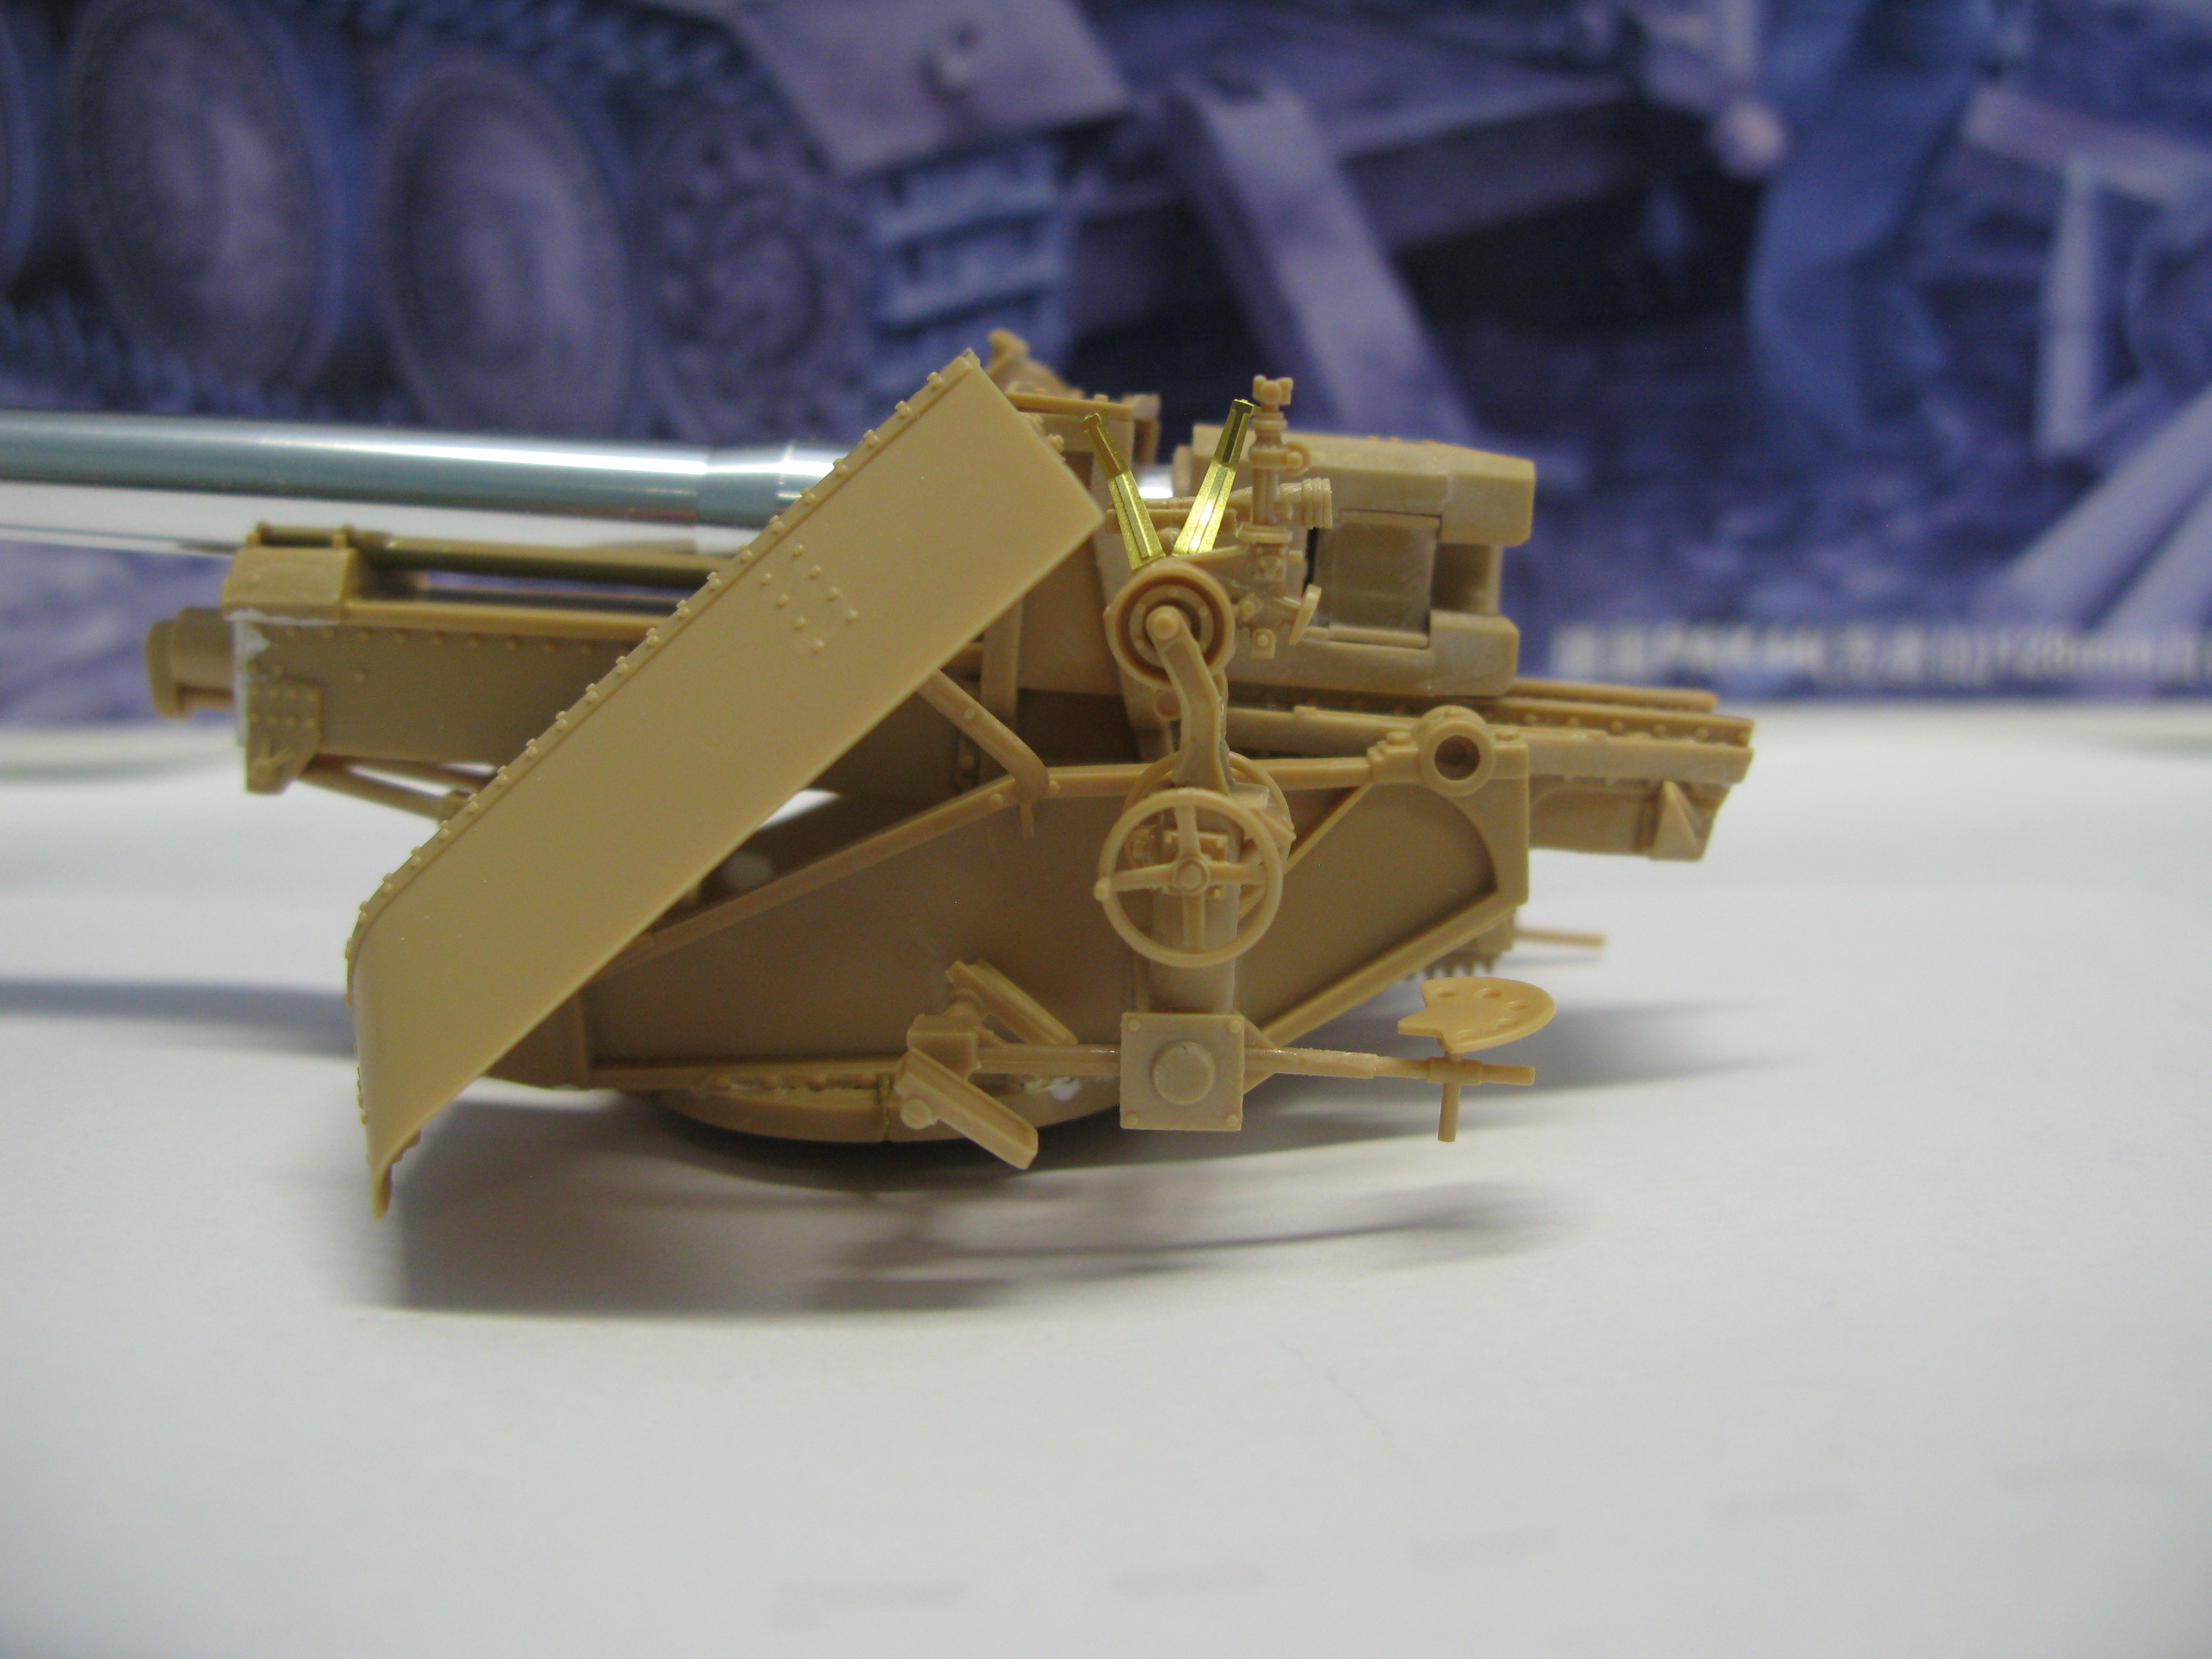
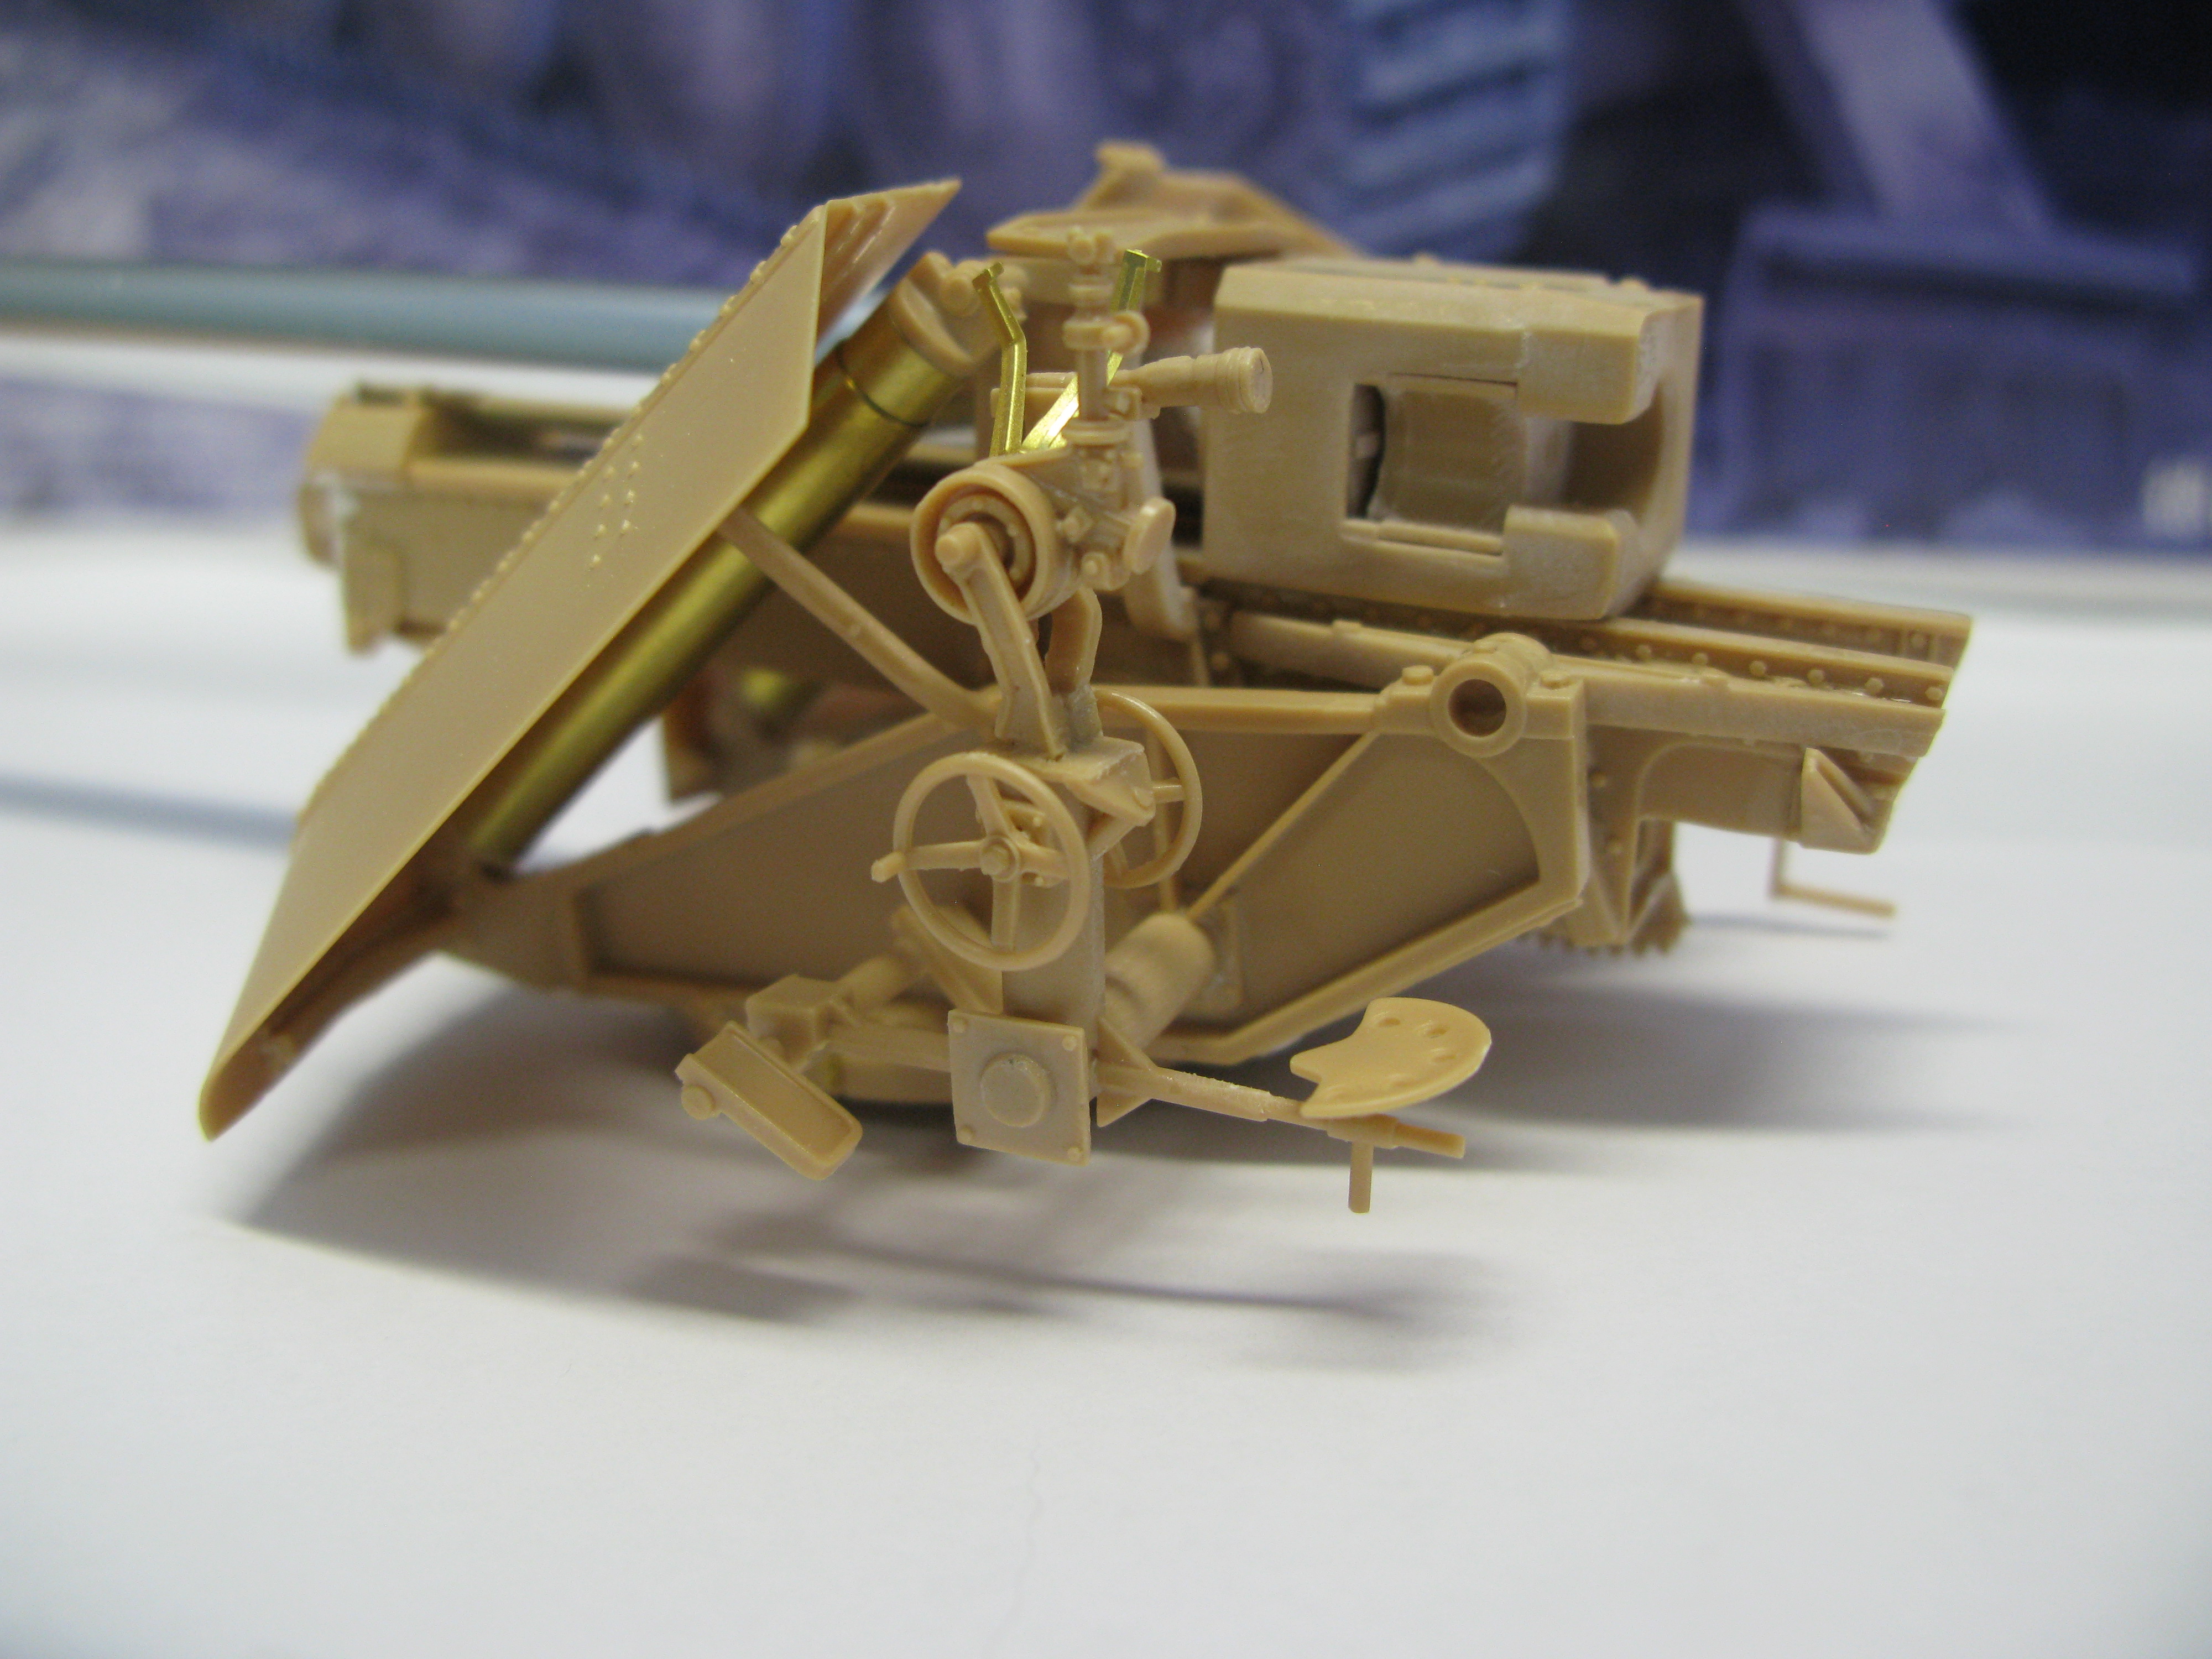
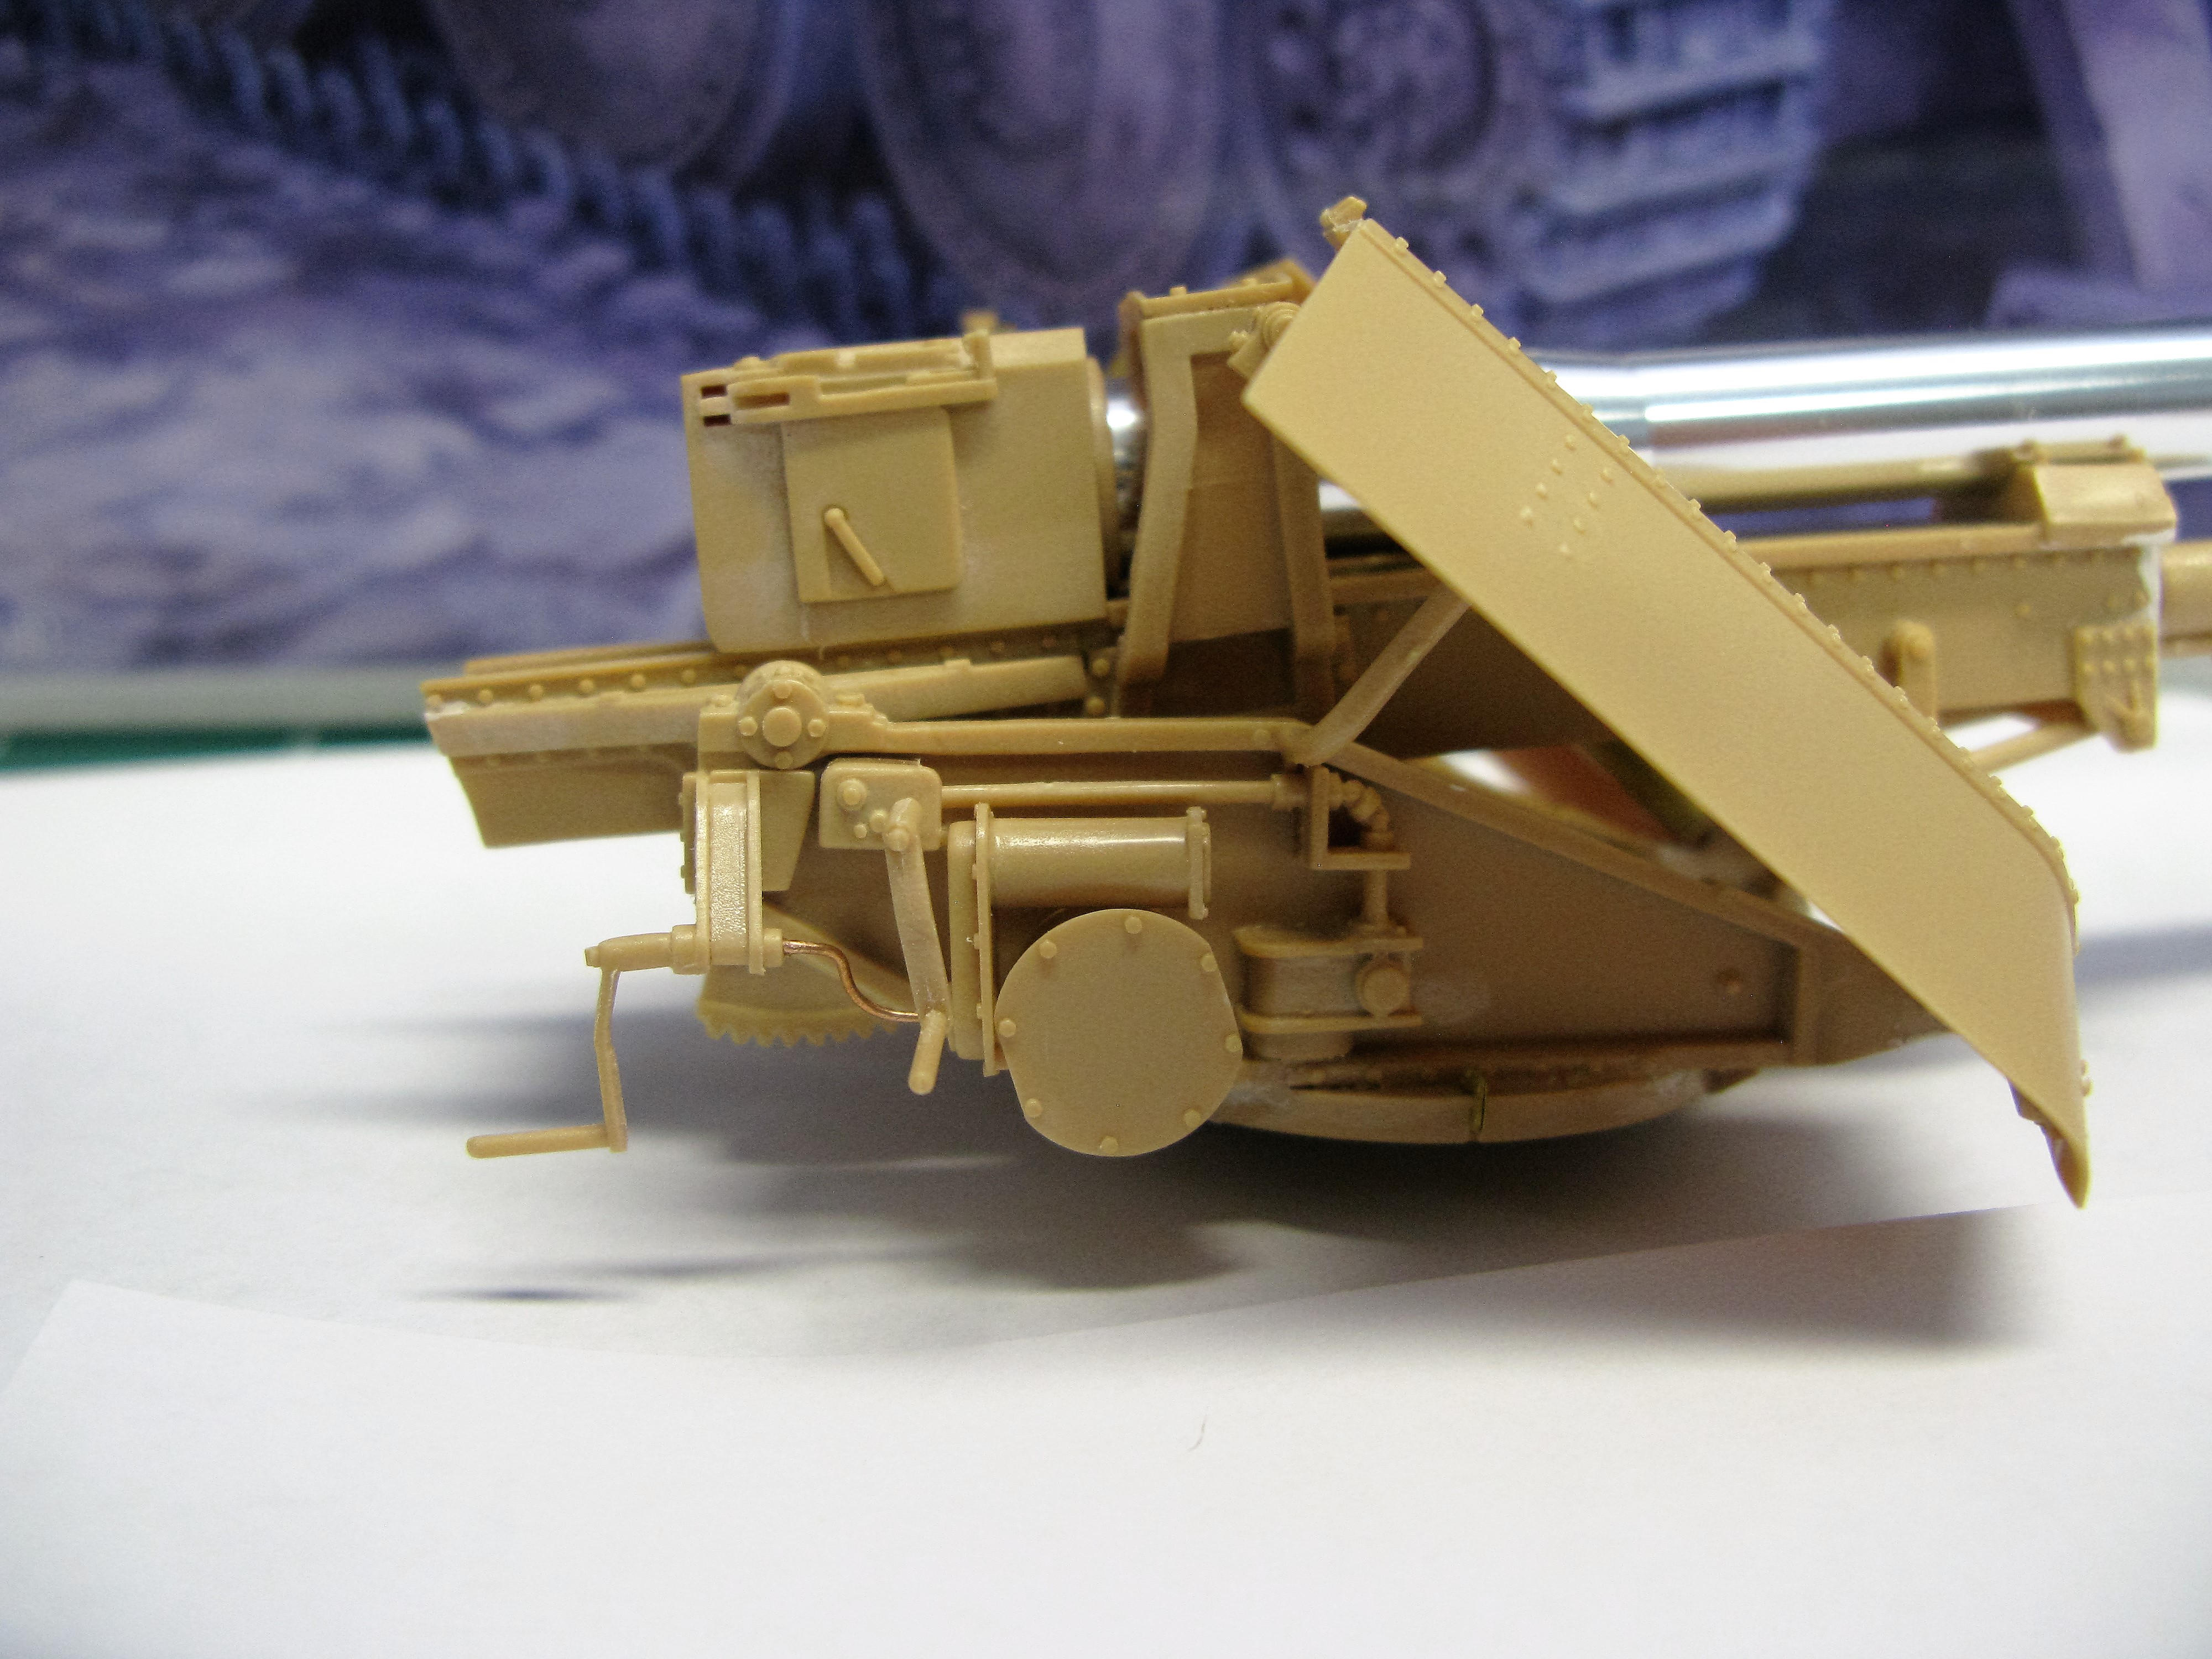
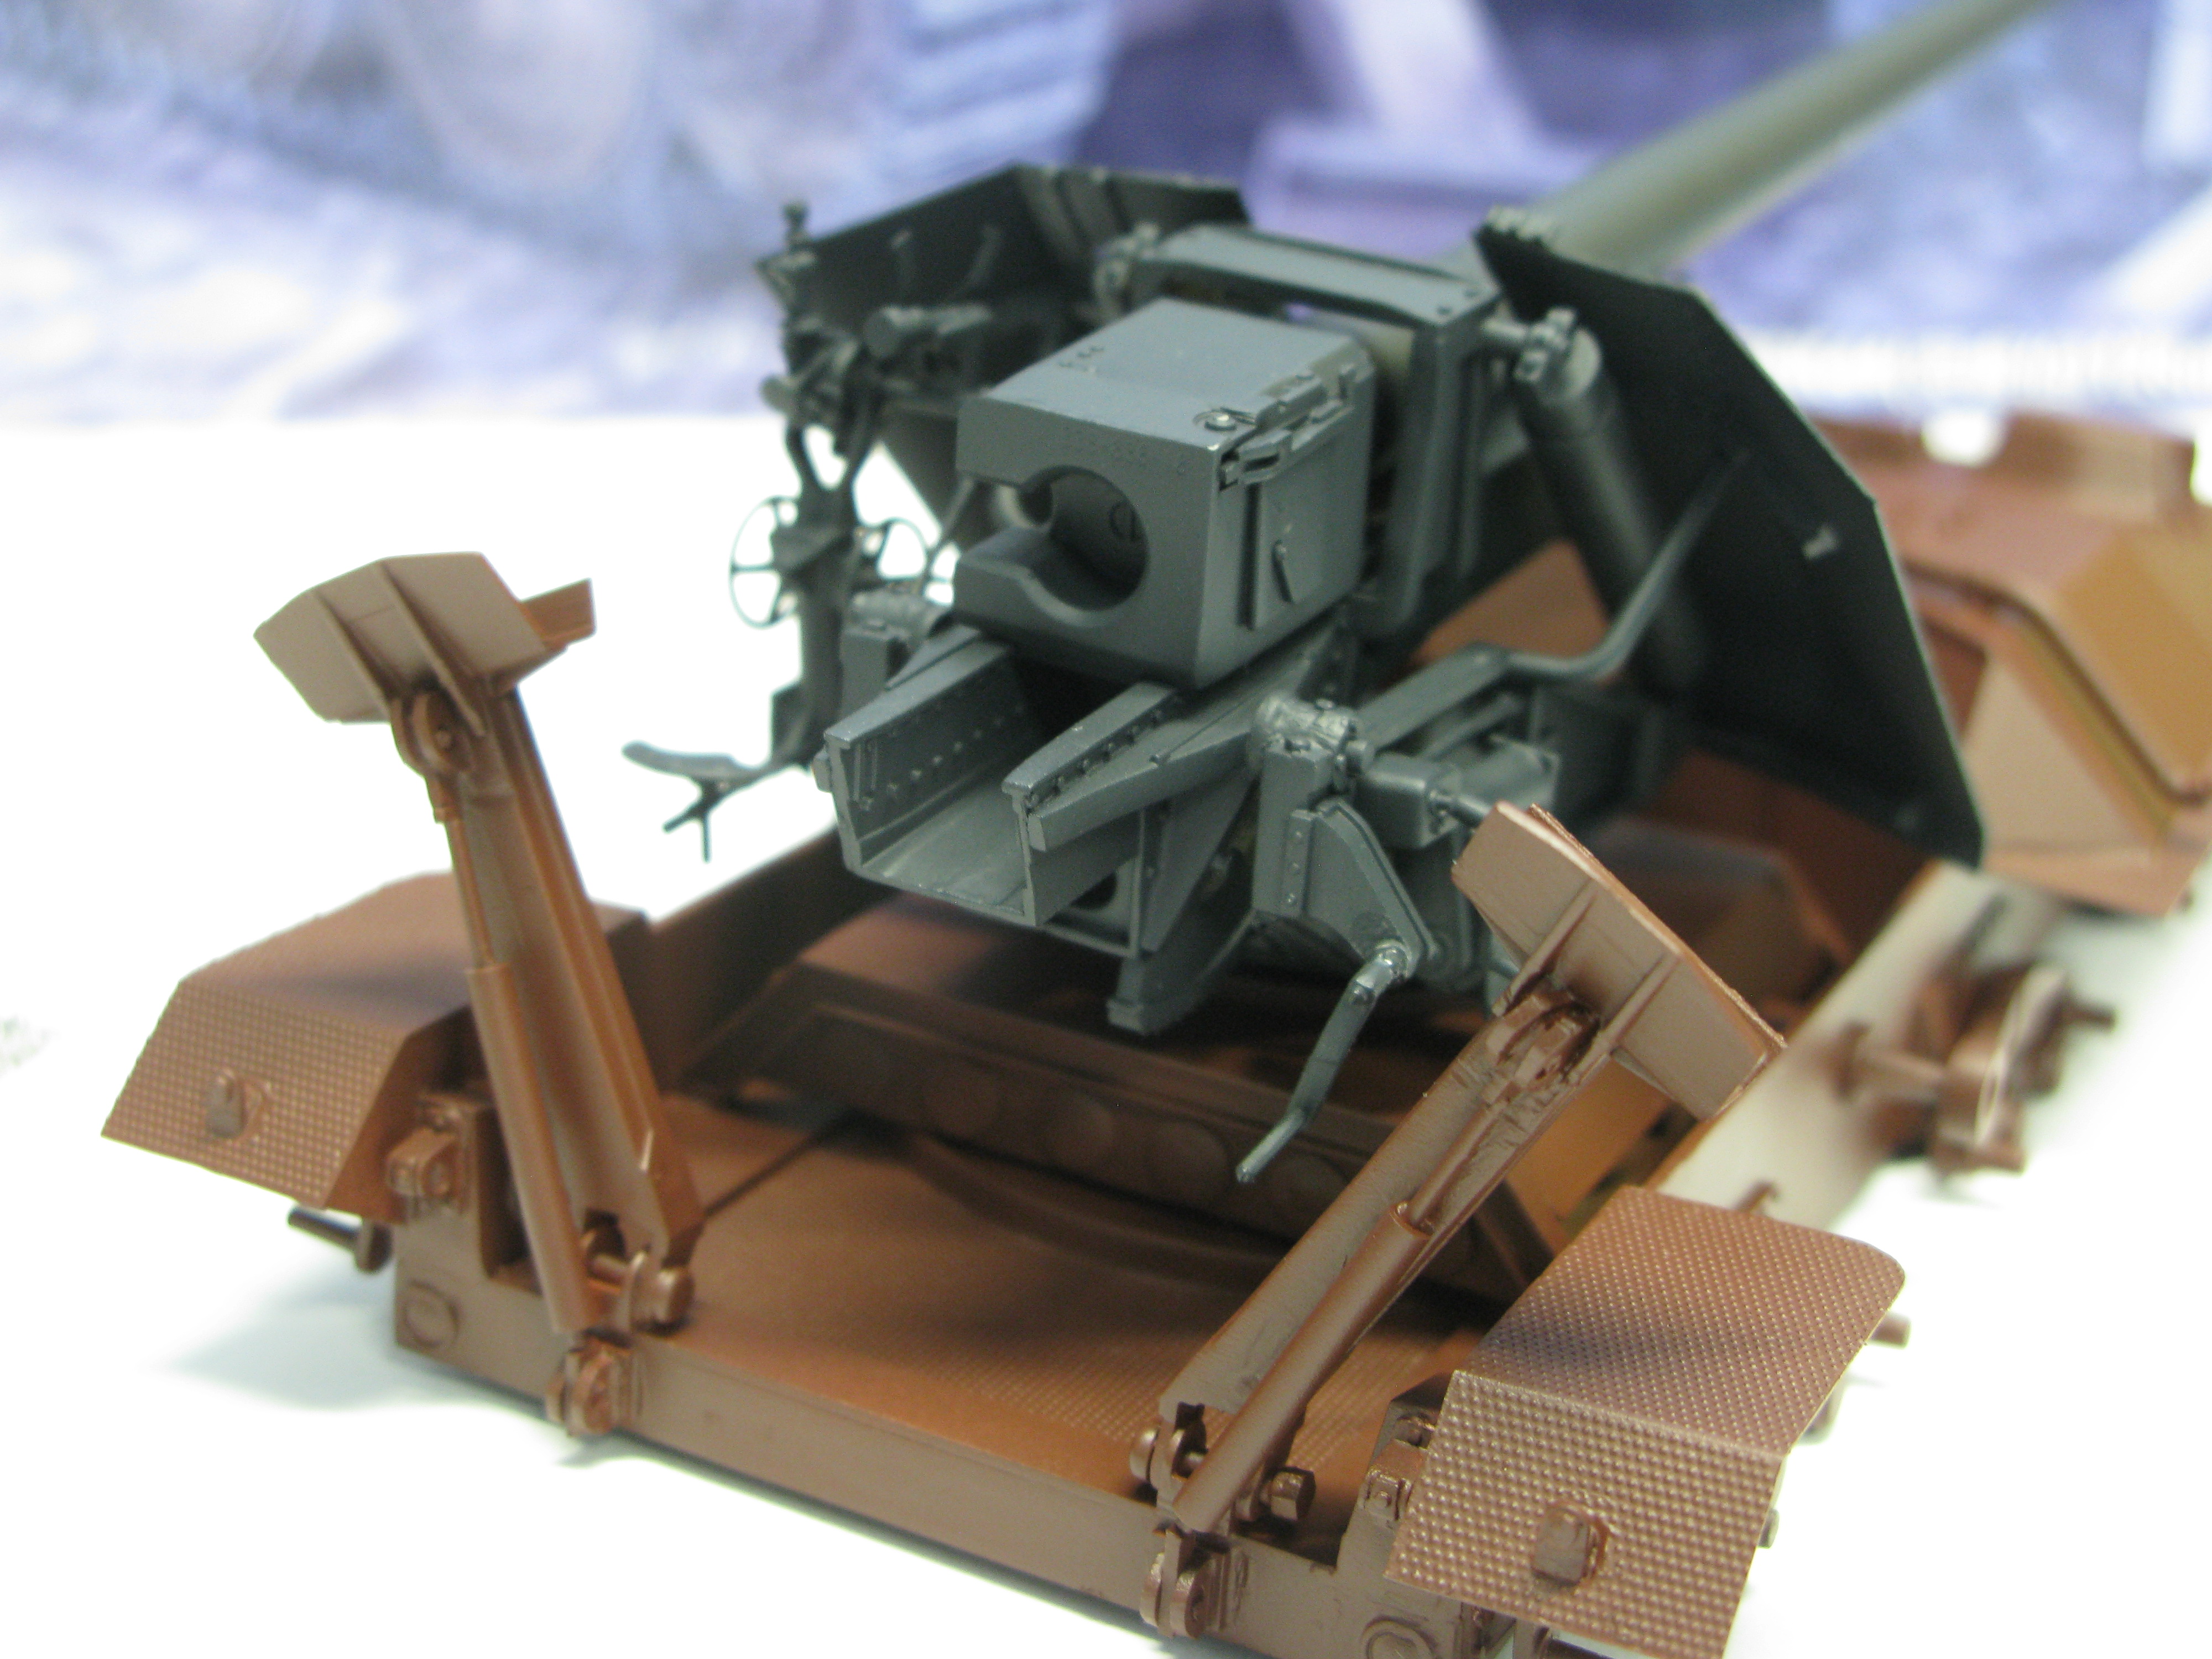
The building phase of the Waffentrager is done, bar some minor filling.
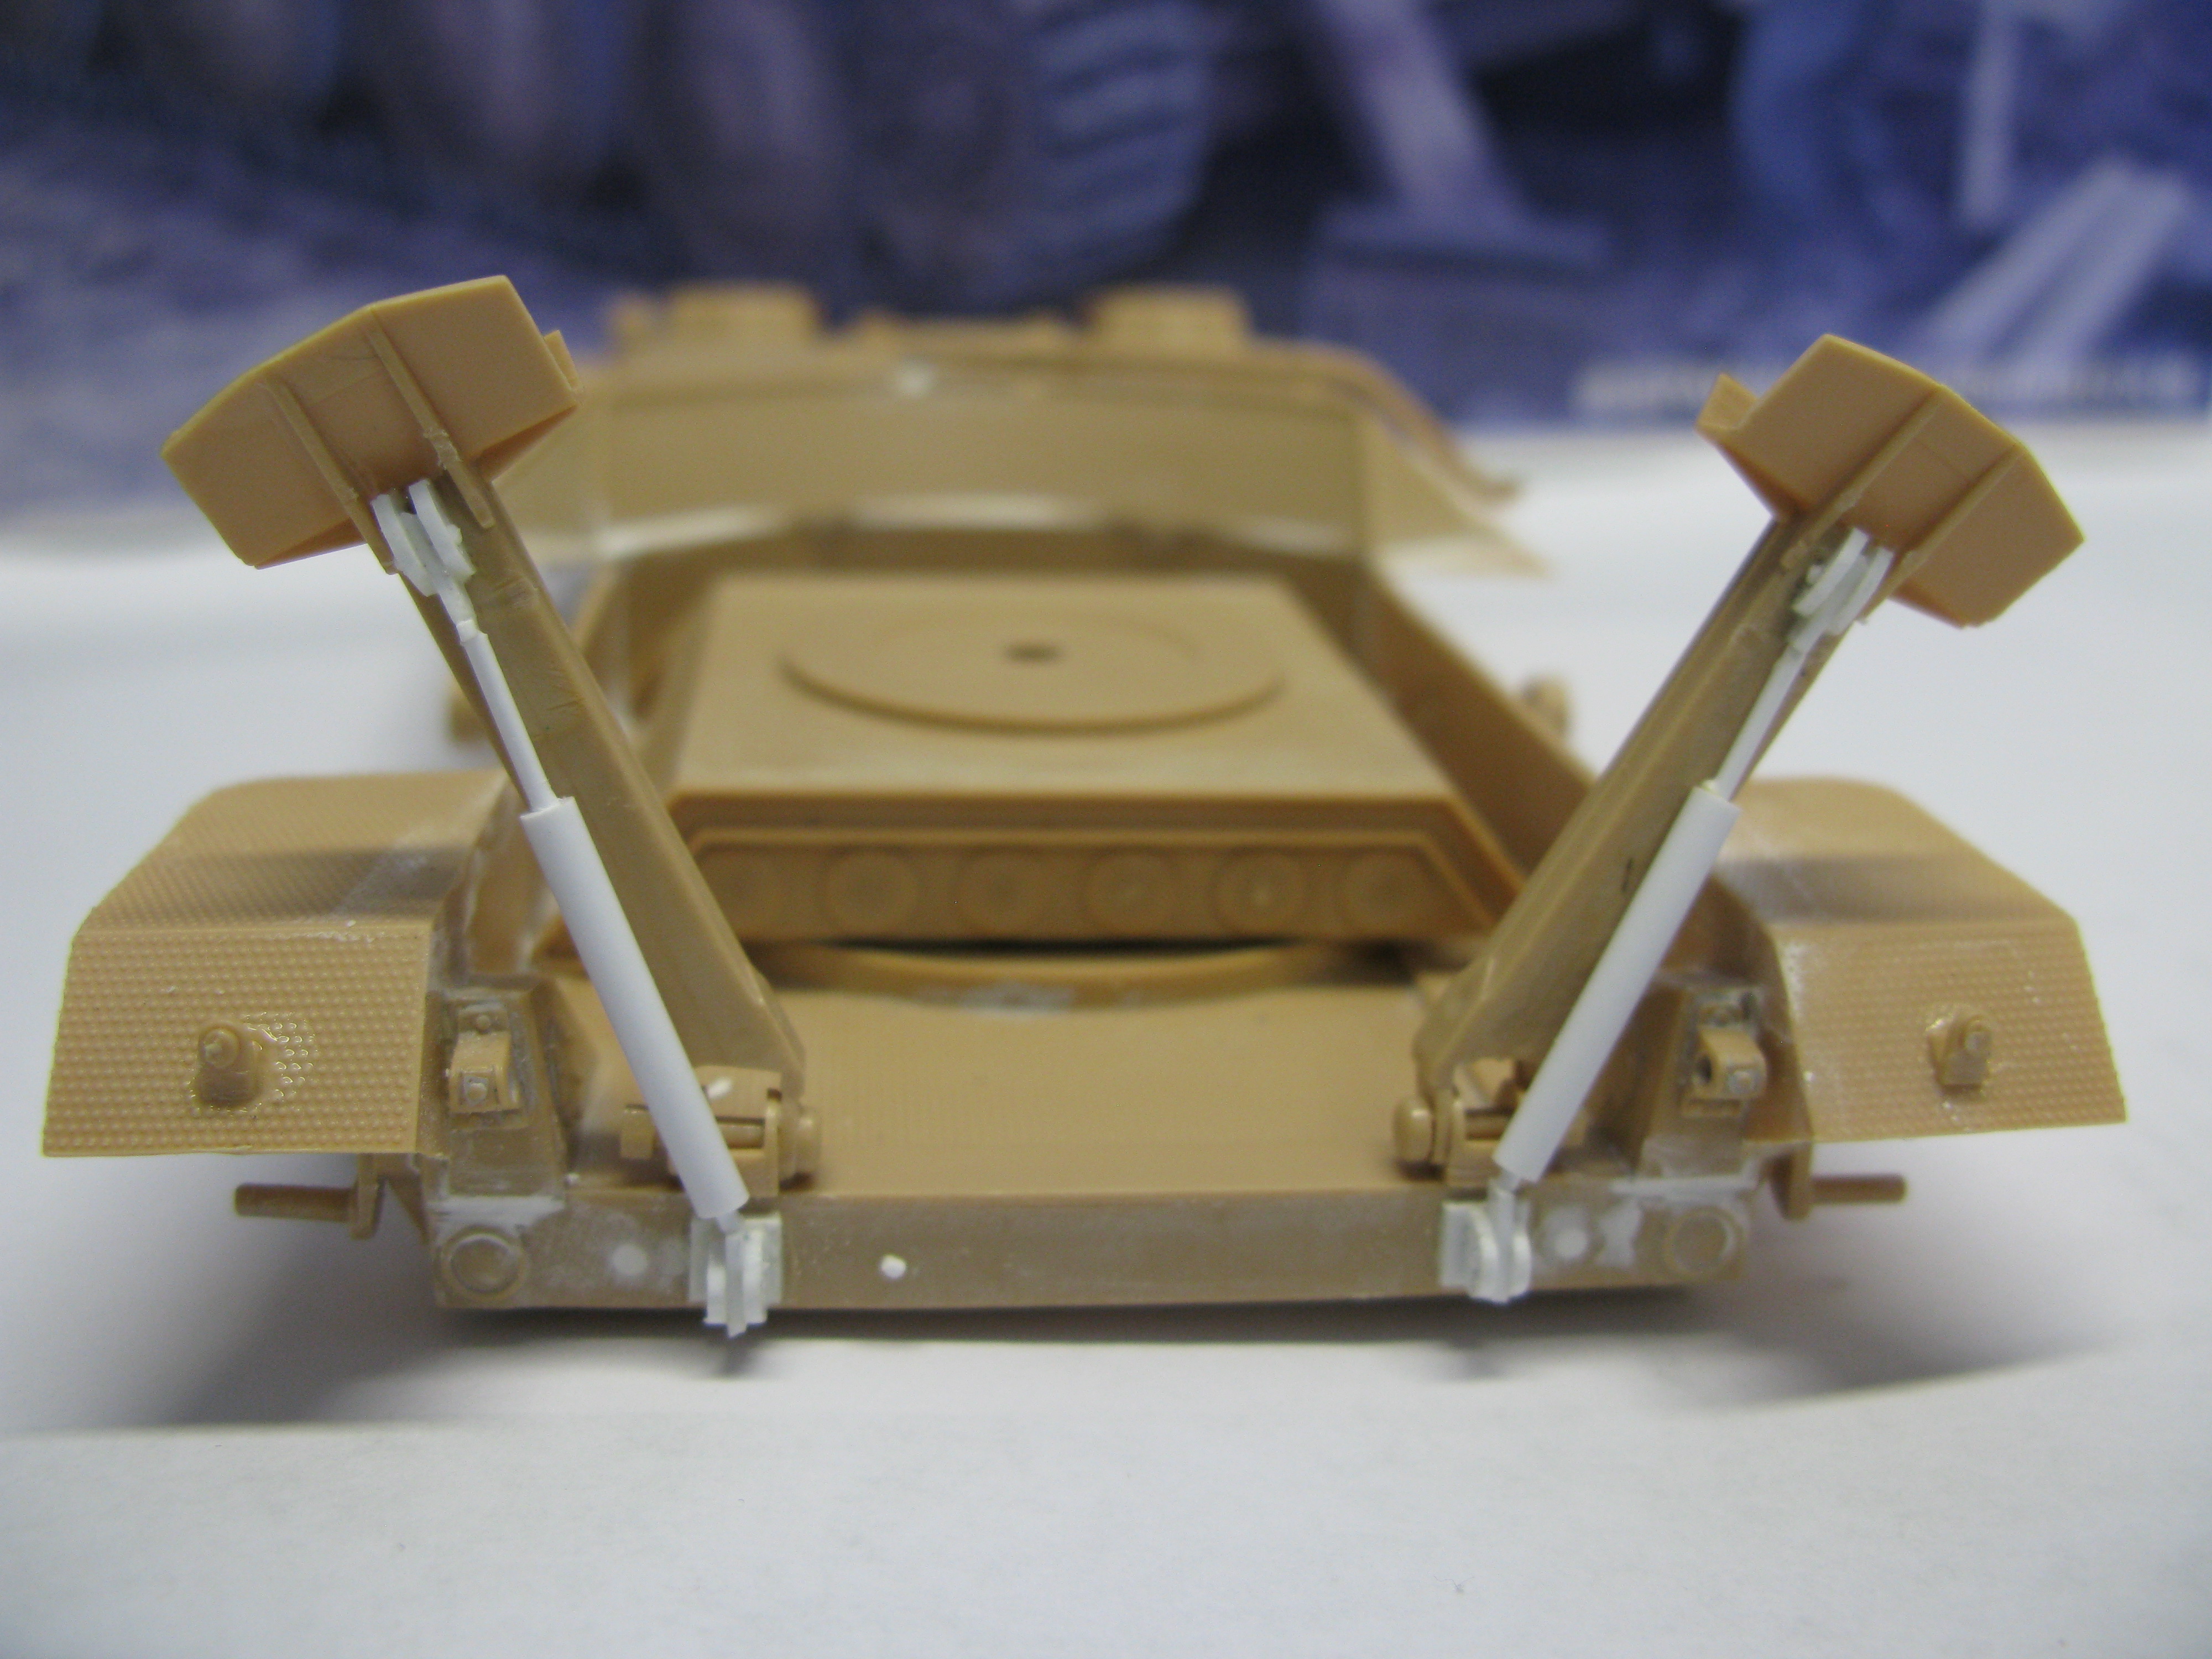
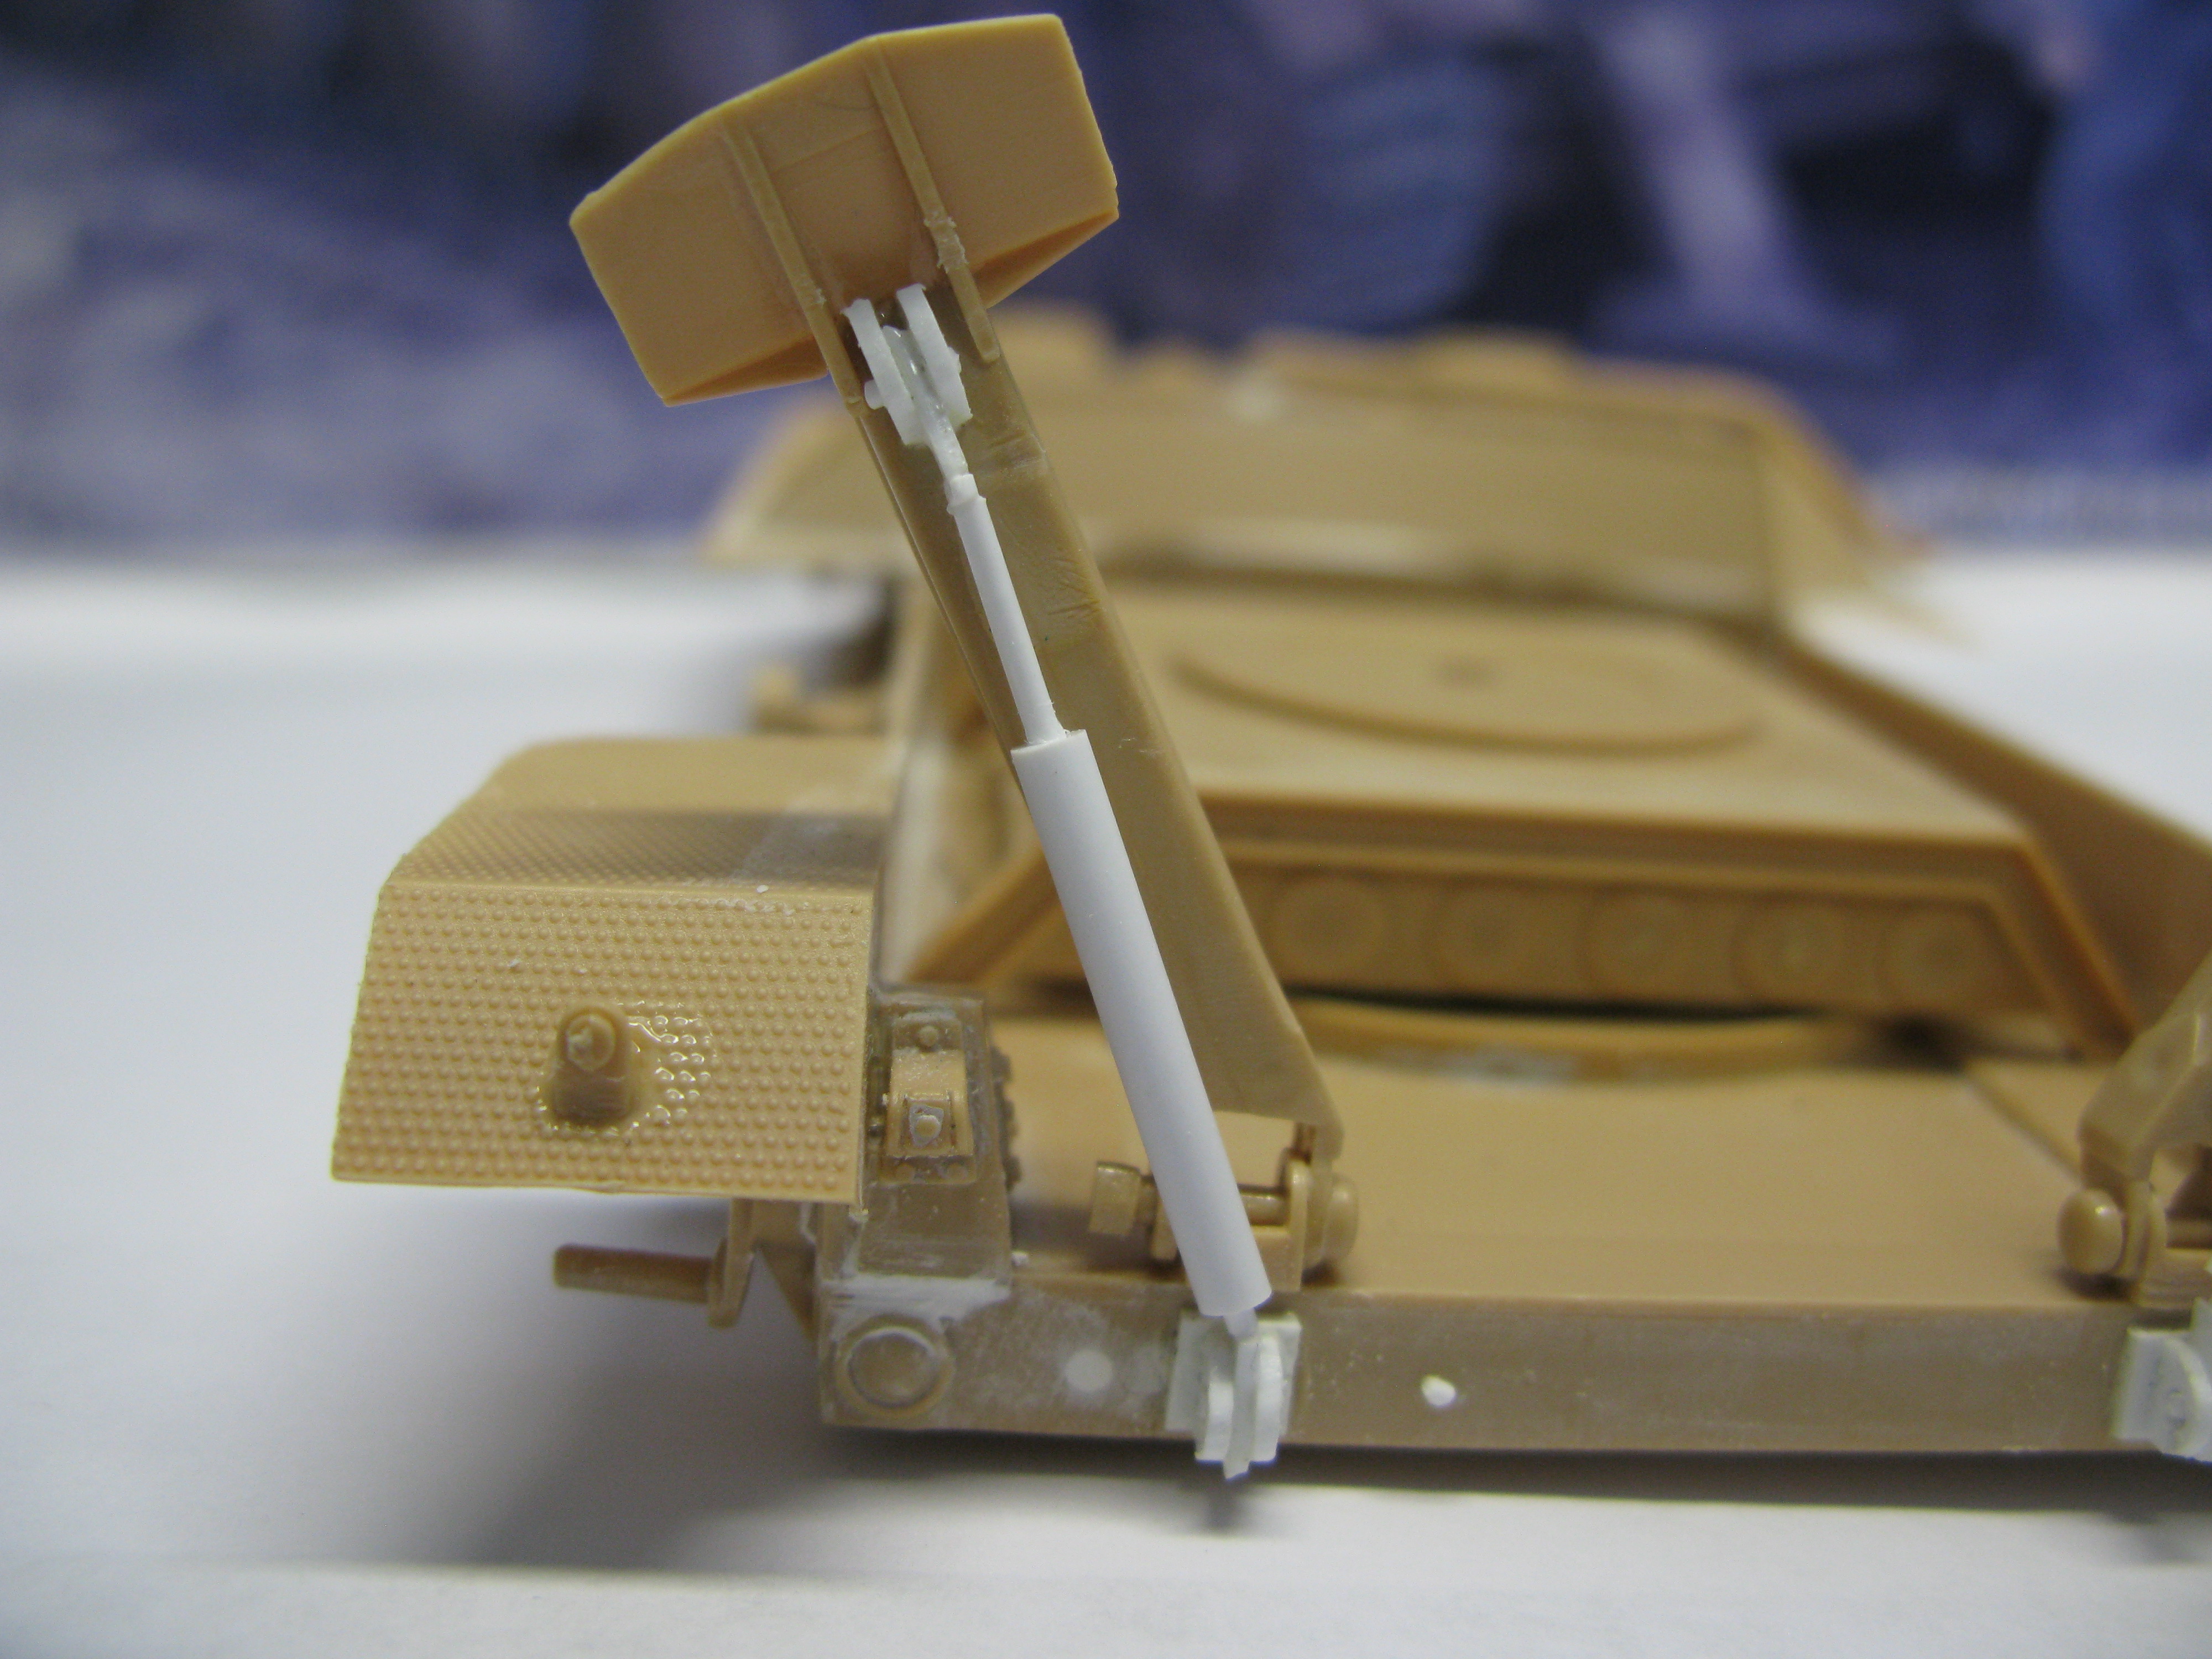
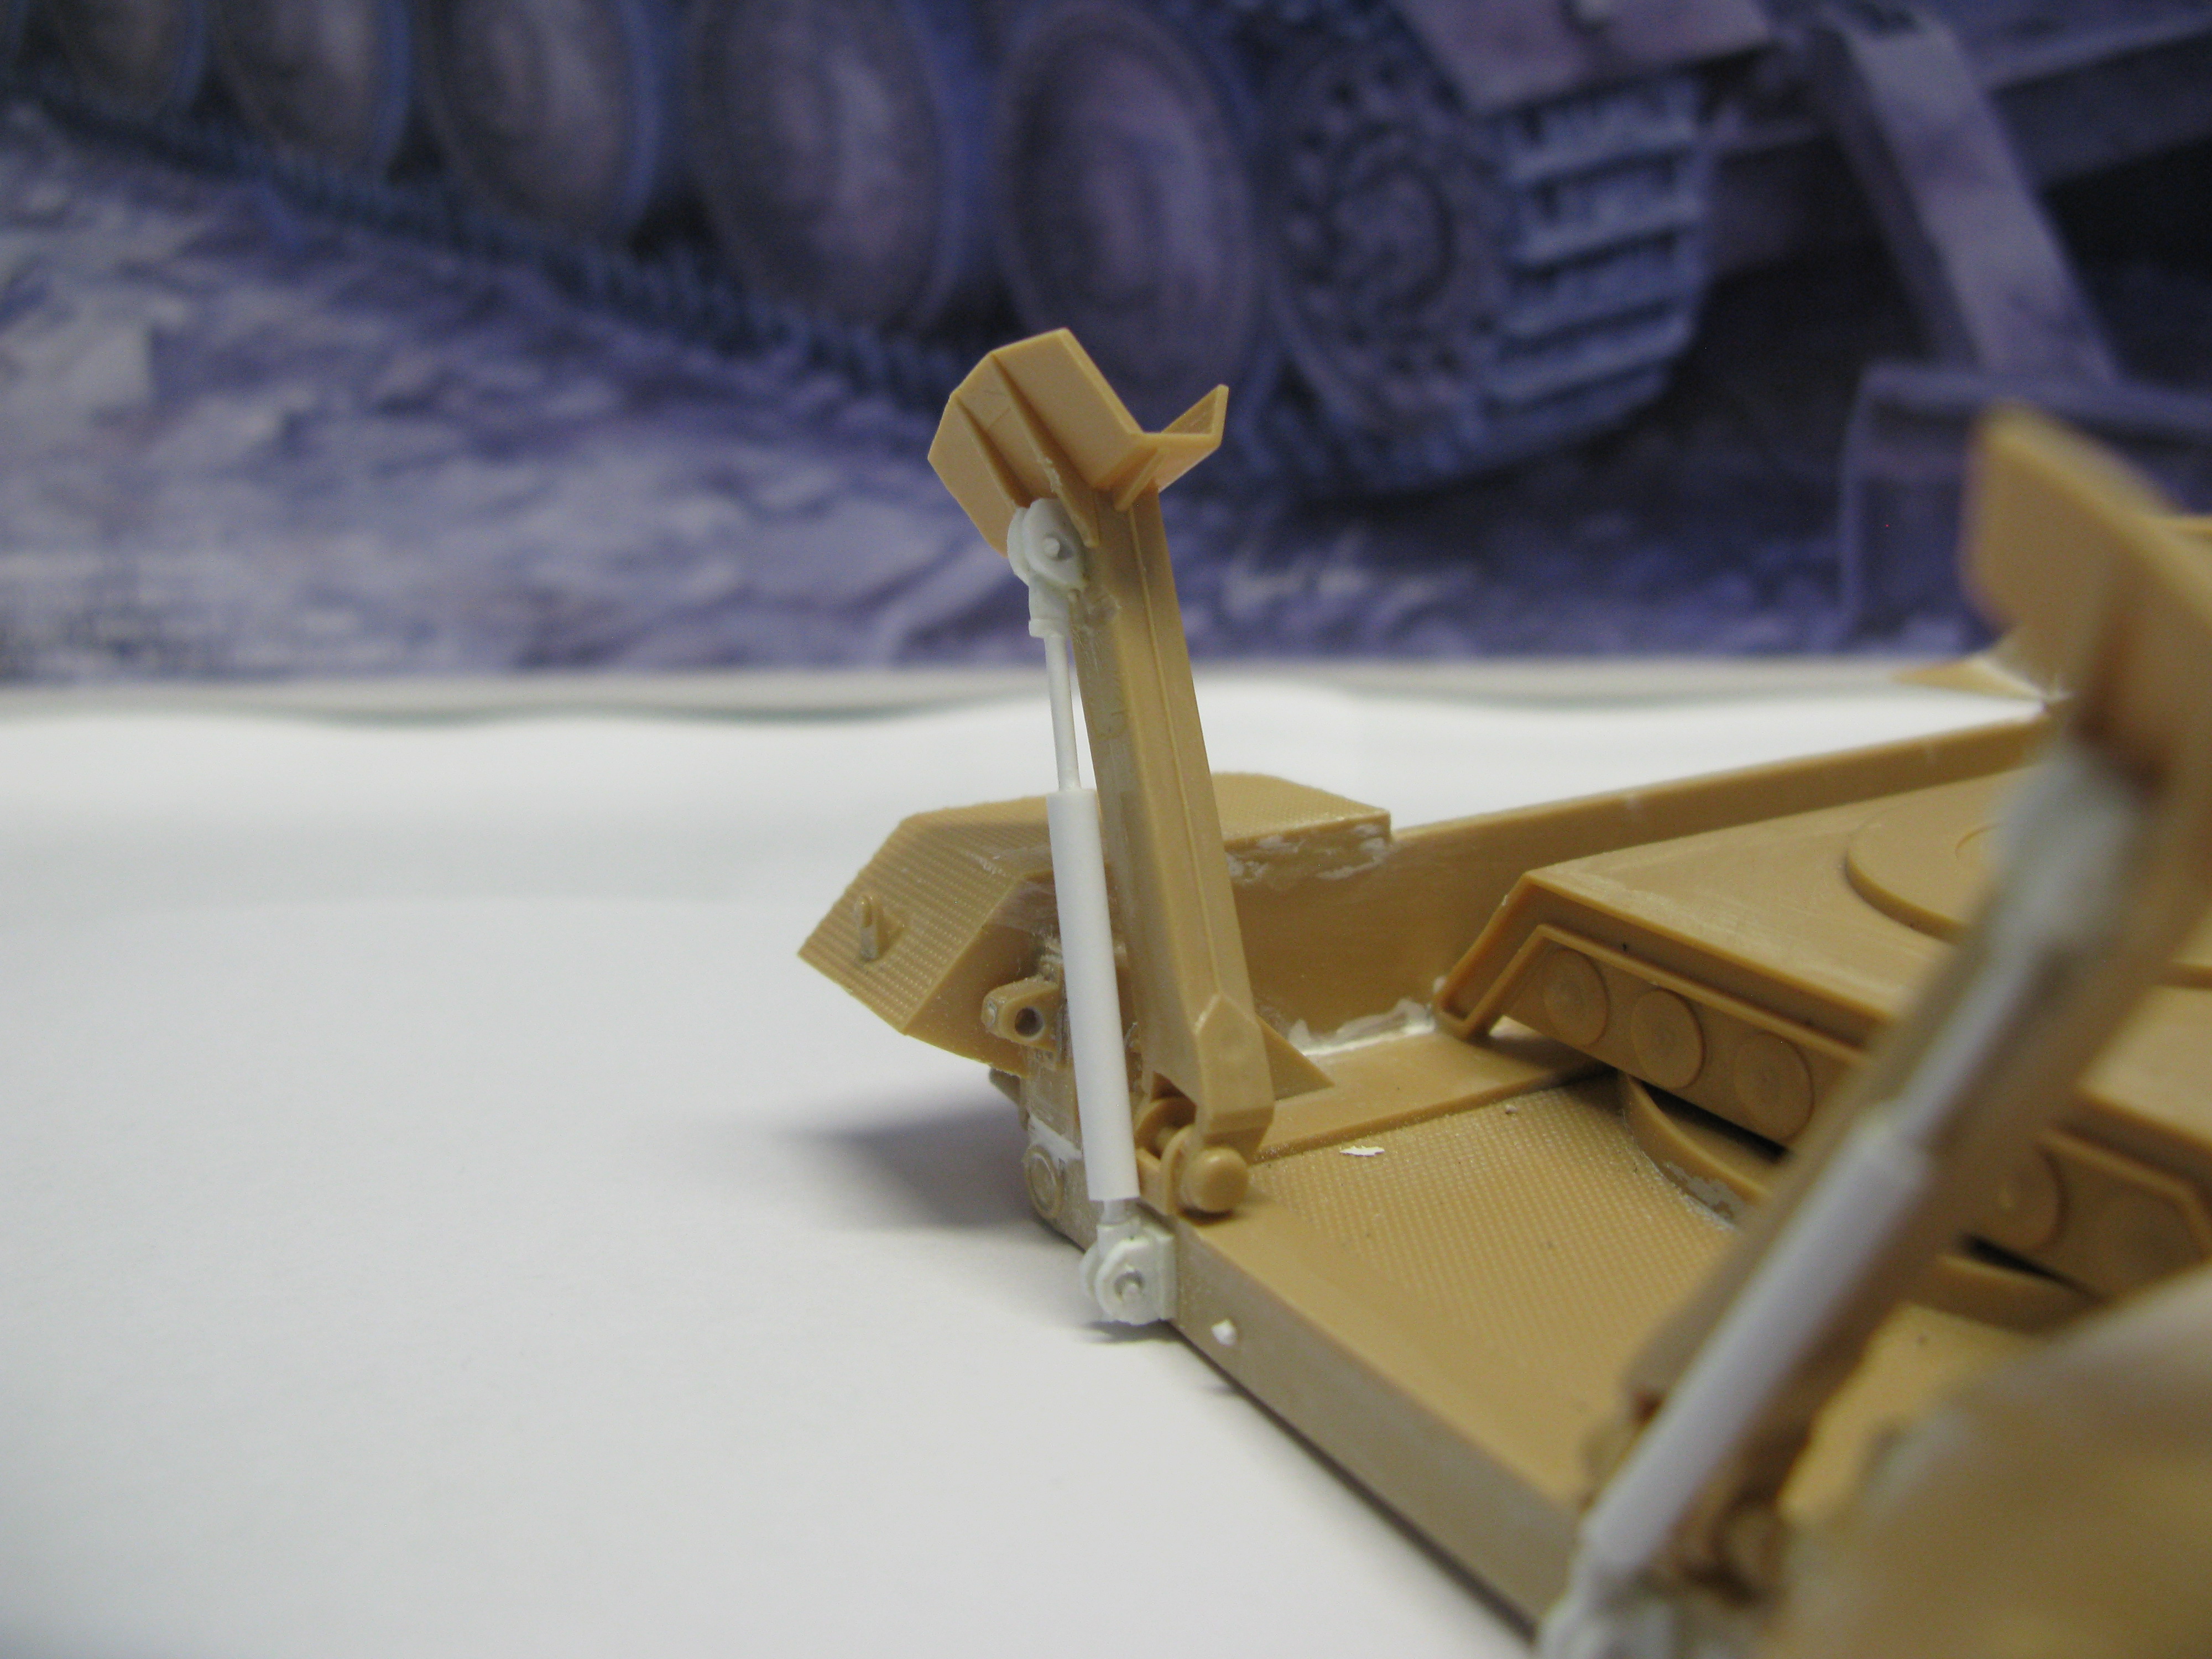
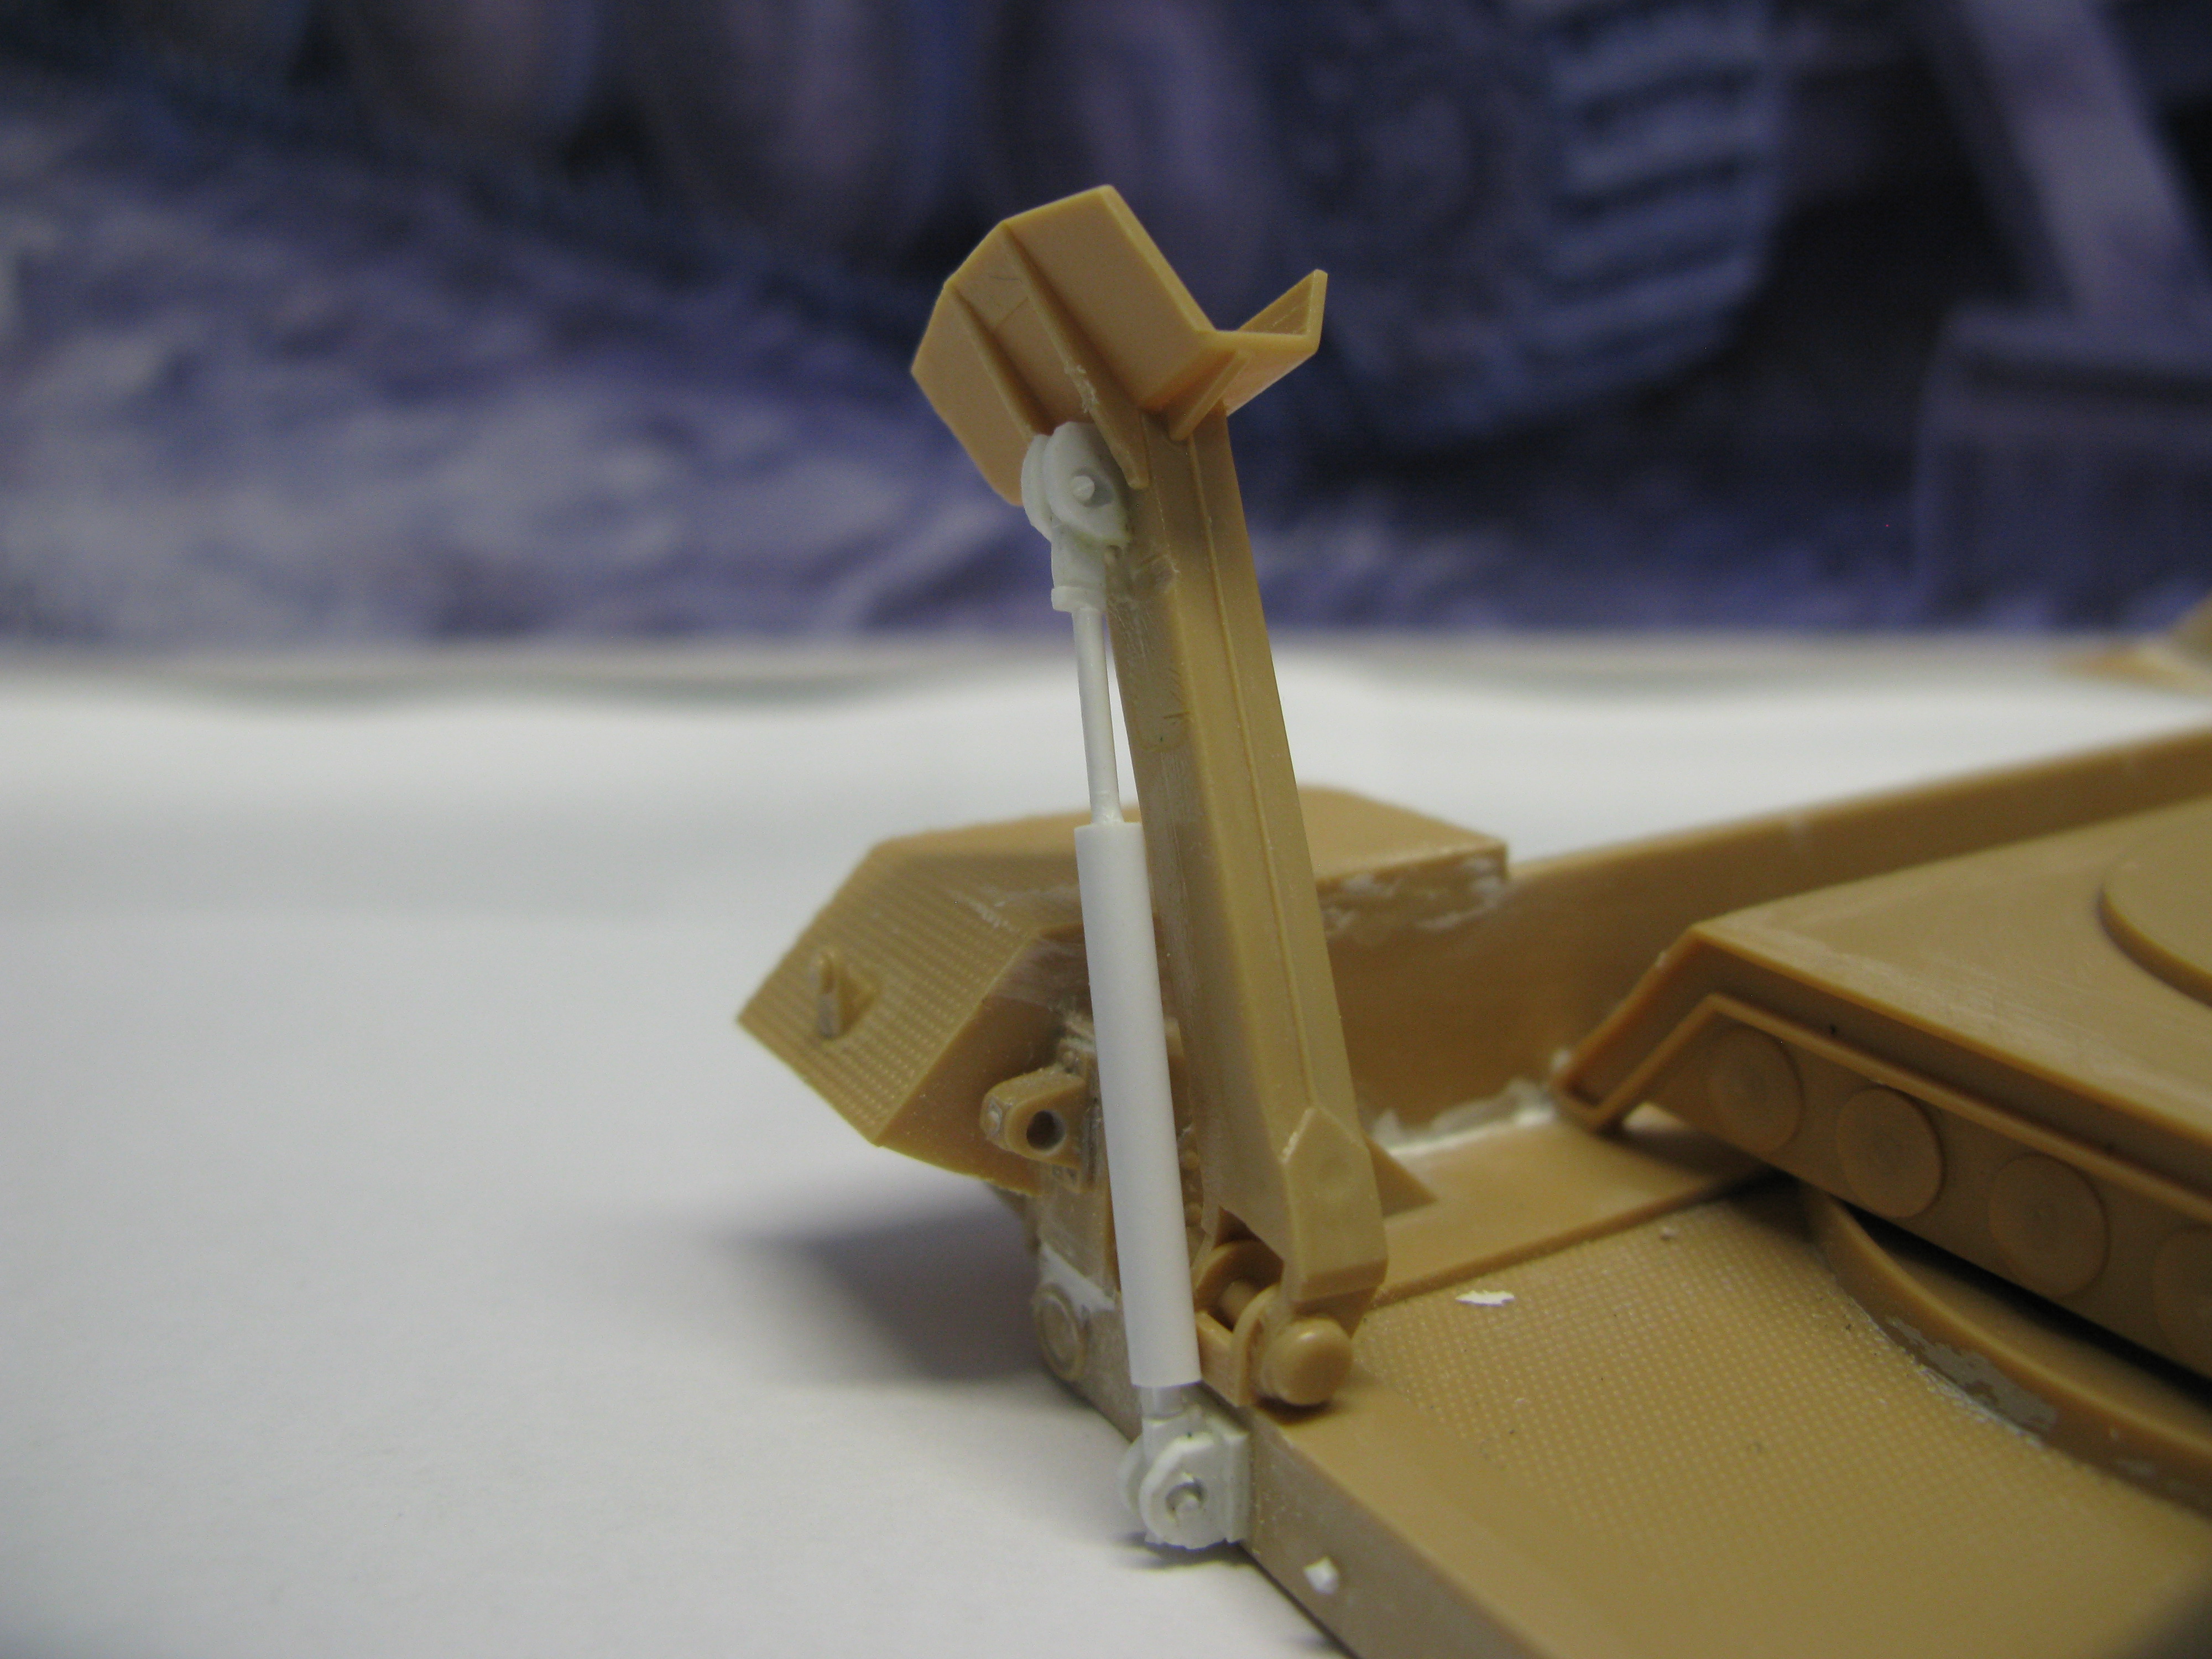
A special shout out to Doog for helping me scratchbuild pistons for the recoil spades…his guidance was crucial.
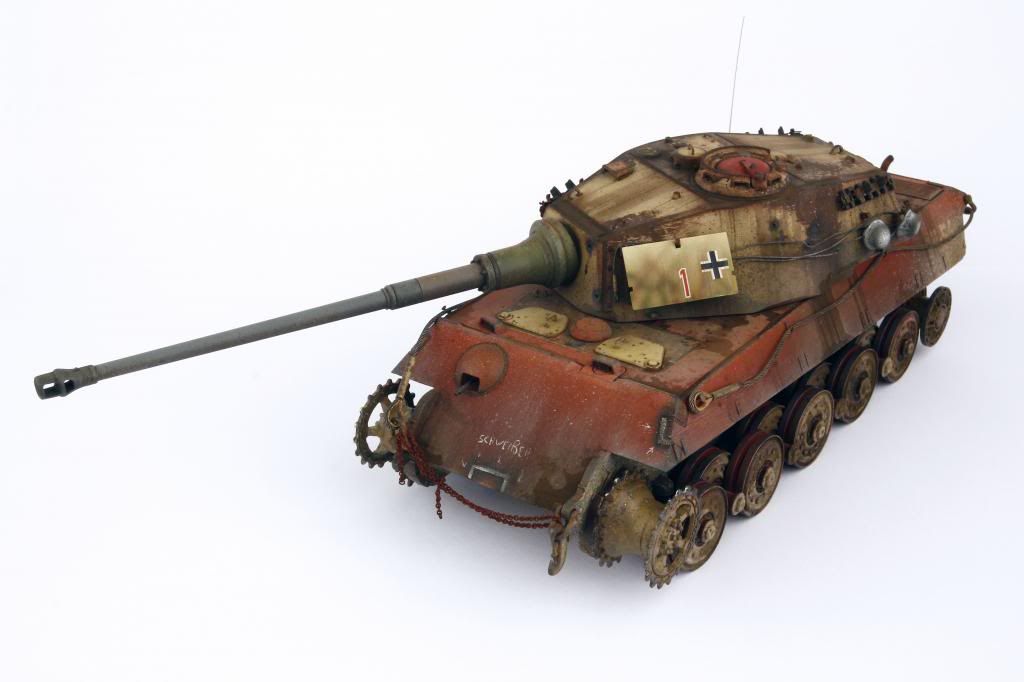
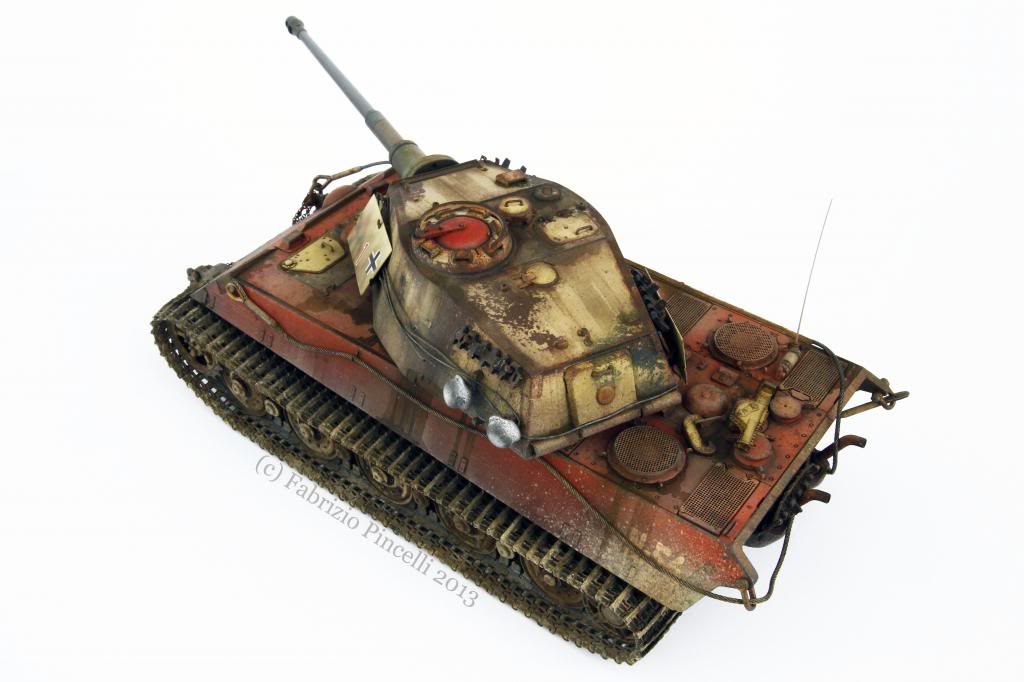
I’m still not entirely sure what I want my paint scheme to be - any ideas? This is what I’m currently aiming for, though I’m sure I won’t be able to make it look this nice:
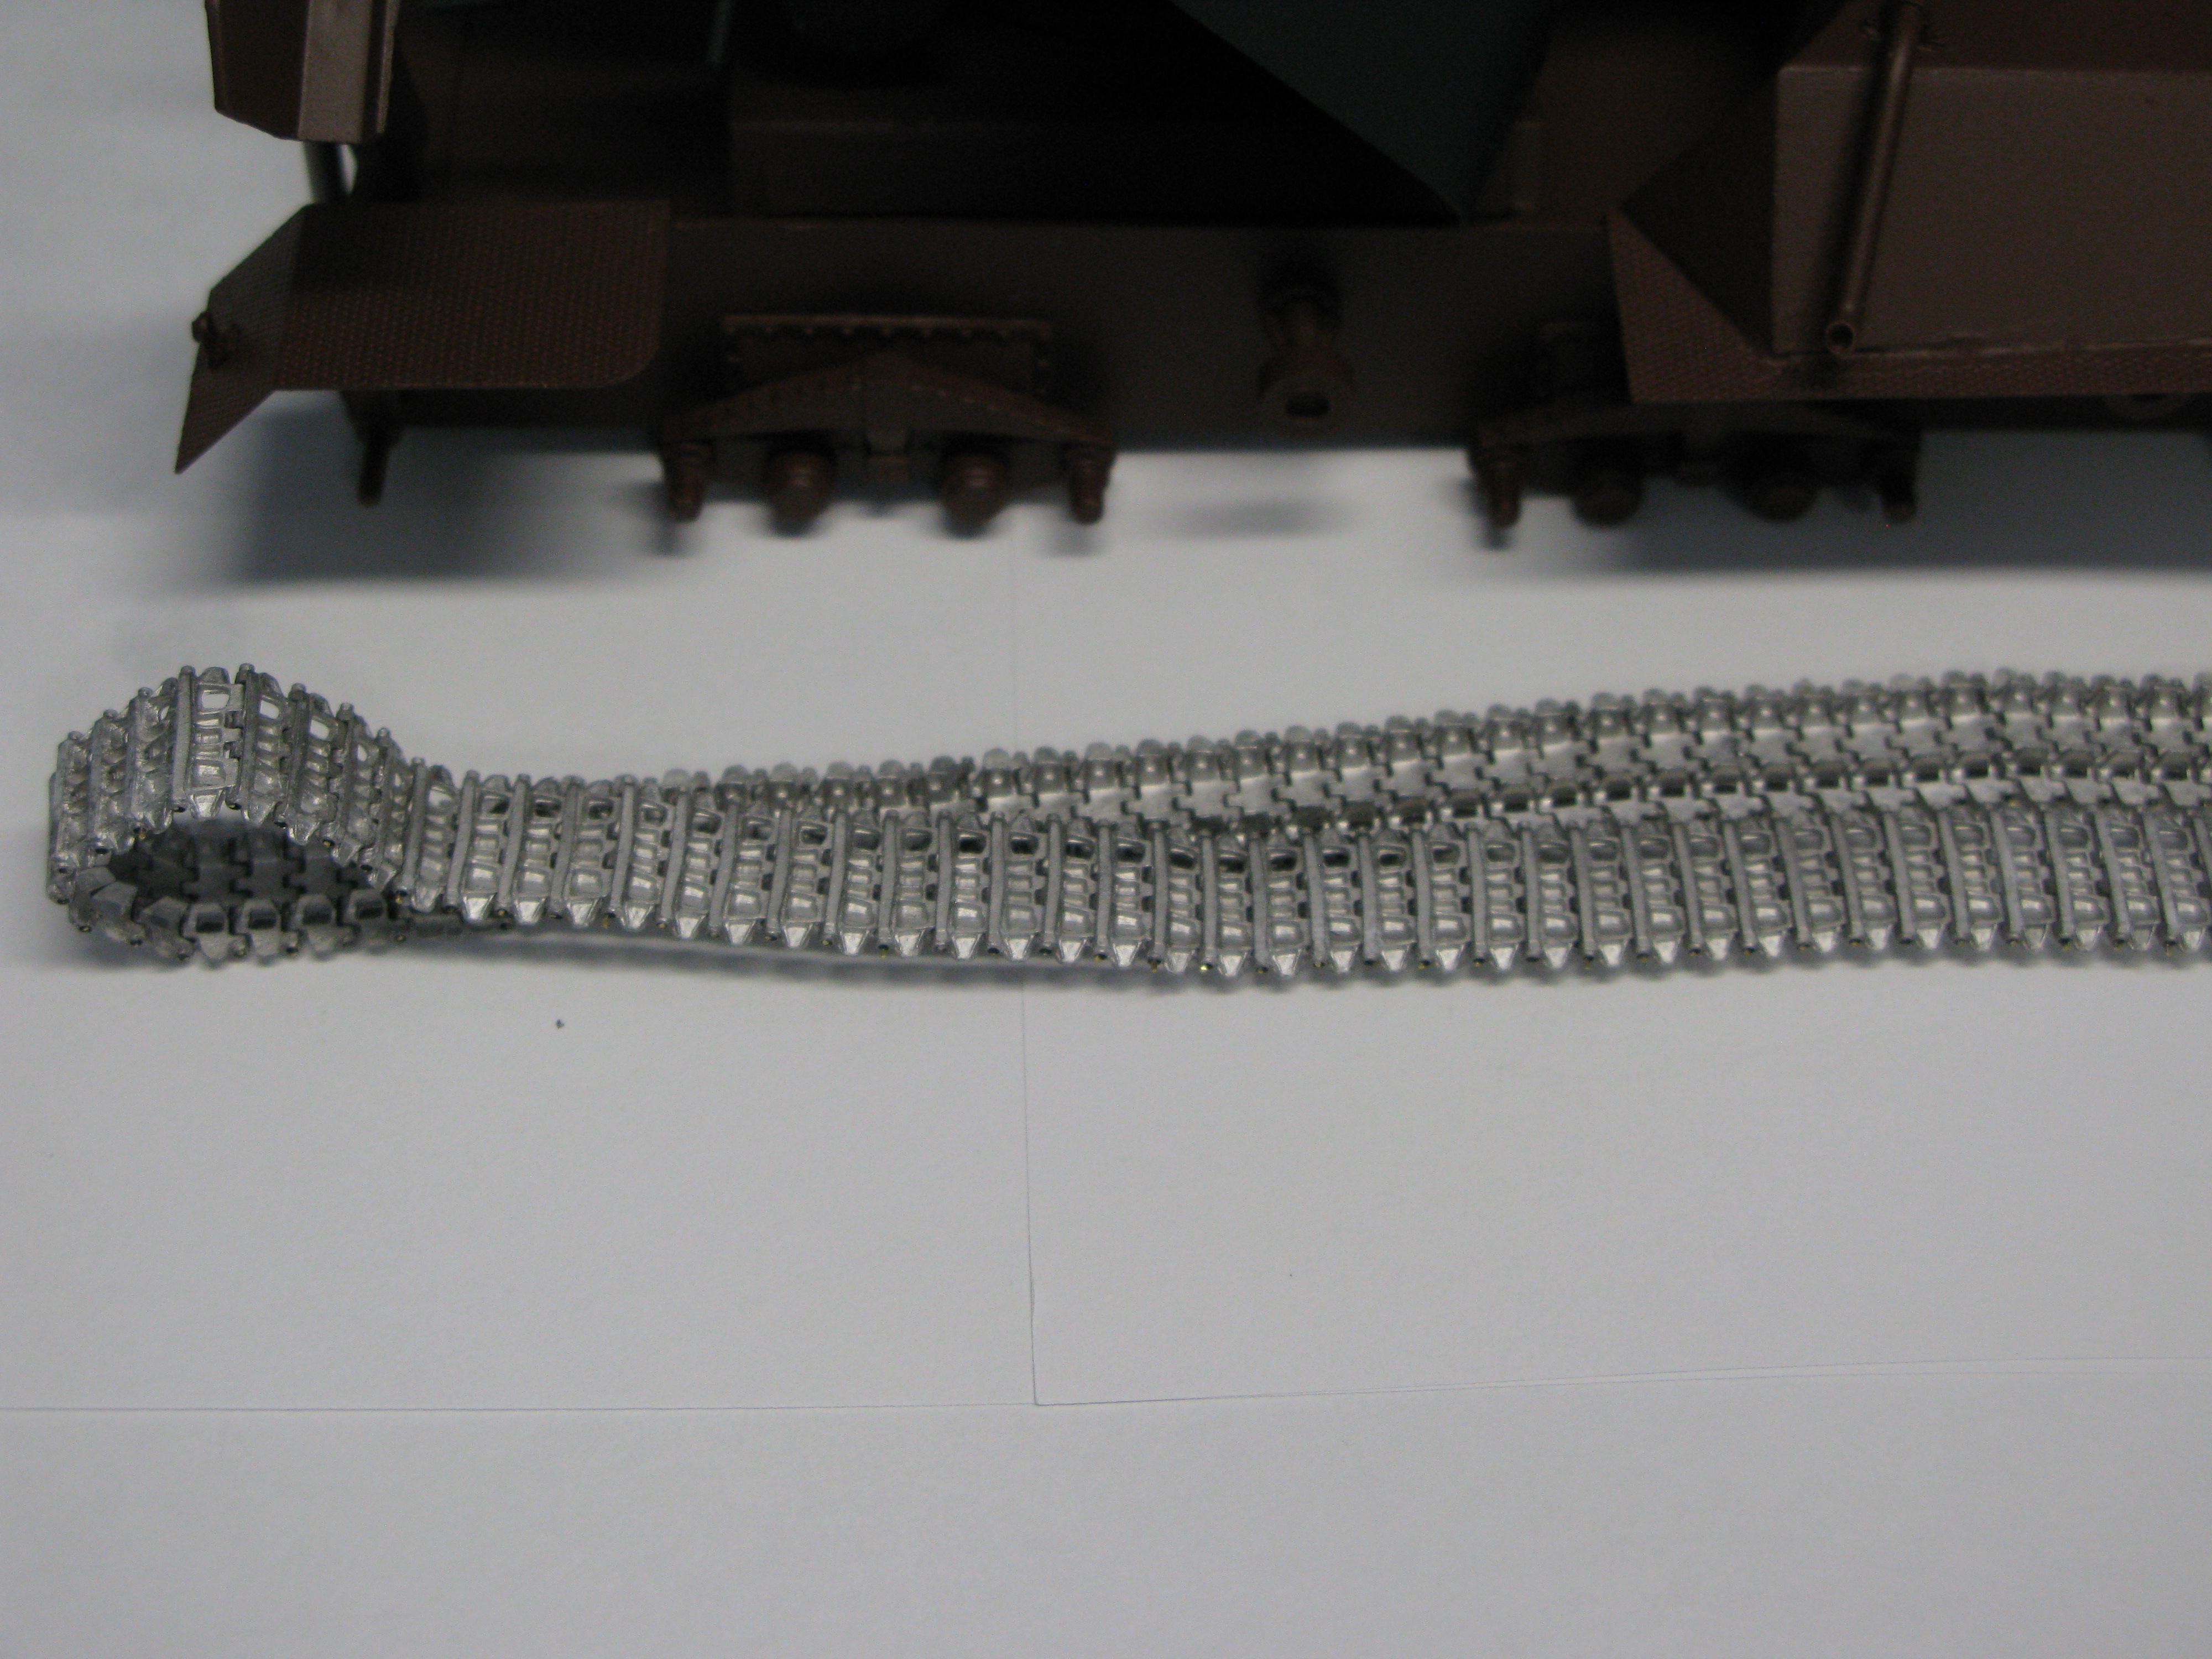
The hull and turret are primed and I am now moving along to the construction of the Friuls. I got one side done in 4 days, at the expense of my battered left index finger and thumb. It’s amazing how uncomfortable just holding a lumpy piece of metal can be! Hopefully I can get a move on, I’d love to get this thing to the “real” painting and weathering stage soon.