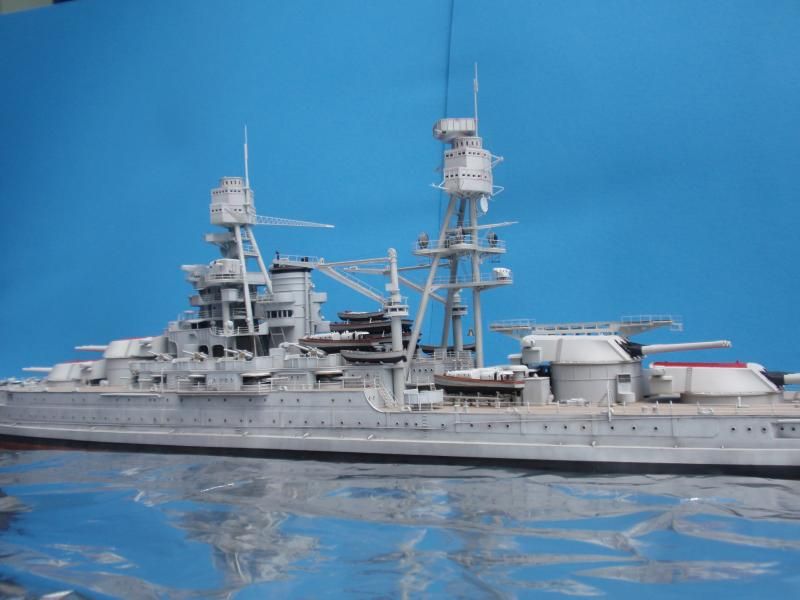
I’m back from the grave and starting on the Trumpeter 1/200 USS Arizona. Which at my building pace will take roughly 20 to 30 years, so if anyone wants to follow this thread, I would suggest filing a next of kin form. The Docs want me to start using my hands again, so here we go. This is a commission build for a member by the way, although that really souldn’t make a difference.
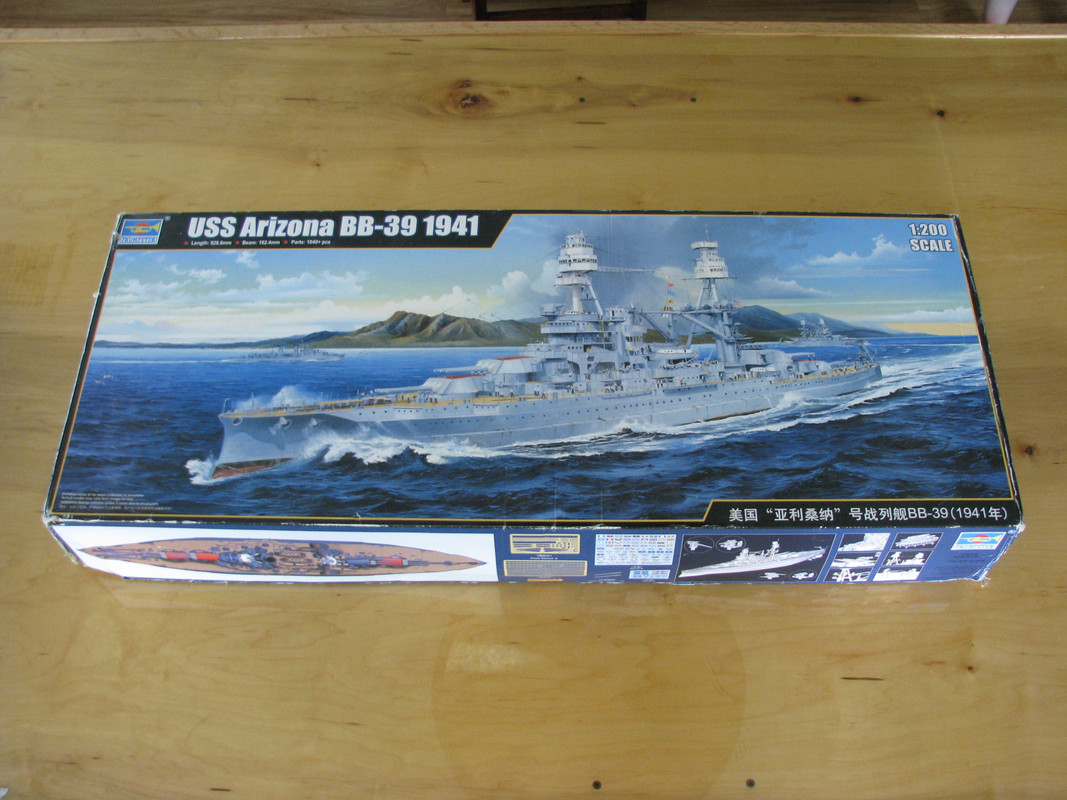
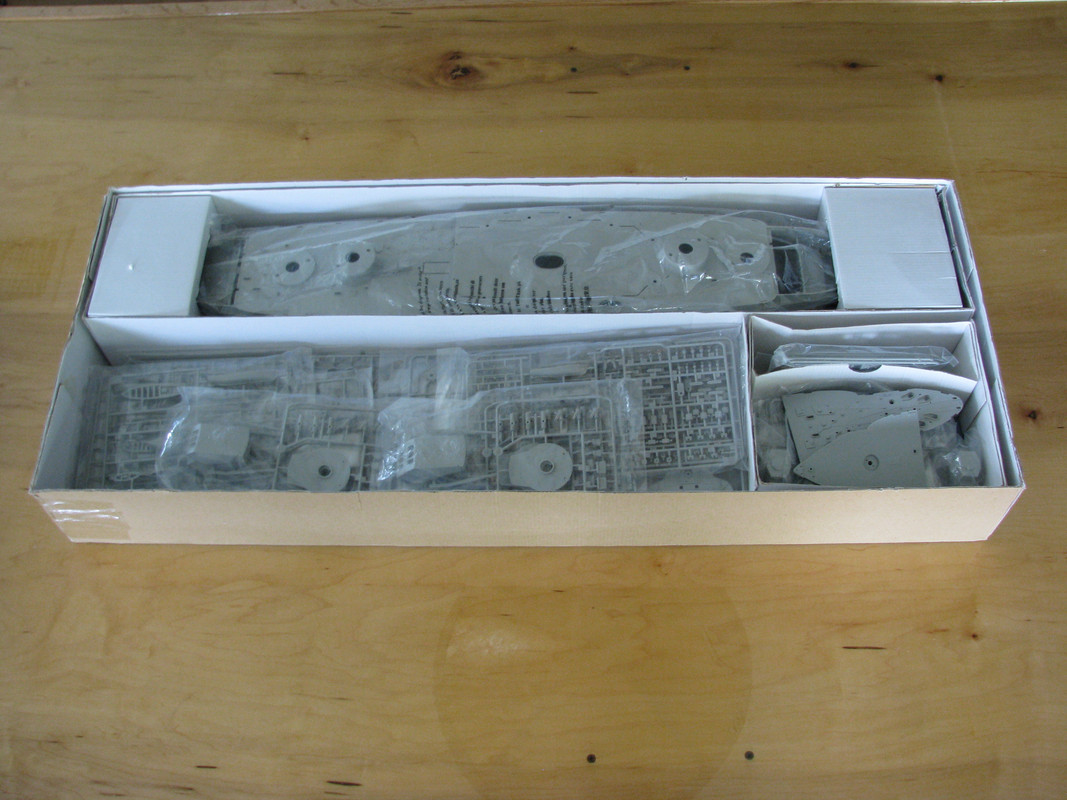
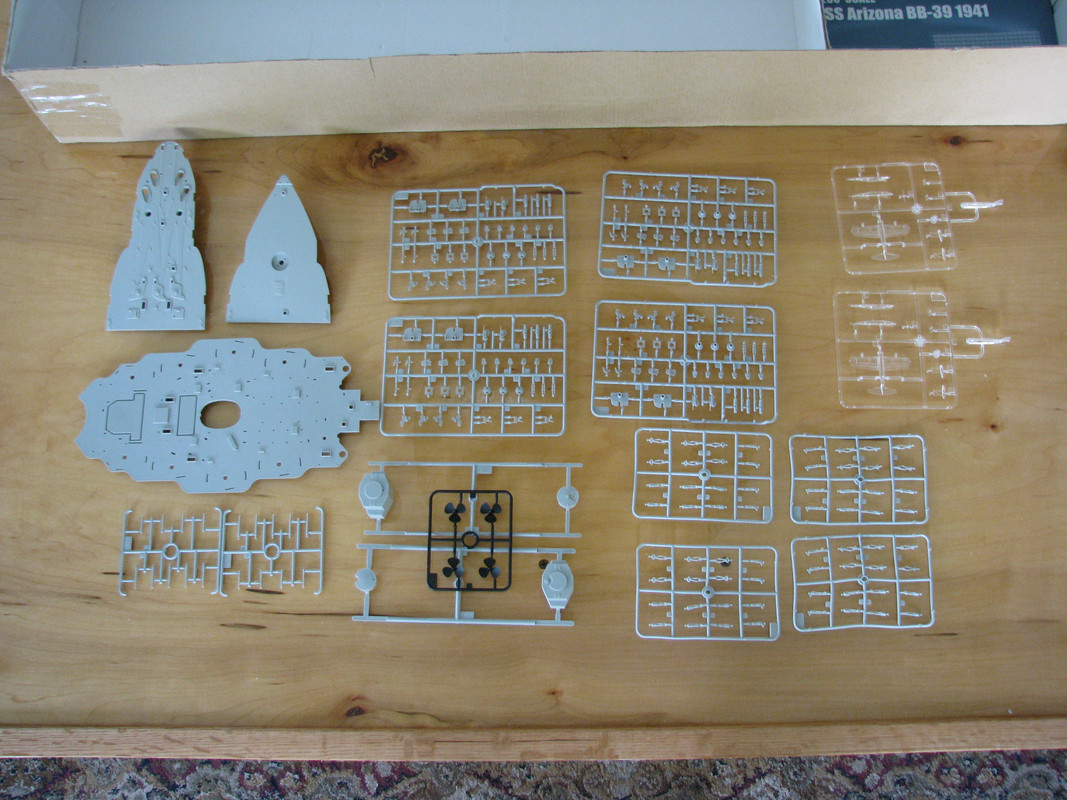
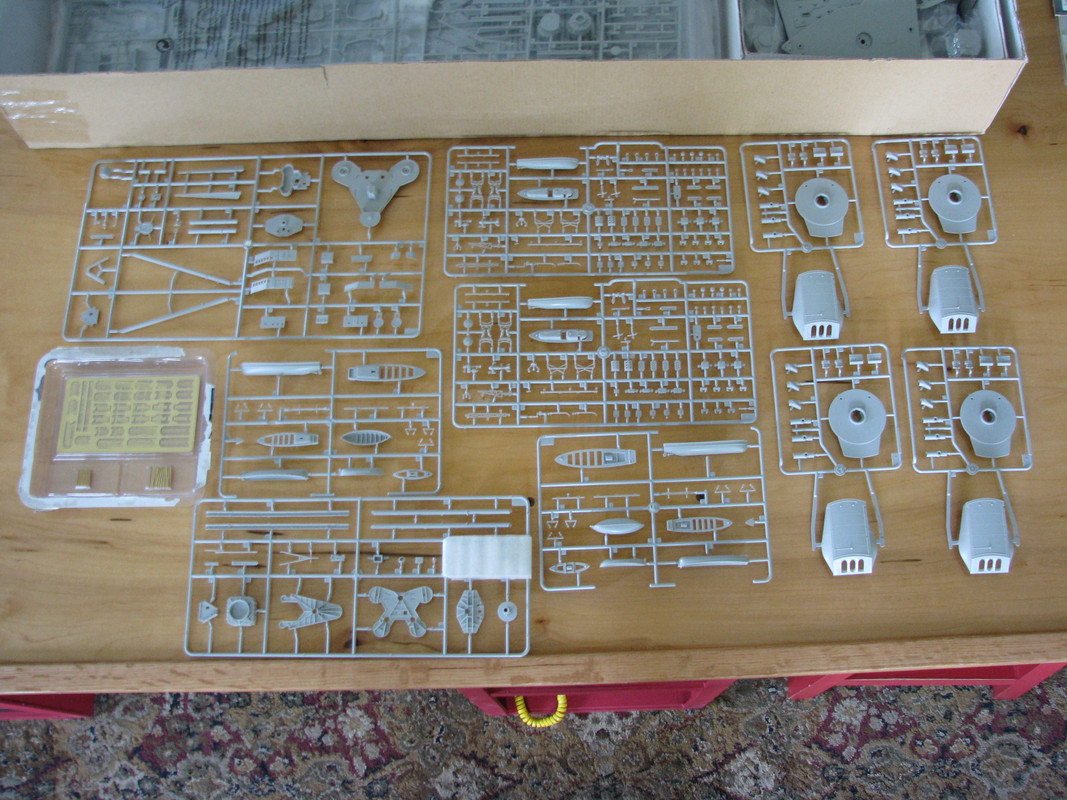
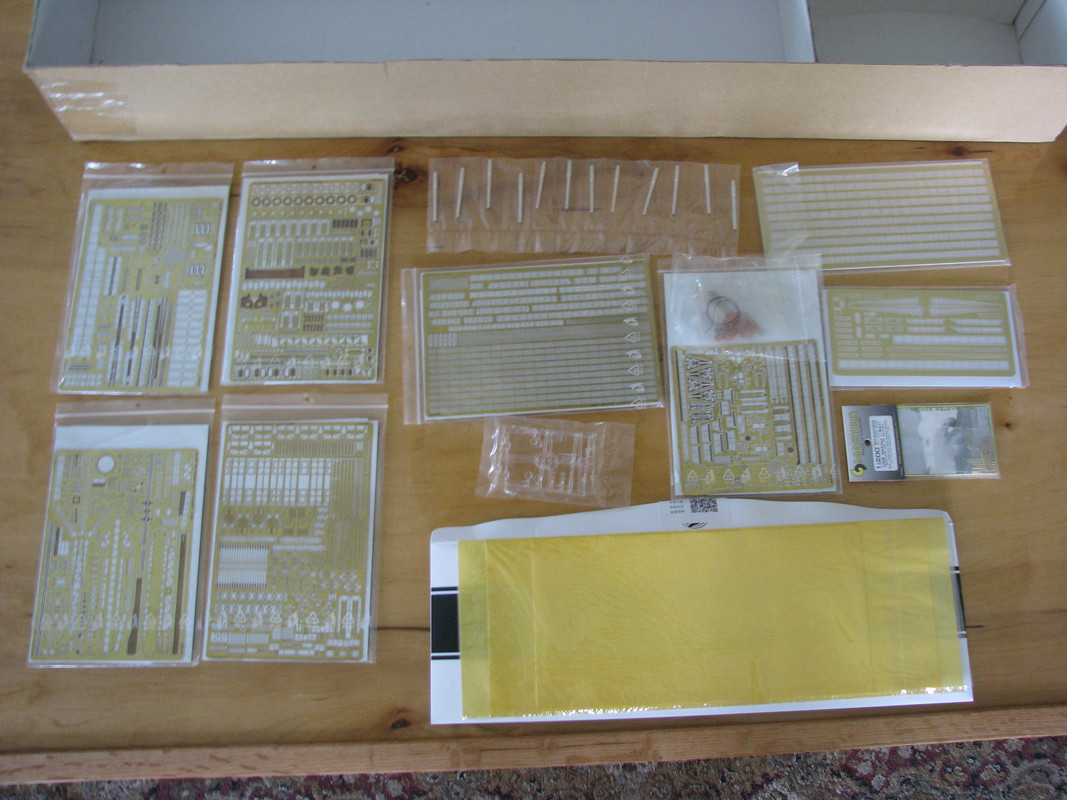
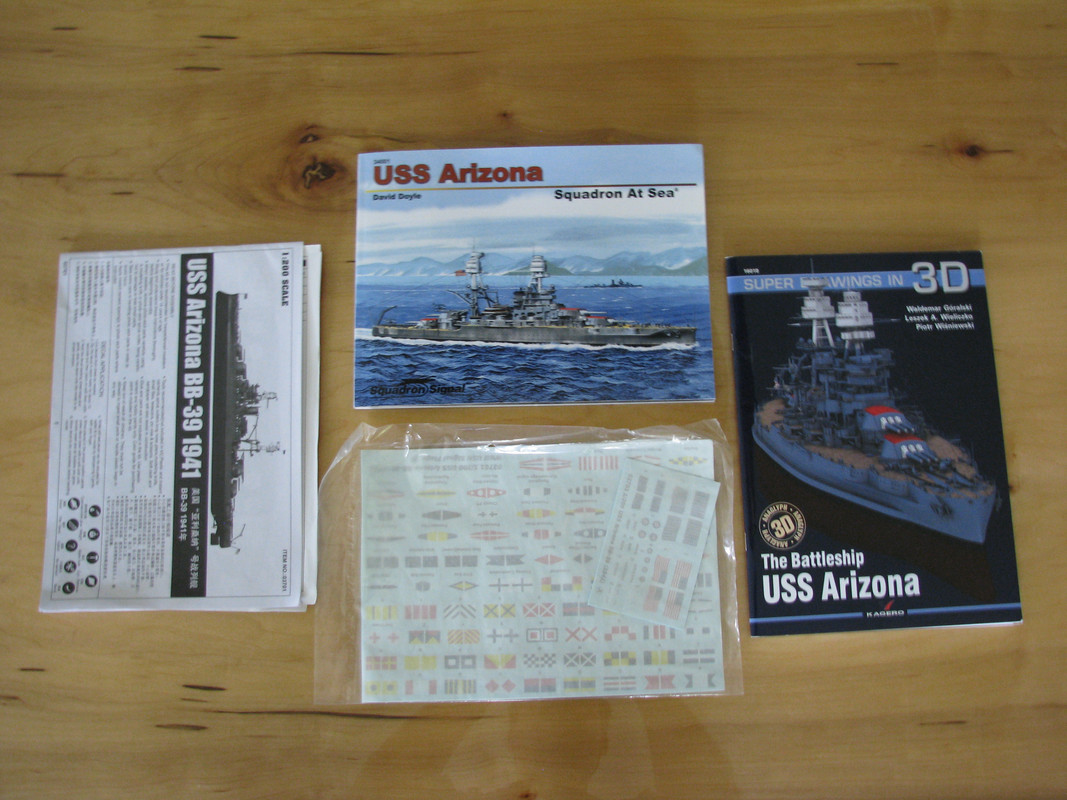
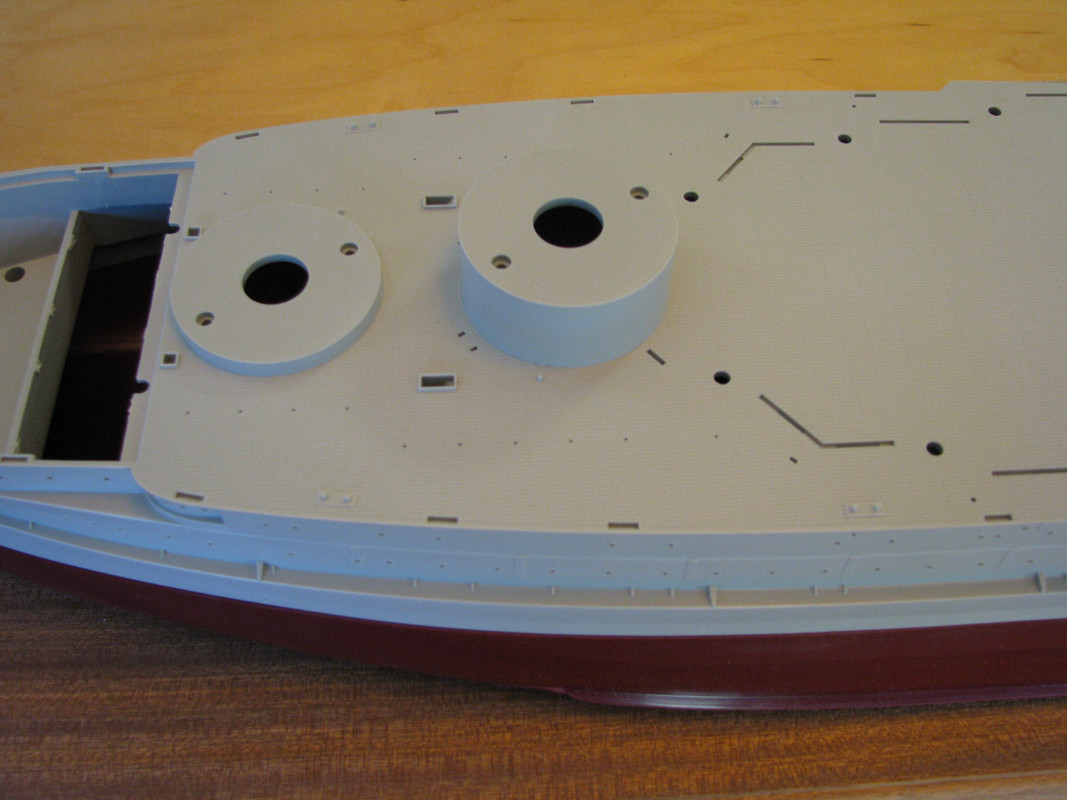
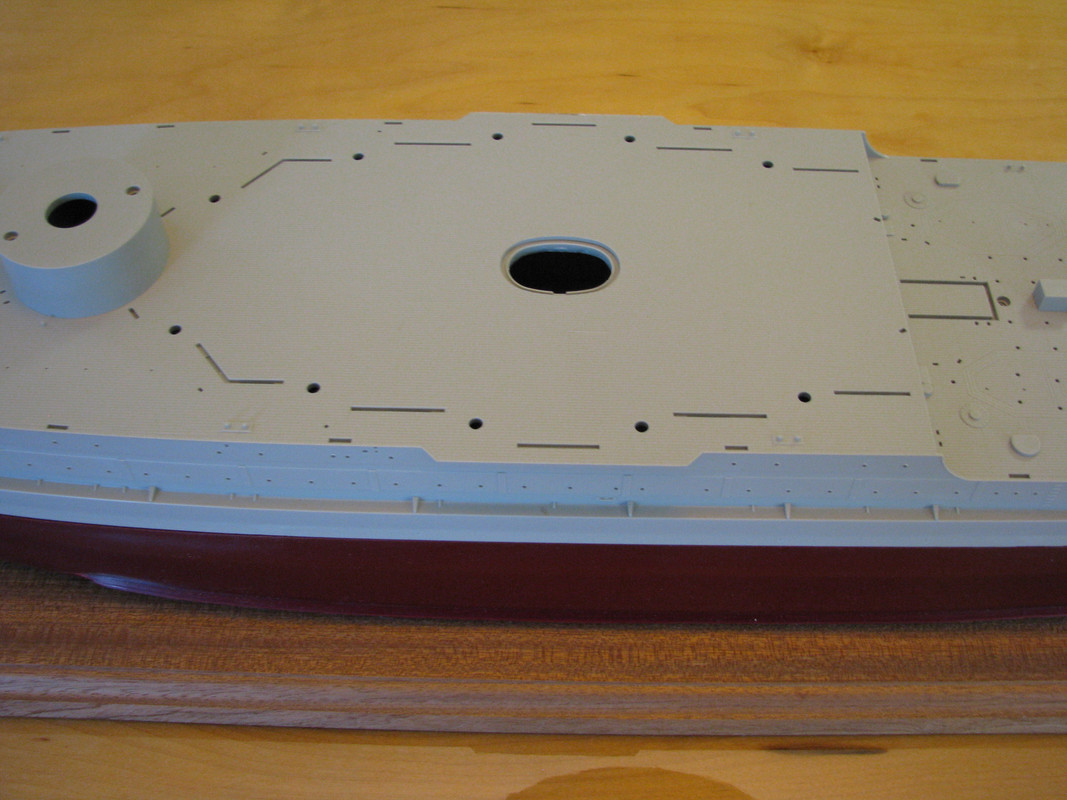
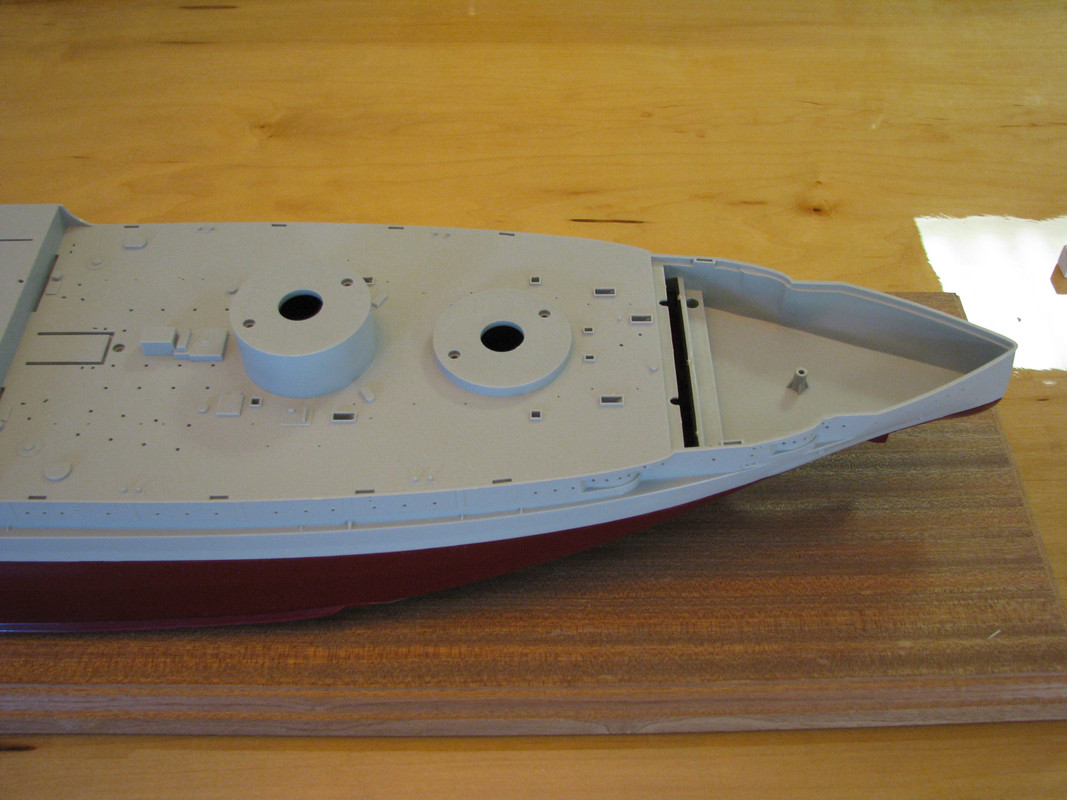
Here are the obligatory box and sprue photos to start off with. I have to admit that this is one big mother of styrene. I have the Eduard’s Big Ed PE set, Model Master Barrels which include the water cooled .50 cal machine guns and the secondary armament. I also picked up an ArtWok Deck Mask and we’ll see how that works out, or not. Research material is always a “must” at least for me to add to my library. Since I could not find sufficient references for the added docking keels, etc, I am not going to be adding those.
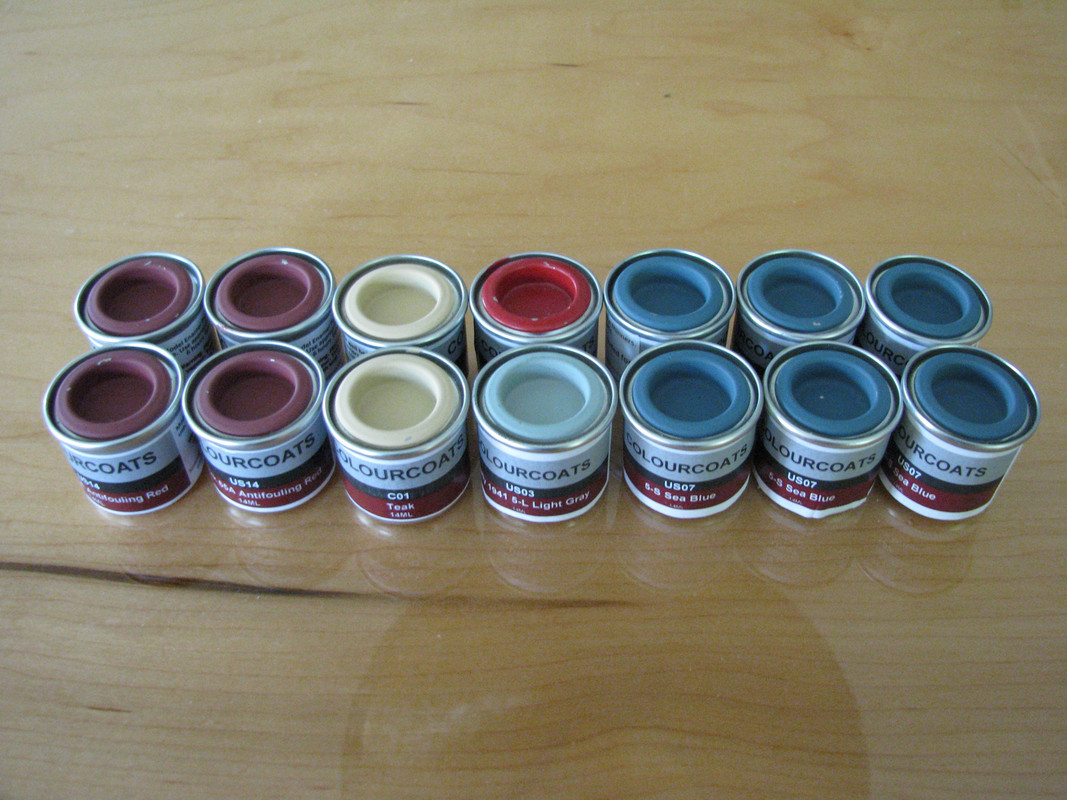
I will be using ColourCoats Enamels which I’ll then cover with a Clear coat for the Artist oils weathering. The weathering will be kept to a minimum since she was painted fairly soon before the 07 December attack.
Yes, I know there is some fairly heated discussion on what the exact colors were on that day, but I will be using 5-S Sea Blue, Teak, 5-Light Grey, 65A Antifouling Red and ACUS26 Insignia Red. If you want to argue or discuss the color choices then I would recommend just moving on to another thread or try posting something yourself.
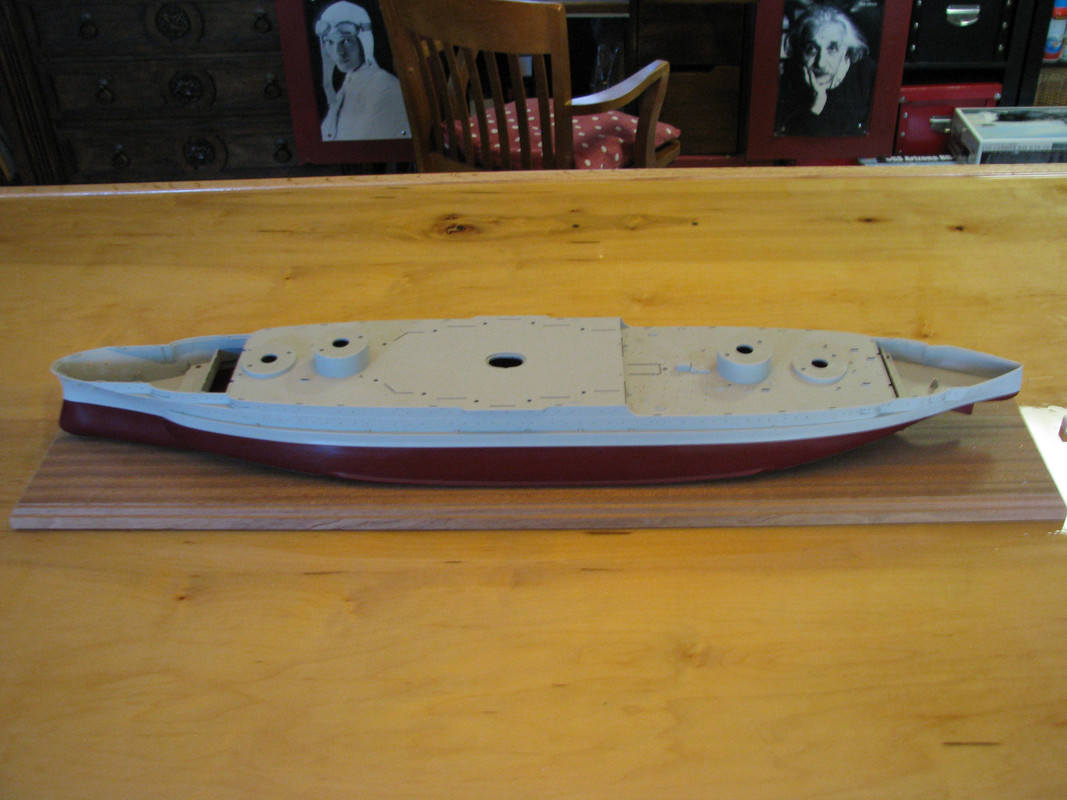
Finally, I am going to mount this beast on a big hunk of Mahogany and with blocks. This is a first for me so we’ll hopefully figure it out satisfactorily.
I seen several 1/200 builds on forums but not the Arizona. Are you sure you have enough paint? Those look like very small jars for such a large ship…LOL.
Looks like you are off to a good start…Post a lot of pictures.
You just might be right be right about the paint, although with ColourCoats enamel, I use their thinner and it actually goes a long way. That being said, I might need a gallon or two of the 5S and the 65A.
Steve and John,
You had better acquire massive quantities of popcorn and beer for this WIP.
I will tell you the Trumpeter Arizona just about pushed me to throwing it in the trash. Two and a half years trying to correct everything Trumpeter didn’t get right because they didn’t care or were incompetent just about drove me over the edge. And I’m a very patient man. I hope you enjoy the build. I will never build another Trumpeter Arizona.
I’ve been doing research on this mother and I hope I can make it through since this is someone else’s model. I am going to try and keep my AMS in check as much as possible… must. try. to. keep. ams. in. control. Thanks for the heads up R2, any and all help you want to throw my way is appreciated.
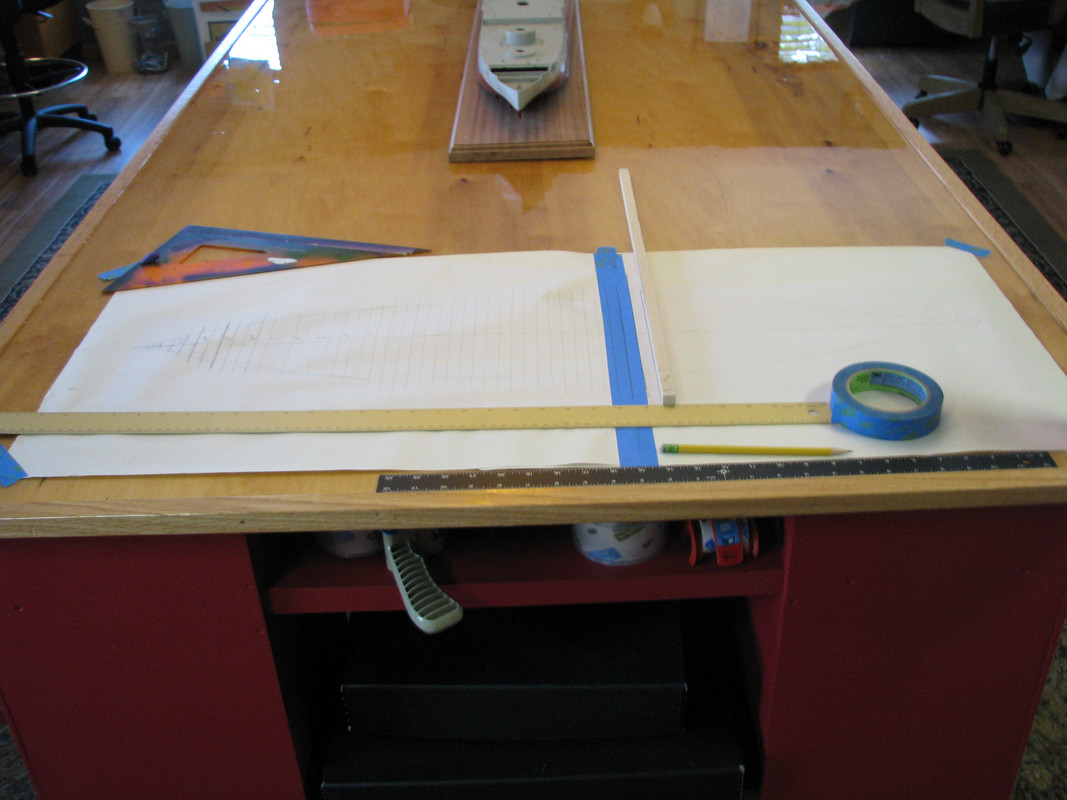
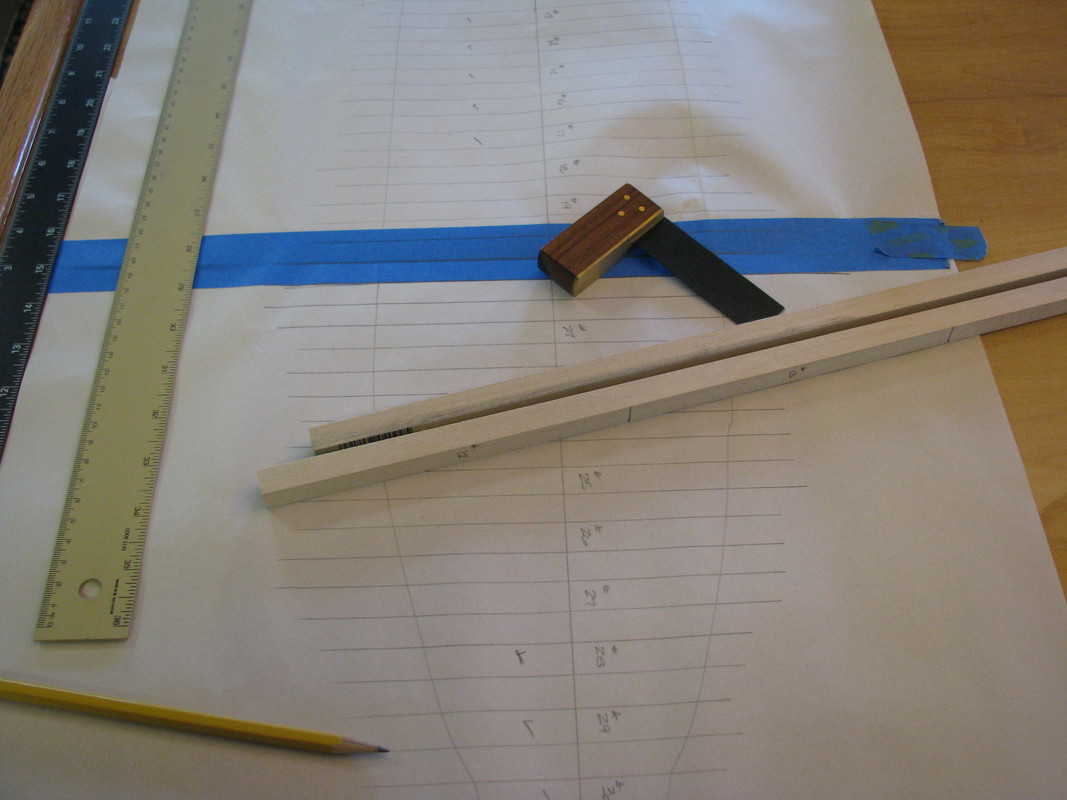
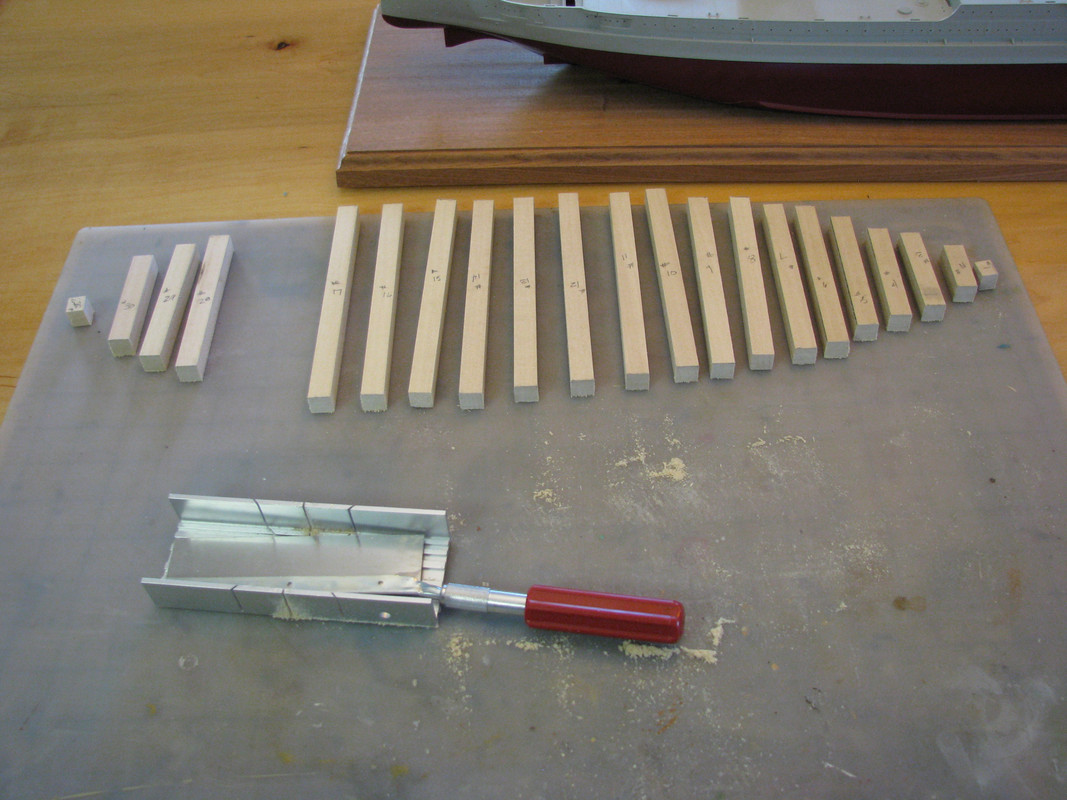
Trying to figure out how to cut blocks of basswood for the mounting of the beast. After numerous attempts, I think I have something that might work.
I traced the outline of the lower hull onto two pieces of large newsprint. Taped together, it was just long enough. After tracing it I laid out pieces of 1/2 inch basswood and started numbering them. With one piece of baswood as the spacer I came up with 35 pieces for the entire hull. Although the stern blocks will not hold up anything I am still going to place them for aesthetical reasons.
I received my book today and looked through it. Some good pictures, but not enough to figure out what was going on. But it is a really nice book that I’ll add to my collection.
I also looked up pictures in NavSource of the Oklahoma capsized and a photo of the New York after the Bikini tests. Better but again not enough to really work with.
However, I did find this thread on The Ship Model Forum which is exactly what I needed. Check it out if you want.
Nice link Steve, those ModelWarship guys really know their stuff. I see he (Nelson) isn’t guite finished with it yet. It will be a nice reference in addition to all the other materials you have. You can never have too many reference sources.
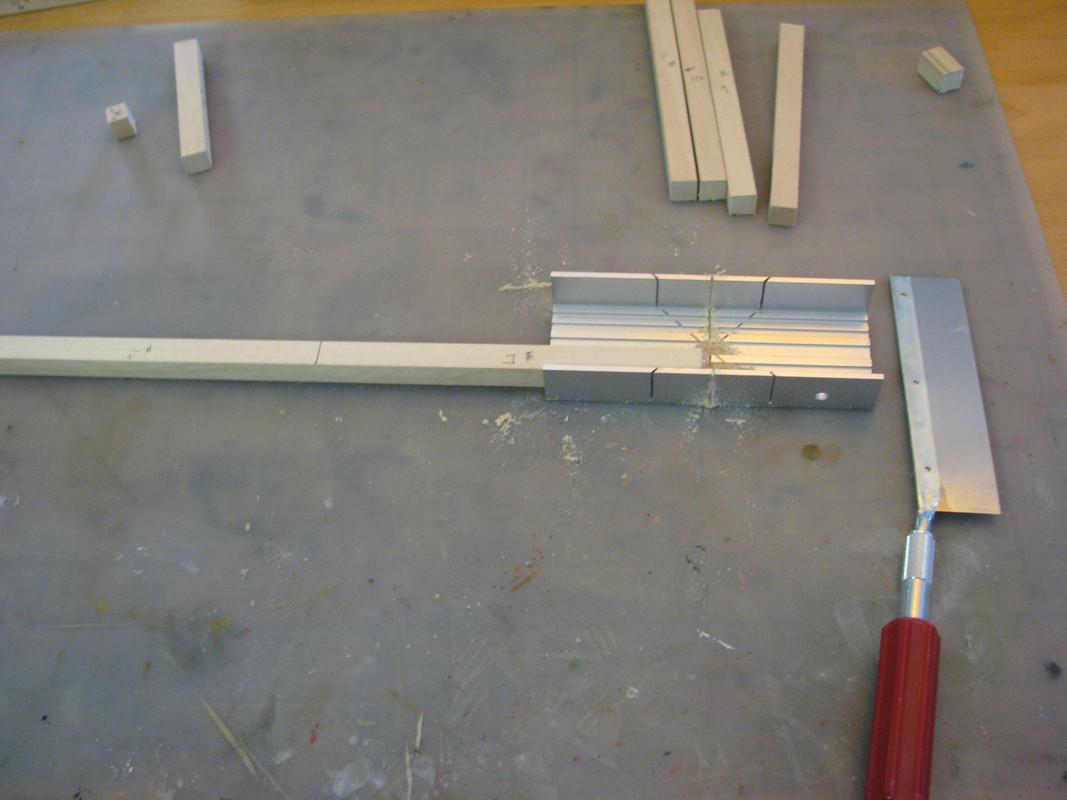
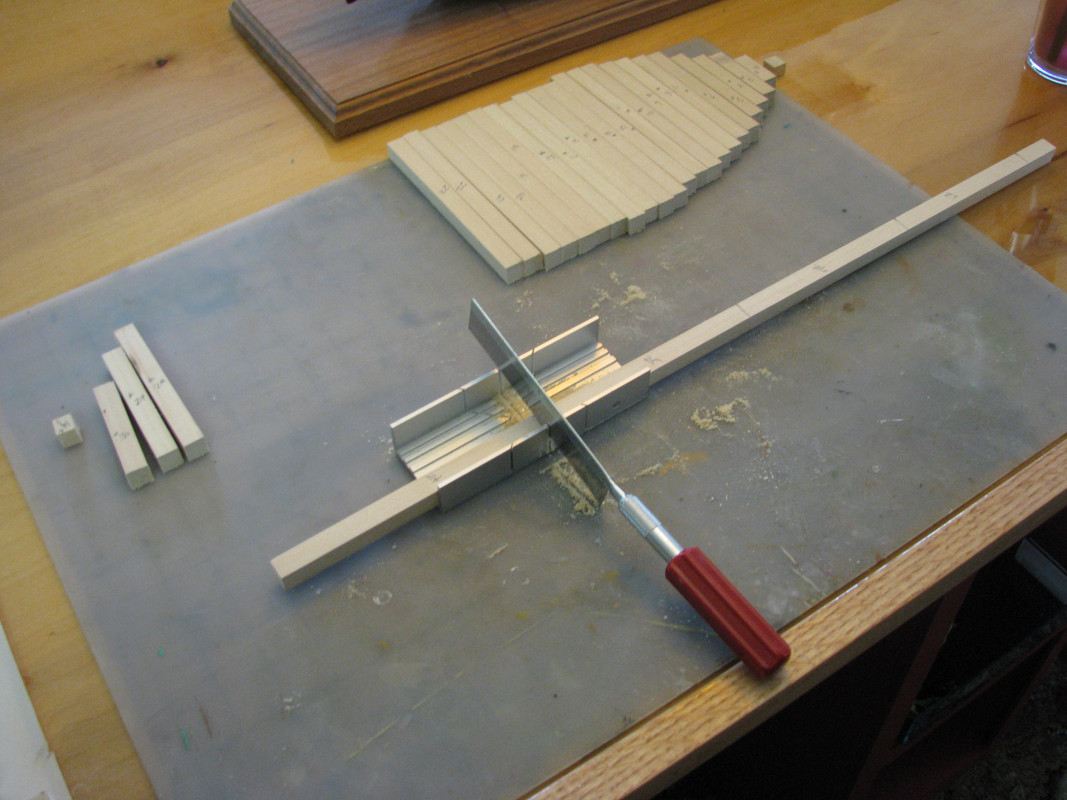
Alright, this week’s post will be the cutting of the basswood blocks. After hopefuly figuring out the various lengths, I pulled out the saw and miter box and starting cutting away. I quickly found out that I didn’t have enough!