I thought I’d document my current project and post a build log. I bought myself this monster kit for my 50th birthday recently and plan to do a long and thorough build.
I thought I’d start out with listing the kits I will be using. I will write up some details on the various kits and materials in later posts. I will follow up with posts on paint and reference materials.
So here goes:
Kits Used
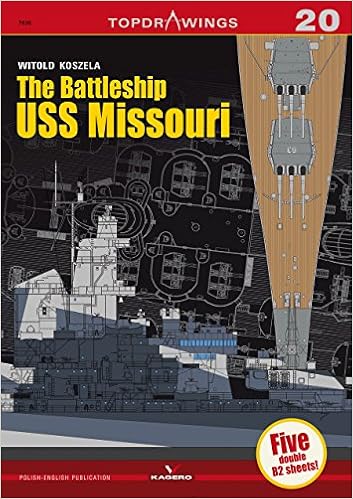
Trumpeter 1/200 U.S.S. Missouri (037305)
Pontos 1/200 USS BB-63 Missouri 1945 Super Deluxe Upgrade Set With Blue Deck (23003F1)
MK1 Design 1/200 USS BB-63 Missouri Detail-Up Set DX Pack (MD-20004)
Veteran Models 40mm Quad Bofors Gun Mount MK-2 (With MK-51)
Veteran Models WWII U.S. Navy Searchlight Set (Later Type)
Veteran Models WWII U.S. Navy Observation Equipment Set
Model Monkey 1/200 Fast Battleship and Atlanta class 5"/38 Mk.28 Mounts
Model Monkey 1/200 Acetylene and Oxygen Cylinders
Micro Master 1/200 US Navy 20mm Oerlikon Mount MK 4 w MK 14 Gunsight
Trumpeter 06631 1/200 USS Missouri and Iowa Battleship Upgrade Sets
Artwox 1/200 USS Missouri BB-63 Deck Masking Sheet for Trumpeter kit #03705
Eduard 53125 1/200 Ship - USS Missouri Ladders Pt. 9 for Trumpeter
Eduard 53126 x 1/200 Ship- USS Missouri Pt.10 Hull Plates for Trumpeter
Eduard 53123 1:200 Ship USS Missouri Superstructure Pt.7 Kit
1/200 USS MISSOURI IOWA Metal RUDDER Set Trumpeter WWII US Navy Battleship 3705
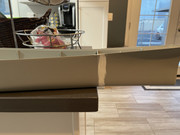
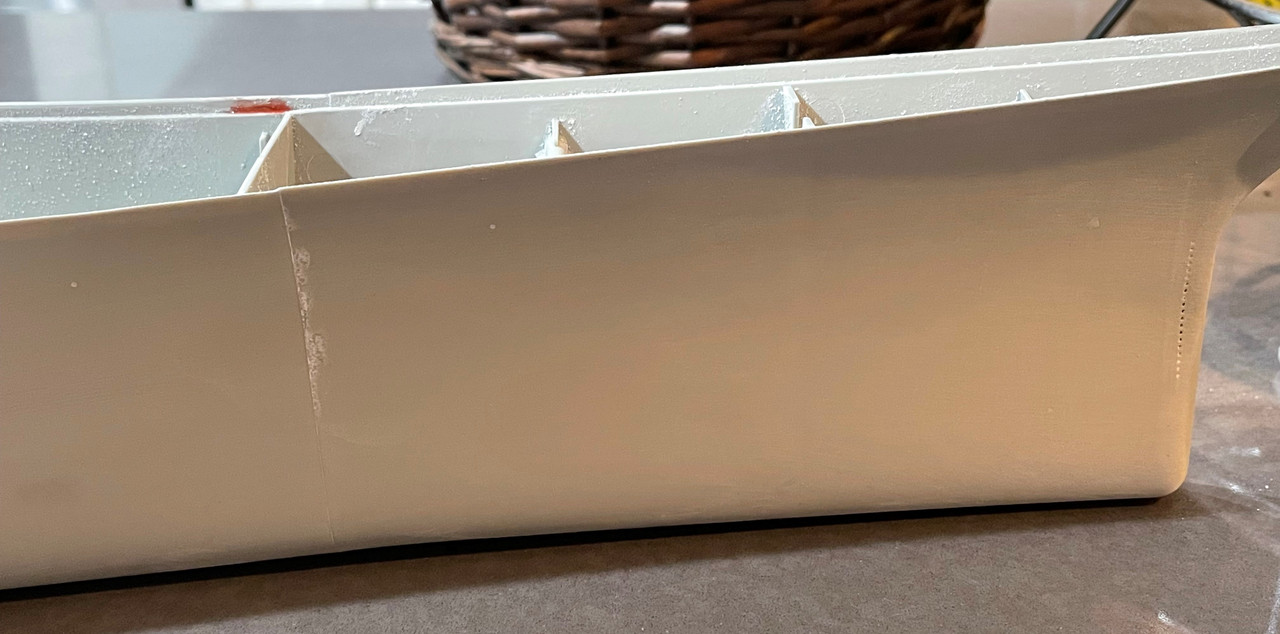
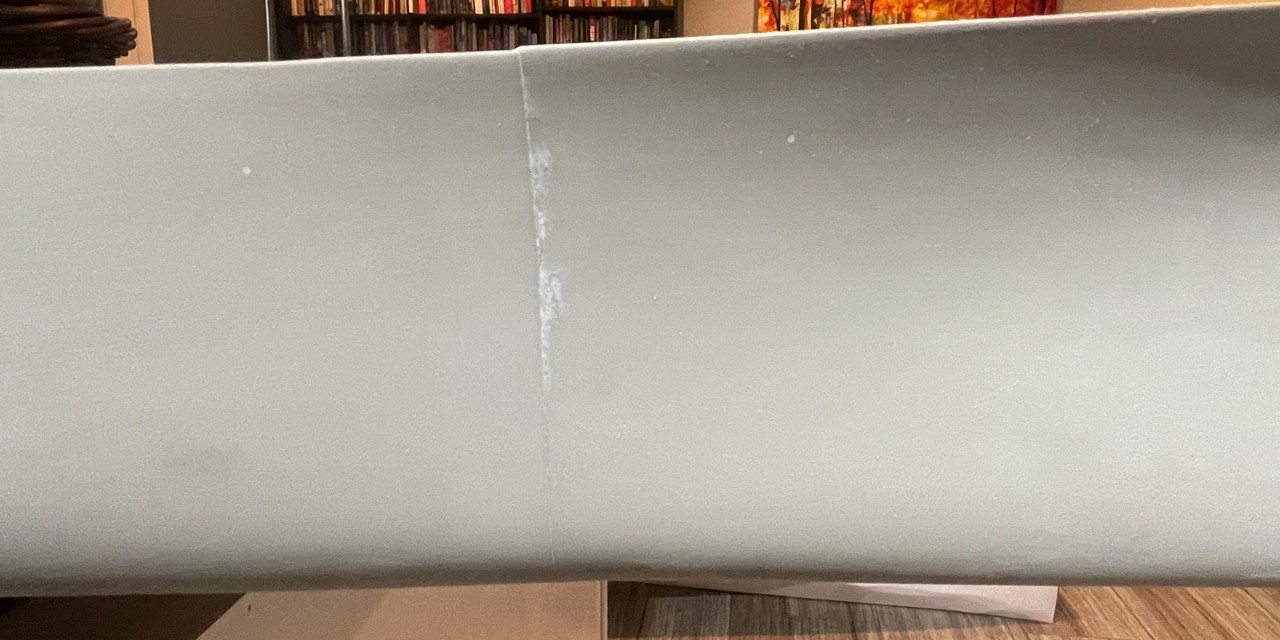
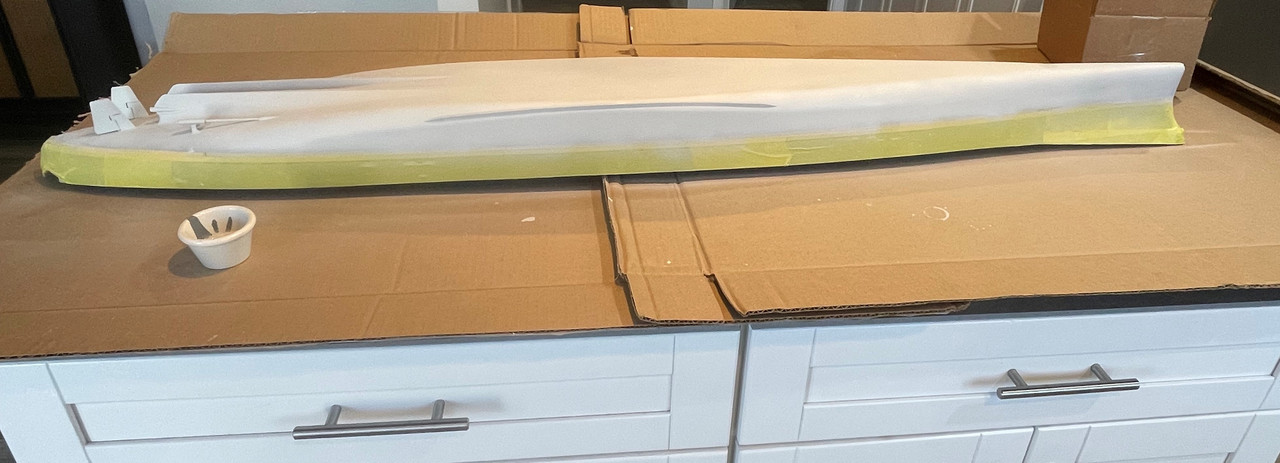
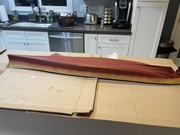
The joining of the bow assembly to the main hull presented some issues.
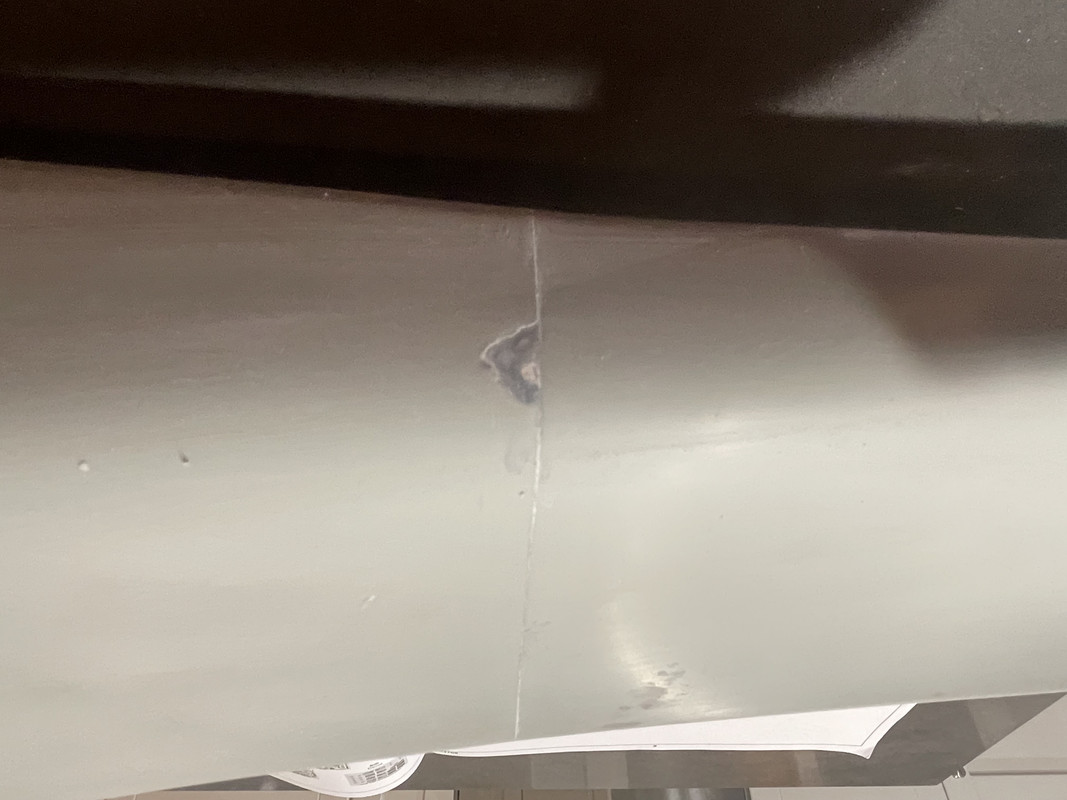
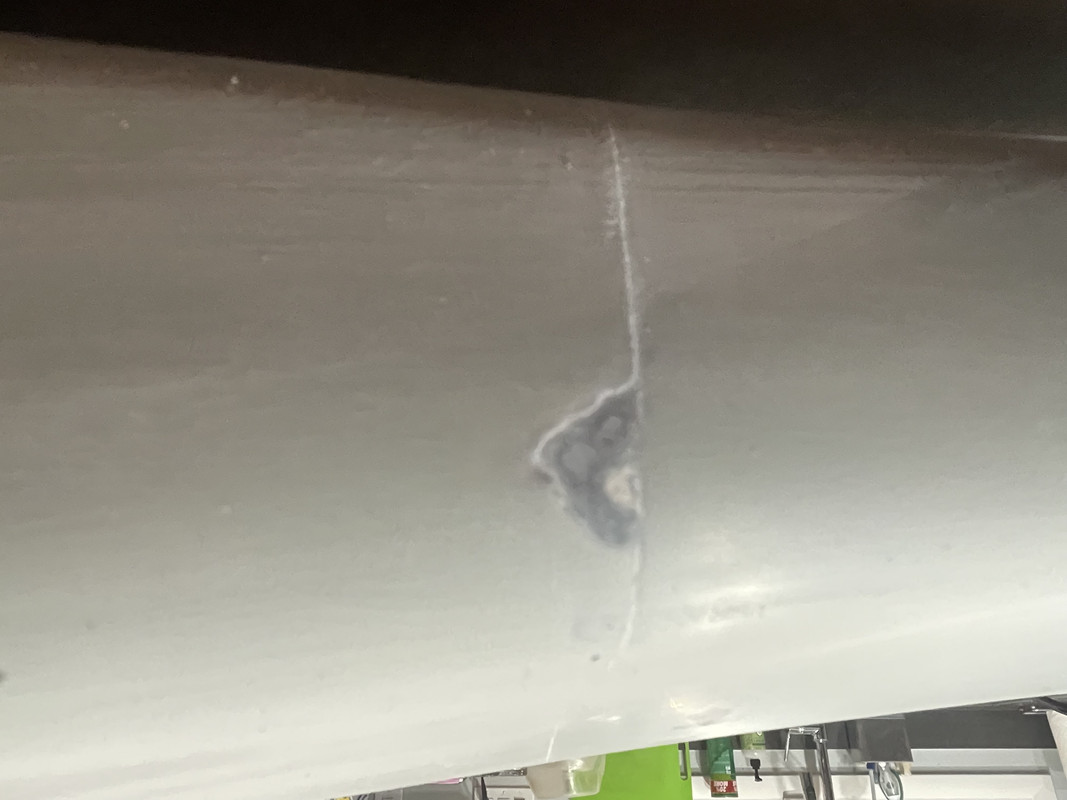
Number one, I tried using thin cement in larger quantities. Big mistake. It would be better to use a thicker glue like the traditional Testors model glue. This was simply too big of a join for thin cement. What happened was that the hull would flex and trying to fill the gap and sand it smooth was nearly impossible. Every time if would flex, the bondo would crack or it would create a new seam which needed more sanding. This took needless hours.
Number two. The thin cement created voids beneath the plastic, which eventually resulted in divots on the surface with all the excess sanding I had to do. I needed to bondo these and fill it with CA glue to get it to hold up.
Number three. The top line of the bow assembly and the remainder of the hull didn’t match up perfectly when I clamped the two pieces together to achieve the tightest fit. This was fixed with a bit of filing and sanding fairly easily though.
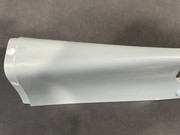
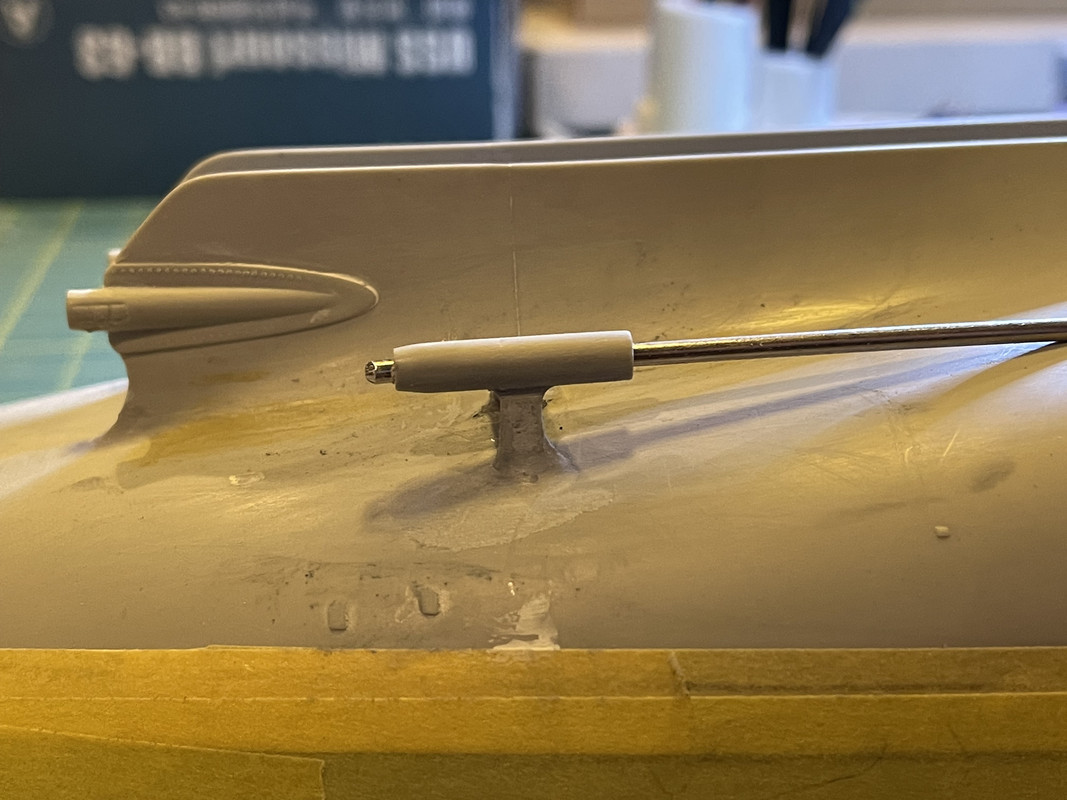
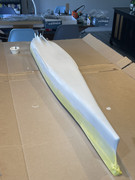
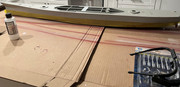
Here you can see the divot, which I filled with CA glue and bondo. This took two days to smooth out and sand to near invisibility.
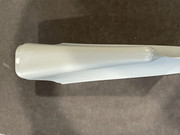
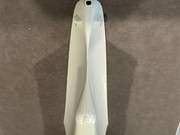
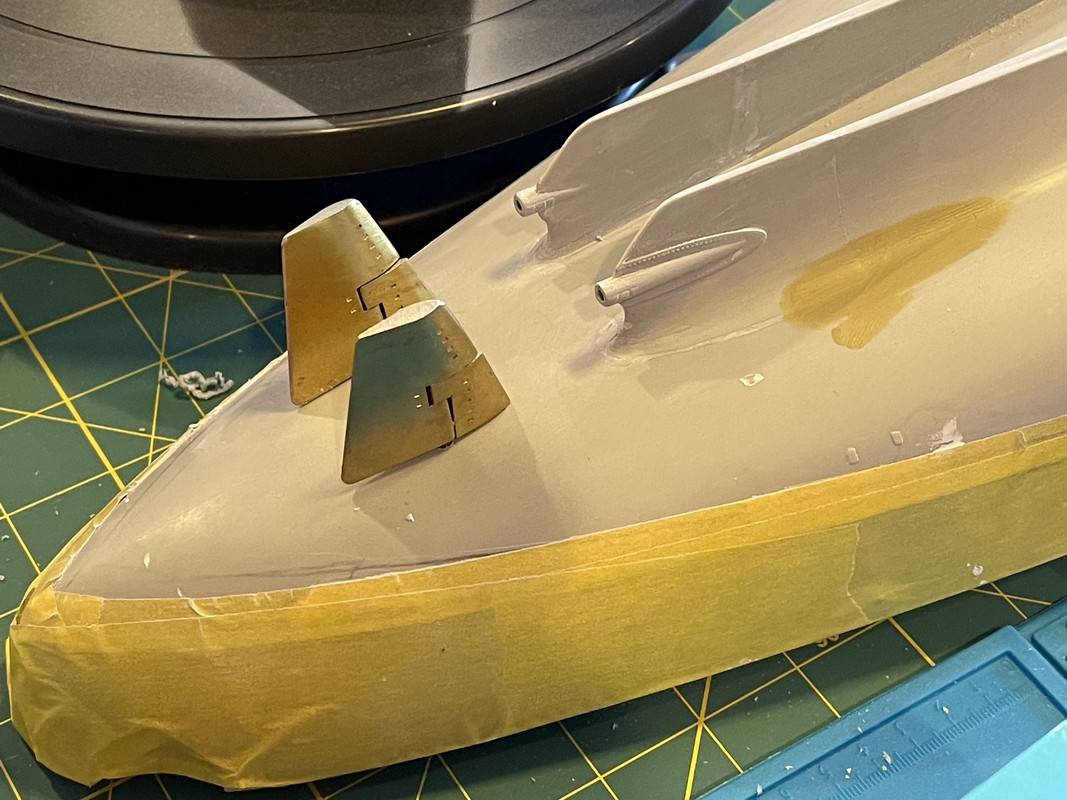
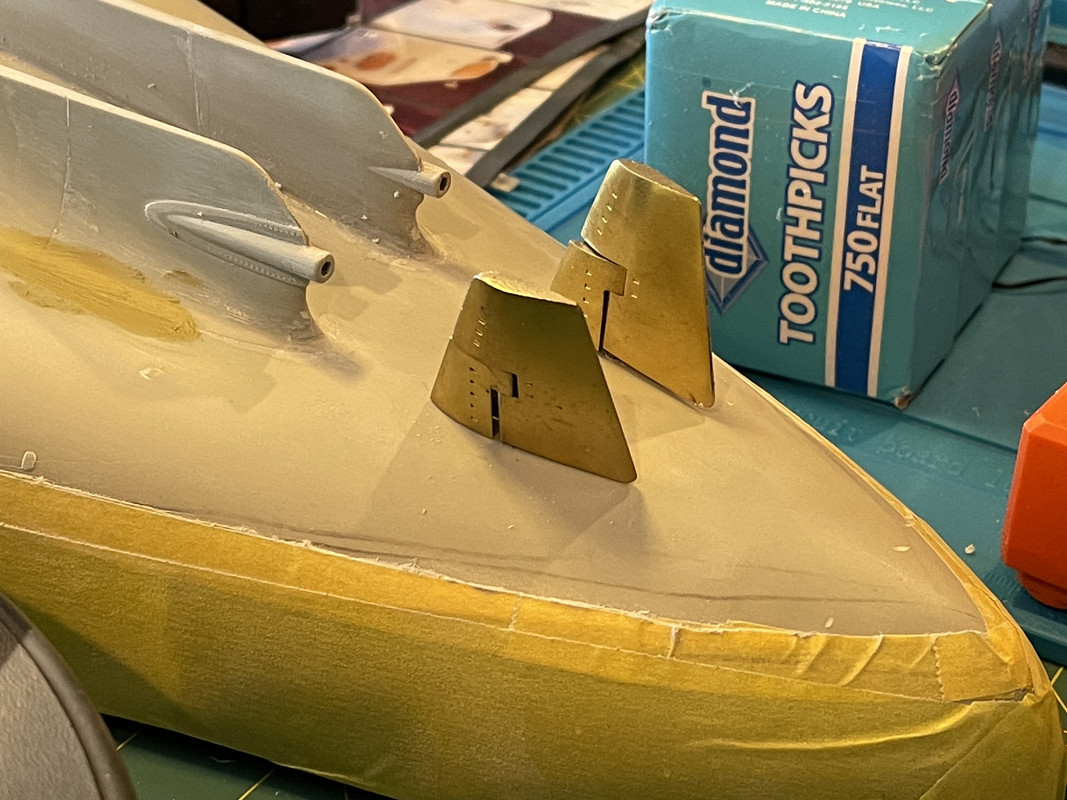
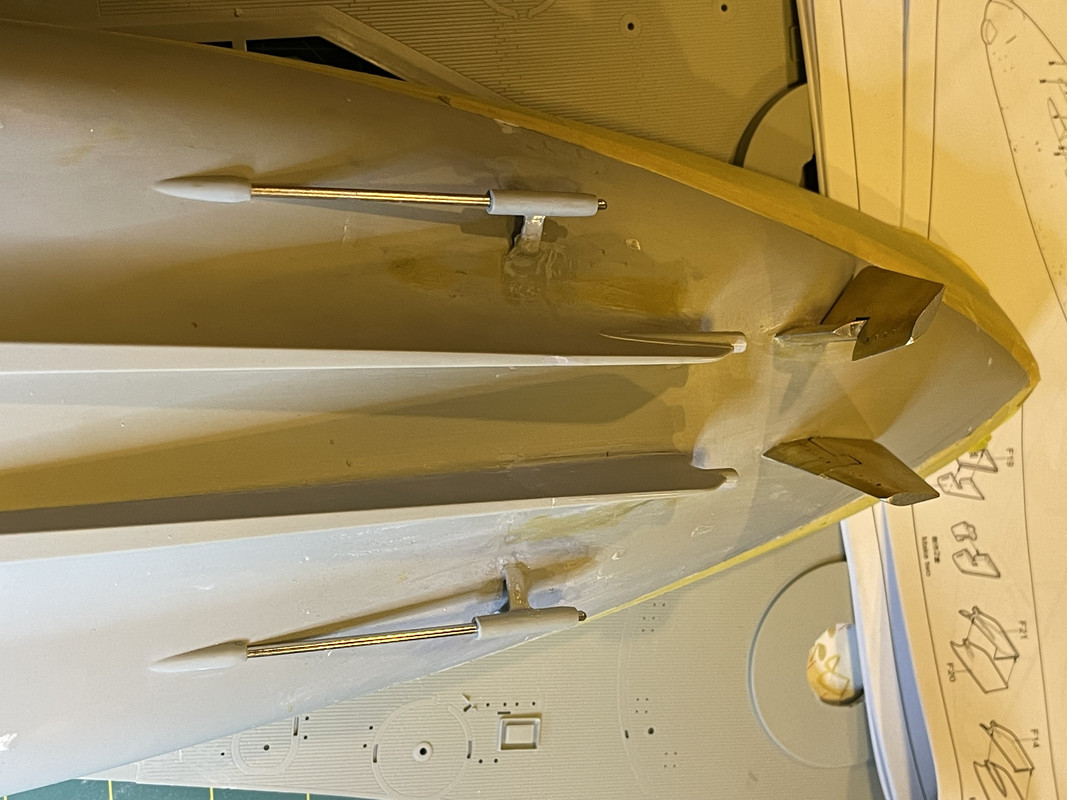
The brass rudders look really sharp, fit together very nicely and are extremely durable.
I had to use quite a bit of bondo on the joins on the stern pieces. Sanding this back, I should have been a bit more delicate, because I ended up sanding down some of the riveting details, but it still turned out okay in my opinion.
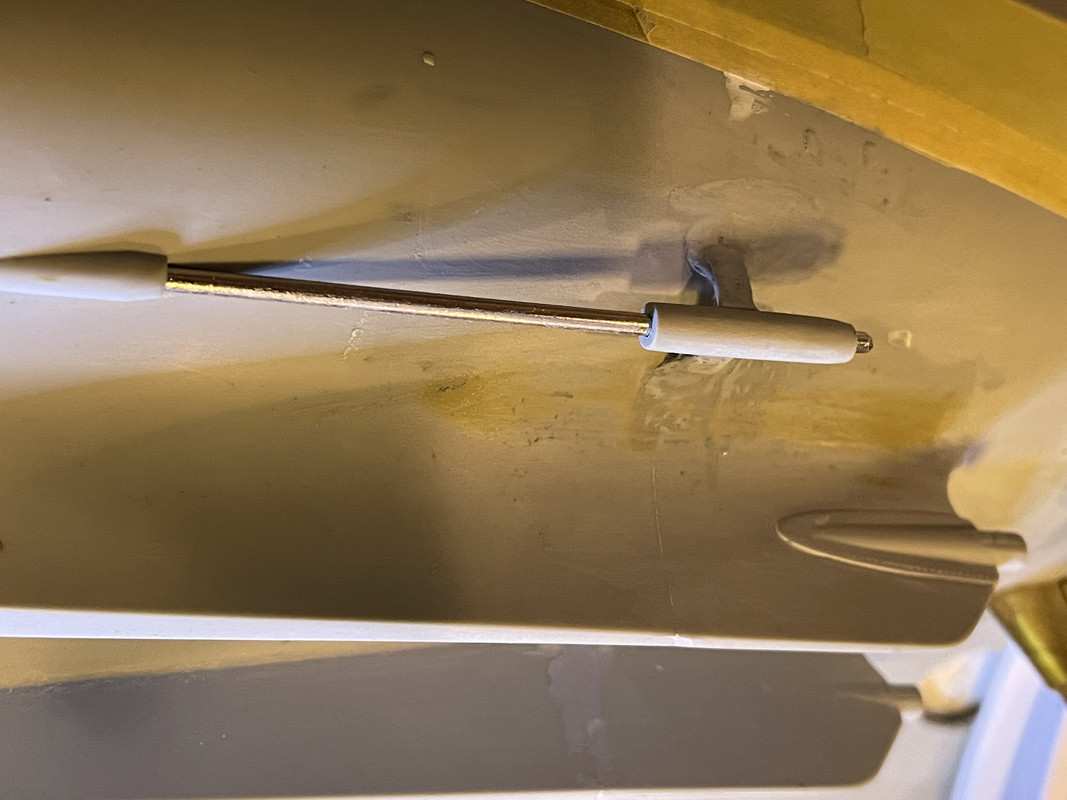
The plastic spars for the outer shaft assemblies were a real pain in the butt. The instructions show that there should be a hole or slot in the plastic these fit into. There was not. I had to figure out where they should join to the hull and then try to glue them down. The metal shafts create a lot of torque on this piece when gluing it down, so it wanted to separate. I had to clamp them pretty severly, which resulted in one of the spars breaking apart. I resorted to using Testors cement as a sort of nuclear option and then bondoed the hell out of it and did lots of sanding to make it look natural.