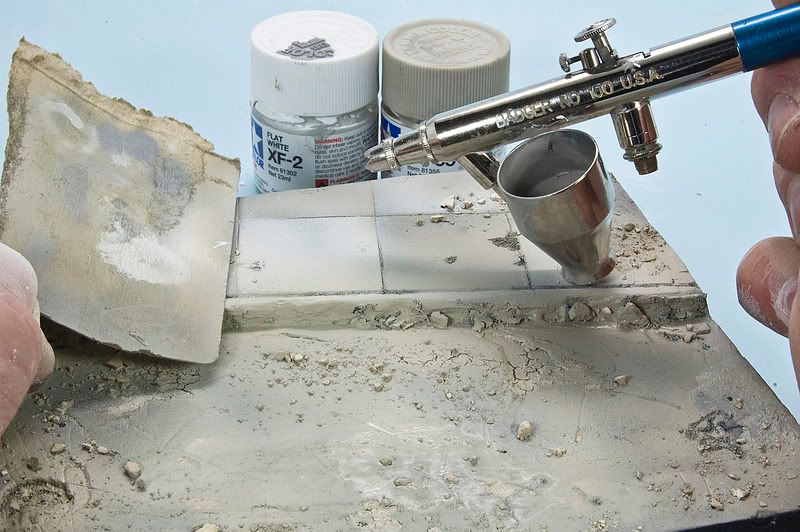
Rick - This is a graet subject…as you will get to know, I love different. Very nice work. Laq. Thinner with Tamiya…Hummm, how does it help since I use Acrylic including Tamiya. If the base is acrylic…are you using the Laq Thinner also to make the washes and pin wash with acrylics.
You guessed it, Tamiya Acrylics are not true acrylics although they do posses many of the properties of acrylics (thin with water or alcholol)…have you ever noticed that they have a particular essence, where say Vallejo acrylics don’t.
I only use the Lacquer Thinners/Tamiya in the Airbrush. I never brush paint Tamiya paints so I don’t have any experience with the thinner/brush combo, but I’d bet it would help! All my acrylic filters/washes are done using Vallejo paints.
Hey everyone. It’s been awhile, how about an update?
A lot of this final weathering is a big process of back-n-forth…so lets see if I can make some sense of it all…
After the intital “real” scrapes and scratches the appearance is a little to raw and unfinished, so some a little time is devoted to enhancing some areas while toning down others…
As preparation for the pigments to follow, certain areas of accumulation and wear are painted with artists oils…
and lets not forget about the gun. Painted with a mix of Vallejo Russian Green and Luftwaffe Yellow, fading was accomplished using artist’s oils…
I generally apply my pigments wet, having been disolved in turpenoid using a small brush. Then they are applied almost as you would any paint…
On the Landcruiser I also applied the pigments dry, then followed with and application of Fixer to set them permantly…
and finally getting down to the finish, I will spend some time doing final tweaks. Here I am reinforcing some shadows using artists’s oils…
Well, it’s getting close. It’s mostly down to the tweaks and fine touches.
This is really looking sweet and coming together now Rick and you are at my favourite stage i love the finishing touches and tweaks in fact i sometimes spend more time on the finishing touches than the rest of the painting and weathering put together heh
Thanks guys for the encouragement. Ron, I like these latter stages as well…if they go ok! It’s a funny thing about this one, it just doesn’t seem to want to give up the fight easlily. I can’t quite get it to turn the corner that I have in my mind.
Hi. I’m not sure about protocal on this forum, but since it’s all apart of the same project I’ll go ahead and show my base work here as well. Hope it’s ok! Let me know if not.
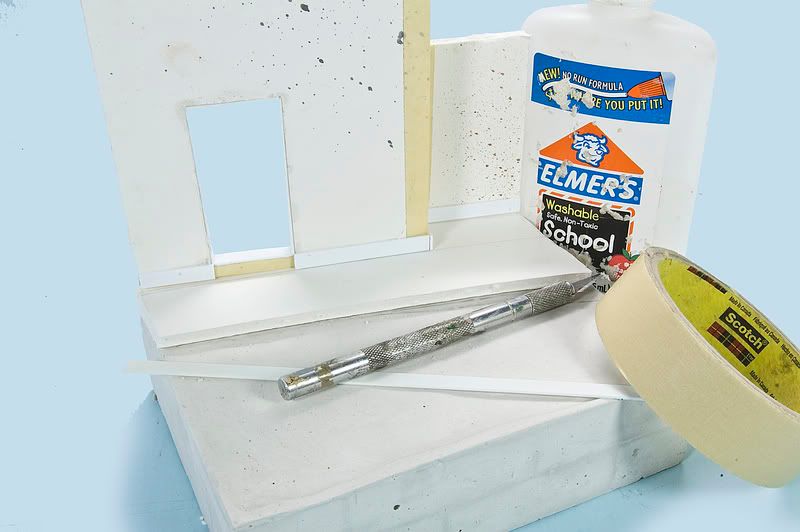
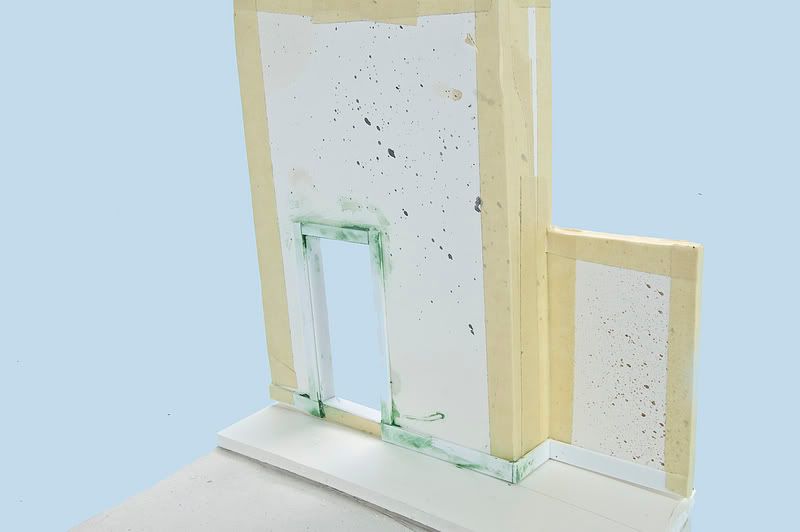
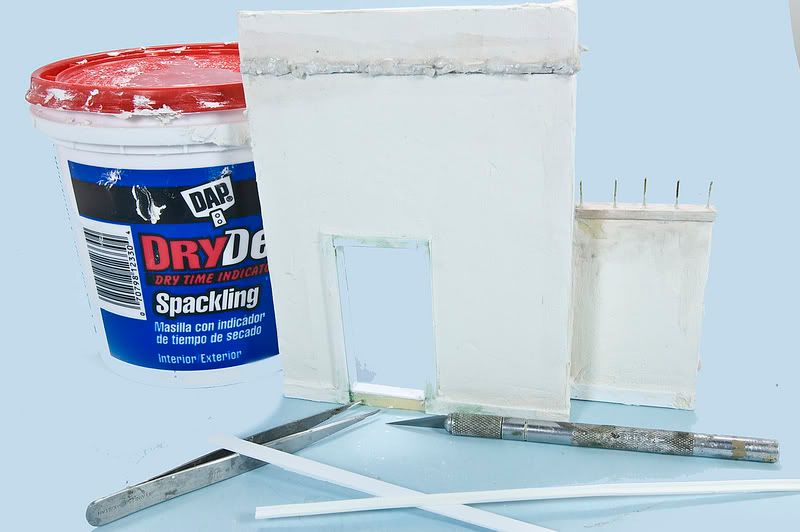
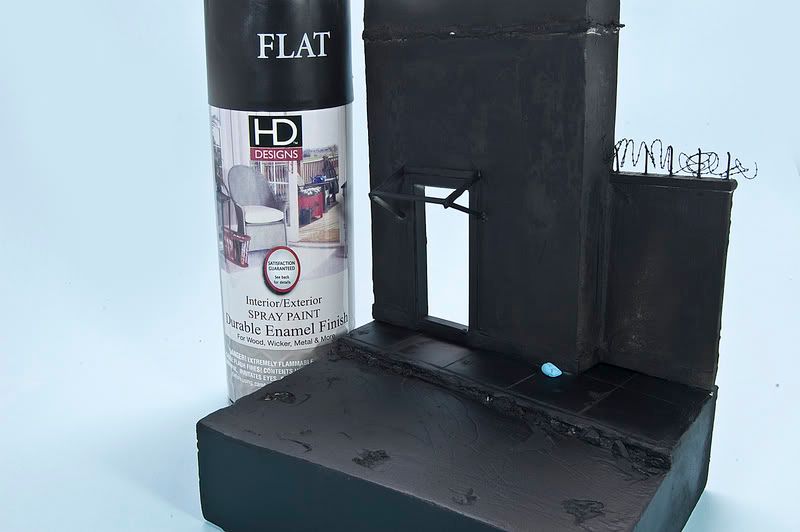
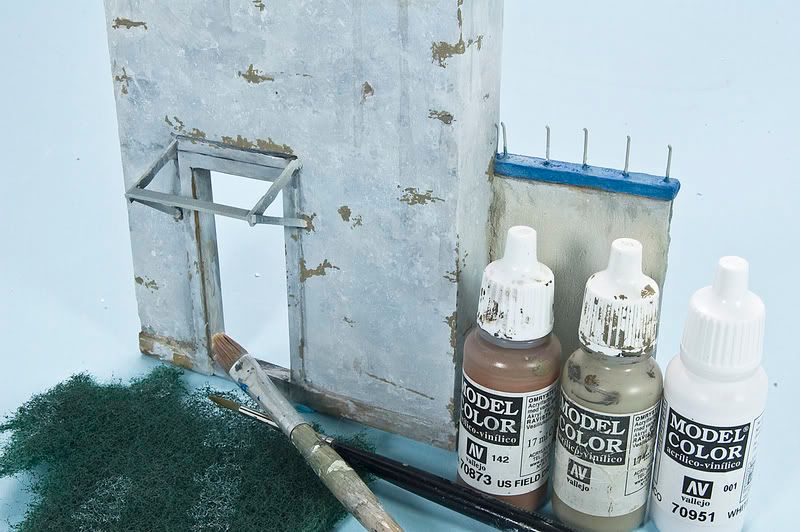
I liked the idea of placing the technical in an urban setting, Mogadishu, so after a bit of research and a little cut-n-paste I have the beginnings of my base. The basic building form is constructed from foamcore, the exterior is “plastered” with spackle, and the signs have been airbrushed using some homemade stencils.
Here we go…
And there we are, a little urban decay. Next the weathering and details.
It’s going to look right at home parked oustide Rick, it’s amazing to see the transformation from ordinary materials into the required building fronts. [tup]
Wow!! Very cool, definitely an inspiration- did you use photoetch for the barbed wire?
I really like the graffiti and the sidewalk patchwork- looks like a local will have parked out front to go get some pharmaceuticals! [:P]
I usually put all WIP stuff for the builds all in the same post like you’ve done here- but I’d also post the finished product in the Diorama forum, maybe give them a but of WIP tips for building up the base in more detail.
Very well done- can’t wait to see it all touched up and finished
I love the sidewalks, the painted sign, and the grafitti is so realistic that it actually p*ssed me off (LOL!–I HATE grafitti!!!; it is the absolute bane and curse of many of Europe’s most beautiful cities that I visit!)
Superb, man! I can’t wait to see it all put together and finished! [:D][tup]
Thanks guys, I’m glad that you liked the little piece of urban decay.
Chris, thanks for the dio posting tip…I’ll put something together over on Dio’s when I get it finished.
Karl, interestingly the grafitti was somewhat difficult to “get right”. It’s hard to be random sometimes.
Small update: Chris Mrosko just helped me out by sending me an older “unreleased” Warriors figure, so that’s cool. I hope to get the little fellow painted, the tech. finished and everything tied together soon.