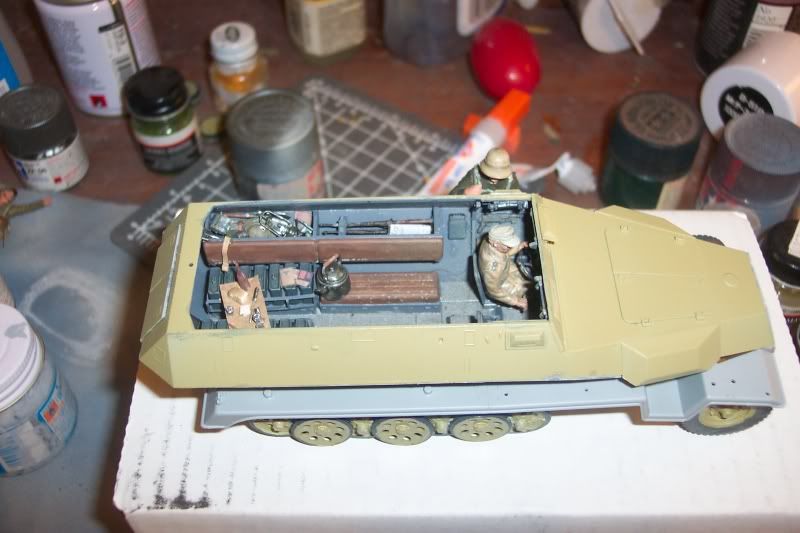
Ok Im part way into building the Dragon 251/16, and I thought “lets just check the fit of the driver to get his arm positions correct”. Well was I in for a shock.
Now Ive heard of people in r/l being to tall to fit in a vehicle comfortably but I do think this poor old soul could have been made shorter. His feet are jammed in as far as I can get them but there is no way he can drive like this
Yep, gonna need to do some surgery… Good luck getting him in there. Need to bend him at the hips and knees to properly fit him and probably spilt his legs in half at the crotch to lay his knees apart some… I have a book around here somewhere that shows a 251 driver sitting in his seat… Poor boy has his knees up under his chin and the steering wheel tilted the way it is don’t make it any easier…
Do you recall seeing many German HT models with drivers in them…?? Wanna know why! [:D]
And for all the German’s over engineered mechanical beauties you’d think they’d remember they was supposed to be a human driving the thing. Good luck on the figure bash- if he doesn’t look the best in the leg area after you hack and putty him up, remember most of him will be under the dash and even then, most of that will be covered by his arms and the wheel anyway right? Good luck!
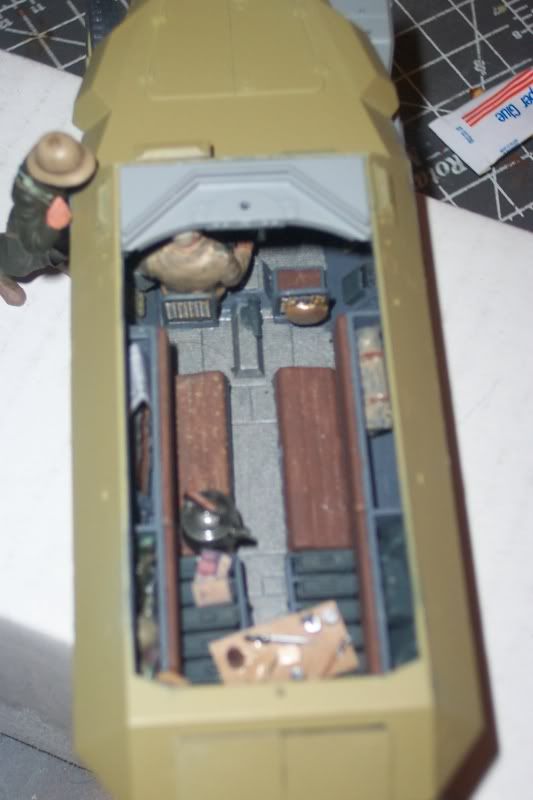
I think the biggest issue in addition to his leg length is his posterior. Despite taking out a chunk from both areas I still find he is still to big to fit. and after knocking off the steering wheel a few times Im not convinced that DM have ever tried to fit him in. Or maybe they just put his chair on a sliding rail to accomadate his long legs
Pretty common problem, I run into it all the time, since I kitbash figures in about every scenario you can think of… Personally, I grind away at the figure’s arsch until he sits low enough. If that gets to the point of him not having a posterior though I gotta change the plan a bit and open up the seat-pan… There’s a couple of ways I do that, one is to just grind out all the seat pan, leaving the frame empty, the other is to build the seat on the driver figure and then insert it as a unit into the compartment. If it has to go farther than that, I shorten the legs by cutting through shins just below the knees and taking a bit off each end of the joint, also taking a bit of material off the bottoms of the boots…
However, if the driver’s lower legs will not be visible from any outside angle, I just chop of the feet/legs until they clear the pedals or floor…
Well you could always move the seat. best way to fix it in the future is to attach the seat to the driver then attach that assembly to the floor. Besides seats are always adjustable since you might have someone who is driving one day who is 5 foot something and the next day the driver could be someone who is 6’1".
Tony looking at the pics again definitely move the seat back your figure is correct but the seat is in the wrong spot. If you remove the seat and tack it onto the figure with a tiny bit of CA then replace the seat back in the figure will fit into the drivers compartment with no major surgery required. Then simply reglue the seat in the new position once the glue is dry remove the figure and paint him then glue him back in and your all set.
Thanks Mikeym. I put the seats according to the pins on it, but I will remember that one in future as Ive decided not to worry to much on this one. I like the vehicle enough to get another one so I shall test fit the driver first on that one.
Yeah pretty much DML makes these things and doesn’t think about the figures they make for them. But I’ve got the same Halftrack crew set and a 251 Ausf.C and plan on building it around the driver and radio operator since the other 2 figures are standing anyways.
You could probably just shorten the guy’s legs by about 5mm just above the knee. Smooth things out and nobody would know, especially as there’s no way you’ll be able to see his legs on the finished model.
Dragon seem to be specially afflicted with figures which don’t fit properly in their seats. SAy what you like about Italeri’s figures (and there’s plenty you could say), but at least they fit where they’re supposed to:
That’s kinda what I was talking about… Since the bodies and the seats don’t compress in scale models, you need to take the drivers and compress them yourself…
I start with the driver’s arse, grinding off a few mm’s, and then doing the same to the underside of the thighs, out to where the front of the seat edge would push against them. Then, grind down the seat cushion as well… Keep test fitting as you go… You may have to take some material off the lower back as well, just be careful not to go too high up the back…
Another detail I forego is the driver’s battle-rattle… Few drivers wear the suspenders and pistol belts since they really make sitting in a driver’s seat uncomfortable, as well as giving the truck or track somethong to snag you with if you have to un-azz it in a hurry (I speak from experience on both points [;)])… Also, don’t be afraid to kitbash a driver, or steal one from another kit or figure set… Some figures that dont scale out well will have legs you can use that will fit righ into where you want on the new kit… I also, on most vehicles, construct the driver and the seat as a single unit…
Its good to know Im not the only one who has faced this dilema - and even more so for the great advise on here. Thanks guys. As I mentioned earlier I decided to forgo the driver on this build but I shall certainly put my newly gained knowledge to use in the next one.This one is the 251/16 and Im already eying up a 251/1. But before that one I have a Tristar Marder 111 aust.h and engine detail kit to do. No crew supplied with the Tristar model unfortunately so I have somewher to slot my driver in already
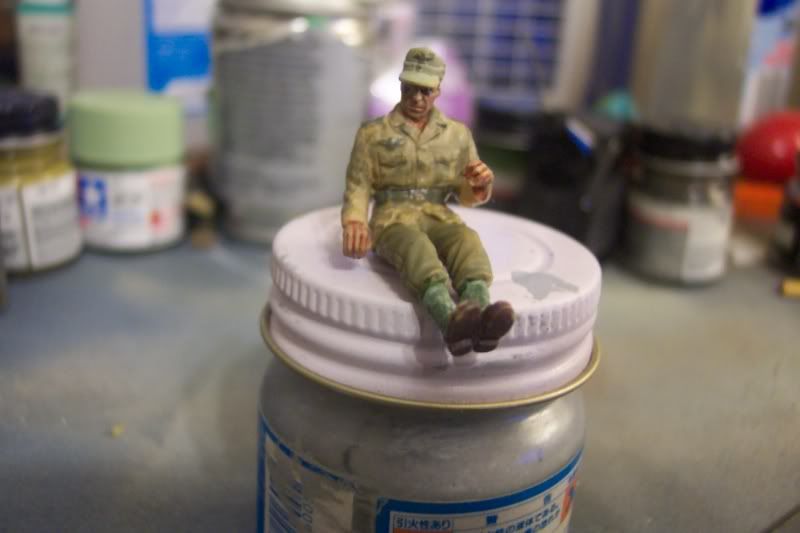
Hmmm I am working on a 251/10 Dragon Kit modified. I used the vinyl figure included and dressed him up as DAK cuz he isn’t so visable. No real fit issue. I thinned down the roof just a wee bit to get it to sit flat over his head but that was it? Is your fig the plastic one?
Its vinyl I think - it has like a soft rubbery feel to it. BTW whats the best way to paint these?I sprayed it with my usual primer (auto spray primer) but it comes off far to easily.
Well what I did was simply sprayed the fig with testers Dull Coat lacquer. One coat as it drys quickly enough to not disolve any details. It gave enough of a bite though to paint the fig with regular MM enamels and Acrylics.