I am old guy! I got into the hobby when my Dad bought me a Revell bf109 Messerschmitt in 1/72. I was about 10 so about 1962. I built consistently until I left for the Army when I was 19 (1971). My last kit I built in 1973 in Germany and that was a Tamiya Motorized Leopard Tank.
I used to borrow my Dad’s car to “got the the library to study” then snuck to Columbus, Ohio, fifty miles away so I could attend monthly meetings of the IPMS in which I won prize ribbons, a 1st place for a 1/72 Hellcat (McCampbell) and a 2nd place for a 1/72 bf109E (von Werra). Late during the period I fell hard for 1/48 Monogram kits. I am a scoreboard junky, always looking to do the planes with the pilots scoreboard (especially kill markings) on the plane. After the army and thirty years as a police officer, I returned to the hobby about three years ago with a three year project to graft the nose and waist windows of a 1/48 Revell B-17F onto the fuselage and wings of an 1/48 Monogram B-17G to get a B-17F. The result is elsewhere in “community.”
If I were you, I would start where you left off. You’ve got skills, you just need to remember what those were. If you were doing Monogram in the 70’s or 80’s, get one of those kits that you always wanted to do on ebay and go for it. Also, Revell of German absorbed both Revell in America and Monogram so the kits you used to do are available under the “Revell” name and they are the same kits you remember so you can get them relatively new from Revell.
Some of the things I learned I will relate.
Shaky hands! After a life of hard work your hands probably aren’t as steady as they once were. If your hands shake all the time violently you had better see your doctor. If you are a morning coffee drinker, wait until afternoon or evening to do your fine work. Rest both of your hands on your workbench, part in one hand, paintbrush in the other, and have your hands touch; it doesn’t have to be much but it does lesson tremors a bit. Sometimes if it’s bad enough, fine something else to work on and then come back. Also, if your exercise heavily at any point, your hands will automatically tremble a bit as you try to work. Do your exercise far away from the time you model. It helps. When working on my B-17, I wanted to do “black basing” in which you prime the plane in black, then spray little puffs of white or gray from your airbrush while avoiding the black of the panel lines. I did not have that kind of control so I got a bunch of different widths of masking tape, took the smallest width of tape in the pack (3/16") and laid it over the panel lines. Here’s the tape:
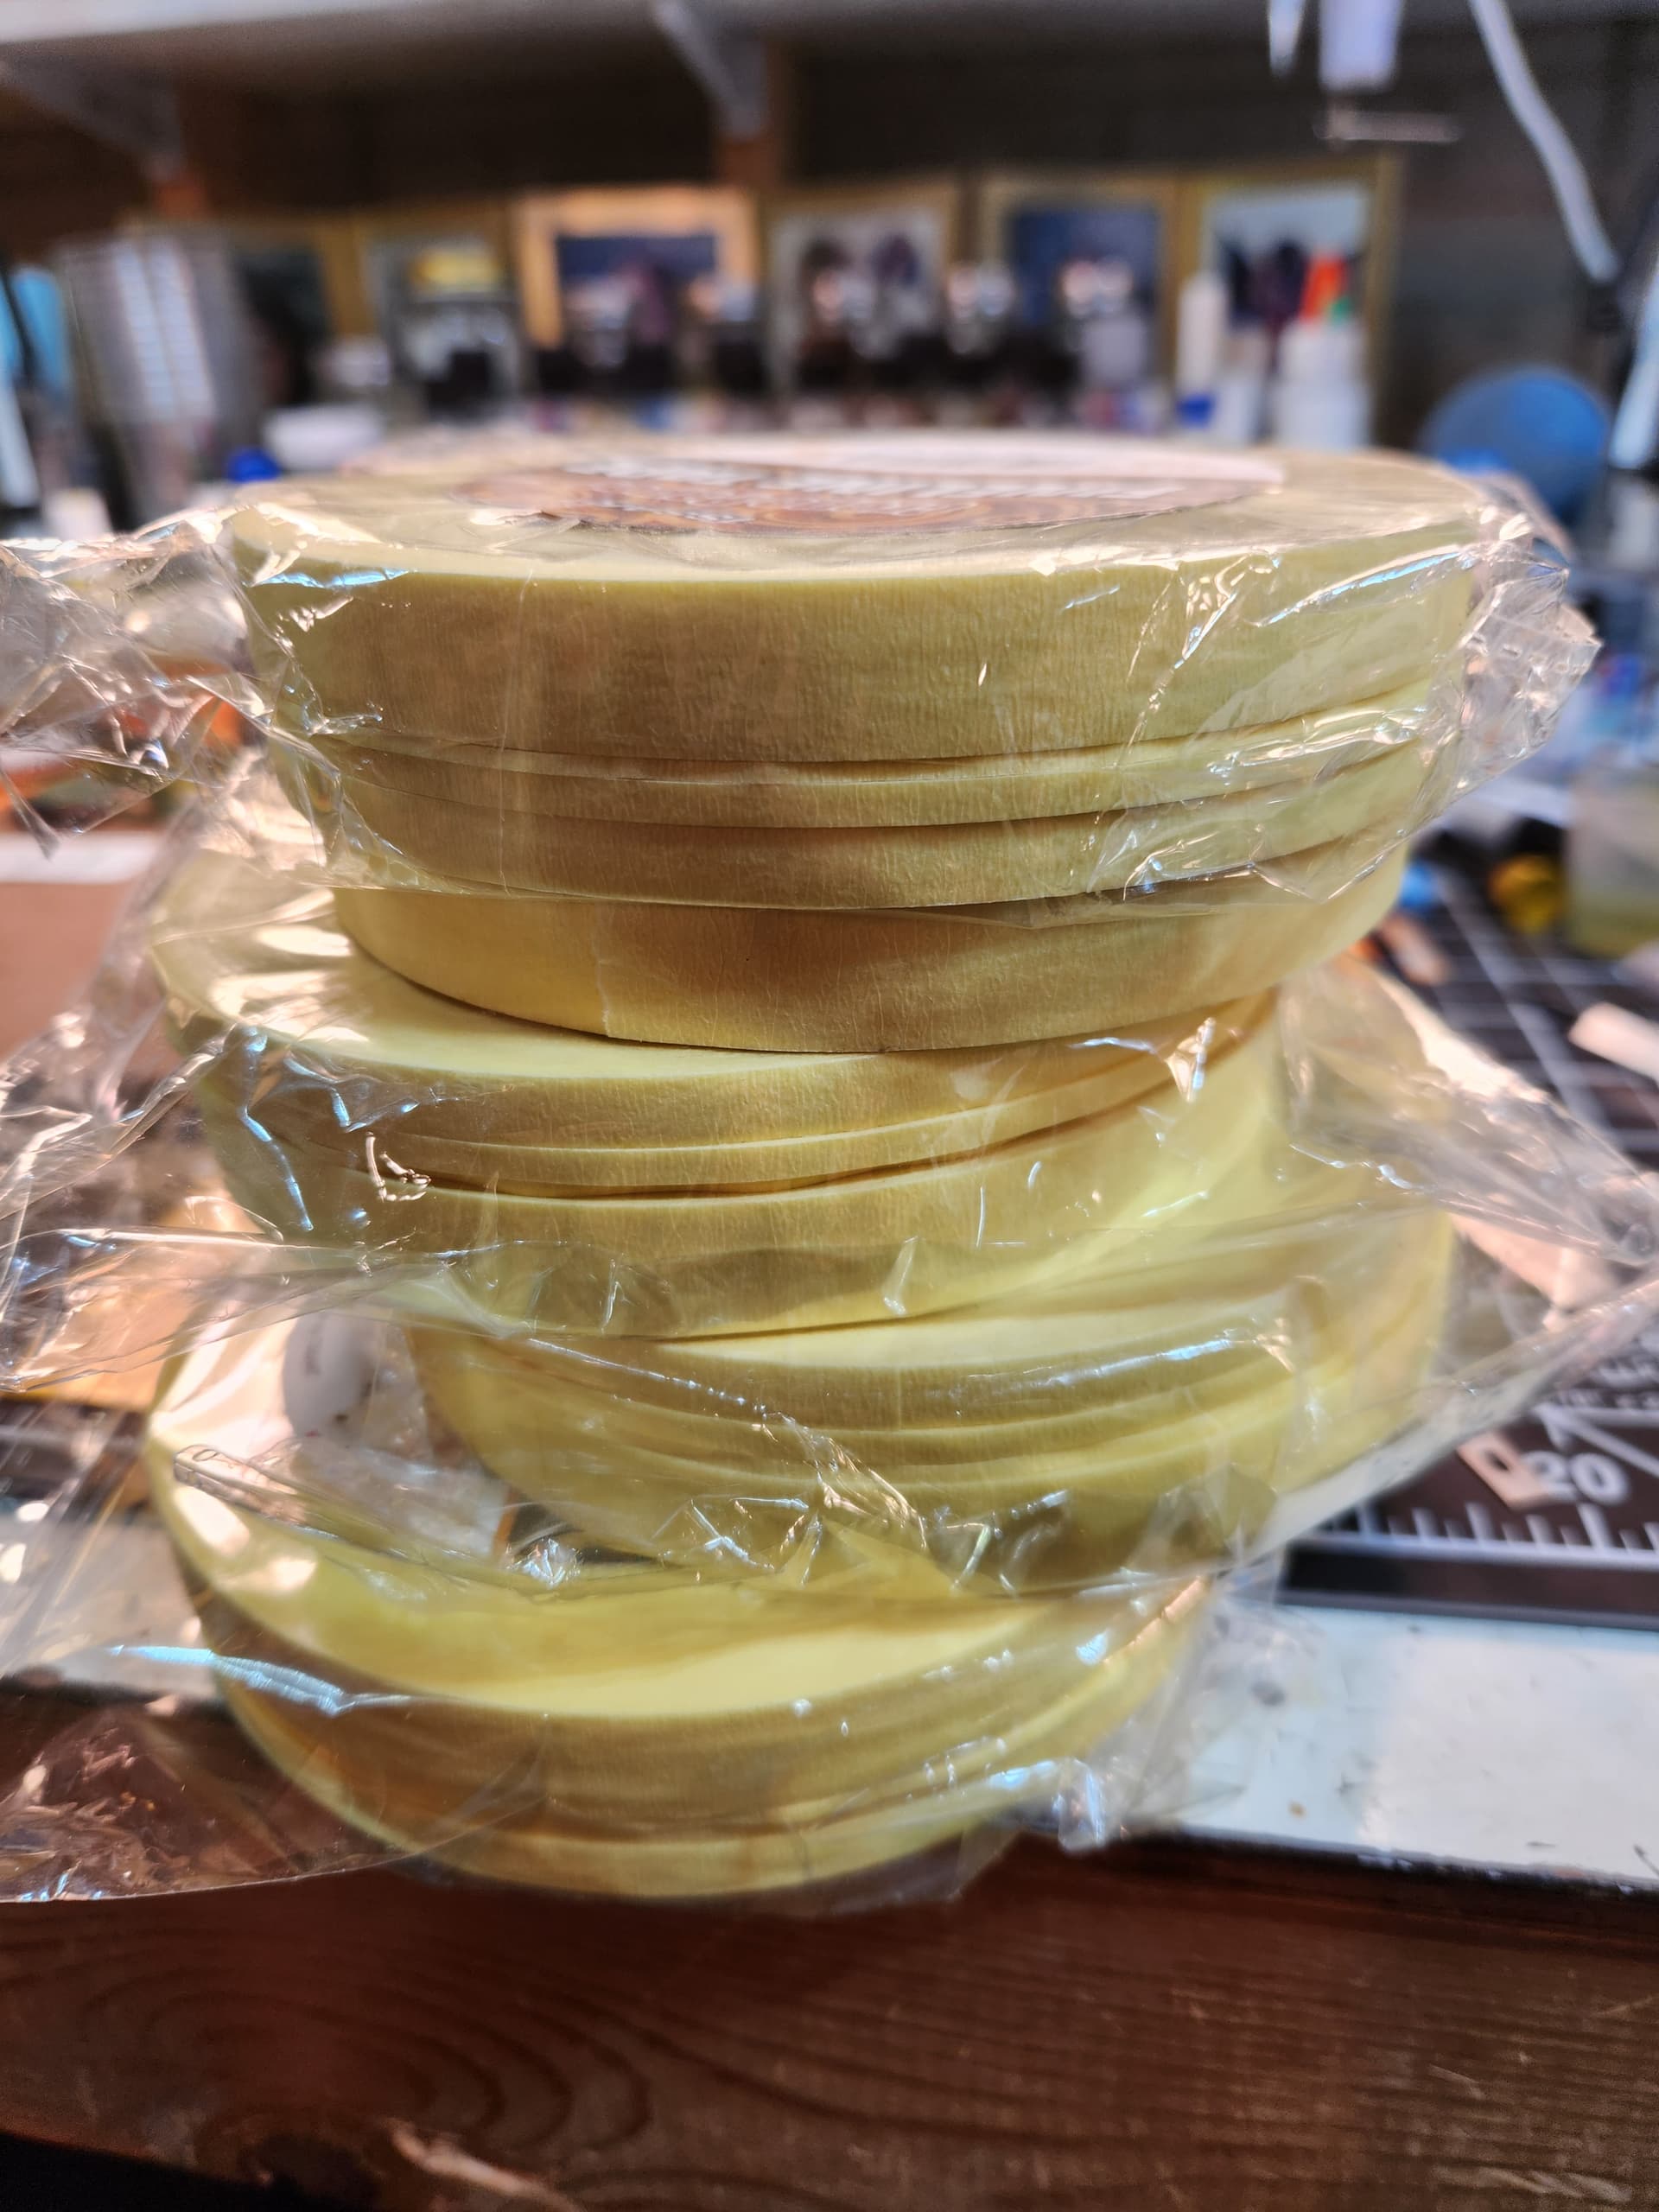
And here’s what it looked like:
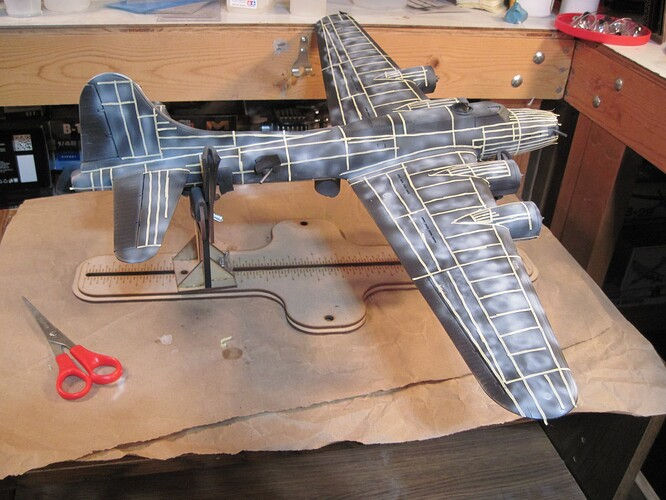
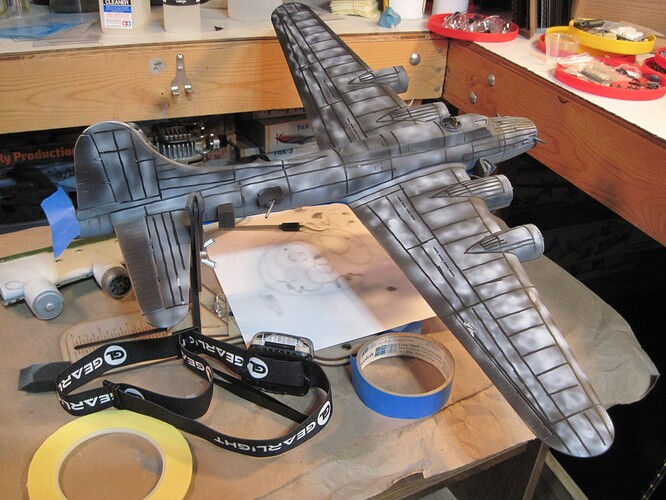
Then I went wild with the airbrush and it did no harm. The narrow masking top pulled right up and it was a sloppy enough application to provide the effect I wanted. Also, in places where it is too tight to mask the panel lines, like the nose of the B-17, you can just do the white puffs then go over the panel lines with a medium Sharpie to get the job done.
Don’t try to do 1/72; go to a larger scale! With cataracts which have not been treated (although my eye-doctor is watching them), everything is a little darker for me. If you have to deal with this you know that it is like living with sunglasses on all the time. So, there is no way I could every go back to 1/72. Pick a larger scale, like 1/48 or 1/32 or the new 1/35 scale, or even 1/24, they make planes in all of these scales. Weak eyes are driving the popularity of larger scales right now so pick one you like. Remember, you still have to display them somewhere and the larger scales require more room. Your wife will not like you dominating her dining room with a 1/24 B-36 Peacemaker.
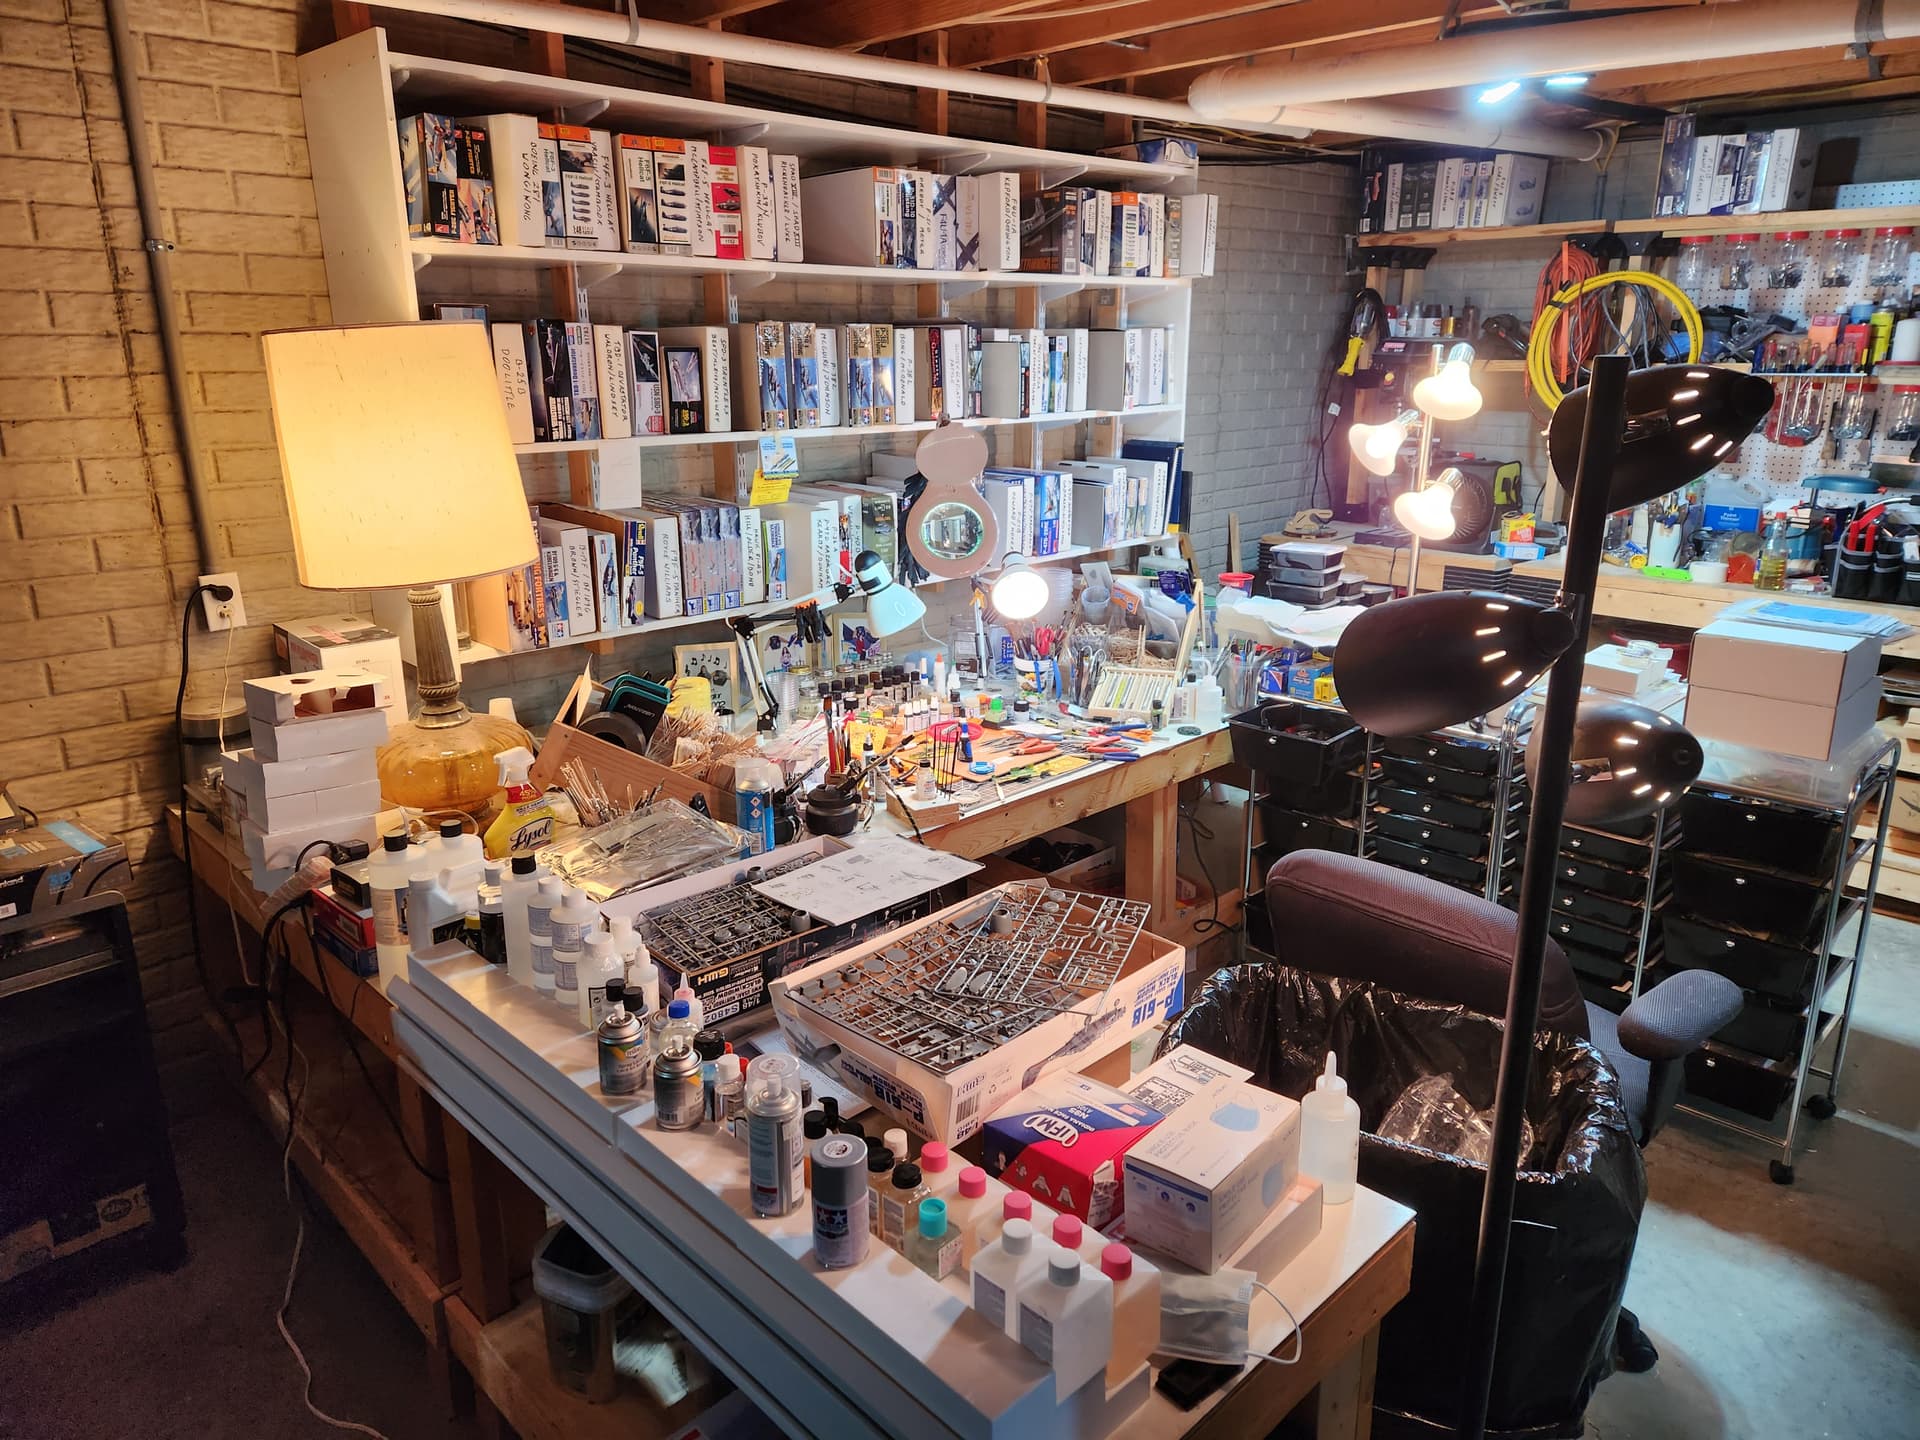
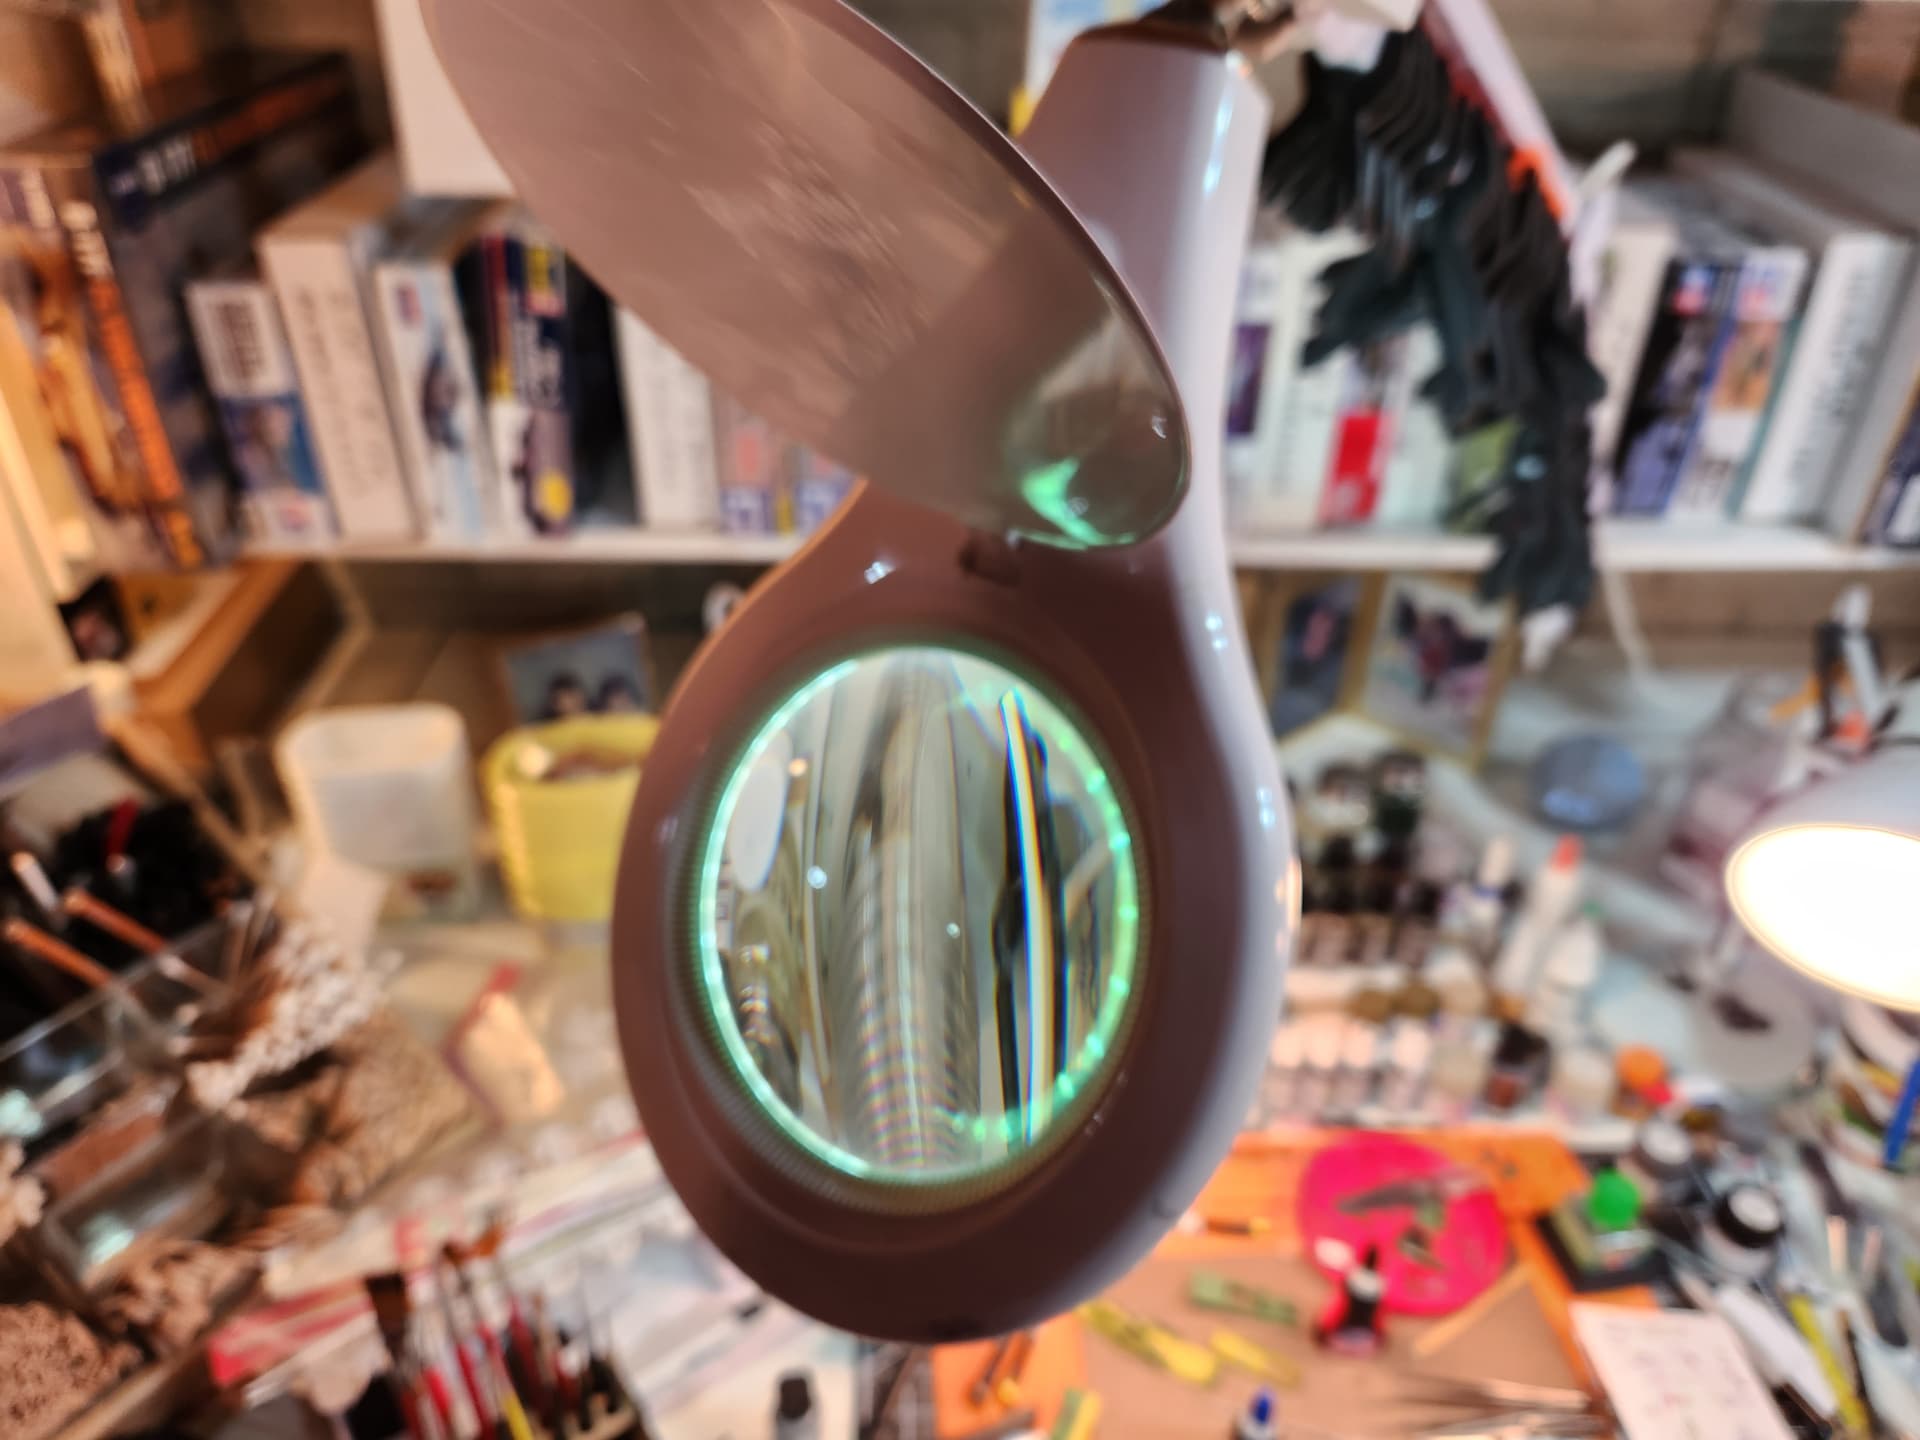
You need light to work, lots and lots of lights. You’ll never have enough. Her is my workspace.
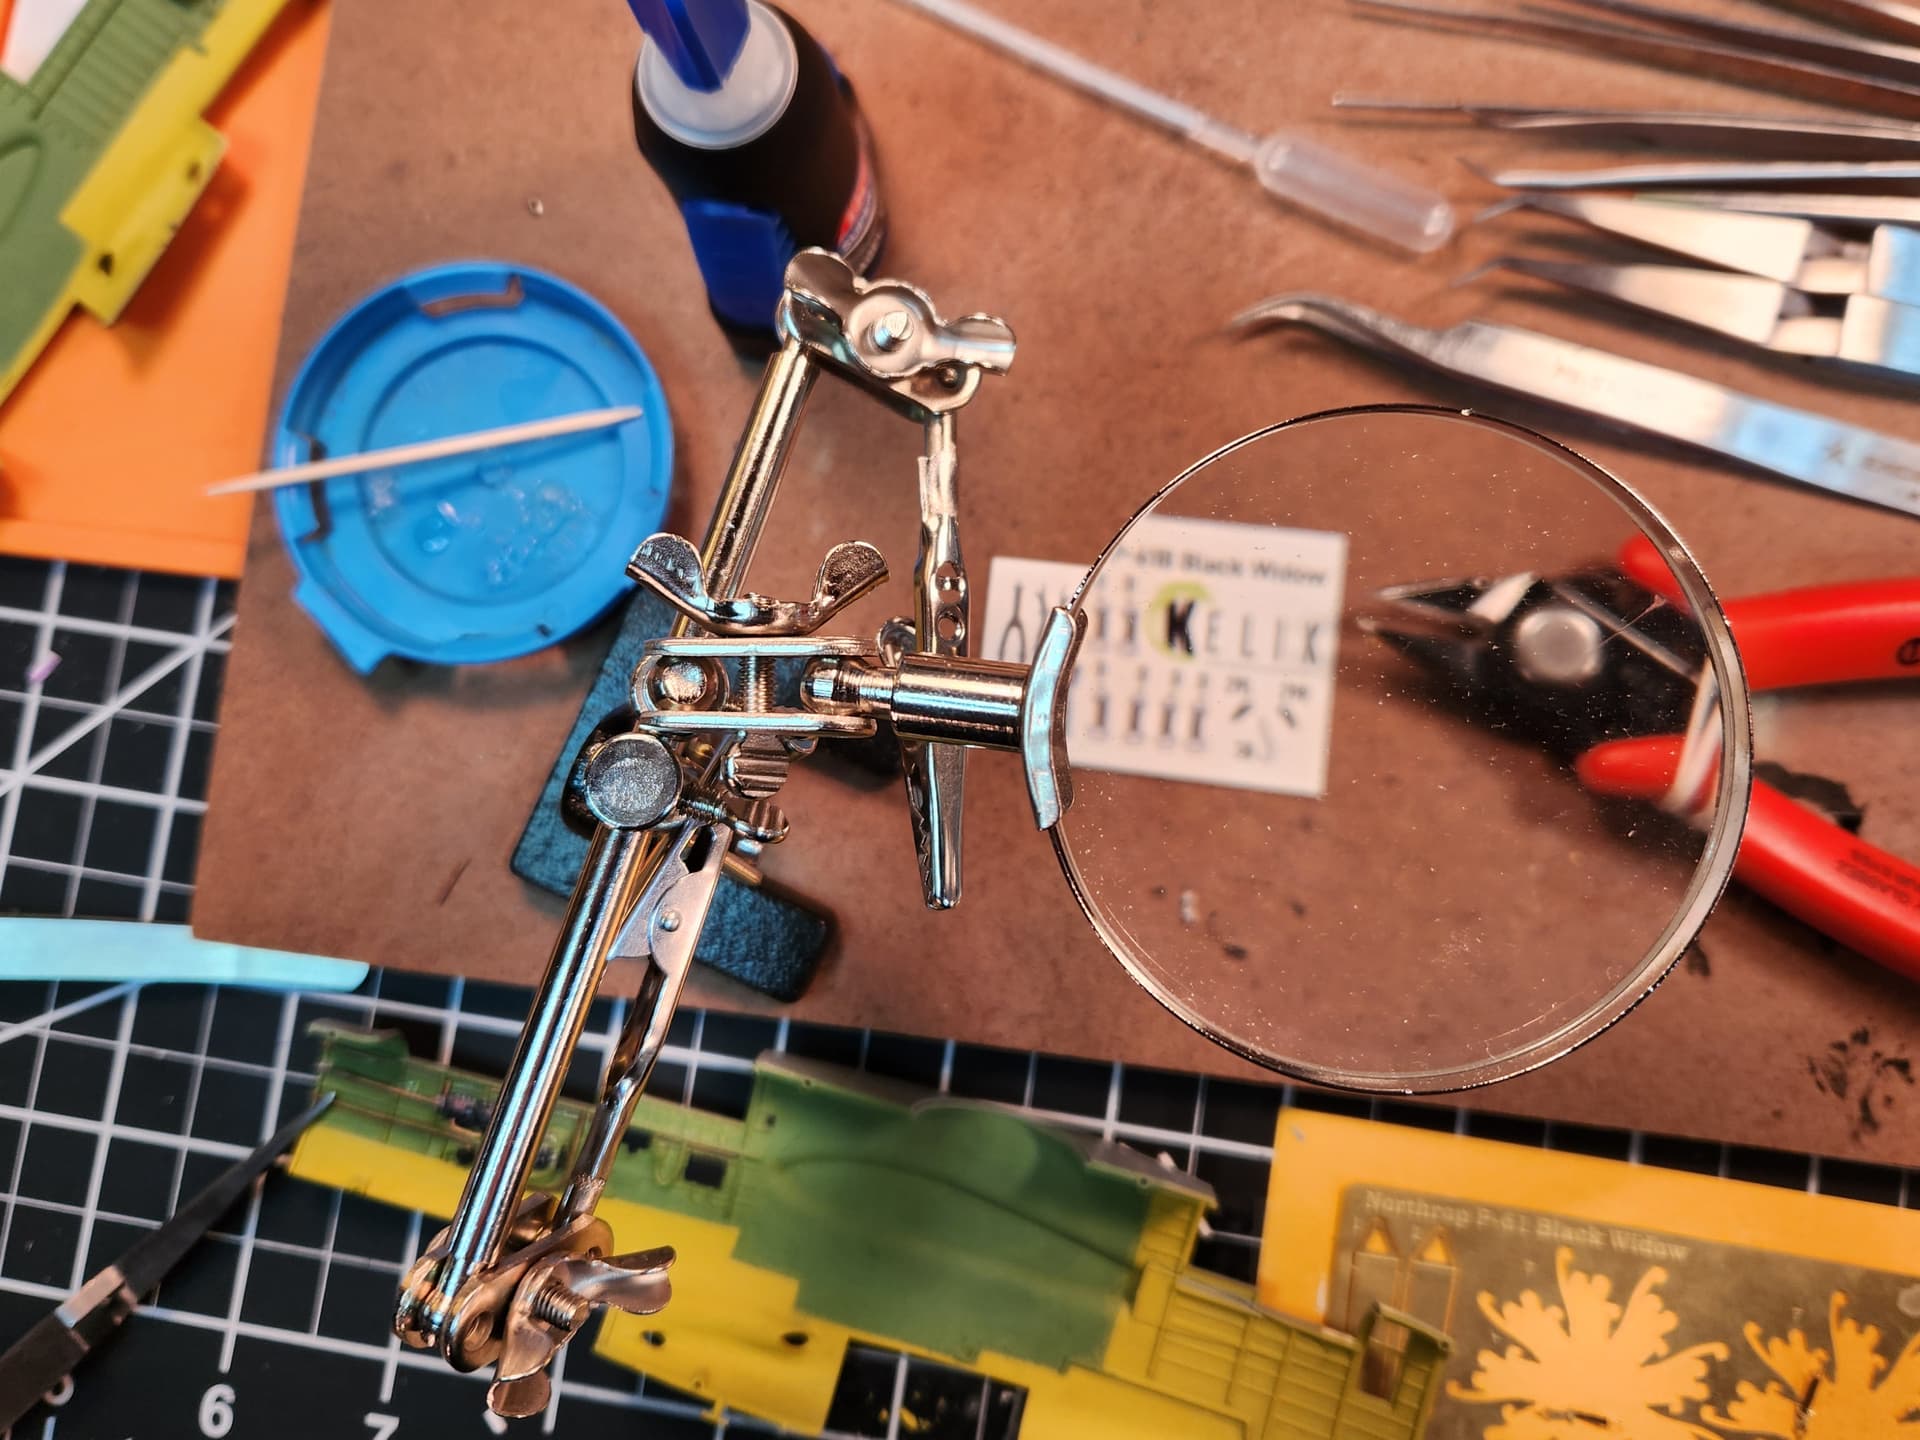
Weak eyes: Tiny pieces require assistance with seeing what you’re doing. Get a couple of magnifying glasses to help you see your work when needed. Here’s mine!
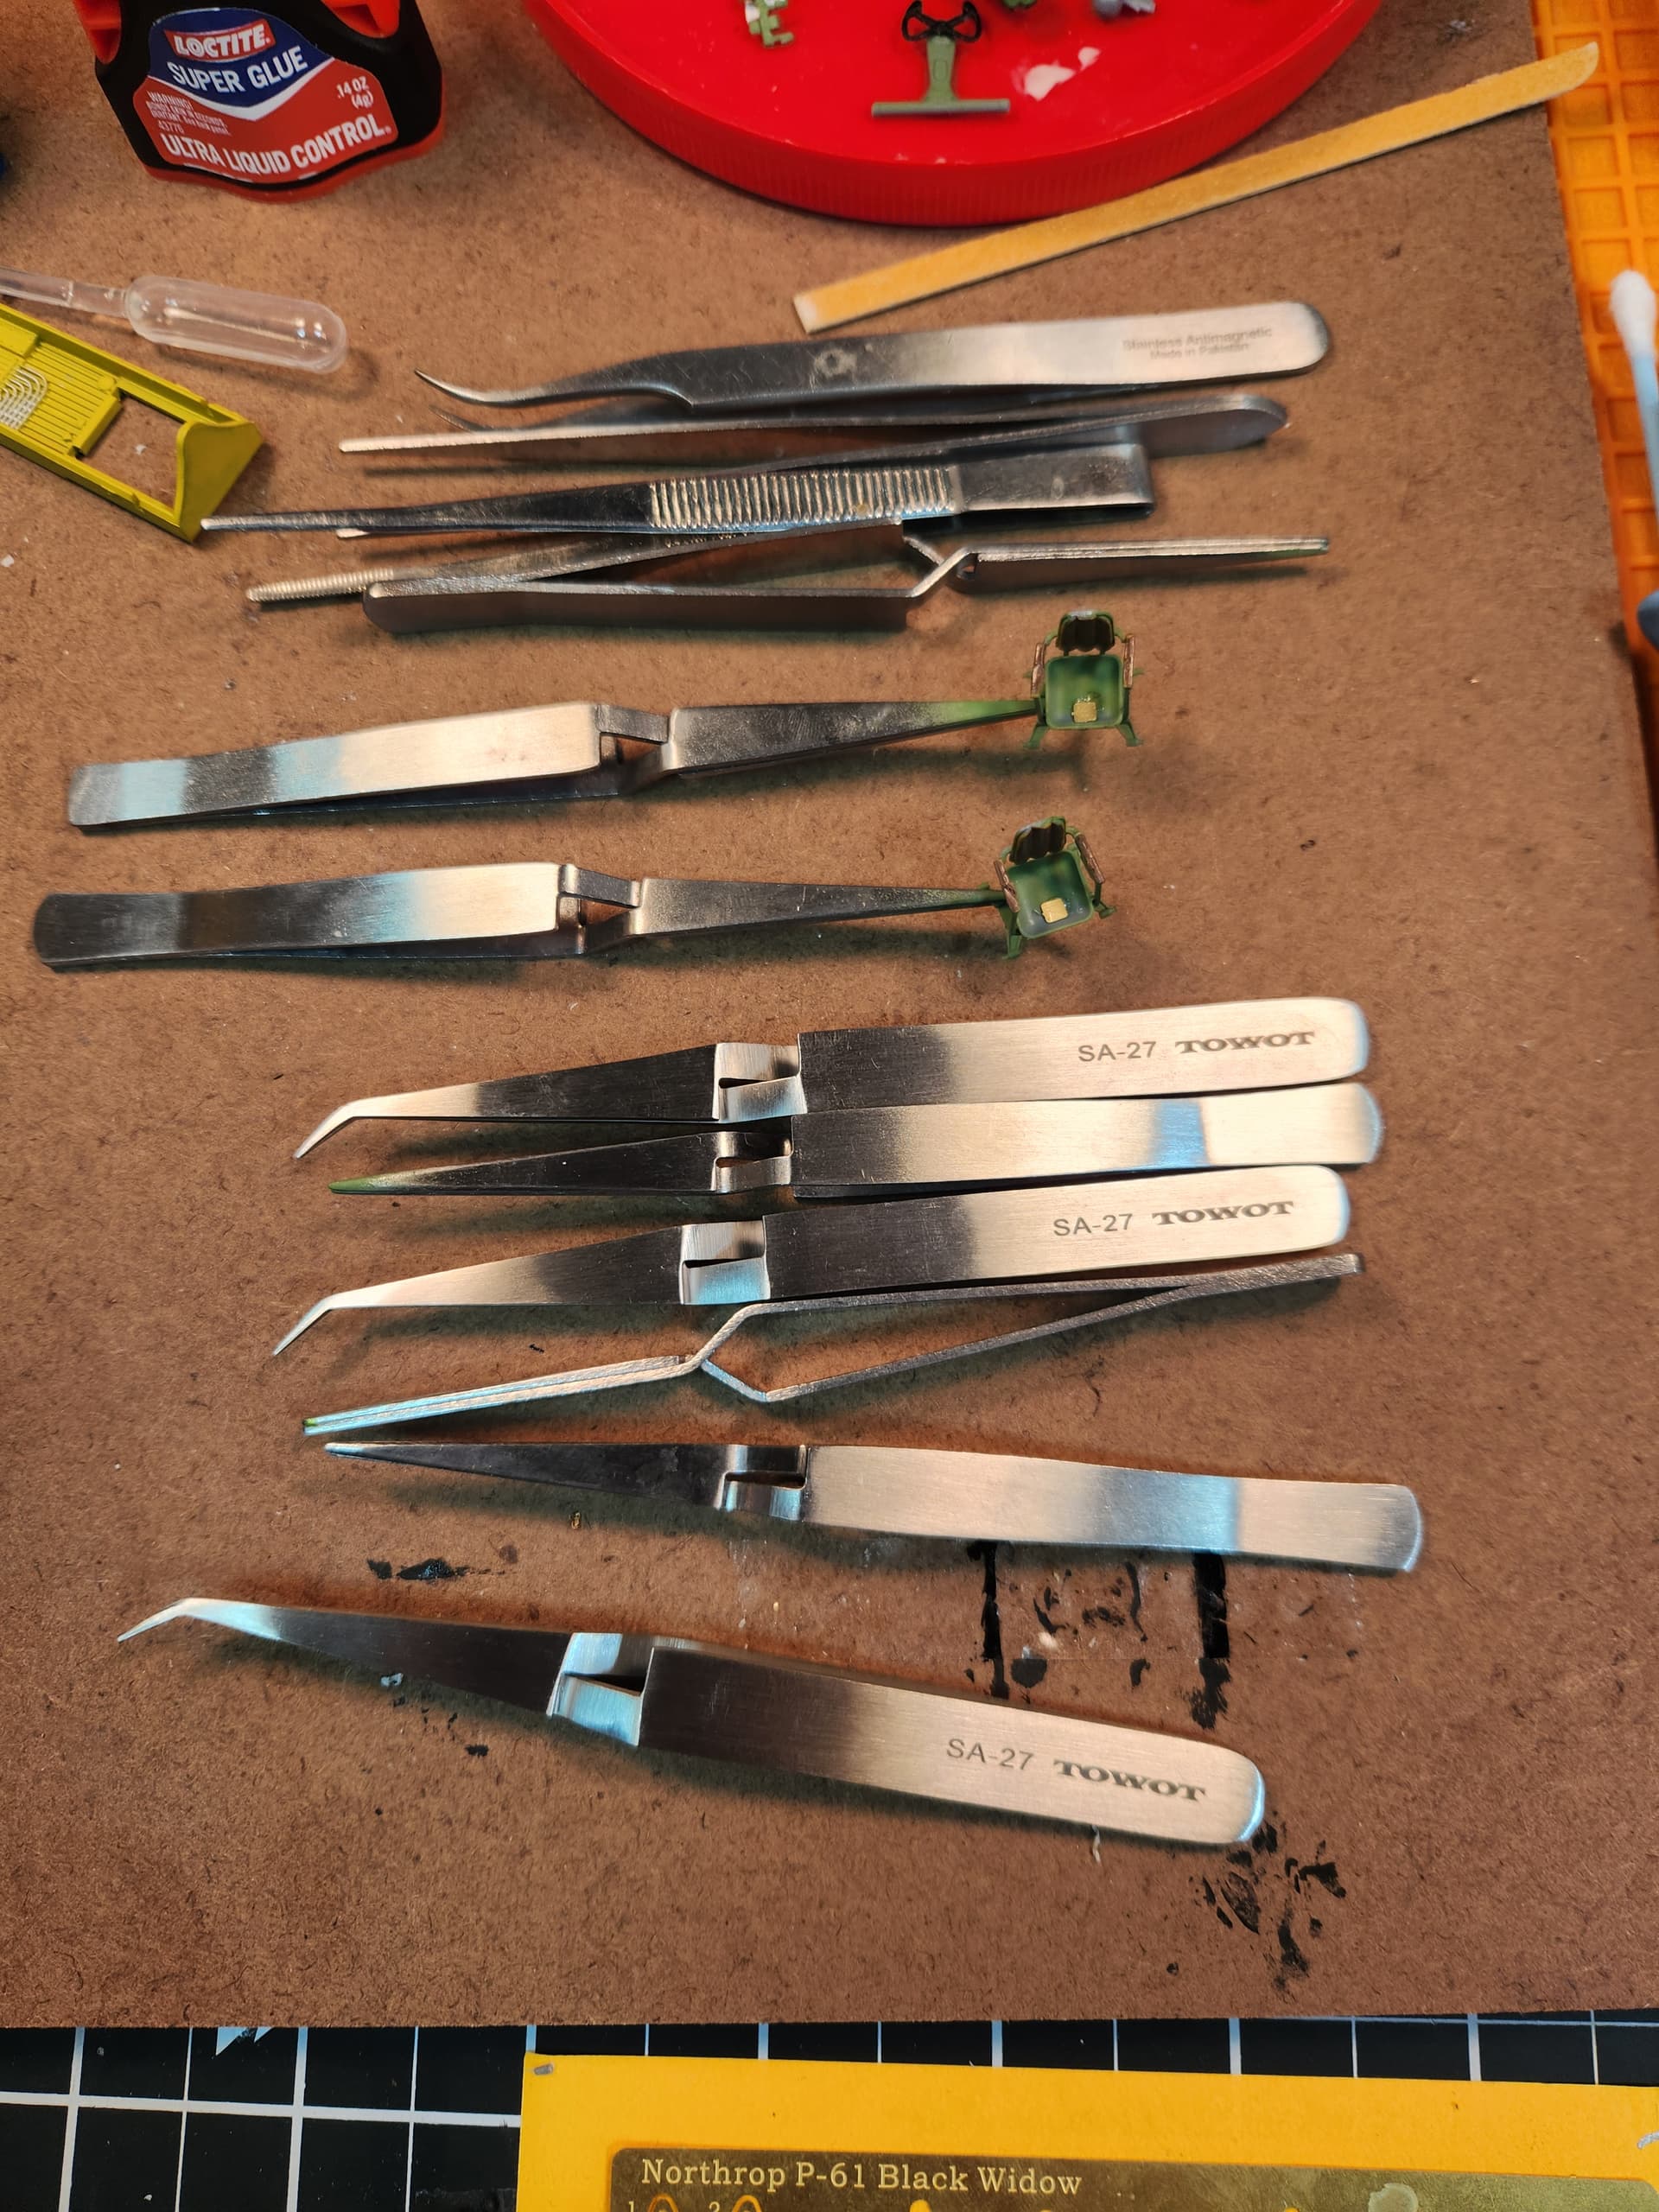
Get yourself a bunch of tweezers. Get the normal kind for installing tiny parts but remember, sometimes tiny parts shoot out of the tweezers and disappear into the aether so be ready for that. Get the reverse kind of tweezers that holds the parts until you squeeze the tweezers. You can use these to clamp wings while glue dries as well as holding parts while painting. Here’s some of those!
Having enough clamps is crucial. Get those that don’t exert so much force that they break your plastic parts. I attach mine to my telescoping lamp!

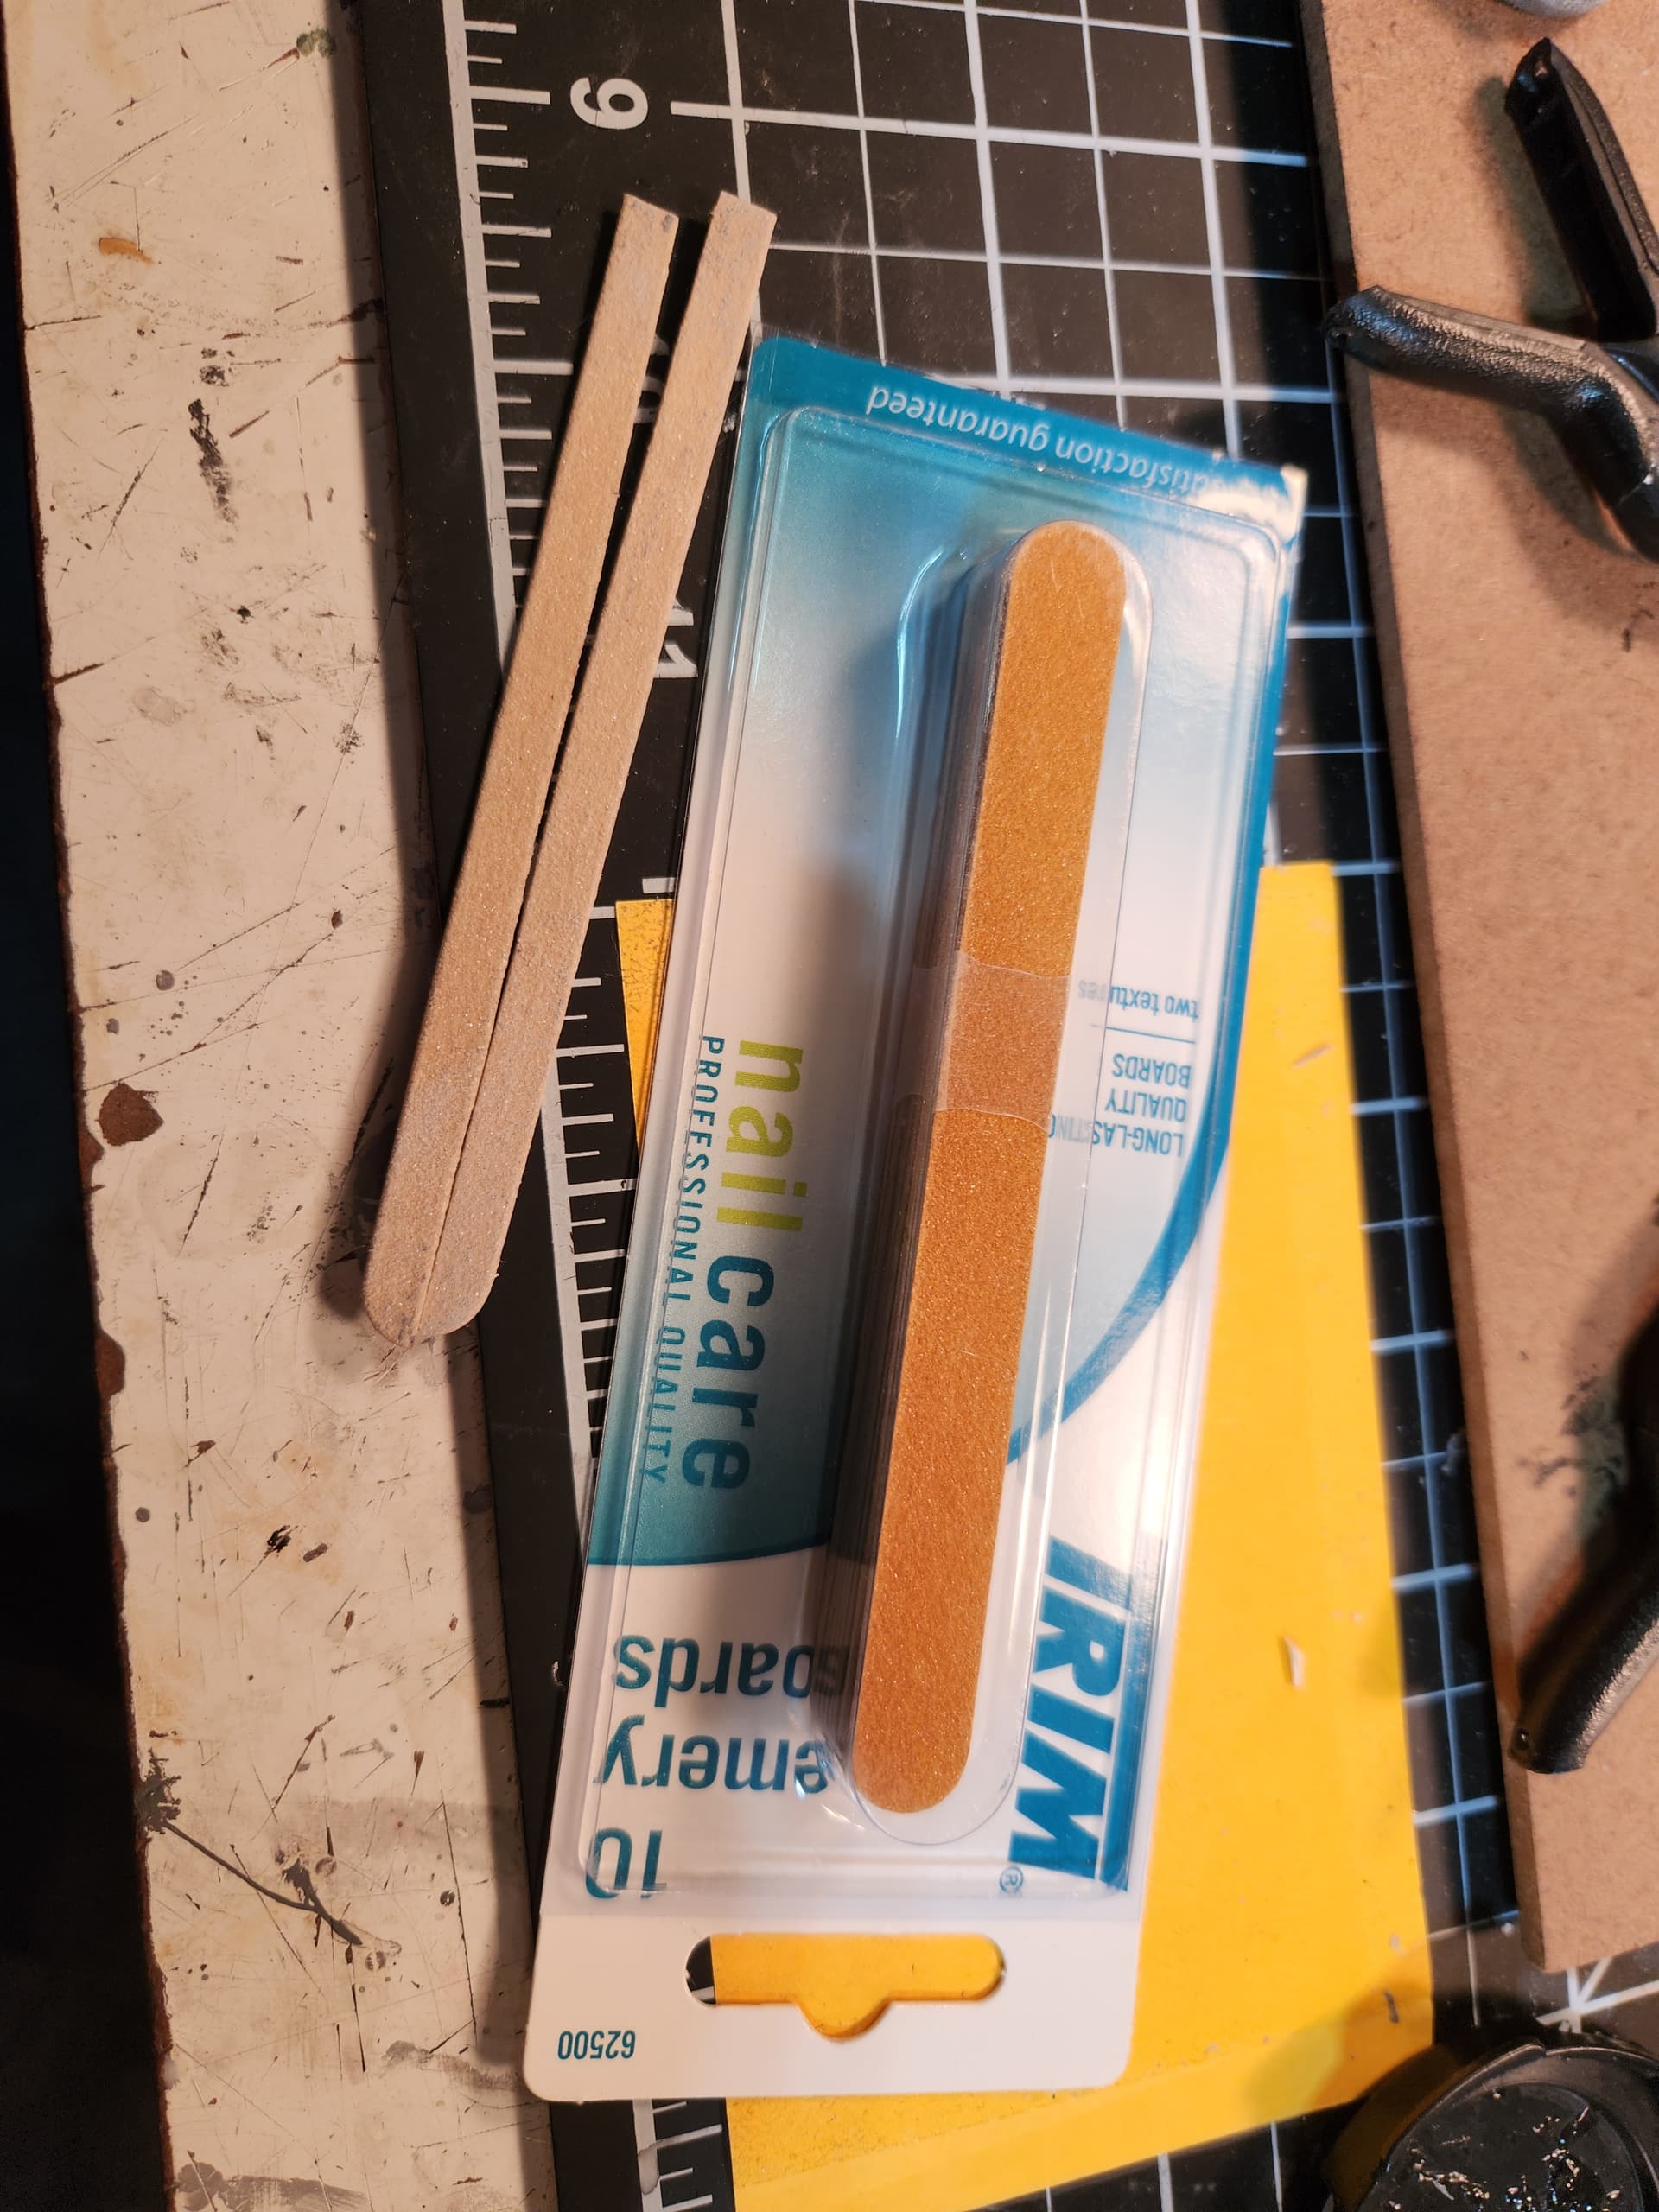
Back in the day, you raided your Dad’s workshop for sandpaper. Get a selection of different grits. Cheap ones can be found in the women’s nail care section of just about any Walmart. I get these emery boards and cut them in half.
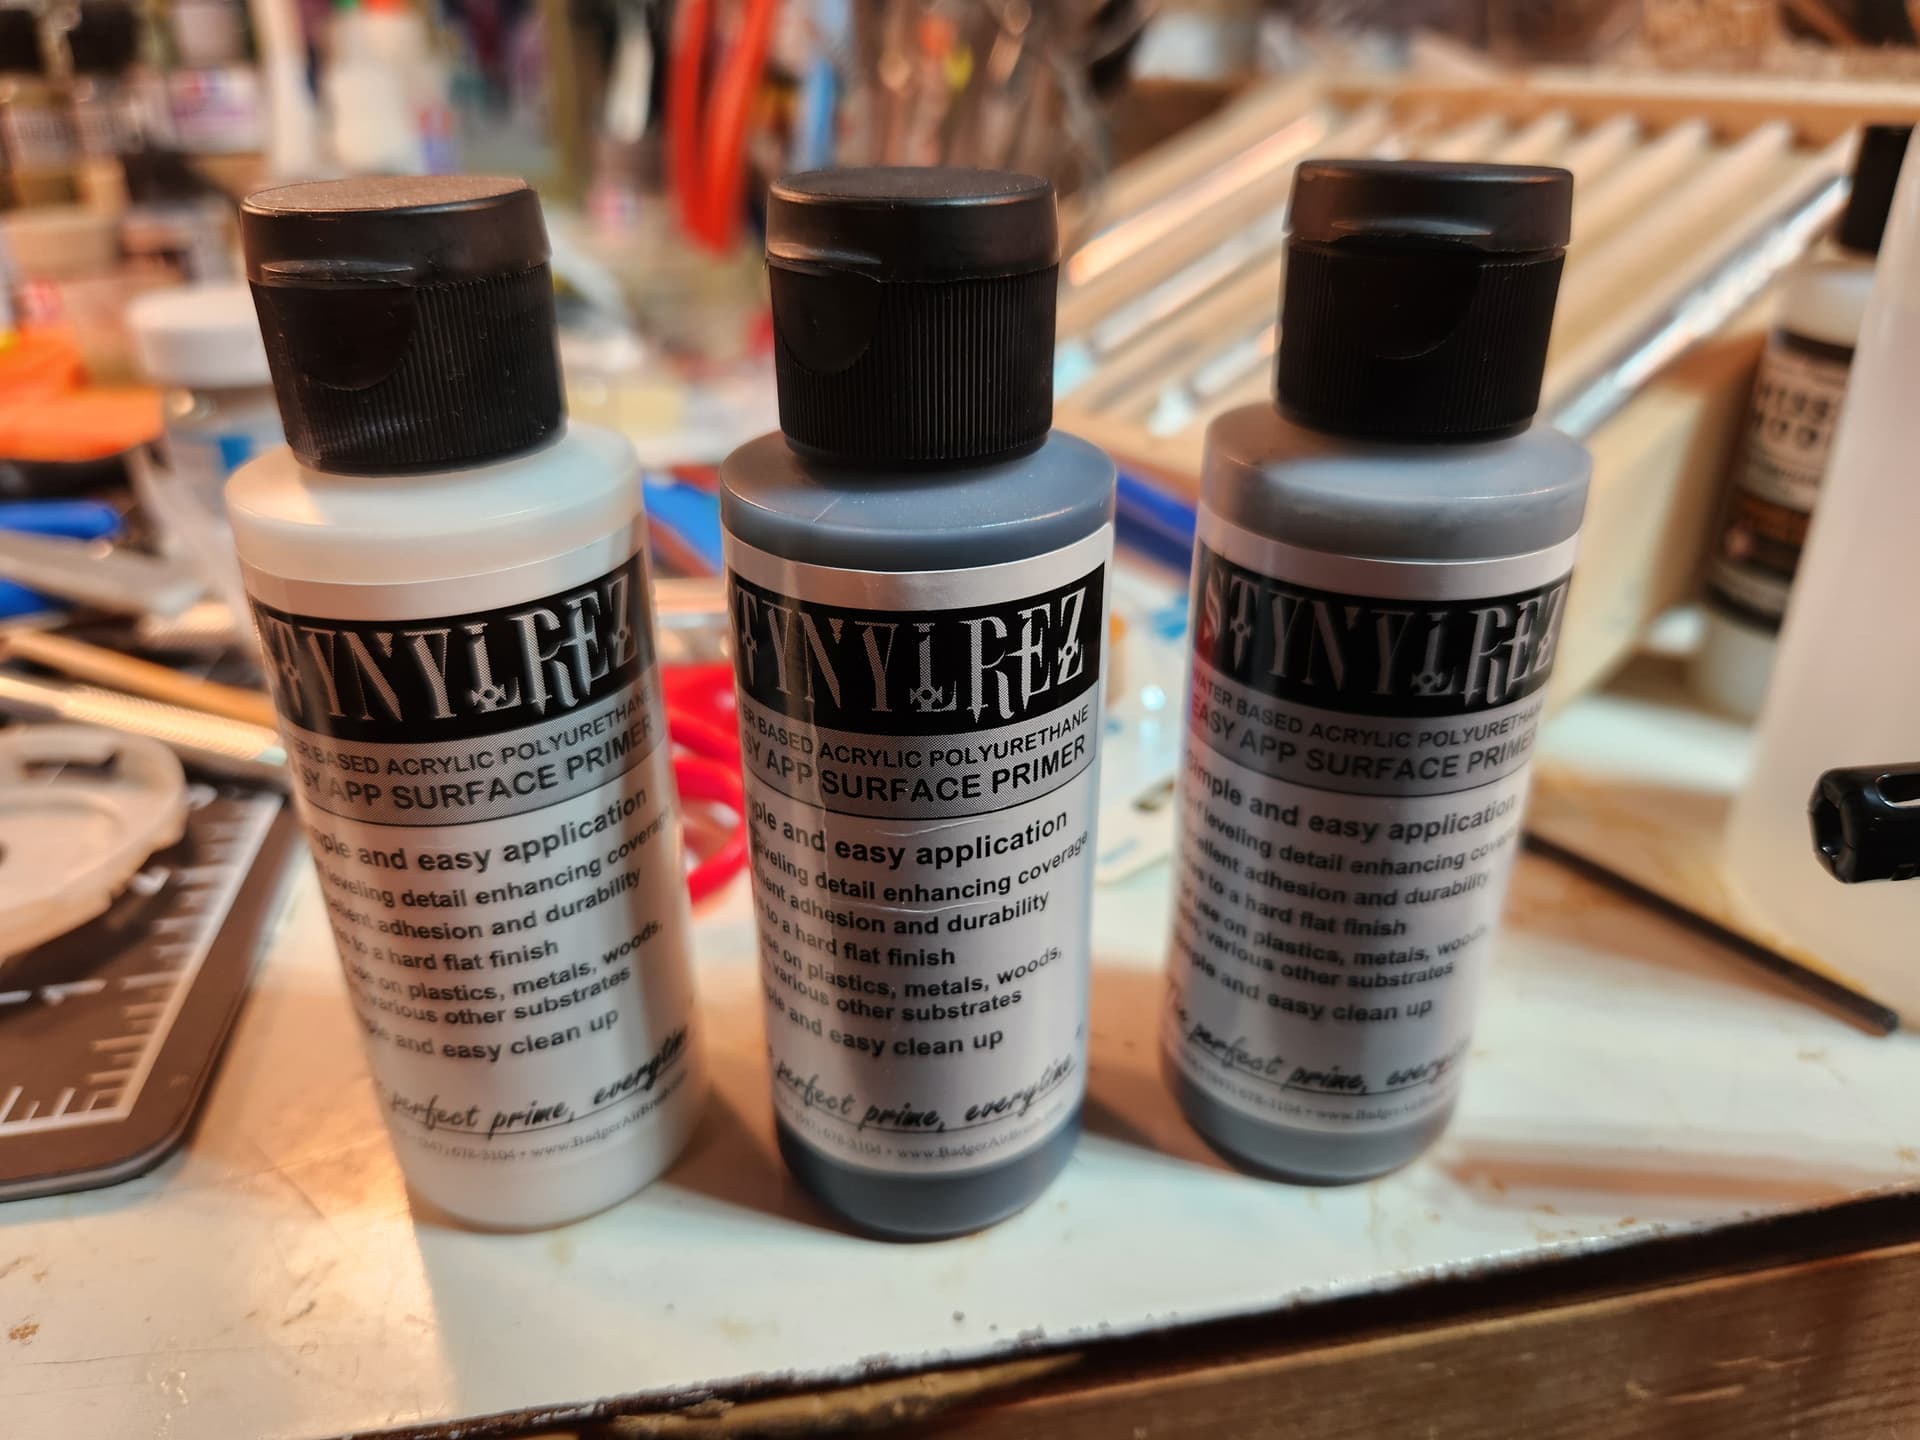
For priming I like Stynylrez. It is from Badger and comes in four colors: black, gray, white and silver. I have not used the silver yet but will try it out soon. I like to prime with silver (that’s the original color of the unpainted planes were produced in) so I’ll try priming with it to kill two birds with one stone. Here is Stynylrez.
Glues: there are glues for just about everything. I use simple Loctite superglue in both Ultra-gel and regular quick drying, you’ll use both depending on what you are doing. The gel gives you a couple of seconds to position the part and the liquid glues on contact. For everything else, I use Tamiya extra thin. Get one bottle of the extra thin, then get refills for it by buying large containers of Tamiya airbrush cleaner, it is the same stuff. Here’s that:
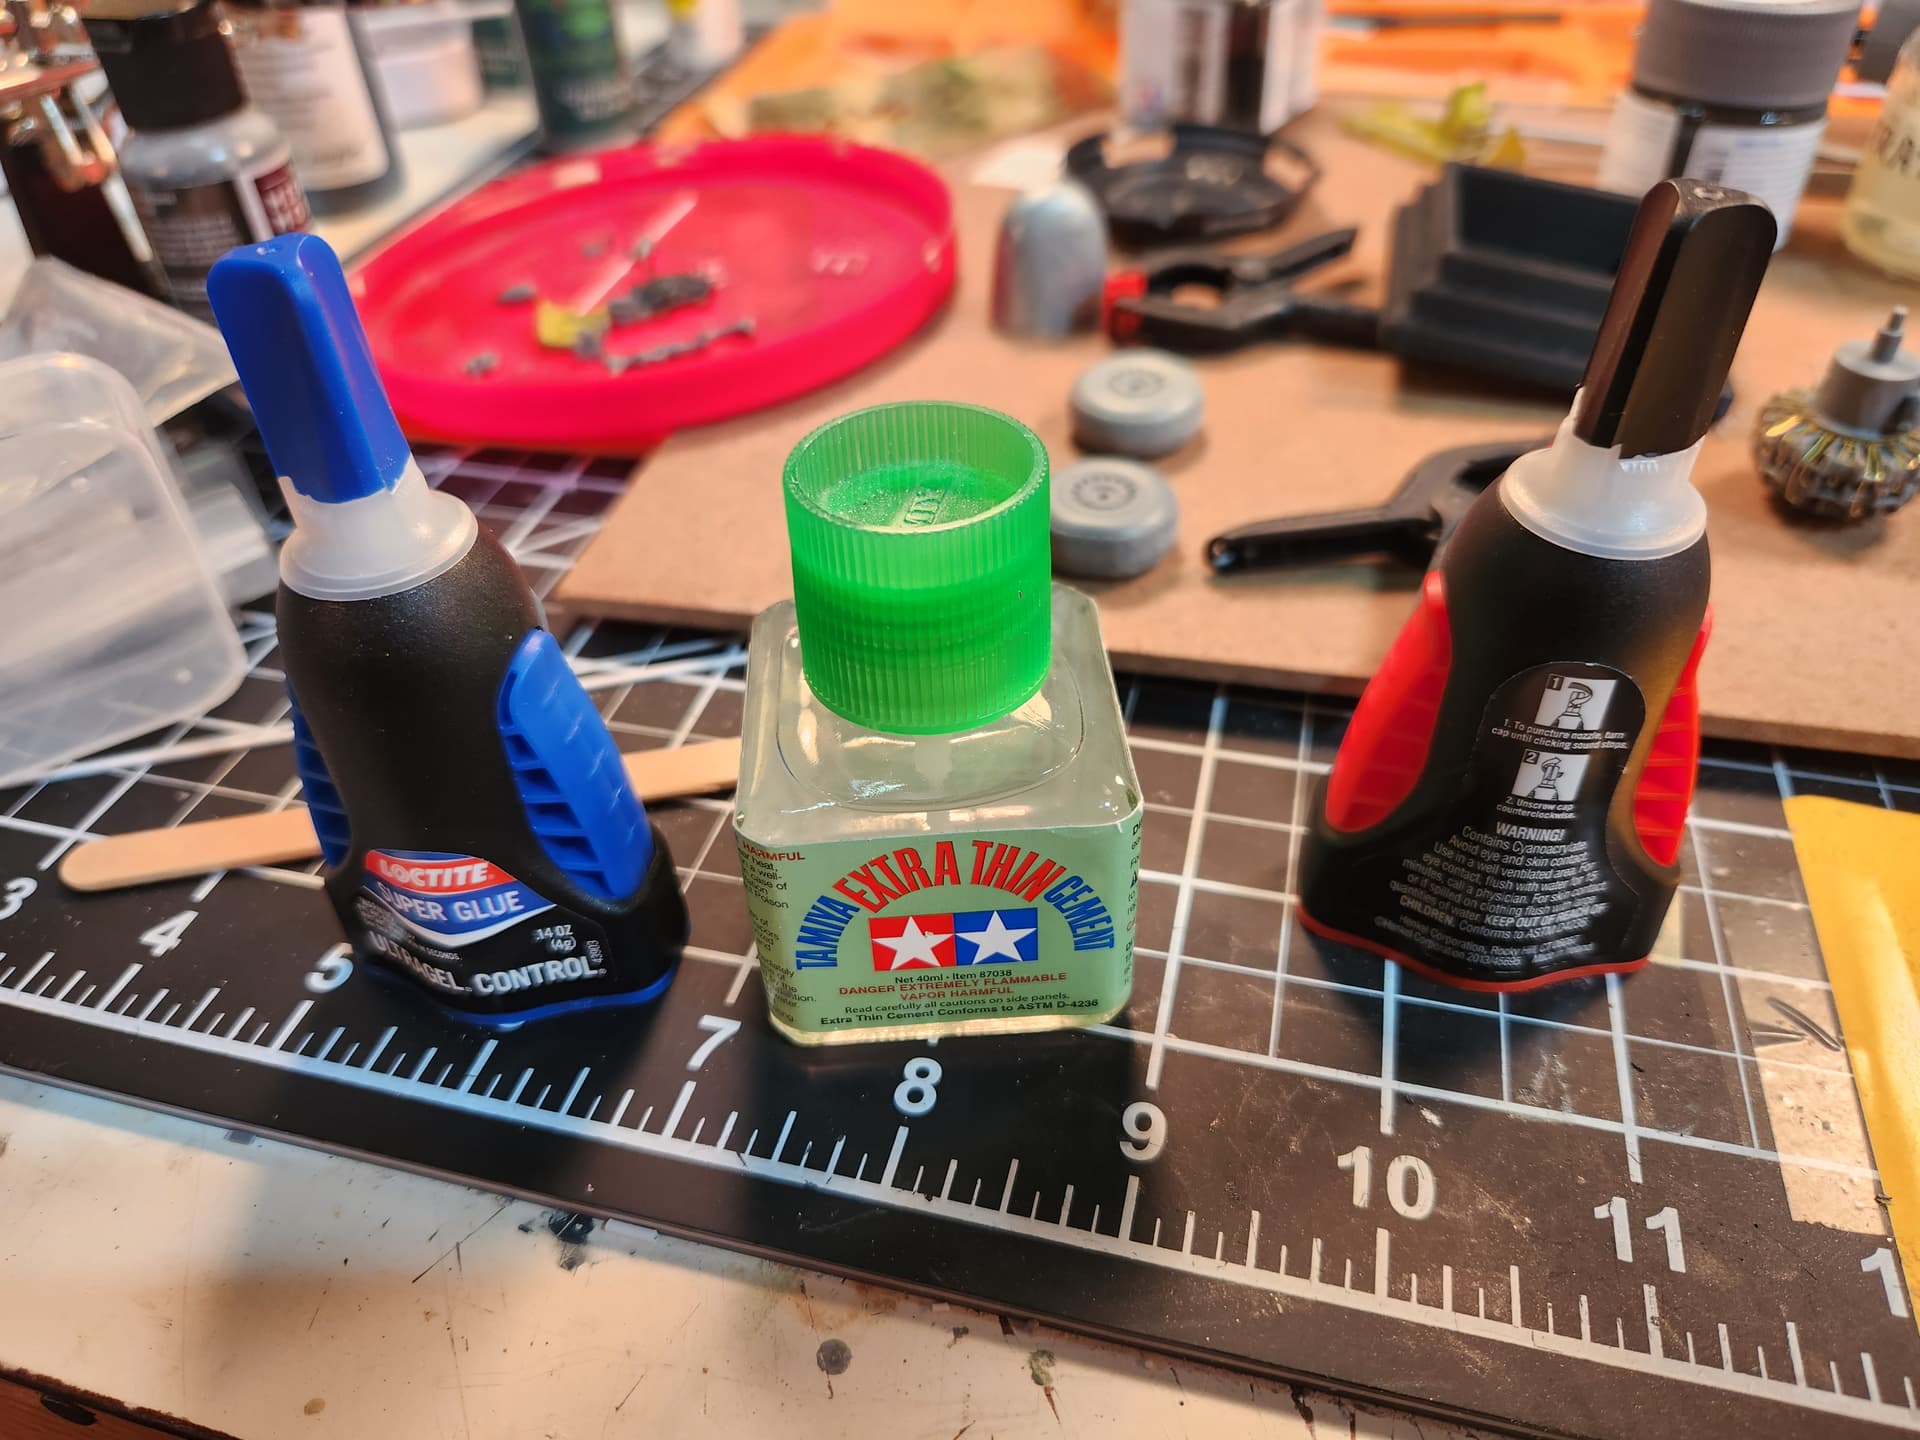
Photo-etch is really popular right now and just about the only thing that works to stick it to styrene is superglue.

Remember, superglue will not stick to superglue so if you have a superglue fail you have to scrape it off to make a clean gluing surface. Also, superglue won’t stick to the type of plastic used on Coffeemate container lids and margarine container lids. You can squeeze a little superglue on to a piece of plastic like that, close up the lid on your superglue container and then use a toothpick to apply it where it needs to go. This will keep your superglue from drying in the container.
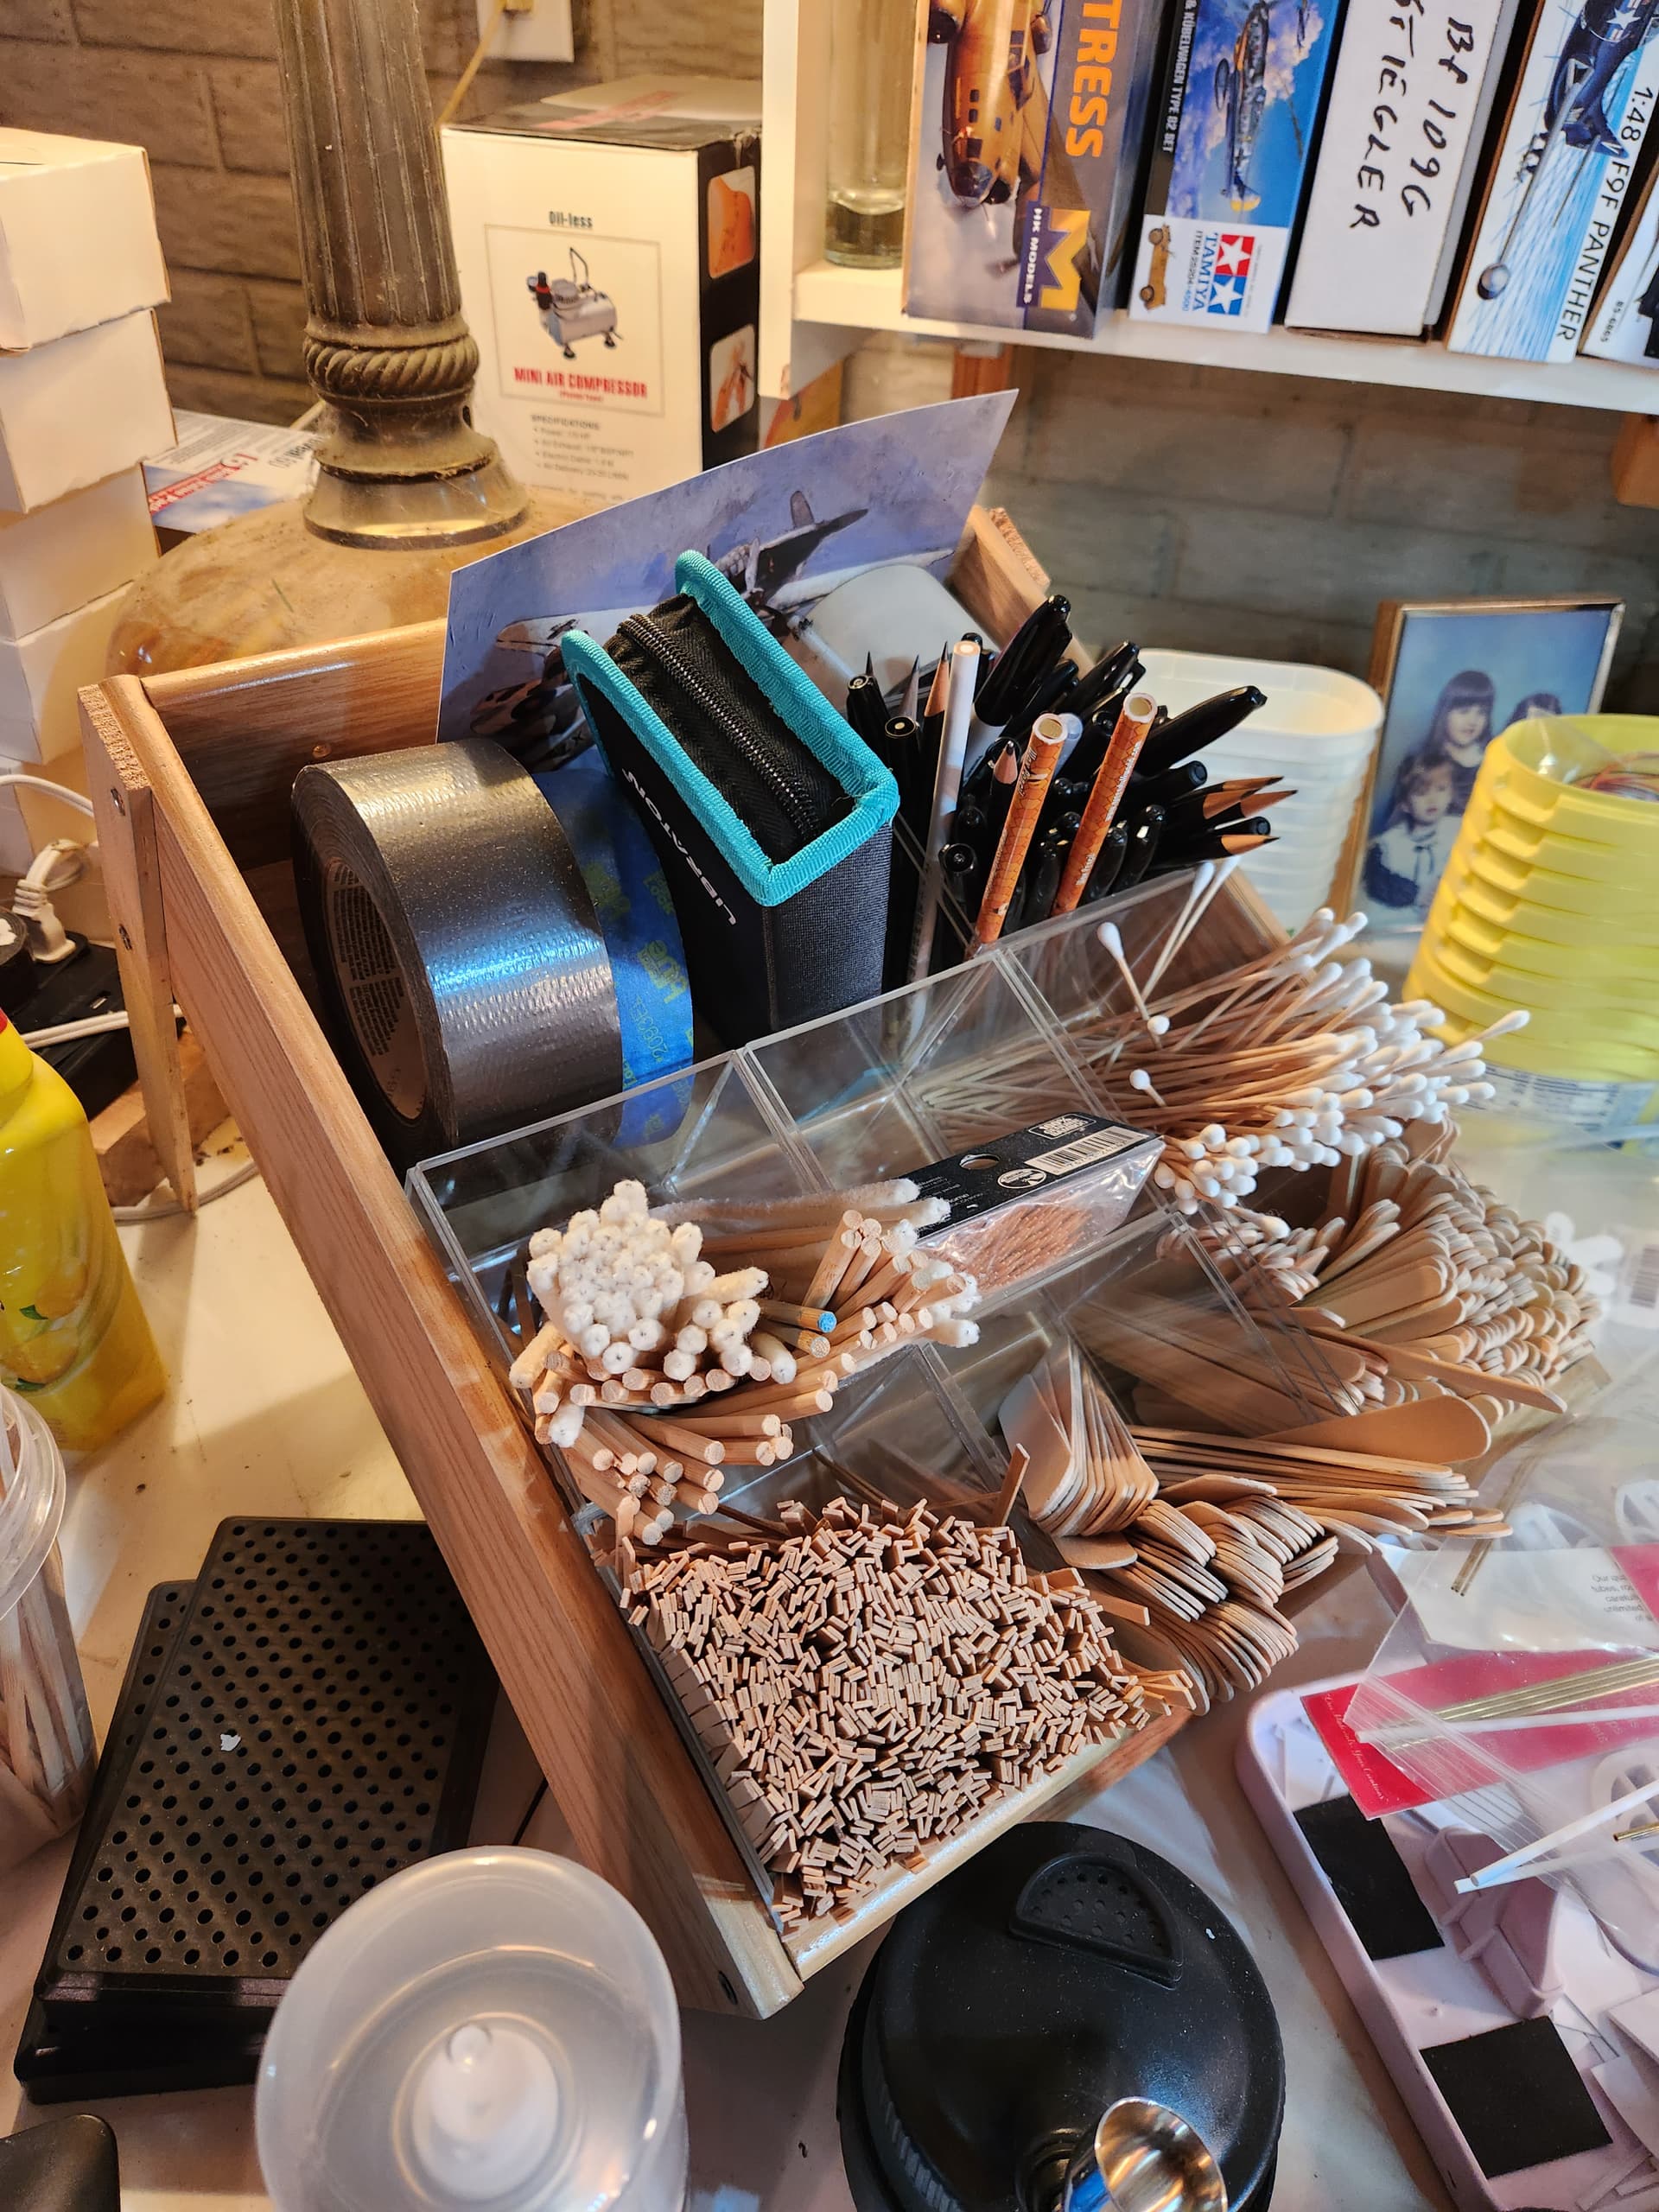
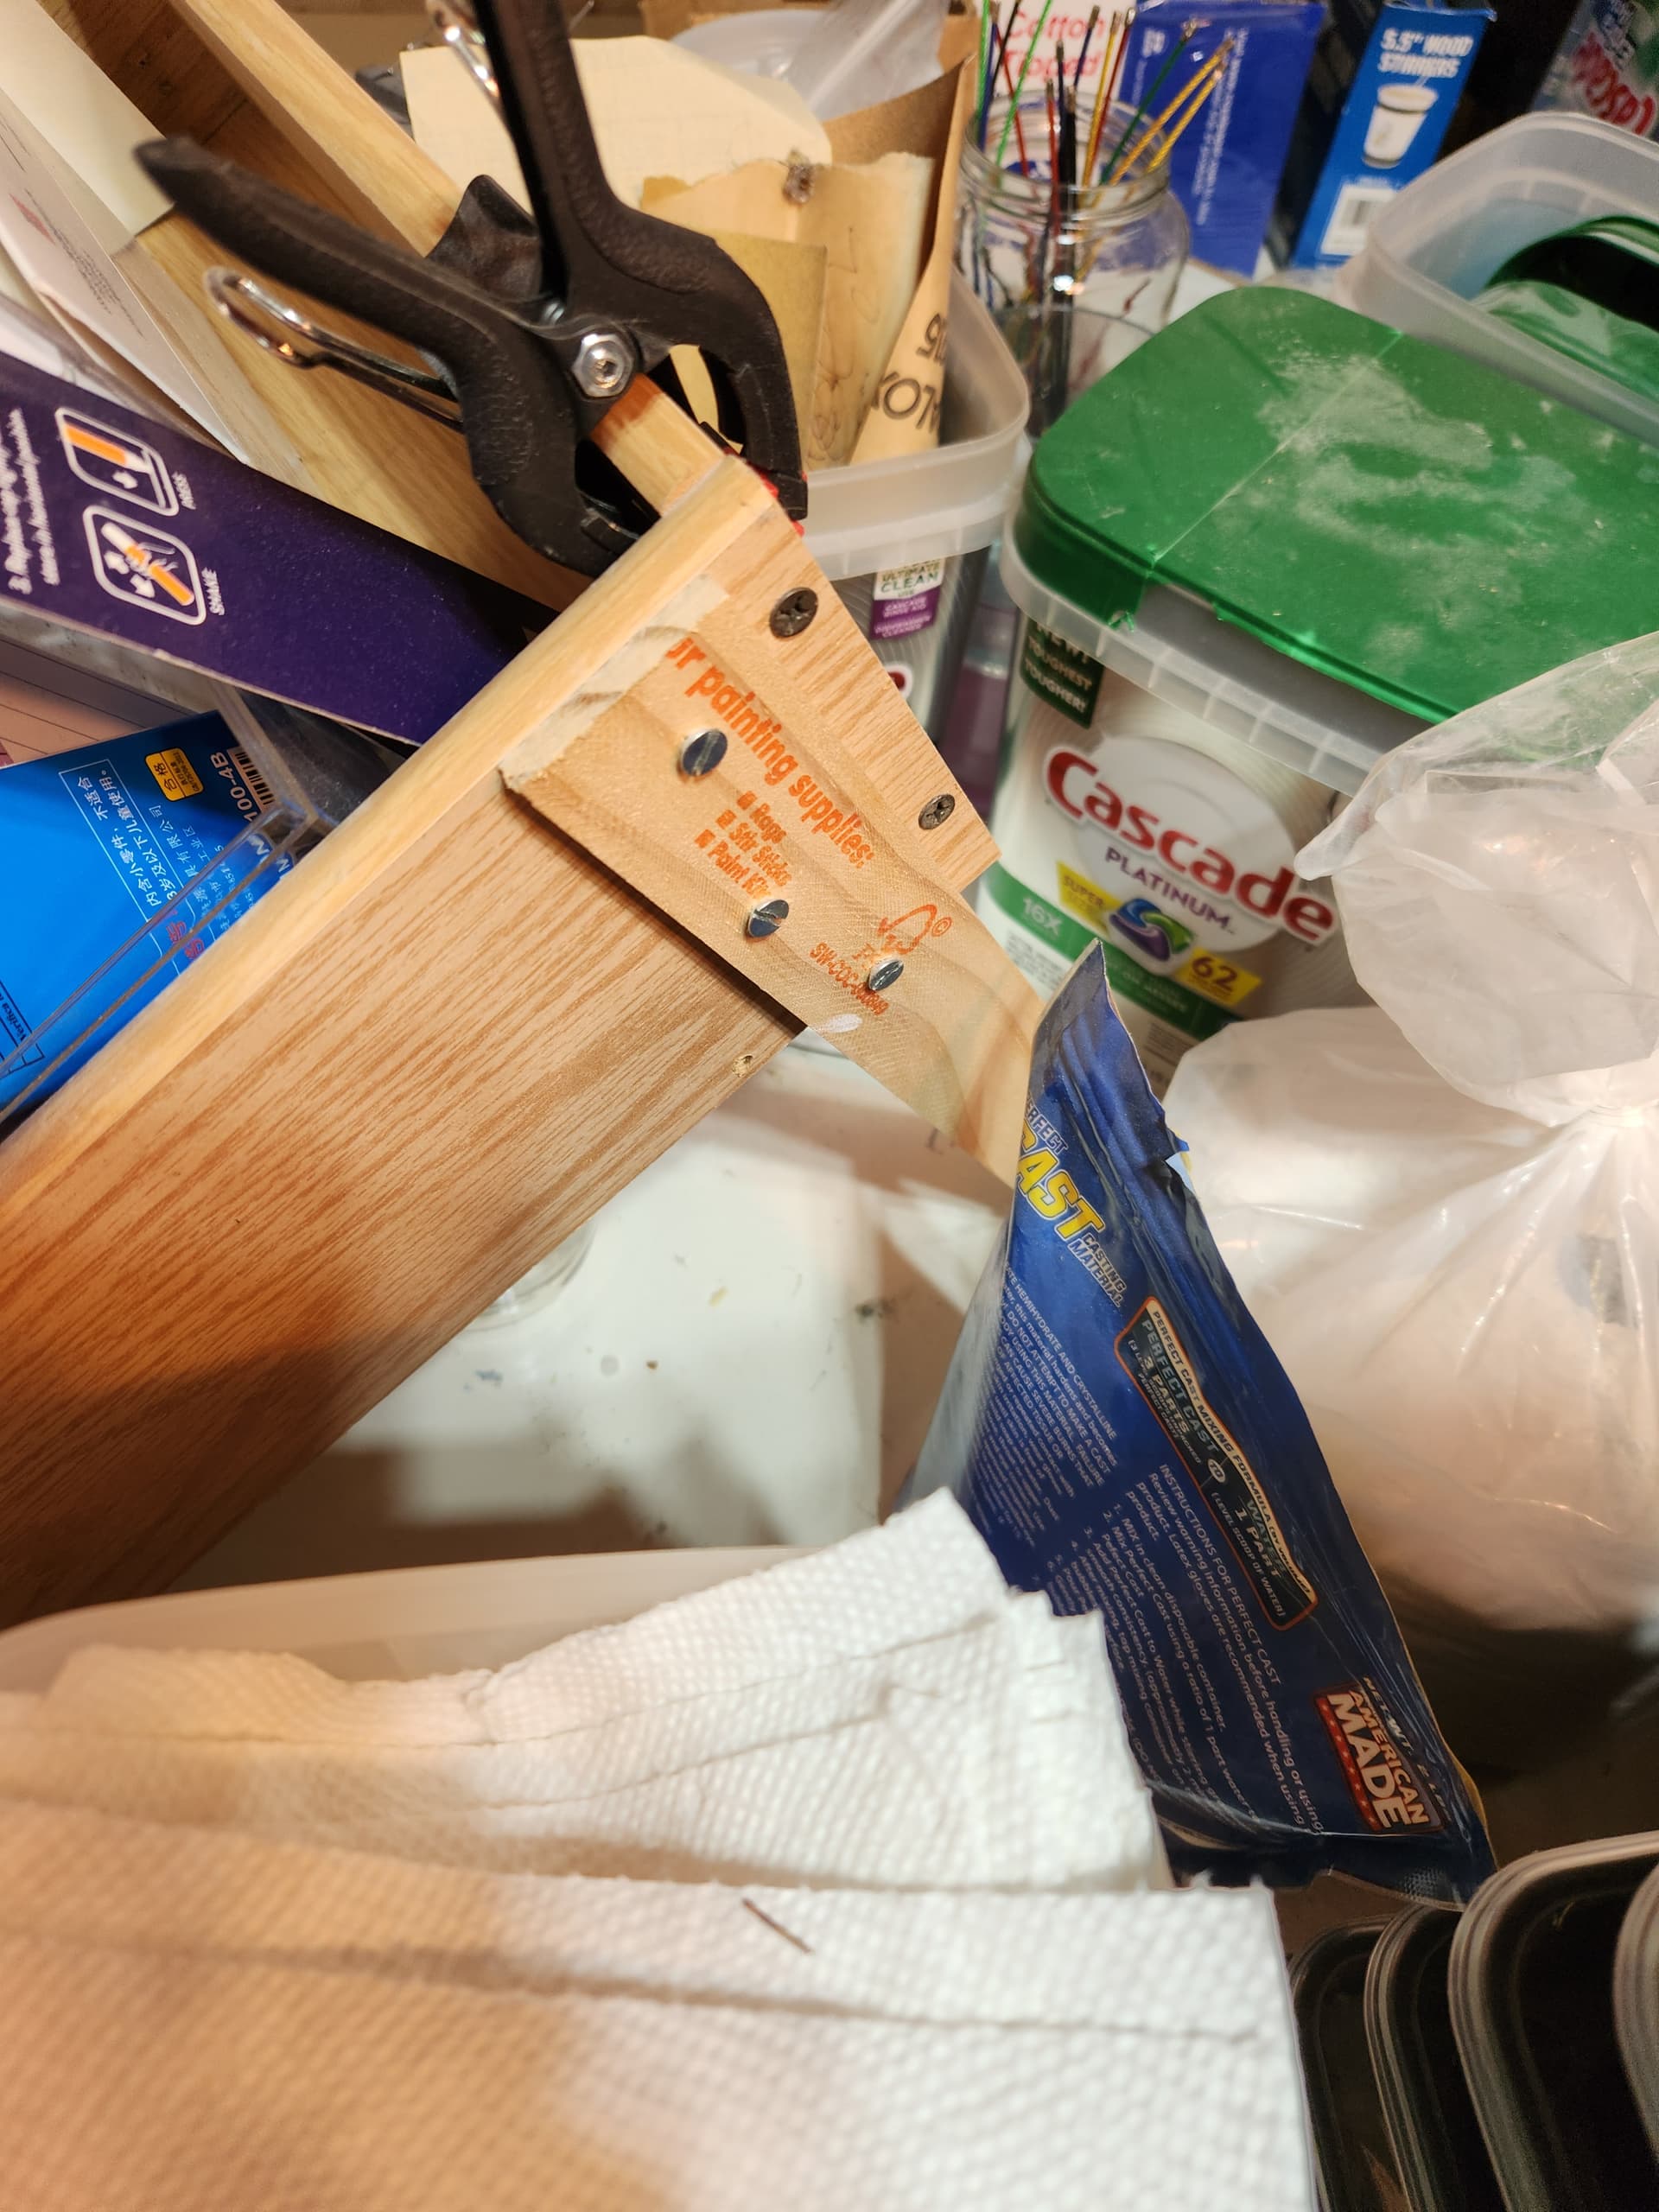
Her is a cheap idea for holders for your supplies. If you’ve got an old Sauder or Bush desk, or something else in your basement with drawers, take a drawer, cut two paint sticks which you also probably have in your basement, use two screws to attach the paint sticks to the back of the drawer and you have a drawer angled toward you. I got some cheap plastic display boxes and put 9 boxes in each drawer to hold toothpicks, rubber bands, stir sticks, cotton swabs or whatever you want. Here is what that looks like:
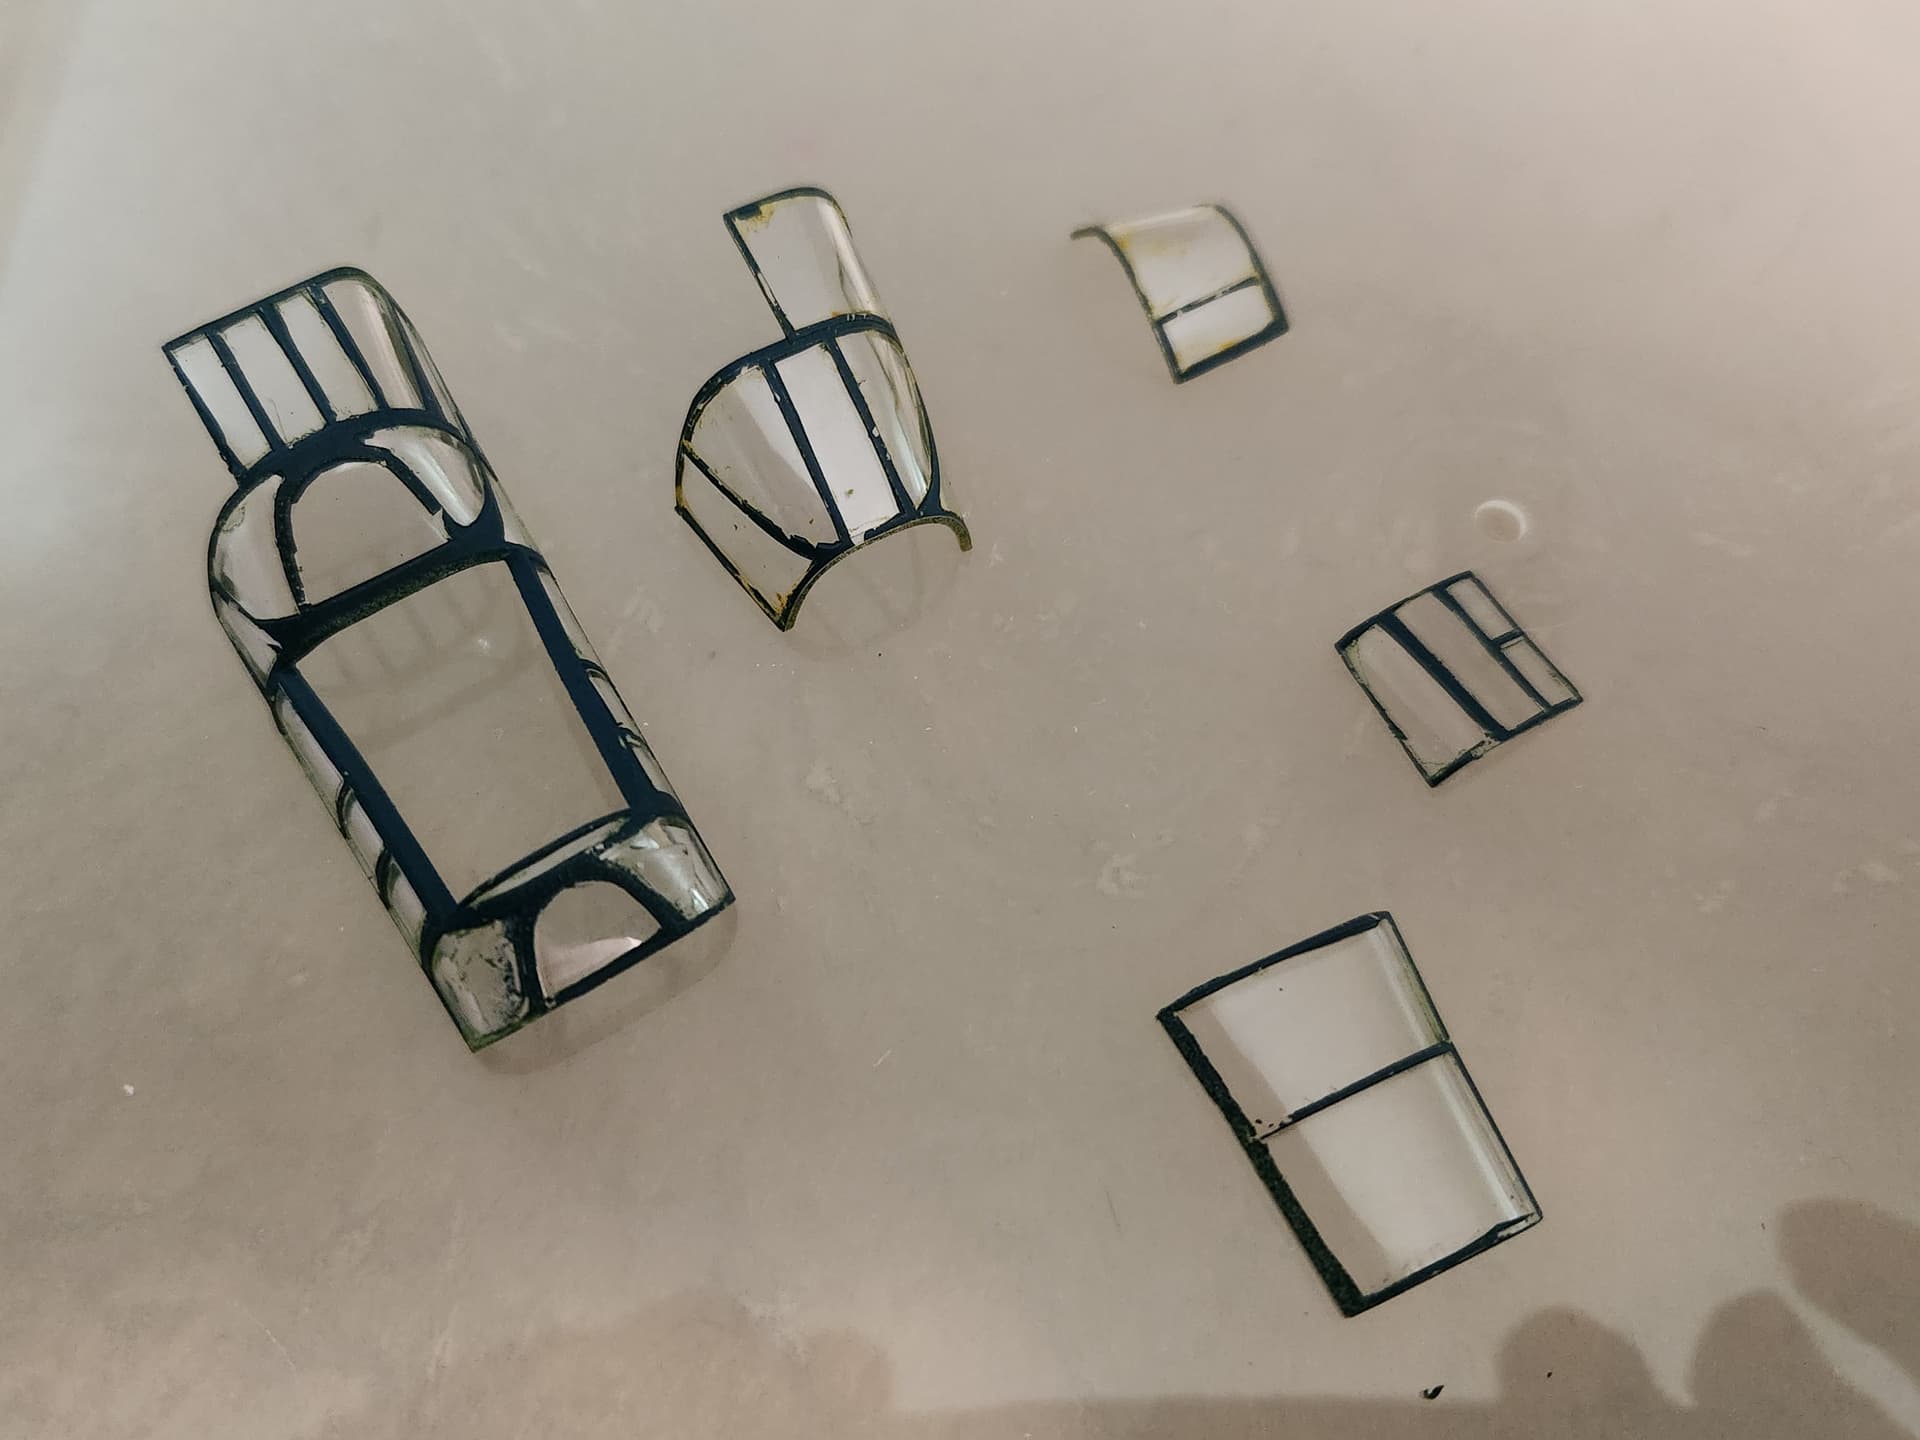
Back in the day, I put pieces of scotch tape on the canopies, carfully cut along the canopy lines with and xacto knife, painted the ribs, pulled the tape off and done. Now the have vynyl canopy masks. They didn’t work for me on a P-61B I’m working on; they just didn’t line up right. Here’s that:

So, I tried masking tape and that failed miserably. Luckily I broke a bunch of pieces on my P-61B getting them off the sprue and had a cheap P-61B I bought off ebay and so replaced the canopies. Here is the crappy result of the masking tape.

Finally, I got a suggestion on YouTube. It’s a tape called: “Selizo High Temp Tape, 5 Pack Multi – Sized 1/8”, 15/64”, 15/64”, 15/32”, 5/64”, Heat Resistance Up to 280℃ (536℉)” on Amazon. It sticks when you want it to, pulls off with out a problem and paint doesn’t seem to get undr it. Here’s what it looks like.
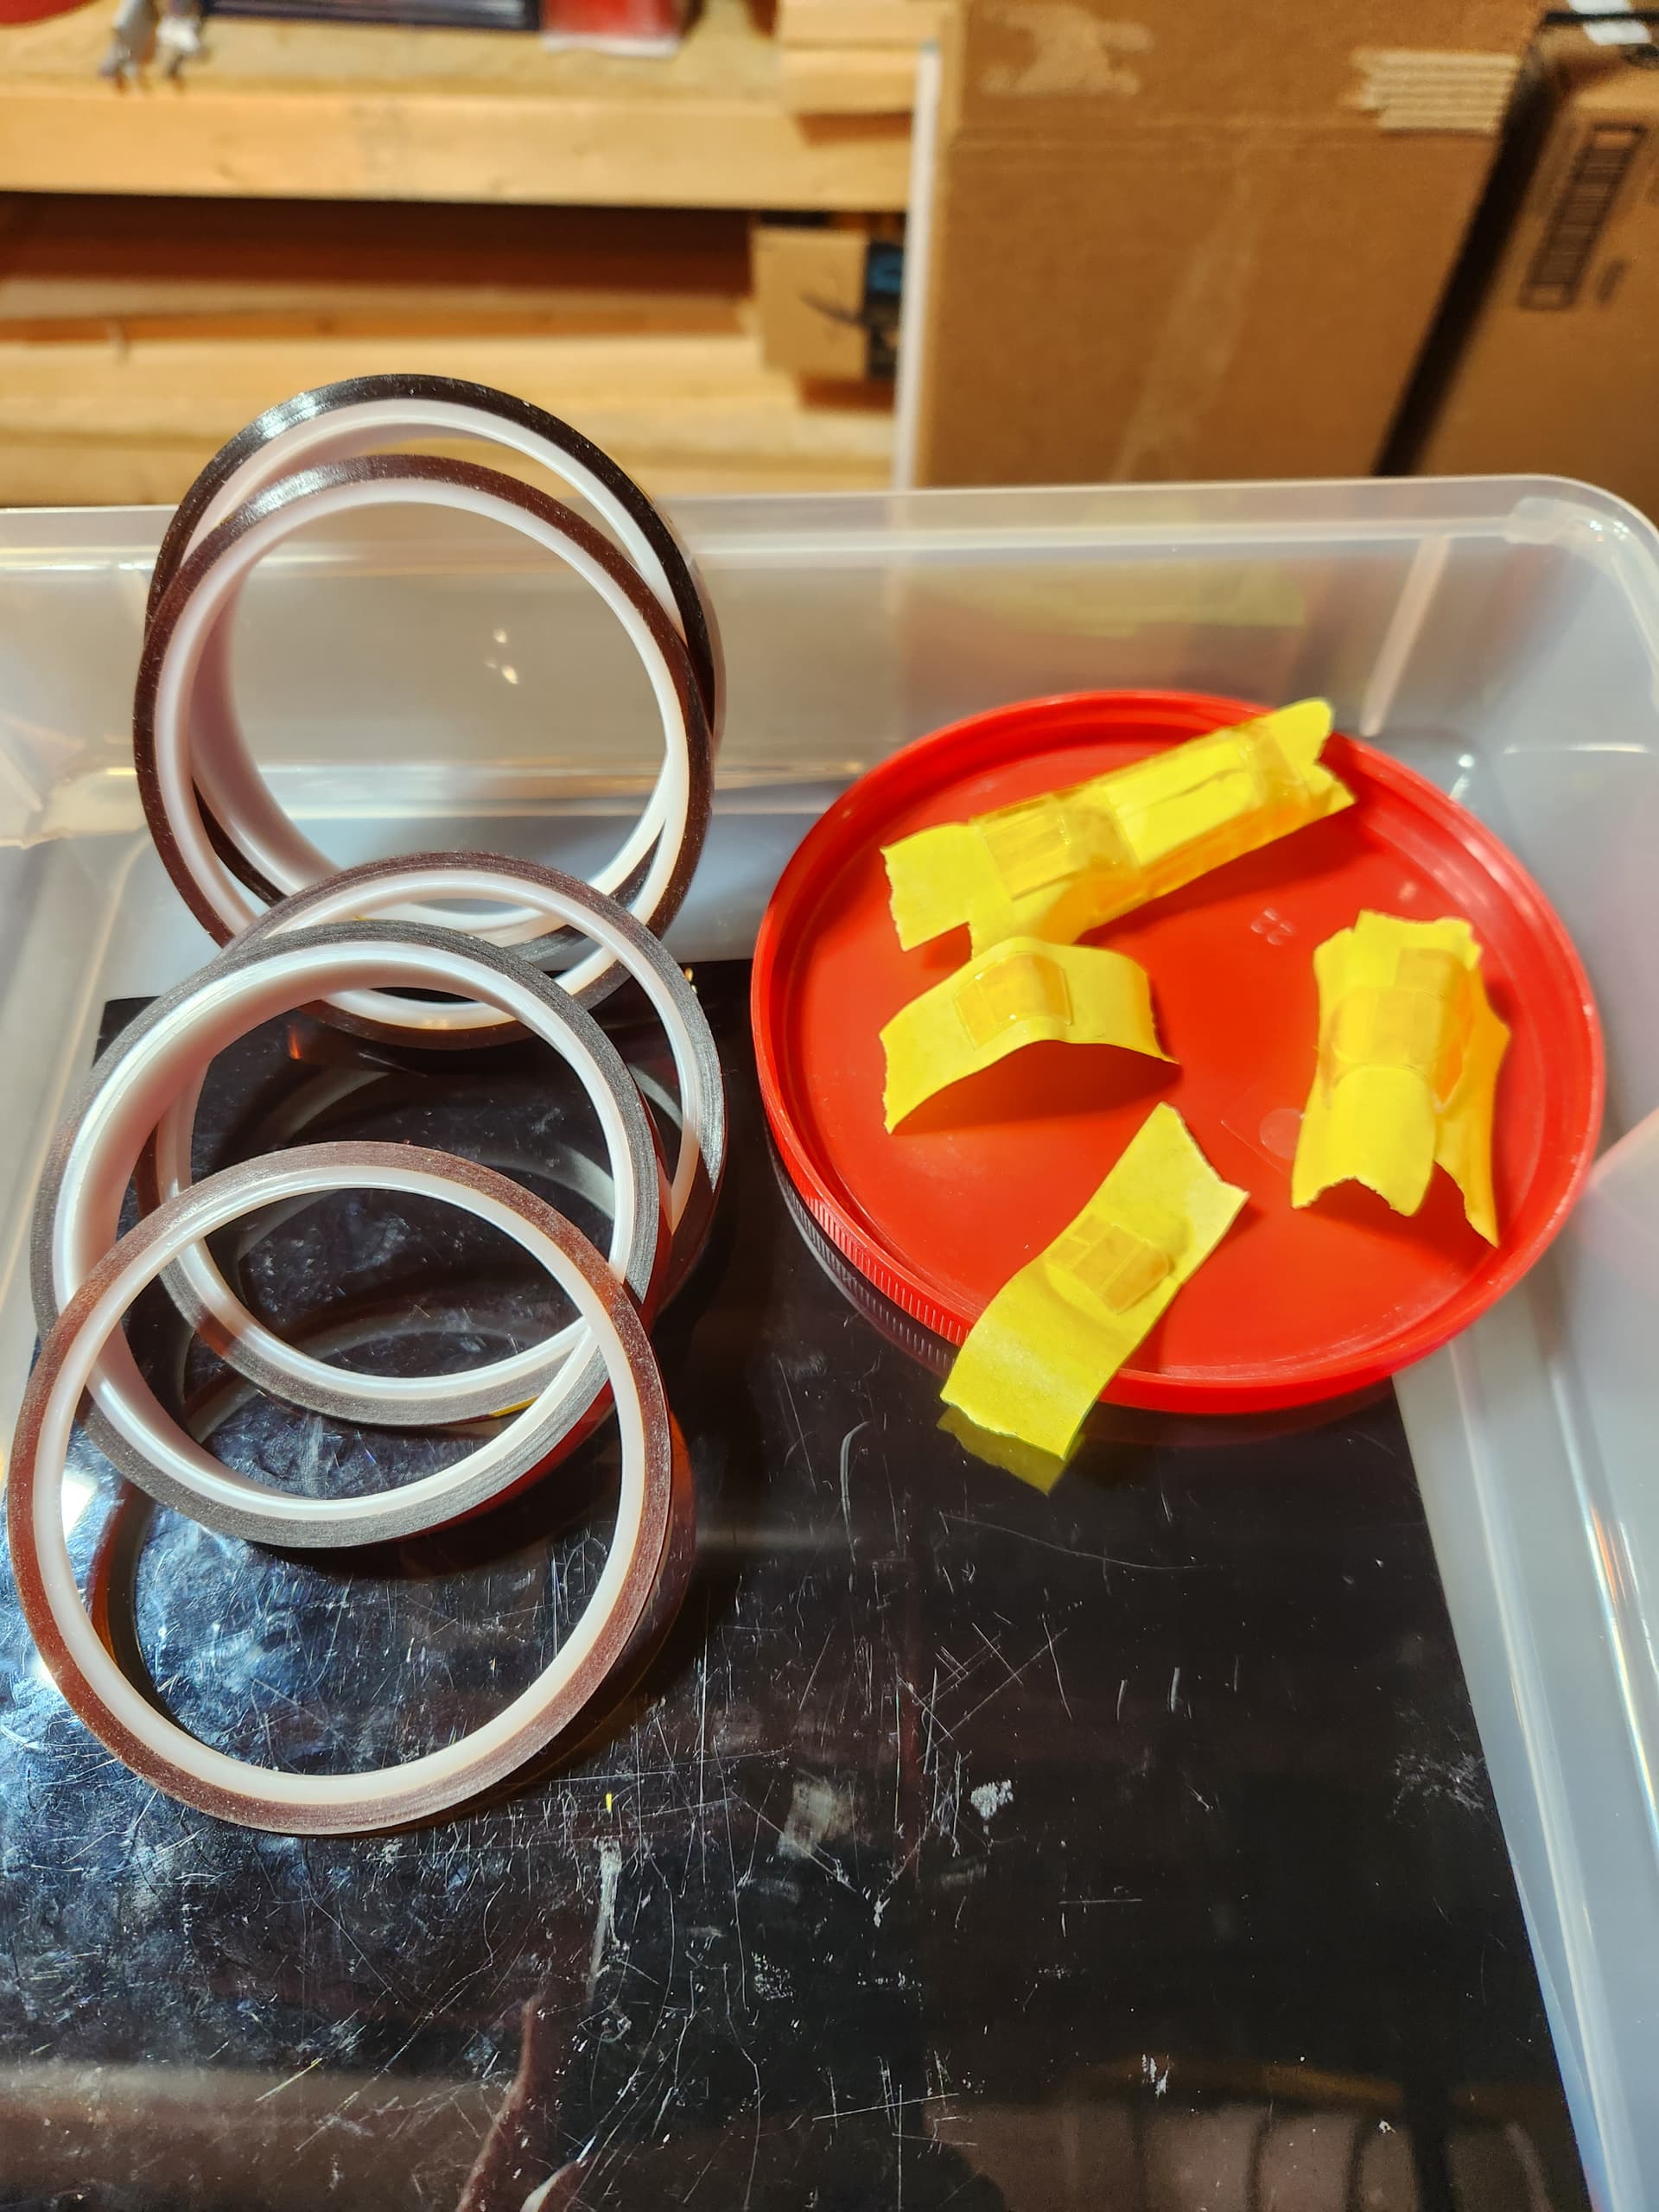
You put it on, it is yellowish but you can see through it like scotch tape. Put it in place, burnish it down with a toothpick, run a sharp xacto blade along the canopy lines, pull off the excess and you’re ready to paint. I still can’t believe how easy it was. Here is the tape on the canopies and the result after I took the tape off.

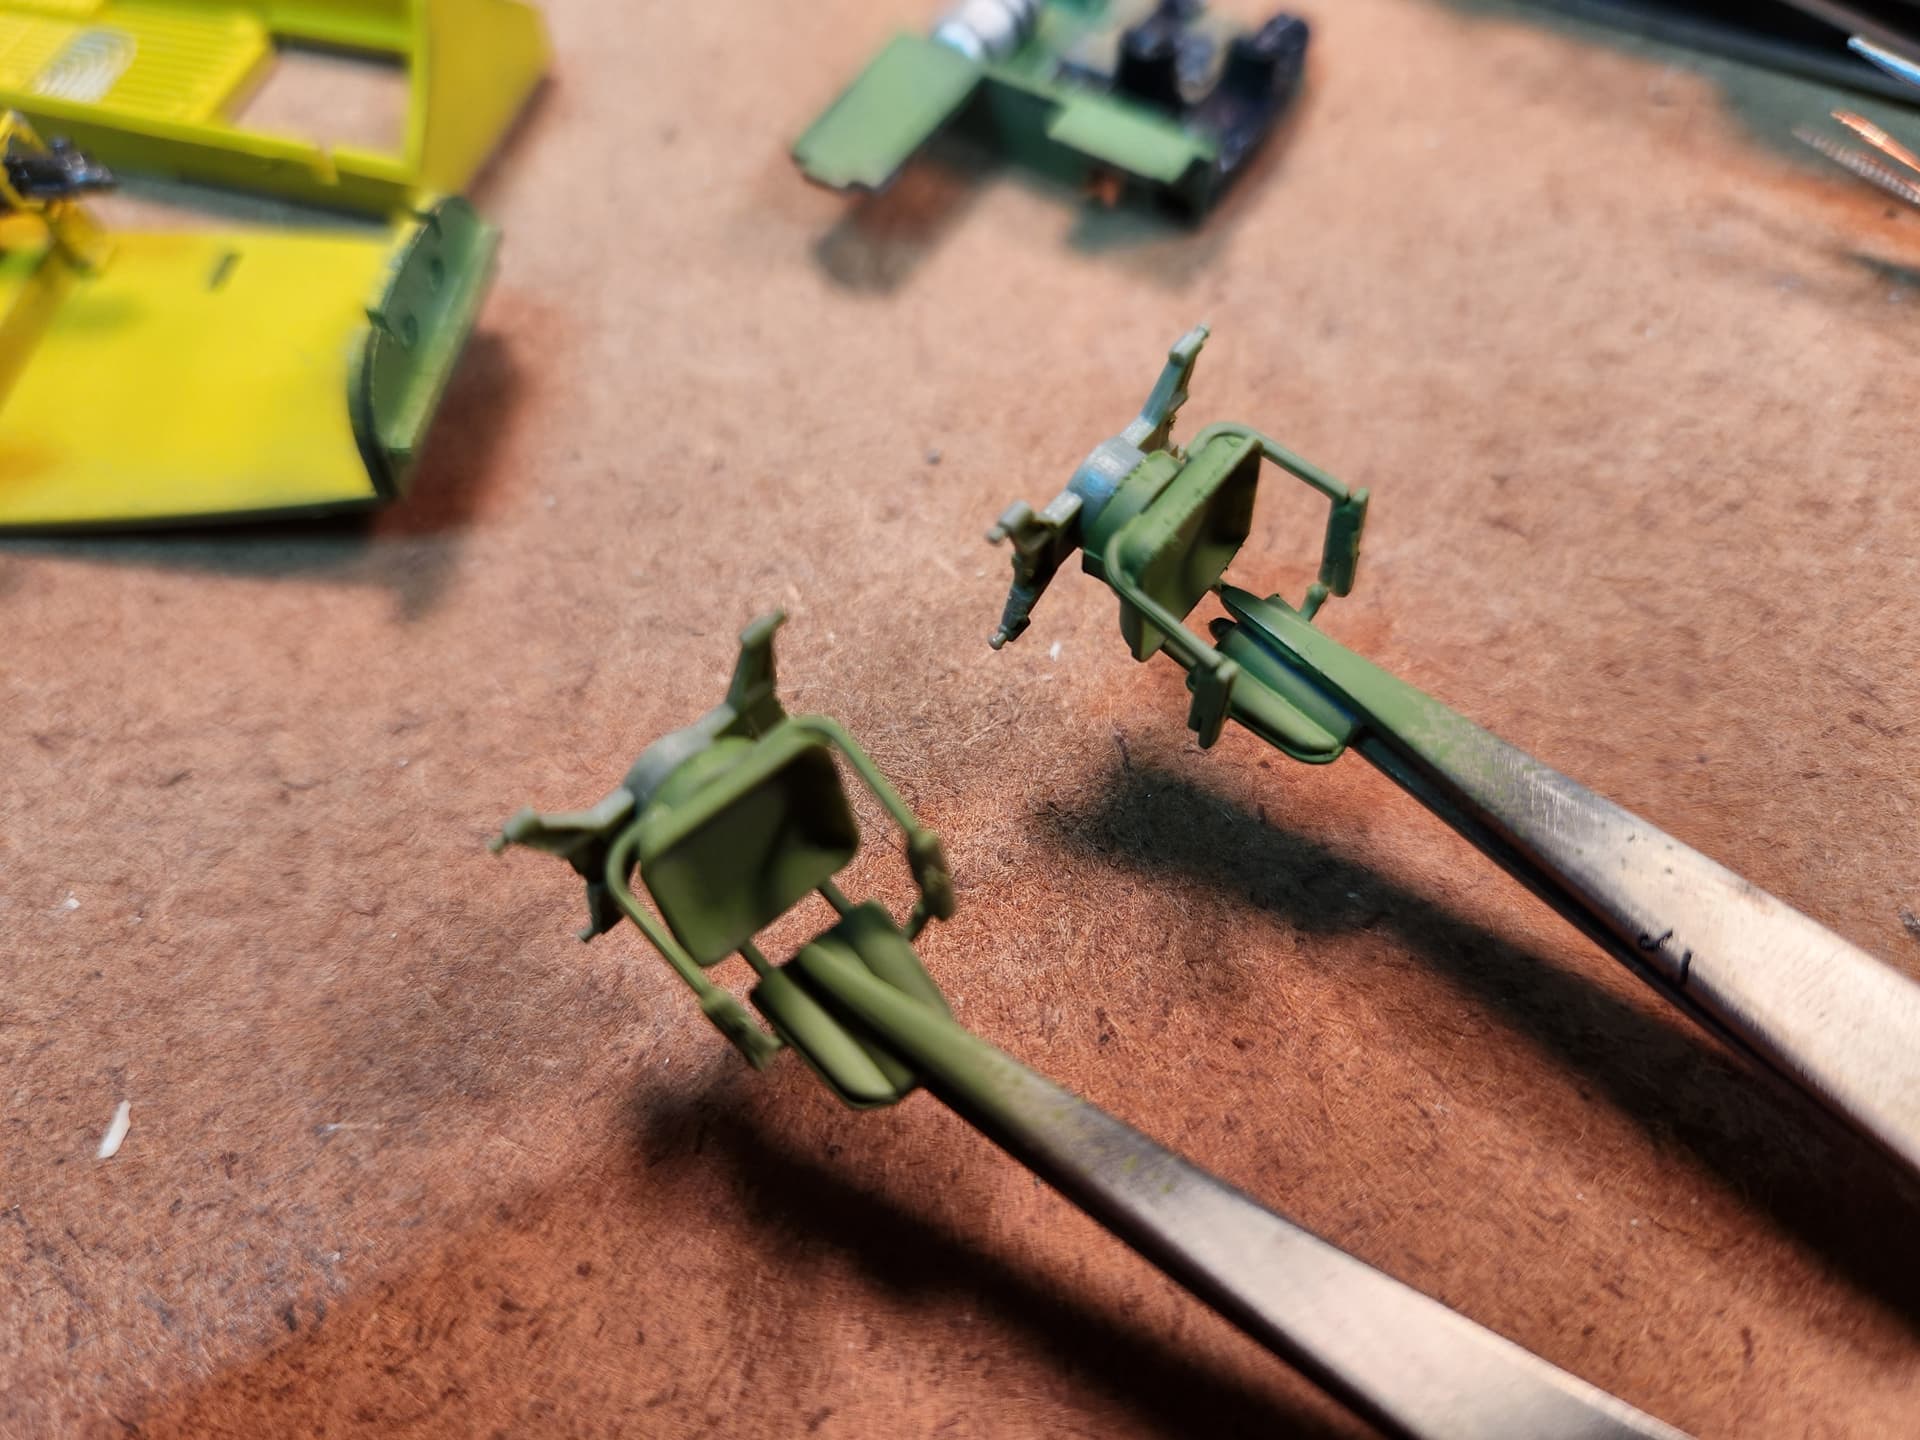
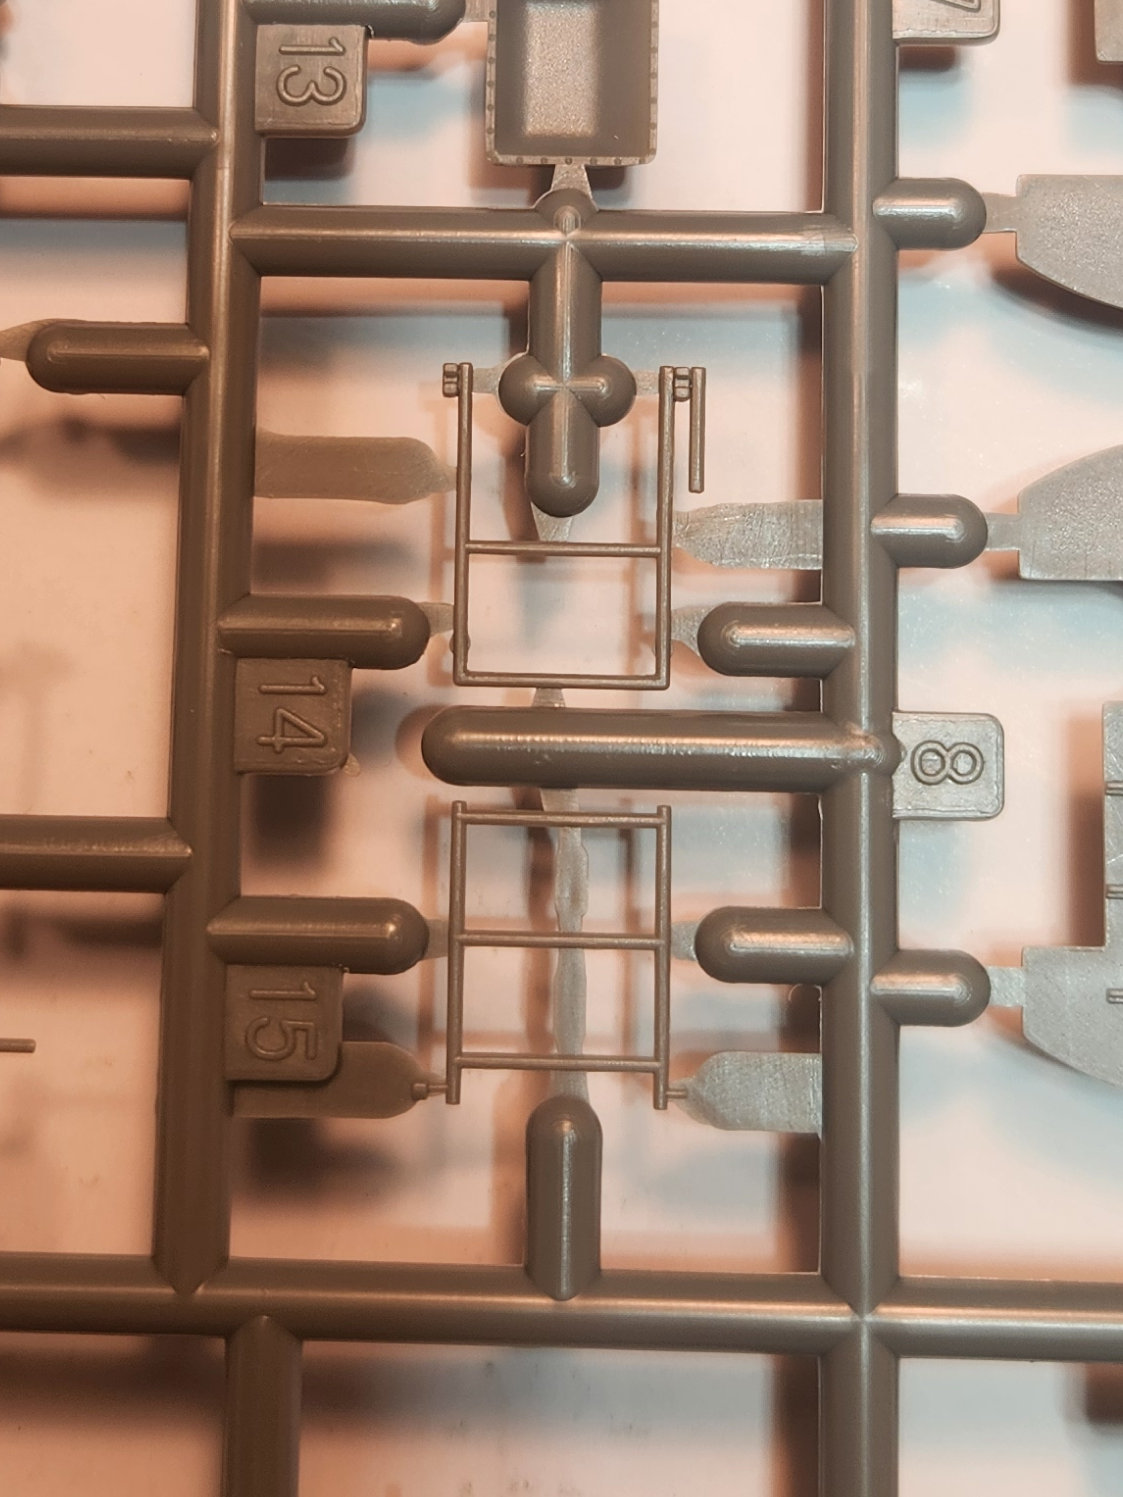
As I said, I’m working on a 1/48 Great Wall P-61B. If you remember kits back in the day you had to get a hammer and chisel to separate the pieces from the sprue, forget that. Current kit making technology allows modern kit companies to make pieces that are less that 1 mm thick. What you probably don’t know is that when you use a typical sprue cutter the blades push the sprue apart at the cut. This slight movement in opposite directions will break any of these tiny pieces and make them useless. You actually need a strategy for thin part removal so you can free them without putting any stress on the part at all. For instance there was a fire extinguish in the P-61B with a nozzle and a very thin hose connecting the two. I pick up the tiny fire extinguisher up and just that slight stress broke the part. I broke so many parts I had to get a second cheap copy of the kit from ebay. Here is the GWH sprue with the small parts.
So, you need to start with a really really thin bladed sprue cutter. So far, the thinnest bladed one I’ve found is from Tamiya. Here is the Tamiya on the left and a regular one on the right.

The greatest place to get information on any building problem or building any model (other than Finescale Modeler of which I have every issue ever) is YouTube. You can spend a half hour watching your kit being built and painted to give you a head start and warn you of any problems.
That’s all I can think of at this point, if I think of anything else I’ll post it. Also, if any of you have a suggestion for old guys or a question, throw it in here.