So far, so good. I was curious about the other projects you had going, the Phantom, the SR-71, and the '86? Do you change projects like I do?
Jim
So far, so good. I was curious about the other projects you had going, the Phantom, the SR-71, and the '86? Do you change projects like I do?
Jim
Hey gang!
Bish: Sorry your build didn’t turn out like you wanted. Don’t get discouraged, it happens to everyone now and then.
Speaking of changing gears, I ended up picking up the RF-4B. Ken, I am wondering if I should add it to the roster? Did some detail painting on it:
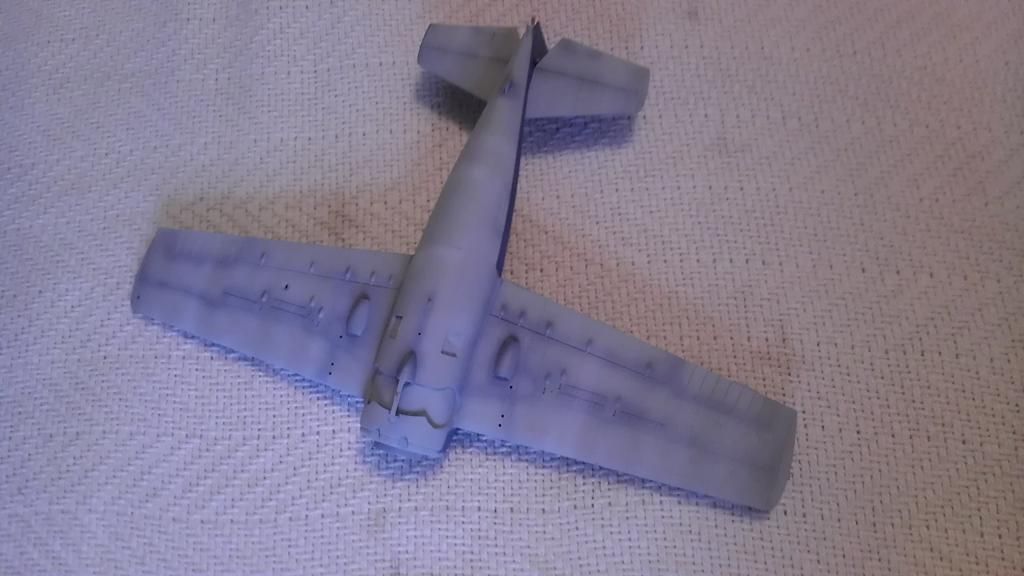
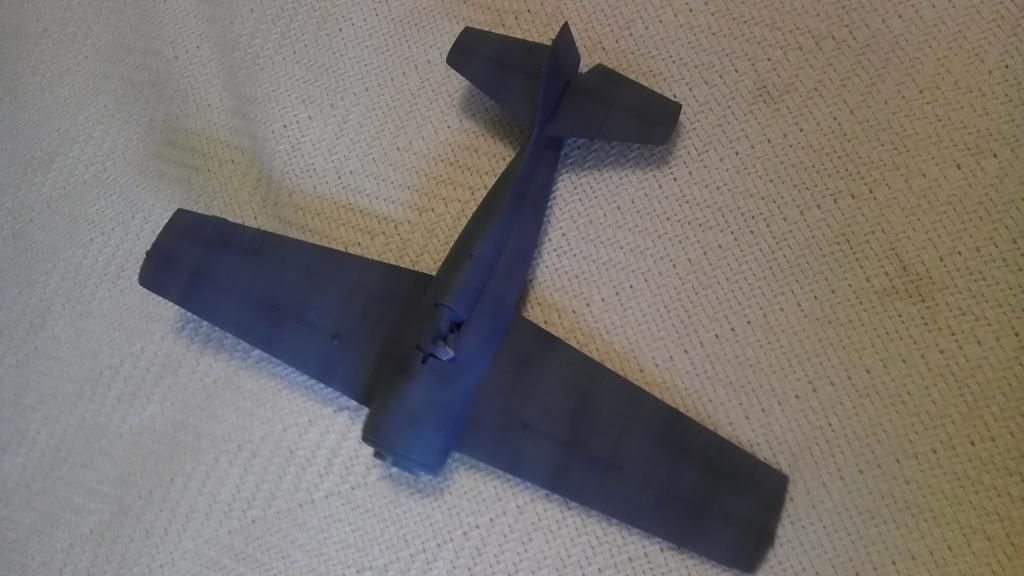
The A-10 is alive and well:
It’s getting a gloss coat in preparation for decals. I tried a different approach on it. After spraying on the colors, I buffed out the paint with my toothpaste/polishing compound to give it a smooth but flat surface. I then have been overcoating it with some “Hight Gloss Clear” I found in with Testors automotive line. Jury is still out on this one. The finish is fine but still not a smooth as I had wished for.
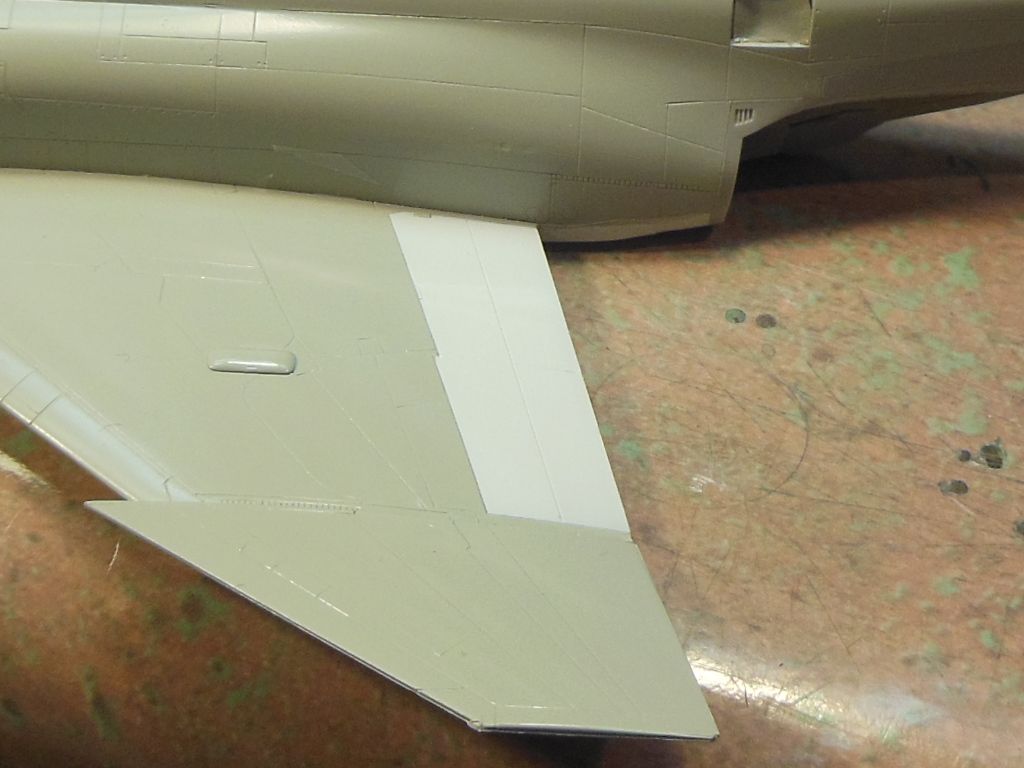
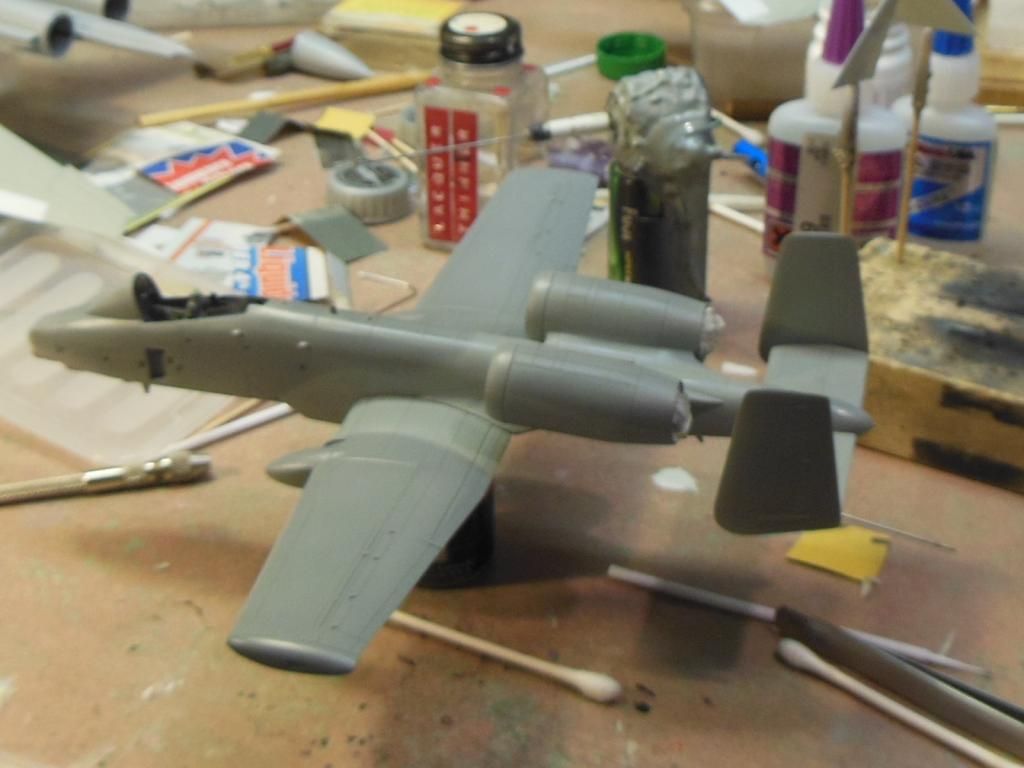
The F-8E is getting the most attention:
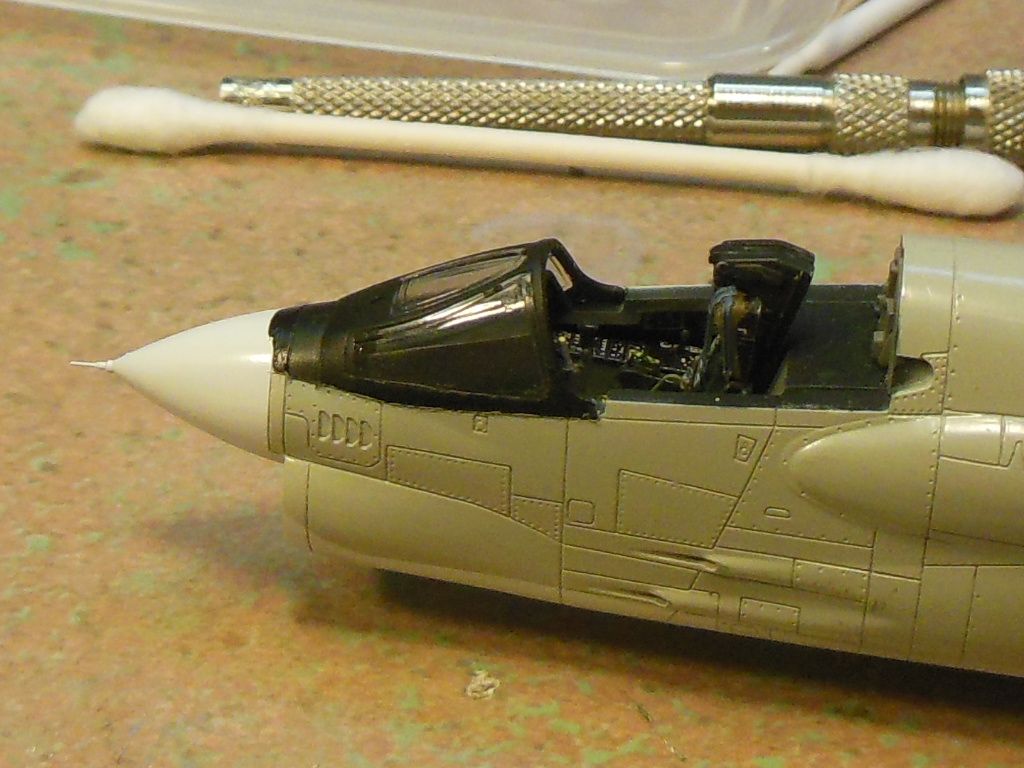
Still a few details to go in the cockpit.
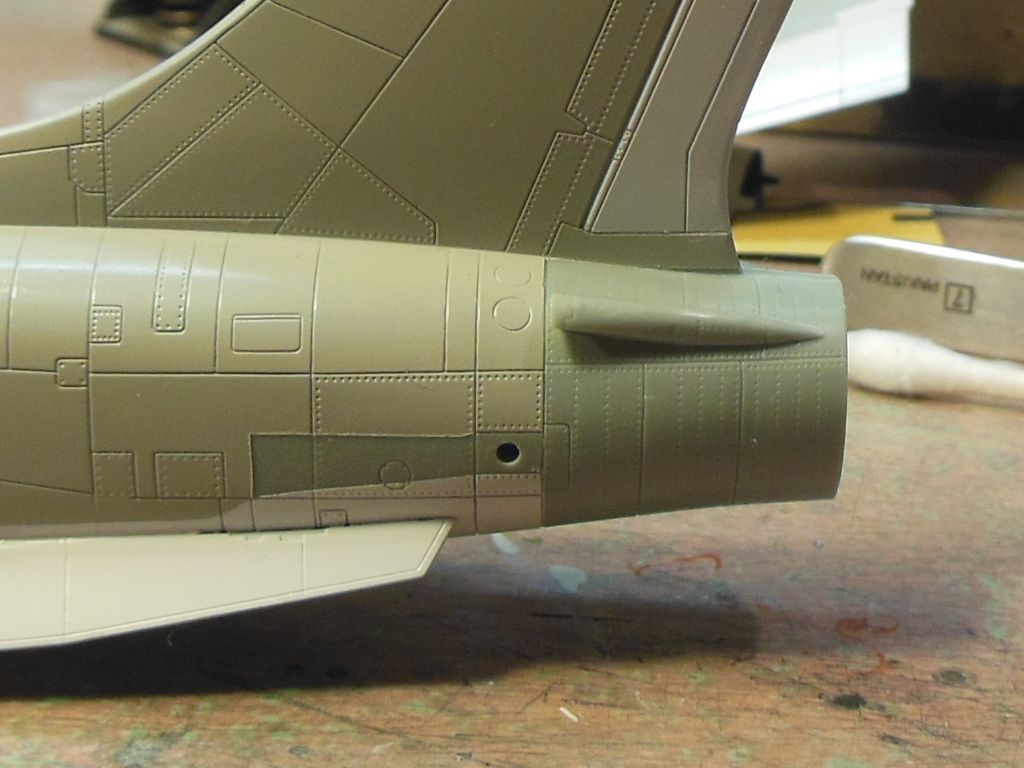
Removed all the masking. The unpainted plastic gets metallic treatment: I’ll have to knock down that raised edge where the tape was…
I also started a decal on the upper wing surface.
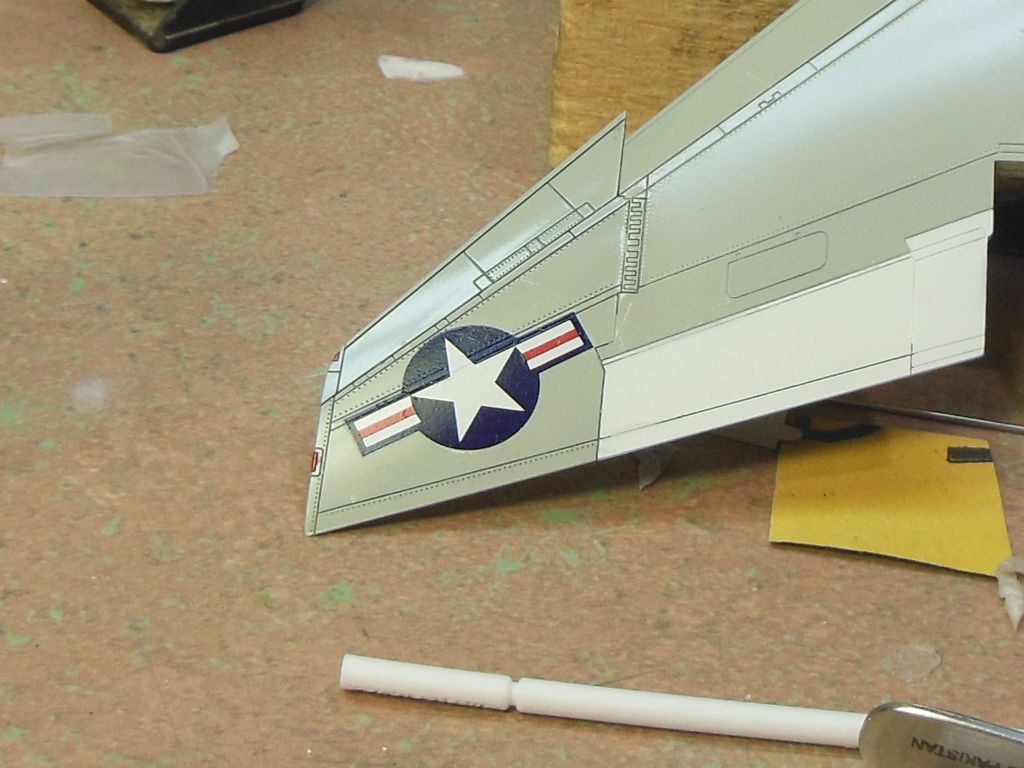
The Cartograph decals sucked down into the panel line nicely after hitting it with the Micro red. Wonder if I really even needed it though. You see I also hit up some of the panel lines and also the red lights for the wing tip.
One oddity about the decals is that they provide markings for two different aircraft, and two different numbers tail codes and numbers for each, which would actually give you a choice of 4 different aircraft to build. Also included is a couple of decals for a Marine aircraft, but no tail codes or numbers to go with them, nor are they mentioned in the instruction sheet. Just strange…
Jim
Yes, I still have those projects sitting to the side. I wanted to do this one as a strictly out of the box. Then I will get back to the other projects. [:)]
Ken
Wow Jim, you are really keeping your bench busy! Everything looks fantastic! [Y] [Y]
On the subject of your RF-4B, all I need is the manufacturer of the kit and I will add it to your roster! [:)]
Ken
Jim: They’re all coming along really well, the F-8E esp looks good. That is odd that the decal sheet and instructions don’t jibe, you’d think if they changed one they’d change the other.
Hi Everyone,
Well I blew it! Stupid move on my part! [bnghead] I put the instrument decal on and the stupid thing was just a little too big. There was a little bit hanging over the left and right edge. No problem I thought, I will just hit it with the Micro Sol. Just one more brush stroke should do it! (How many times have you thought that?)
The decal moved and bunched up. [00ps] There was no straightening it out.
So, I was planning on this being strictly out of the box. But with that mistake I put an end to that. I ordered an Eduard photo etch set that has the instrument panel. Yay!
Ken
Tough break Ken! I hate decals because so much can go wrong. Guess it’s a good thing you had something to fall back on. I sort of had the same thing on my nearly forgotten Trumpeter F-105. The decals didn’t quite fit the panel, so I ended up upgrading to a detail set.
Jim
I figured out the mystery of the “odd” Marine decals:
Here is the sheet: you can see the Marine marking in the center.
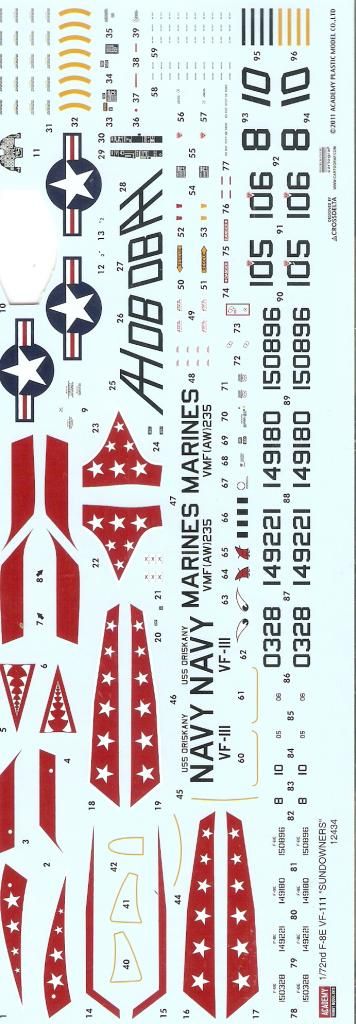
The instruction sheet, which shows no indication about these markings.
(The sheet is two sided with common markings on the back)

Notice how empty the lower 2 drawings appear?
Lets look at the real thing:
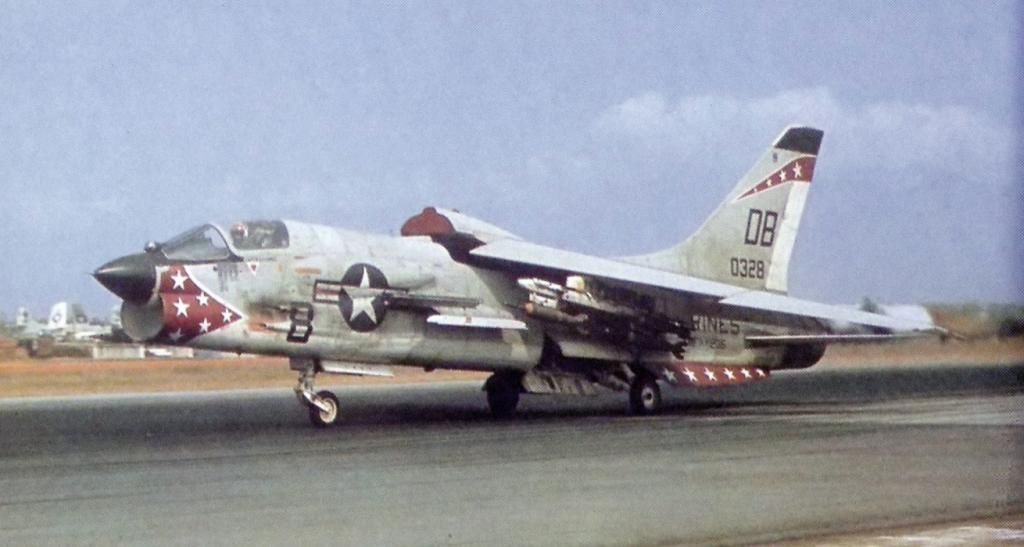
Viola! Looks like a miss print on Academy’s part!
You notice the fuselage missile pylons actually cover part of the star on the side: the instructions do say to place the decals first before installing this part.
Not sure which version to build: Navy or Marine. If I go with Marine, then the nose gets repainted black.
Decisions, decisions.
Jim
Other updates:
Ken, RF-4B is, what else, a Hasegawa kit. 1/72 scale of course.
Painting bits and pieces: doors and more doors. Working on filling some ejector pin marks.
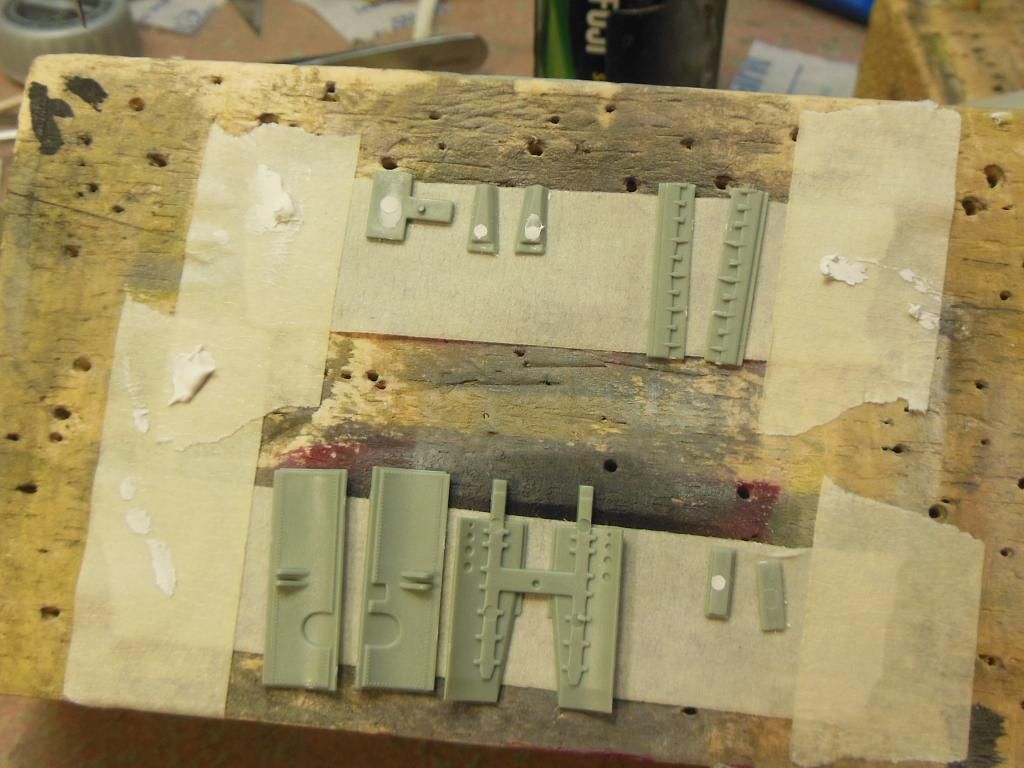
I’m using some of the Perfect Plastic Putty. My one complaint is that I thought I had the cap good and tight, but I ended up digging out a dried glob out of the end before I could use it. This time I wrapped the entire thing in cling wrap. Hope that helps.
I received the detail set for the 102 today. No plans to start it very soon as I need to clear up some of the other builds first
The Su-27 calls for Humbrol colors. I had trouble finding cross-overs, and decided to go with the Humbrol. My LHS carries Humbrol, but wouldn’t you know they were out of the EXACT same colors I needed. I must not be the only one building this kit. I ordered some from SB. Should be here by Friday, though I actually won’t be ready for them for a while.
Jim
P.S. I’ve never used this line of paints. Anybody have tips and advise? I read somewhere that Testors thinner works for airbrush thinner
J
Yes, it seems that “scale” is a relative term when it comes to making decals, aftermarket parts, etc. You would think that since the decals came with the kit, they would make sure they fit! But then you always hear the phrase “it is up to the modeler to make it fit!”.
Ken
Good catch on that Jim! Once again quality control is non existent!
Ken
Good job on fixing the sink holes Jim. Your work as always is top notch! [Y] [Y]
Ken
Jim: As usual nice work, I’ve started using the Perfect Plastic Putty and love the stuff. I just dig out the dried ‘cap’ whenever I use it.
BTW: IPMS Stockholm has a chart if you want to cross-reference the Humbrol range to another more available in the States:
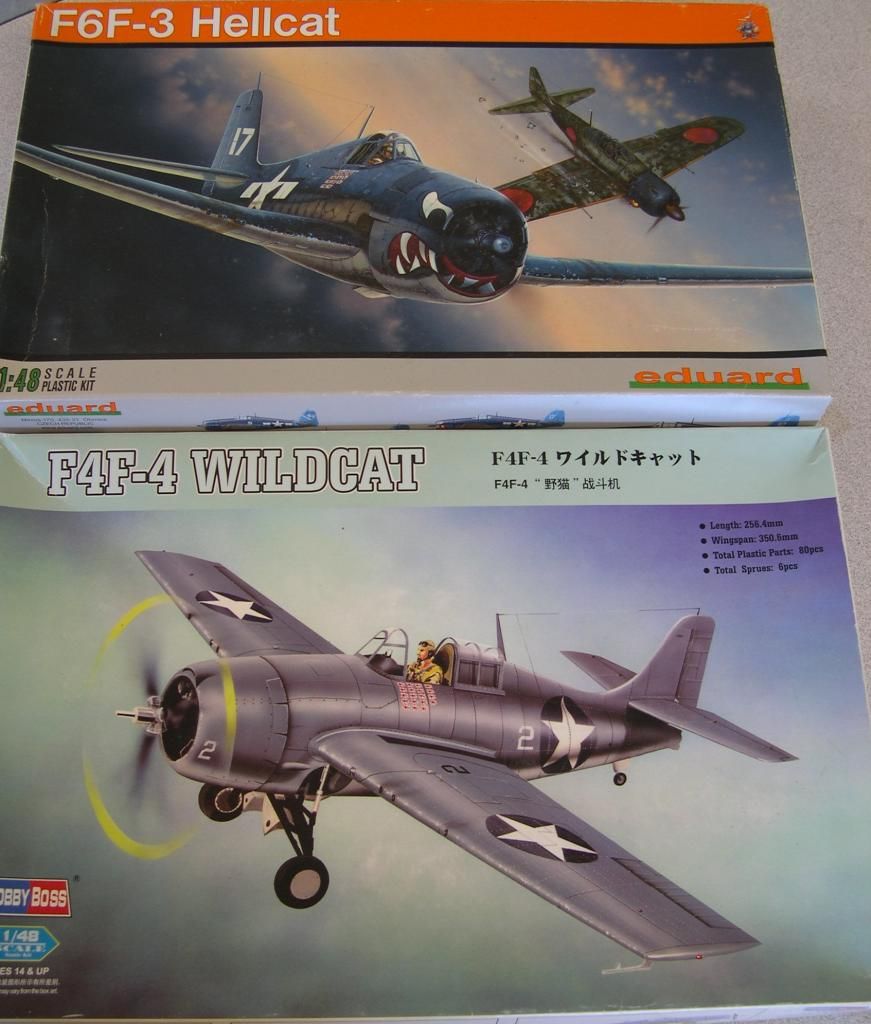
BTW: As I said a few posts back I am finally back to work on the Wildcat. Hopefully I’ll get the gloss coat on this weekend so she’s ready for decaling. I did a little work one Hellcat last night- hopefully she’ll be ready for paint soon.
Nice work Cliff! Nice job on the pre shading! [Y] [Y]
Ken
Thanks Ken, I’m trying the streaking technique Lawdog uses here too.
Well ken, here’s the final pics of the F16, I am calling this done. Fortunately the pics don’t show all the flaws in the paint job. Overall it was a nice kit which I am glad I finally got to do, the only let down was the paint, the contrast between the 2 greys is not as much as it should be and it is as bad in the flesh as it is in the pics. But the varnish was the real spoiler.
Overall, not my best build, but certainly not the worst. But I did learn a few tips, especially for dipping the canopy and especially tinting it, I was really pleased with how those came out.
So here you are.


Thanks ken, its been a real pleasure to take part, sorry I wasn’t as active as I should have been. One reason I am trimming down on GB’s. I am guessing you are going to carry this on for another year, if so I would love to take part, but this time I will wait until I have trimmed down my commitments a bit.
Thanks again.
Great build Bish! [Y] [Y] The paint blemish is barely noticeable. In fact, I bet if you didn’t mention it, most people wouldn’t see it.
Yes, this build will continue as long as I am alive to do it. So you are most welcome to come back anytime. As you can tell, we are pretty laid back here, and all builds that are not completed are more than welcome to continue in the next. So no deadlines here. We hope to see you back real soon!
Ken
Thanks ken. I will try and pop in and see how all are doing. Unfortunately at the moment I have my own deadlines due to being in so many GB’s. I hate over running but also hate to rush builds. So I plan on cutting back my commitments so then I can enjoy the builds more and concentrate on getting the builds I want.
Thanks again, and this is a great thing you are doing here.
I think your build look fine to me. I didn’t know you were also doing a base for it as well. Pretty cool.
I know what you mean about trying to over commit. I keep threatening to join a couple of other builds, but just trying to keep up with the 4 projects I have going now, plus work, projects at home and so forth, not to mention some recent health issues, I decided to try to complete some of these before hooking up a new GB.
Not sure what what other GB’s you’re involved in now, but I’ll have to look into them and see what you’re up to.
Stop in and say hello!
Jim