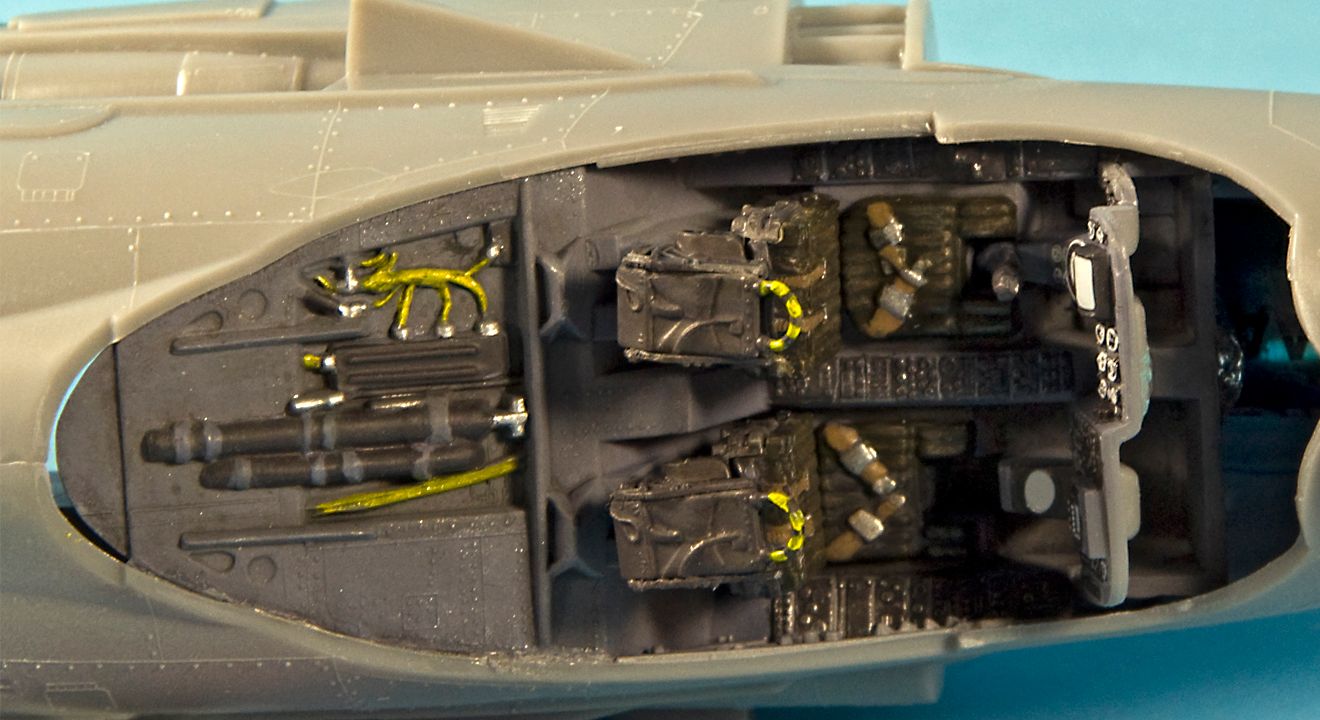
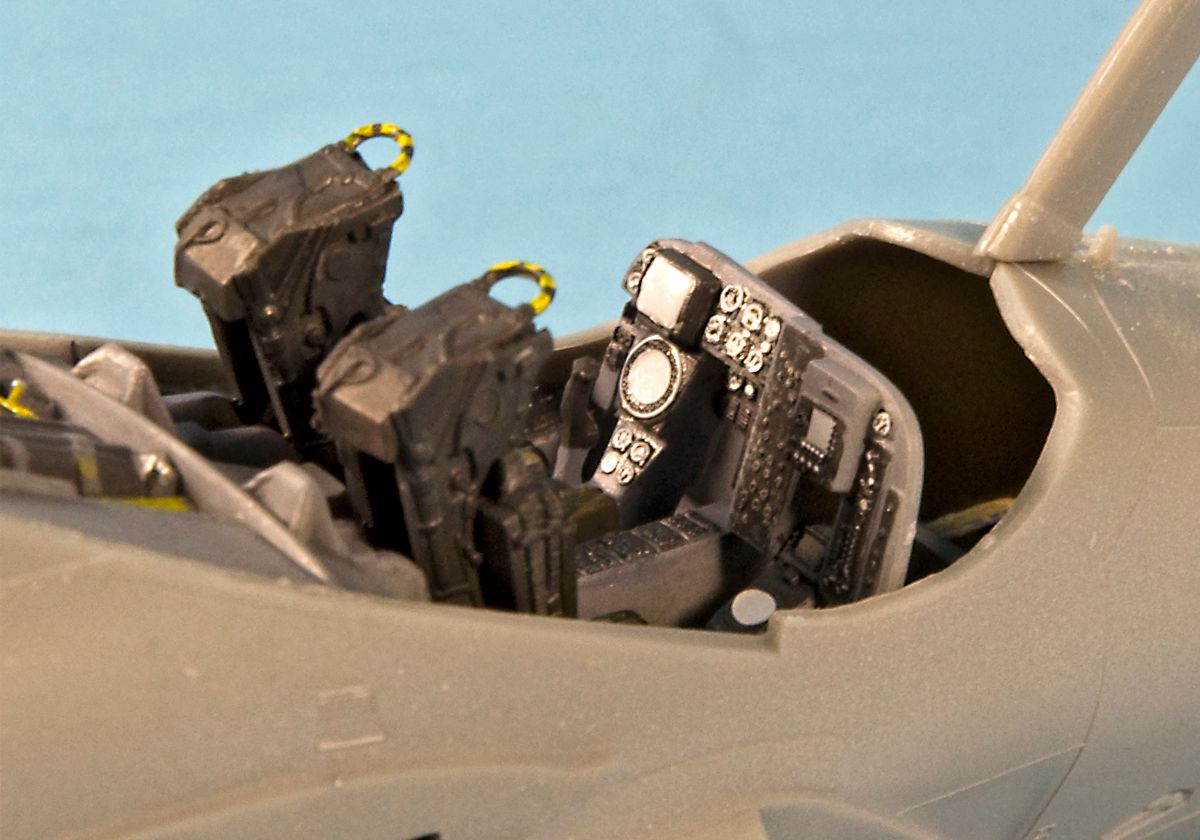
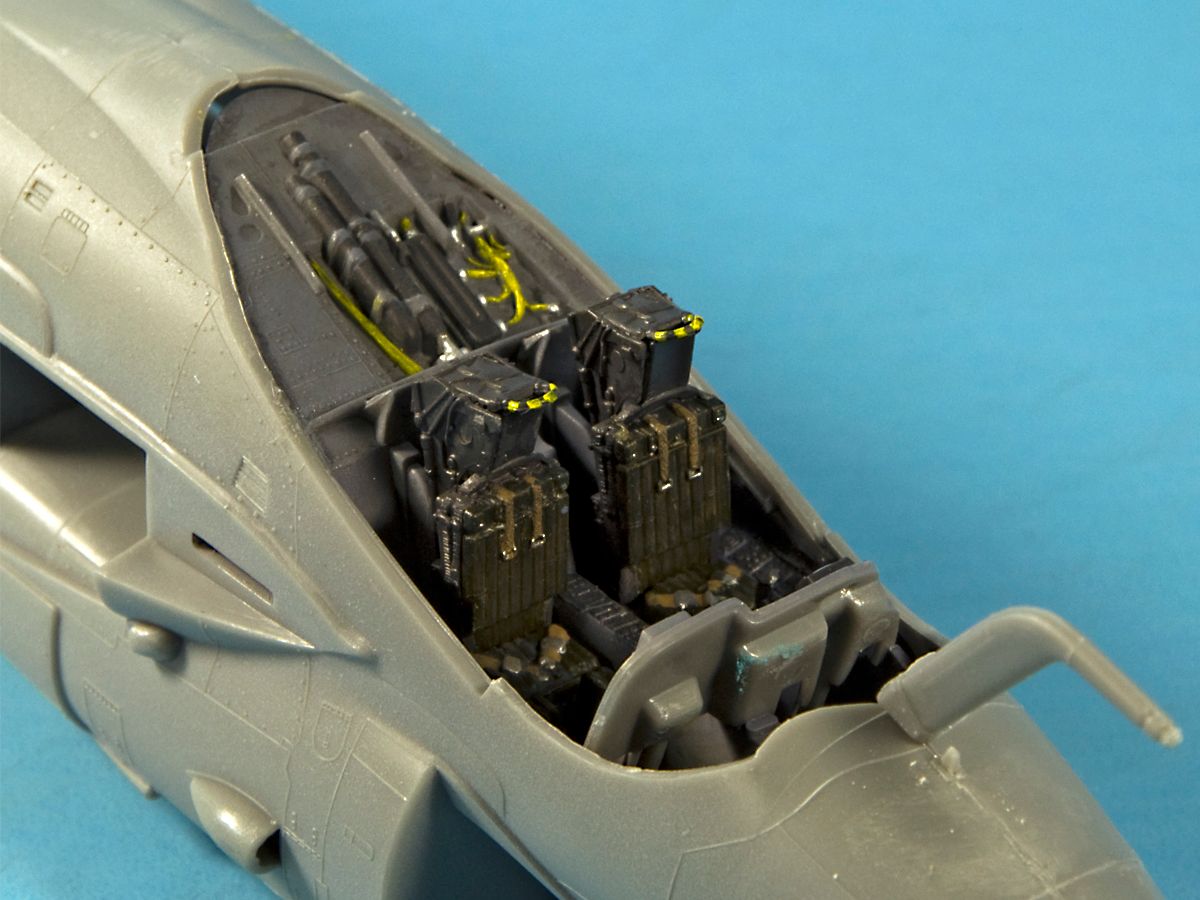
I’ve built the pit and assembled the fuselage. I was looking ahead in the directions to see how the IP hood mounted - and to be honest, I have no idea.
The directions make it look like you just kinda stuff it under the cowling, but that leaves some huge gaps - plus, there’s no mounting points.
Anyone built this and has a better understanding of how this piece mounts?
Believe it or not, I’m actually at that very stage in the construction of mine. I’ve glued the two fuselage halves together and have taken care of the seams. Next I’ll be attaching the IP hood. I, too, have seen it in the instructions but I have not physically tried it yet. I’ll do that tonight and let you know what I encounter.
That would be great! I’m completely at a loss as to how that part attaches.
BTW, if you didn’t install the nose gear/ center section yet, remember to add weight to the nose, otherwise, she’s a tail sitter. I saw a note, pointing out the need for drilling a hole for the clear brace, back by the tail hook (which, BTW, is no fun trying to install).
I took 2 dead AA batteries and glued 1 into the nose itself and the other to the backside of that center panel. Should be good and front-heavy, now.
I’ll post a few pics tonight, or so. We can have our own mini GB, LOL.
LOL! I love it! You and I should come up with our own group build badge!
It’s funny that just last night I was looking at that shroud on the instructions. Now you’re got me scared as to what I’ll find when get home tonight and see how it fits.
The great thing about that kit is the cavernous area in the nose where one can place the weights! I’ve already glued a few large fishing sinkers in there but now maybe I’ll drop in a couple more just to be on the safe side. Maybe I’ll tape the wings and tail on to double check that it will, indeed, sit on the nose gear.
On a side note, I wish there was an easier way to display the plane with the gear up. For those who aren’t building the kit or have it in their stash, the nose gear doors are molded to the side walls in the open position.
I just now realized that you’re working on the EA-6A! I’m working on the EA-6B. I hope I can still stay “in the group”!
Eric
By the way, the cockpit looks great! I’m going to wait until the plane is done before I drop in the seat backs. For me, it’ll just be one less (or in my case, four less) things to break while I’m masking off the cockpit for painting.
That’s a great looking pit, Fred. Eric, I’m also working on an EA-6B, but it’s the Hasagawa 1/72. I’m wishing I had the 1/48 version. This thing is too darn small for on old guy. I’m building it for a former Marine friend and might put up some pics, soon.
As far as I know the EA-6B never carried the Shrike only the A-6A, A-6E, and the EA-6A carried the Shrike. The EA-6B carried only Jamming pods and fuel tanks on its hard points. And the Shrike was only used in Vietnam and was replaced by the AGM-88 HARM and the EA-6B was I believe developed just as the war was winding down and probably didn’t see action.
Well, I finally got the wings on - she’s starting to look like a plane. Thankfully, the wings fit good and tight on the top side - no gaps at the roots. But underneath, no two angles match the curvature of the fuselage. I’m just glad the landing gear should block most, if not all, of that from sight.
But man, that center section that has the nose gear and belly - what a terrible fit. The directions are so vague as to how it goes together. I think my piece may have been warped, because there is no way that thing should have fit that badly. It took an hour of sanding, a couple applications of Mr. Surfacer 500 and another hour of seam clean-up - just to get it to about 75% acceptable.
I’ll try and post pics of this later, so stay tuned sports fans.