I haven’t been as active in this GB as I should be, so I’m not sure what Phantom kit you’re building. From your signature, I’m guessing you’re building Hasegawa’s 1/48 F-4B/N? If that’s the case, then you’re fine without nose weight. I’ve built both the Hase and Revellogram 1/48 Phantom without weight, and both stand fine on their gear.
Don´t know what brand is your kit and scale, but my ESCI F 4 Phantom doesn´t have weighted nose and it stands ok.
I have various Phantoms of diferent brands (1/48 & 1/72 Hasegawa - Revell - Fujimi - ESCI) and in the instructions I didn´t see any advice about the need to put extra weight in the nose.
The seats are pretty much done. The only thing left to do is a shot of flat coat before being dropped into the cockpit. However, before I could do any plastic mashing, I had to do a little housekeeping. With school starting, I needed to clear off a spot to do my school work. Since the wife and I share the office, my side doubles as my work space and hobby space. Unfortunately, the condition it was in didn’t lend itself to either. So, before any modeling or school work could get done, I had to get my self sorted.
I know we’ve all done the “here’s my work-space” photos before, but I thought I’d finally share mine.
Before:
(I don’t even know where those cookies came from!)
After:
(I usually don’t eat candy or sweets, but I like to indulge in some hard candy while I’m sitting at my bench.)
Now that things are squared away (and I have a free day tomorrow), I expect to make some Phantom progress.
Great job on the organization! I feel the same way, you need to have some organization to be comfortable with your work area.
I am back in school again myself. In my field of work (computers), you have to continually keep going to school or some type of training program to keep up with the technology.
If all that stuff is on Ebay, please provide the link…lol…
BTW…nice drilling pal…if you hit oil, can I buy shares?..lol…
I appreciate the fact you are a student, and still find the will to drilll…lol…you are the guy in between total scratch, After Market, and Out of the Box…not to mention careers, so my hat is off to you…[t$t]
Yes, it only hurts when you are having fun…lol…[;)]
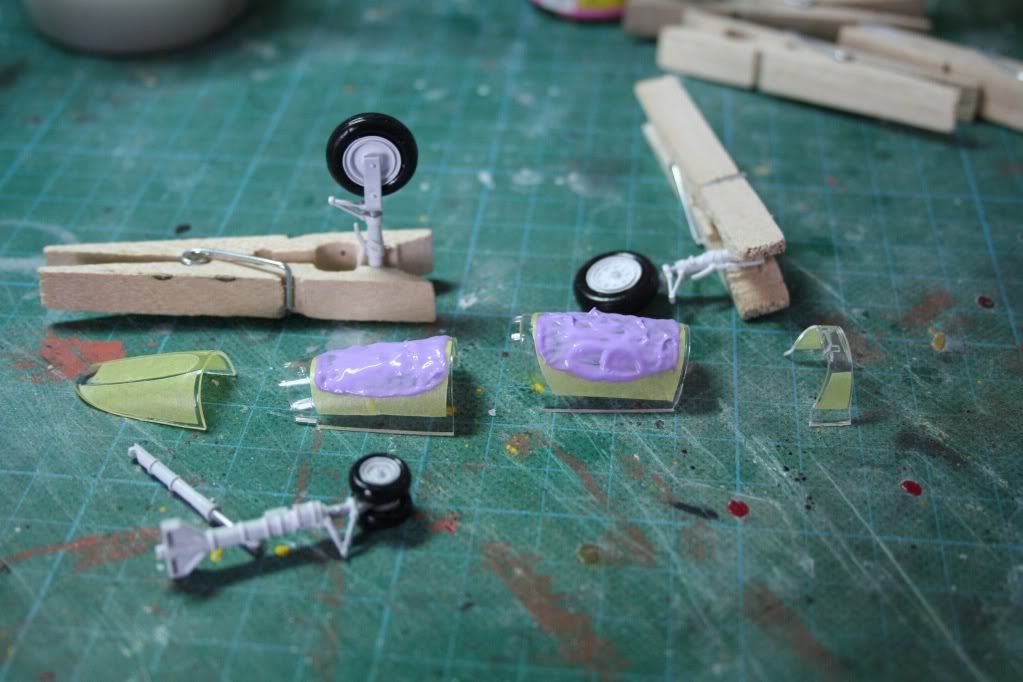
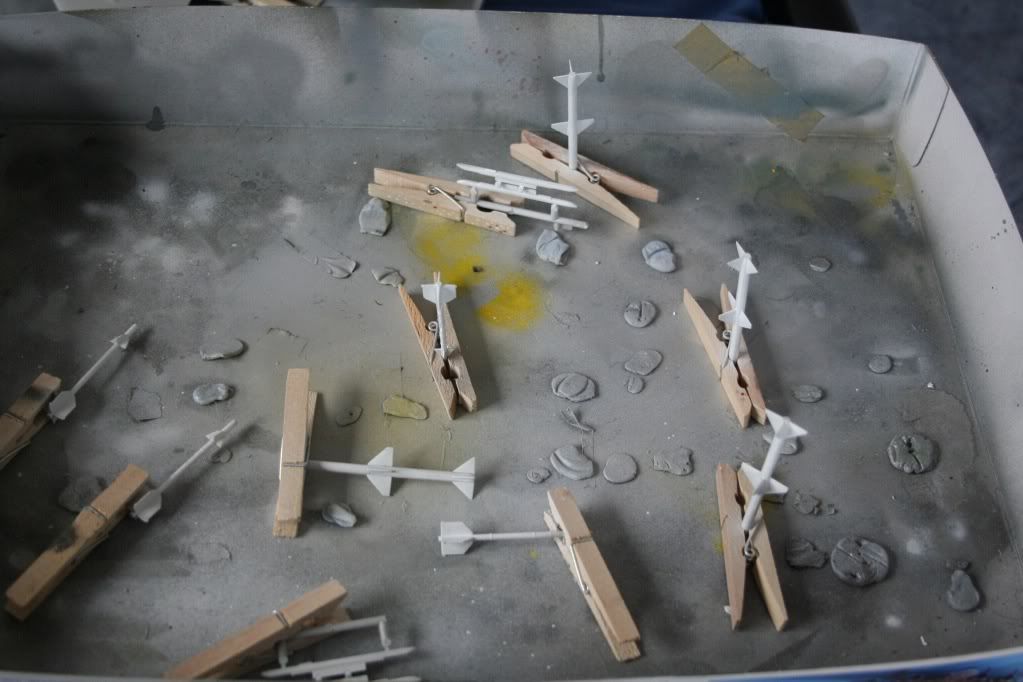
Got a bit more done this weekend. Mostly painting of the greeblies (landing gear, hatches, etc.) and Futuring and masking of the canopies.
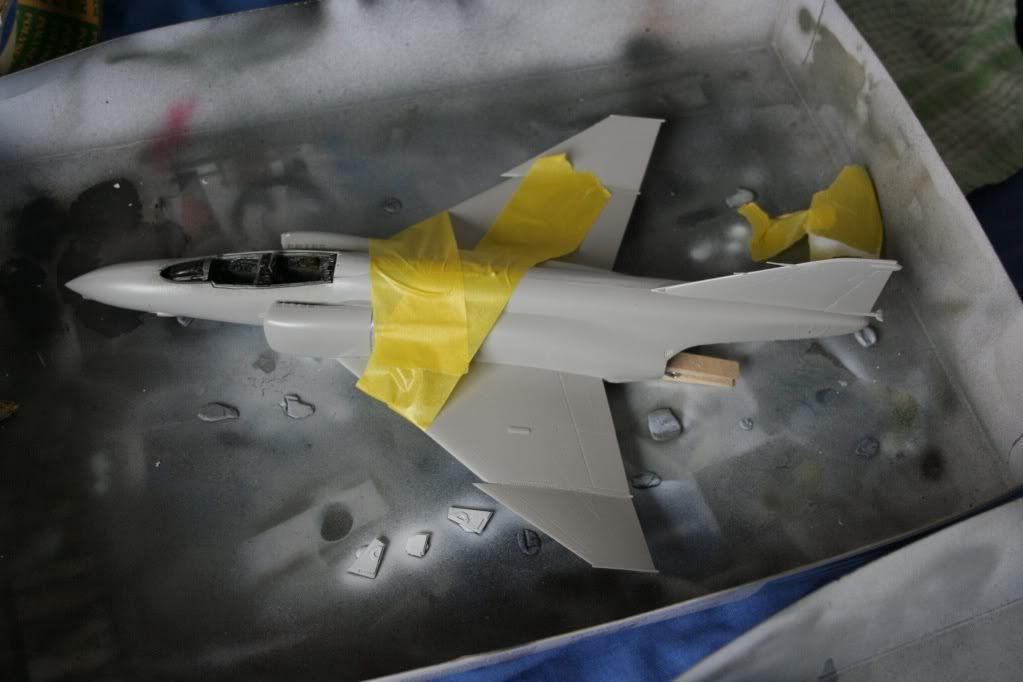
Also got the bird together.
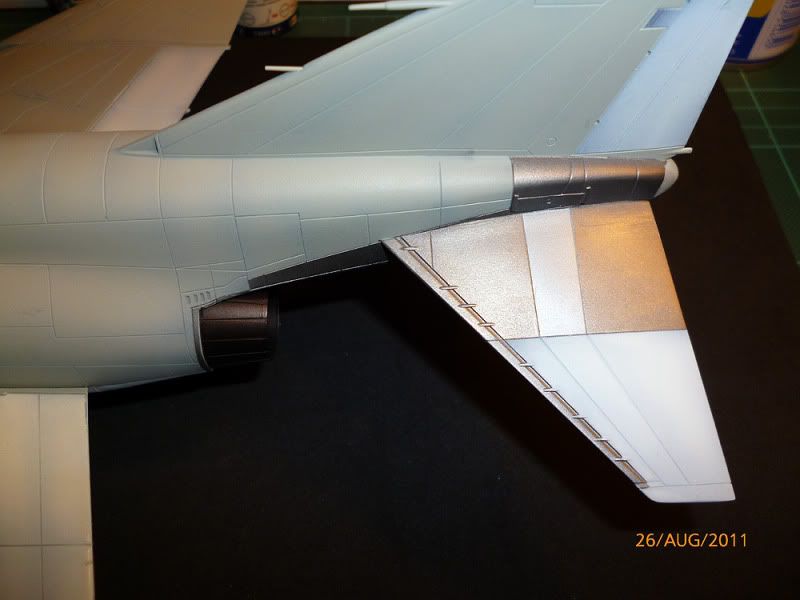
I picked up some more Alclad during the week. I’m going to use Alclad magnesium for the exhausts with varying shades on the paneling under the tail in Alclad Jet exhaust. I’ll use the Alclad aluminum for the silver striping around the exhausts and the rear wings.
Dom, all that…uh…stuff that was on my desk didn’t make its way to eBay. However, had I not cleaned it up, I’m sure the wife would’ve made sure that it did.
Ken, school and work are what keep me away from my bench. Besides working full time, I’m taking 18 units at the university this semester and squeezing in 100 hours of internship. That’s not including my sports, other hobbies, personal and other professional commitments, plus all the stuff life throws at ya. So you can see how my modeling time can be limited.
Anyway, staring at my empty bench made me start to itch. So, in an attempt to get me moving towards another mess, I sat down and fiddled with one of the Phantoms. The –C I wanna build has some intake covers which appear to be made out of canvas (as seen here). After some thought, I figured the best way to replicate ‘em would be with either fine metal foil or some tissue. I found some foil from a wine bottle and started to fabricate me some intake covers.
Here’s what I came up with:
I like the direction in which I’m going, but I think the wine foil’s a little too thick. I may try again with both kitchen foil and tissue and see which ones look best. Now that I have a rough pattern to use, it should be pretty easy making up some covers outta different materials. Anyway, let me know what you guys think.
I’m trying to find a good match for the beige/tan colour of the Phantoms’ beige colour in the tri/camo scheme. Revell lists it in the instructions as 80% beige and 20% brown, but I can’t seem to find these two colours anywhere.
As I have olive and dark green tamiya enamels and plan on using them for the camo I guess I should try to find some suitable tamiya colours for the final colour to avoid any reaction disasters.
Would a mixture of tamiya flesh, brown and maybe a bit of desert yellow or something or other get close you reckon?
O – and I thought my workspace was cramped/littered!
SNG – if you’re using enamels, you can get matches for USAF SEA Tan FS30219 in the Model Master and Humbrol ranges. If you fancied acrulics, MM Acryl have matches for them all too.
Hey Oortiz. Do you have squadrons’ f-4 walkaround? On page 33 there is a relatively clear picture with an E fitted with an intake cover on the Port(?) side. I’d take a pic and post it but I don’t reckon it’d be clear.
You can see if anyone stocks it near you and just take a peek without buying it[;)]
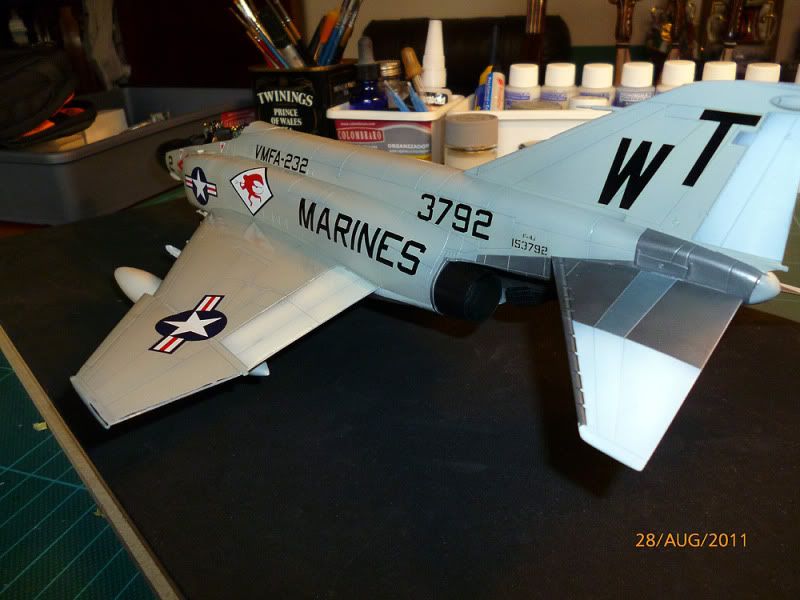
When finishing decaling I´ll apply a Future coat to seal the decals and then an oil wash. Then complete some minor details and the weapons. Hope in a coupñe of days it will be finished. [:P]
Wouldn’t mind learning your masking technique, Berny said to run that natural metal finish out, and you managed to keep the stab detail as crisp as new money:
How did you keep those tiny hinges white?
If you let us know, I’ll buy you a beer next time I’m in Buenos Aires…[;)]
Wouldn’t mind learning your masking technique, Berny said to run that natural metal finish out, and you managed to keep the stab detail as crisp as new money:
How did you keep those tiny hinges white?
If you let us know, I’ll buy you a beer next time I’m in Buenos Aires…[;)]
Wouldn’t mind learning your masking technique, Berny said to run that natural metal finish out, and you managed to keep the stab detail as crisp as new money:
How did you keep those tiny hinges white?
If you let us know, I’ll buy you a beer next time I’m in Buenos Aires…[;)]


