Actually, it shouldn’t be raised rivets at all. It should be flush screws and fasteners. The panel behind the rear canopy is the upper electronics bay (Door 19) and has flush fasteners. All excess panels have flat head flush screws. Butt joint line have flush BT4000 high shear rivets. You want find any raised rivets, screws or fasteners on the F-4.
**berny13:-**thats a fair point im sure but i dont fancy removing and redoing all the detail on the kit, so the archers replacements look good to me!
cheers, chris
Thanks for the help everyone in finding decals.
I really want to do a gray scheme F-4 over the SEA scheme, and I REALLY would love to get a hold of these decals: http://www.hannants.co.uk/search/?FULL=AIRM3206 Go figure they’re the ones that are sold out. -_-’
So, if anyone might know where I can acquire the above decals in 1/32 scale it would be much appreciated.
If I can’t find them, I looked through my Revell RF-4C box last night and the decals actually don’t look horrible so I’ll just go ahead with those when the time comes.
Josh
Berny, Jarhead - thanks for the info!
I’ve got the E boxing, as well as a pile of AM - Legend pit, Eduard Int+Ext PE, and Seamless Suckers Intakes (which will hopefully alleviate the intake fit issues). I’d definitely be open to hearing more about the wing fit problems, or any other advice you might be able to throw my way.
Have a couple of shows at the end of March I’m going to - need to decide if I want to sacrifice the time I would have spent doing other builds for the show on this guy, and if I do, if I think I can finish it in ~2 months or so.
Josh - I have a LARGE PILE of Phantom references lent to me by a good friend - if you’re in need of specific stuff, let me know.
Gamera, Oortiz - nice work! Can’t wait for paint. [Y]
If I get to haul this monster out, going with a Euro 1 scheme - anyone else heading that route?
Chris - For the circles I used a Hasegawa circle scribing template that I picked up from my LHS. If you’d like, I can shoot and post a picture.
Berny - It’s awesome having such a resource for info, but I’m too lazy to re-scribe & rivet all three airframes. As it is, I’m gonna be short on time for this GB. Going that extra step would definately push me past the deadline.
Cheers gang!
-O
Dupes, are the Seamless Suckers intakes for the Revell F-4 or the Tamiya F-4? If they are for the Revell kit I can give you a little advice and shortcuts on getting them to fit correctly. If they are made for the Tamiya kit, you will have to do a lot of cutting of the fuselage to get them to fit. I ruined a set of intakes as well as the F-4E kit trying to make them work. It is like trying to put a Cadillac front end on a VW Beetle
Try and locate a set of AM wheels as the kit supplied ones are all wrong.
Hey Berny,
I could use some help, if you don’t mind.
I’m building a –J from Revellogram’s boxing and it comes with triangular reinforcements molded onto the stabilizers. Now I understand that those plates are USAF specific and that Navy Phantoms didn’t carry ‘em, so out came the sanpaper and away they went.
Could you tell me if the three small reinforcements circled below were also USAF specific, or did Navy jets have them too?

Thanks in advance!
-O
I too would like to know the answer to that question oortiz!
Progress is slow on the AM cockpit due to the much higher level of detail, but it is coming along.
[View:/themes/fsm/utility/
[View:/themes/fsm/utility/ :550:0]
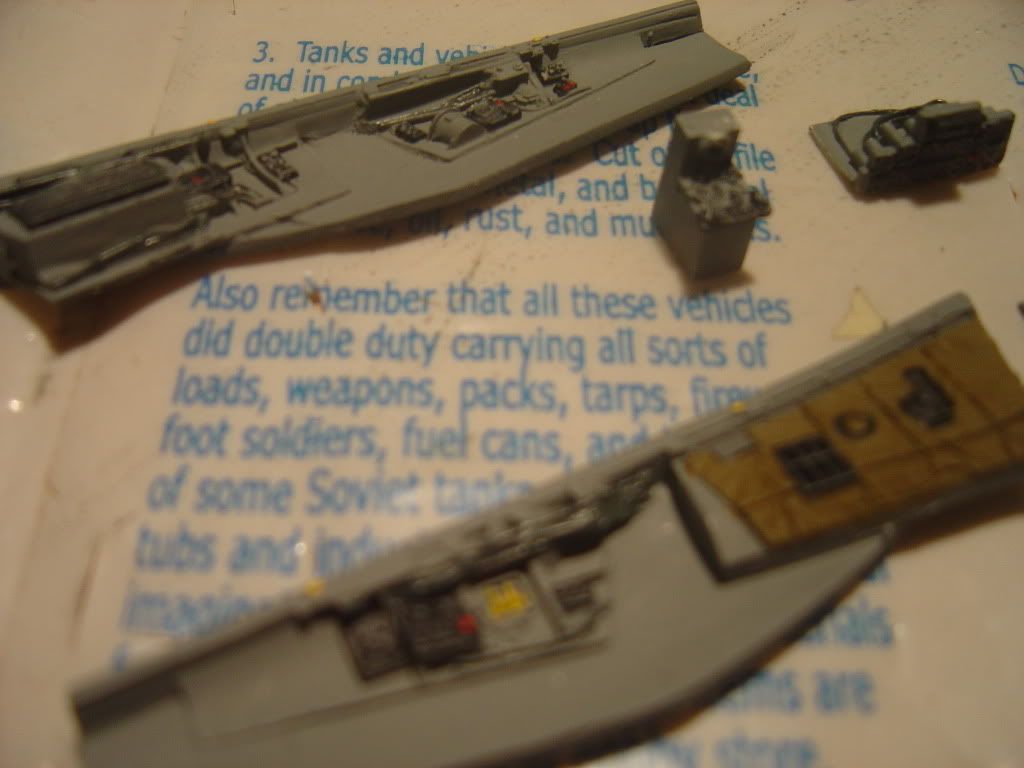
:550:0]
[View:/themes/fsm/utility/
:550:0]
And the wing is together. Top most photo is the aries burner can with the interior already weathered, or “nice cans,” as they say.
[View:/themes/fsm/utility/ :550:0]
[View:/themes/fsm/utility/
 :550:0]
[View:/themes/fsm/utility/ :550:0]
What time period will the jet be? The large beef up plates was added around the 1980 time period. The two smaller ones look like repair patches and I can’t recall ever seeing them on the jets. I would also remove them.
General information for all builders. Many instructions say to paint the inside of the intakes, wheel wells, landing gear, landing gear doors and inside of the speed brake well flat white. The actual color is gloss white. An epoxy based gloss white was used for all of these areas. Inside of the speed brakes would be gloss insignia red. Brake housings were also gloss white but would get very dirty very fast due to brake dust and bearing grease from the wheels. Wheels would start out gloss white but the main wheels would also get very dirty fast because of brake dust and bearing grease. The inside of the main gear doors would be covered with dirt because of the brake dust sticking to the grease. Nose wheels would be gloss white and didn’t get as dirty as the main wheels. Brake stacks, the part that is on the inboard side of the wheel would start out as gun metal and after a few flight would start to turn a rusty color due to heat wearing off the finish. Tires when new would be semi gloss black and would turn a brown/gray/flat black after use.
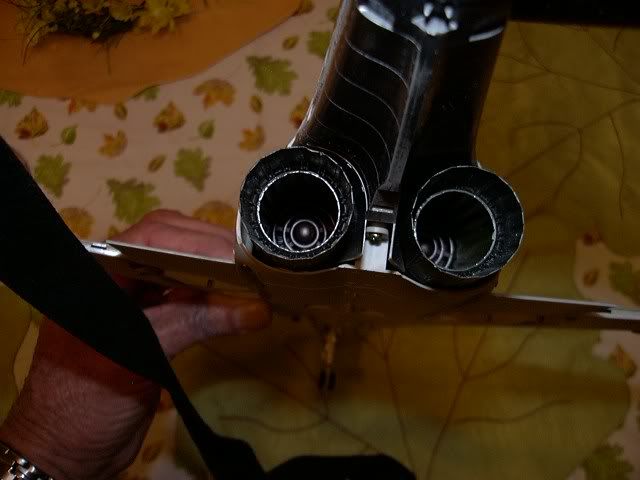
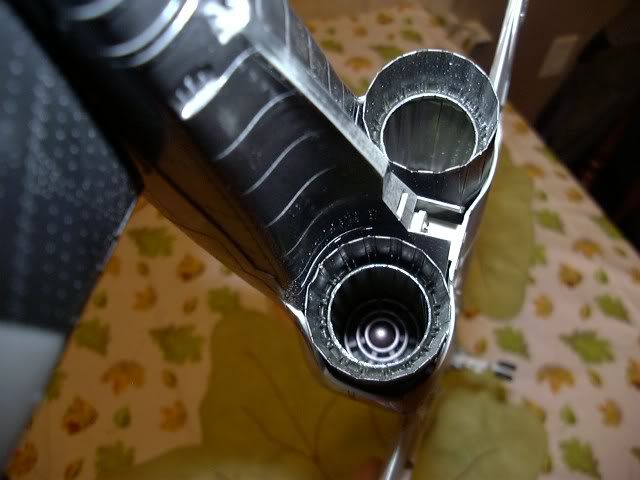
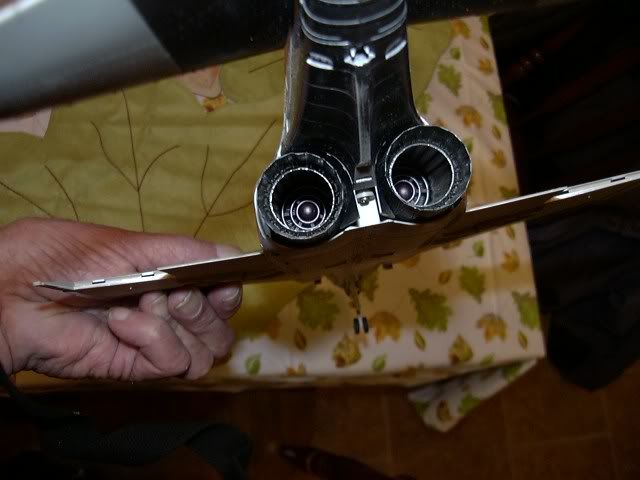
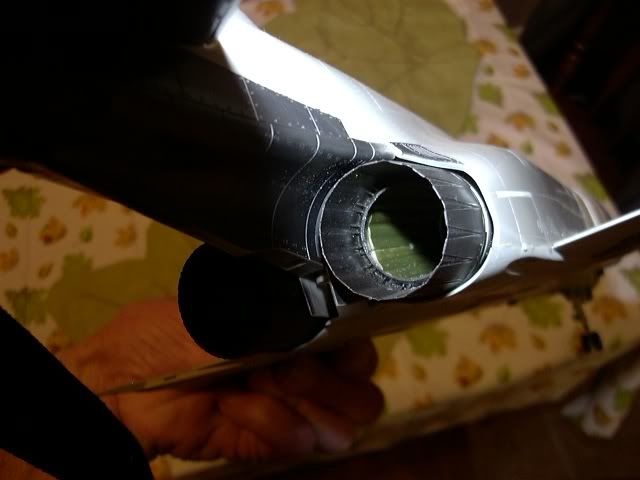
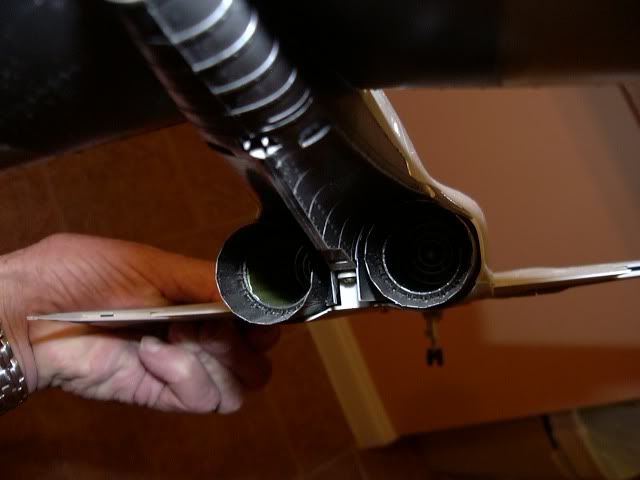
Inside of the exhaust is not flat black or gun metal as many instructions tell you to paint them. When new the AB liners would be green. When the engine had zero hours up to around 200 hours it would be a dark green. From 200 to 400 hours it would be a little lighter green. From 400 to 800 hours the green would turn to almost an ash gray. From there on black streaks would start to appear inside the exhaust. At around 1,000 to 1,200 hours the liners would have a rusty oily black stain all over them. The AB flame holder would start out as gun metal but would turn a rusty color after a very short time due to extreme heat. The exhaust diverter cone would also be rusty. The turbine wheels would be a dark titanium with a slight wash of oily black. Primary exhaust nozzles would be titanium with a oily black wash. Secondary exhaust nozzles inside the AB section would be oily black. The outside color is titanium with a wash of black and where the nozzles would slide a slight dull silver dry brushed over the titanium. I’ll try to post some pictures later showing the colors.
Thanks Berny13,
Seems Hasegawa got most of the paint right in my kit instructions but not all of it.
Are the airbrake bays/compartments (not sure the correct term here- sorry) white? I assume only the airbrakes themselvies are red?
And oddly enough some of the photos of my airshow bird show her with inert sidewinders on pylons. I figured she’s be clean but some photos show them. The pictures aren’t totally clear though but it looks like the missile body is inert blue but the fins are white. I checked some sites but there seems to be some variation on this. Also European air forces seem to vary a little from the USAF and USN as well, no idea on the JASDF. I can’t see the ARAAMs (sp?) to tell if they’re mounted as well.
Excellent! My jet will be from around the mid-70s, so I’ll shave those bad boys off.
Also, great beta on the burner cans & general paiting. I’m definately going to refer to your post when it comes time to screw up my builds with paint!
Thanks!
-O
Inside of the speed brake wells are gloss white. The speed brakes were red. CATM-9’s ( inert Sidewinders) could be painted blue with or without the rear wings installed. Some would be painted white with blue stripes just behind the forward wings. The aft wings were most often painted white. The forward wings would be white or gun metal depending on which model is carried. The AMRAAM on the F-4 was carried on the aft missile stations only. They would not fit on the forward stations or on the pylons.
Glad I was able to help.
Berny - I double checked my Suckers, and they are indeed the correct ones for the Revell kit. I would love to hear any advice and/or shortcuts to using them, as I’ve never attempted them before!
Looks like Squadron has some resin replacements in stock (True Details).
Here are a few shots of the exhaust area. Sorry for the poor quality as my old camera is near its end.
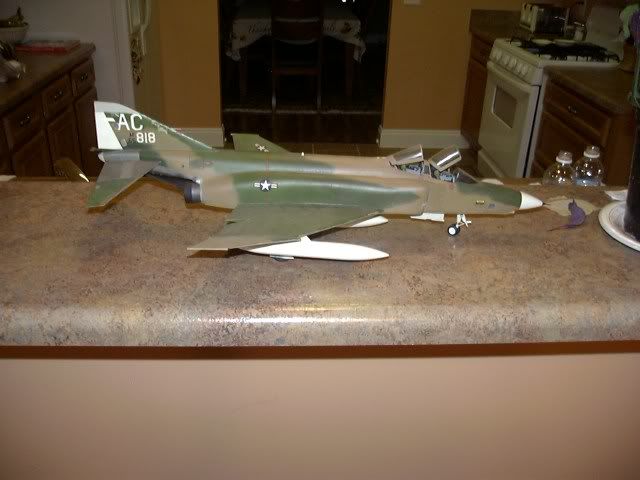
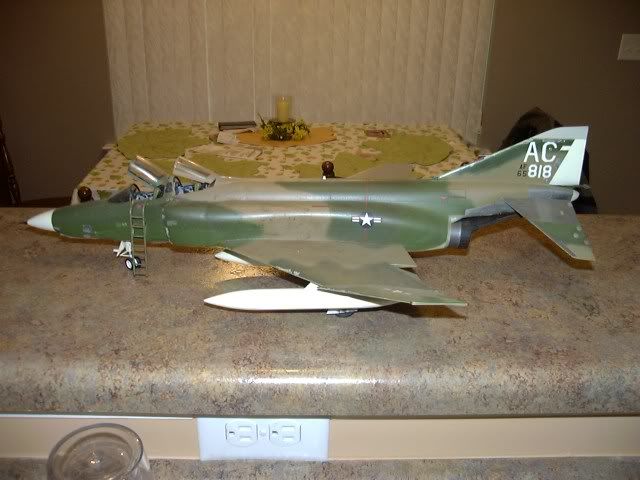
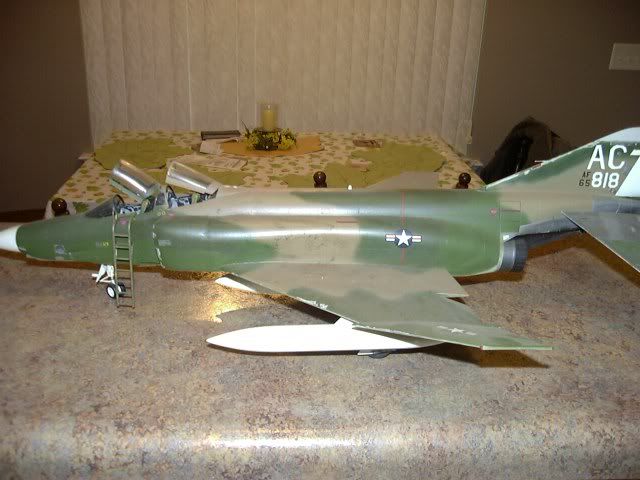
Here are a couple of shots of the Revell RF-4C that I did over twenty years ago. That is the tail number of the aircraft I was Crew Chief on in Vietnam.
Thanks Berny, beautiful model and thanks for the advice!
Beautiful job Berny!!! [t$t]