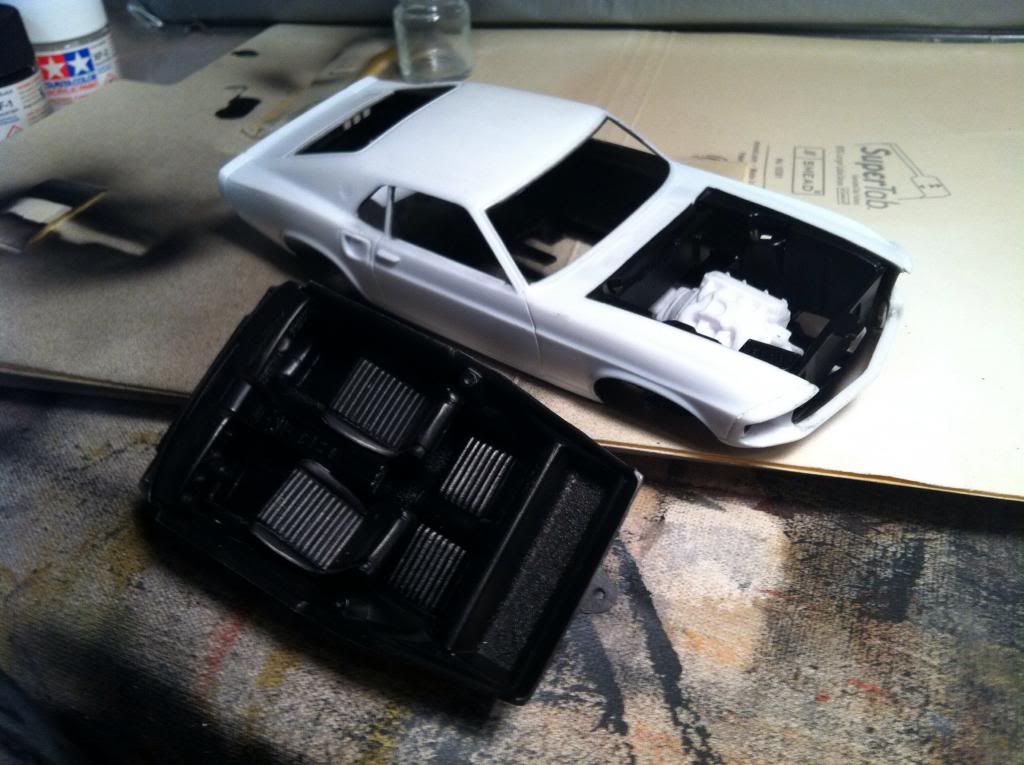
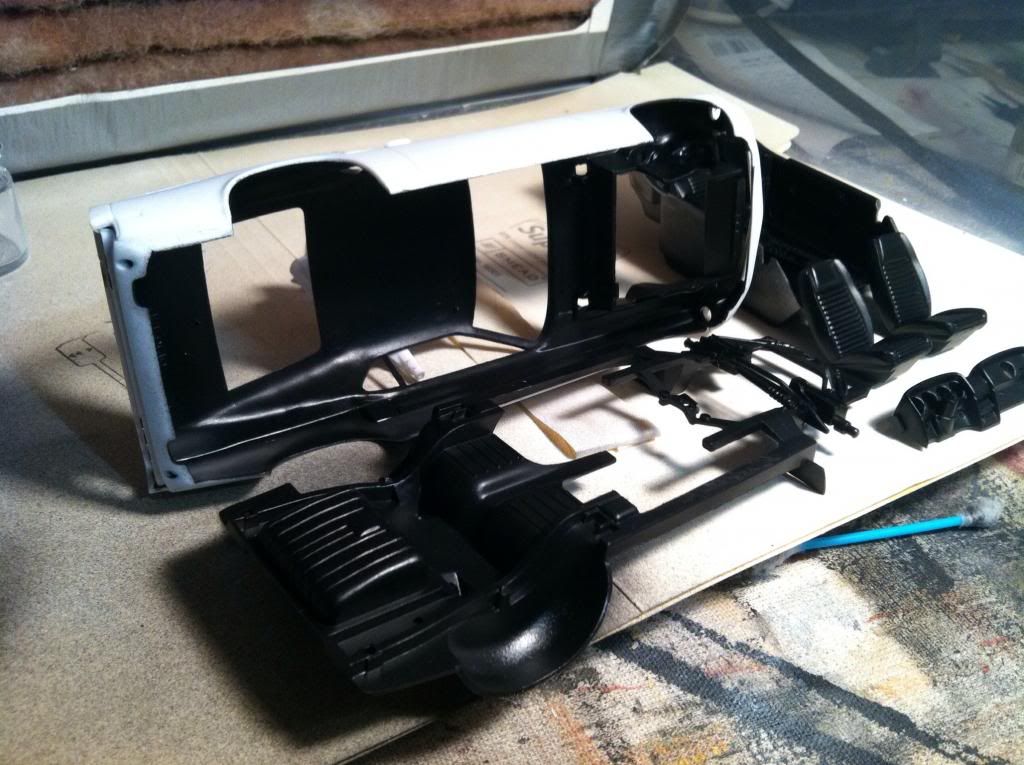
Thanks Rommelkiste,
That’s a sharp looking kit so I know it’ll turn out sharp like the others I’ve seen of yours.
L8TR,
Eric
Thanks Rommelkiste,
That’s a sharp looking kit so I know it’ll turn out sharp like the others I’ve seen of yours.
L8TR,
Eric
Dale,
Depending on the primer, if it is thin you may show some scratch marks. I usually go back over it with either a 1500 or 2000 grit to smooth it out.
L8TR,
Eric
Love the group activity and chat.
I made some progress tonight myself between this build and my M1A1.
I got the body prepped and started the paint on the inside of the body, interior, chassis and engine bed.
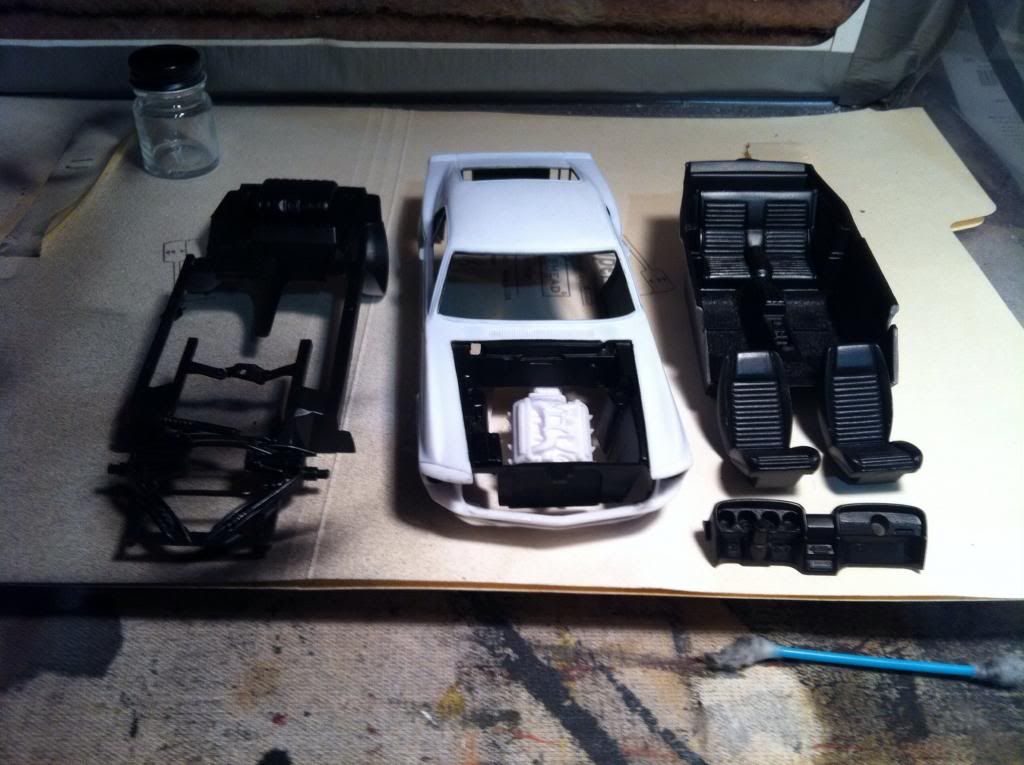
I really wanted to get the primer on the outside and the engine, but it’s late and I got pretty tired. I don’t want to start making mistakes, as I make enough when I am wide awake!!! [:$]
@EW - Terrific finish and shine. Hope mine turns out that well. [:D[
There are so many tips and techniques out there, but I have landed on one I want to try.
I goes something like this: primer, Bare Metal Foil on trim, burnish well, first coat of gloss red. Between each coat of red, you have to use a fine q-tip with iso alcohol to clean off the foil trim. This way you get paint built up right to the foil.
After you get the desired finish/# of coats, you buff it out with Meguiar’s mirror glaze #7. I was shown that #5 and #7 do not adversely affect the paint.
It was also explained that for the time period, this is a more genuine technique, since cars back then were basically primers and hit with a single stage paint (not all the fancy hardeners and clear coats, etc.) so it gets a bit of the authentic look.
I saw 2 cars done this way, and they turned out amazing. Wish me luck!!! It’s all new to me. [:P]
Anyway, keep it going everyone! Looking forward to more!
Forgot one thing. I am not sure when the sideview mirrors are going on! If you noticed, they aren’t on the car yet.
2 problems are that they mount so tight to the trim, I didn’t want them to be in the way. Secondly, they aren’t the regular type with the pin that goes into a hole. The attaching point is rounded and just sits atop the door, so I think they are going to give me a bit of a fit, but we’ll see.
I’ll still paint them at the same time as the body, but I’m going to mount later.
One small tip with red Ken, make sure everything gets the same number of coats. Otherwise it’s easy to get small differences in color.
Cheers
Tony
Thanks for the tip Tony!!! I will definitely keep it in mind. I am both nervous and excited at the same time about painting this sucker!!!
Kt, You might try this tip for your mirrors. It has been talked about before but it has helped me many times when side mirrors are tough to attach. Many on kits have no locator pin. When your mirror is prepped and ready, drill a small hole in the base as in the photo:
 Add a small piece of wire and then drill a hole in the location on your body you want the mirror. You can then super glue or epoxy from the underside and you won’t have to worry about barfing up your paint and they don’t get knocked off as easy. Hope this is helpful.

Awesome tip (yet again)! I will definitely use it.
I got a pin vice for a few other jobs, so it is always great to have another use for it! LOL
I am NOT from the government, but I am here to help! Keep Glooin’ !
Man you guys are fast! And the builds look great. That is one smooth paint job Eric!
Thanks Dale.
Ken, Looking forward to seeing the paint job.
Rommelkiste, That is a most excellent tip! Putting those mirrors on always made me cranky and sometime to the point of throwing them back in the box. That is a tip I will most definitely use. Thanks for sharing that one.
I’m taking a break tonight. It’s all rainy and wet so I don’t feel like going out to the shop hehehehe.
L8TR
Eric
Rommelkiste,
What would be the best way to make a sharp 90 degree bend in plastic tubing? The exhaust pipes with this kit are not that great, a lot of pin marks and some slight warping. It doesn’t look like it would be hard just not sure about making sharp bends without breaking or melting it. I’m also looking at maybe using stainless steel tubing. I found a tutorial on how to make them and then heat them to get the blueing, I just have to look at the expense hehehehehe.
Thanks.
Eric, for exhaust I like solder. Its good for making headers and the complete exhaust system, for me anyway. I did this old AMT 50 ford some years ago and the exhaust system looked pretty sad. I wanted duals with some glass packs so I bent the whole thing up with solder and used aluminum tubing for the mufflers and ends.
 I wanted some 1972 vintage short track 180 headers for a project so I bent them up from solder also like on this Nova Hobby Stocker
 When you go to the hardware store, take a piece of the exhaust with you and match up the size. It is easier for me to bend it up as I go as to heat-bend-test fit like with plastic. The solder can be attached with super glue or epoxy. You can weather it up with some metalizer paint and some clear blue for heat discoloration. I know some that like coated wire for this. My way is not the only way or even the best way but it is as good as any. Be ready to make more than one part before you get it the way you want. Here is some headers I bent up for an old 60’s style gasser. With a little work, you can get them to fit in tight spots and make sharper bends than with plastic.

 I know this is kind of a long answer but I hope the pics give you a better idea.
Rommelkiste,
Thanks. I’m going to give the solder a try. The pics were a great help in deciding.
Thanks again.
L8TR
Rommel - I think I’ve seen that video, bending the header tubes and using a mini-torch to super heat the tube causing the bluing. I think that was a pretty cool trick.
For plastic styrene, I recently read on one of the forums to put the plastic in hot water to soften it, but it wasn’t on round pieces. Either way, I haven’t tried either so I am not sure.
So this Polish guy sits down at his work bench to primer his Mustang…Stop me if you’ve heard this one!!!
Of course, I am talking about myself and my bonehead mistake!!!
Of late, I have been working my last couple models with Tamiya Acrylics. That’s not the punchline.
I went grab my primer and only had my MM primer. I thinned it and started priming away. I was very excited…still not the punchline!
Things are going pretty good, but about 1/2 to 3/4 of the way through my airbrush started acting all funky. Still not it…
I pressed on, noticed the primer was a little “orange peely” or slightly rough. It then dawns on me…
Here it is… [<:o)] span=“” id=“mce_marker” data-mce-type=“bookmark”>
It dawns on me…I reflexively grabbed my Tamiya thinner when I thinned without even thinking about it.
[00ps] [bnghead]
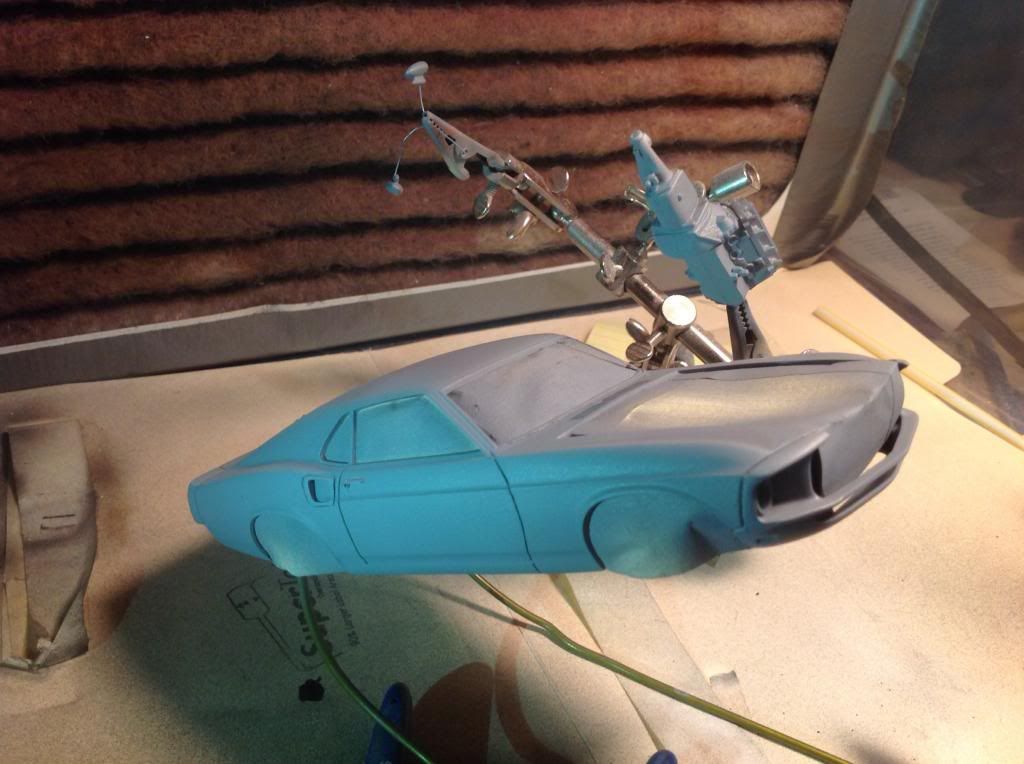
You can pretty much see it in the photo. I am going to sand or strip tomorrow. I’m wiped out don’t want to make any more rookie mistakes 
1 positive, I really like the effect it made on the engine block and transmission, so I am going to keep that, but not so much on the body!!! LOL
Shout out to Rommel - note the clever little wires coming out of my mirrors!!! Thanks again Rommel!
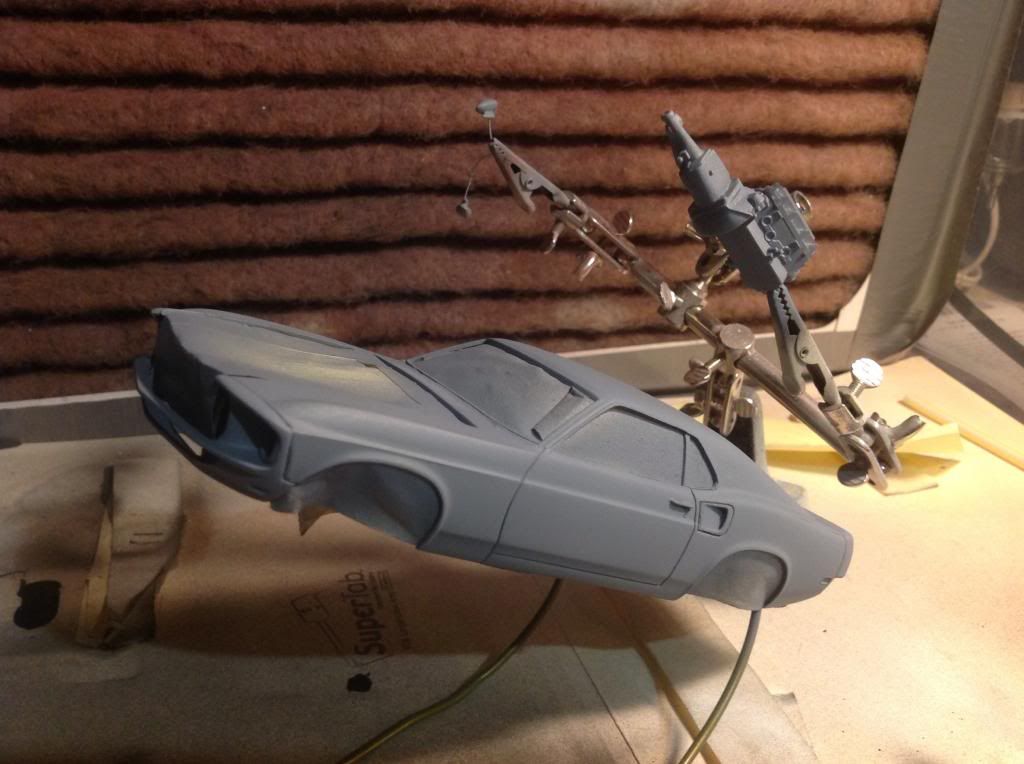
I think it should sand down ok and accept a new coat without too much effort or trouble.
I will definitely be sure to use the right mixure of things on the next go. [^o)]
p.s. I spent the last 30 minutes scrubbing out the airbrush…NOW THAT’S FUNNY!!!
Thanks ladies and gentlemen, I’ll be here all week, tip your waitresses.
I guess my page was out of date, but I just saw the solder exhaust pipes from Rommel. That works pretty awesome! Nice work.
Thought I should probably give a progress update on my '53 'Vette. I didn’t bother to photograph it, and you’ll probably understand why in a minute
I’ve stripped the chrome, and will replace it with Alclad II Chrome in due course. I’ve cleaned up about 60% of the body. I guess it’s from an old and rather tired set of molds, there are quite a few dimples in the surface as well as imperfections and seam lines. I think it will scrub up OK though. The hood doesn’t fit well, there is too much of a gap around it, so I’ll have to build it out a bit to fit. Hopefully I’ll get it to the priming stage over the weekend.
Cheers
Tony
Tony, progress is progress. Good luck over the weekend!
I was beginning to think I broke the group thread with my poor humor.
I’ve started undoing my boo-boo!!! It sanded off and smoothed out pretty decently without too much effort using 1000 grit paper.
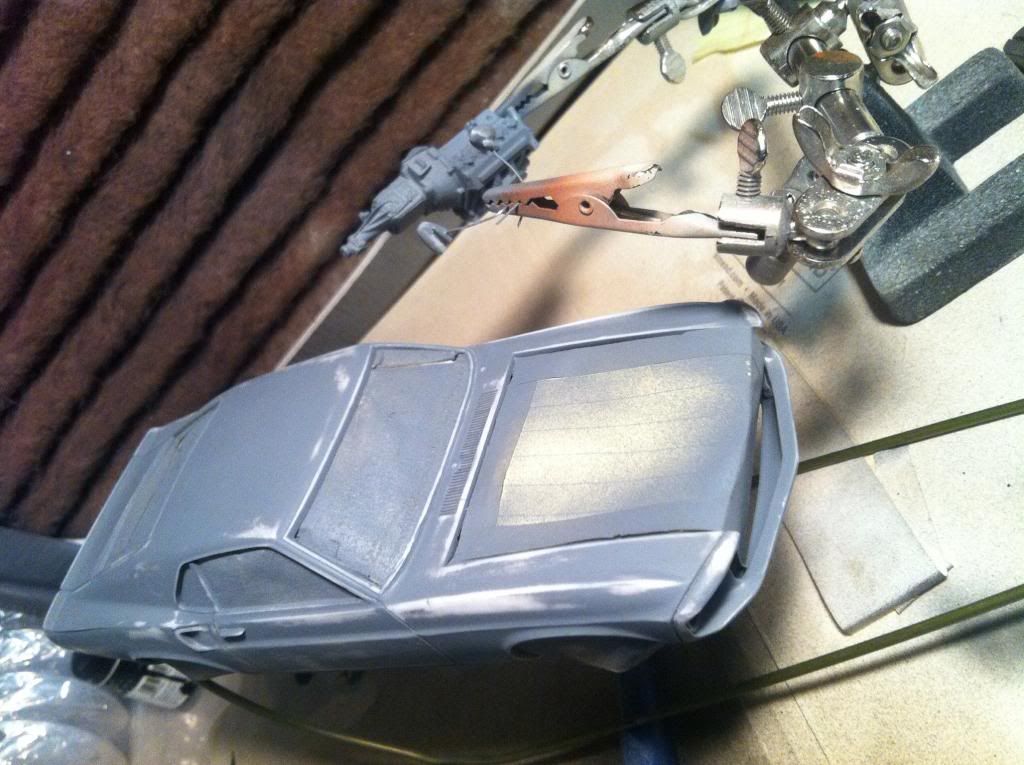
If I can I’ll re-primer tonight, tomorrow for certain.
Great save Ken, nice work.
Thanks Tony. We’ll see how it goes this weekend!
Can’t wait to see the vette.