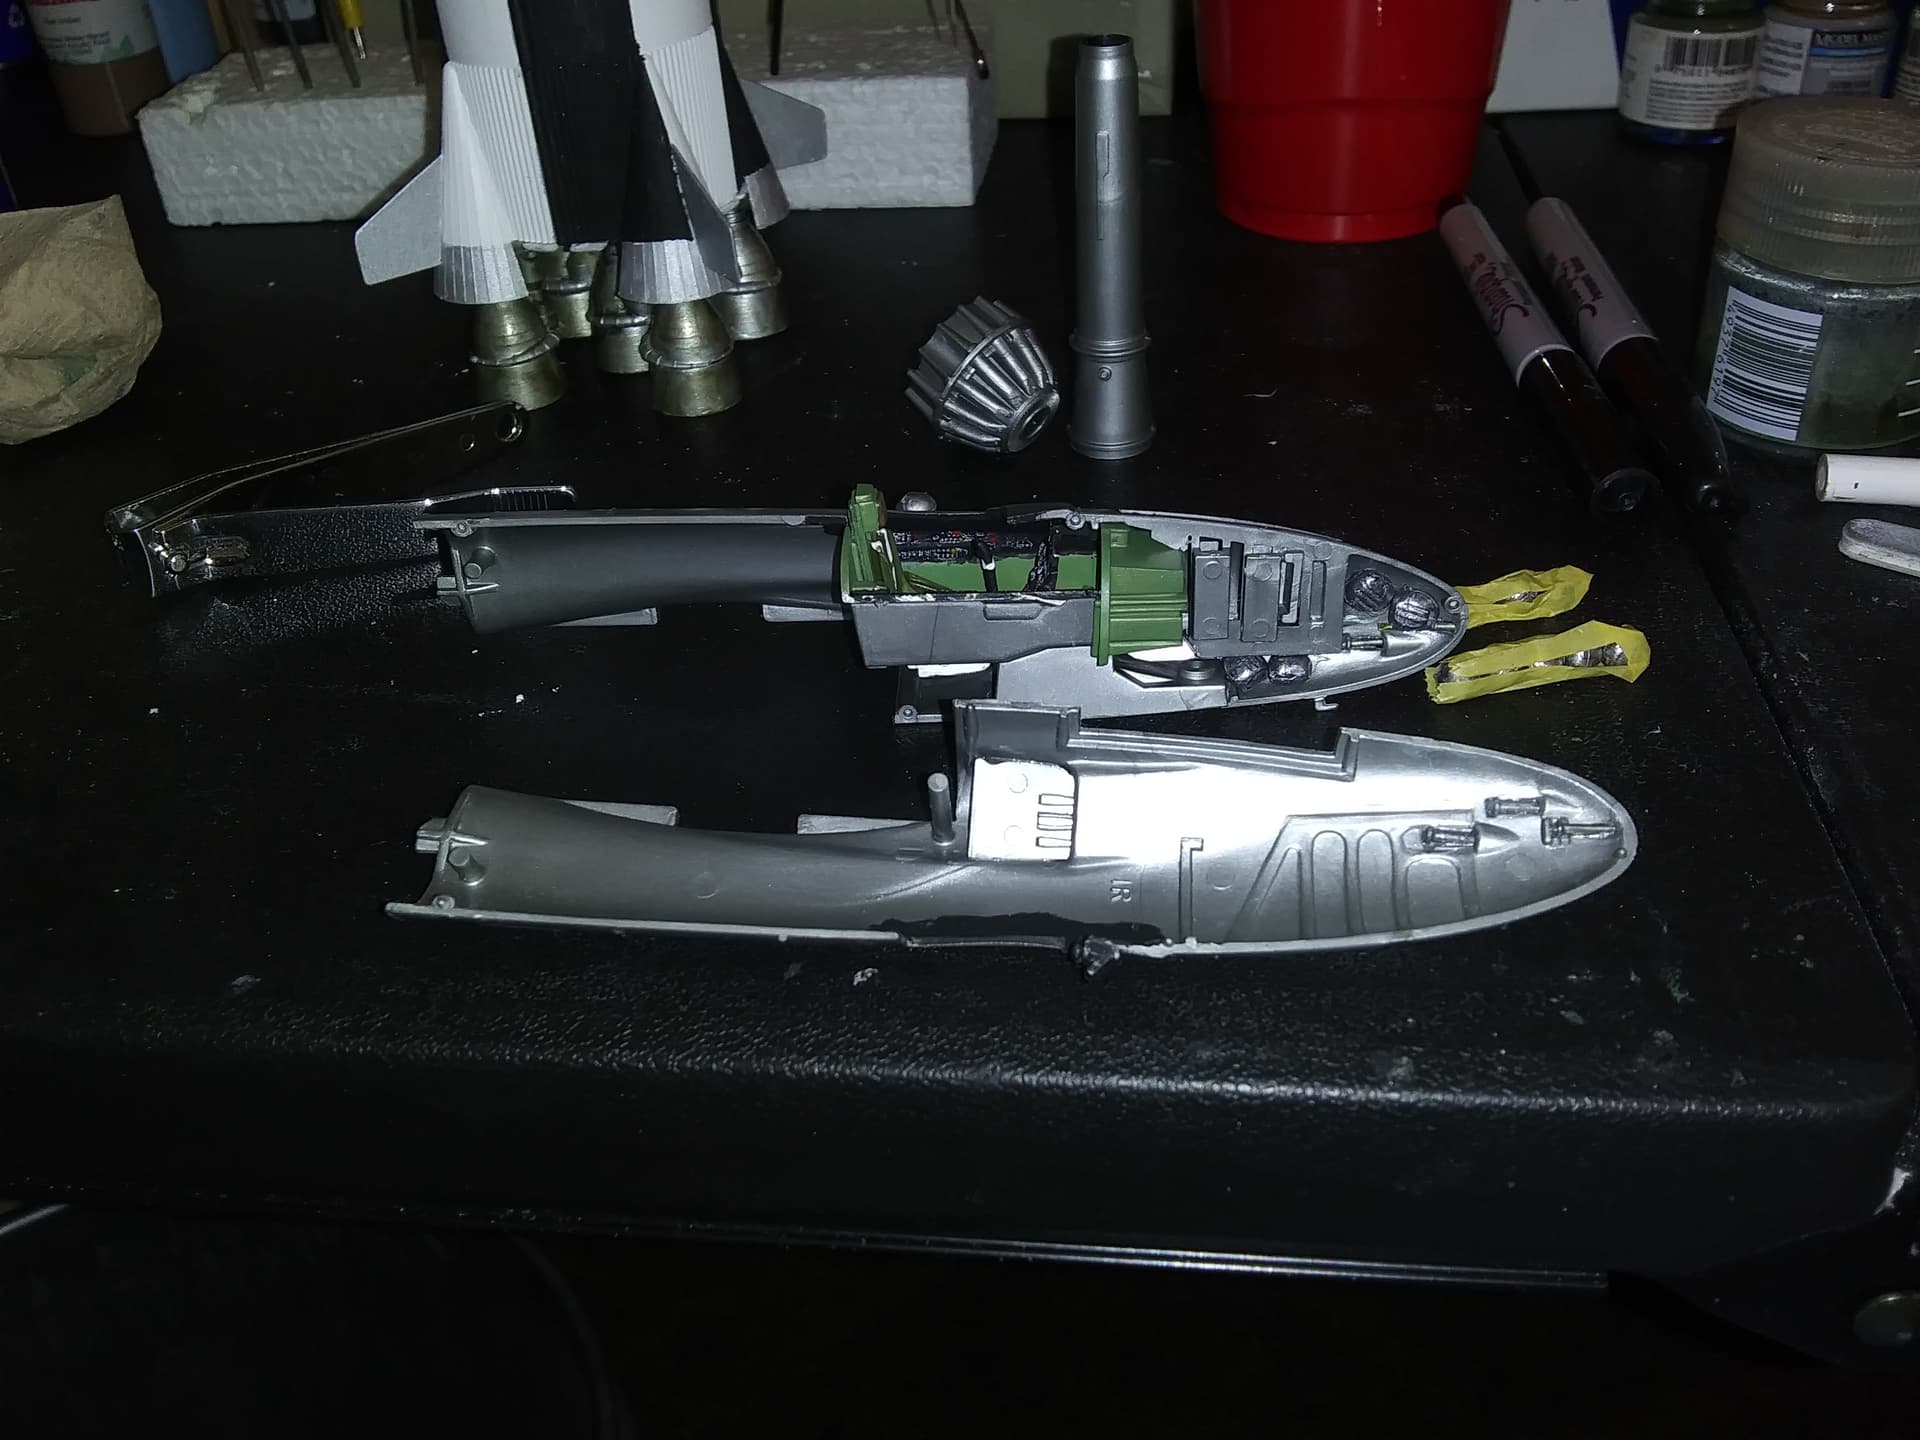
Meanwhile, progress on the F-80. I tried to place as much lead as I could in the nose. I also wrapped a few pieces in tape to wedge in beside the pit. This may break the nose wheel, but it certainly won’t tail sit!
Meanwhile, I glued the fuselage halves together, plus inserted the turbine in the front fuselage. I then did the rear fuselage and horizontal stabilizers. All well and good. The parts fit together snugly, minimising any use of putty. I have only one problem, and the fit is so tight between the front and rear fuselages, the rear will not fit easily over the turbine. Guess I’ll have to do a little sanding.
Good progress Gary. I spend more time looking for things dropped or misplaced way too much. I need to get better organized with my extra parts and scratch building supplies for sure. Someday. Years ago, for space reasons, I went to all 1/72. Apparently, I thought I was going to age better. I’m on shift today, so no progress on the tigercat.
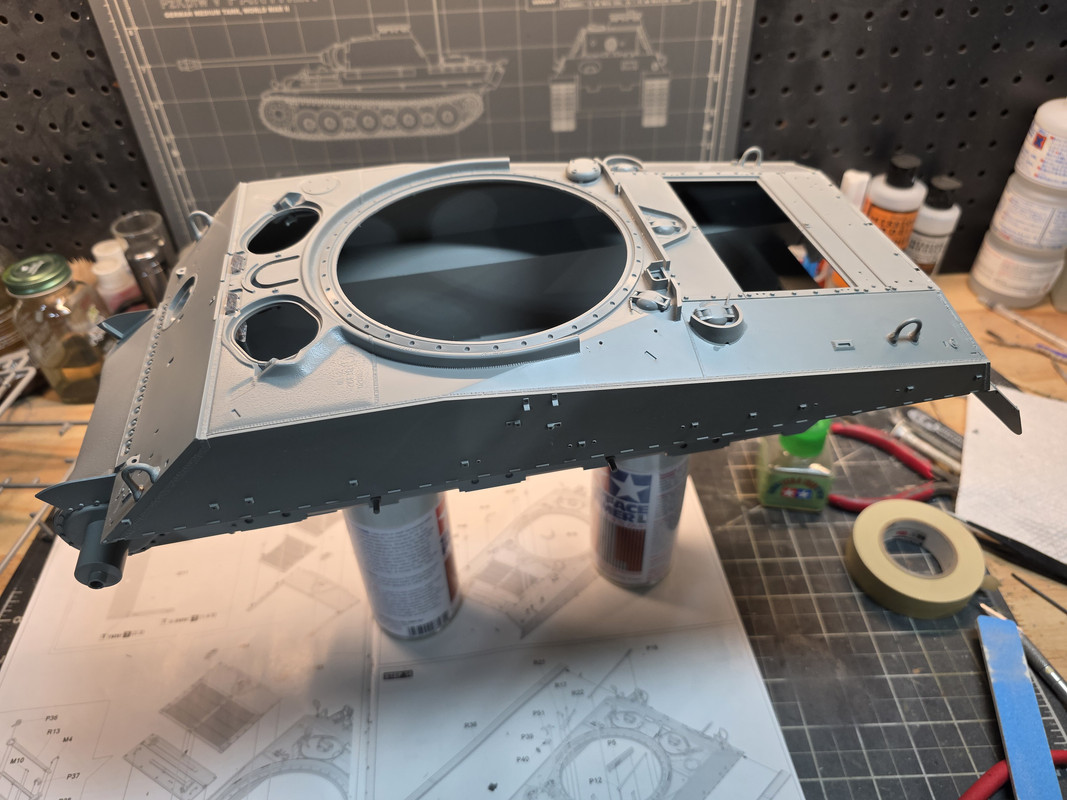
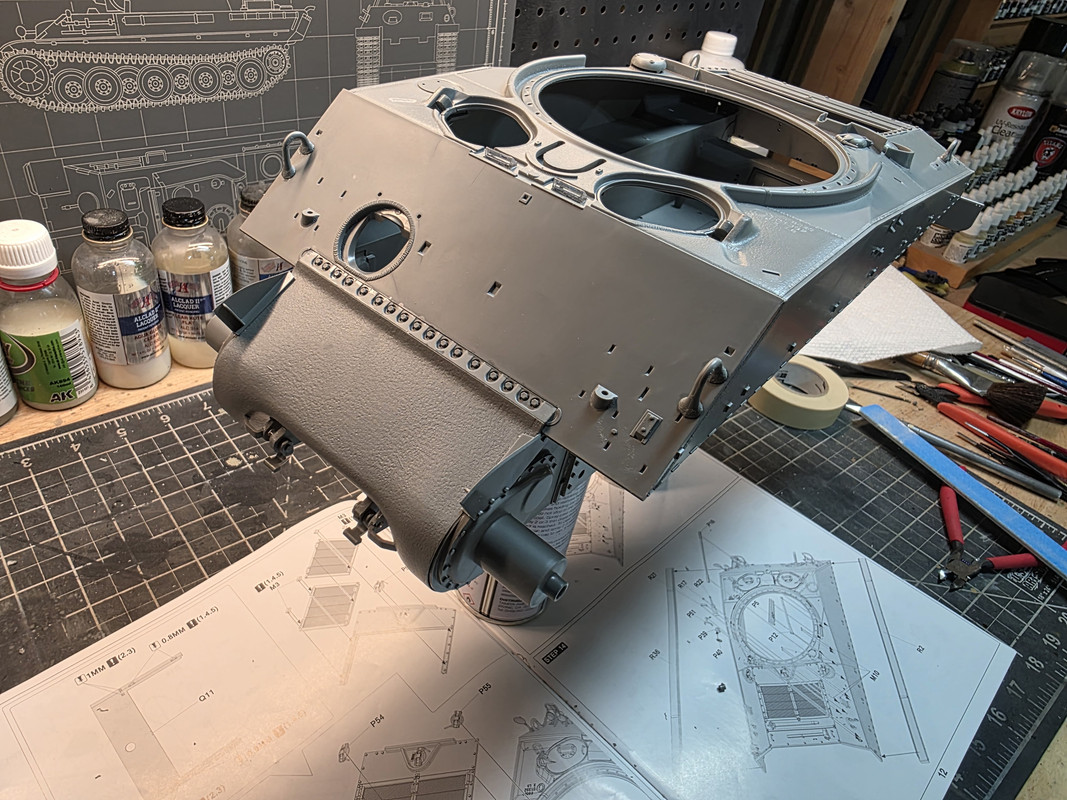
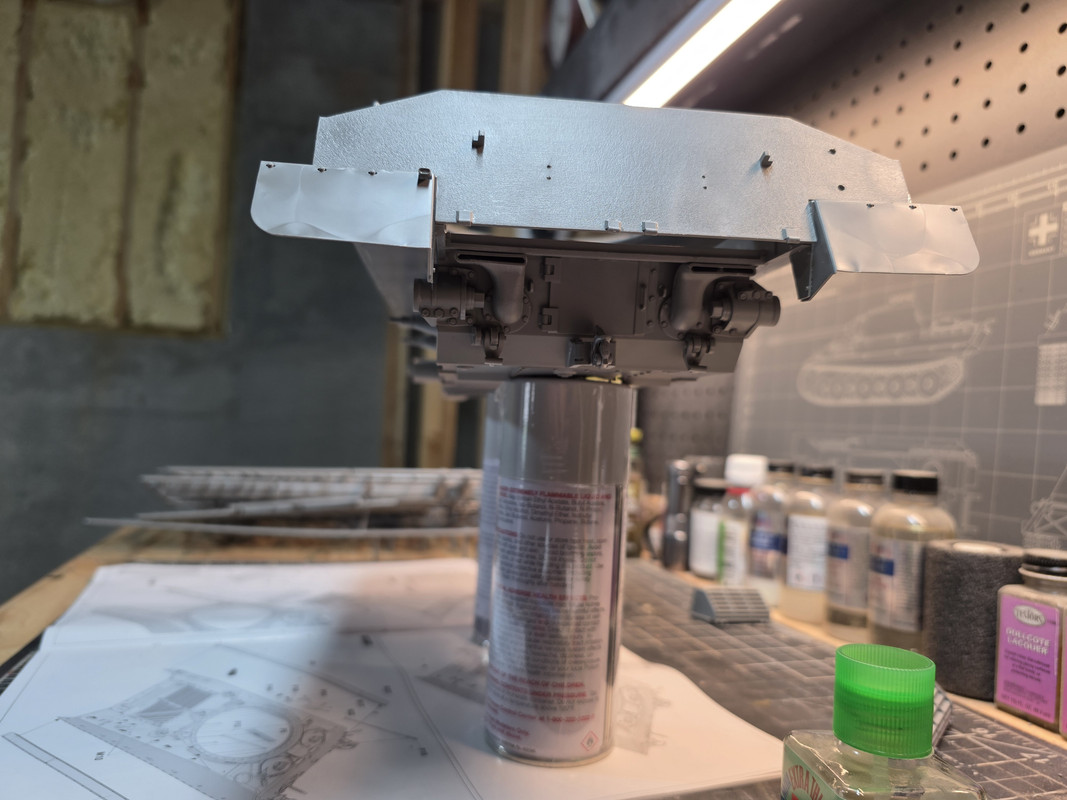
Tojo72, that Sherman is really impressive. The cast metal texture on the hull is really well done.
@Gregbbear I’ve found 1/72nd scale has its benefits. It’s smaller, easier to handle and has fewer parts. Larger scales, while easier to see, have more parts and still have small parts which are harder to handle.
Retirement has it’s benefits. Lots of time on your hands.
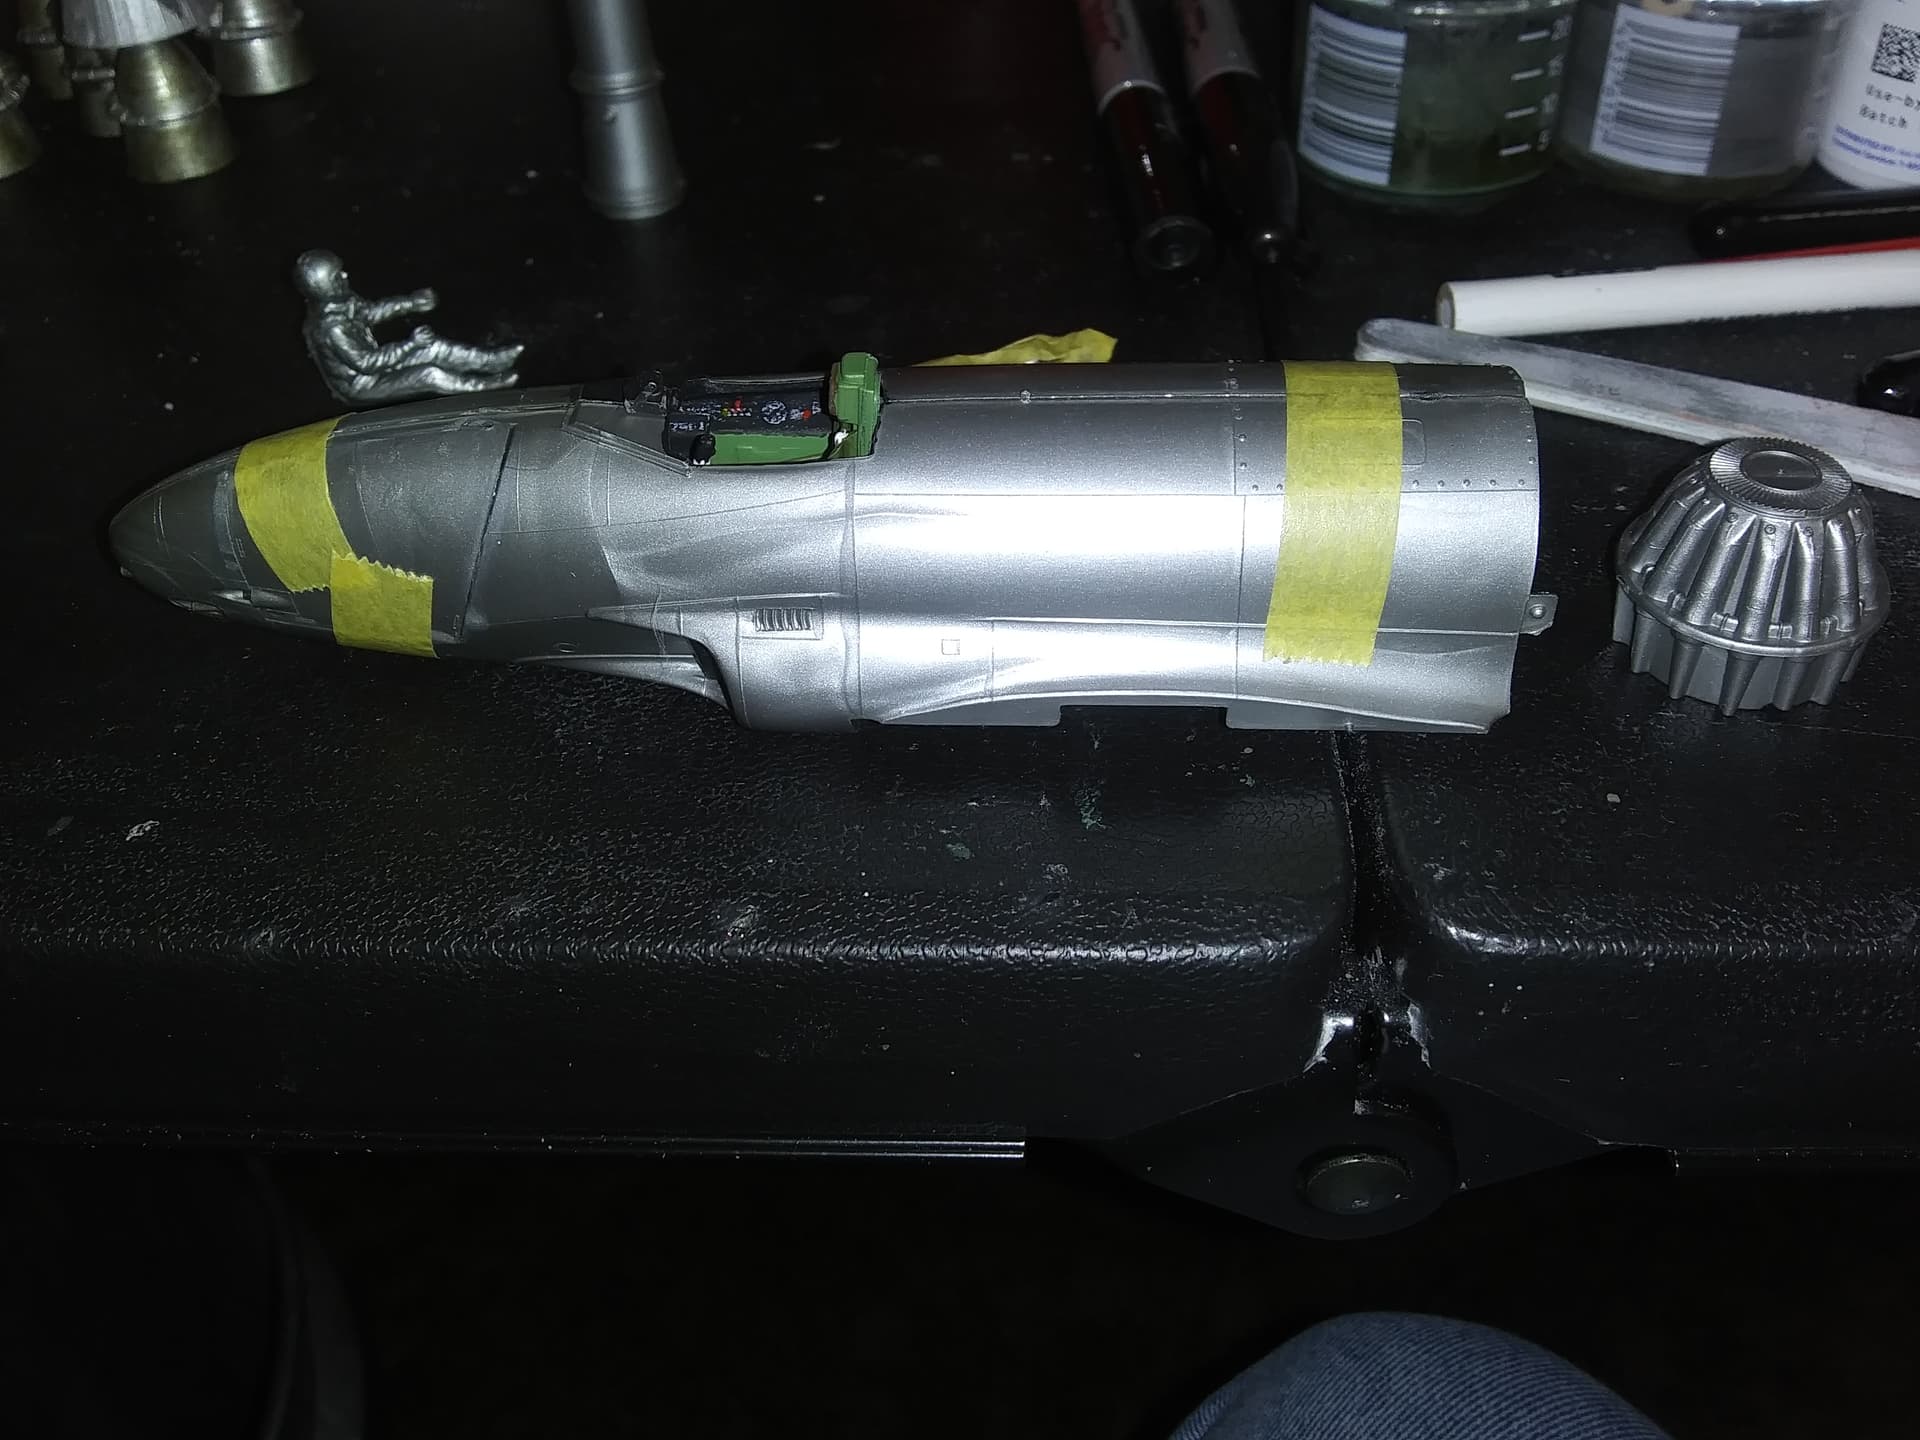
Not much to report today. I filled in a section of underwing that was showing through and glued the flaps in place. Unfortunately, I couldn’t make the rear fuselage fit over the turbine for the engine, so I removed it. Pictures tomorrow.
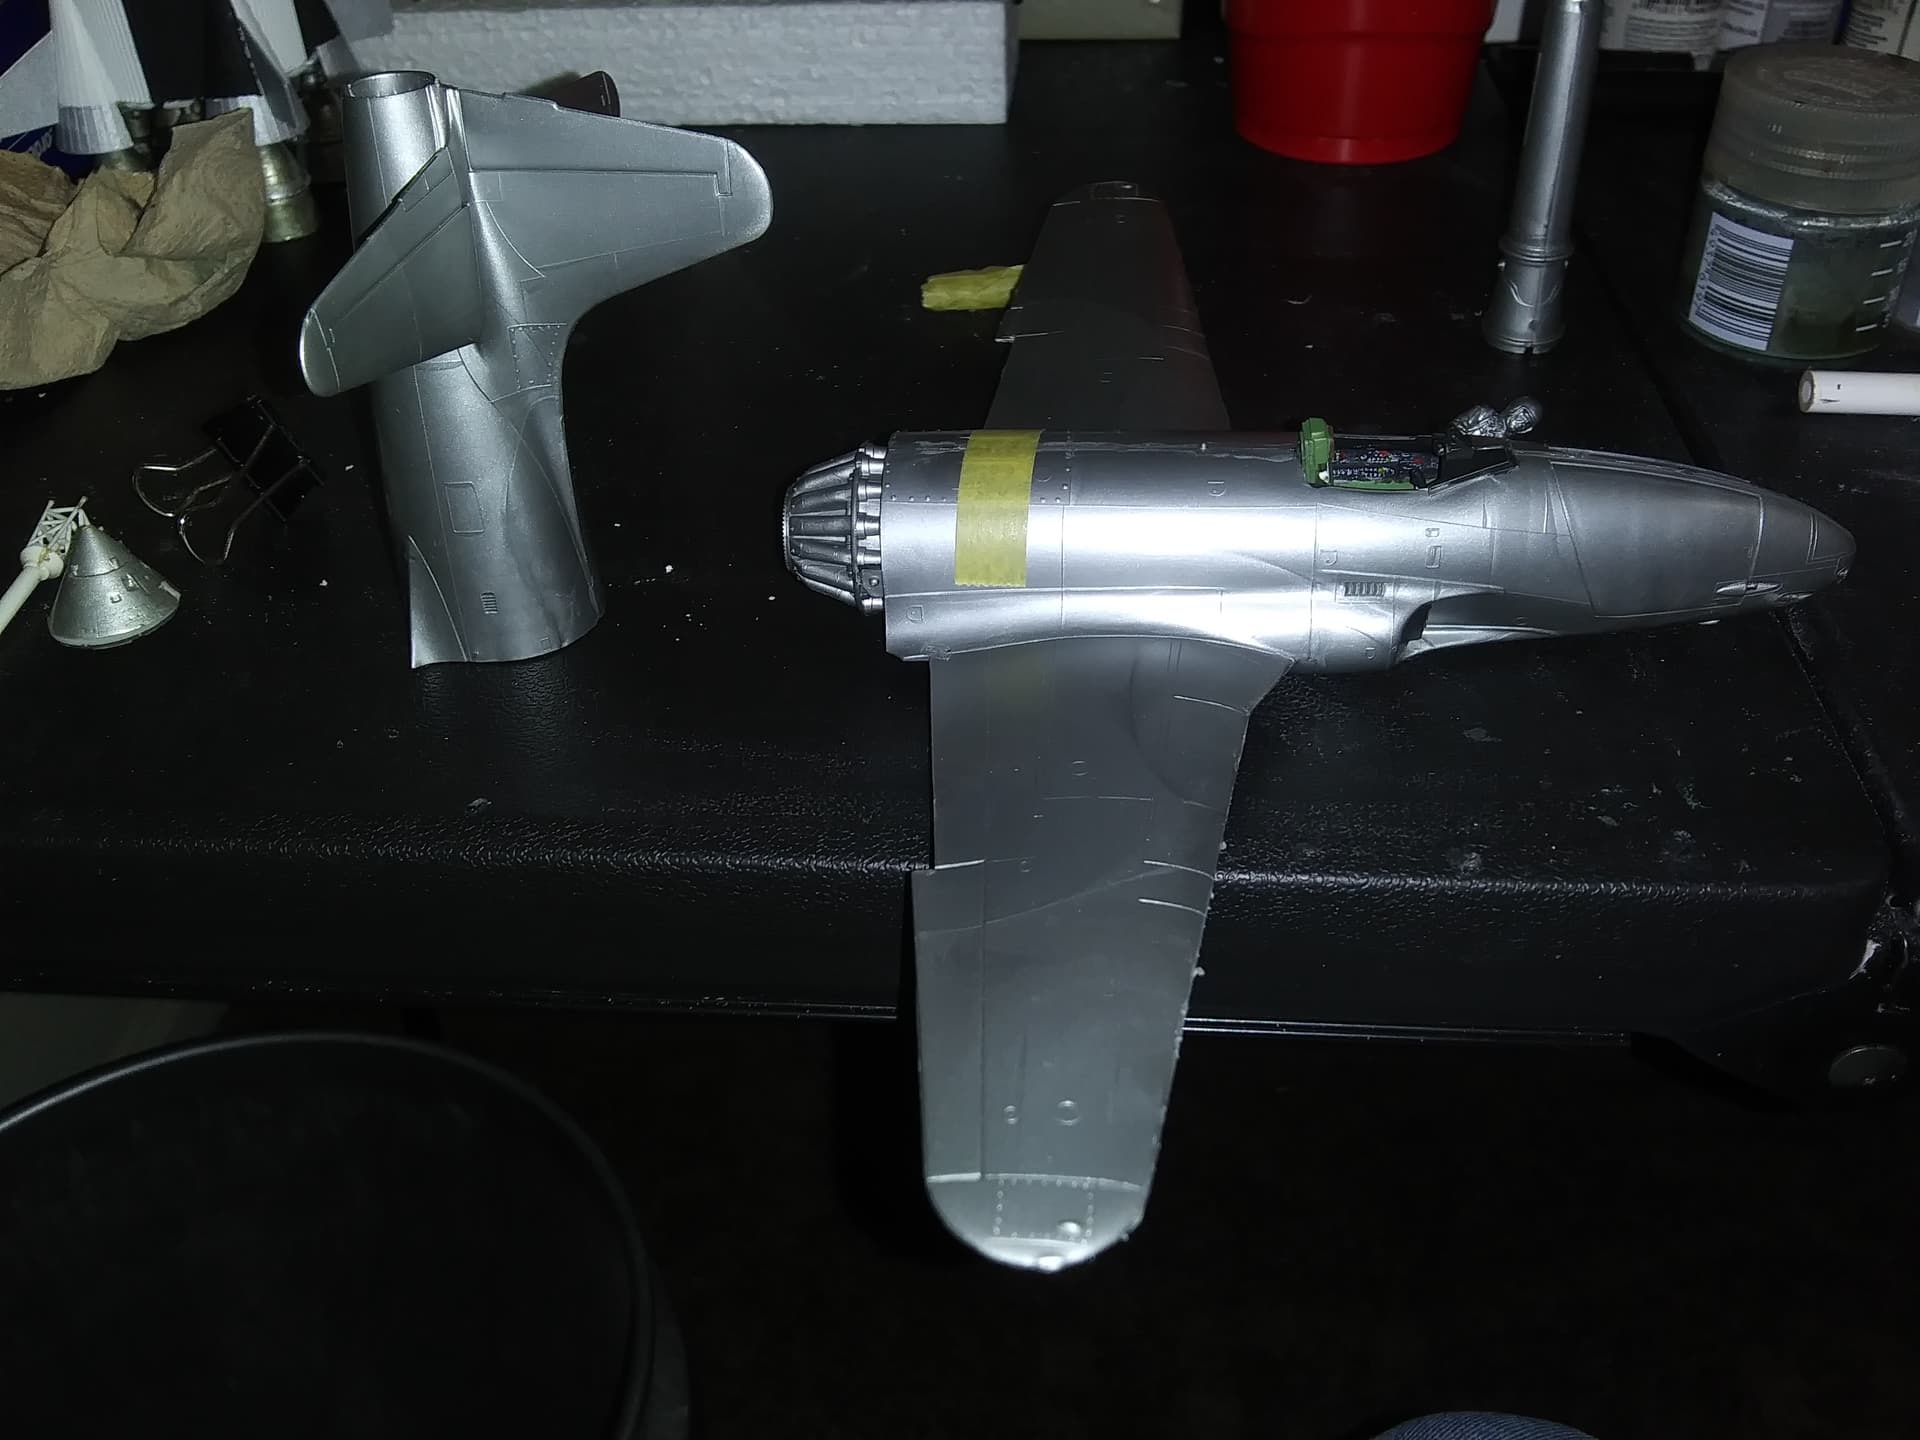
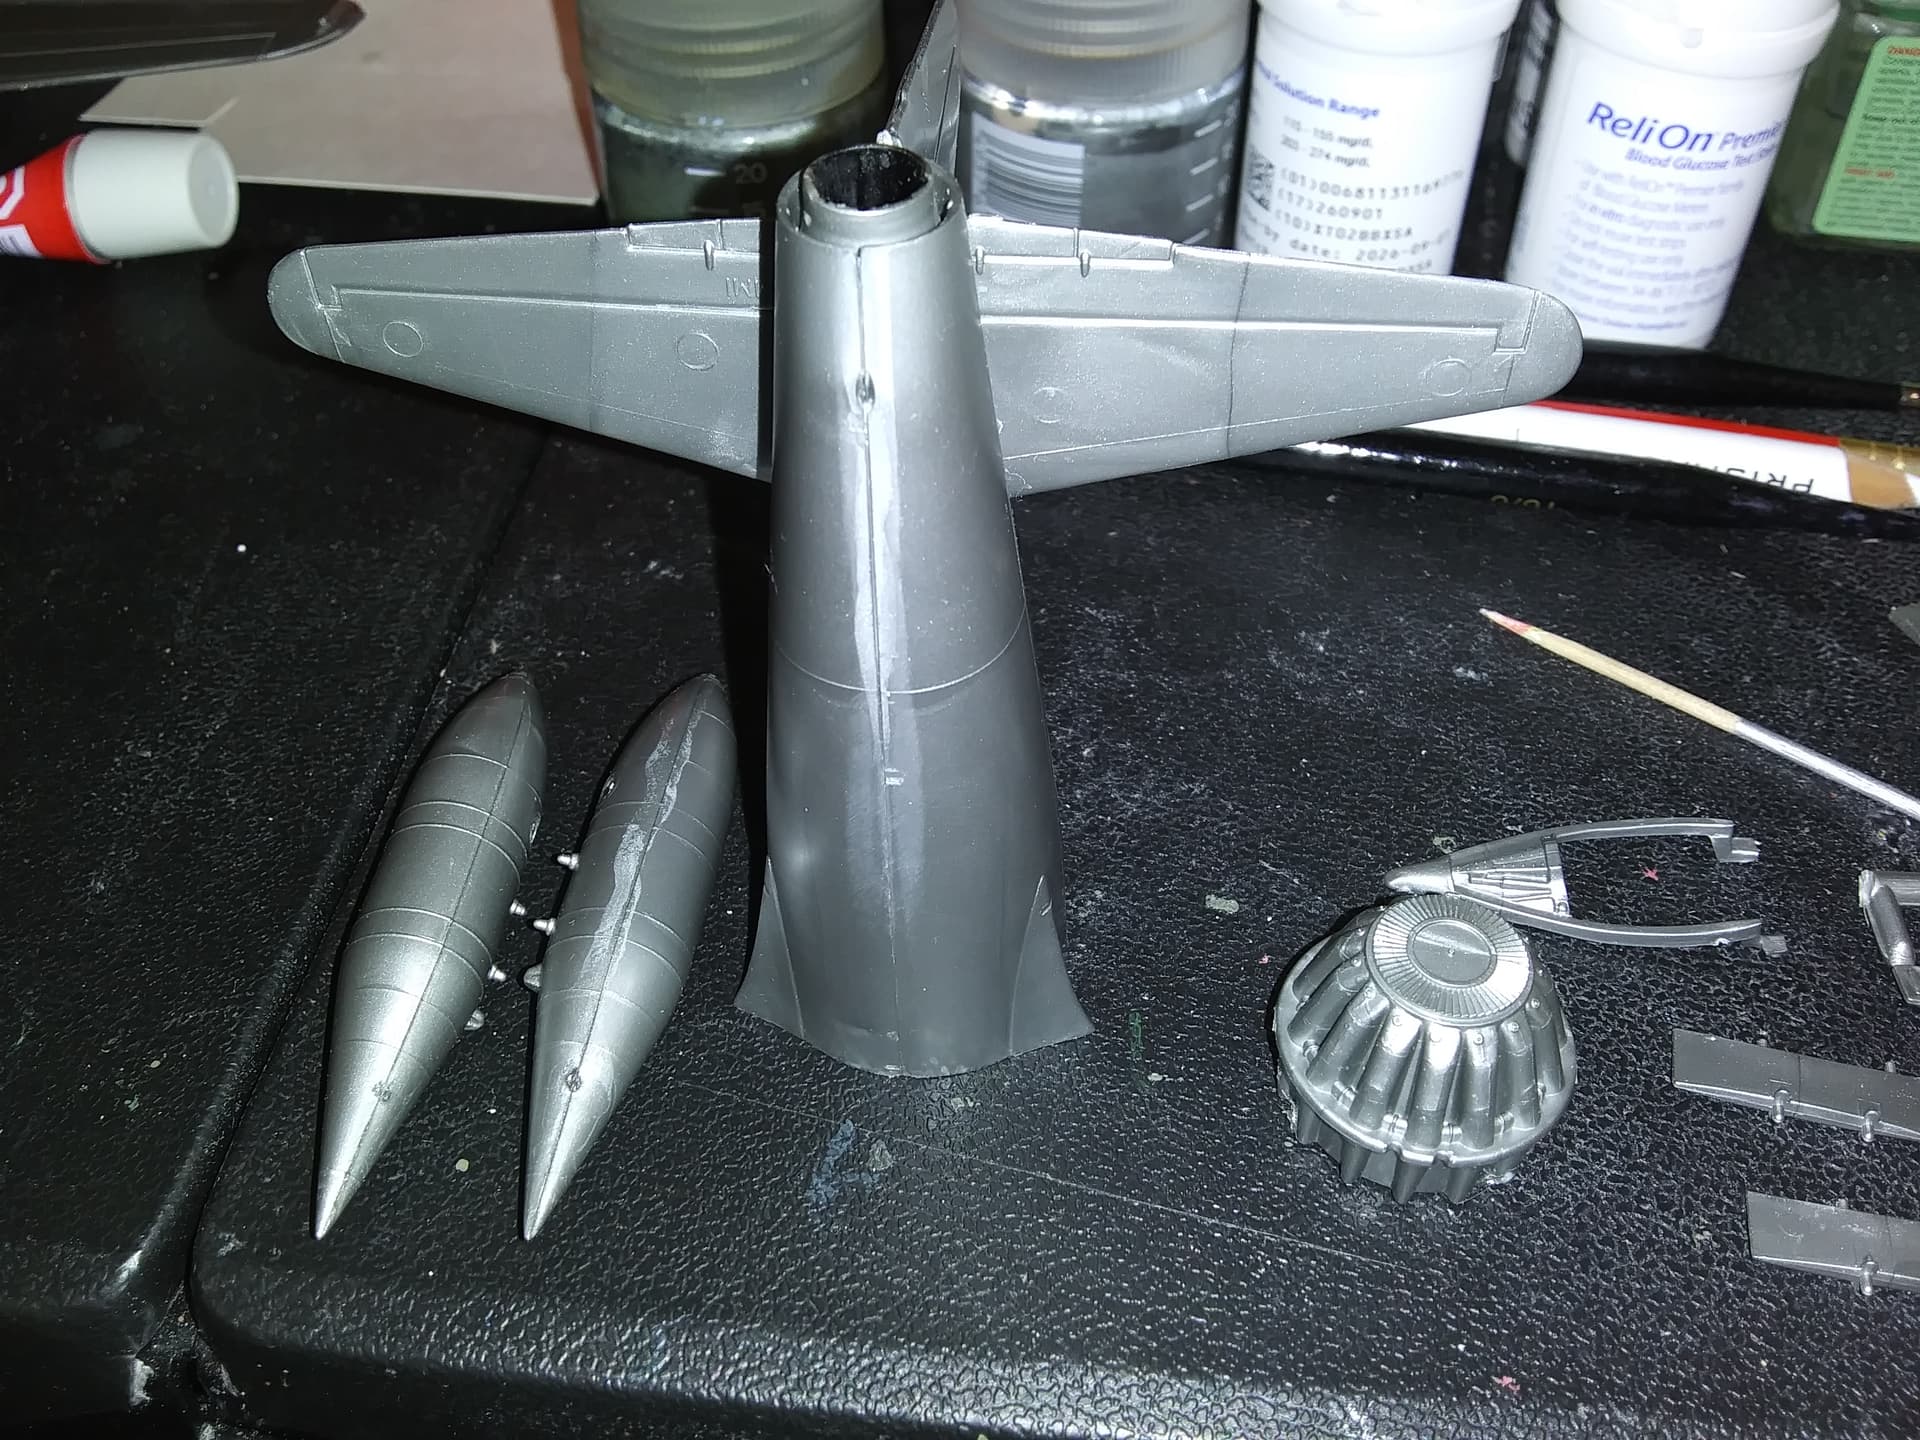
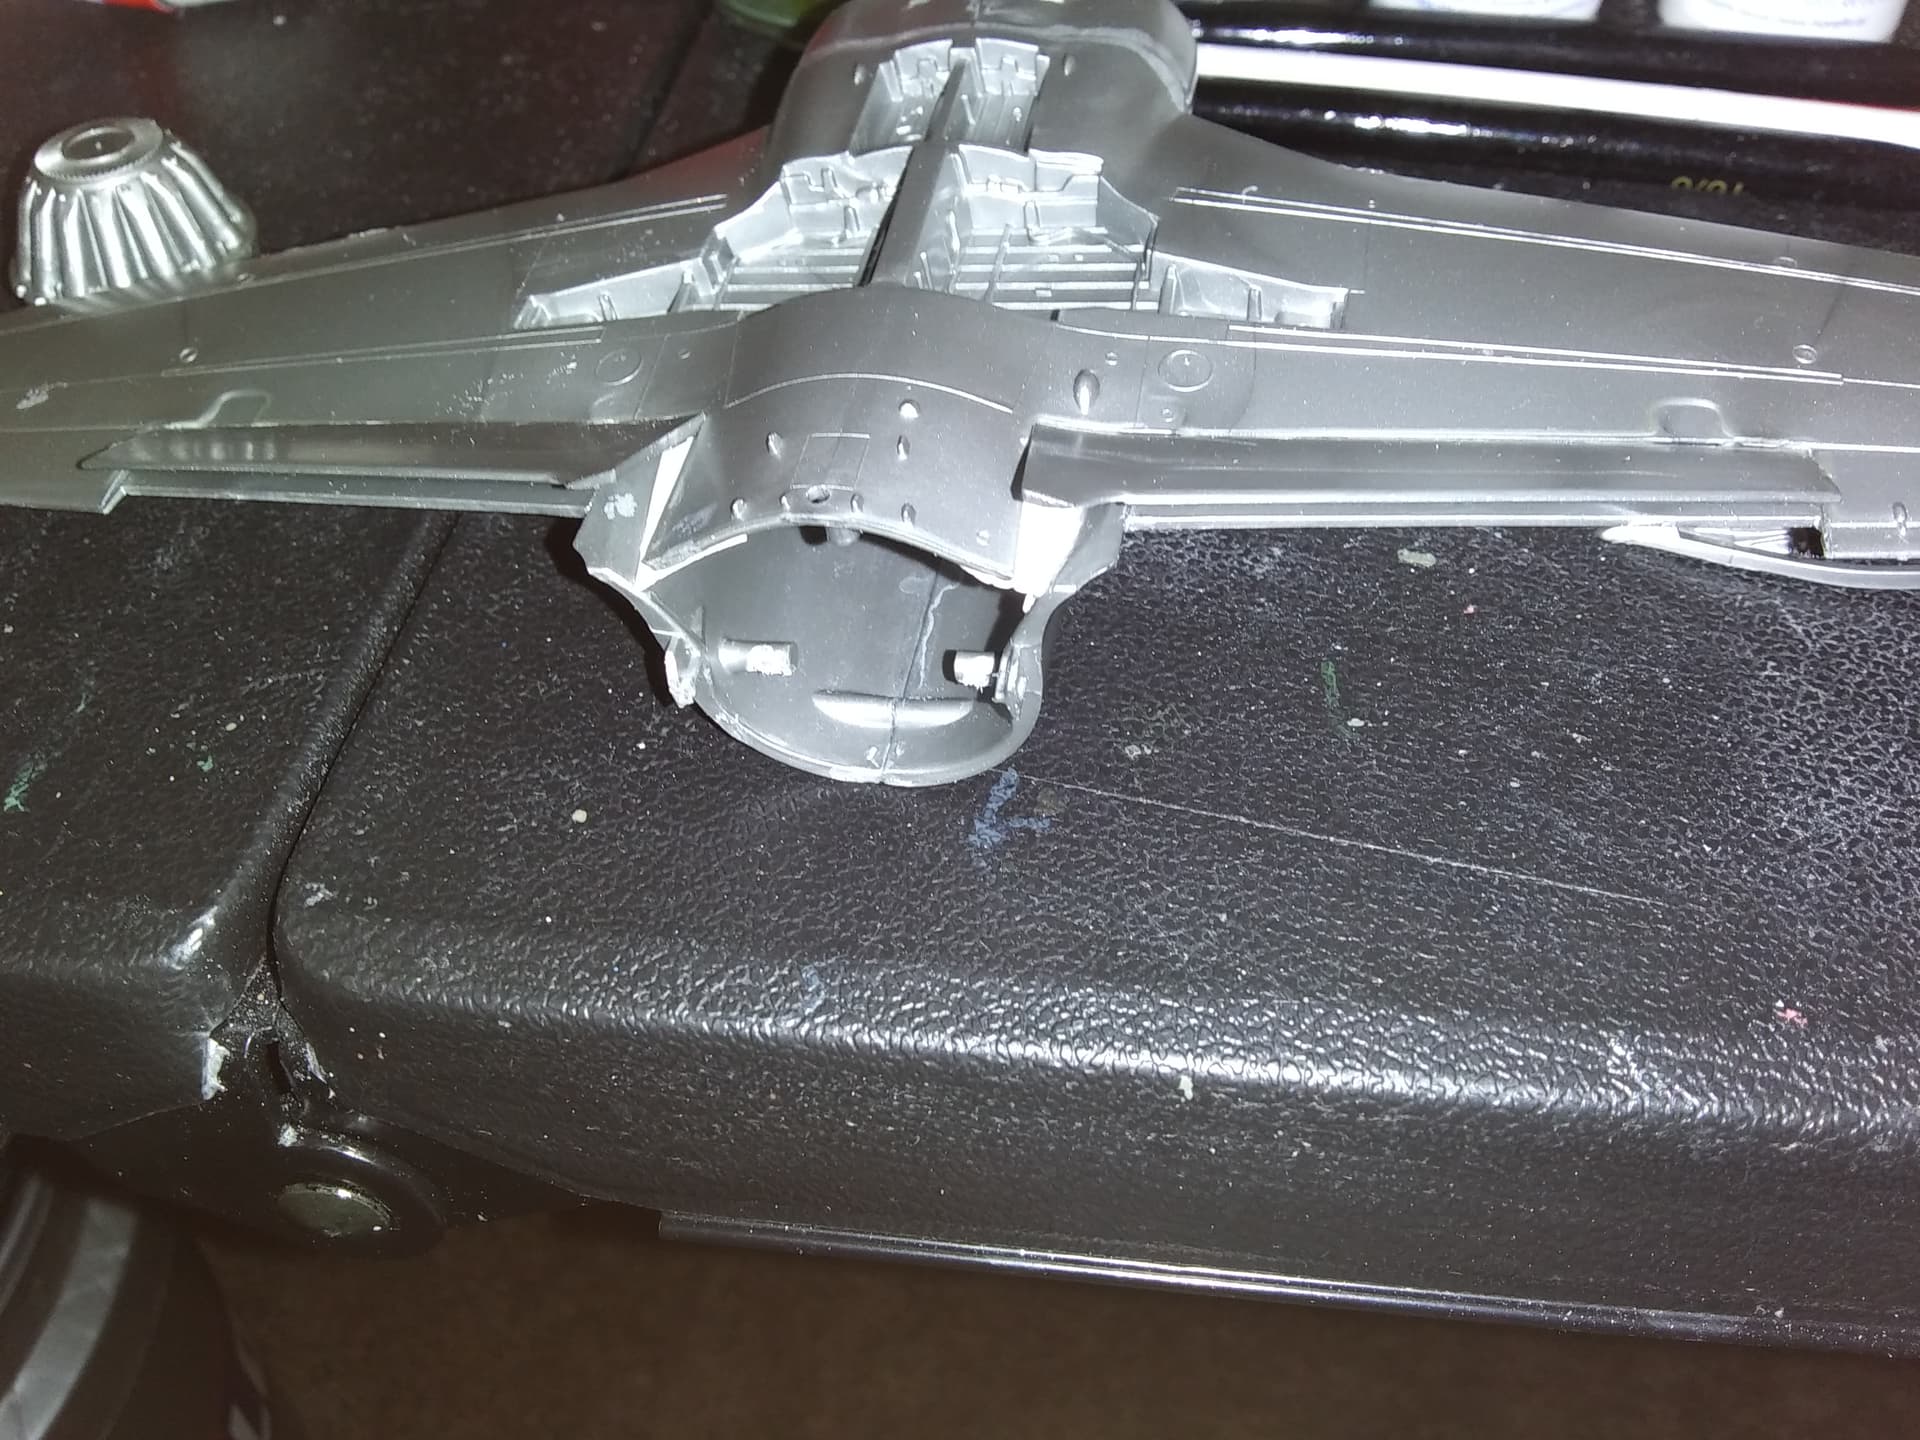
As I said previously, here’s some pictures of what I’ve been doing. First, having found I could not fit the rear fuslage over the engine turbine, I removed it and glued the exhaust in place. I also glued the wing tanks together and let them dry.
Next I cut off the tabs from the flaps (as I found them also impossible to fit) and glue them in place. As there were gaps in the lower wing section, I cut some thin plasticard out from scraps and fit them in place. It may not be accurate, but at least they’re closed.
This is an interesting YouTube channel. I’ve been playing while building.
Gary, you are making great progress on your F-80. I’m not even done with a single wing yet!
I saw the video about the B-26 Invader earlier (while searching for videos on the Korean War and F-80). Interesting subject. I don’t have one in my stash, more’s the pity.
Playing?
One good thing about old Monogram kits is they’re pretty simple. Now I need to do some puttying before I prime her.
Some things do not go as planned. I found a serious mismatch on the fuselage when I attempted to piece them together. Comes from Monogram’s attempt to allow the fighter to be broken in two in order to show the engine, which didn’t help those who wanted a “complete” fighter. To try to get things closer, I installed a wooden brace inside the front fuselage pushing the bottom about a millimeter further down. It’s not perfect, but it’s better than it was.
I’ve glued the halves together and am continuing my puttying and sanding. More pictures tomorrow after the sanding is complete. We’ll see if I can get it primed.
Outside of engraved panel lines, most modern kits I’ve built have issues like that! Except maybe Tamiya? The very segmented hasegawa kits come to mind.
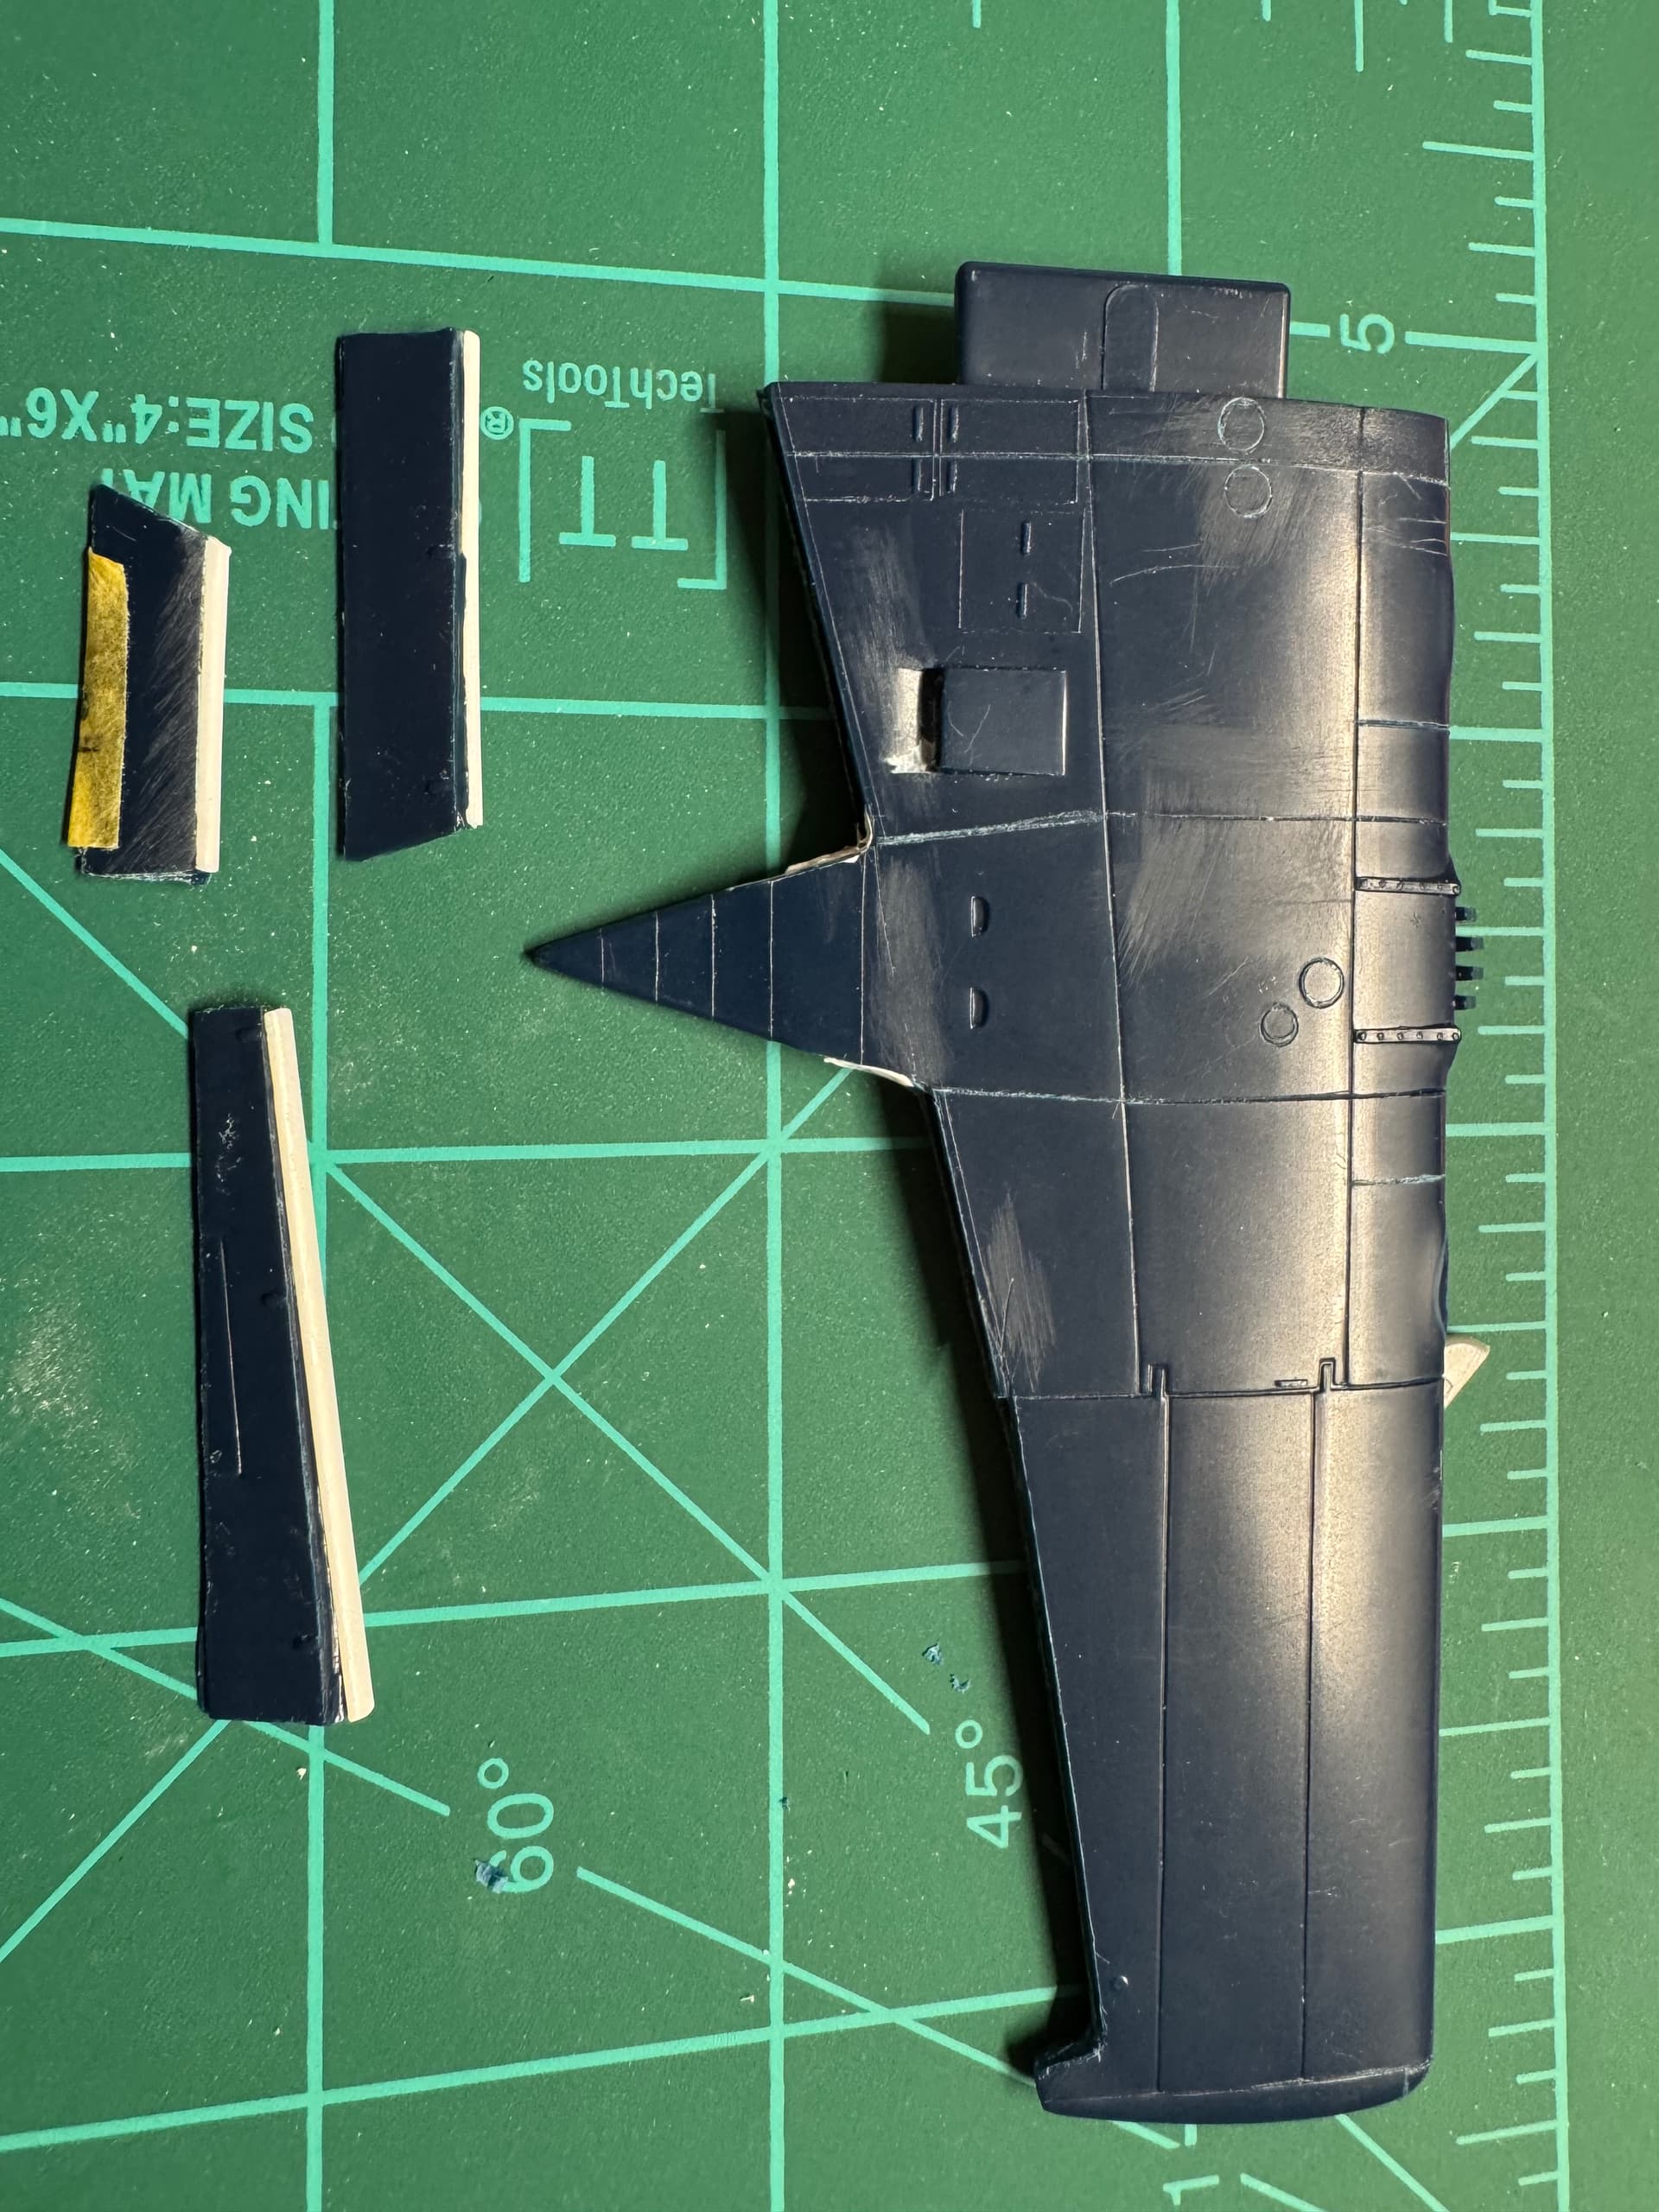
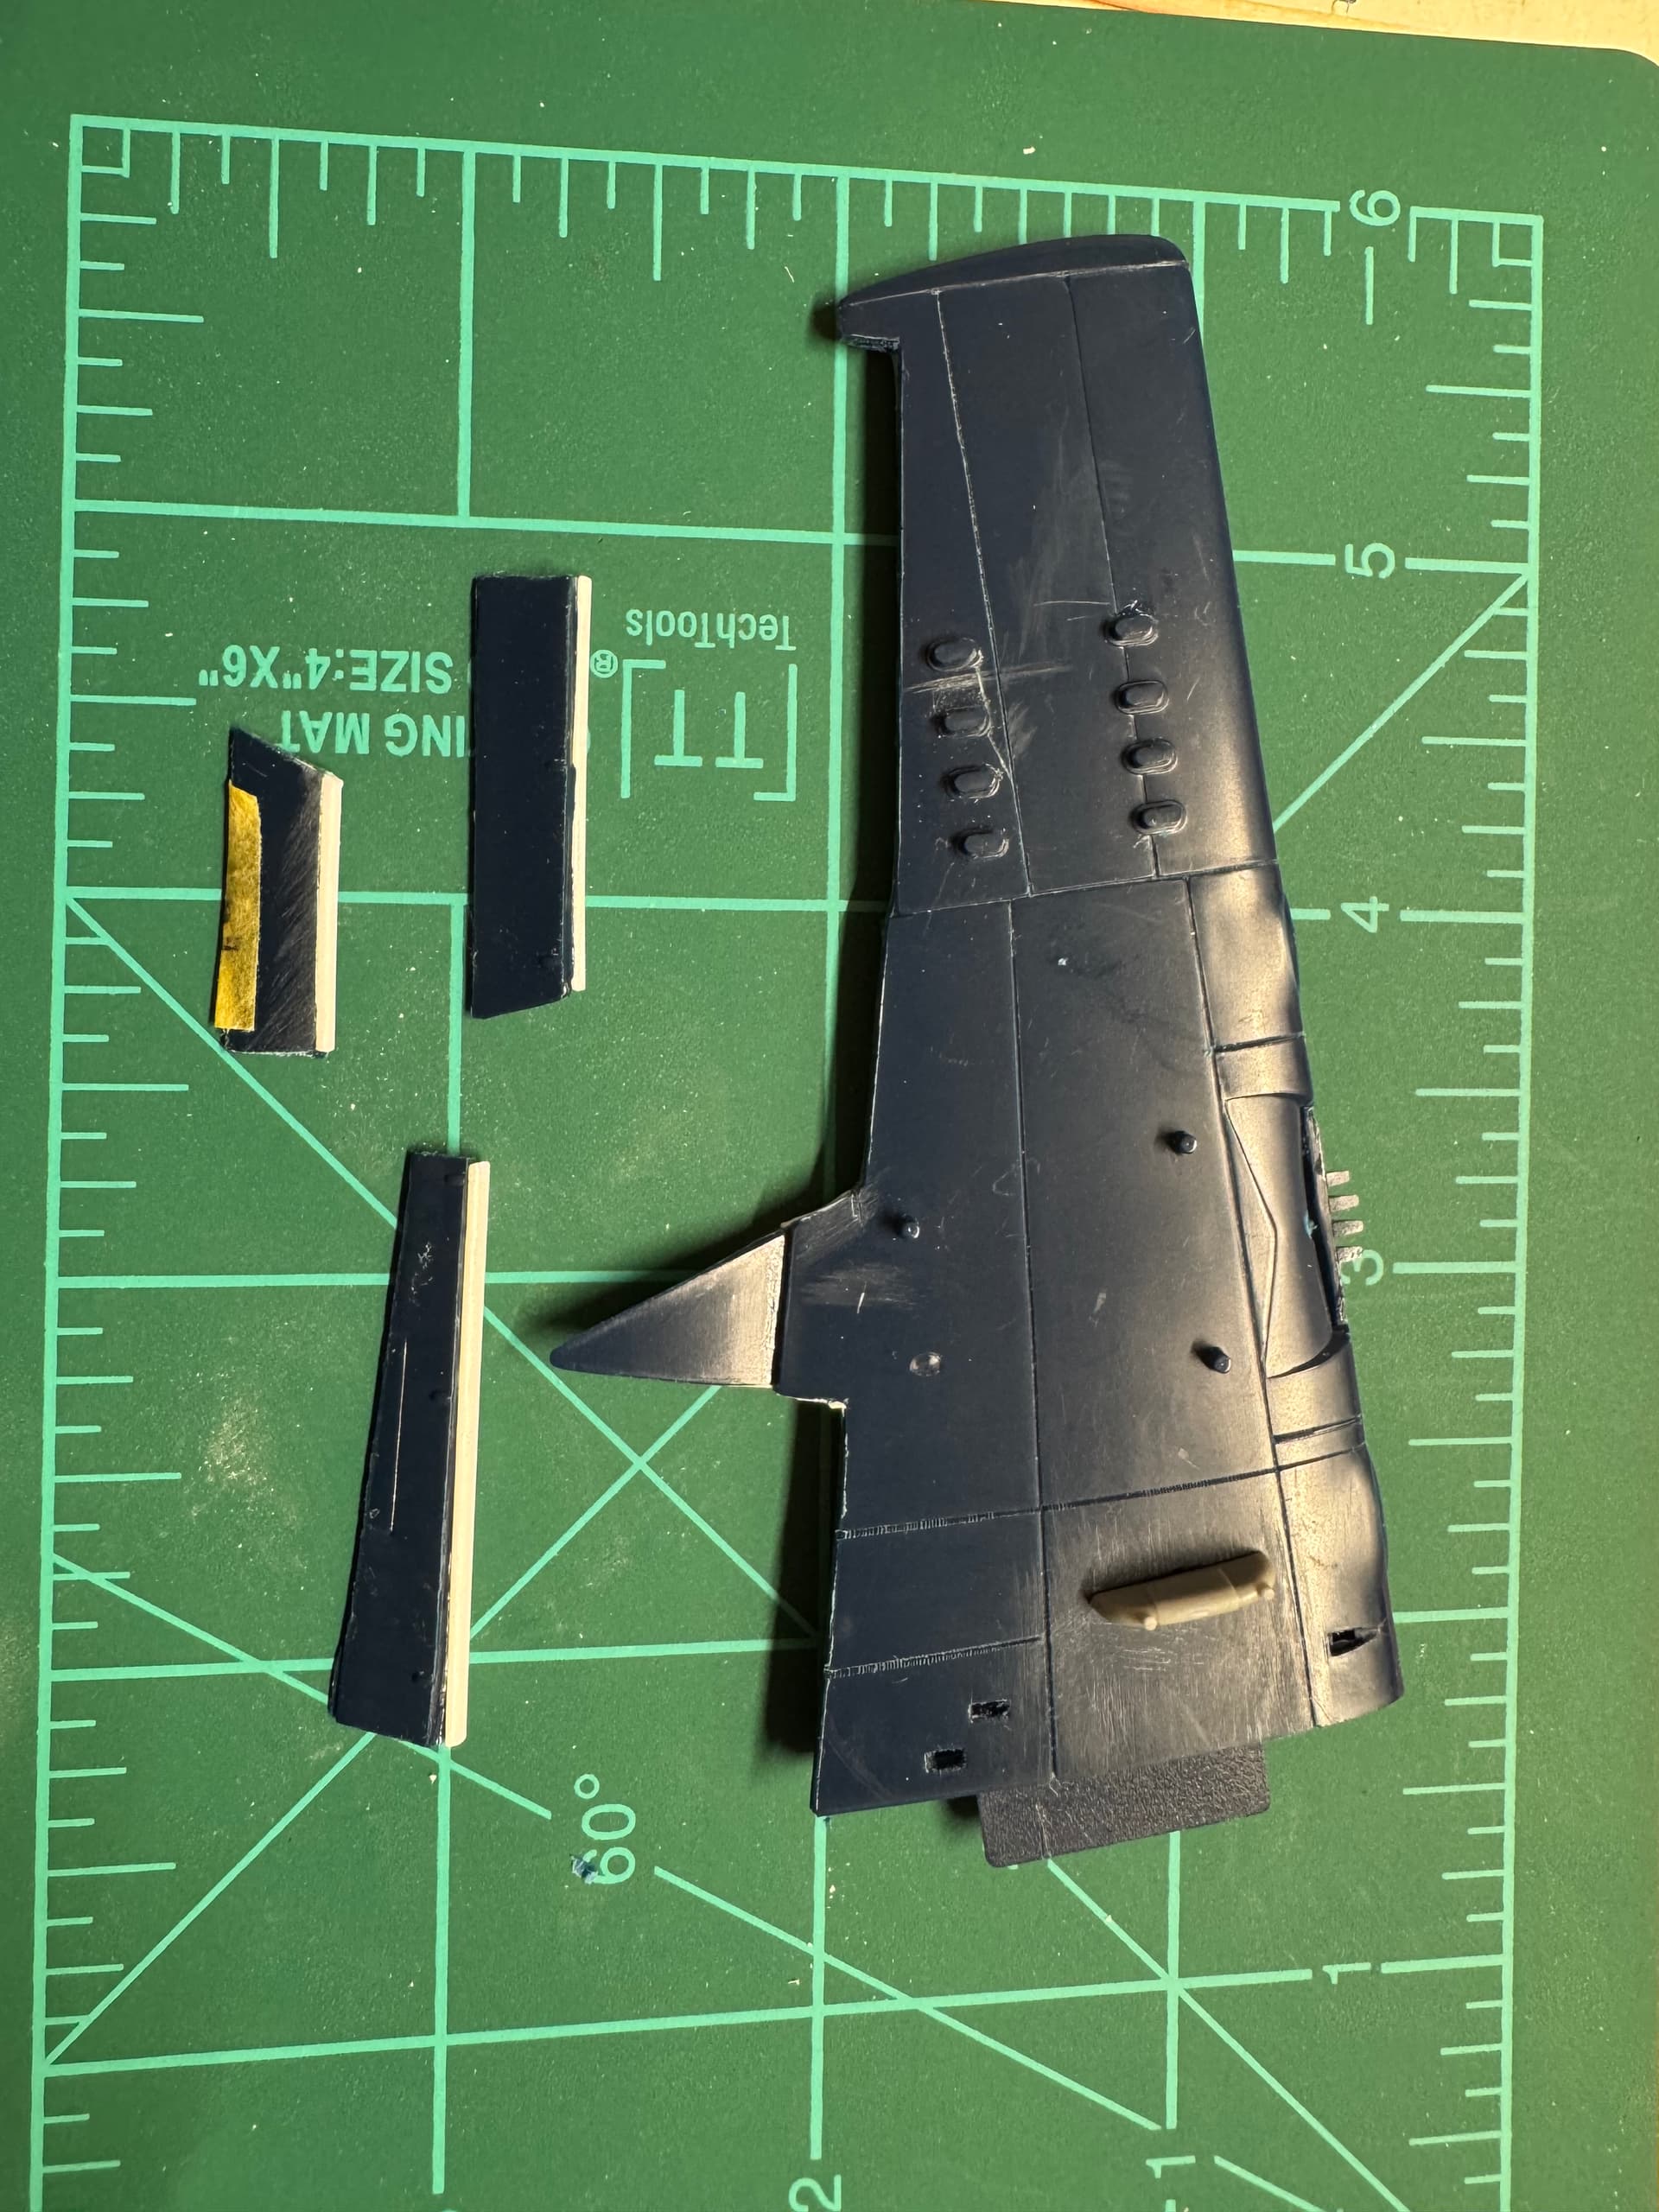
Speaking of monogram and frustration… I compared the wings to line drawings and some discrepancies were found. After opening up the shell ejector chutes, I saw that they were staggered wrong, and the weapons pylons are wrong size and in the wrong place. I added some missing panel lines while I was at it, but I left the chutes. I also found that the Quickboost resin cowls are too small, so I have to grind out the stock ones if I want to use the quickboost engines. Which I do. On a positive note, the Starfighter resin wheel wells seem to fit good upon test fitting. I just need to paint them.
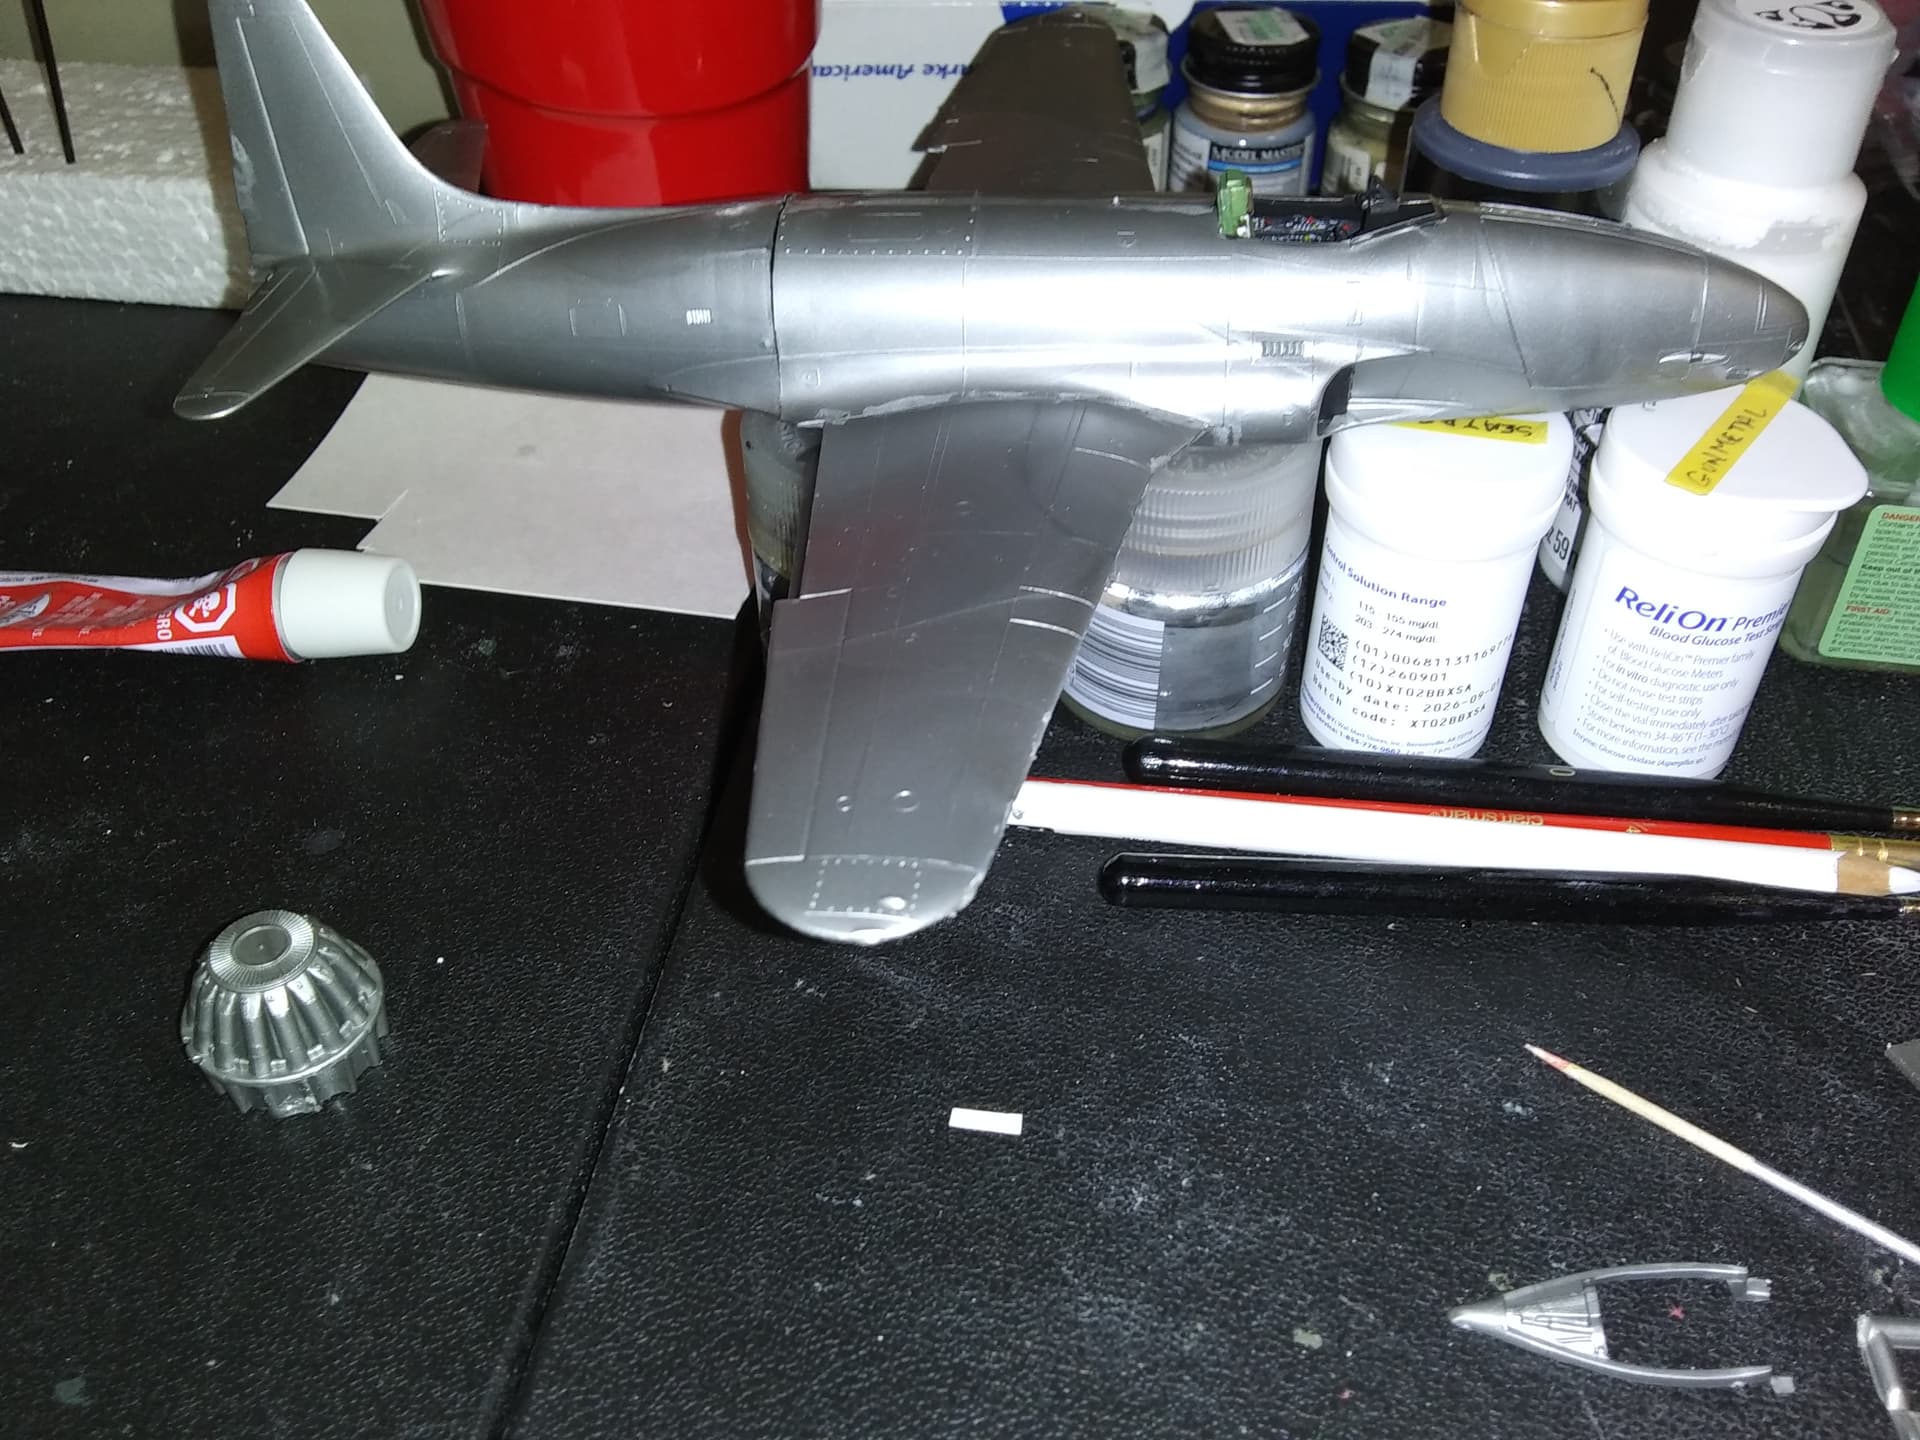
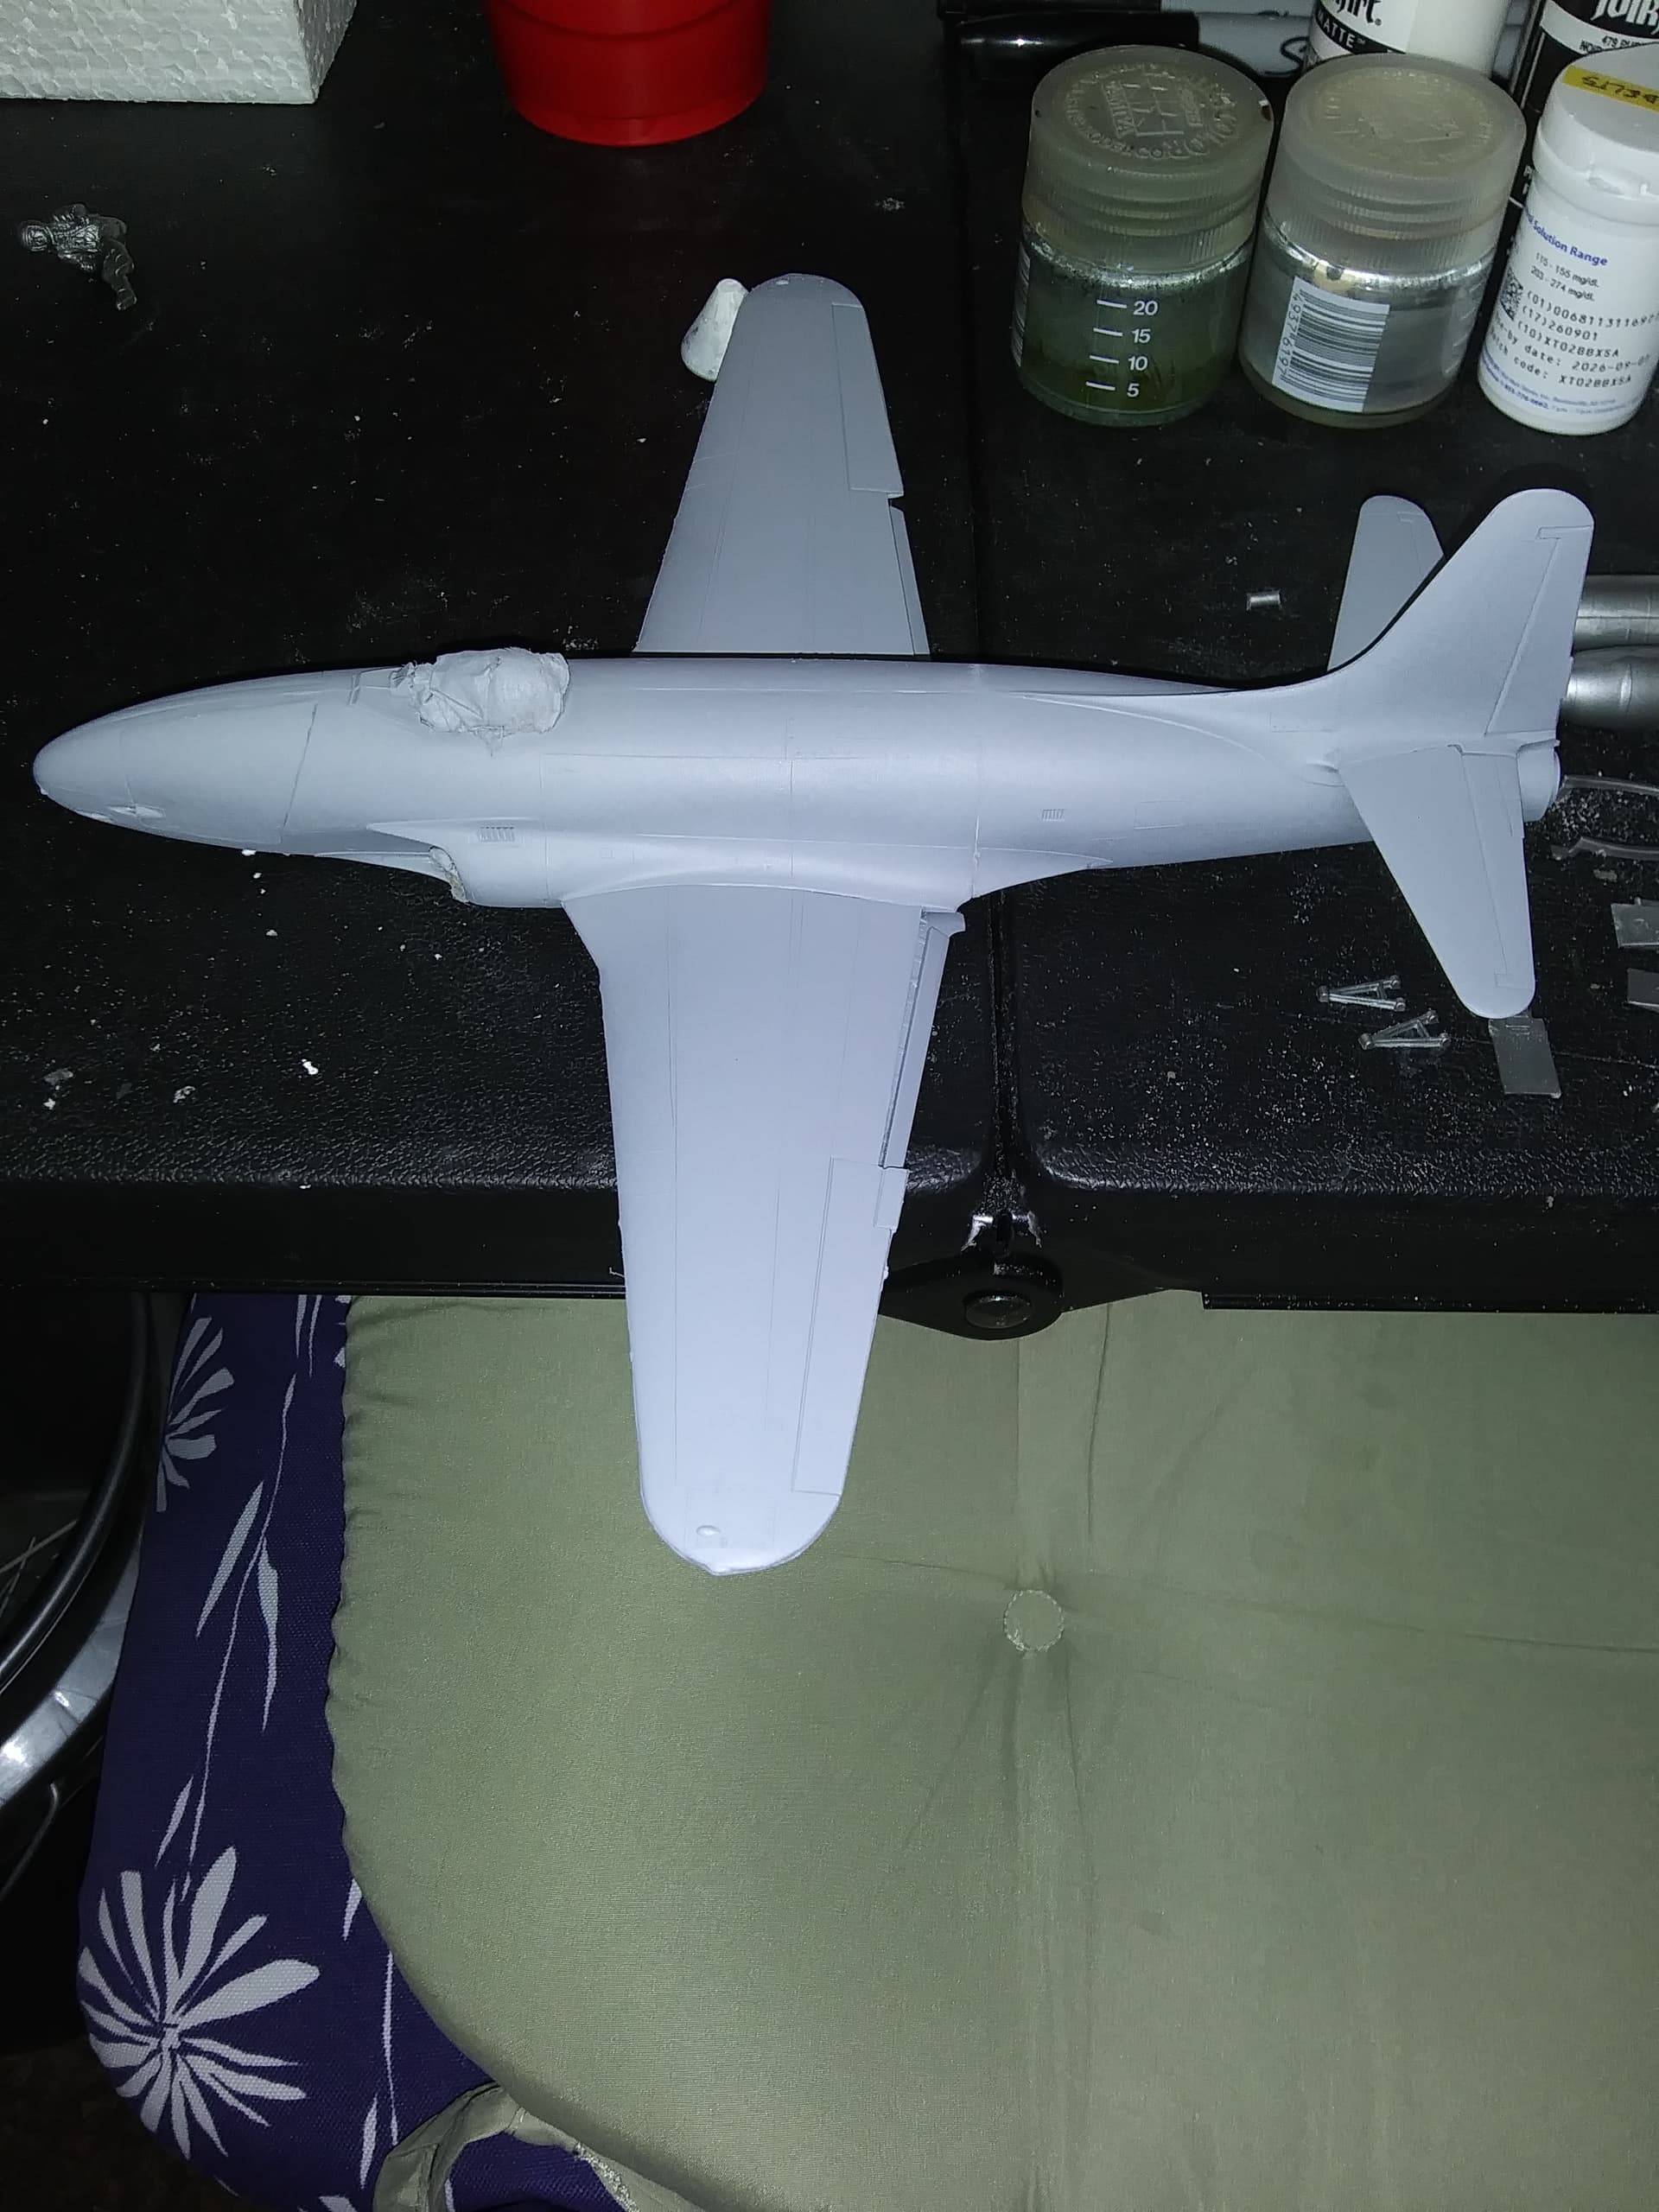
Managed to finish sanding on the F-80 today. After wiping it down, I sprayed it with Mr. Surfacer 1000. Looks pretty good, but there are some spots that can use more sanding.
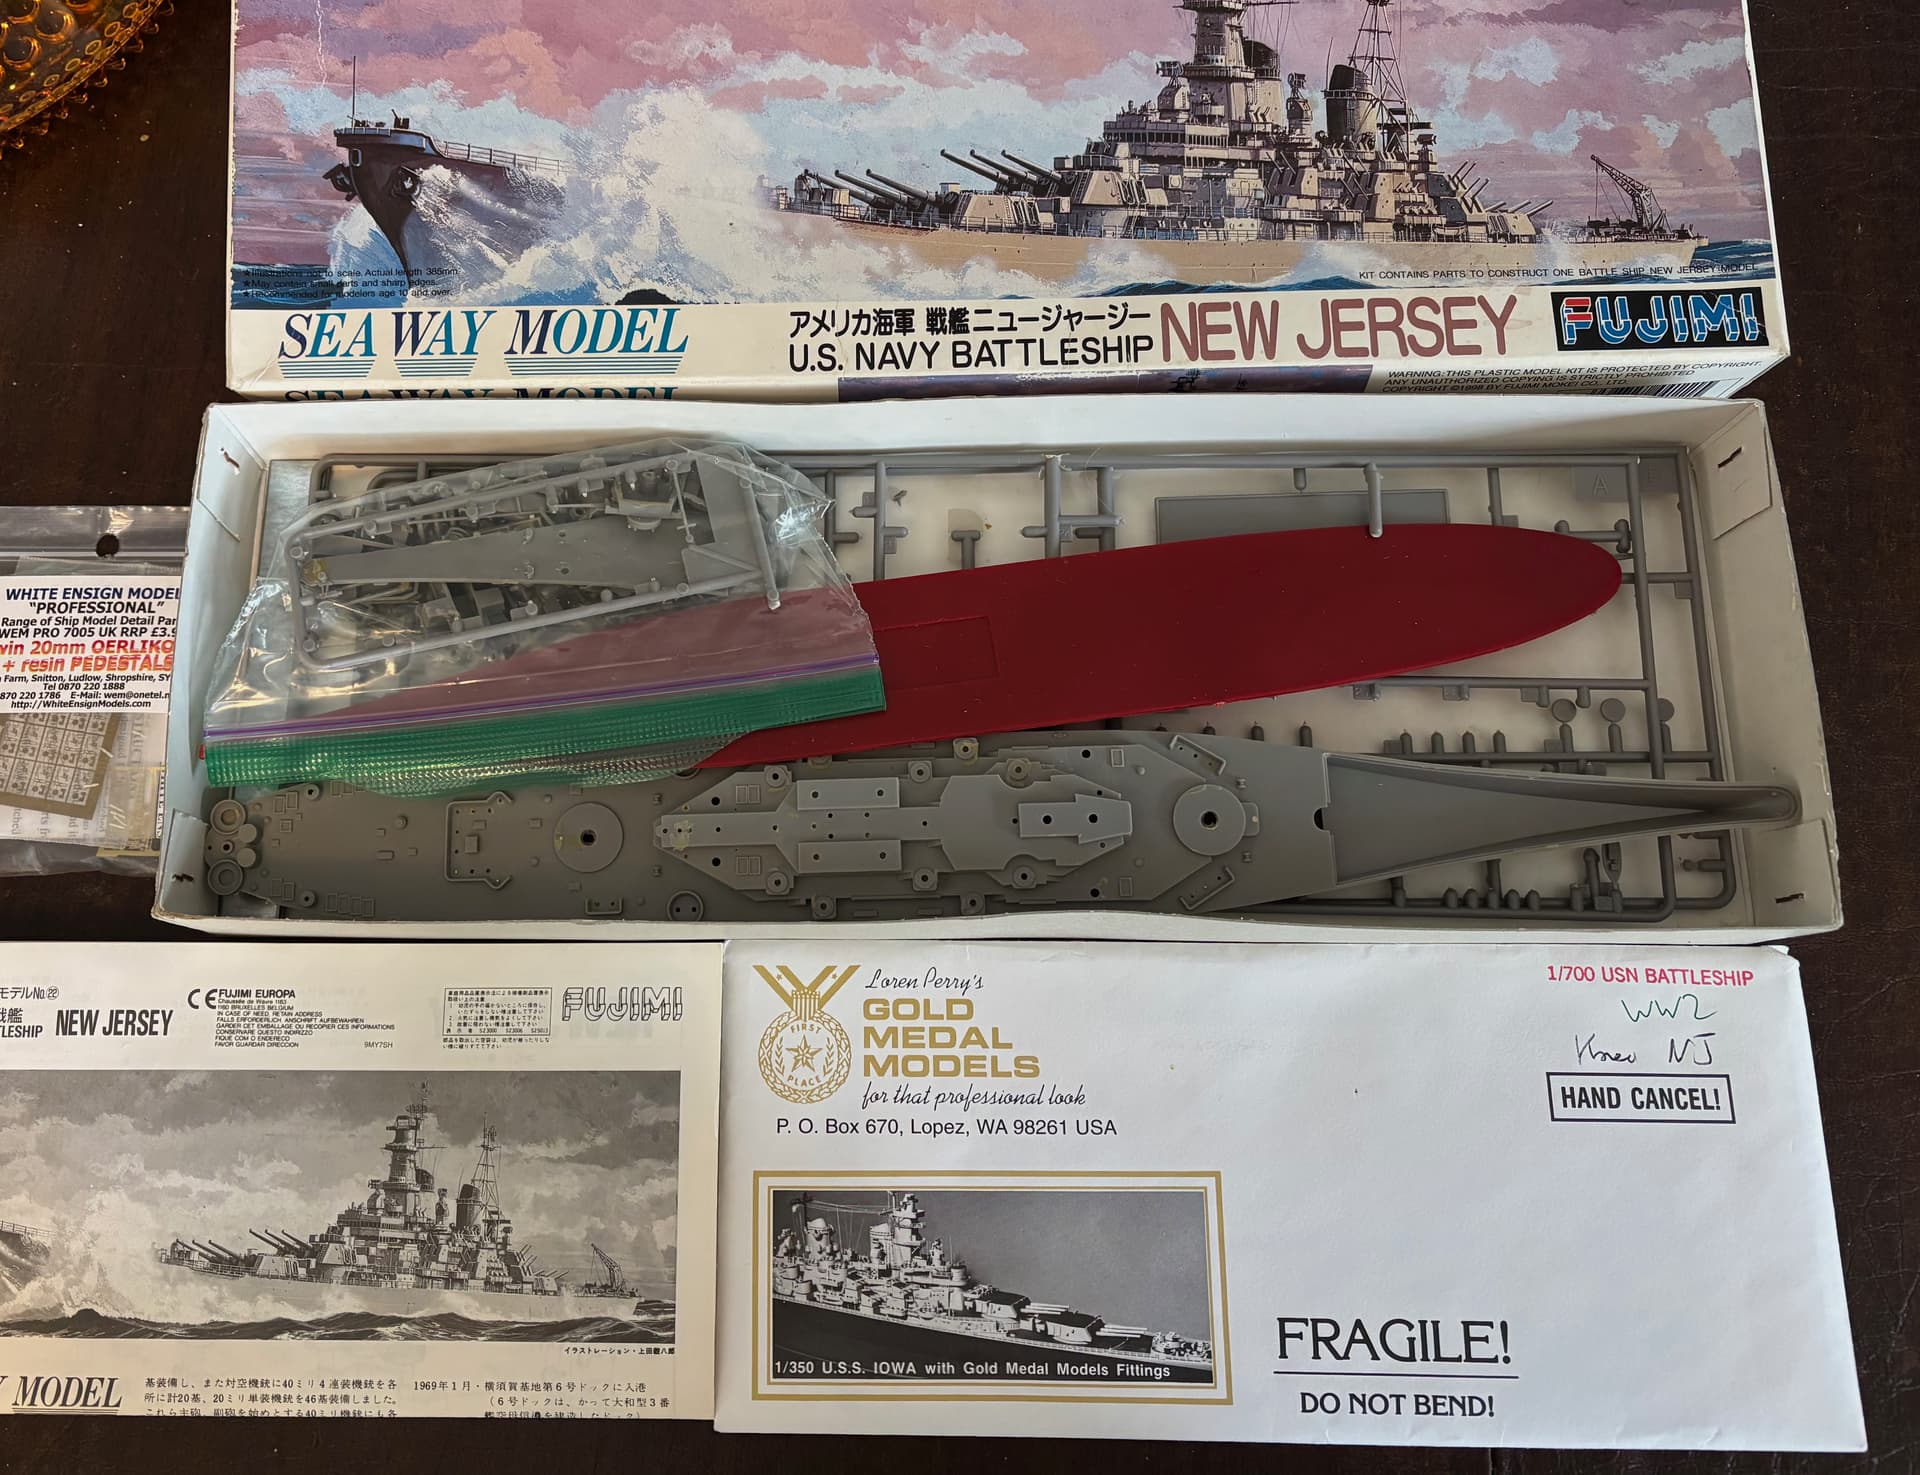
Here is the model I’m starting. Building her in Korean War timeframe requires choosing before or after the mid-war maintenance; I’ve chosen post-maintenance as I have slightly more pictures of then. I have the first coat of paint using a spray bomb, but now need a tin of the same so I can touch up. I also need a few more detail pieces, which I’ve found on eBay and will order soon. She had two different pairs of Mark 37 for the 5"/38s!
For her helo the “Jersey Bounce” I found I actually have a 1/700 HO3S-1. I’m also going to order a Piaseki HUP, which she also operated during that time plus it’s an odd bird.