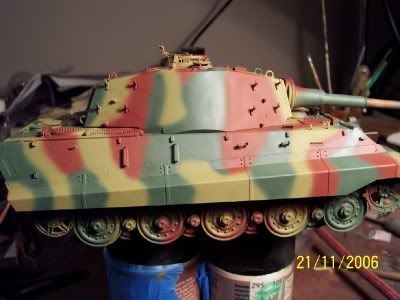
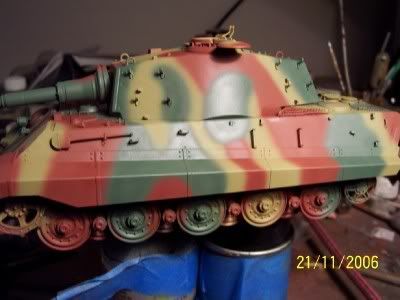
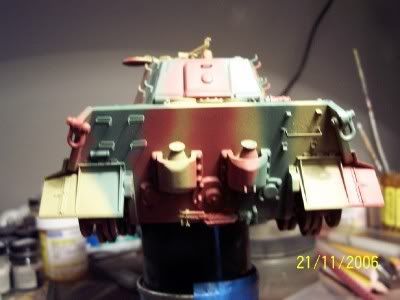
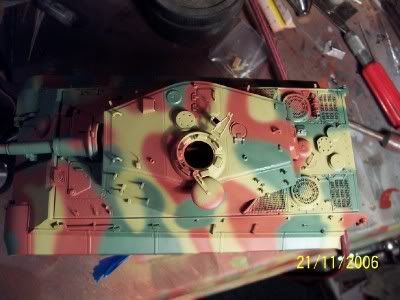
Here are a few pics of my King Tiger with camo. I will not claim that the scheme is 100% accurate but is a very close approximation of what 332 might have looked like during the Battle of the Bulge. The colors are Floquil railroad colors Oxide Red base and ModelMaster Panzer Dark Yellow and Olive Green for the camo. Everything is painted free hand.
Neat thing about German 3-tone camo patterns is that you have a lot of latitude for the most part in choosing the pattern arrangement. Looks like a solid start, keep it up. [tup]
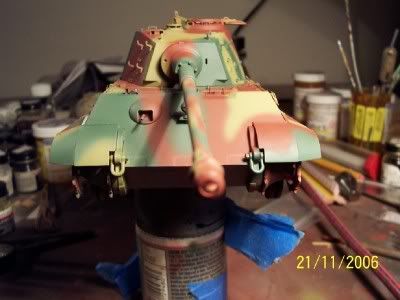
Thanks for the compliments everyone. I will continue to post updates as the build progesses. In case anyone is wondering the model of airbrush I used was a Paasche Millenium with #1 set up installed. Once I had the Oxide base applied I roughly “sketched” the yellow and green shapes then thined my paint and began to refine the shapes. In my opinion this is the best paint job I have done. I am really getting the hang of this new airbrush.
Hi there modelbuilder.I love your paint -by- hand camo !!!How do you make the edges all look feathered in.How did you accomplish it so well??? Semper fi ,rudedog
Well rudedog that was the hard part. As I stated above I used a Paasche Millenium with #1 set up. The first coats of each color were done with unthinned paint. This was just to define where the colors would be. I then began thinning the yellow and green and spraying pattersn on a scrap piece of cardboard to check the pattern. The colors ended up about the consistancy of skim milk. The oxide red does not need thinner, it seems thin enough from the bottle. Once I had the pattern I wanted I began refining each color by outling the edges and filling in the center being sure to cover any overspary from the previous rough sketches of each color. I kept the airbrush no closer 1/8" and no farther than 3/4" from the King. My air compressor has no air control on it so everything was controlled by the airbrush. I hope to change this soon by buying a compressor with storage tank. I hope this helps. One more thing, DO NOT remix your thinned paint back into the unthinned. Label it and store it away for the next project.