This has got to be the most supportive group of modelers on the web. If you’re not tired of hearing this I’m not gonna stop saying “thank you” to all the experts that helped me through my first ship.
I wish I had better photos than this but its all I have right now.
Beautiful Leftie. You may have written something about this already but as I remember from this kit the deck was in three sections. How did you go about matching the seems. It looks great.
An outstanding job !!! I to am working on the Constitution, the hull is together and I am getting the parts ready to paint. I have built several Connies before through the years and the Model Shipways kit as well , with the white gun stripe. Now I want to paint the " yellow " stripe this time. Exactly what shade of yellow did you use ? Thanks
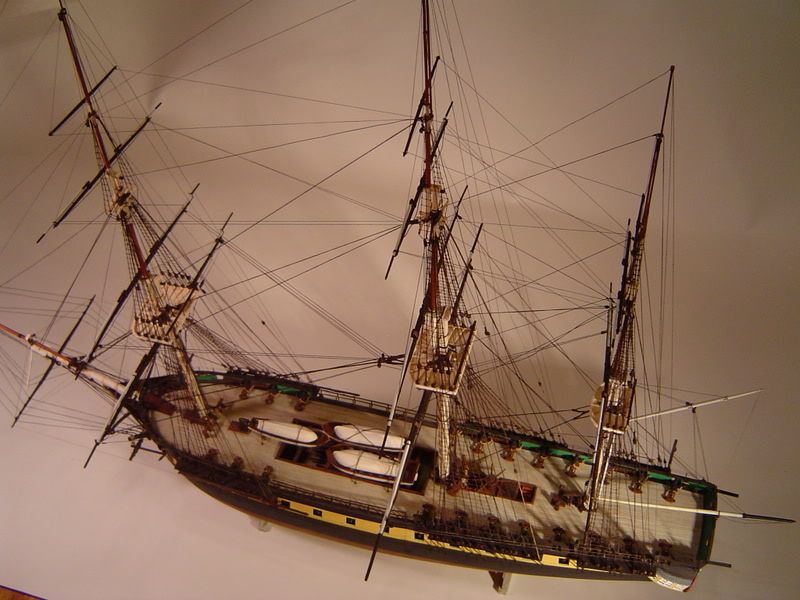
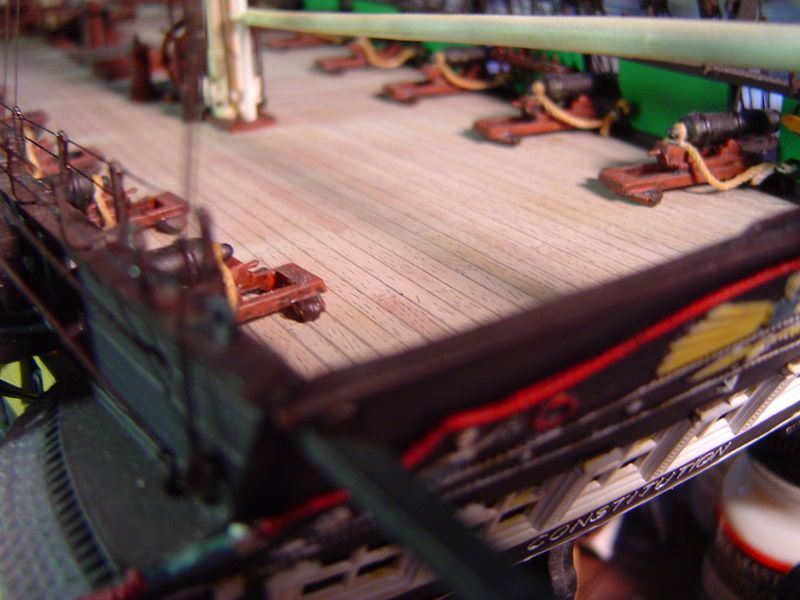
The deck sections were glued together before adding them to the hull. Each section’s mating edge was sanded square so it would be flush( this shortens the lenght a bit so at the rear I added a small moulding to add what I lost). Add reinforcement sprue on the bottom side. Glue the sections together noting to line up the planks correctly. Of course some putty had to be applied and some careful sanding done. After painting, I restored the panel lines using a well sharpened lead pencil. Also added matching ‘grain’ lines. The end result is actually quite good. No seam lines are visible unless you hold the light to cast long shadows…I think you know what I mean.
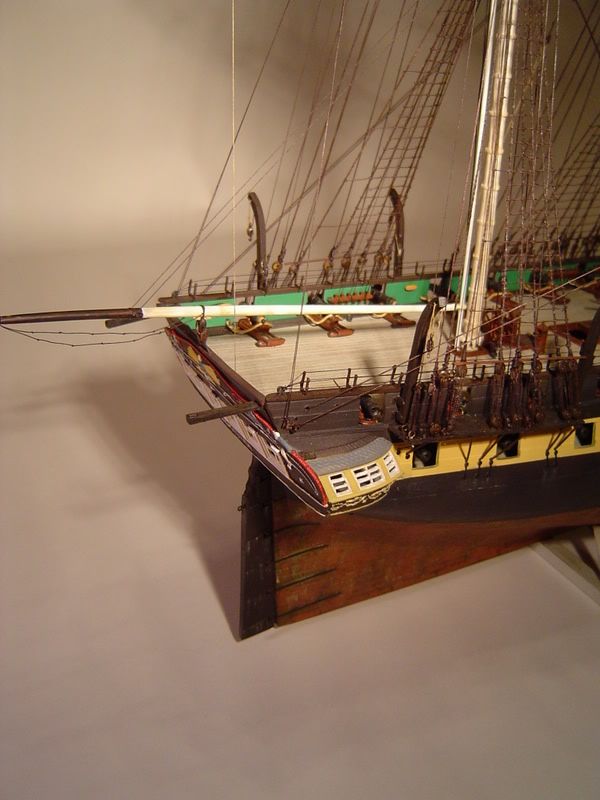
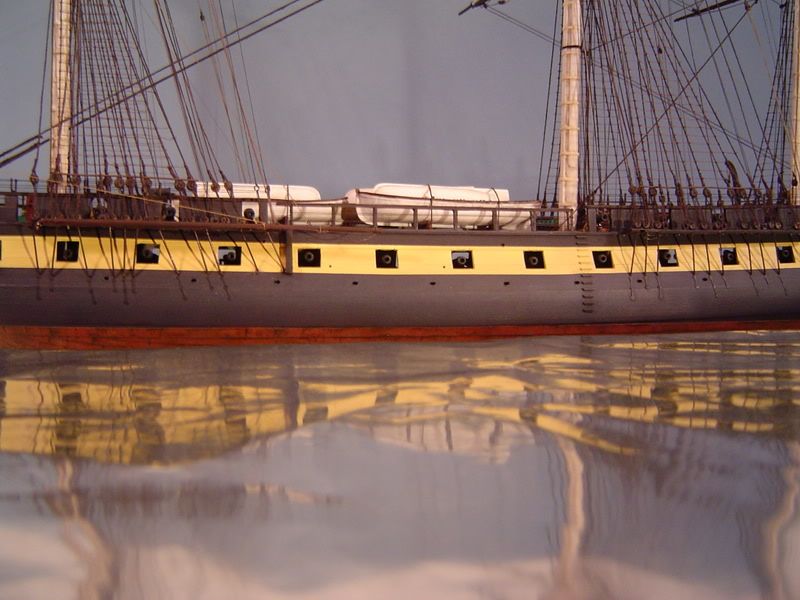
As I remember the paint I used were Tamiya Rattle cans. First flat black, then Sand followed by a Grey. Light Camo Gray? I’m not sure. It was over a year ago. Then I highlighted some planks with pastel chalk applied with a microbrush.
I wished I used a darker grey but then I couldn’t see the plank/grain detail as well.
Leftie, I’m…impressed! Very nicely done! I’ll add my voice to those who already have advised you,…get a case on it!!! That’s too pretty to have it damaged! Pete
The proof is in the pudding that you took reference and instruction very well. I have not seen a finer representation of the this model for some time. I too have built this model, and in fact am building one right now and your pictures help with my ambition.
otstanding work! I have the Constitution in my stash and will start building it as soon as my new apartment is furnished. Hope it will come out half as good as yours…
What color did you use for the Gun carriages. I like the deeper tone of wood color. That color has been hard for me to reproduce to get a good dark wooden color. So please let me know.
thanks and good work. I have a 1/96 Coney that is waiting in the ranks to get done too.
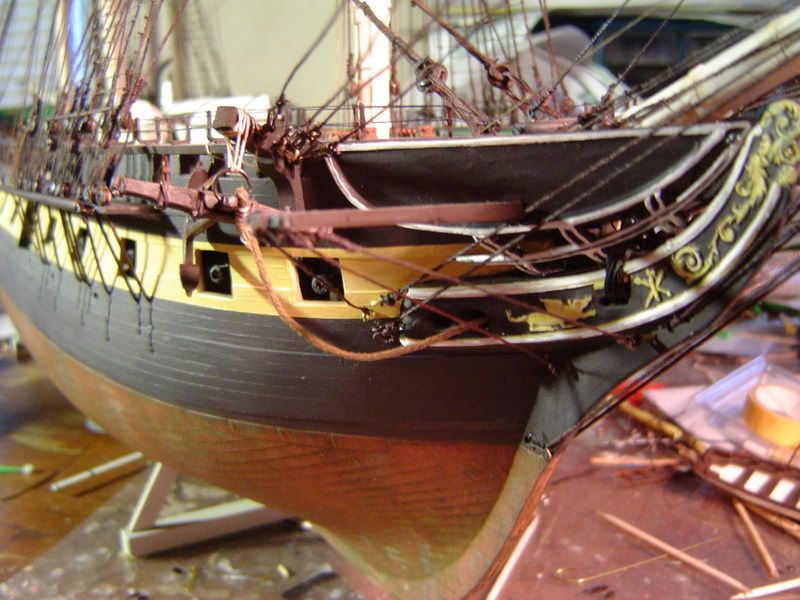
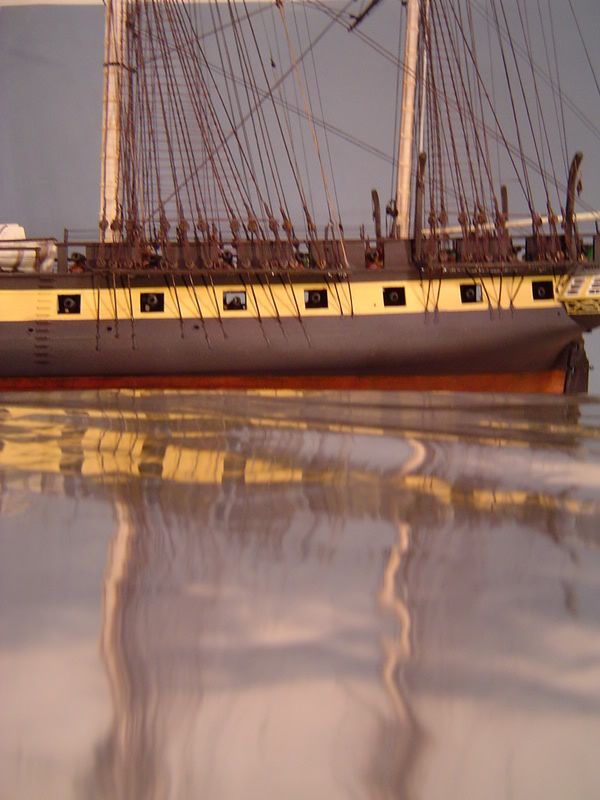
Donnie: The paint I used was Model Masters Enamel Burnt Seinna. After dry I added a watercolor Black wash. It looks a bit redder in the photos than it does in person…which is a good thing.
Also I used RLM (25?)Green on the bulwarks with the idea I would add a wash to darken it. I never did and regret it. Maybe I’ll carefully do it later.
All I can say is, if this is your FIRST ship model, what are the next ones going to be like? In 41 years of building plastic sailing ship kits I have yet to achieve a standard anything like yours. It is mind blowing, especially the deck.
hey lefty, GREAT JOB. i am also building the constitution as my first ship build. is there any pointers you can give me about the rigging. i would be in your debt…thank you
I’m sure there are others here who can guide you better than I can but I will tell you how I did it. But I’d like a more specific question.
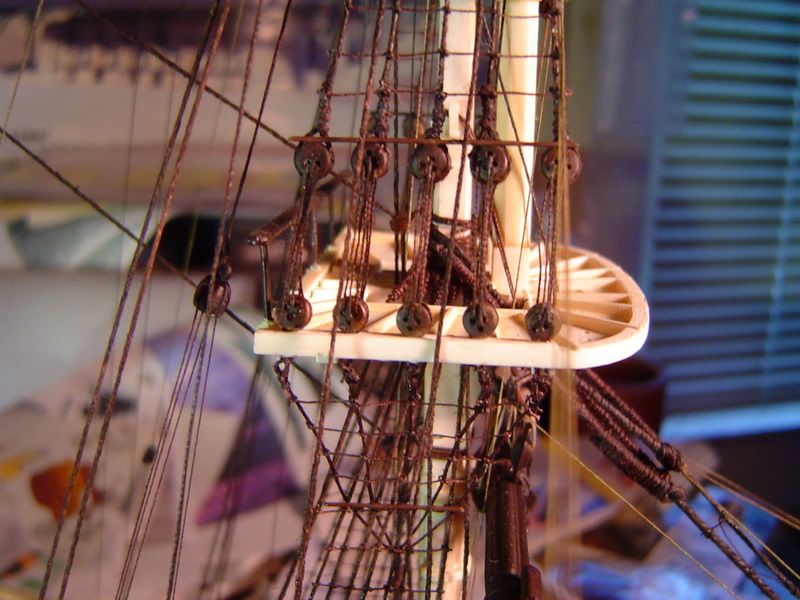
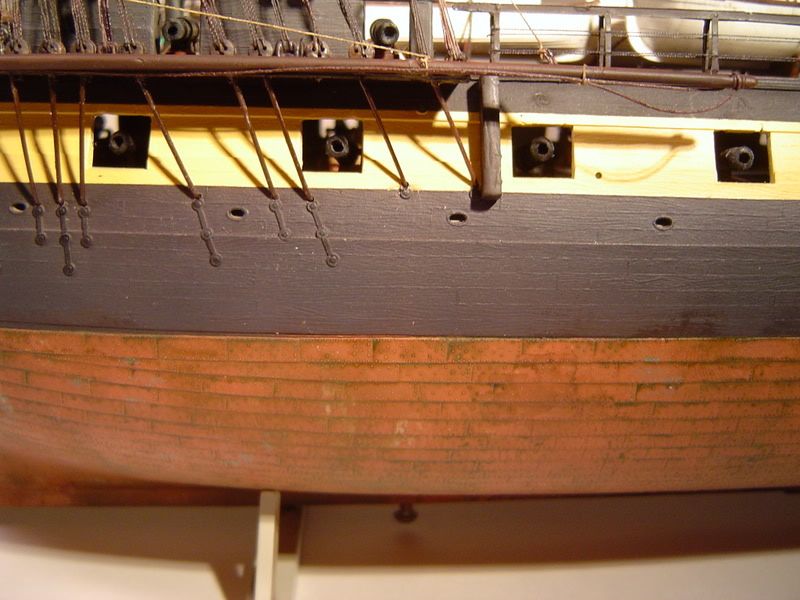
Let’s start with the lanyards/deadeyes. I saw at someone’s site a simple tool to make all the deadeye/lanyard lenght the same. Just a wire bent to let the deadeyes pop into place. Then thread the lanyards.
As Leftie pointed out, the Deadeyes are a must to rig. The plastic ones that come in the kit are very weak and will cause you many problems such as breaking and bending when attaching the shrouds and ratlines. By making the wire jig as Leftie shows and attaching this arragement to a alligator clamp, you can rig up the required 86 sets in an evening. I did use the plasitc deadeyes as a guide.
Also, plan on rigging the ratlines from scratch, there are many threads here in FSM where we discuss these in detail in addition to the pictures Leftie has shown us. Again, it is much easier then messing with the ones supplied in the kit.