The Bullion Express--Boot Hill Express (Reboot 10-4-22)

Nice work.

Question…you mentioned the foil backing on the stones. How is that going to affect the light transmission through them?

Might look at a dab of either clear epoxy or one of the canopy glues, just in case the CA fogs the stones, unless your tests show it won’t.

Thanks.

I will peel off the foil backing. That then removes any barrier leaving it wide open for light to travel.

Yeah good advice about the CA and fogging. Aside from epoxy, or canopy glue that are both good options, I might use Future. The stuff gives a decent bond, dries clear, and it enhance clarity. I have used future before to attach clear parts and it works great. In fact, I used it on the engine and with the acrylic windows. The future flows into the piece giving it a nice clean look. I have used it to mount aircraft lights too. They look awesome.

That looks fantastic Bakster!

Please keep informed in how the lanterns go- love how it’s going so far.

[ht]

The extra glossy Modge Podge is handy for clear bits, too. It ehaves better than other clear options–much like CrystalKlear, just not at the price point (it doesn’t want to make a window, though [frownface])

Oh yeah, heard that some folks use that too. Good point.

Thanks Cliff, and will do!

Typical LED chips come in sizes of 0402, 0605, 0805, 1206, and 1210. There are larger than the 1210 but it would not be typical to use them for modeling purposes. Nor do I stock the 0402 simply because they are just too small. For my lanterns, the 0805 seemed to fit best and are adequate in terms of light output.

Below: I purchased these through Amazon, and it gives you an idea of how they come. They are preloaded in strips for auto insertion equipment purposes. For my purposes, you simply pull back the tape gaining access to the LED.

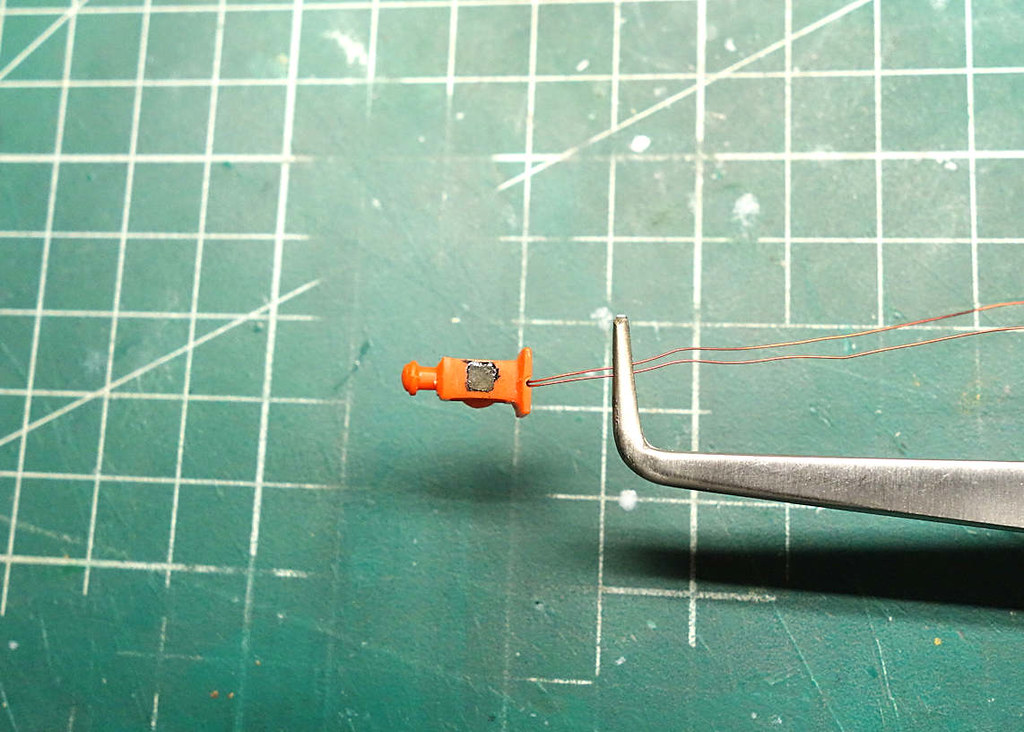
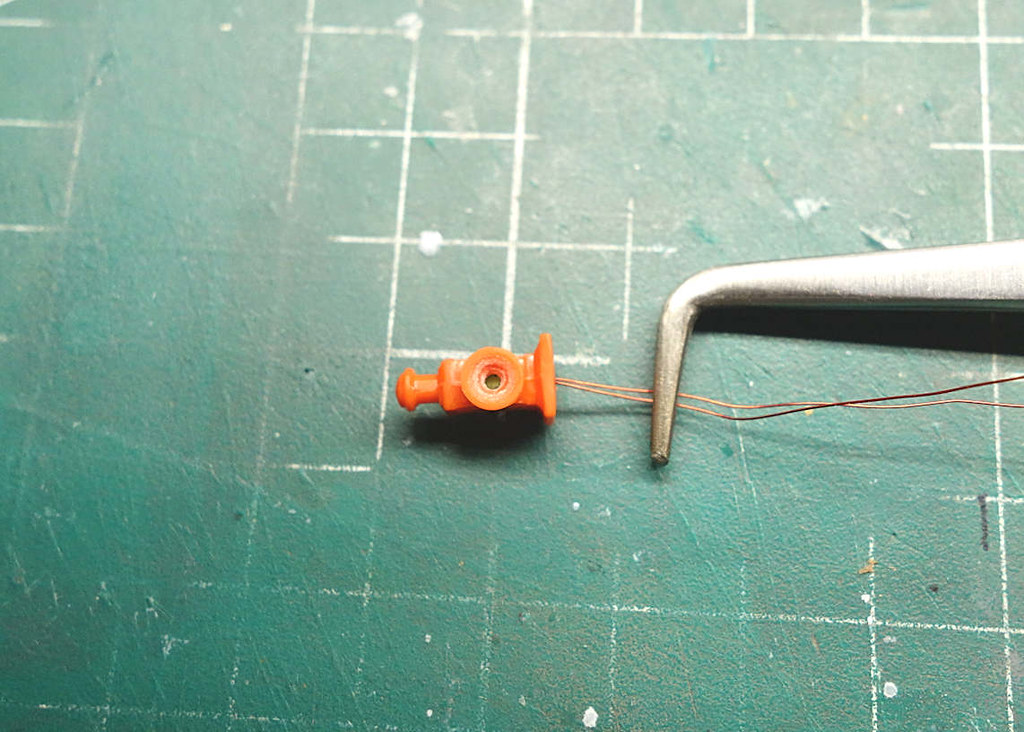
Below: This gives you an idea of just how small these are. I can’t imagine the 0402 size. Wires are soldered to the solder pads located on each end of the chip. Don’t ask me how, but I was able to, and even with using the oversized solder tip that I have. I believe a person can order these pre-wired should one not want to deal with it.

The Process

  1. To reduce light bleed, I painted the interior of the housing with black paint.

  2. The wires are fed through and the chip is pulled into the lantern.

  3. The LED is carefully positioned so that the LED faces the front of the housing, covering the entire opening.

  4. From the back I tacked the LED in place using a small amount of CA.

  5. I filled the chamber with 5-minute epoxy, being careful to create a sort of dome that can be sanded level. Not shown, but this worked very well. I have only minor filling to do on one of the lanterns, the other came out perfect.

You can see the LED face.

Making sure gremlins didn’t crawl in. The lens is not installed.

I always marvel at the light intensity of these little things. I see spots when the power is turned off. Such cool technology.

For all you DIYers. I found this handy resistor calculator. You plug in the parameters, and it tells you what resistance you will need. The actual resistance value to use does not have to be exact, but fairly close.

http://www.hebeiltd.com.cn/?p=zz.led.resistor.calculator#single

TIP: Many times, the values noted are non-standard decade values. Keep in mind that you can combine resistors to get the overall value that you need. To make that work you must solder them in series for the values to combine.

Next up is to finish paint prep, paint, then attach the lenses.

This is going to look so cool Steve , all that info is going to come in handy to mate .

https://lighthouseleds.com/20ma-led-current-limiter-driver.html

Sorry for the spam if this method is not of interest and congrats on the progress and great results thus far.

Thanks Steve. Glad it helps too!

I might be repeating myself on some of this about LEDs and such, but I am hoping it helps some folks to try lighting. Making LED circuits can seem intimidating but it is not that hard really.

Hey Gil, thanks for the encouragment. Regarding what you posted, no way Jose. That is all good info and I am glad you noted it because it might help people to try lighting. If it makes things easier for people and gets folks over the hump to try it, all the better.

Btw. The source you linked to, Lighthouse Lighting, is where people can buy these chip LEDs prewired. I have bought from these people several times and they do a good job. What I love about them is they offer a complete array of LEDs, at reasonable prices, with no minimum buys. You can even buy resistors from them. Also, on most all of their LEDs they have instructions and or notes about what resistors to use. They do a good job. In my post I had mentioned buying from Amazon, but that was a few years back and before I discovered these guys. I will be buying from Lighthouse for all my lighting needs.

Thanks again for posting that. It advances knowledge on the subject and that is a good thing.

The lantern is very cool, Steve. [Y]

Soooooo awesome! At some time I want to have a crack at lighting with LEDs, but I think it will require a bit more study!

Thanks Greg… I cant wait to see it painted, with the lens, and lit up.

Me too.

Sounds like a plan!

PS: It looks like your message was finally released from the Gulag. [Y]

Very cool! Maybe you can submit this thread to Popular Science when your done :wink:

Thanks a bunch for the good feedback on Lighthouse Lighting, I may just place an order or two with them.

No problem. I like to endorse companies that provide good service and these guys have done well for me. They processand ship quickly too.

Thanks!

What would the article be called? Hipster nuclear gold faring war wagon?[:)]