Stunning work! That deck is just outstanding. Can’t wait to see more progress.
tjs
Stunning work! That deck is just outstanding. Can’t wait to see more progress.
tjs
Looking great Joe! [Y]
Stay Safe.
Jim [cptn]
Well, here is another report. I have installed most of the “appliances” on the deck of the ship, there are some more to do, but, I am getting there. So far it is coming along nicely, but I have discovered that building this ship can not be rush, I have to look at the You Tube instructions 2 or 3 times and look at the printed diagrams to make sure there is not mistakes, It is very easy to make mistakes with this build because of its complexity. Well here is the photo with the latest progress made:
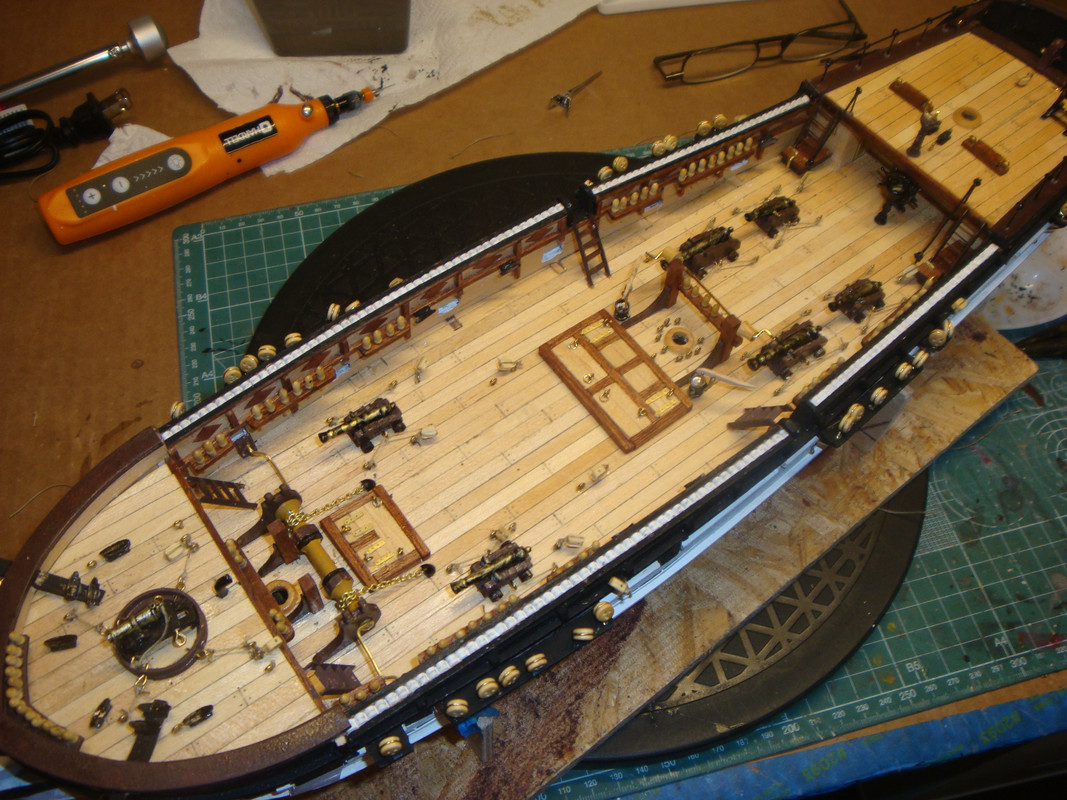
Joe
This is looking great. Really enjoying watching the progress of the Beagle.
And your obvious skill and care.
Very nice work Joe! [t$t]
Stay Safe.
Jim [cptn]
Well, it is time for another update.
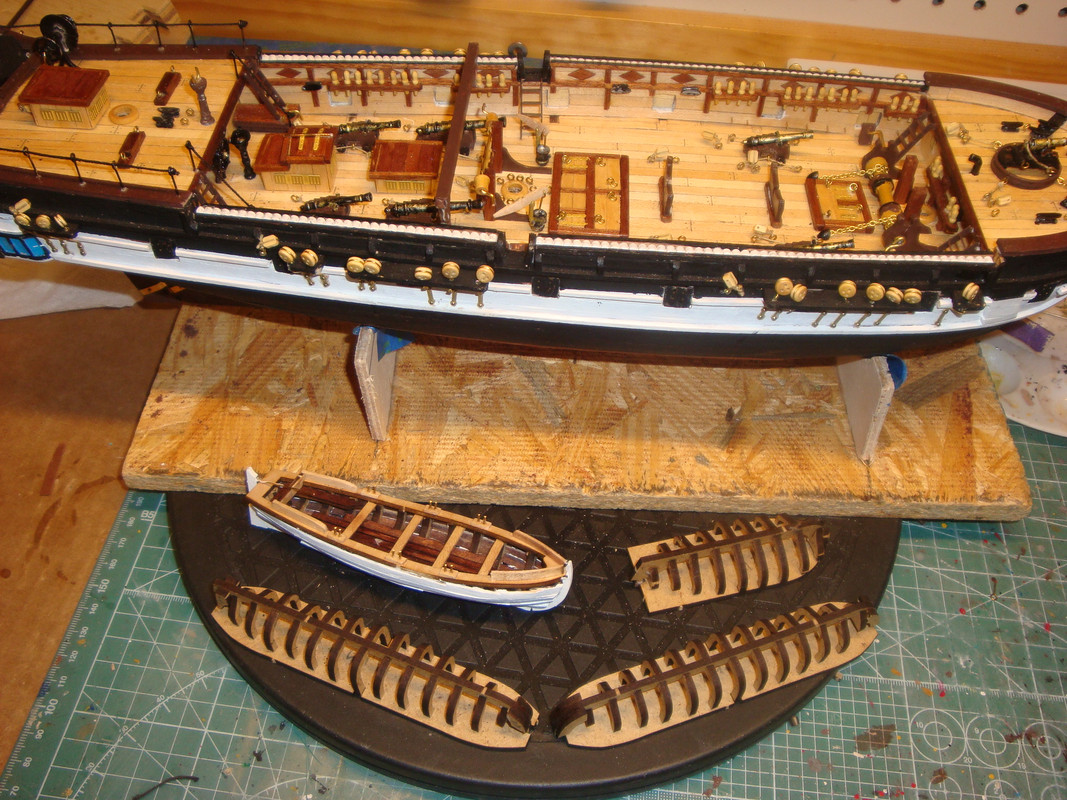
I have added more items to the deck, then I started doing the life boats, they look to be an easy assembly, I found out very quickly how much of a pain is doing the planking on the boat, just to do the first one took me over a week. The reason being that the boat is very small but the plank has to bend in at least 2 points and there is not way to clamp them, so you have to hold the plank with you fingers until the glue sets. I followed the instructions and used crazy glue instead of wood glue to speed the construction, and it was still a pain, I got crazy glue all over my fingers in the process.
The attached photo shows a completed boat together with the other 3 still waiting to be plank. If I were to be a drinking man, I probably would have to get very drunk to be able to finish these boats, but, I do not drink, so I will have to suffer trough it. LOL
Joe
Hello!
I like your ship a lot, looks very good to me. One thing I’m not so sure about are the belaying pins - they look overscale to me. It might also look better if you took at least some of the shine away from the brass parts - but I guess if you wait like 10 years it will take care of itself… I’m not sure but I think I read about moistening the brass parts with vinegar or something like that to corrode them slightly to make them look more realistic… don’t try it on the model first, that’s for sure.
I read about your problems with glue - did you try applying white glue on the planks and then using superglue/CA just in tiny spots, kinda “instead of nails”? That worked great for me on my wooden ship, CA sets much faster this way.
Good luck with your build and have a nice day
Paweł
Hi!
Nice looking ship! Good Work! BUT! I do have to point ot one thing and I hope you won’t mind. You have Belaying Pins that are way out of scale. The size of those pins in scale are not as big as baseball bats.
Belaying pins are to secure or belay working lines for the sails.They would have to be big enough to do that but also allow one handed release in an emergency, similiar to a Quick release tow Strap on a cargo.
Surely you have heard the term"Belay that for now" That applies to any working line that is loose! Other than the pins she is looking good. I bet you got the pins in the OCCRE kit, right? That’s your problem, get your scale and call Bluejacket Shipcrafters in Maine and they will sell you Pins that are in scale.
I hope you don’t thing I am downing your model or work. In OCCRE and MAMOLI Kits this happens more times than I can remember. I had one where the pins were so small they would fall through the holes in the pinrails!
I most do appreciate your advises and critique, being a novice and not having any knowledgeable of the ships of the era, you guys comments are welcome.
I do agreed that the belaying pins appears to big for the ship, but, those are the ones that came with the kit, and, not knowing what size they are supposed to be and even if I knew, I would not know were I could buy a set of the proper size, I have little choice but to use them. I do believe that there are several items that are either to big or are of a incorrect scale for the size of the ship, for example the ladders, I do not think that the ladders are correct, but I build them following the instructions.
As for the glue, I only used crazy glue because that was what the instruction called for. I personally do not like to use it, but, due to fact that is almost impossible to clamp the planks, I did not see another choice but to use crazy glue.
Again, thanks for the comments, I always welcome them.
Until next time
Joe
Well, I am back with an updated report:
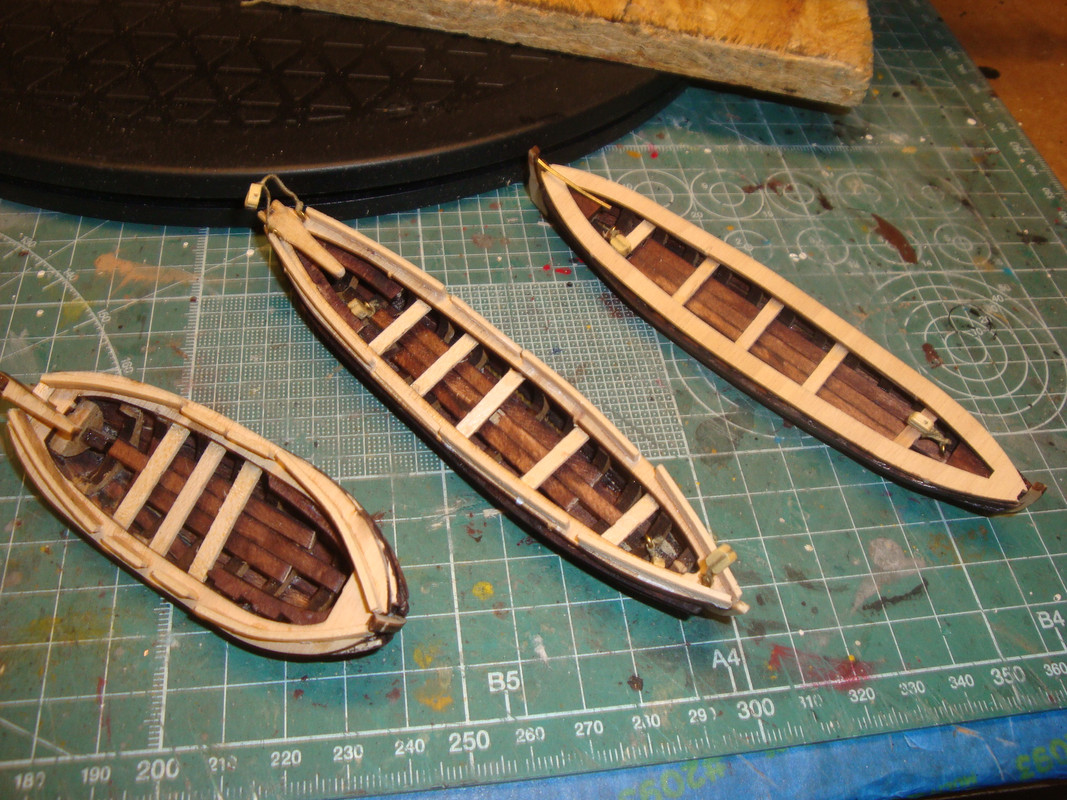
I have finished building the 4 lifeboats, they were a chore to build due to their size and not being able to clamp anything. Attached is a photo of the completed lifeboats.
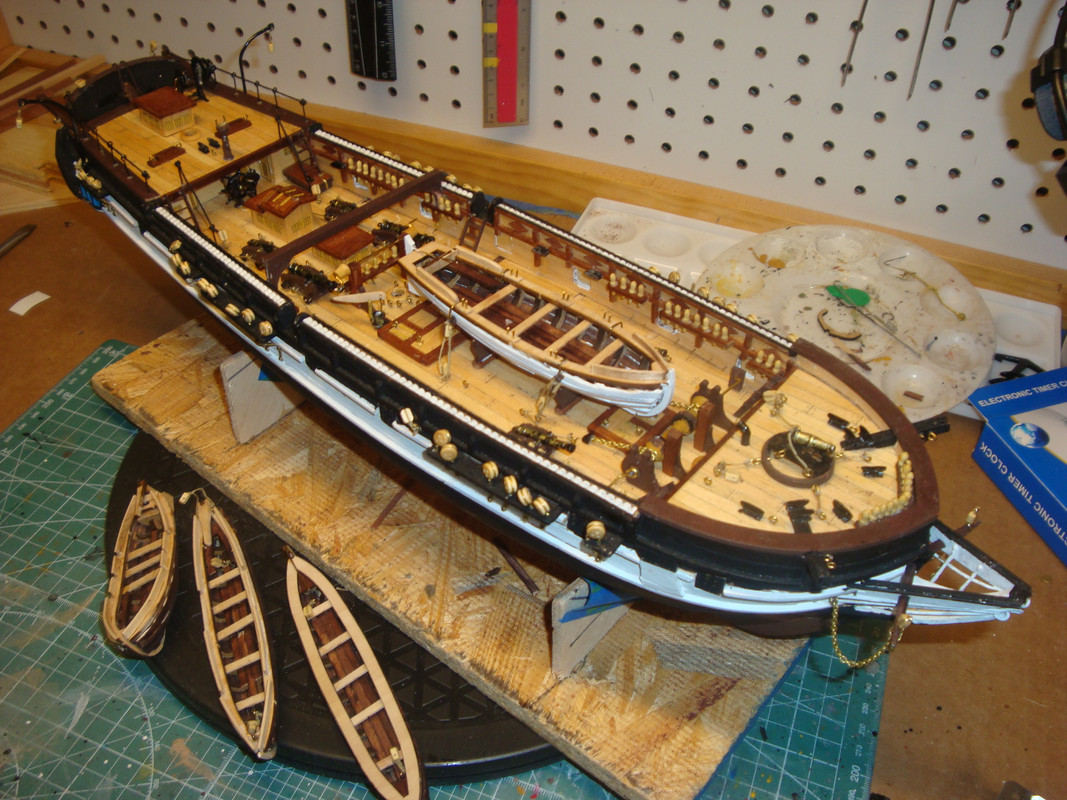
I will not mount them in the proper location, which is what the instruction tells you to do, because, I believe that if I were to do so I will have a problem later when is time to run the shroud lines. Here is another photo of the progress.
Joe
For some reason the postimages won’t open, but the posted versions look good.
If those pins are still loose, you could paint them brown. They were probably wood on the Beagle. Other choice would be iron painted black.
Very nice model, coming along.
Bill
Hey!
You are doing alright on this.I would try the recommended Blue Jacket Shipcrafters on parts in scale.Yessir ! those boats can be a pain, Looks like you had some Aspirin or Aleve to help you with the headaches here.! Nice so far.
Yes, I have been buying Aspirin by the truck load! I also been drinking a herb called Tilo (Justicia pectoralis) made into a tea that my Admiral prepares for me, this is to calm me down when I get very frustrate, which happens often, during the build.
What makes it worse is that, being a very hipper person and a Virgo, I tend to be a perfectionist, so I get very frustrated when things do not look perfect, even when I know most people will never see the defects on the model.
But I keep on trucking, and learning at the same time, so, on my next build I will have the experience to do the project without getting frustrate.
Joe
Here again!
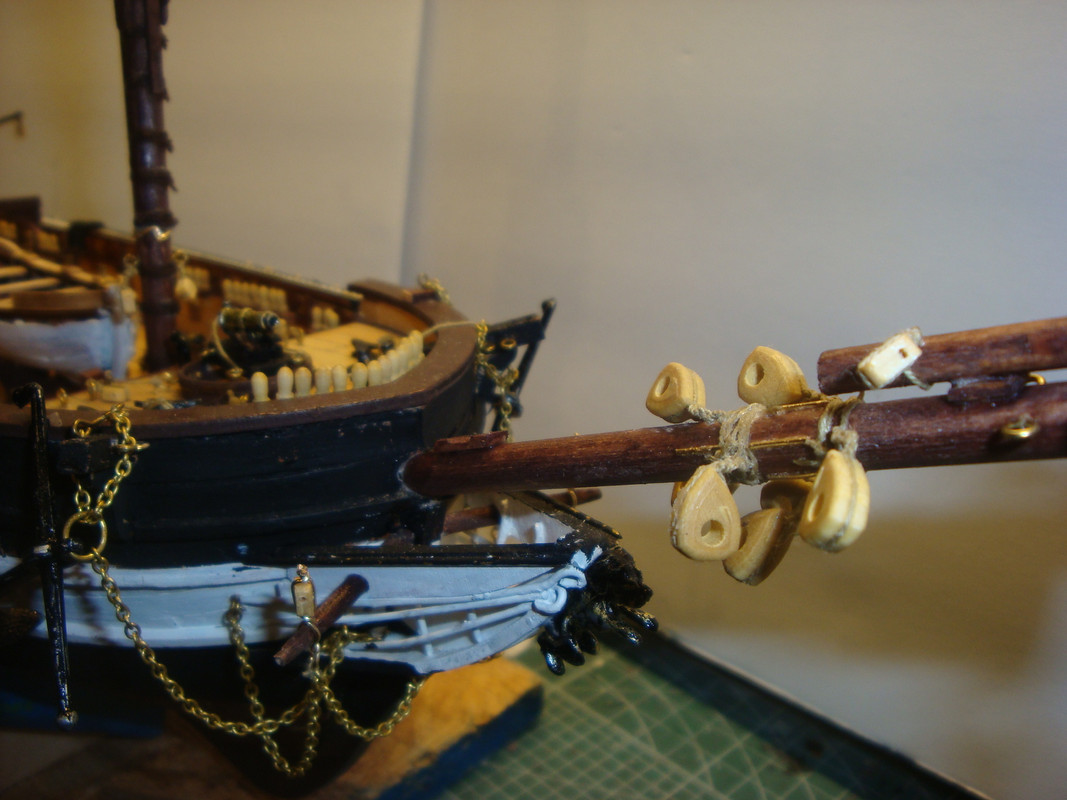
I have completed and installed the Bow sprint, see photo, this bow sprint has several details and blocks that had to be installed. It was an interesting job.
I have almost finished with the fore mast ( Notice that I am beginning to learn naval terms )it is not yet glued to the deck but it will be soon, the next step is to do the main mast, I have started to build the components.
It is getting there! Until next time
Joe
Oho!
A Virgo! Well then this perfectionism thing must leak. I am a Taurus and my lady says when it comes to perfectionism I drive her Nuts! My lady herein is my Landlady whom I have asked for her hand more than once. Nuff Said!
As far as the boats, I always hang them after completing the rigging.
Yes, I found out very quickly that if the boats are installed it would be very difficult to do the shroud lines.
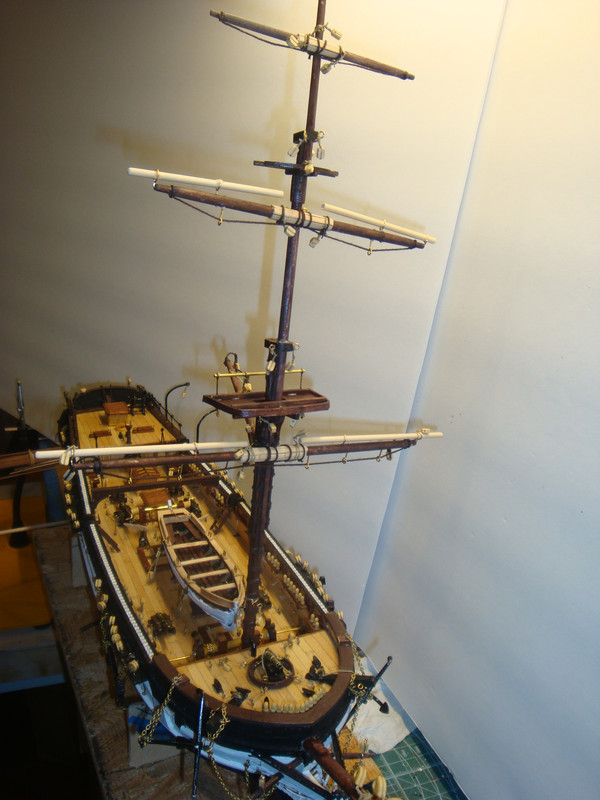
I have completed the construction of all 3 masts and glue them into position, I started to add the shroud lines, and, as usual it is a very slow and tedious operation.
I guess it is part of the fun of building a wood model. The following 2 photos shows the progress made. It looks that, at this rate, I may finish this build in a couple of months.
Until next time:
Joe
Back again!
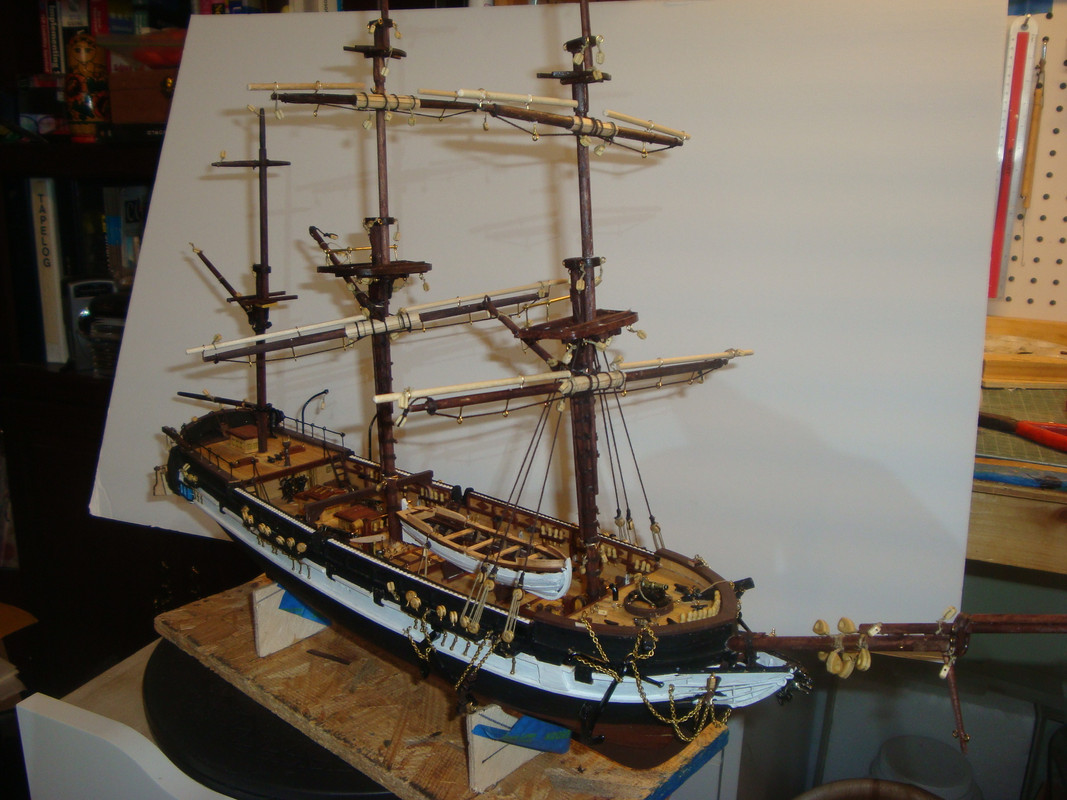
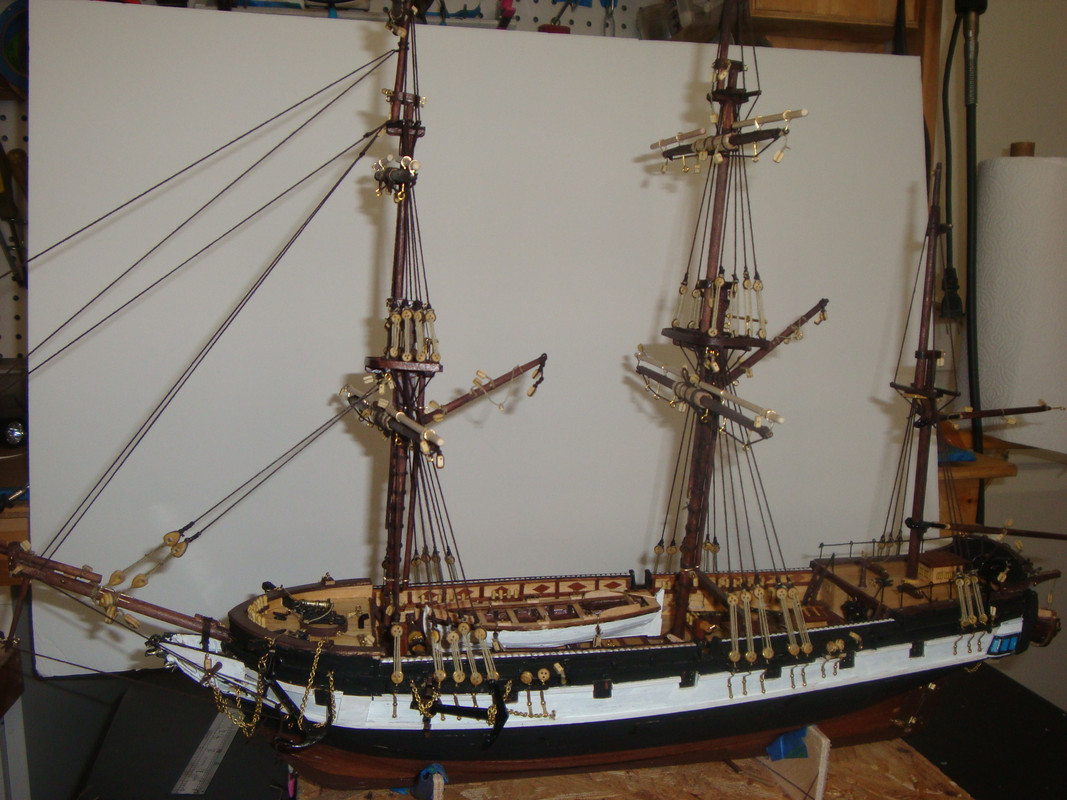
I have completed the installation of the shroud lines, next time is to do the rat lines. The build has proven to be a slow build due to the details and lack of experience on my part, but is coming along and hope to have it completed in about 2 months. The instructions are not as good as I originally said they were, it does have over 130 you tube videos, but, the videos tells you how to build specific parts of the ship but does not guide you trough the entire build, you have to relay in the printed documentation and the drawings. If I were to rate them, I would give a b minus. Still, they are a lot better than Artesania Latina
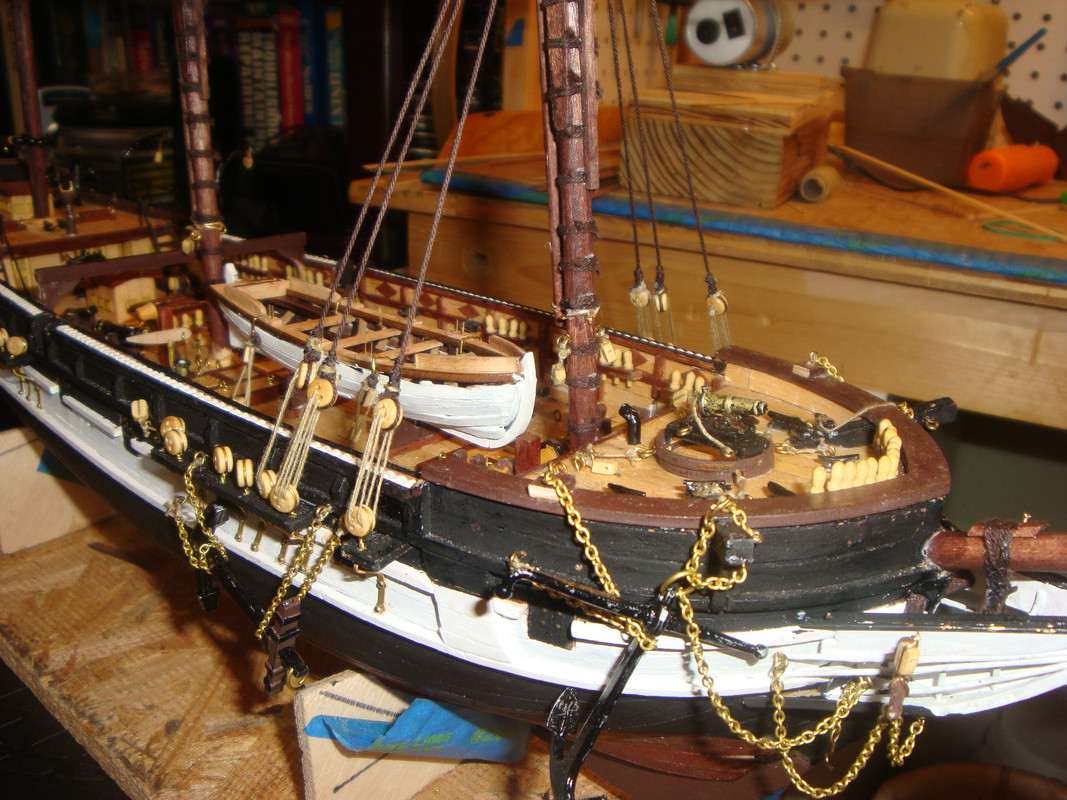
Attached there are 2 photos showing a closeup of the blocks and a better view of the entire ship. The white board in the back is to make the details stand out.
The first photo is a close detail of the blocks:
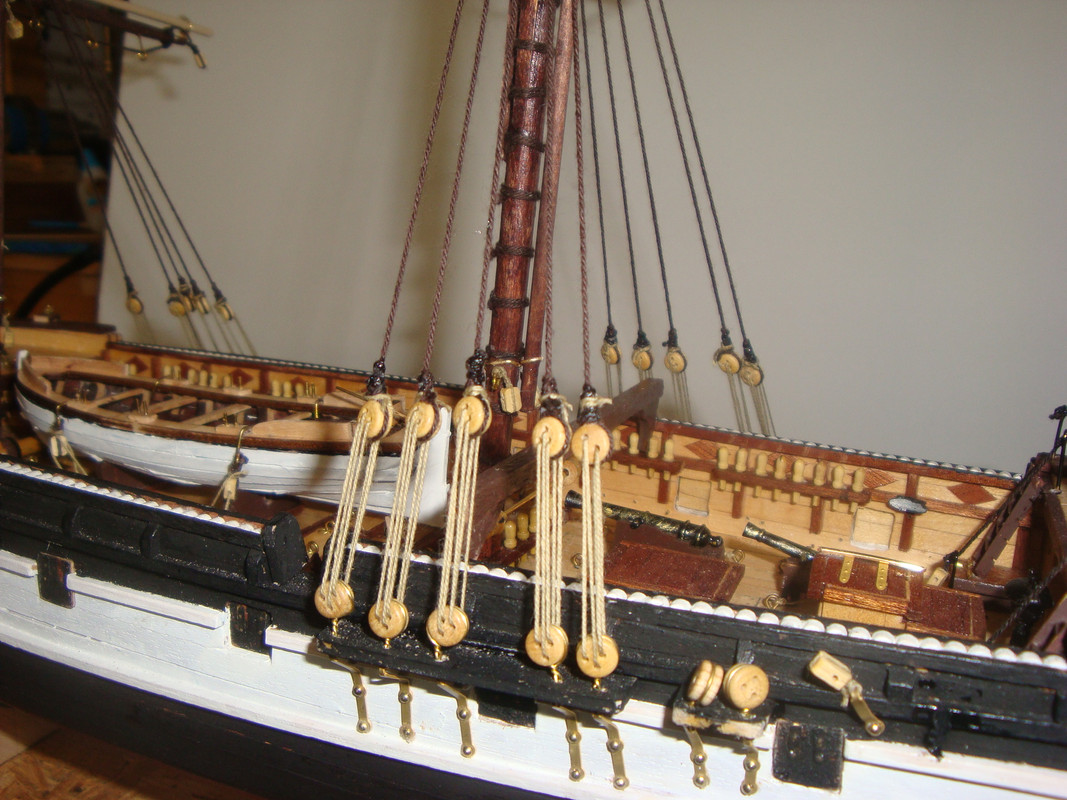
The second photo shows a view of the entire ship:
Until next time
Joe
Coming along very, very nicely! [t$t]
Stay safe.
Jim [cptn]
Thank you
Joe