Well, it is a new day, I have completed a previous built, Dapper Tom, a supposedly “easy” for “beginners” ship to get my hands dirty in the building of wooden ships. So I went looking for a new one to built and settle on La Pinta, by Artesania Latina.
I have received the package from Amazon and, after checking the contents, found that the instructions are in a CD. The problem with this arrangement is that my office, were my computer resides, is on the second floor, while my workbench is on the first floor.
To solve this dilemma I went ahead and dumped all 57 pages on my color printer so I can have an actual set of instructions by my workbench.
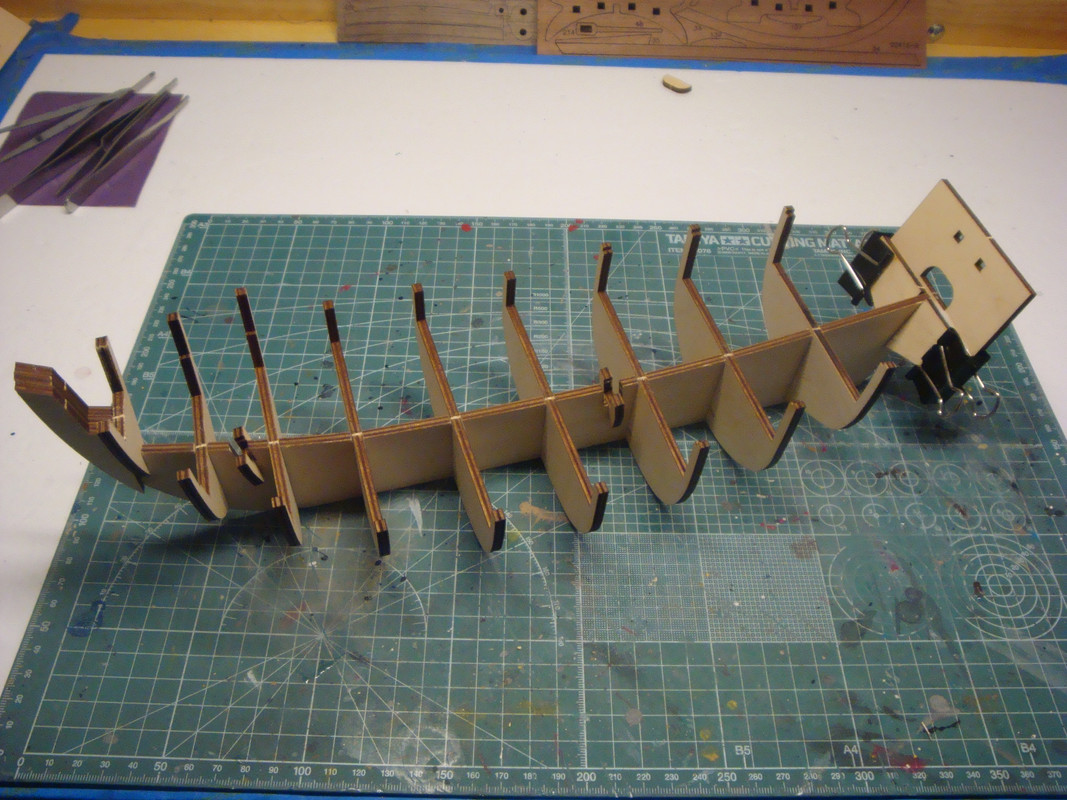
I started the construction by putting together the keel of the ship which was relatively easy to do. Attached is a photo of the work so far.
Next I will verify that the ribs are in the proper angle, once this is verified I will glue them up. According to the instructions, the next step is the installation of the main deck. Will see how it goes.
Hello!
Good ole’ Professor Tilley, when he was here with us and had a good humour sometimes referred to the supplier of your kit as “Artist in the Latrine” - and after completeing their “1805 Pilot Boat” I can say not withous good reasons.
So please watch out - their instructions tend to be BS, their drawings take a lot of liberties with reality and their parts are sometimes crappy. But that’s not stopping a good modeller from building a nice model - if you read some books, do some research and replace some of the parts I’m sure you will end up with a fine looking model.
For my 2¢ and too much AL experience, I’d hit up the LHS and replace the kit “planking” with proper basswood.
The “lindenwood” AL supplies is stringy, nasty, stuff, which appears to have rejected for use in apple crates.
Al will want you to render the wales as just another plank stuck atop the hull planking. This never looks right, as it’s obvious it’s an over-lay.
And, in theses ships, the wales were a prominant structural part, not a tacked-on bumper of sorts. They really ought be made of thicker material, and laid in first, with the side planking laid in between.
AL appears to use Spanish “tourist frigate” models as guidelines for rigging plans. This winds up a rabbit hole, though, as our documentation of 15th Century rigging is, at best, both fragmentary and contradictory.
The Amati rigging plans, to my eye, are better, if looking a bit too much of 16th Century practice. (They also belay too many lines off in clove hitches, which would be a clumsy and cumbersome to use at sea.)
Funny thing - I got my kit partially started with lots of planking used up and looking bad - so I removed it and needed something for a replacement. I had a big basswood plank laying around for like 10 years - stuff I got for another project - so I got out my little russian buzzsaw and cut a lot of tiny planks myself - and they worked really nice, although this was my first plank on bulkhead hull ever.
AL probably means basswodd when they write “linden-something”. Their translations also leave a lot to be desired - they are just consistent
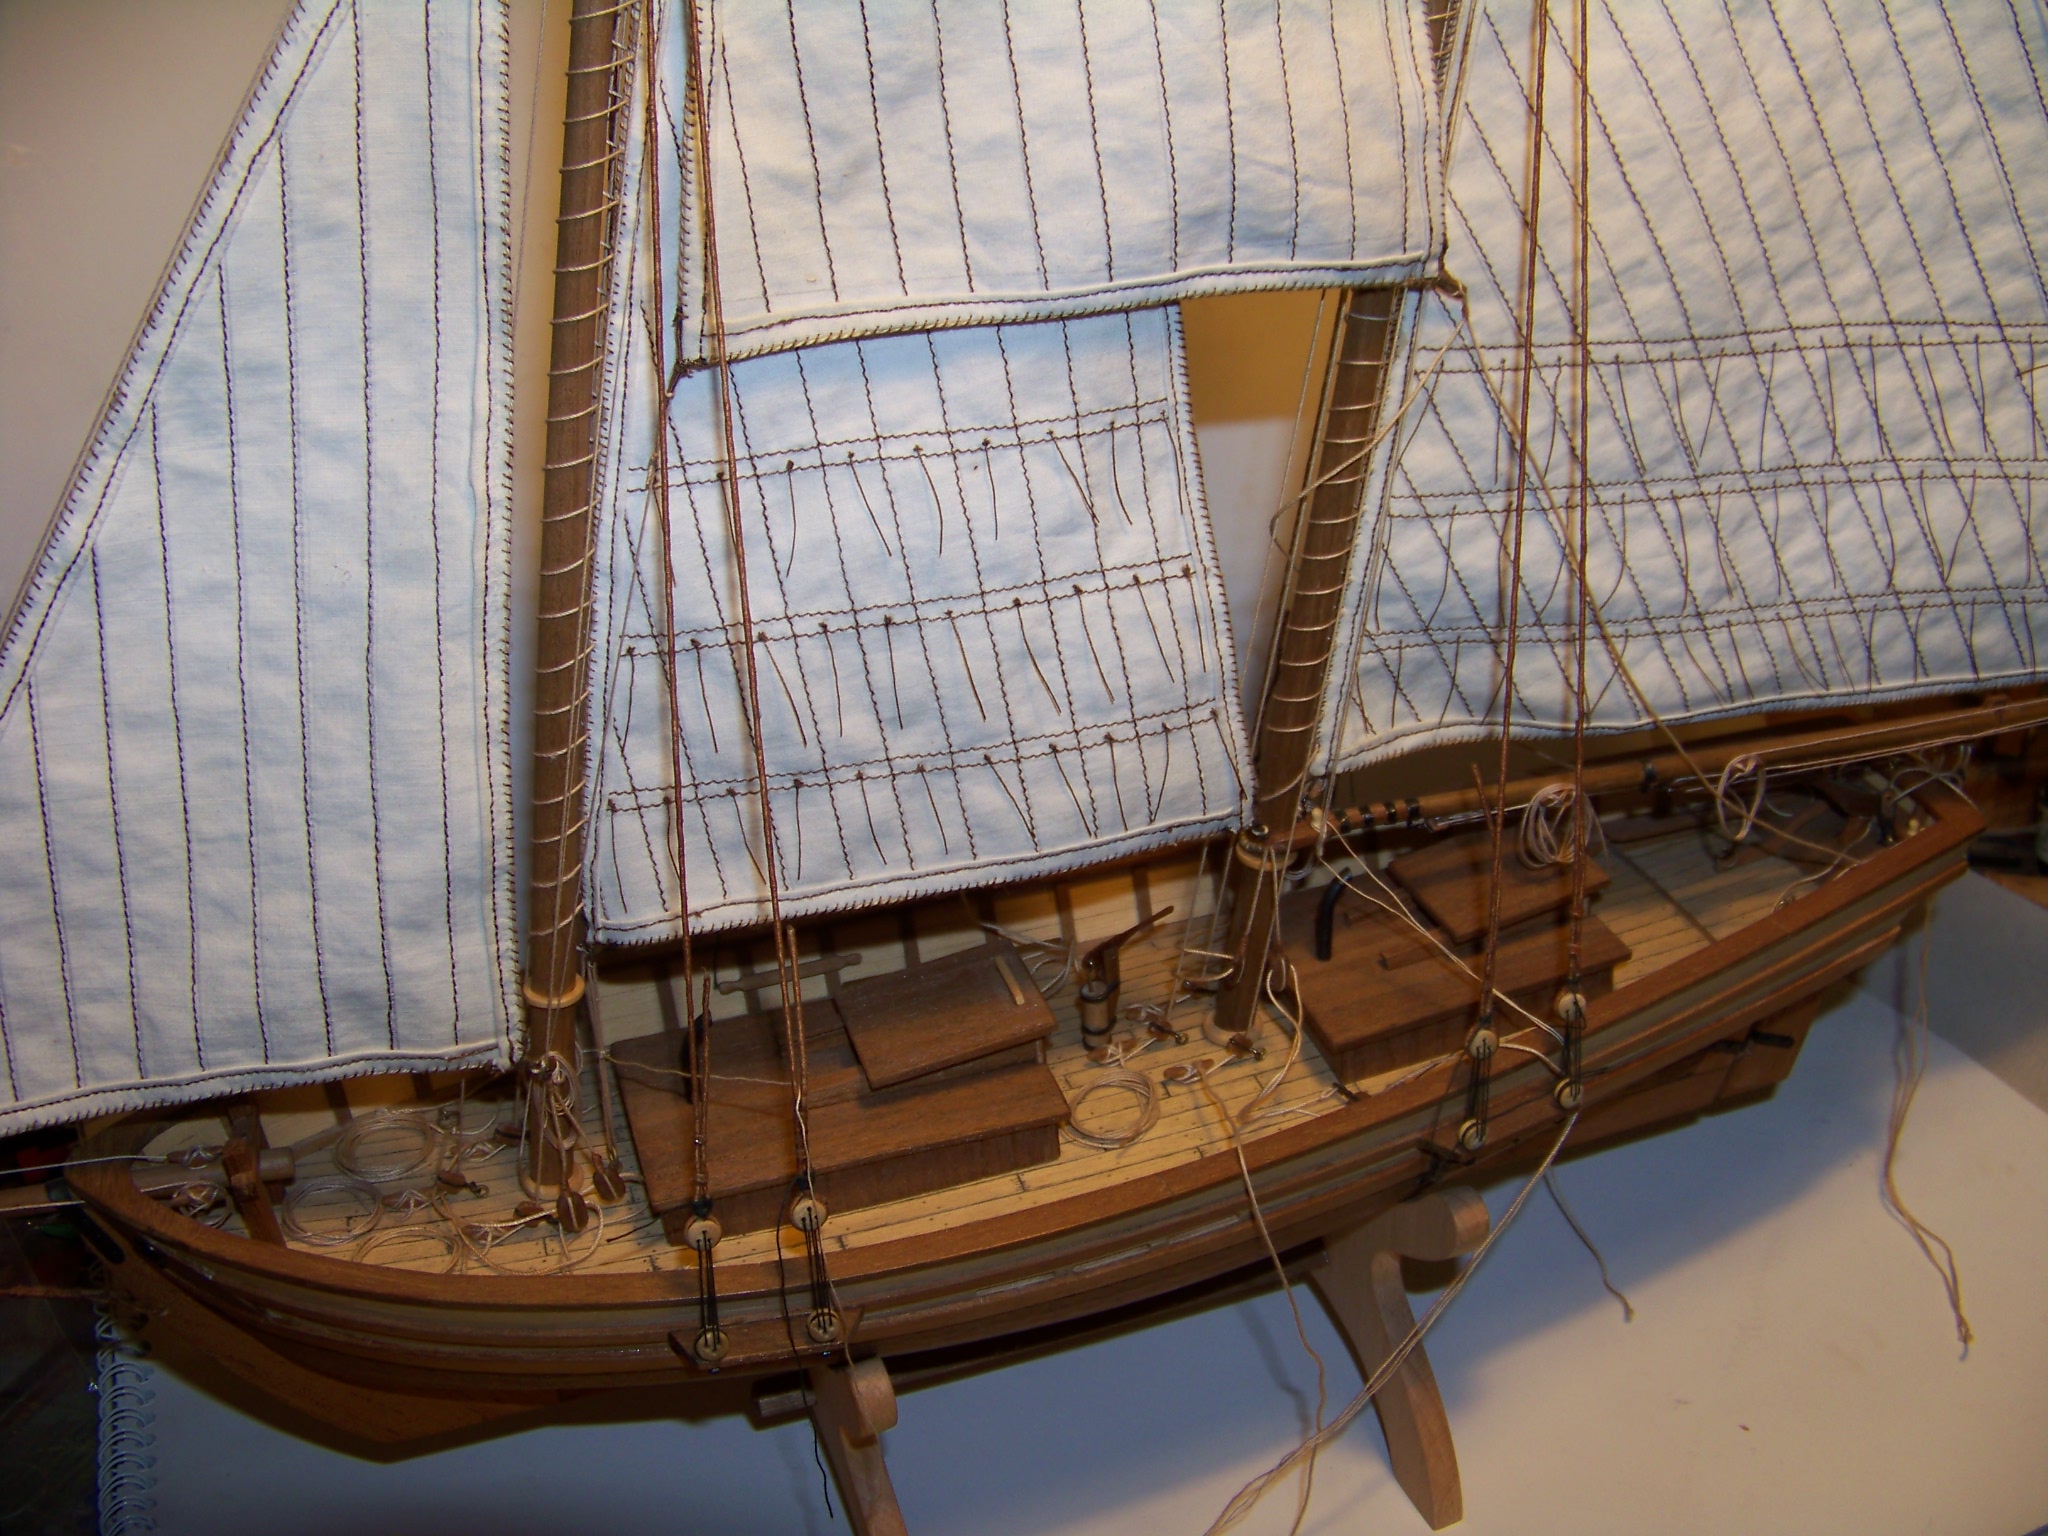
Although I rather liked their veneer strips that were used for the hull and the deck - that was pretty nice stuff. What I didn’t like were parts made out of plywood that were supposed to remain in plain sight after the model was finished - like the main rail - I replaced that with stuff I made myself out of tropical wood. The funniest detail in my model were the chain plates - the deadeyes were supposed to hang mid-air not supported by nothing. This looked so absurd (right in the boxtop photo!) that even my untrined eye caught it right away.
But - like I wrote before - this is all nothing to stop a good modeller from making a good model!
I went back and verified the angle of the frames and, sure enough, some of them were off. Luckily I have not glued them yet, so I going to go one by one and, while gluing them I will make sure they are square. Thanks
CapnMac82: Are you subjecting that I use basswood instead of the lindenwood that came with the ship? Are you referring to the first layer of planking or the second?
Thanks guys for you expert advise, it will save me from hitting the wall a few times.
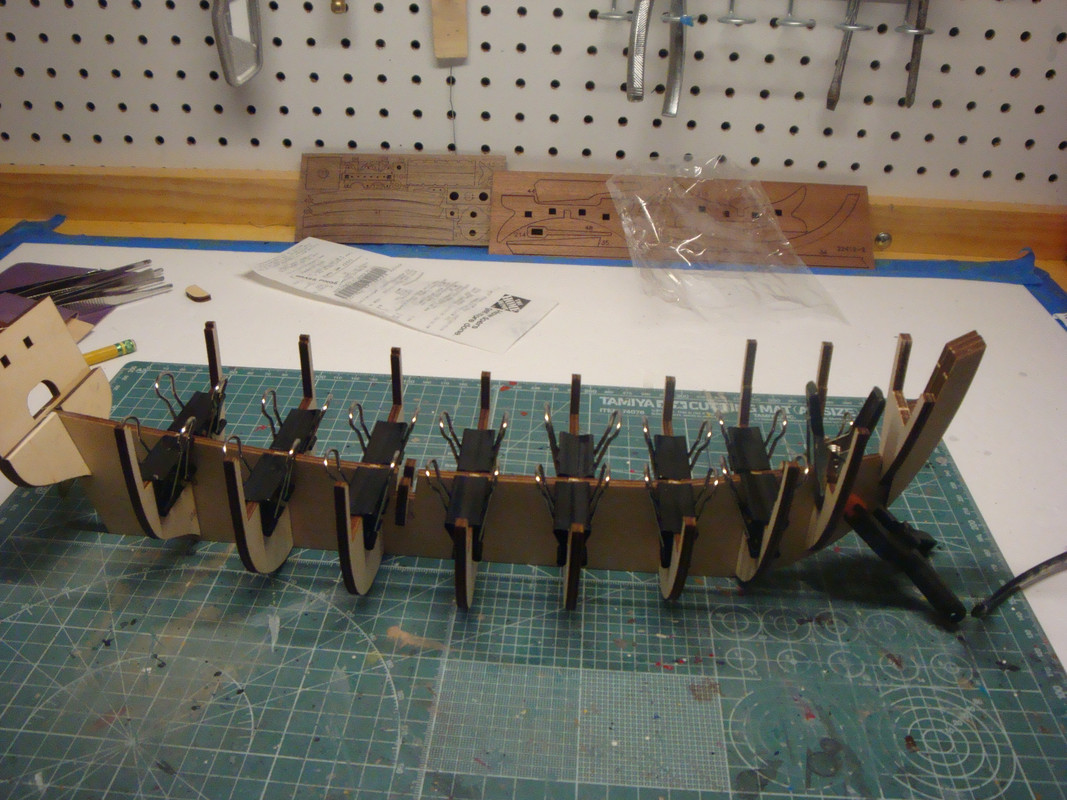
I went back to the model keel and took everything apart, then I added glue and re-installed the bulkheads and added steel clips to make sure they were at 45% angle. See photo.
I hope it works. I will wait until tomorrow to take off the clips and very that everything is at 45% angle, will see.
Well, it looks like I may have to put a hold on the build, I attempted to add the main deck and found out that I needed to put pins to hold the deck in place while the glue drys up, but, I do no have a ping pusher. I attempted to use a little hammer, but it is to difficult.
I went into Amazon and found one for about $20.00 that looks OK so I ordered it. Now I have to wait until it arrives to continue the build.
AL pland that you just make some sort of solid layer with the one planking, which can run any old way, and be filled in with gobs of wood putty. Then, the veneer planks are meant to be run “to scale appearance.”
Which is fine, other than you are running planks twise. And the thin veneer, which can be cut with scissors, will also frizz and split and misbehave.
Planks are interesting on wood hulls. They are one width at the midpoint, and narrower at bow and stern. You can measure he bulkheads and get a number of planks. Measuring the middle bulkhead, you can divide it into an even number of, say, 5mm wide planks. Use that quantity, and divide the measurements of the forwardmost and aftermost bulkhead. That will give you the target width to taper the planks “to.”
Generally, you want to only taper the upper edges of planks. In 1:! construction you bevel the upper edge, and you relieve the back edge of planks to get them to fit. Luckily, such details are not generally necessary on models.
Your mileage may vary.
I’ve never found any use for Pin Pushers. That’s because you generally need to drill the part so they don’t split. At which point wooden pins (treenails) are as useful as stubborn brass pins.
Mind that fals deck that AL provides can be held down with a pile of rubber bands as easily as any other way.
Before you get too depressed about the work involved, think on how the shipwrights built the Norse longboats. Each plank had a longwise rabbet both top and bottom edged, was tapered in some way along part of its length, and because the planks were tied to the ribs with leather thongs; had a pair of wood bosses straddling the rib which had holes drilled through them for the thong. Oh, and those bosses were not additive- they were created by removing some thickness of plank on the inside around their locations.
Like I wrote, I liked the veneer from the AL kit - it wasn’t that bad, and I could work it with sharp scissors, so that was OK. But if you find something better, you can replace it too, why not.
In many photos you can see the planks held in place with pins, nails or stuff like that. I have used other approach - I used white glue for glueing the planks to the bulkheads, but instead of nails I have used drops of super glue to hold the planks down. This worked surprisingly well and I also can tell you white glue and CA are really compatible - especially meaning that a place already having some white glue on it can reliably be held down with CA.
As for the outer planking it’s worth noting that the plank wouldn’t be tapered down more than to the half of its maximum width. So on bow and stern some planks are “stepped” - they get wider and other planks just end where they would get too narrow. Sounds confusing - here’s a picture to clear it up:
Thank you for your observations CapnMac82, but I find myself a bit confused, this is my first ship were I will be planking the hull, due to this, I do not think I have the experience and skill to make the changes you are recommending, I may go with Pawel recommendations to follow AL instructions so to gain more experience on planking and maybe in future ships I would be able to get more creative.
BTW, I did try to hold down the deck with rubber bands, but I was unable to get it all he way down to the bulkheads.
As to how to hold down the planks using a bit of CA glue, I may try that to see how it works.
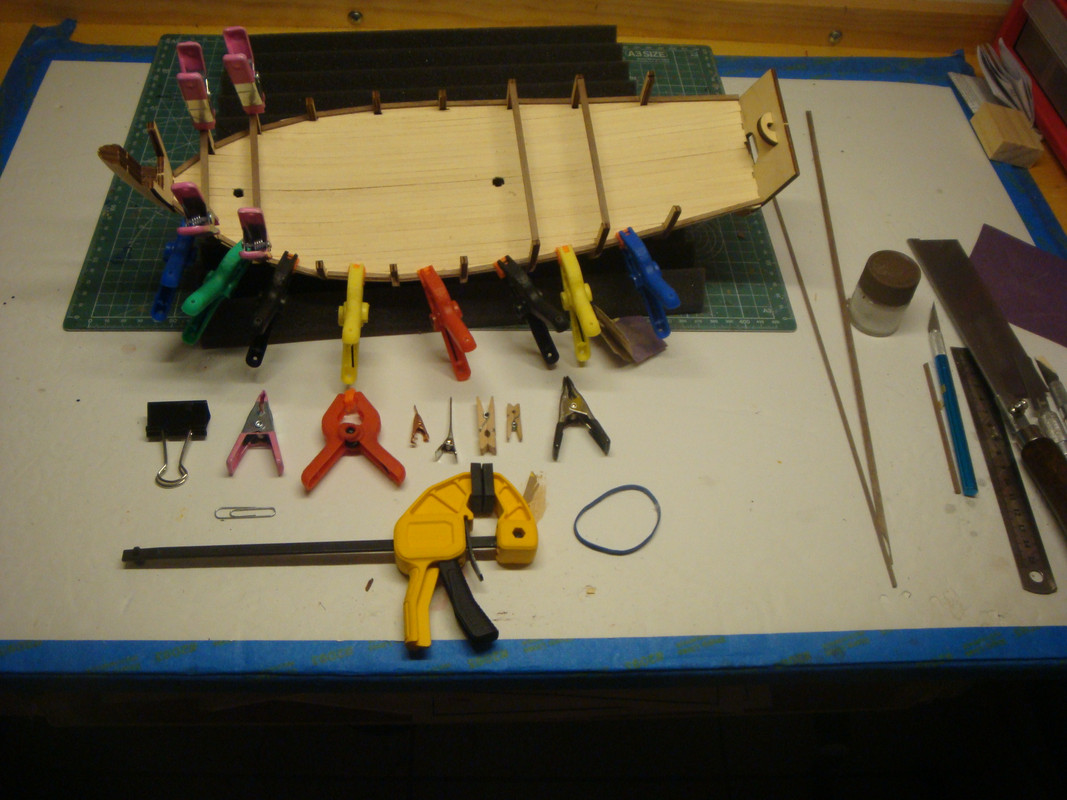
I went out a purchased those plastic spring clamps and they do work very well, in addition I purchased a variety of different clamps of different sizes ( see the attached photo) and found that every one of those clamps can be used during the building of the ships ( if you need clamps, I recommend not to come to South Florida, because, I think I have hoarded the entire supply. LOL)
The photo shows attaching and gluing of the main deck, after securing it with clamps and the small nails, it looks like it is going to stay put.
I received the pin pusher and that is when I found out that they come in deference sizes, the one I got, the hole at the end is too small for the head of the nail, here are $20 bucks I trowed away.
I have not being posting for the past couple of months due to my brother passing away so I being busy doing all the stuff required for such a sad event.
Now I am getting ready to continue working on La Pinta, I am about to start the planking of the side of the ship. The instructions are not very detailed on how to go about this, so I am in the process of looking into the internet for clues and tips on how to properly do the planking.
I guess I will have to take the time to study the process before I am able to start the actual planking.
I like to thank CaptnMac82, lunch, and Steve5 for your kind message about my loss. He was 82 and although in fairly good health, he had a bad fall, taken to the hospital, and that is when it was discovered that he had COVID, he had refused to get vaccinated and died due to complications.
Myself I had a rather complicated year, my son-in-law brother (only 42) also died unexpectedly due to a hard attack, so this year has bee trying on me.
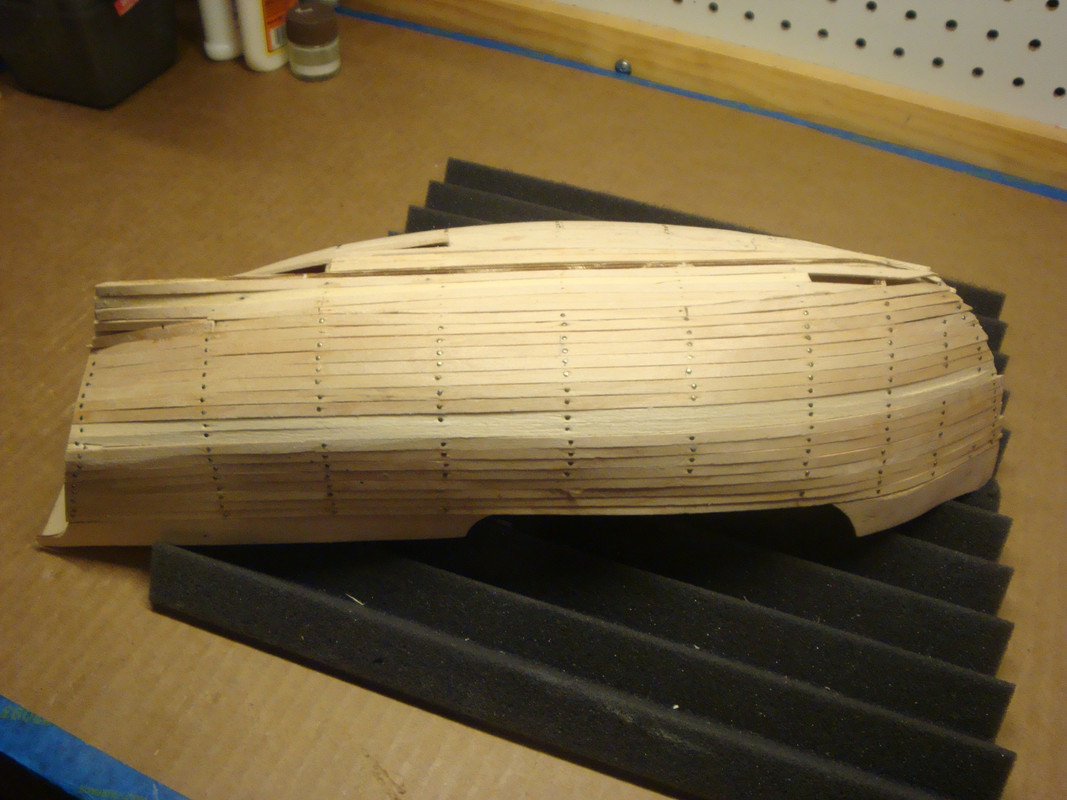
I have made some progress on the construction of La Pinta, attached there are 2 photos of the hull, I know is far from perfect but, I found that planking is not that easy.
I am planning to complete the first planking, sanded down to make as smooth as possible before adding the second set of planking. I do have a question, as it can be seen in the photos, I have not remove the nails I used to hold the planks down. The question is: Should I attempt to remove the nails before adding the second planks, or can I plank over the nails?
Again thanks to every one and hopelessly I will be able to complete this model soon.