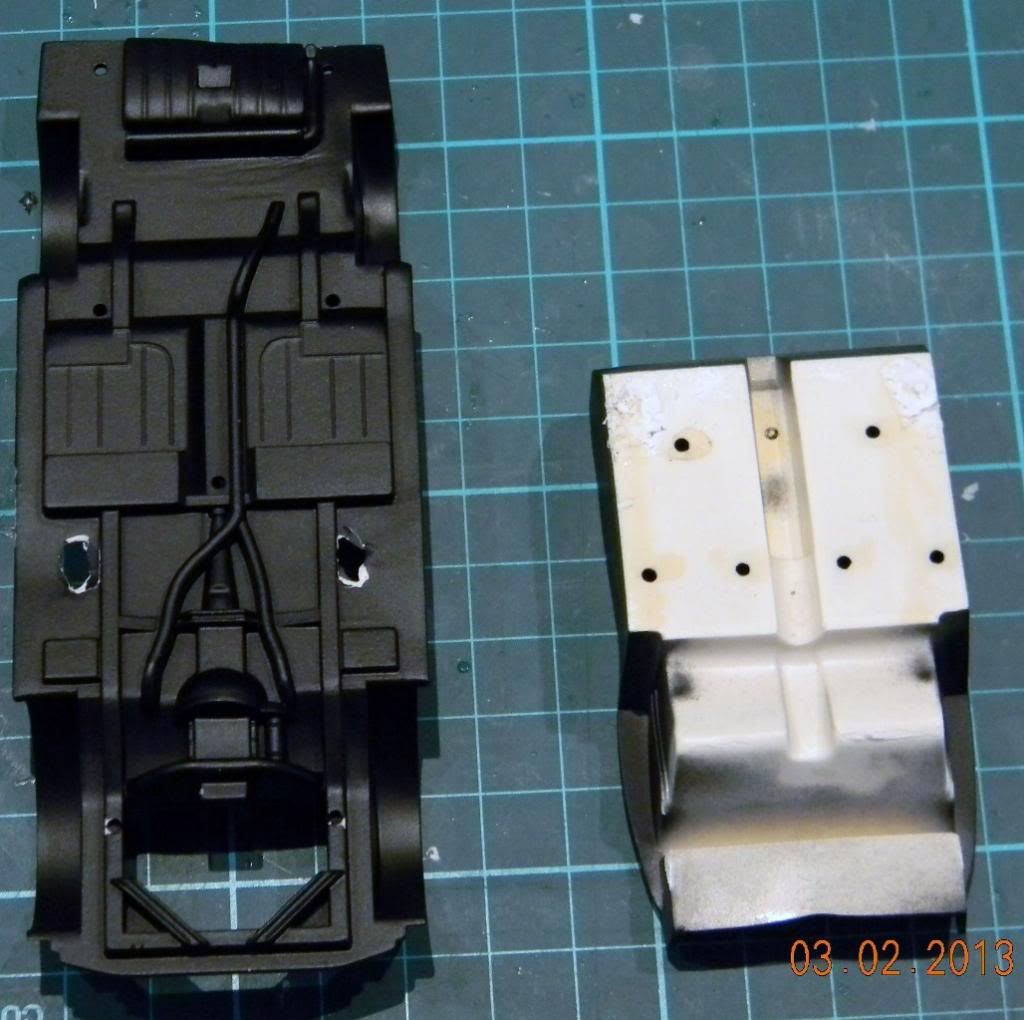
Had a bit of a drama with the Mustang. Somewhere along the line the chassis has developed a very significant warp. I dunno when it happened, maybe I had it too close to a lamp, but I’m sure it wasn’t there originally.
Luckily, I have a spare.
So I’ve butchered that chassis away from the interior and will use the new one. I’m in the midst of tidying it all up now. I’m still mystified as to how this happened, I’m certain I would have noticed it earlier.
I’ve just looked at the photos I posted on page one, it’s not really the right angle, but I don’t think it was warped then. It is definitely warped ina photo I posted on page 4.
Being primarily a auto builder I’m bound to do a car at some point between now and Dec. 31st. Sign me up, subject: unknown. Most likely will be a Corvette or maybe Tamiya’s Kawasaki ZZR 1400 or another bike…I got 200+ cars to choose from…uh…I’ll get back to you…
After primer, shot the chassis with Satin Black with a little Sea Salt added.
Then added a little dust.
Painted the 6 with Chevy Red and weathered.
After shooting the second coat ( black) and letting it dry for a few days in the dehydrator. ( Don’t make my mistake of putting a resin on a spring holding stand. It will deform your resin… as I found out!). Took 3200 wet sanding pad and worked on the body to age it a bit.
If you sand down to bare resin or plastic, you can touch up with a sharpie and lightly wisk away mistakes, after a few seconds.
The only electric tool I use on plastic now is my good old Ryobi cordless drill. It’s the only thing I can get down to a slow enough speed, but even then I use it rarely. It’s massive compared to the model.
What paint do you use for the tyre lettering ? I always use acrylic, because someone once told me that enamels won’t dry well on them. I’ve never tried it.
Hope the fender fixes easily for you. I guess that’s what we do as modelers, fix our work as we go.
Here’s my first attempt at a badge to supplement the outstanding one that we already have. I had the thought of doing a motorsport related badge, as I think it’s the only genre not covered by the other one. I’ve chose the iconic Porsche 917K for it.
Let me know if you like it, or suggest some changes.
Your chassis are looking great!.The 46 Chev will be used to Haul my 46 Aerosedan Salt Flats car to Bonneville, so they’re getting a little aging effect.
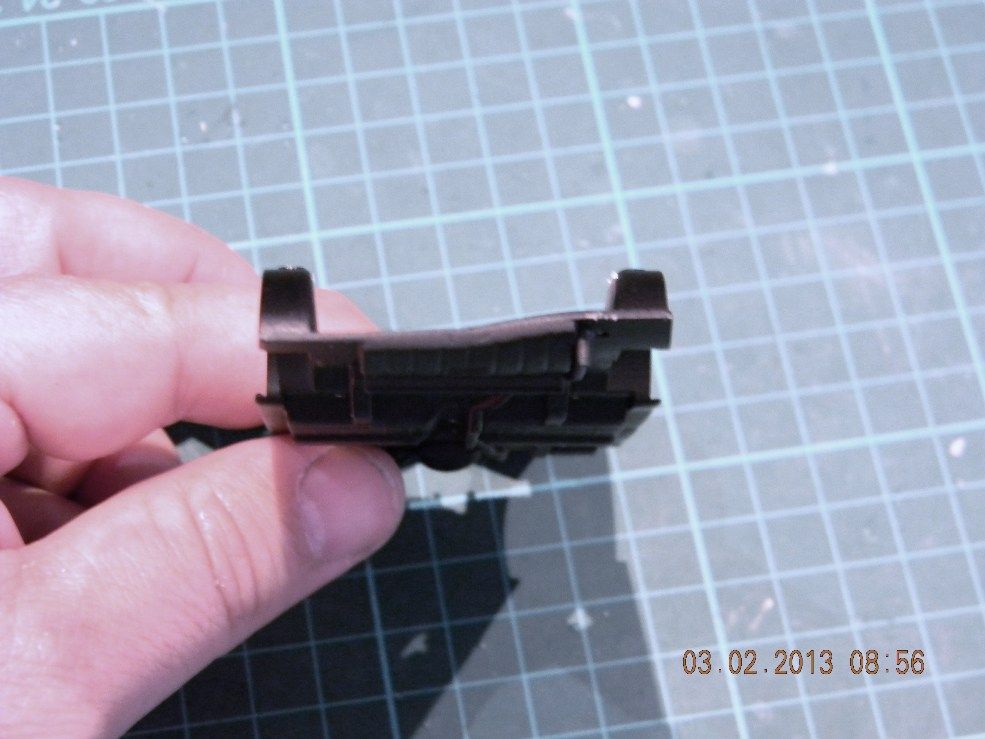
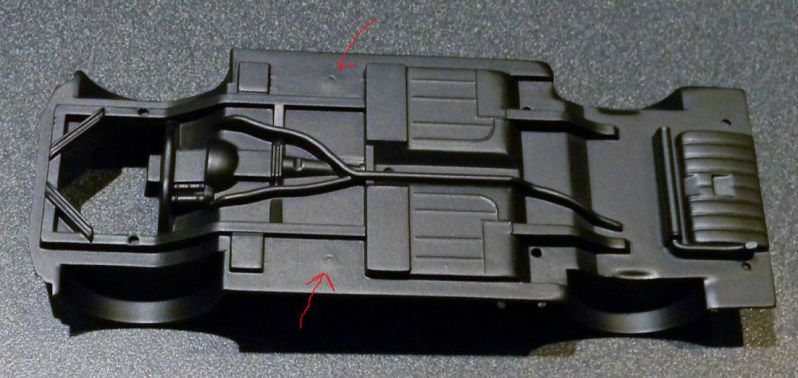
Here’s tonight’s progress update on the 1/32 Mustang.
I’ve sprayed the new undercarriage, but as you can see the solvents in the paint have upset the filling job I did on a couple of locating holes. It’s gonna have to be fixed and re-sprayed.
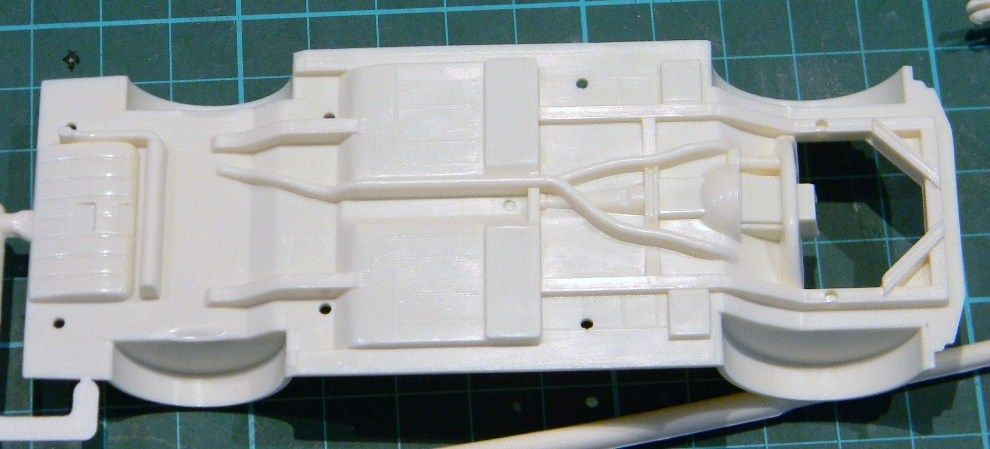
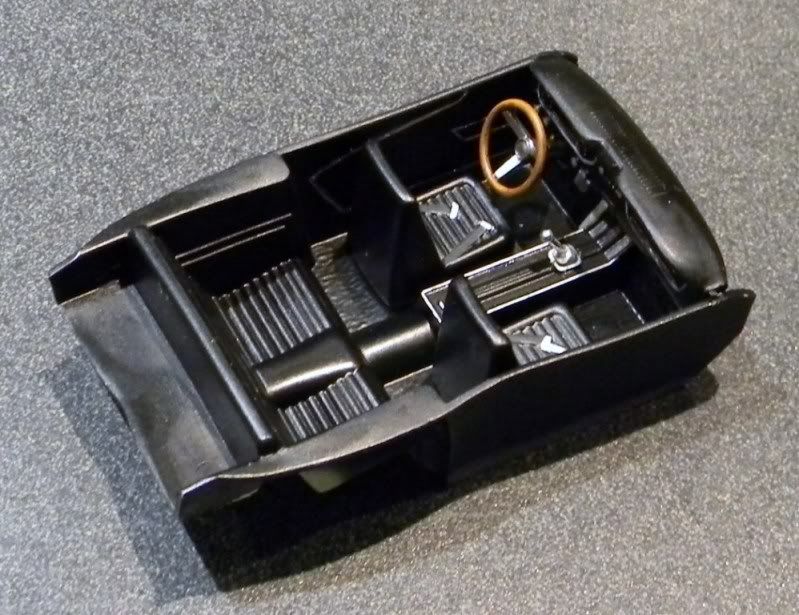
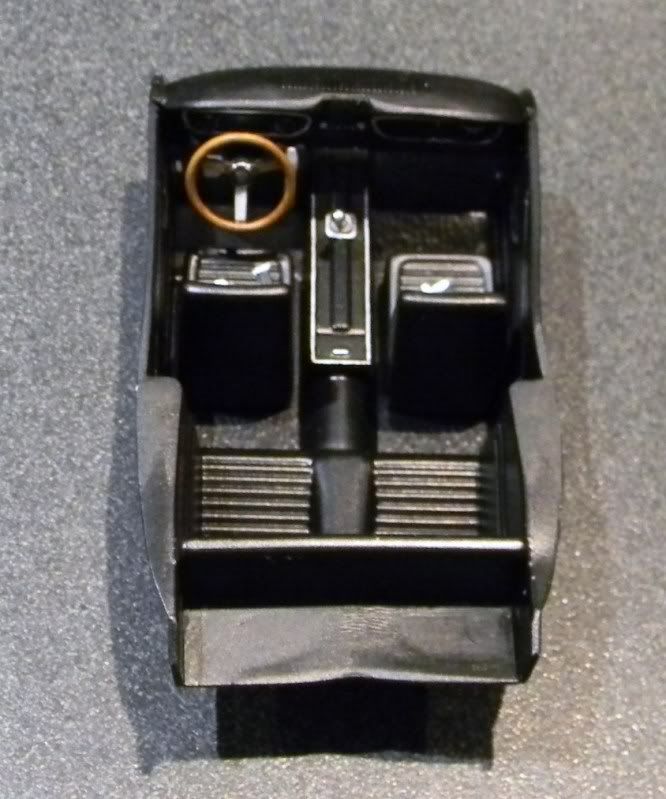
and the interior is done. I am resisting the urge to add detail.
Dogfish really like the chasis weathering,very realistic. Builds coming along nicely!
Tony great save on the warped chasis,those small little blems will be a cinch after what you just did! I think the interior has a nice clean look to it as is. The primer I use on car bodies is a self etching Pintura base made by Rustoleum in a rattle can ,its cheap ,sands well and has good adhesion,but its a bit ‘heavy’ for 1/48 aircraft so I only use it on bigger smooth surfaces such as cars and big rigs.
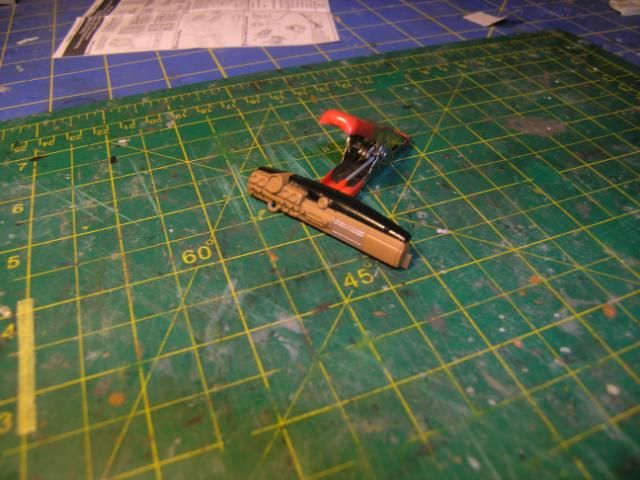
Glenn the exhaust pipes are just stretched sprue
Eric thats coming along nicely!
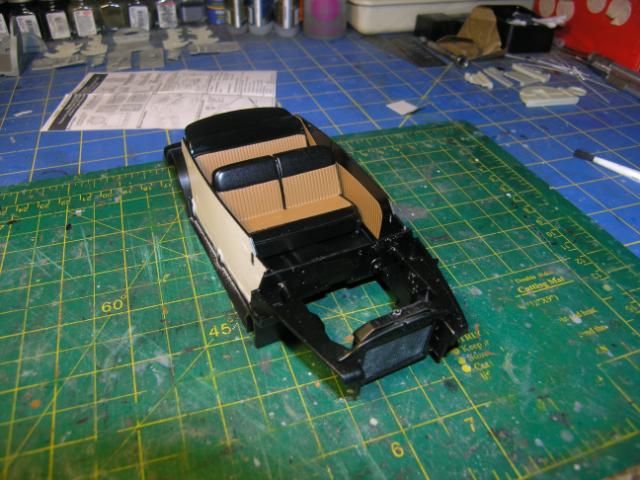
I’ve gotten the interior basically done ,the dash detailing and some fiddly bits aside
The builds are coming along nicely. I have to wait untill Wednesday to get more clear coat for the Camaro. This is the first time I’m trying to build up a shine. My LHS told me some people will put on up to 12 coats of clear on it. I’ll go 4 coats max on it.
I’m still sanding putty on the semi trailer. After I cut the trailer and put it together to make it 53’, I put sheet styrene on the outside to make it more modern. But the styrene wasn’t big enough to cover it all with one sheet. I’m getting there though.
Tax, that badge looks great. That will give every one a choice. Since I’m not a race fan, I’ll stick with mine [:D]
Tax, you don’t need the word “THE” at the beginning on the badge. just a little advice from a guy with Bachelors degree in English. Hope you don’t mind
What did you use to mask the seats and interior? You have some nice clean lines, I have a 55 Chevy I am going to do later and would like to two tone the seats.
Tony, I used acrylic flat white on the tires. It took quite a few tries, just need to quit drinking so much coffee hehehehhe.
I did get the fender repaired to a point where it’s not as noticeable. Oh well. I got the body primed today.
Tony,
Here’s one of the advantages of using the touch-n-flow. By welding the scoop to the hood, there’s no seam and very minimal sanding needed.
I bought this kit on ebay for 5 bucks. Parts were still in the bag but the red you see is where someone sprayed it with enamel spray paint. I soaked it for 2 weeks in oven cleaner and still didn’t get it all off. I sanded it a smooth as I could (reason for mishap hehehe).
That looks good Wheeler, I can’t spot the problem. What color are you going to use for the final coat ?
Greg - I filled the holes with plastic rod and a touch of CA for some minor marks, so its not putty shrinkage this time. I used automotive primer, which I think might be the issue. next prime will be with Tamiya fine primer.
Thanks for the tip on the badge. Since you are so well qualified, I’d better make the correction, and also make sure I don’t start the sentence with a conjunction I thought I’d use your badge when building a road car and the racecar badge when building a racecar. I’ll just wait for a little more feedback.
Trey - that interior is looking really sharp, I like the color contrast.