Testors Italeri 1/35 M47, 759th Tank Battalion, Patton Project Pt.2

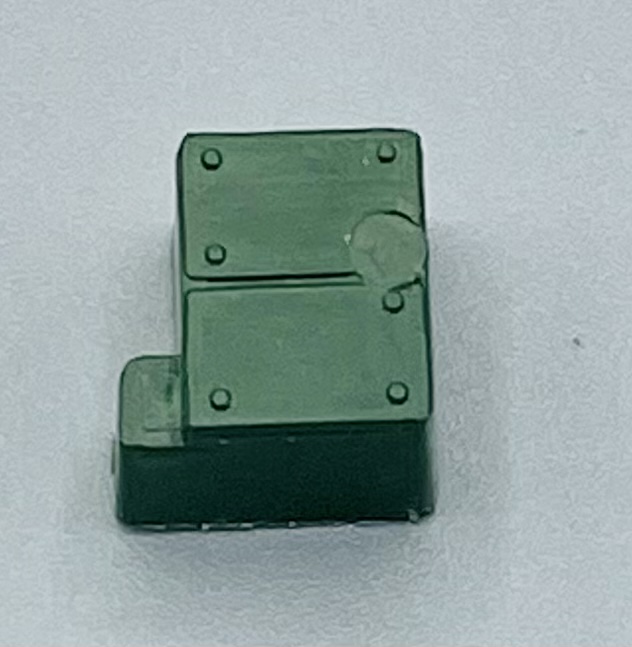
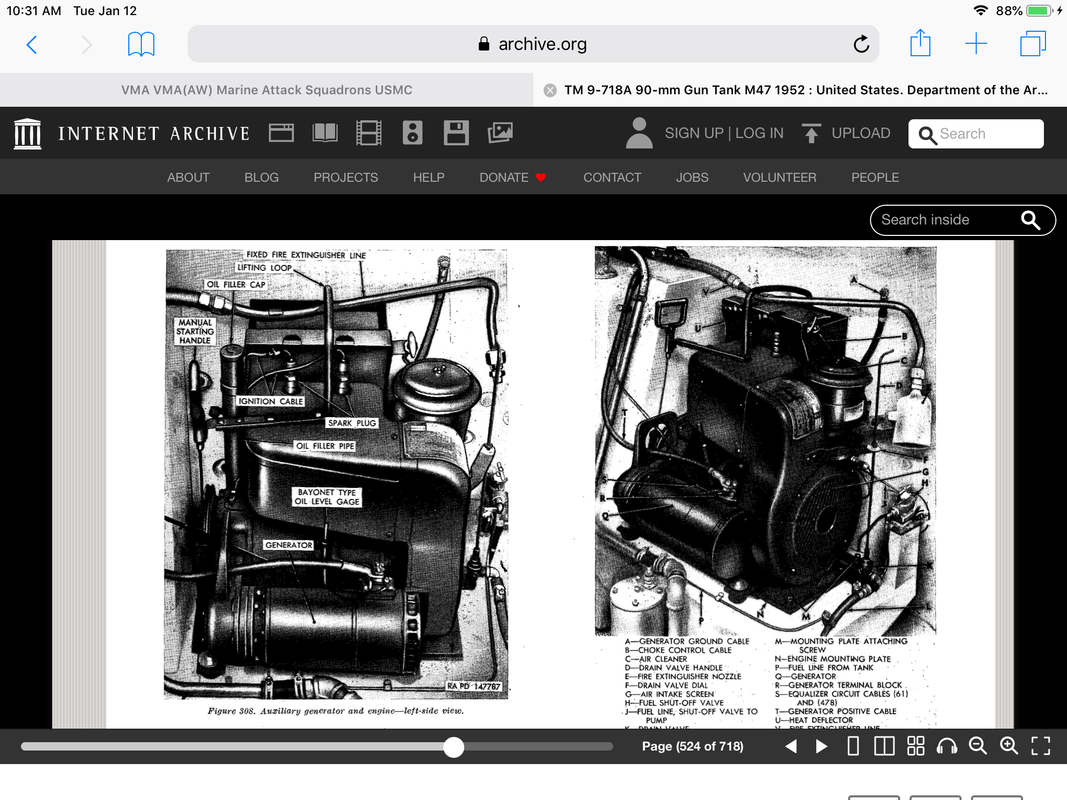
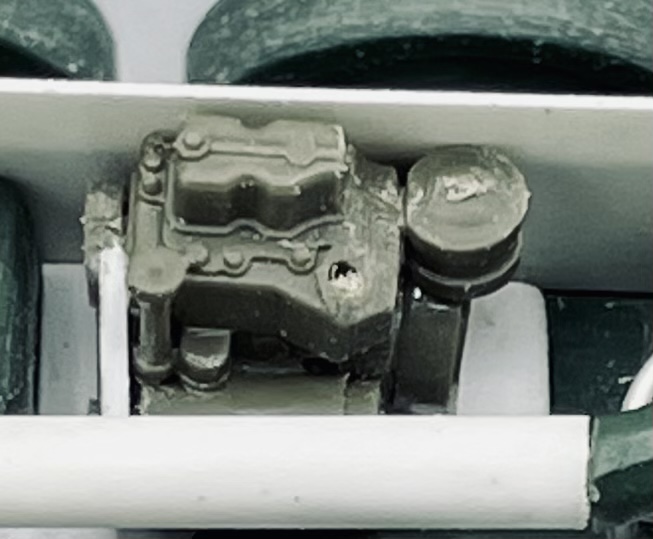
So the last couple of days I’ve been working on the engine. Yesterday I cut off Italeri’s sorry excuse for the auxiliary motor and generator

Which looks nothing like the real thing

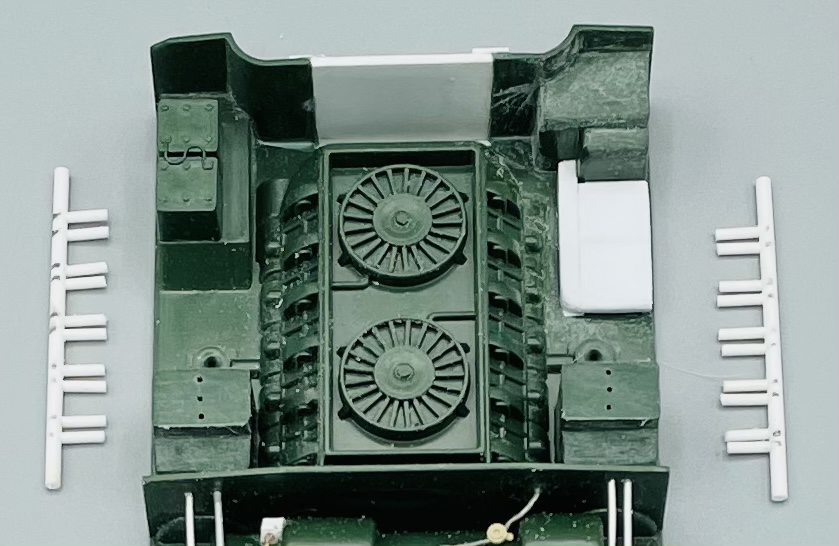
And I also sanded off all the incorrect detail molded on the oil coolers, and drilled in holes in preparation for plumbing lines.

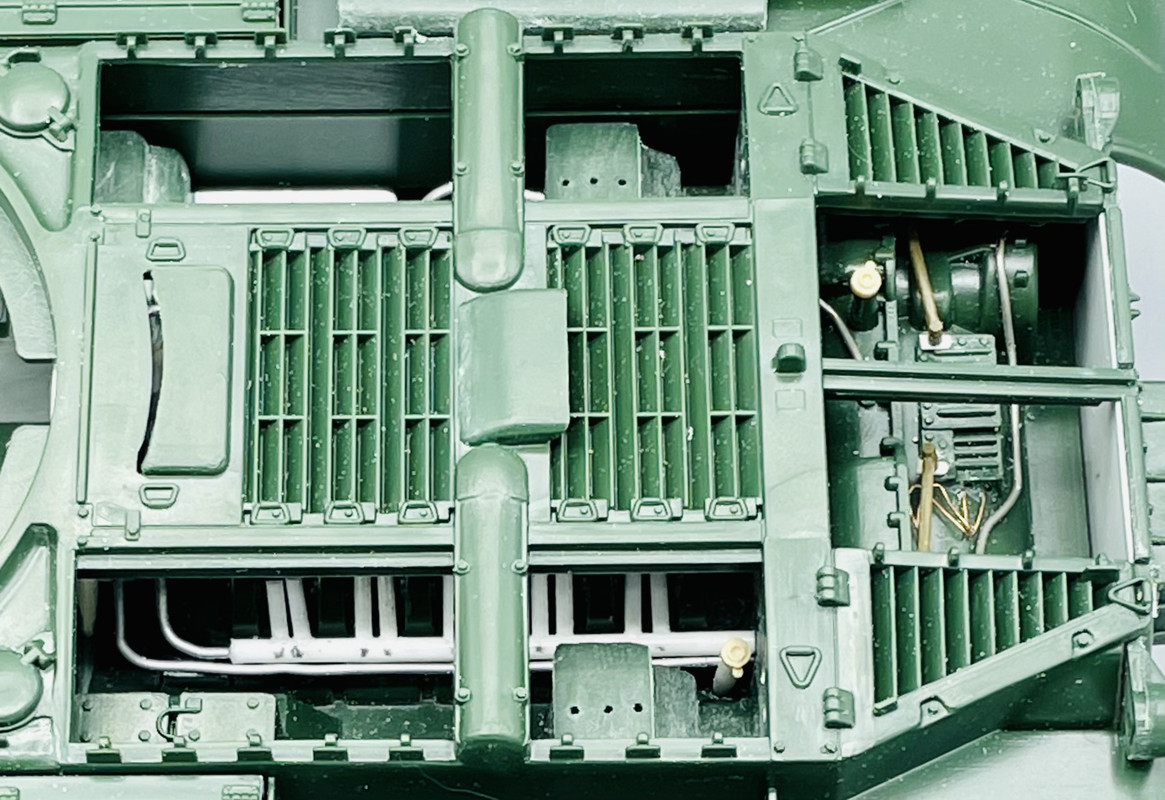
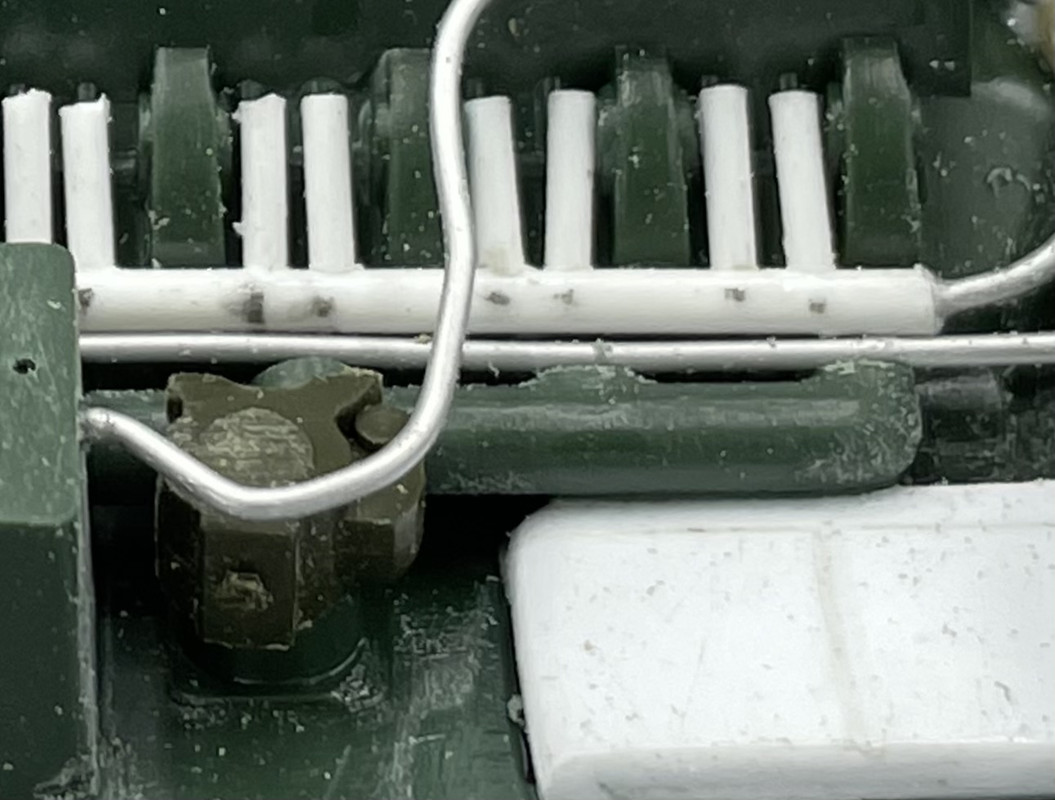
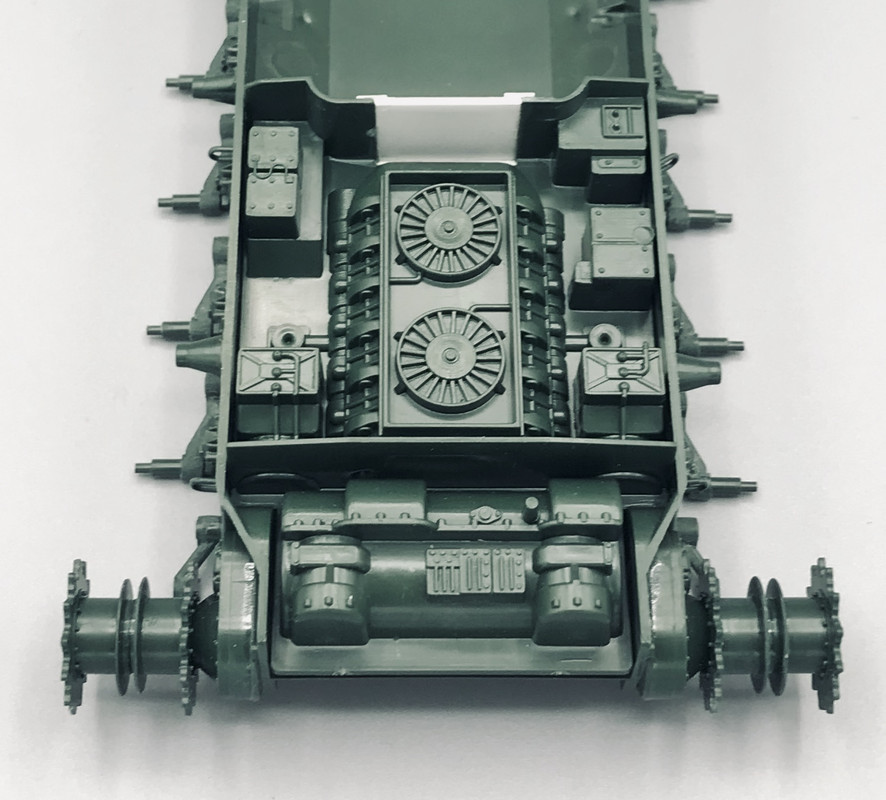
Today I measured and cut lengths of styrene rod to make up the ignition harness for the cylinder banks, then glued them in place. I also created a section of the right side hull fuel tank that goes under the auxiliary motor

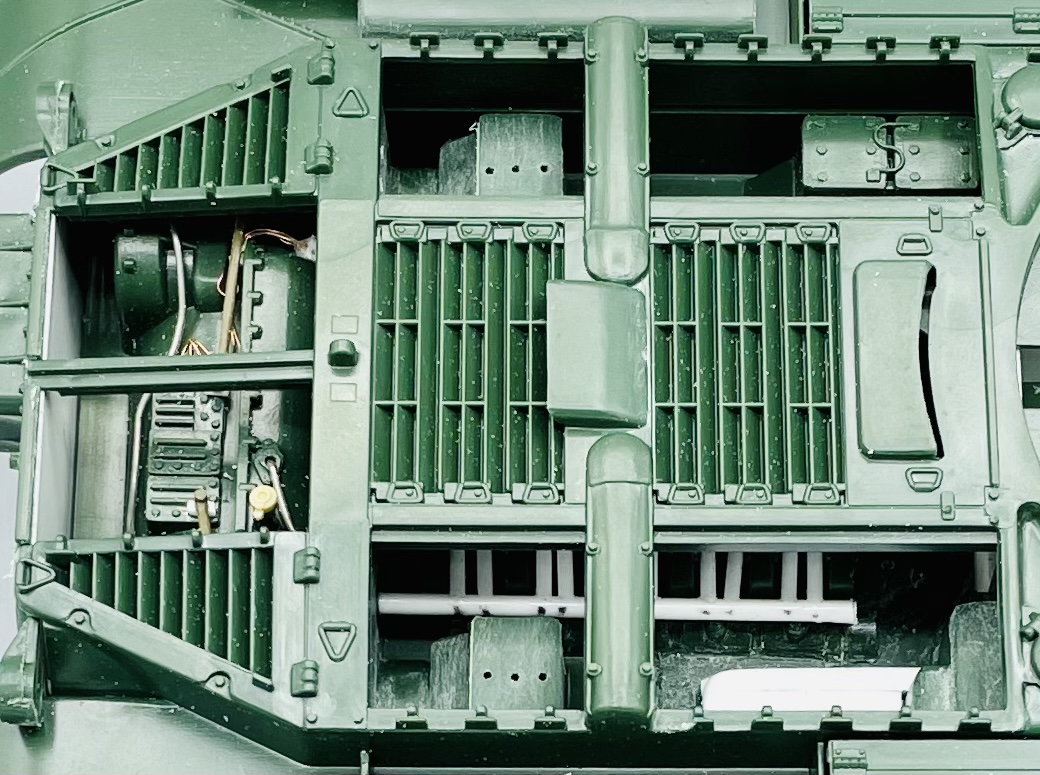
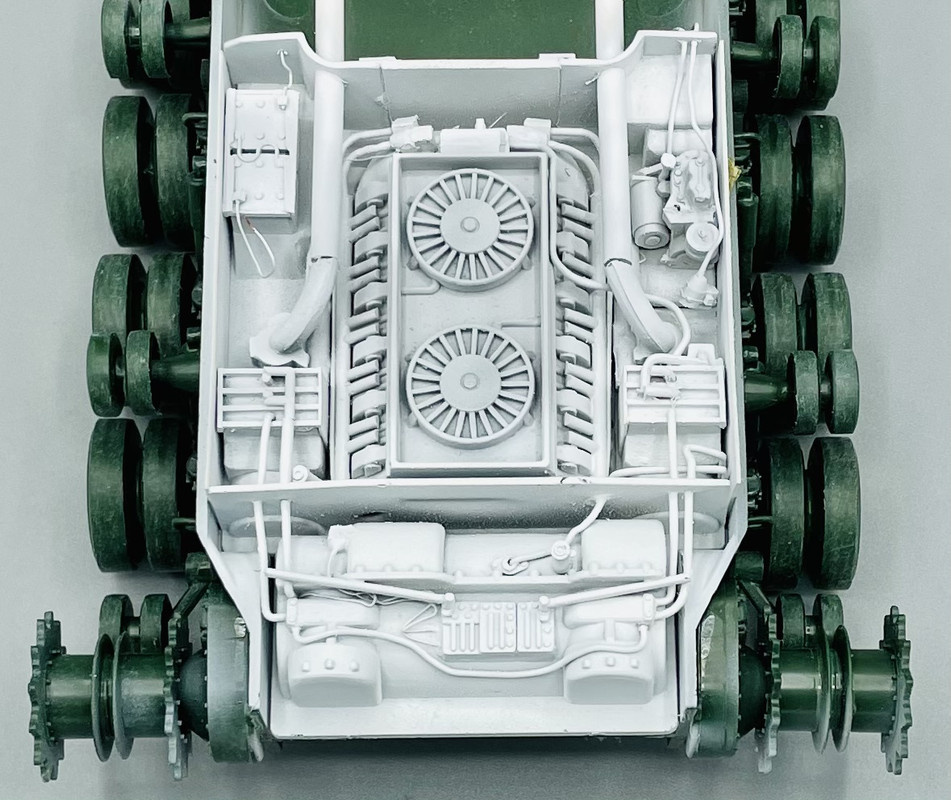
Then a test fit into the hull with the top on to show what will be visible

I still have a couple more sessions worth of work to add more details in there.

The extra effort going into the rear deck area is paying off big dividends. All that scratch work looks amazing stik.

Yeah, that looks really cool!

PJ and Gamera, thank you. It’s starting to get to the picture in my minds eye.

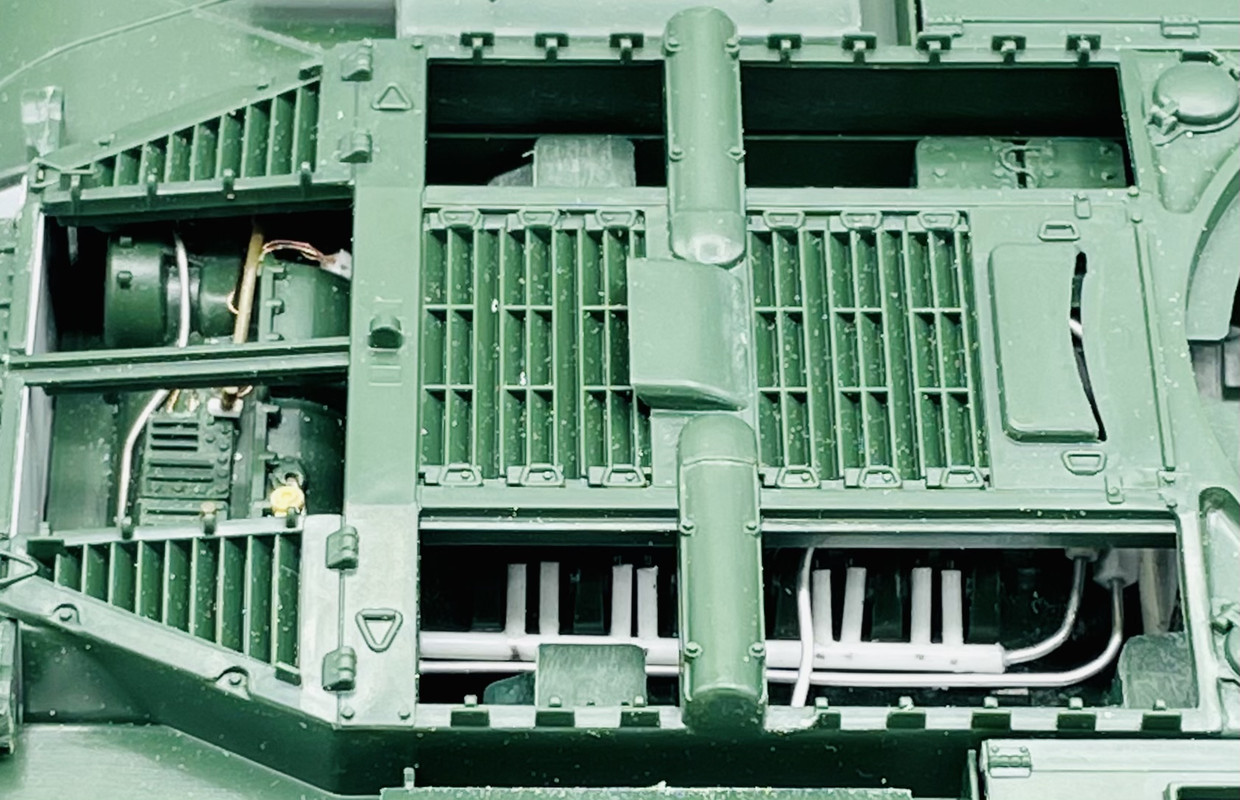
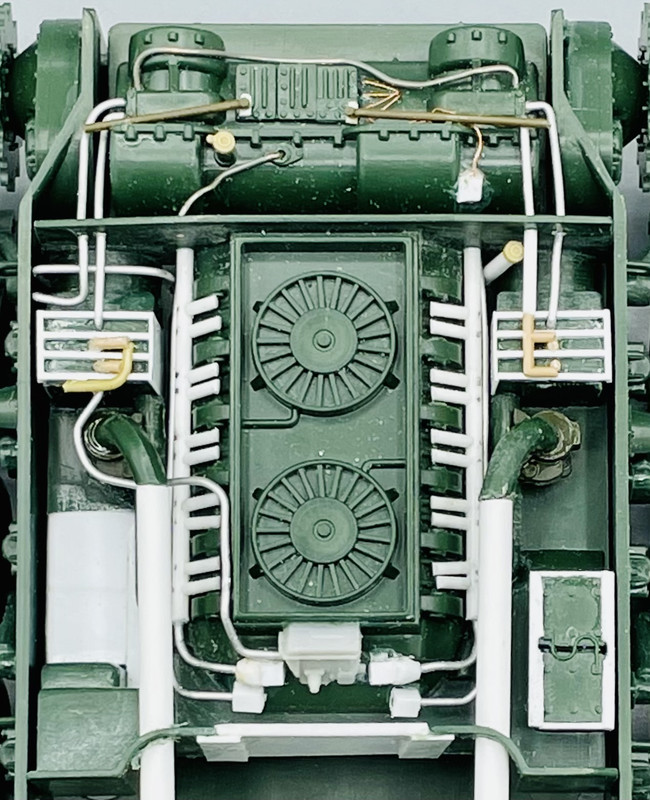
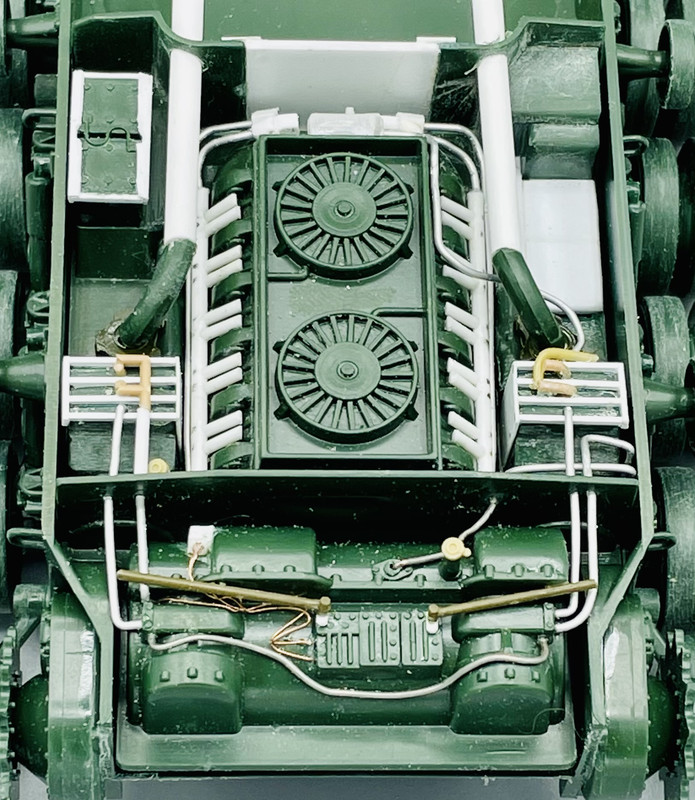
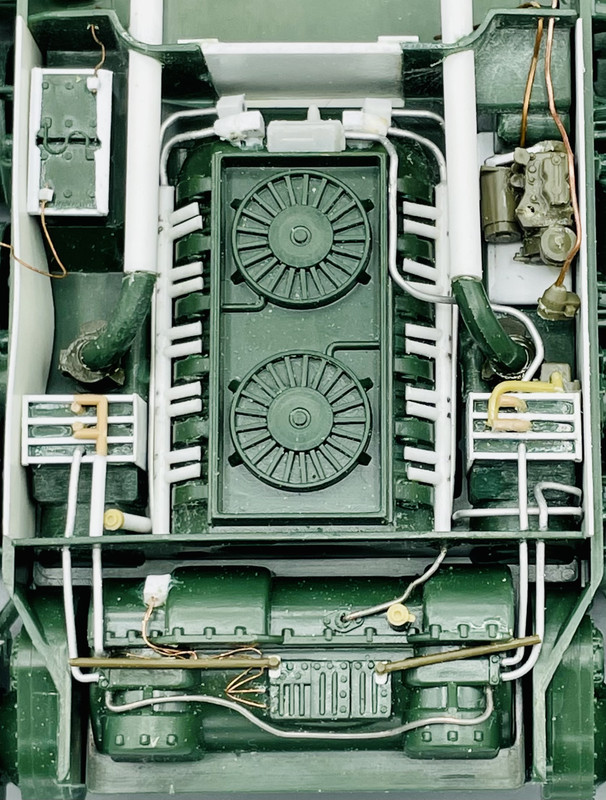
So today’s session of plumbing the engine was longer. But it feels like there is less to show. It was lots of trimming, fitting, drilling, and bending to get the stuff in place. And I added an oil filler tube and in the corner between the oil cooler and transmission housing on the left rear.

And the view from each side

Tomorrow I plan to work on the oil coolers and add in the carburetors and ducting, since it should be raining here all day.

oh Mr. Rabbit!

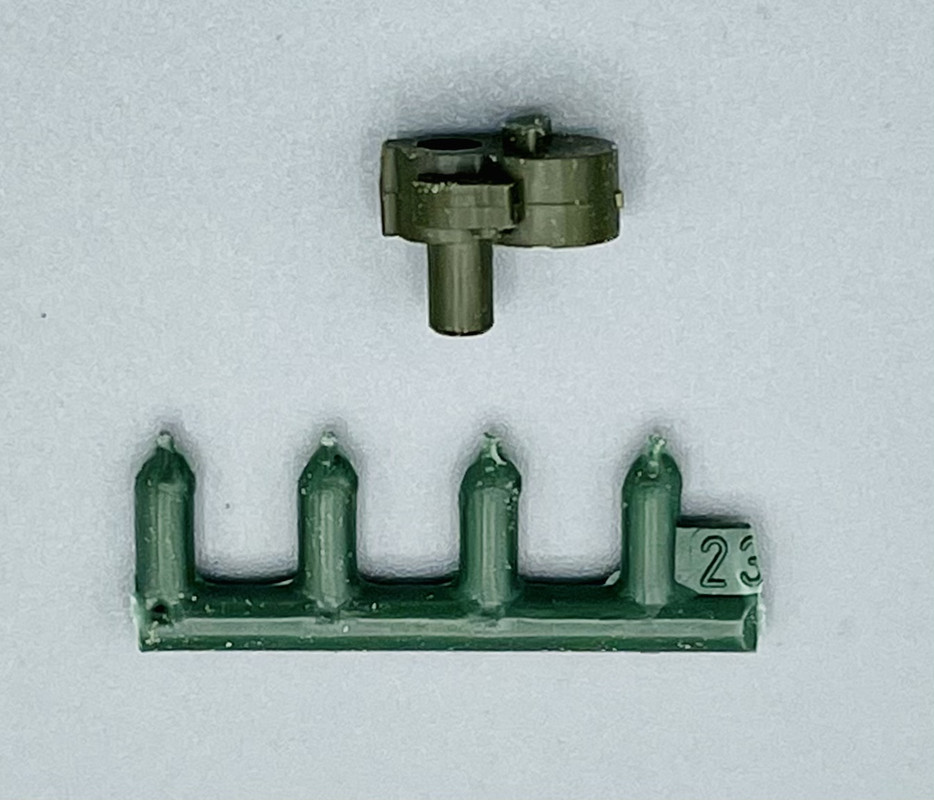
So today’s session has to be broken up, I have so much planned. First off I’m using some sort of idea wheel mounts and sections of sprue here to create the carburetors and intake manifolds

So quite a while later of sanding and filing to resemble what I want and make it fit, I had one completed

And then I added the air ducting from the air cleaner to the carburetor.

Now to finish the other side and get to work on the oil coolers…

My final update for today.

I finished up the carburetors and intake ducting, detailed the oil coolers, and finished the plumbing in those areas.

I still need to add the auxiliary motor and battery lead cables. Next session.

So today I finished the final bits of work in the engine compartment. Using a jeep engine, I turned it into a two cylinder auxiliary motor

then I added the lead line for it, and the compartment fixed fire extinguisher nozzle and feed line

so now the power pack has gone from this

to this

painting to take place over the next few days…

Very nice. The engine/transmission area is looking great.

Thank you. Now I will step away from this for a couple of days before I dive into the painting.

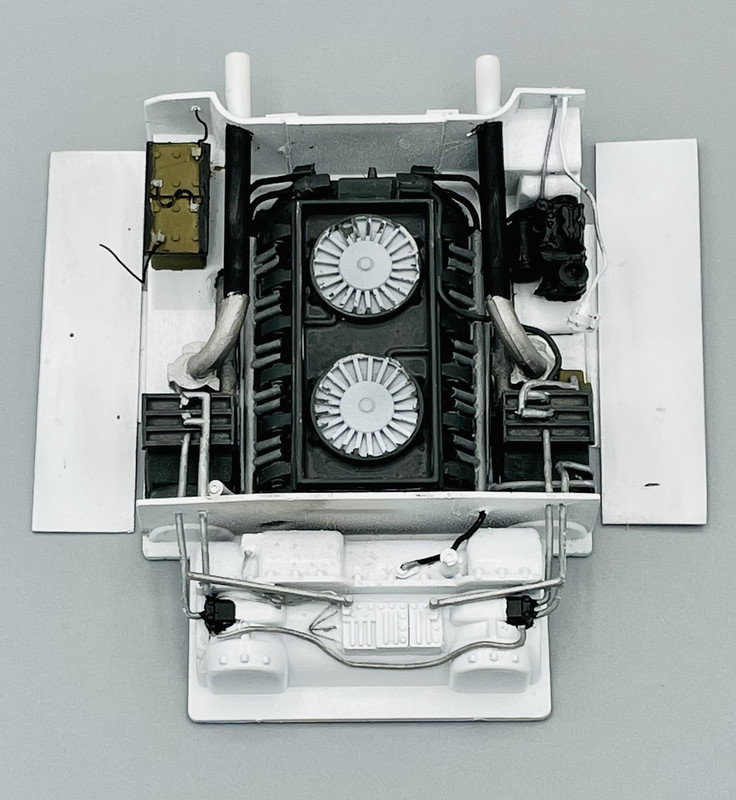
And the painting begins. Today I airbrushed on a coat of gray Tamiya primer overall followed by Tamiya white primer on the areas that will be white. I’ll let it dry overnite, then start actual painting tomorrow.

Carlos,

Very impressive work!

Bill

Thank you Bill. At least now all of the Frankenstein work doesn’t look so Frankensteinish… lol

That’s a thousand percent improvement!!! *

  • More or less and rounded off.

Lol! Thanks Gamera. In hindsight I might have approached the add ons in a slightly different manner, but I’m happy with the look.

I’ve got all the base colors on the power pack now. Just need a wash and then I can install it and get the hull assembly completed.

Looks good, as you say all it needs now is little oil and grease staining.

Stik this is truly inspiring work. A wonderful WIP to read.

Gamera & Dodgy, thank you. I’m happy to hear that you guys like this.

That’s some really nice scratch building there![Y]

Mike

Thank you Mike. It’s been a fun learning experience to do this.