A new year, and another new project. Continuing my builds for the So Cal AMPS GB of the Patton Tank family, I’m building a M47 this time. I’m using the Testors Italeri kit, but will modify it some by changing the turret grab rails to early configuration, and not what comes in the kit. I will be building this in the markings of the 5th Infantry Division, my first line unit in the Army, during the time that they were stationed in West Germany in the early 1950s, when my father was stationed there. So this project is hitting a few personal areas, so to speak.
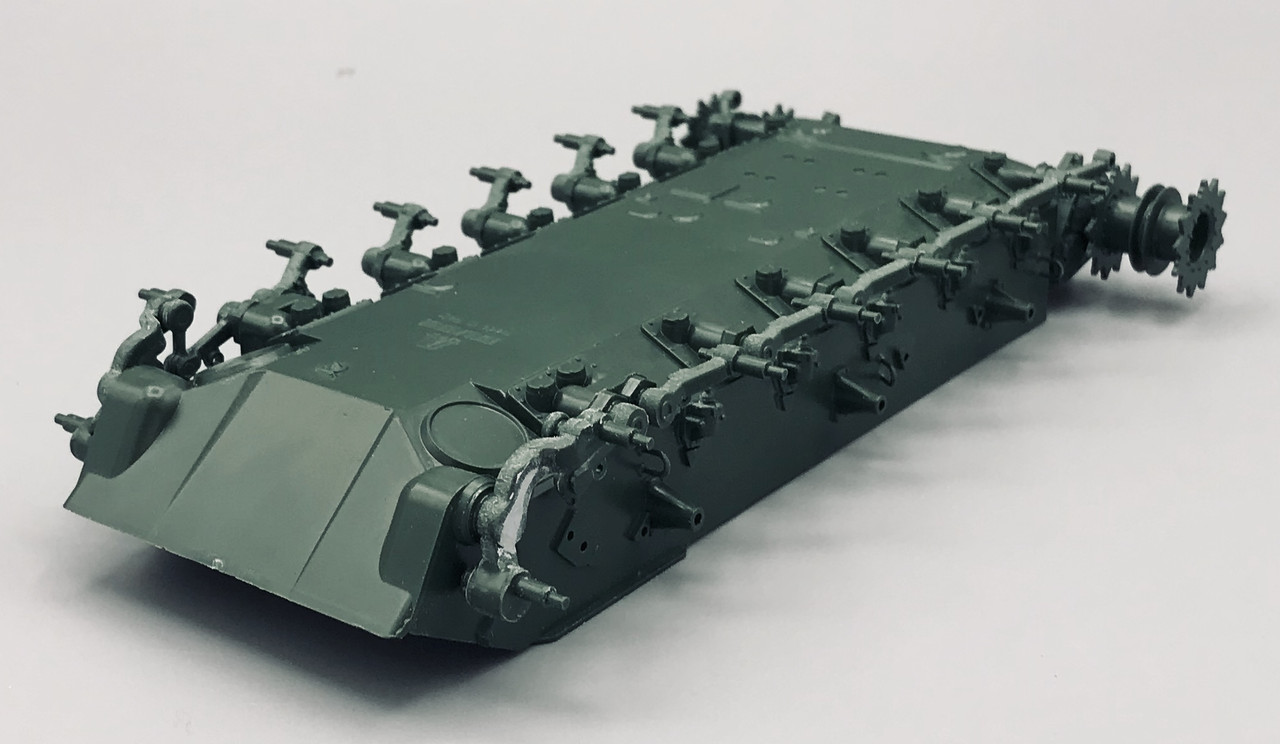
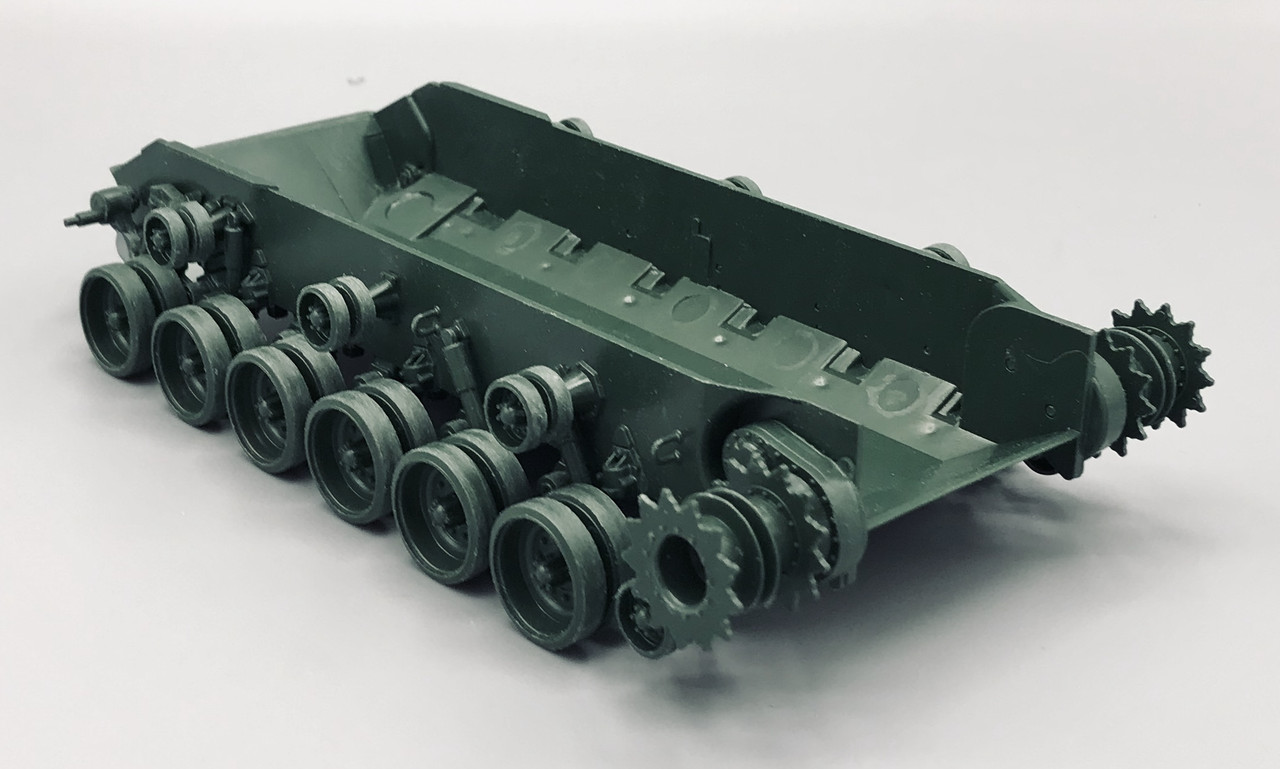
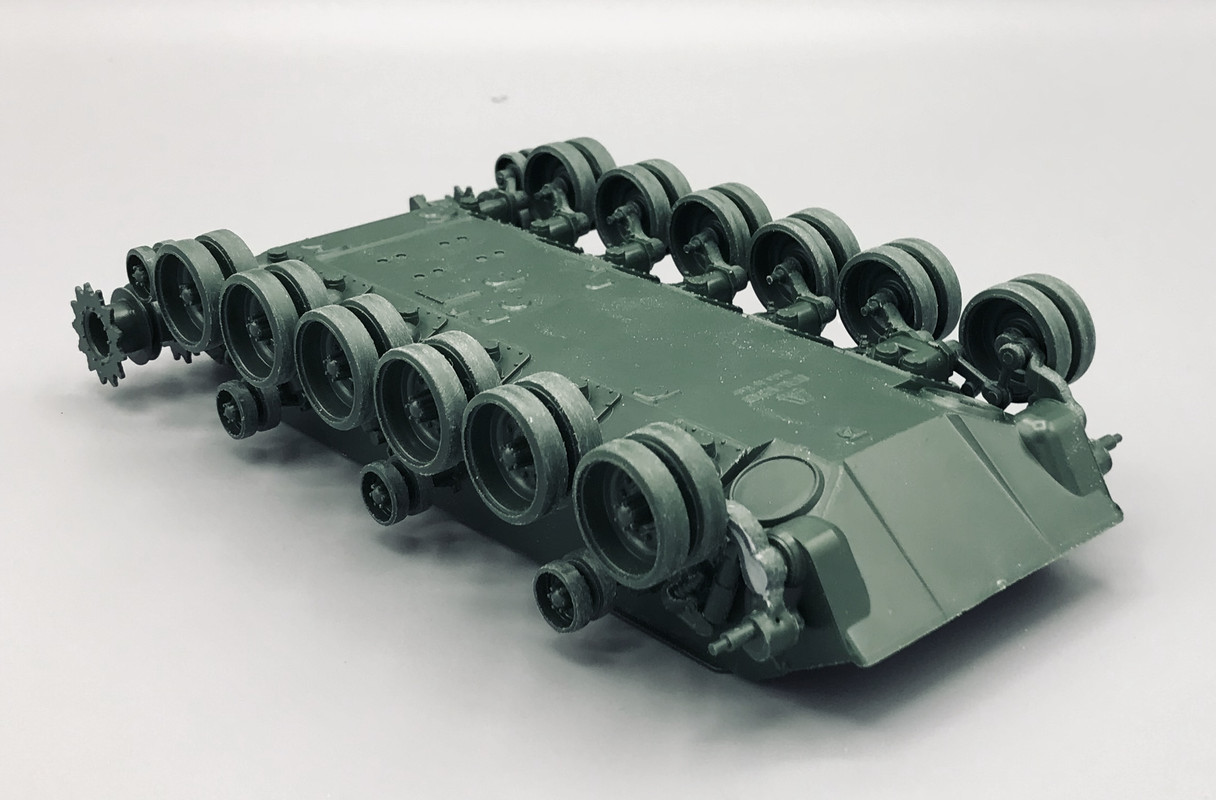
Anyways, last night I began by completing steps 1&2, essentially putting on most of the suspension.
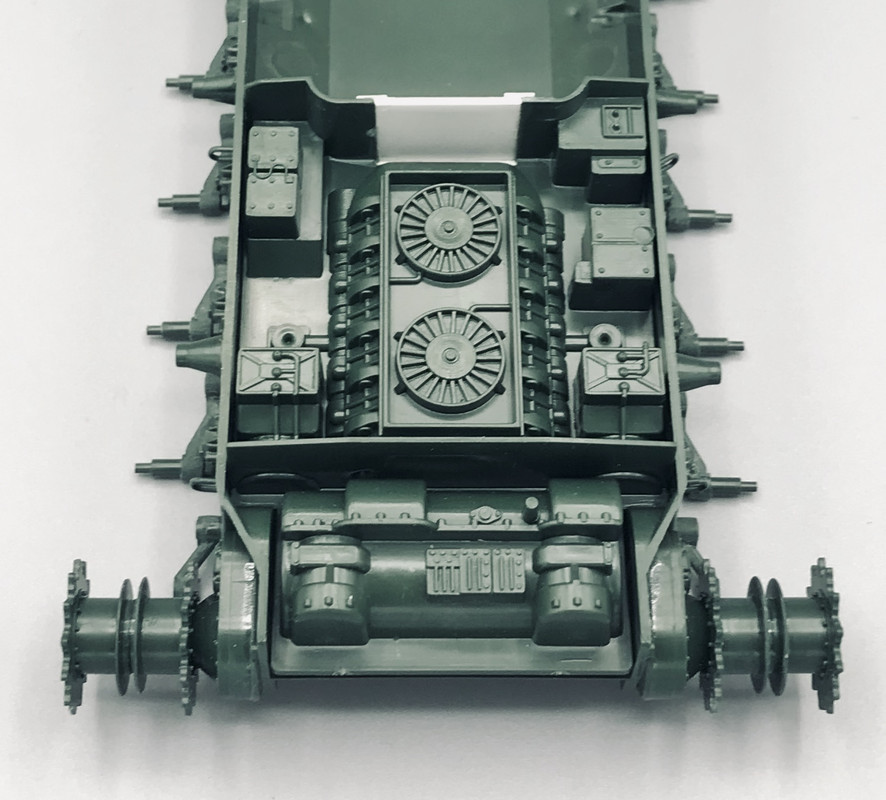
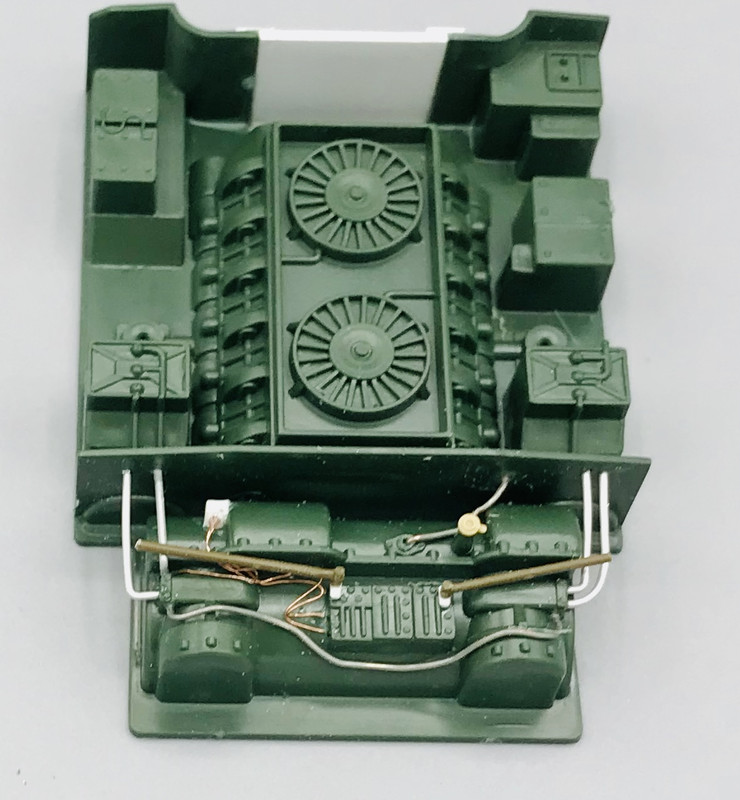
Now Mustang Joe, after seeing all of your gorgeous engine upgrades on all of your automotive builds, I have been inspired to upgrade this power pack area with some plumbing and wiring. I have found some good photos to use as reference.
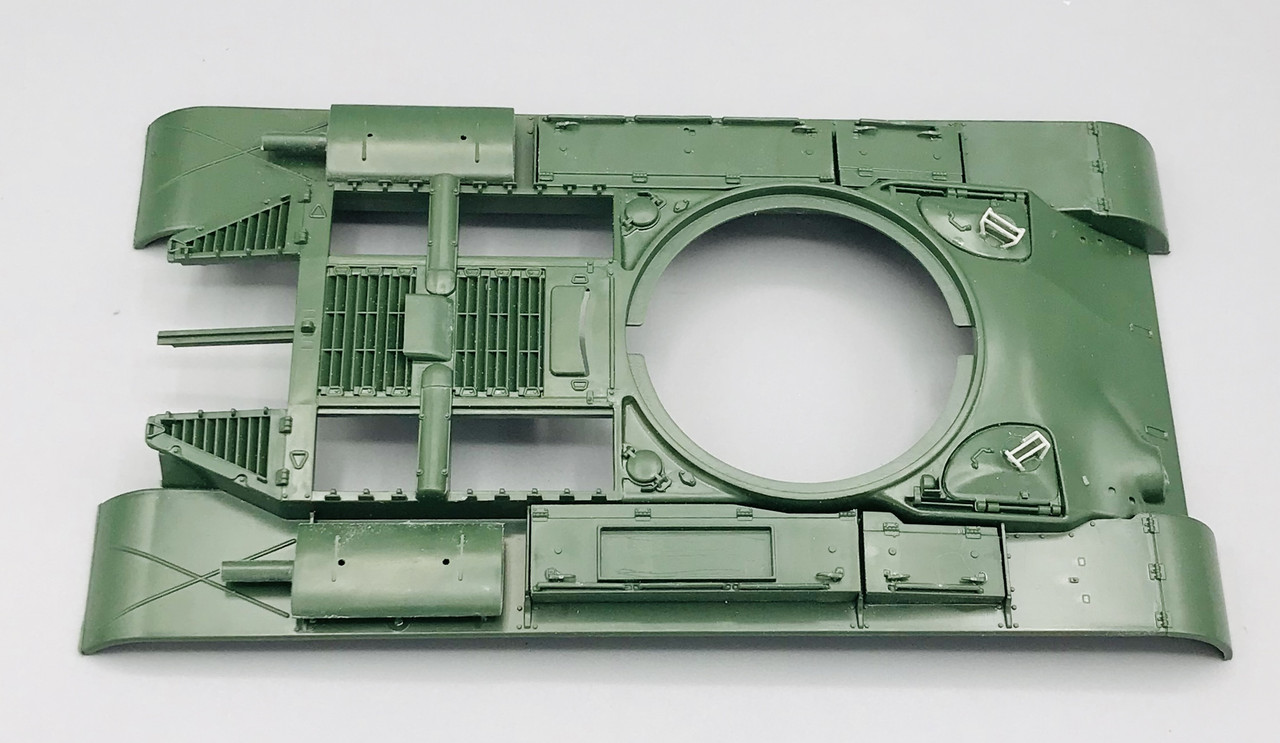
Welcome aboard Mike! The kit is molded so that the side engine deck grilles can be positioned open, but not the center grills over the cooling fans. So obviously I need to concentrate my efforts there.
I am really looking forward to this build! I have the Testors version that I found on eBay for $3.00 in which all the parts had been removed from the sprues. I will follow your build intensely!
That’s $3 well spent Bill. But I can’t imagine all of the parts being taken off the sprues. There some tiny handles and other such fittings. Not to mention similar looking parts on the suspension. YIKES!
Thanks for following, but just be forewarned that I will be deviating from the kit instructions on the turret to backdate this to an earlier production model using parts from my spares collection.
Nice start . . . By the way, shortly after purchasing my kit, I was able to verify that all parts are present, and I put each part in very small zip lock bags with the part number written on the bag. So, there is some organization.
Bill, I can just picture such madness with all the parts cut off the sprues. Who does things like that? The potential for parts mix up is big! I’m glad to hear that you have some organization to the mess.
Gamera, yeah, the running gear is a bit tedious, but not too bad on this beastie. And pretty familiar i might add, after building multiple M60s, M48s, and M26s for years and years. The M46 that I built last year was just a refresher.
John, I’m glad that you liked the last Patton build and I hope that you like this one also! At least this time I’m doing my research before I get to the steps where I need it! Lol!
So today was spent doing steps 5, 6, & 7. Although step 6, adding parts to the underside of the upper hull, and 7, finishing the fender items and attaching the engine and upper hull to the lower hull, I only did partially due to my choice to upgrade the engine compartment.
I am also backdating the kit to an early production model, so I had to swap out the driver and assistant driver hatches periscope brush guards for the older type used, rather than what comes with the kit. Fortunately I have some in my spares bin.
and lastly I started detailing the engine part that comes with the kit. I only did the transmission section today.
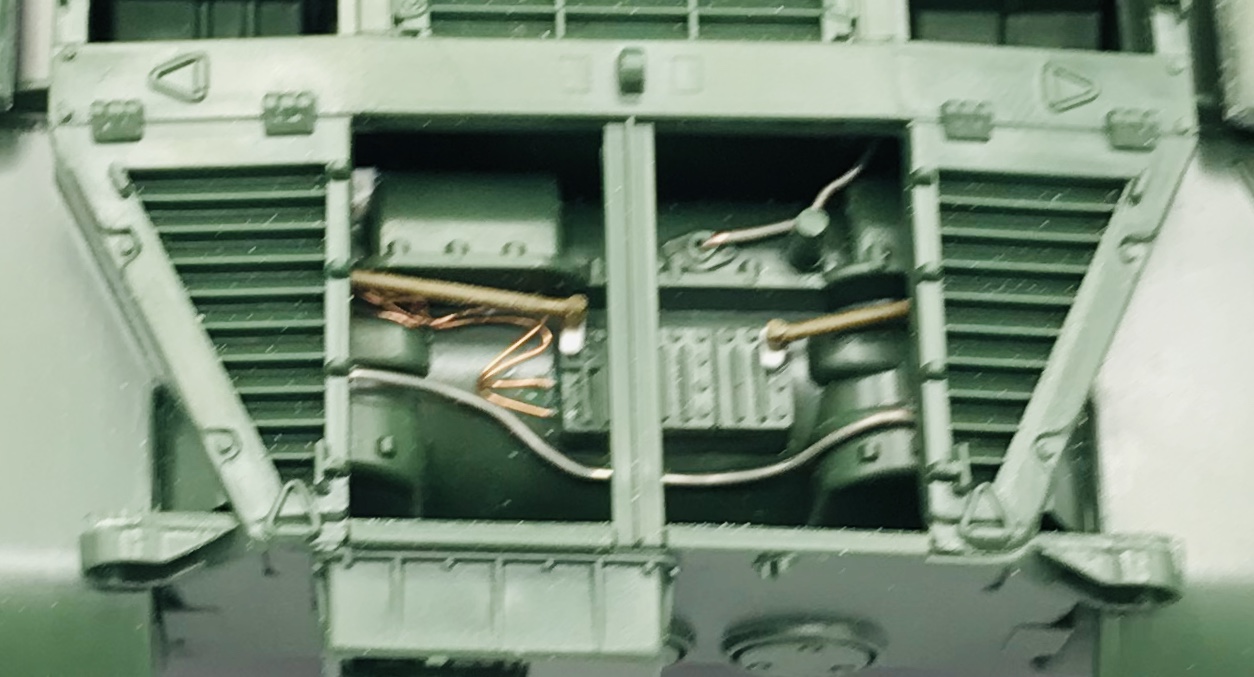
And this is what you can see thru the open grilles
Looks like your headed in the right direction as the detail you added in the engine bay look really nice so far.
I see that you added all of the roadwheerls before painting the rubber. I see other people paint them prior to assembly. In your opinion, which is better and why, or is it depending on the model?
Also, thanks for sharing the build with all of us…
Looking good Stik. I recall seeing you post something about a mechanic figure in the latest acquisitions thread. Are you gonna do a maintence scene for this build?
John, that’s kinda what I had in mind. Have that figure kneeling on the engine deck by the open grilles looking in. A simple base to look like a motor pool hardstand.