I’m currently building a 1:48 F-105D Thunderchief and am trying to figure out how to neatly paint the thin yellow stripes on the bombs. I fooled around for a while tonight trying to figure out a way to use masking tape, but had no luck. The area where the stripes are supposed to be is sort of convex in shape, so getting the tape to lie down flat was an issue I could not seem to overcome. Any advice or tips on how to do this would be appreciated.
Which type of bombs are you painting? M117 750 lb type? Mk.82 500 lb bombs? Different bomb types had different stripe configurations.
Tamiya makes a thin strip version of their masking tape that is supposed to be good for complex curves. I’d bet it could be used for the compound curves of the bomb stripes. Just paint the yellow first, mask it off, then airbrush on the OD. Another mask that I have heard of being used are the tiny rubber bands used for orthodontics… aka braces. I had a good supply of those when my kids were that age.
Tricky. I’d keep trying with the tape. Maybe mark the stripe first with a pencil traced around a circle template hole forced down over the nose of the bomb. Then just go slow with the tape. Start with a strip of Tamiya Yellow that’s really thin.
I paint my share of waterline boot topping stripes on ships. Once you get the first side masked, it’s much easier to gage the width from there with the second edge. Those are tricky because they get wider as the ships hull goes from vertical to counter, say at the stern. But if it’s taken slowly, it will come out fine.
My take on that was to take an old tire tube - take your pick if you take bicycle, motorcycle, car, truck or tractor tube. The thickness of it will be the thickness of the stripe. Cut it up in small squares, then paint the bomb tips yellow and let dry throughly. Then you punch a hole in each small square, slightly smaller than the bomb tip diameter. Then you put each bom tip in a hole you just punched, align the pieces of tire tube on each bomb carefully. Then you paint the bombs OD, grey, silver - what they need to be. Remove the pieces of tire tube from the boms and you can admire your stripes.
Unfortunately I don’t have an in-progress photo of the process, but here’s a photo of bombs painted this way(those are 1/72):
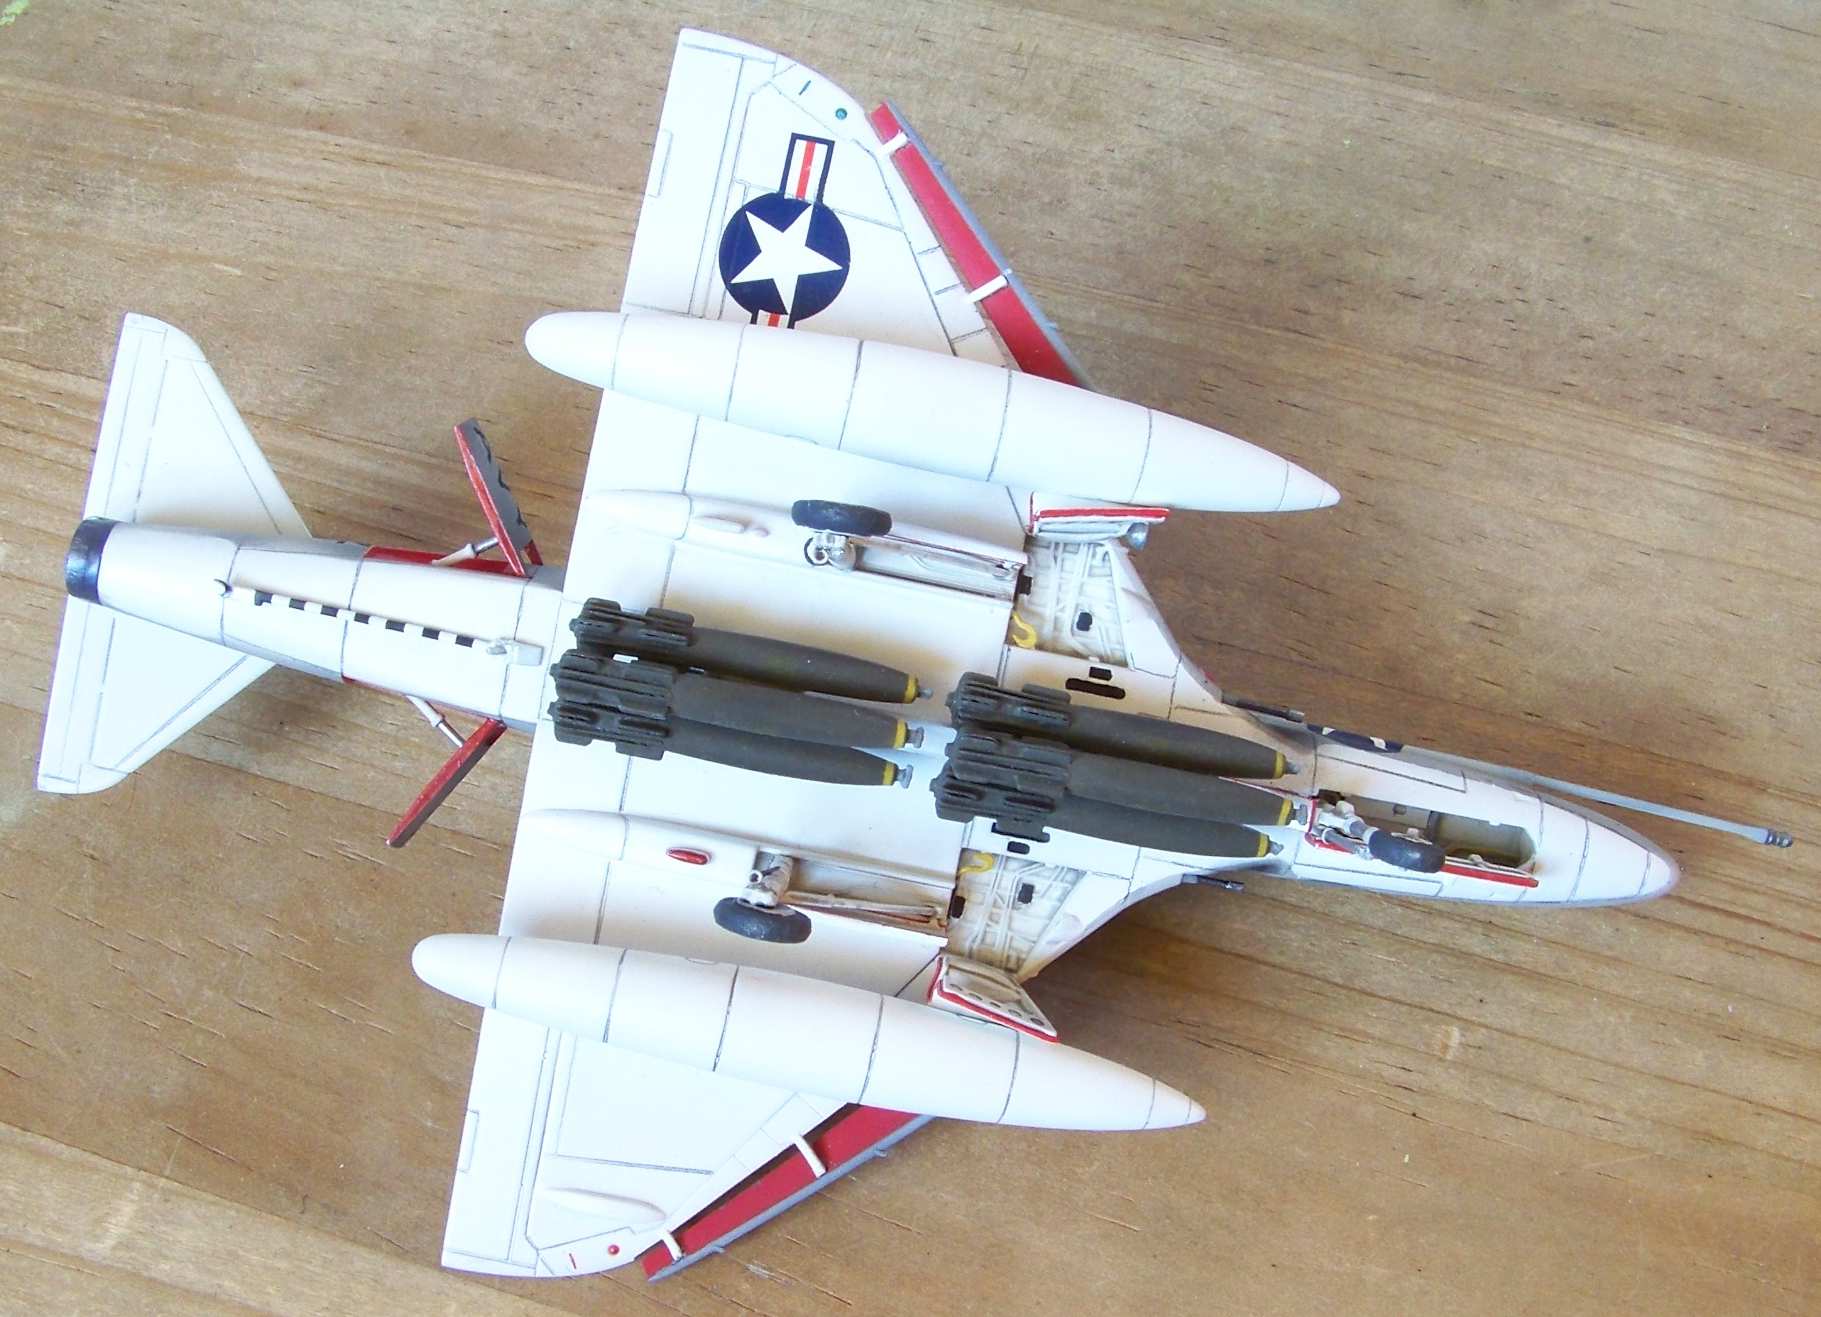
Thanks for the info. The bombs are 750 lbs (6) and 500 lbs (2). As such, the larger bombs are supposed to have 2 thin stripes and the smaller bombs 1. I’ll experiment with some of your suggestions and see what I can do. I really like the idea of marking a line on the bombs first using the circle template to act as a guide. I’ve got to get one of those! I’m also going to look into finding those small dental rubber bands. I had originally considered using some sort of rubber band, but didn’t think I could find any small enough. I also might look to see if I can find some tiny rubber grommets that might serve the same purpose. The type they use like washers on small screws. Lots of food for thought and experimentation.
A very enlightening picture showing real bombs. While I am obsessed with getting perfectly straight, clean, and even lines on my model bombs, the real deal was a far cry from neat and clean! But though it may not be realistic, I think I’ll stick to trying to make mine as neat as possible.
If you can chuck your bombs up fairly straight in a drill then rotate the bomb ( drill running) and just touch the brush or a paint pen against them. Instant line. I do this on Christmas ornament parts all the time on my wood lathe. Not always paint, sometimes using a wire to burn in a line. It works very well, course the lathe has a tool rest. I also do the same thing with epoxy in my fly rod building, the blank is rotating then toouch the brush loaded with epoxy to the wraps and it comes out nice and even.
Anyway think about that and experiment with it. I think you will be surprised how easy it is.
I tried that narrow tape and do not like it. It is not flexible enough in the direction perpendicular to the surface. When I applied it to a round subject to make a curved pattern, it kept lifting up at the edges, in creases.
Don, I had the same problem with the masking tape. The edges would not stay flat. Maybe by cutting the width of the tape down to 1/8" it would work better, but I have not tried that yet.
Olderguy, I think getting the bombs chucked up nice and straight in a drill would be pretty difficult, as they have the fins attached. And then there would be the issue of trying to hold the drill in one hand and controlling it, while trying to apply the paint with a bruch in the other hand. If I could get the bombs chucked up OK, maybe I could put the drill in a vice and lock it in place while running? I thought about using my drill press for this, but then the bombs would be hanging down and the paint might run.
My latest idea is to see if using small rubber O rings would work as a mask. If I can find some at my local hardware store today I may give that a try.
Chuck your bomb in a drill press, turn it on, touch with fine tip brush with yellow paint. Done. Now if your bomb isn’t round or you sanded part of it flat, this won’t work too well…
Great thread and just in time because I’ve taken to preferring using ordinance over drop tanks when available with a kit. Good info here to use for sure.
Wow! And the 1/16" tape would not lie flat? I didn’t even know that they made the stuff that thin. I fooled around a bit today cutting some of the regular tape down to narrow stips and it looked somewhat promising. Though trying to get enough strips of the same width would be a challenge.
The idea of using O-rings for masks also hit a few snags when I tried it today. I had picked up a couple at my local hardware store yesterday and was optimistic. What I failed to consider was that the 500 lb bombs and 2 of the 750’s have a thin rail molded on the bomb along one edge, and this keeps the O ring from sealing around this area. And on top of that issue, despite being fairly flexible, the O rings have a tendancy to creep down the front of the bomb. I’d get them neatly into place and all lined up, and a minute later they had moved out of alignment. Being round in cross section, they don’t have much surface area touching the bombs to provide grip. Or mask. So probably O rings are not the answer. Maybe the dental rubber bands would work better if they are more flexible and flat in cross section?
Don’t use straight pieces of tape, cut a curved section of Tamiya tape the width of the stripe using a circle cutter. You have to experiment with the size of curve you cut. The downside is you have to start with a wider section of tape to cut.
How about painting entire bomb then dip the nose in the stripe color, wick off the excess. After it dries, dip again in the main color and wick off the excess again. That will leave a stripe whatever width you want.
Just tried that with a scrap of paper, essentially a semi circle. When you wrap it around it looks like a funnel shape. The only thing is I’m not sure there will be much grab but it did work perfectly.
I can understand how this would work, but I’m not sure about what a “circle cutter” is. Is this a special tool that will cut out circles, like a compass with a blade on one end? Fill me in.