Greetings all,
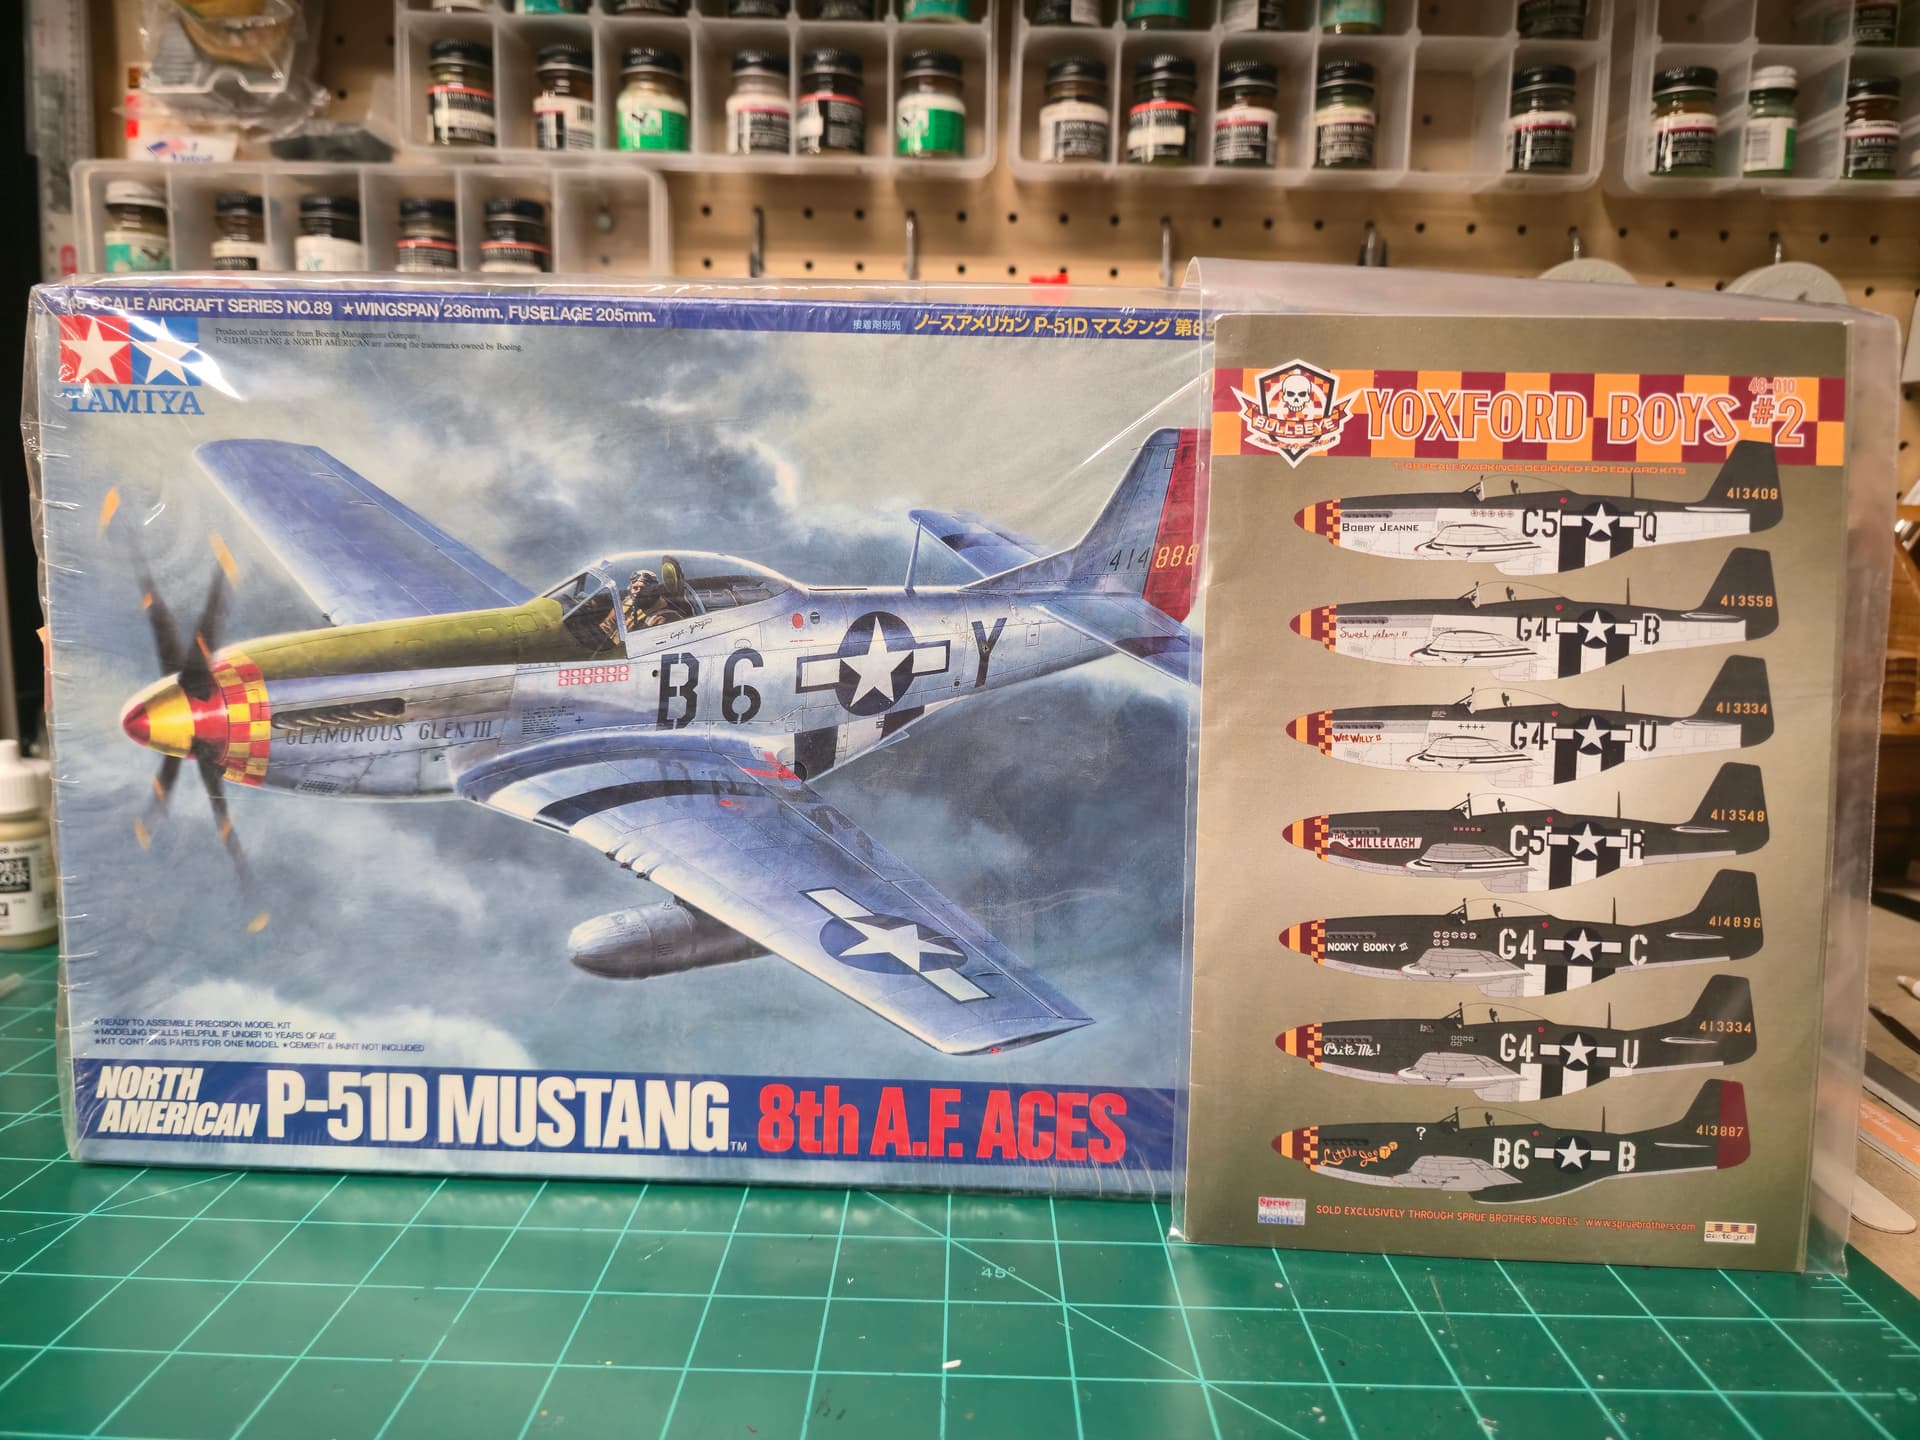
I am glutton for punishment but.. I’m am currently working on Hasegawa’s 1/48th P-39N but when my youngest daughter began Christmas vacation, I decided to start the Mustang.
The 357thFG is one of my favorite groups from the ETO and since I am such a good dad, I let Riley pick the markings.
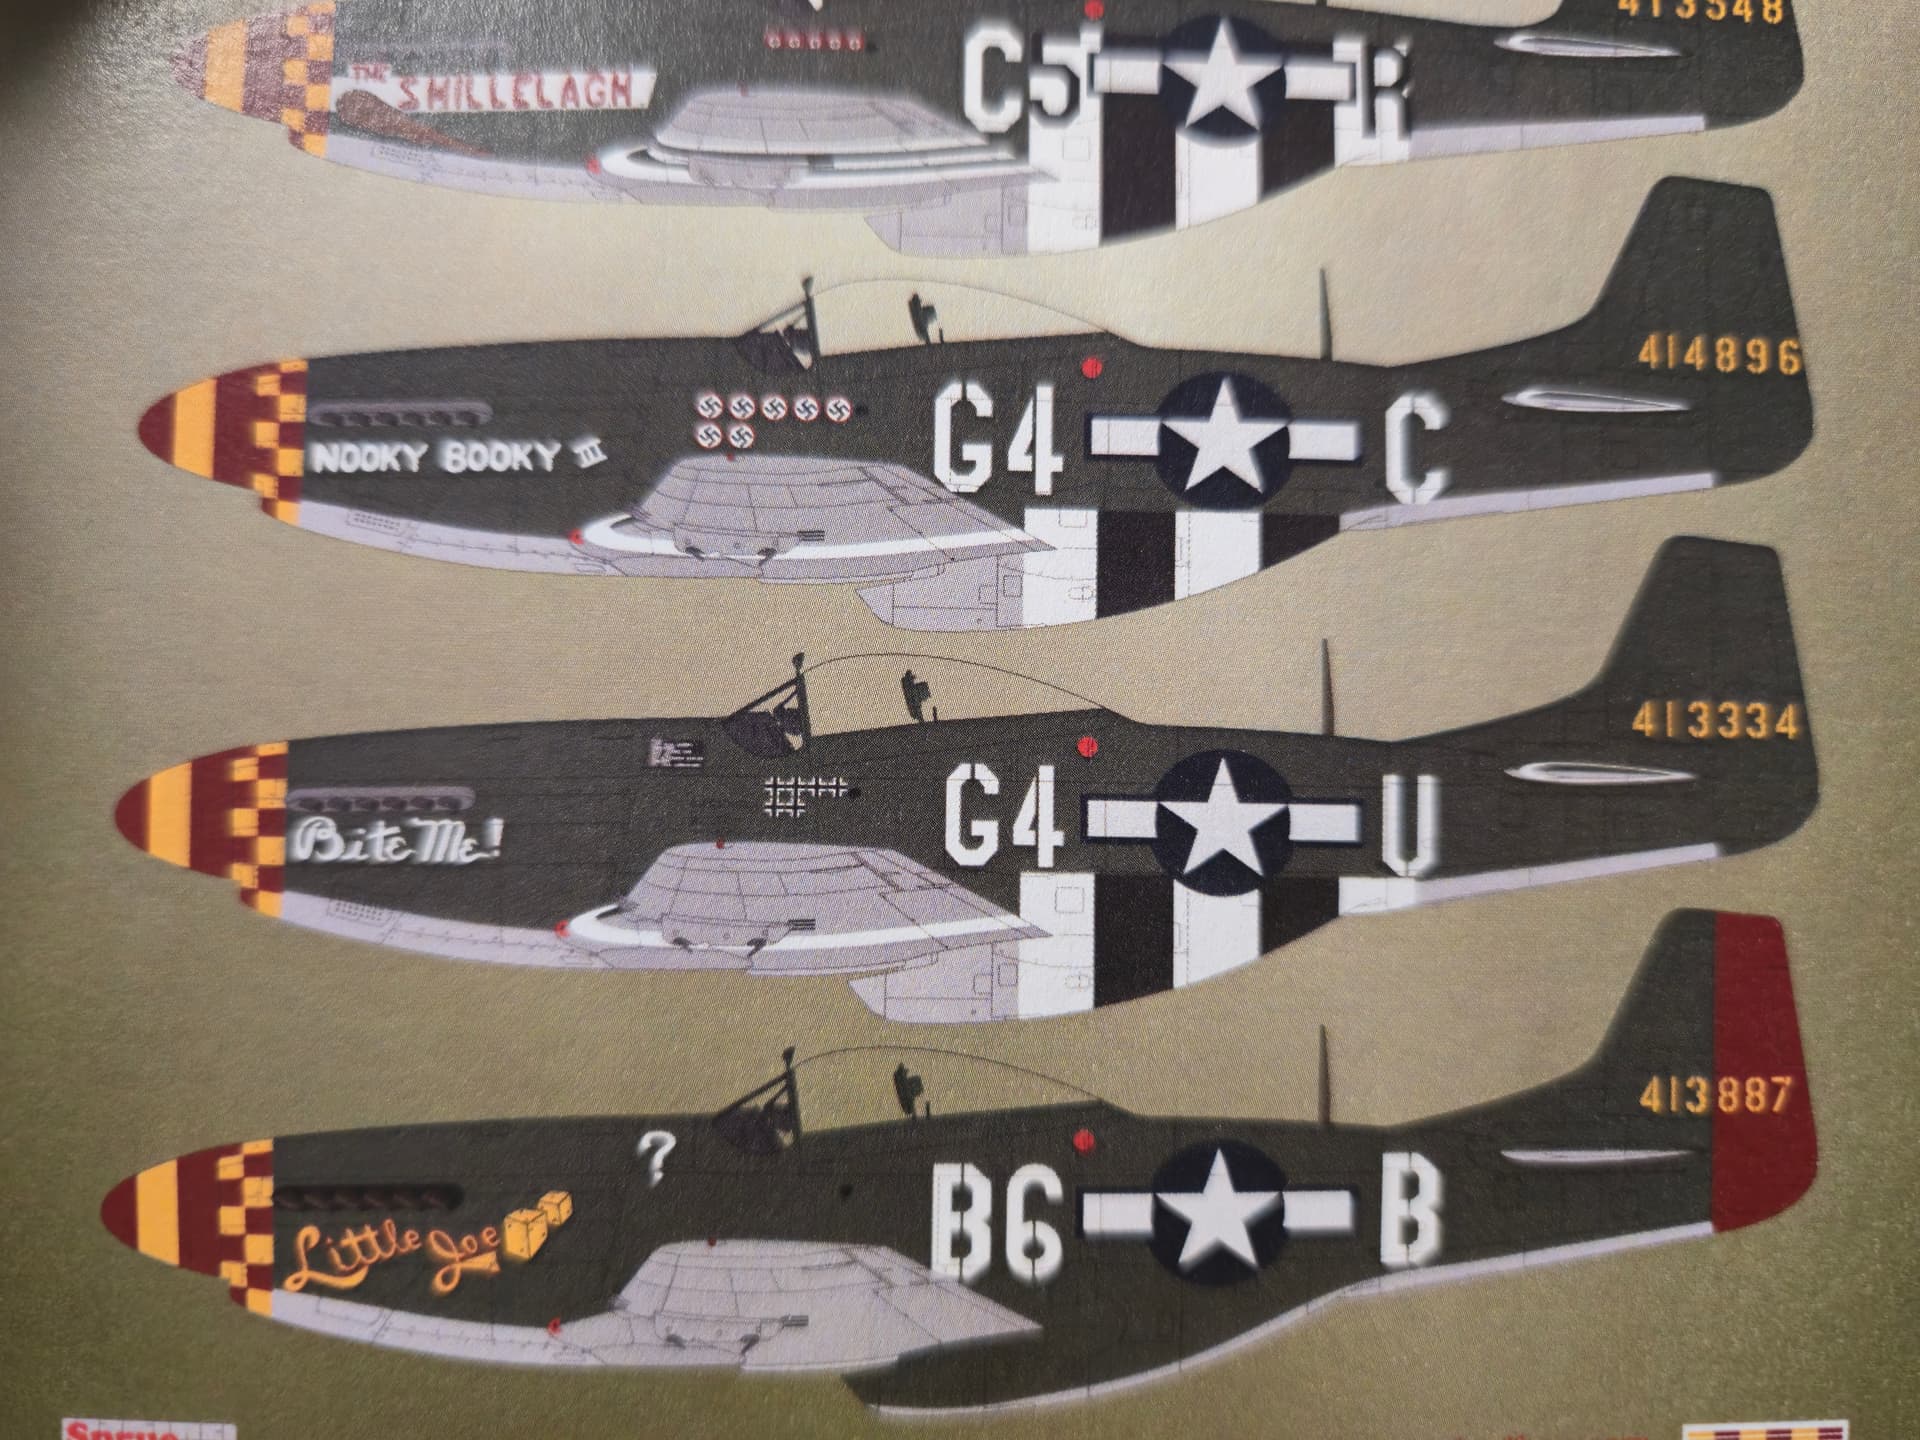
After eight sheets on the 357th, she picked Capt Alva Murphys, “Bite Me” from the 362ndFS. When I asked her why this one, she goes duh..Cuz I can see you saying that dad haha
Most of the sub-assemblies have been done on the dinning room table along side Rye as she did her arts n crafts.
This will be a mild build with just a few updates but trying to keep it mostly out of the box.
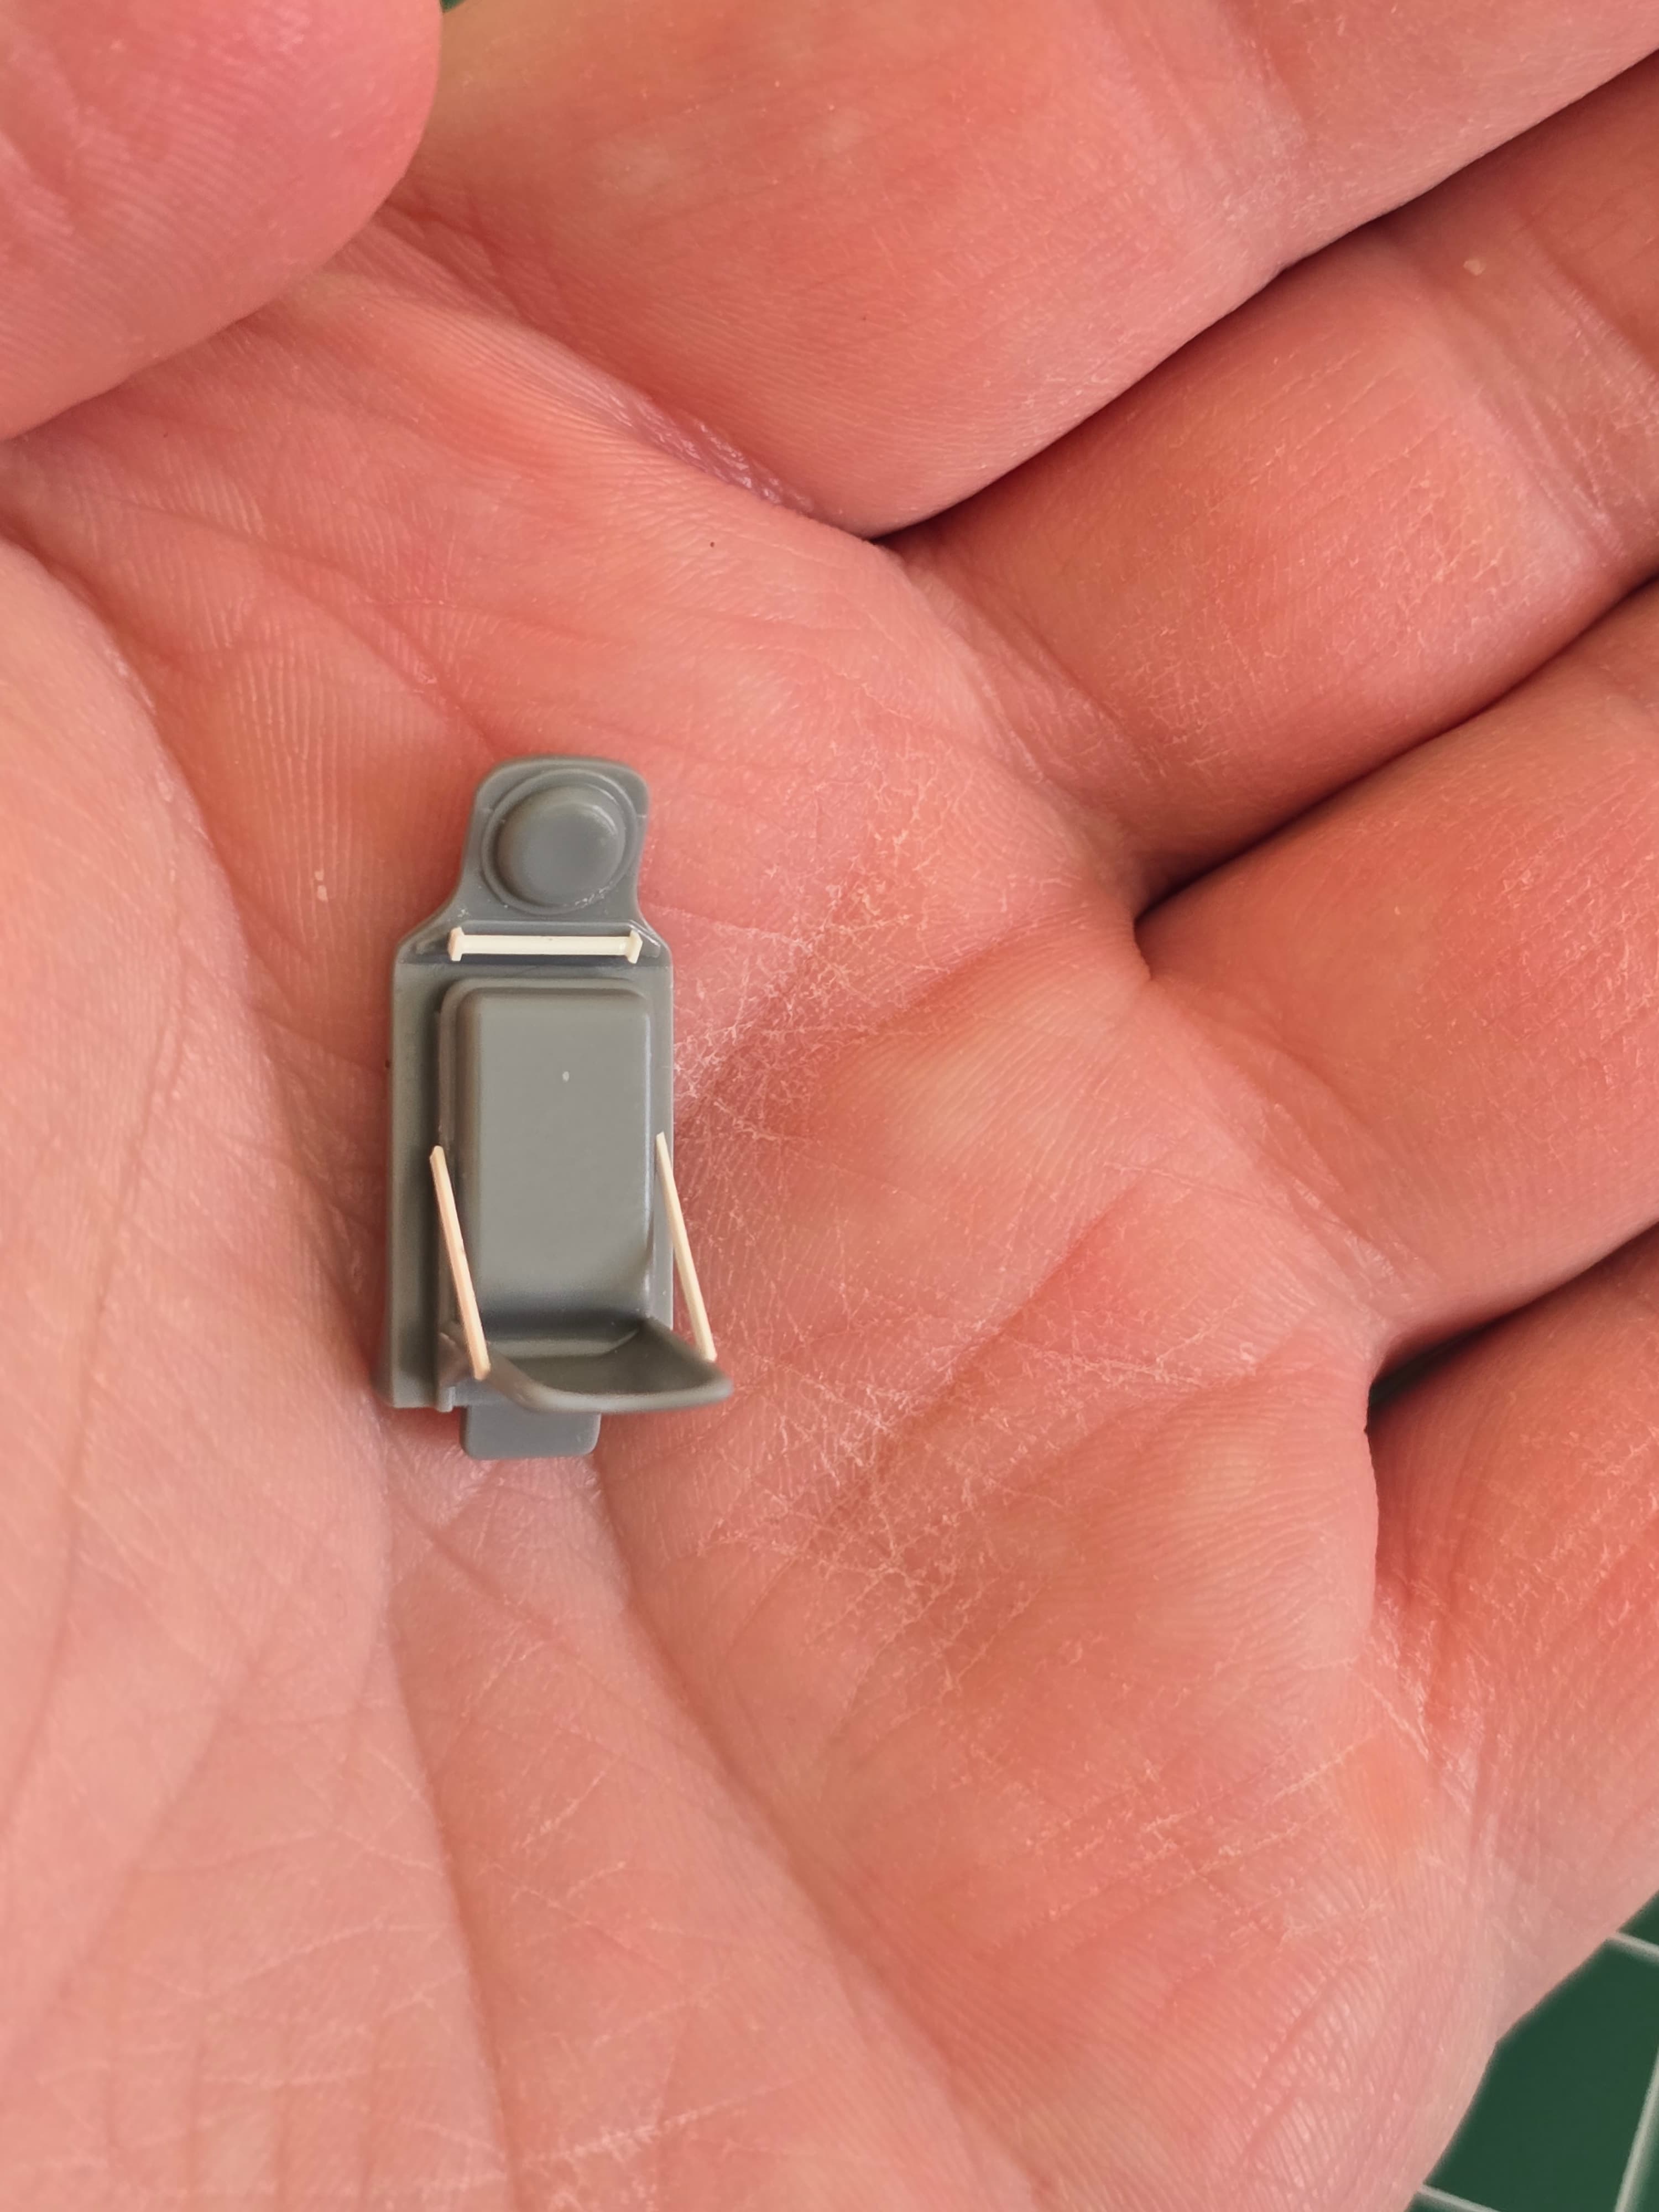
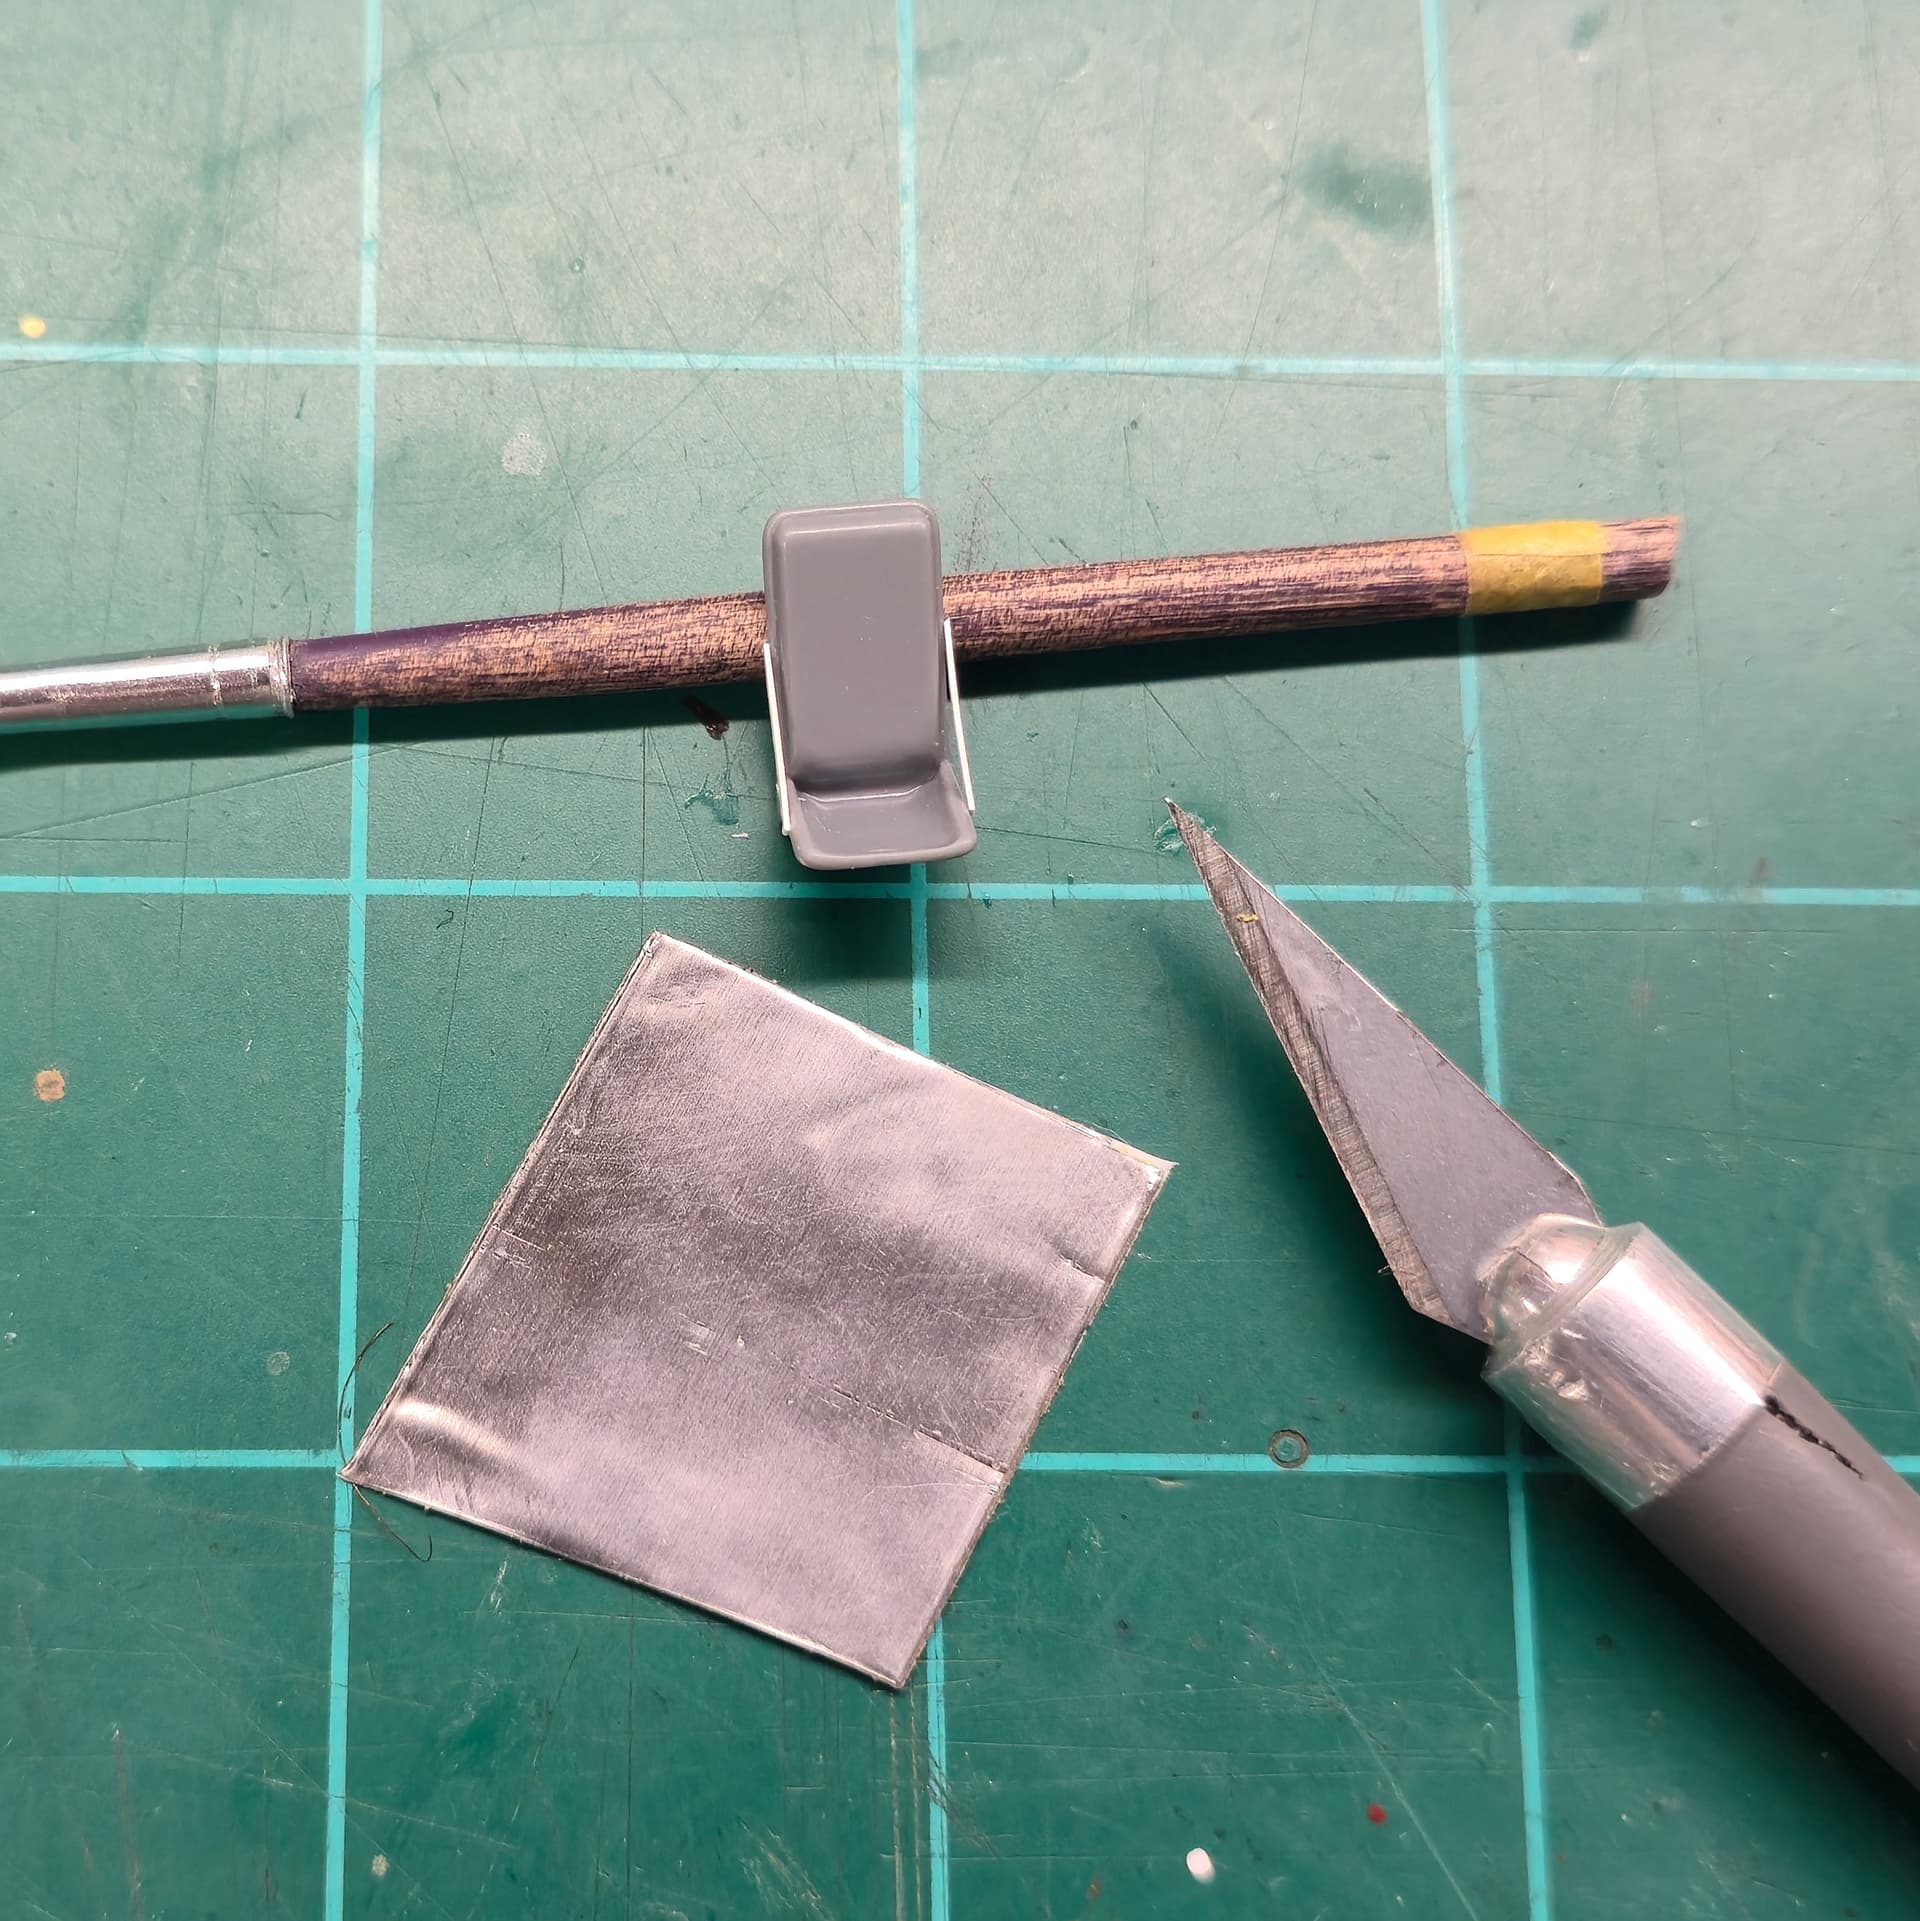
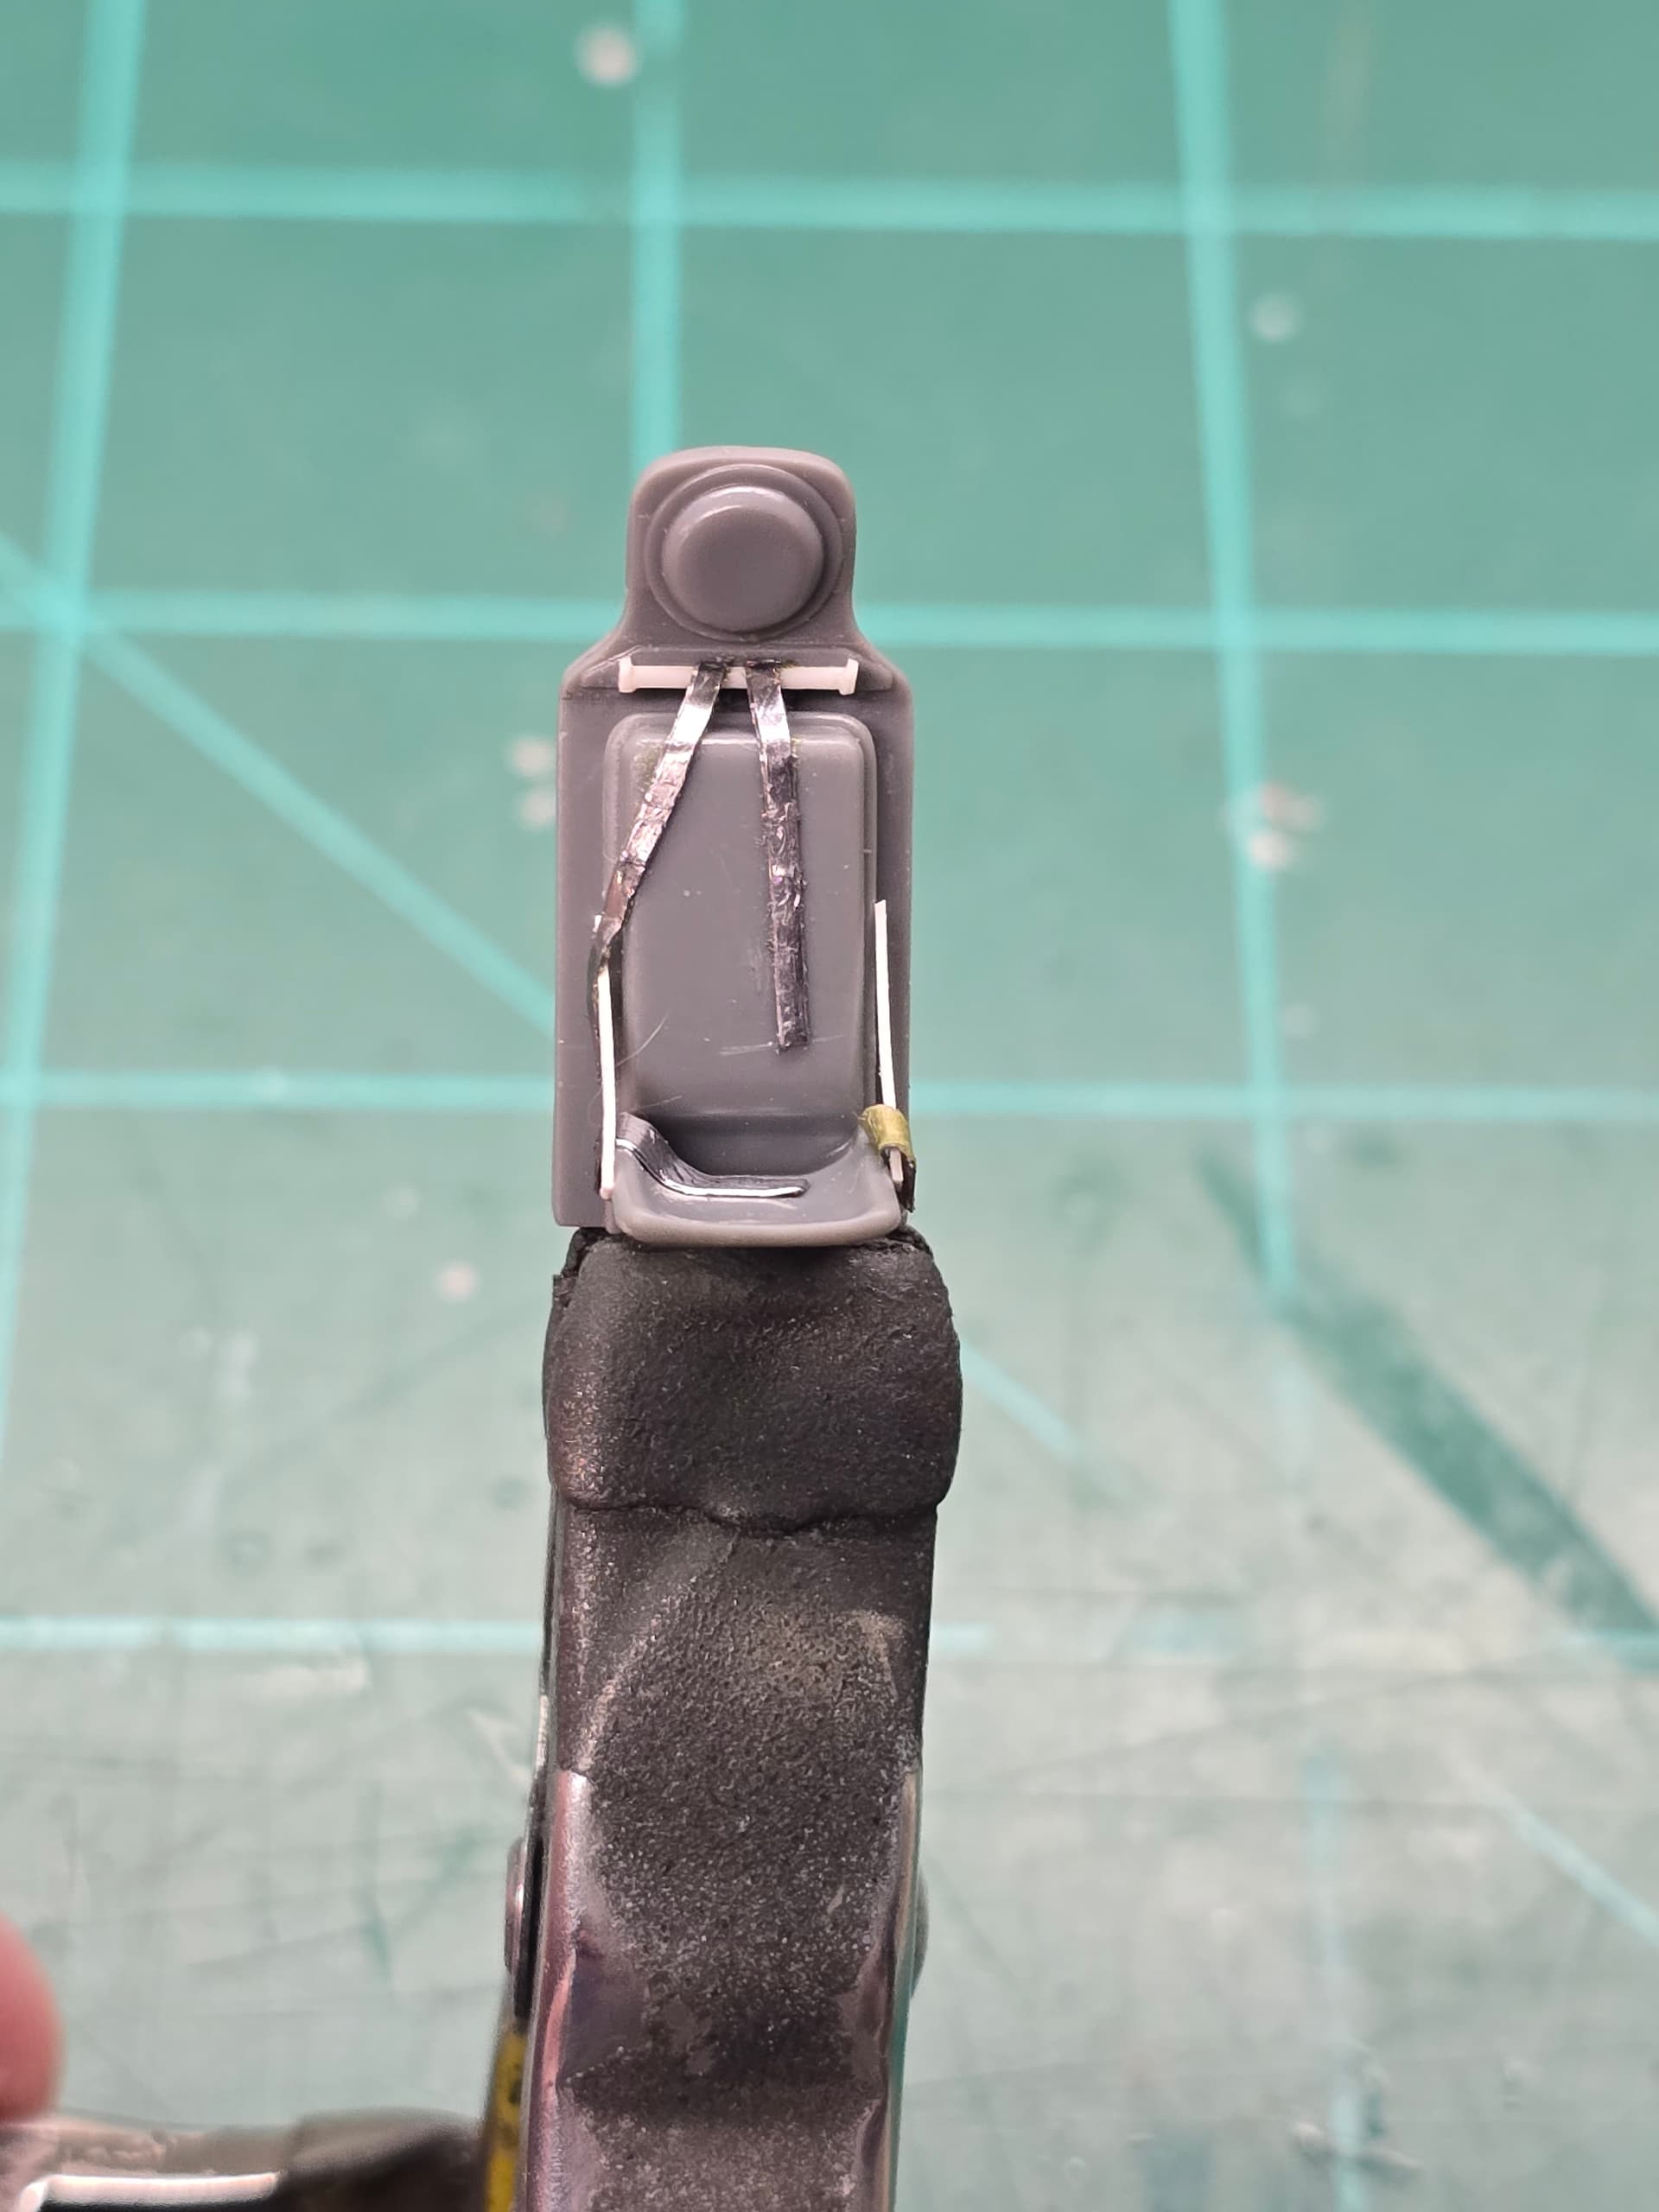
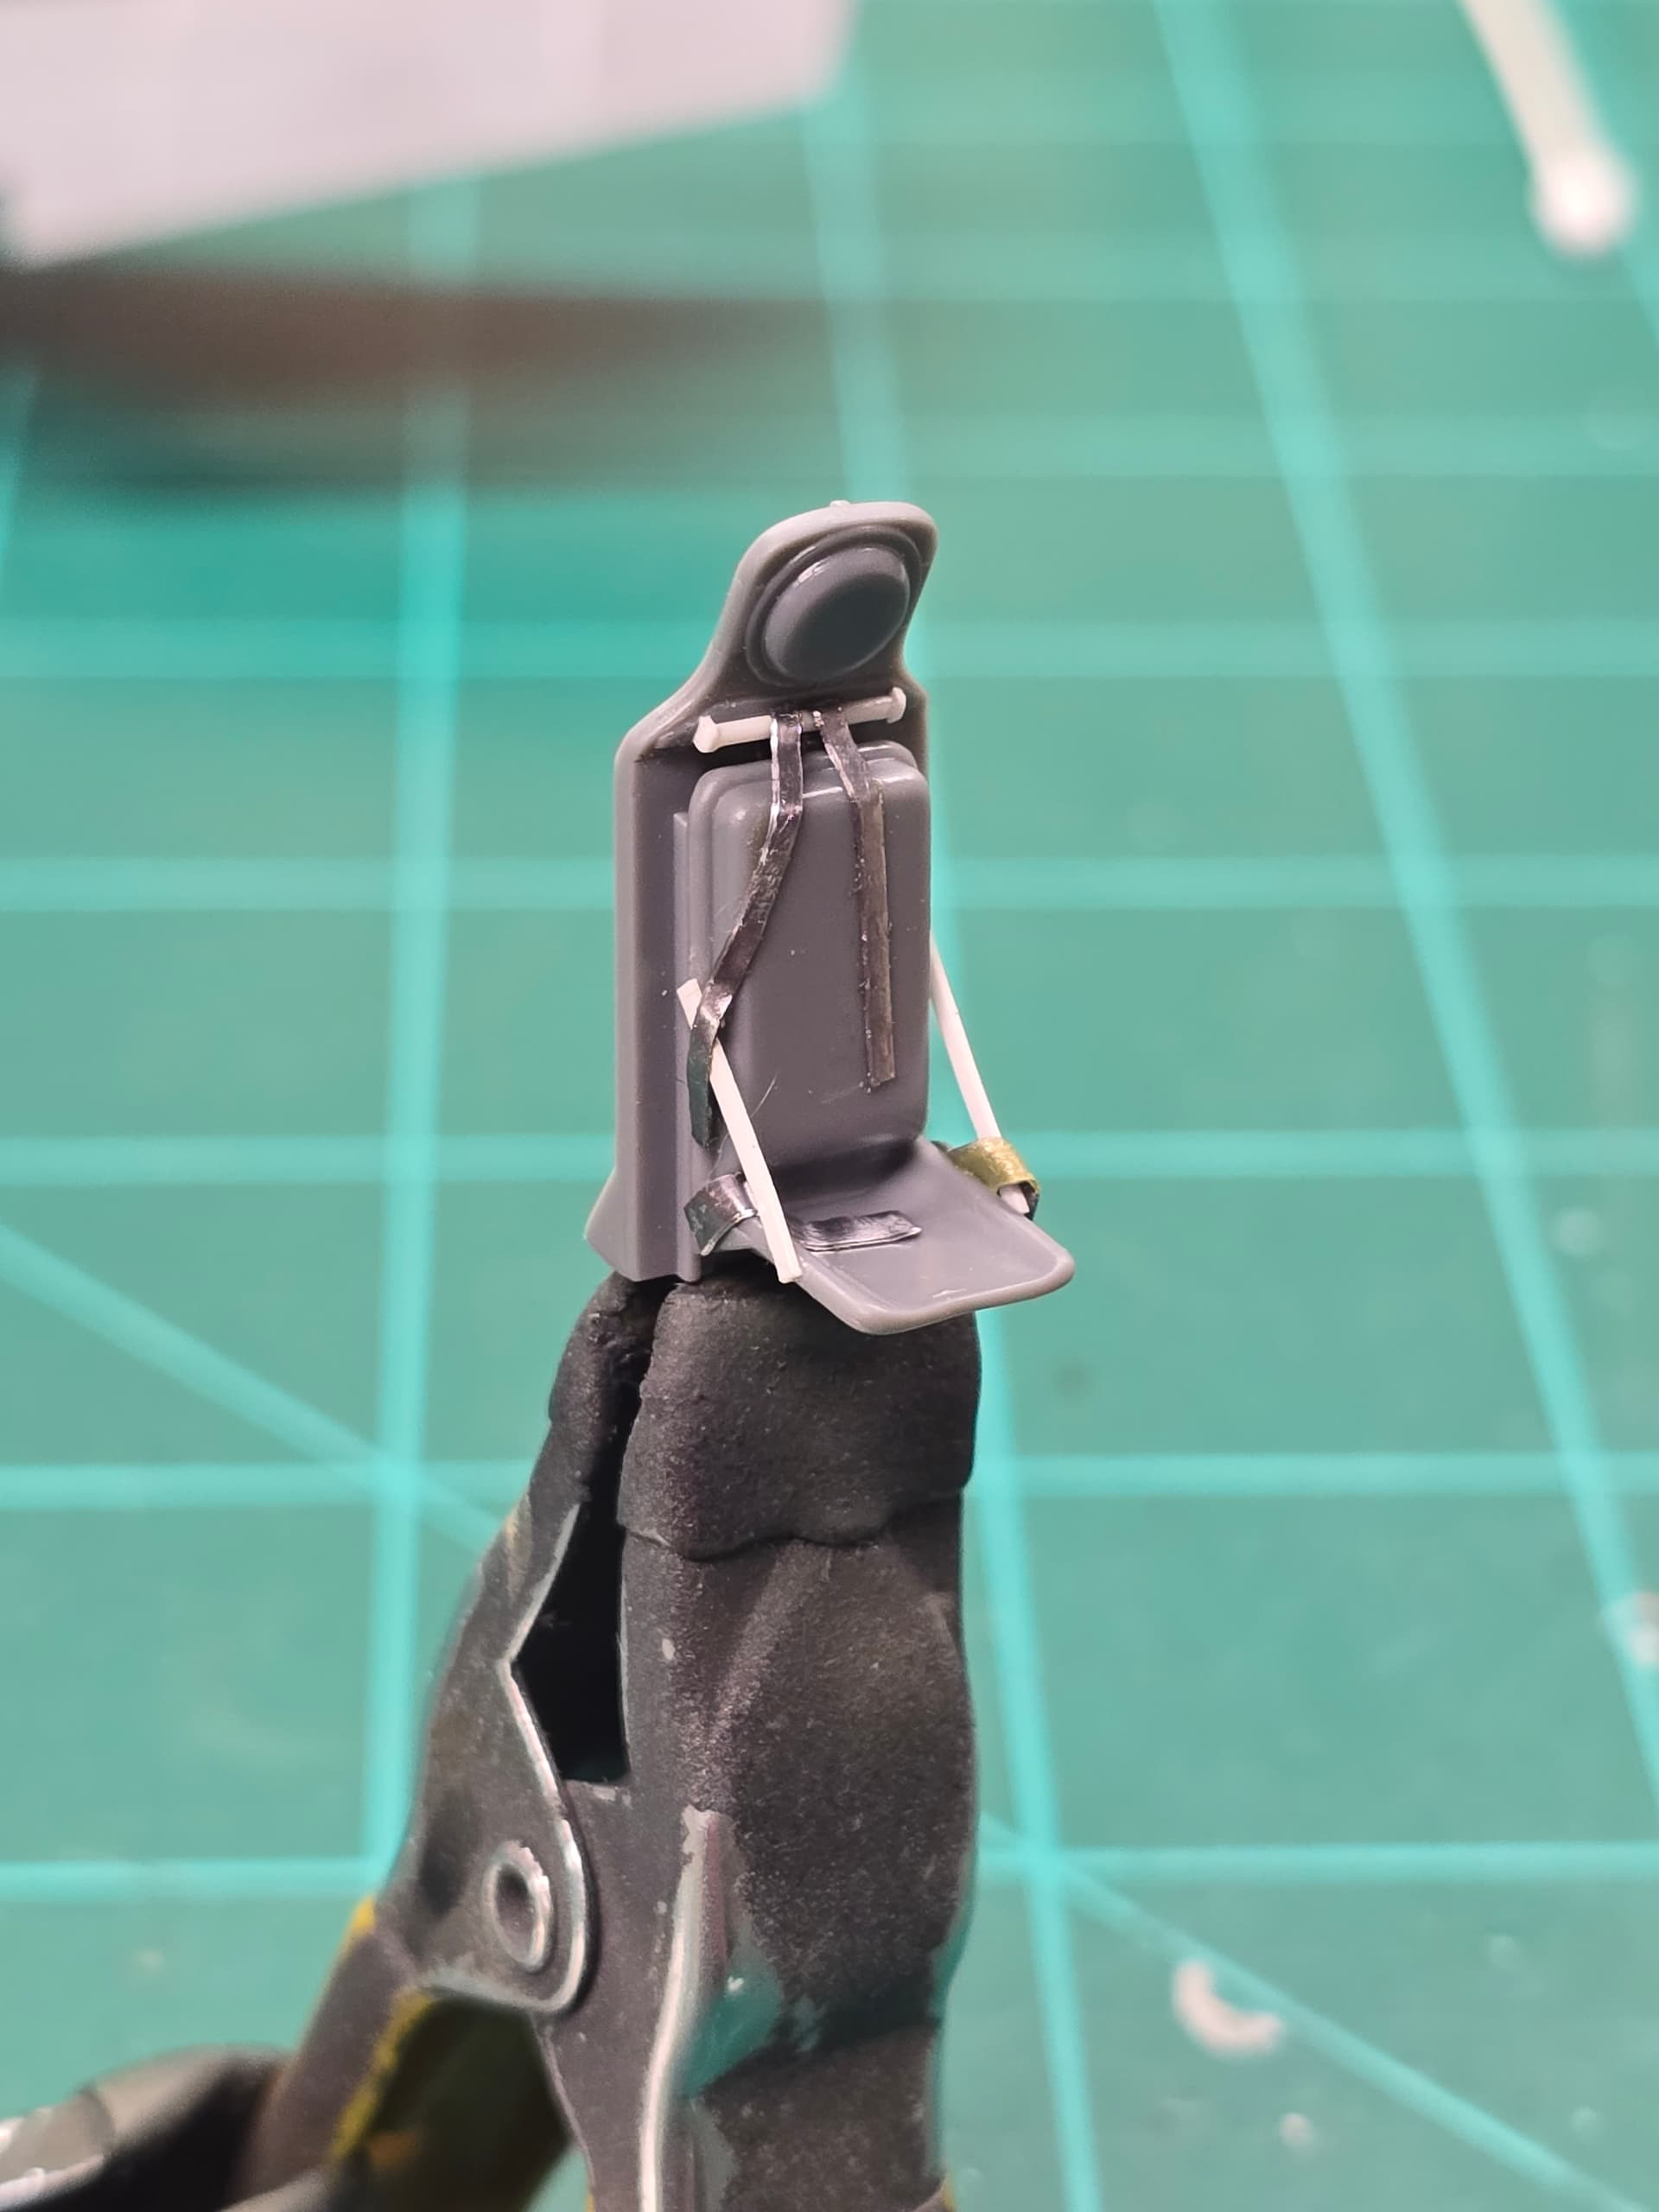
Added seatbelt support bar/bracing on rear of seats back rest
Used thin Evergreen sheet strips to make the side braces of the seat.
First of all, I’m amazed that there was a WWII aircraft called “Bite Me” as I thought that was a 1980s Bart Simpson invention and can’t imagine anyone in the 1940s saying it.
Fun to be building with your daughter, I’m hoping at some point my Son-in-law will get some time when he isn’t fathering my granddaughter to do a build or two that we have been talking about for a while now.
My 6 year old Granddughter has also shown interest, but I very much doubt she would actually sit around for 10 min working on anything.
Haha oh yeah, some of the names were rather colorful as well as for the cheese cake, I mean nose art!
My daughter is 8 going on 14 and I introduced her to modeling when she was about six.
The same goes for oldest boy who is 19, he too got introduced to the hobby right around 6/7yrs old like I was.
He dabbles here and there but his attention has turned to 1:1 scale sports cars/hot rods and more importantly, drag racing. No complaints here!
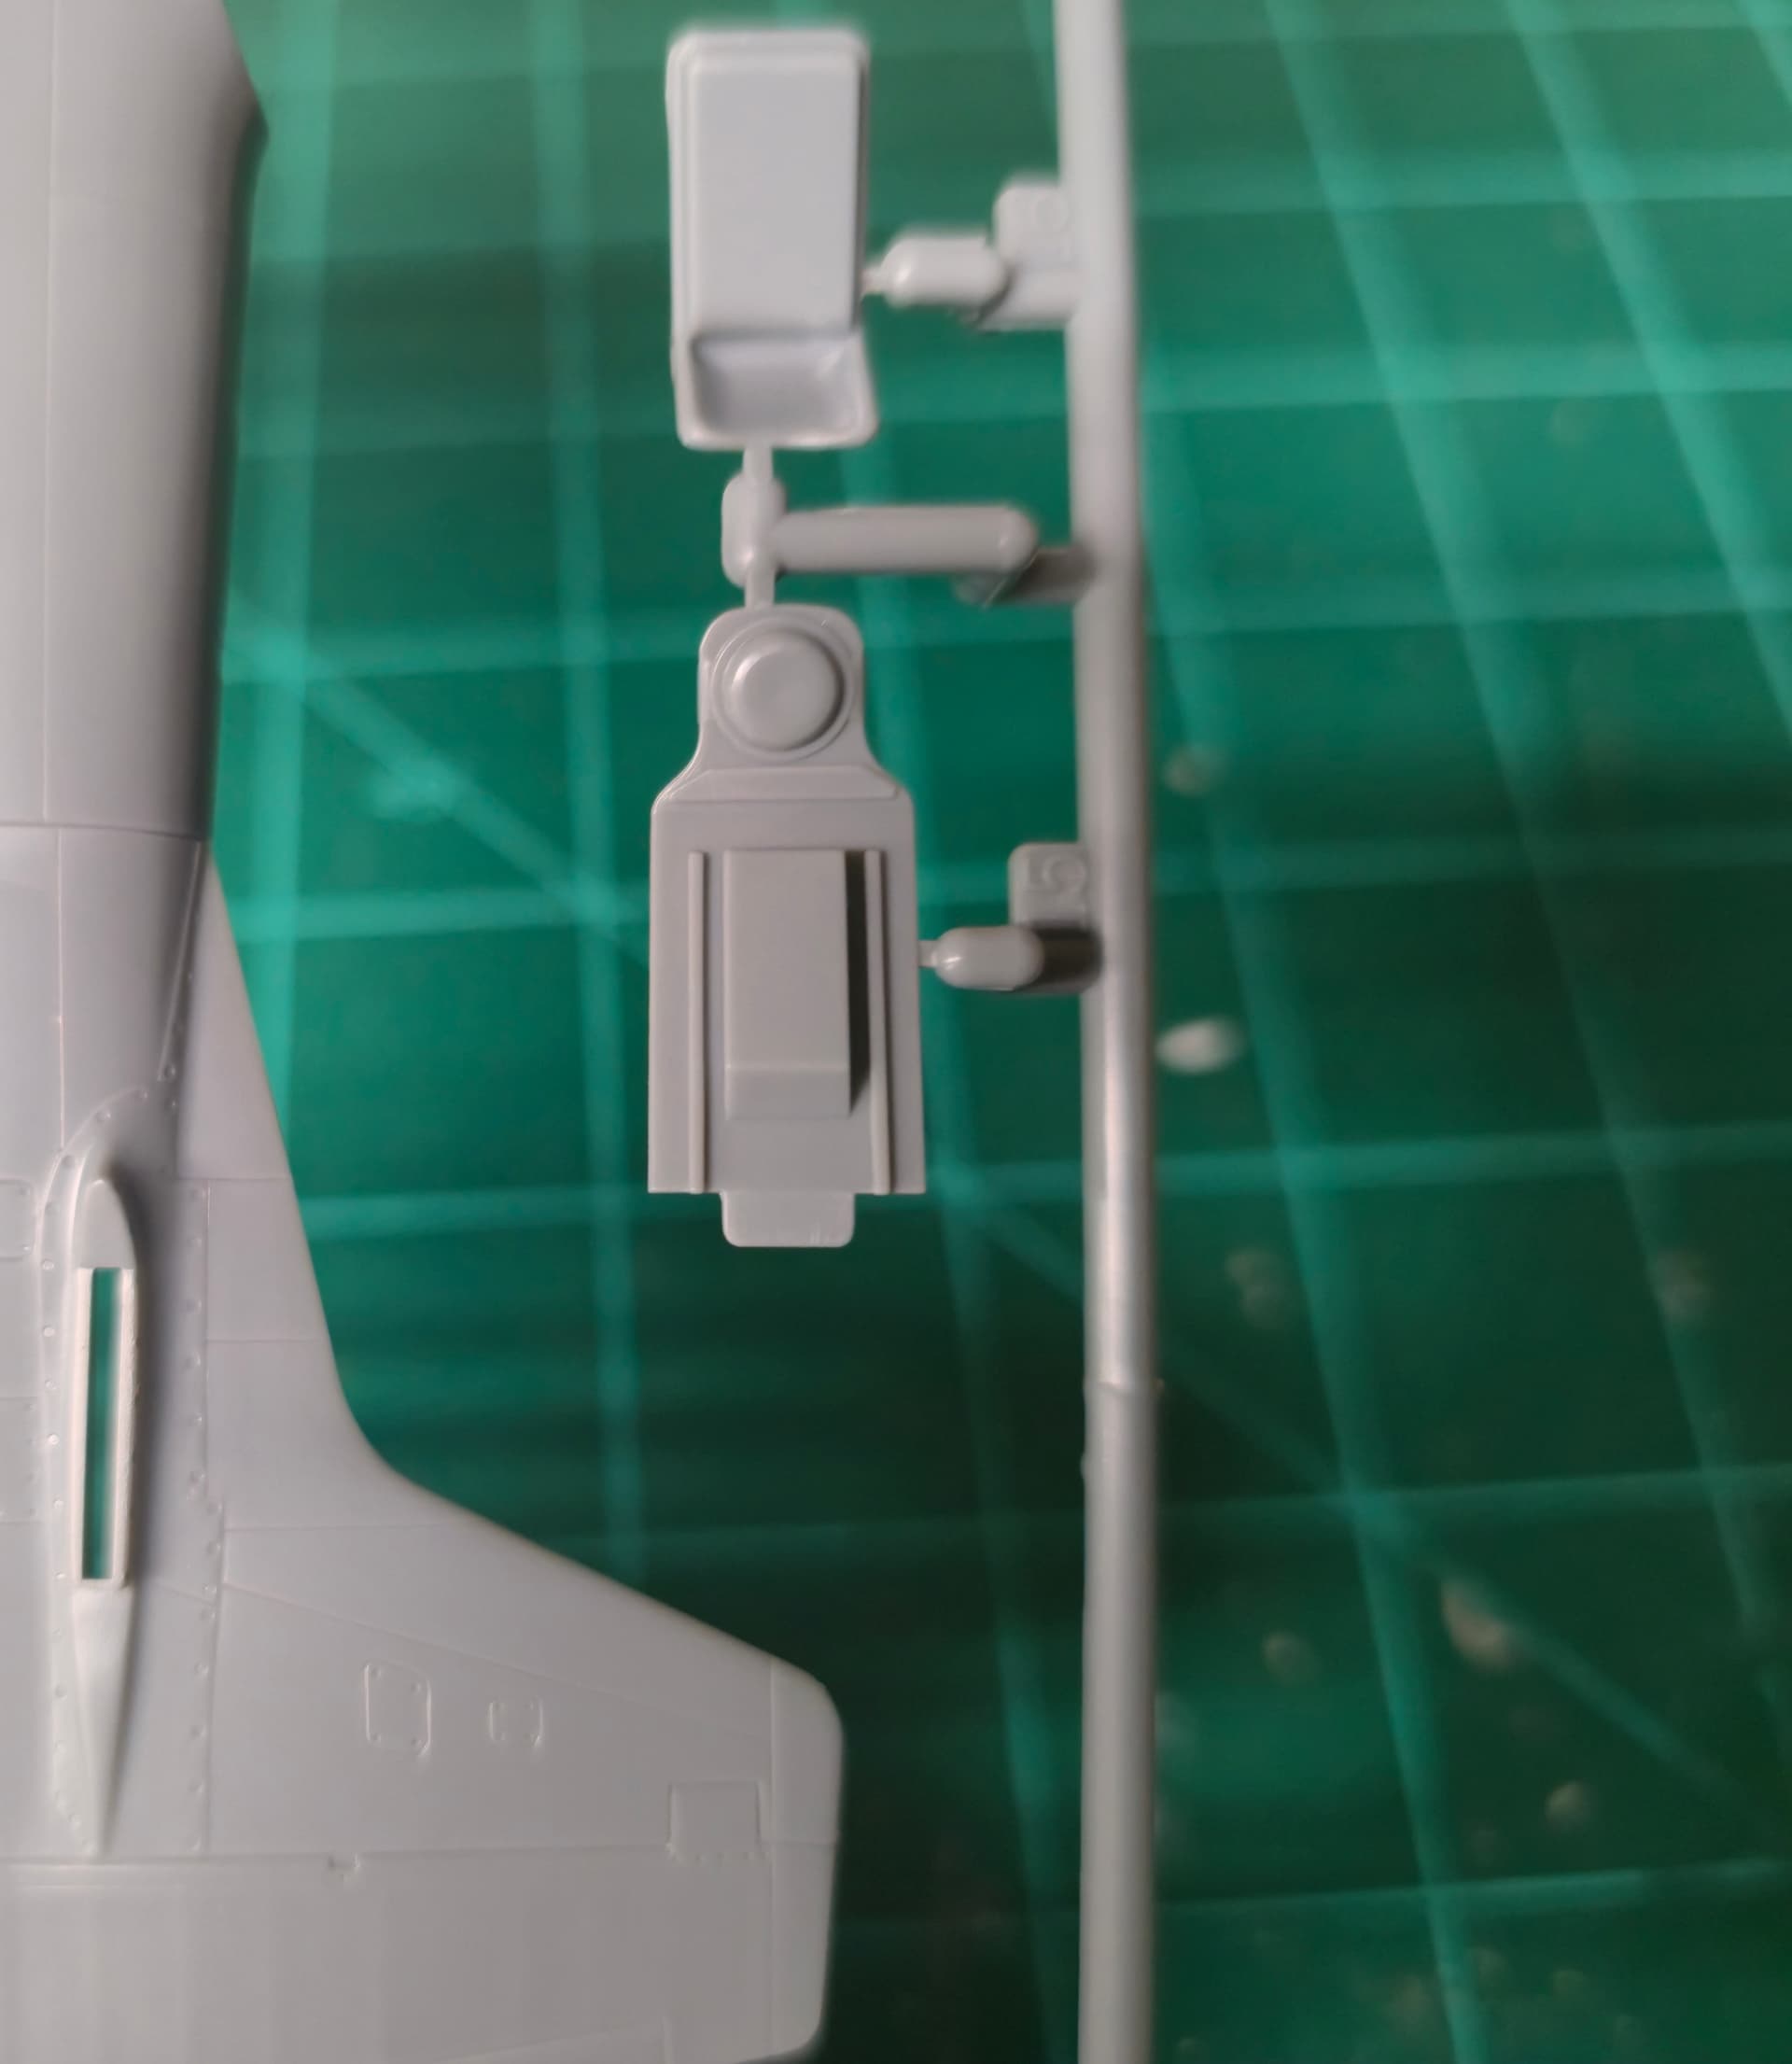
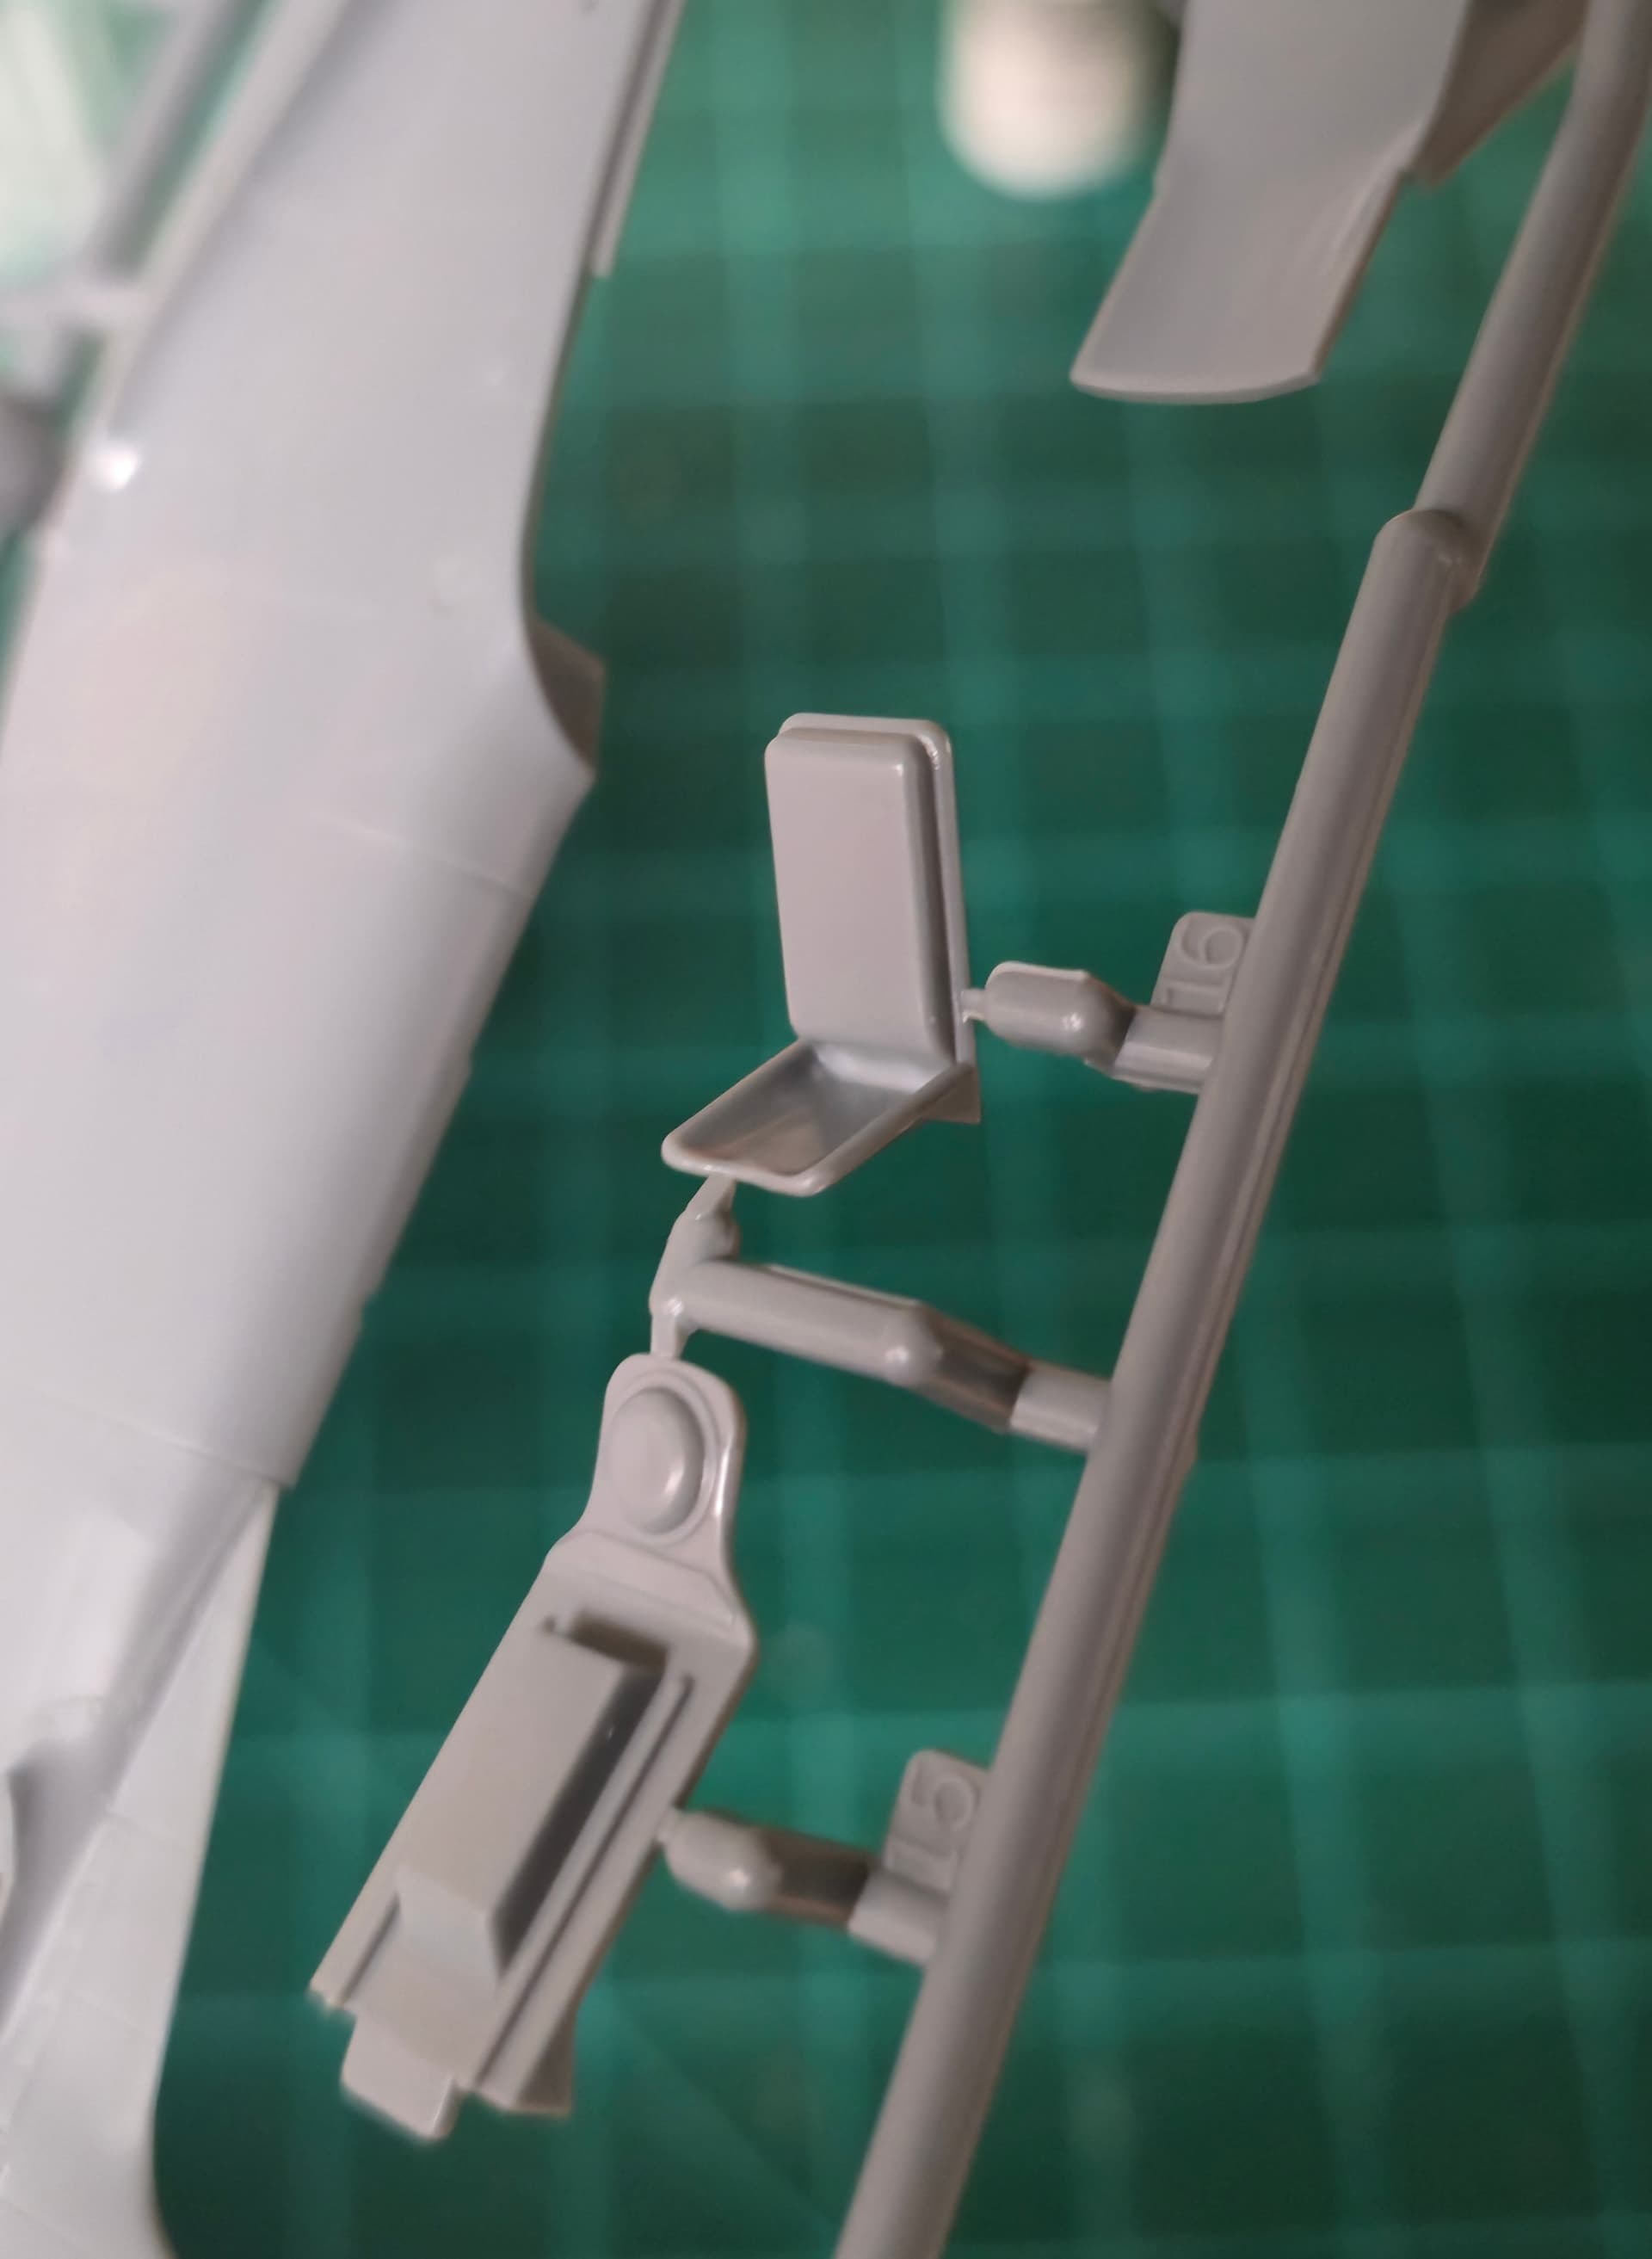
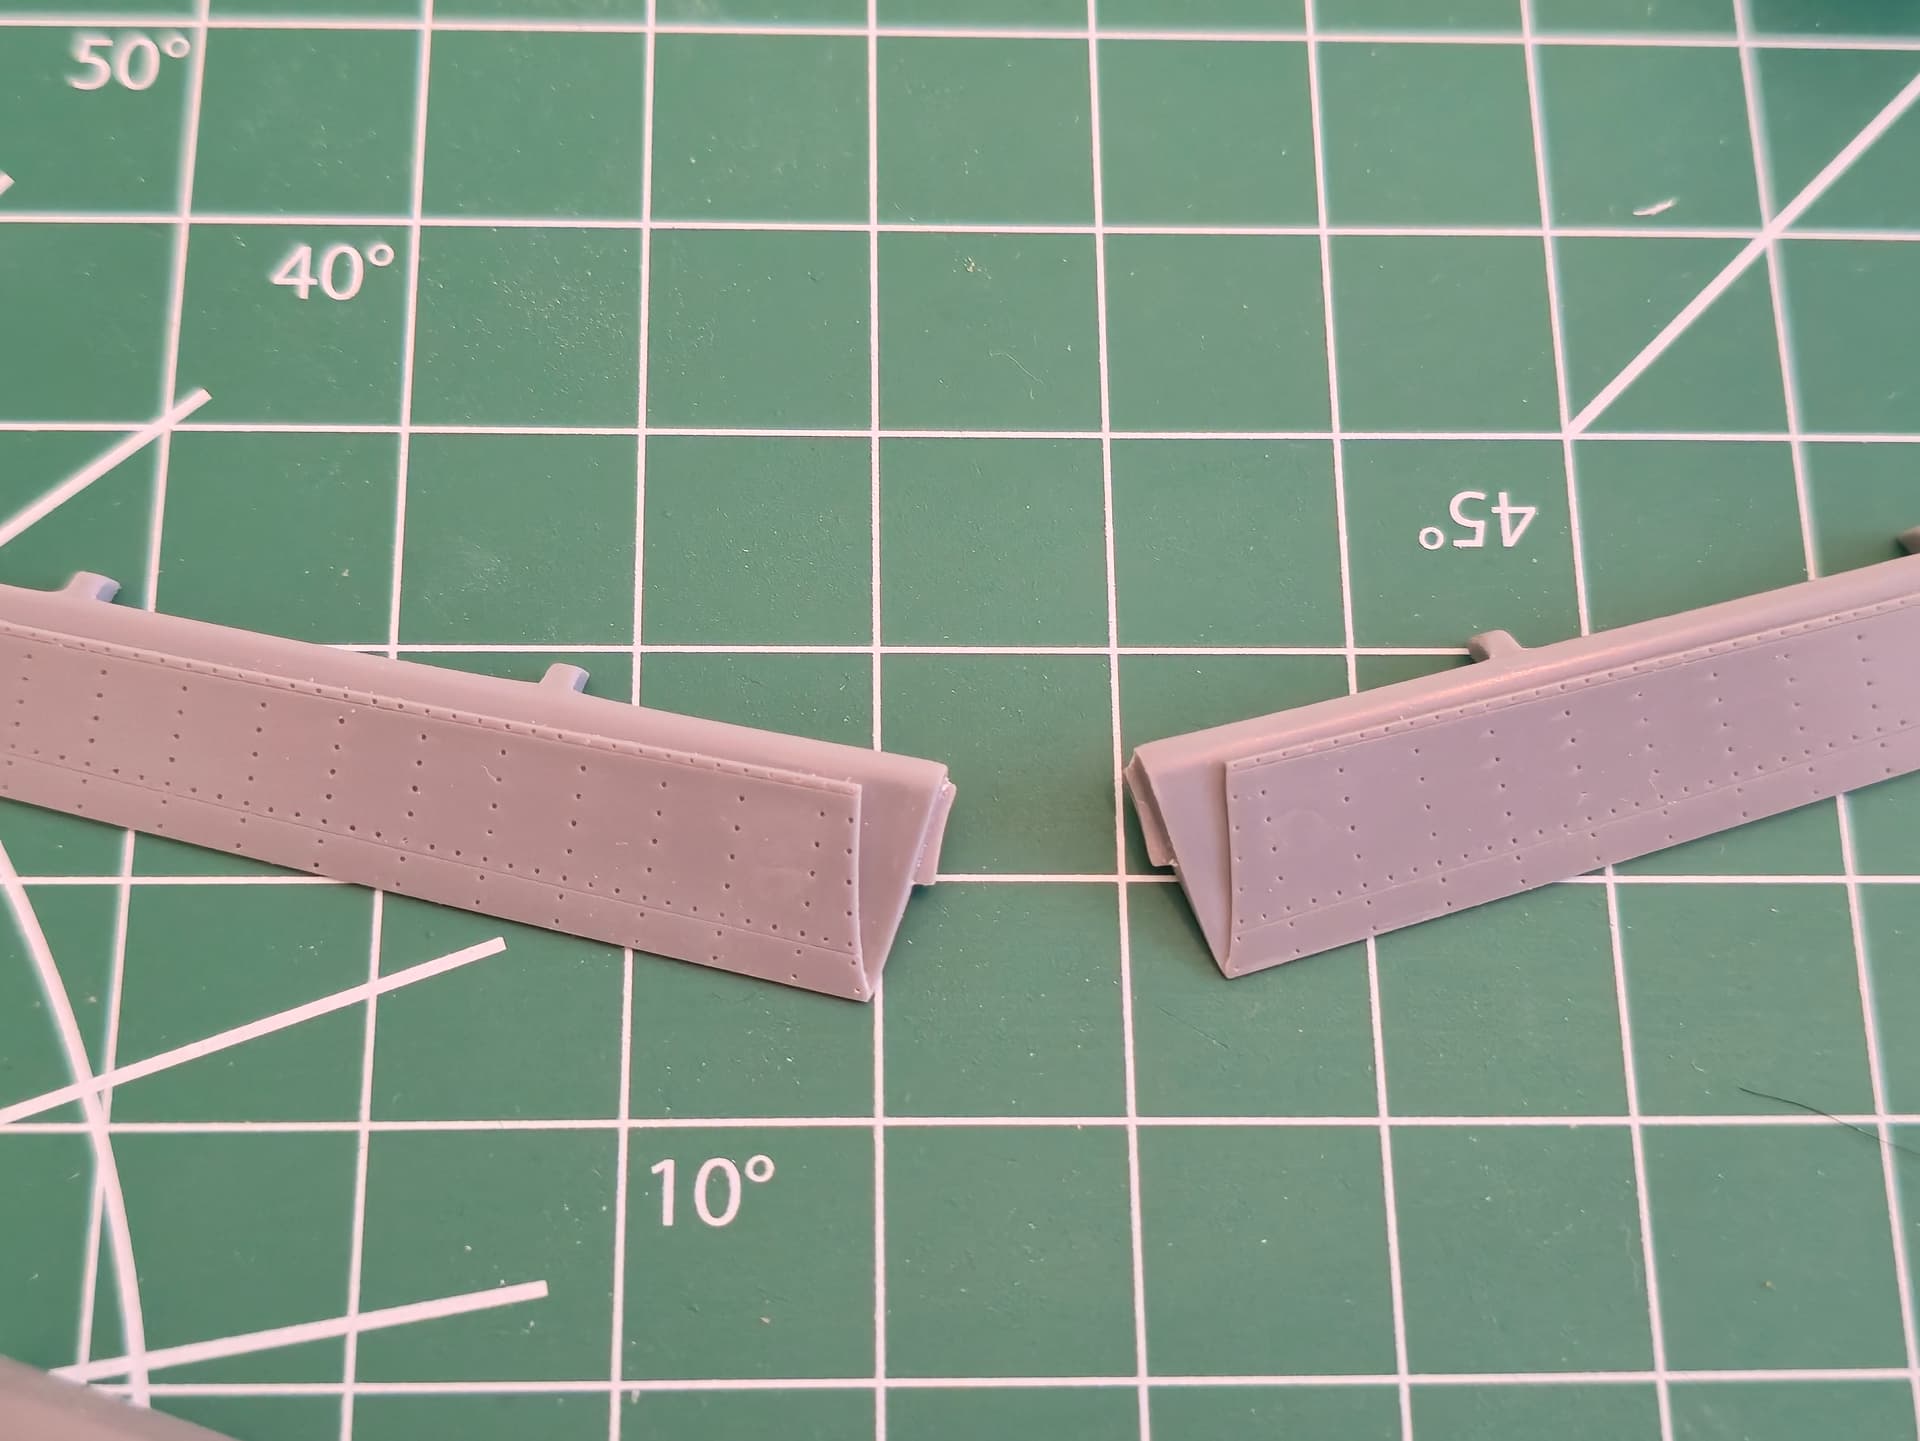
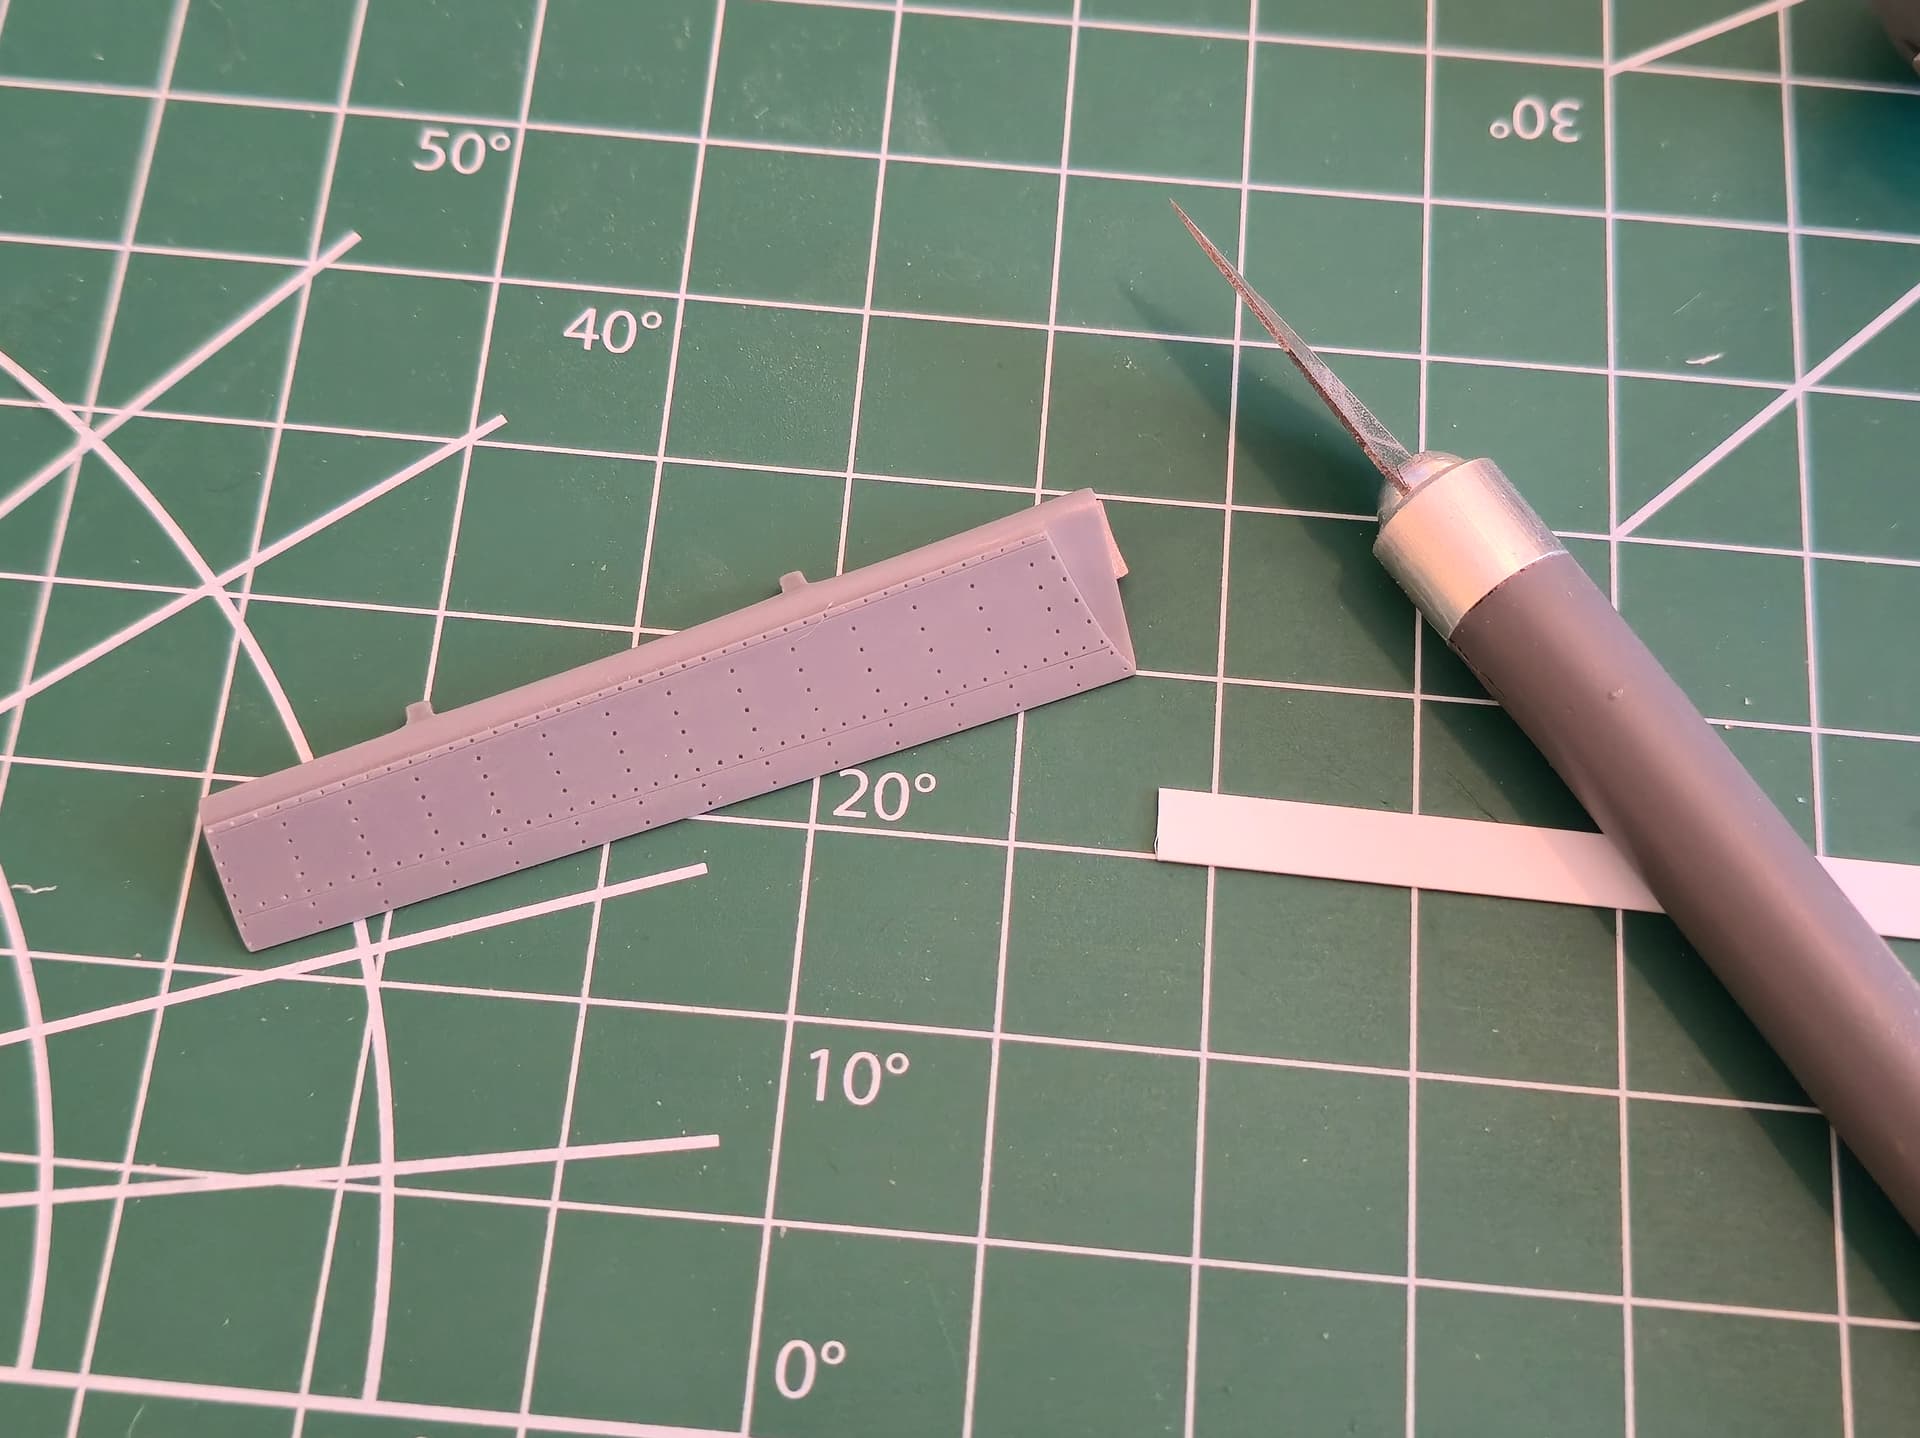
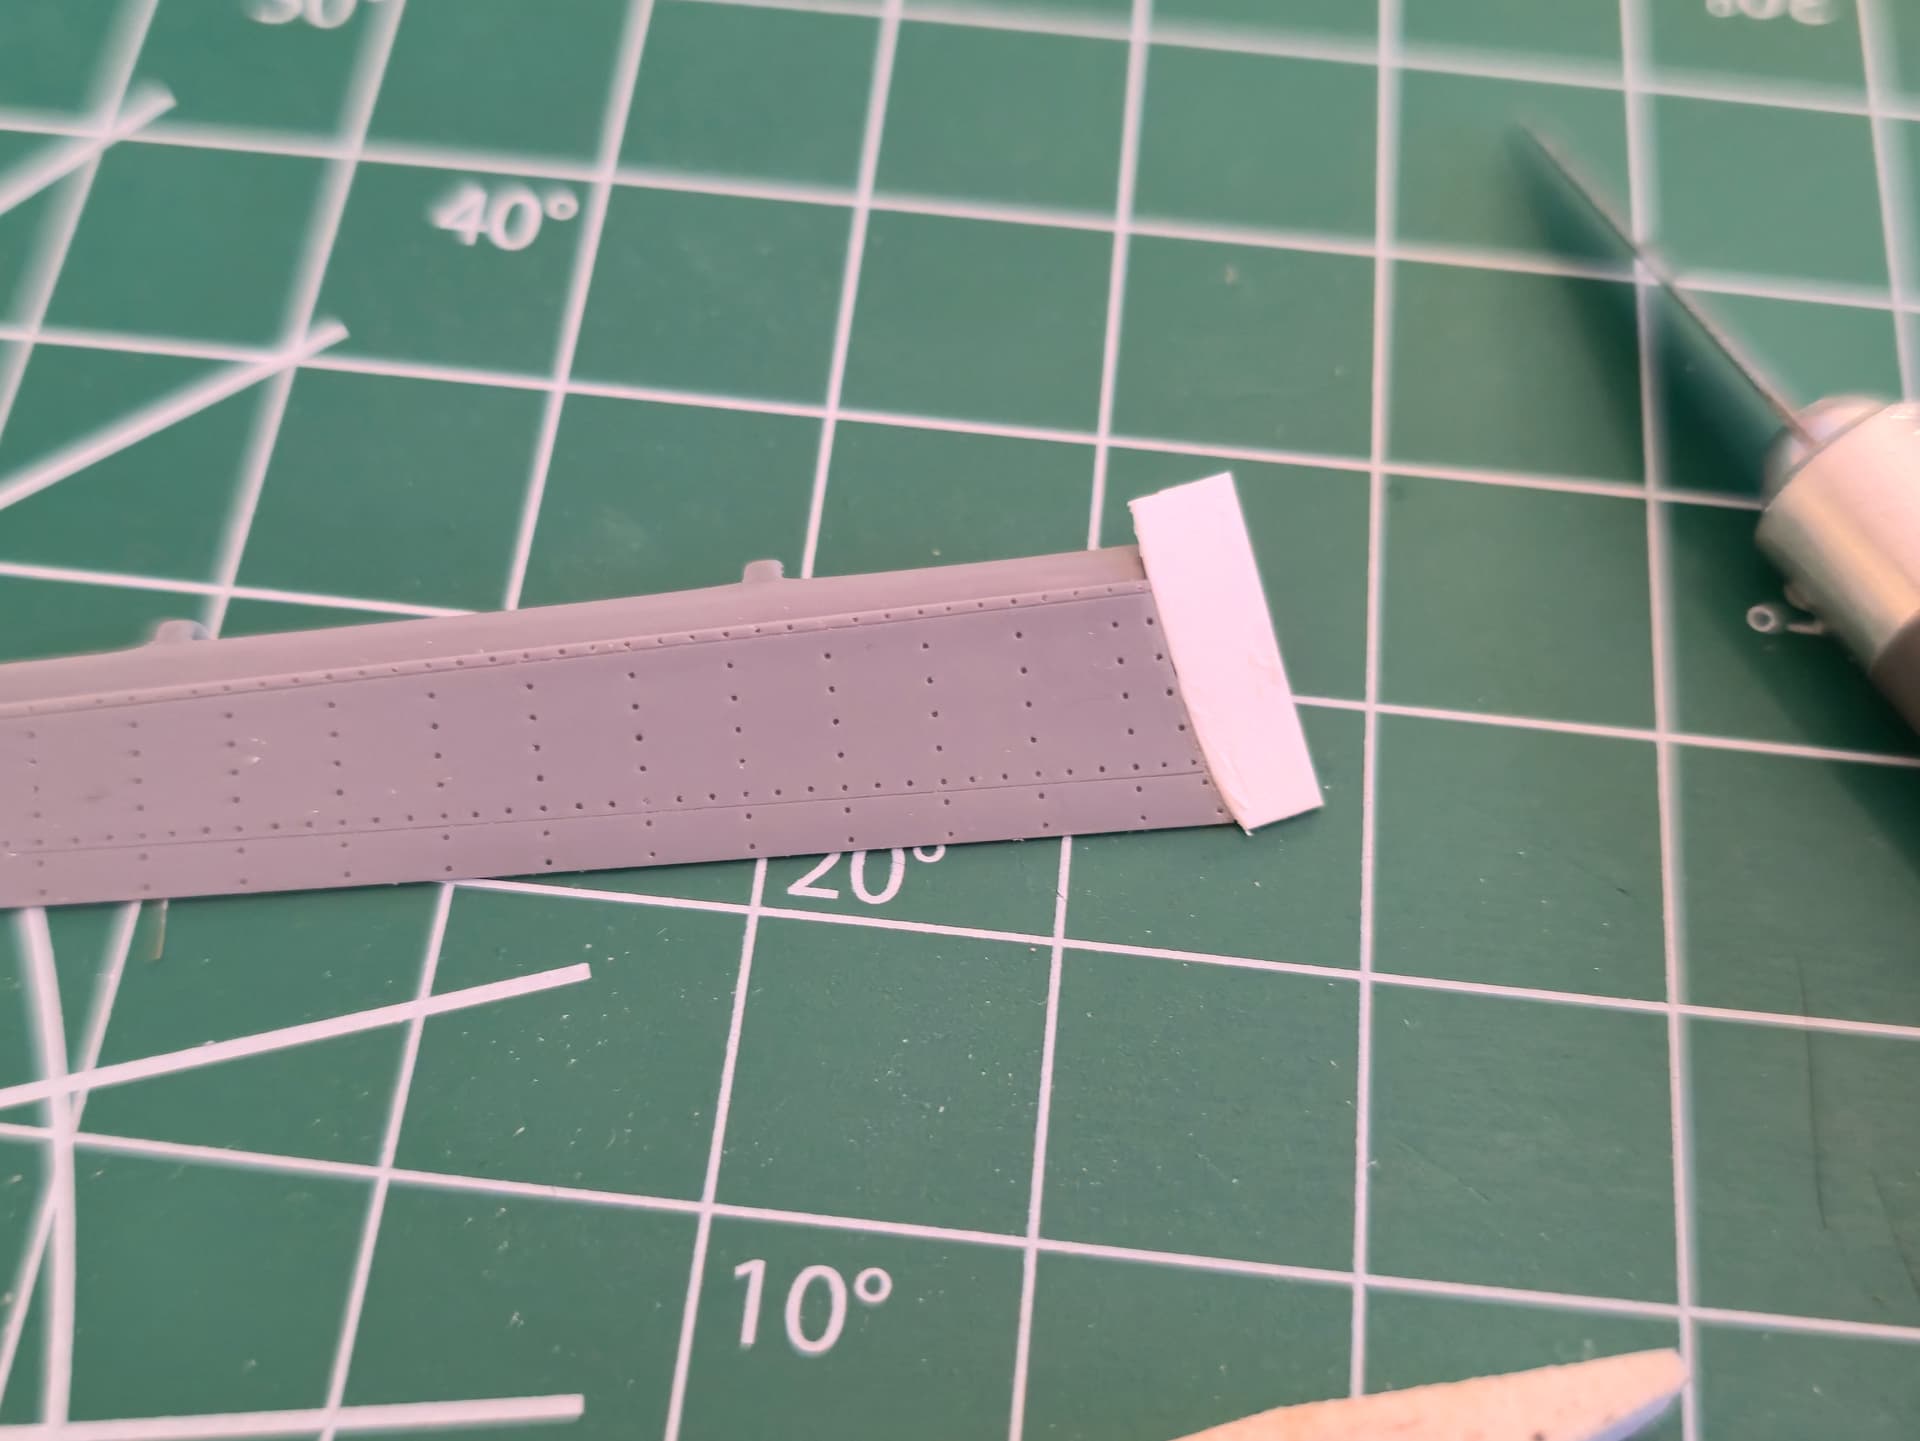
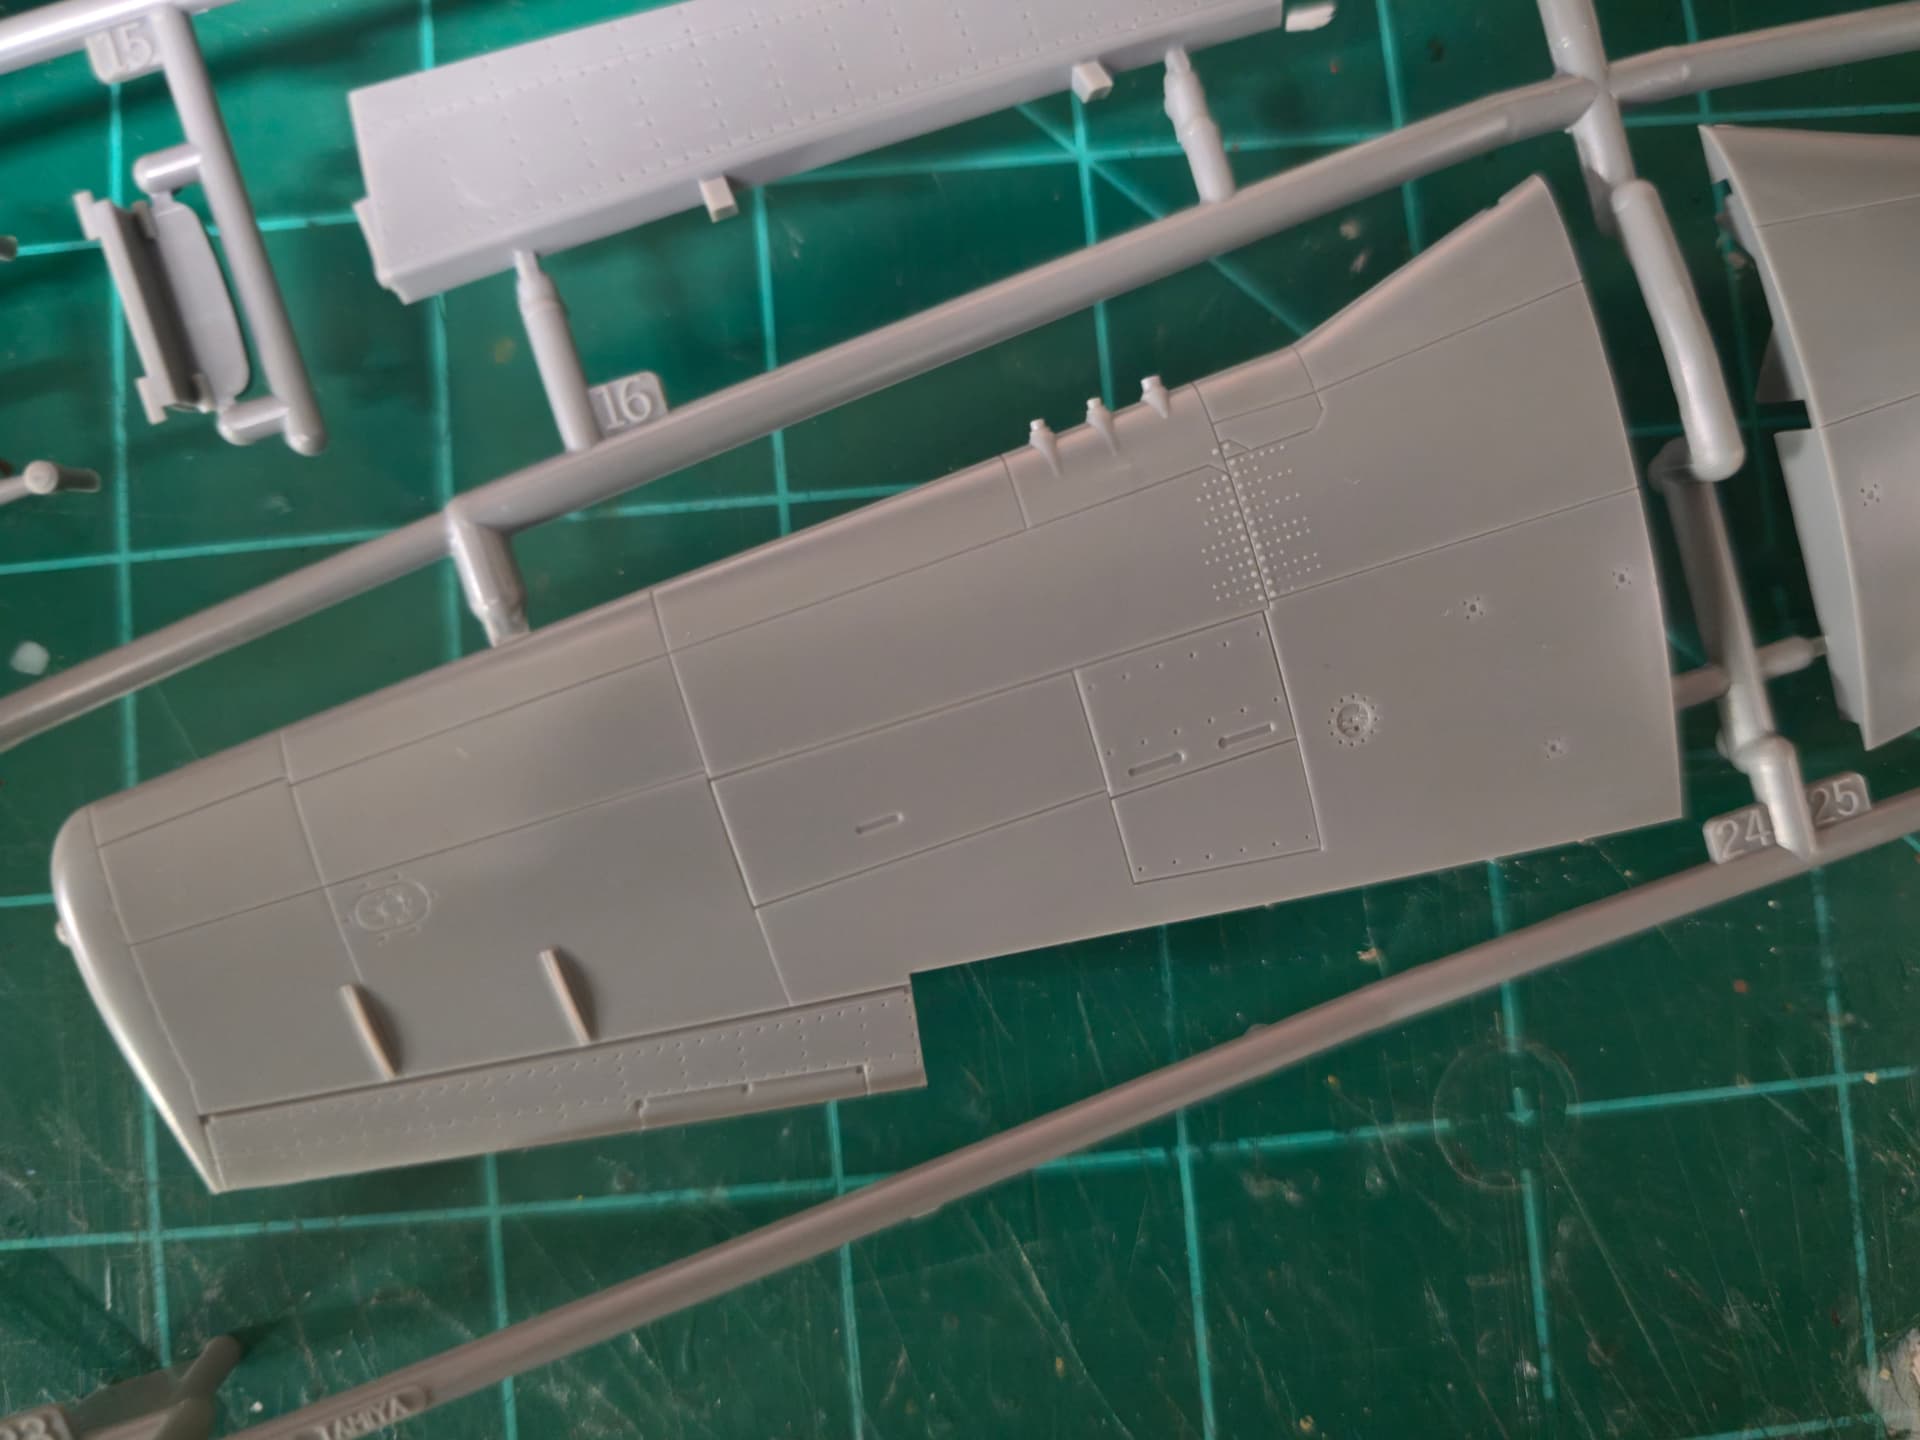
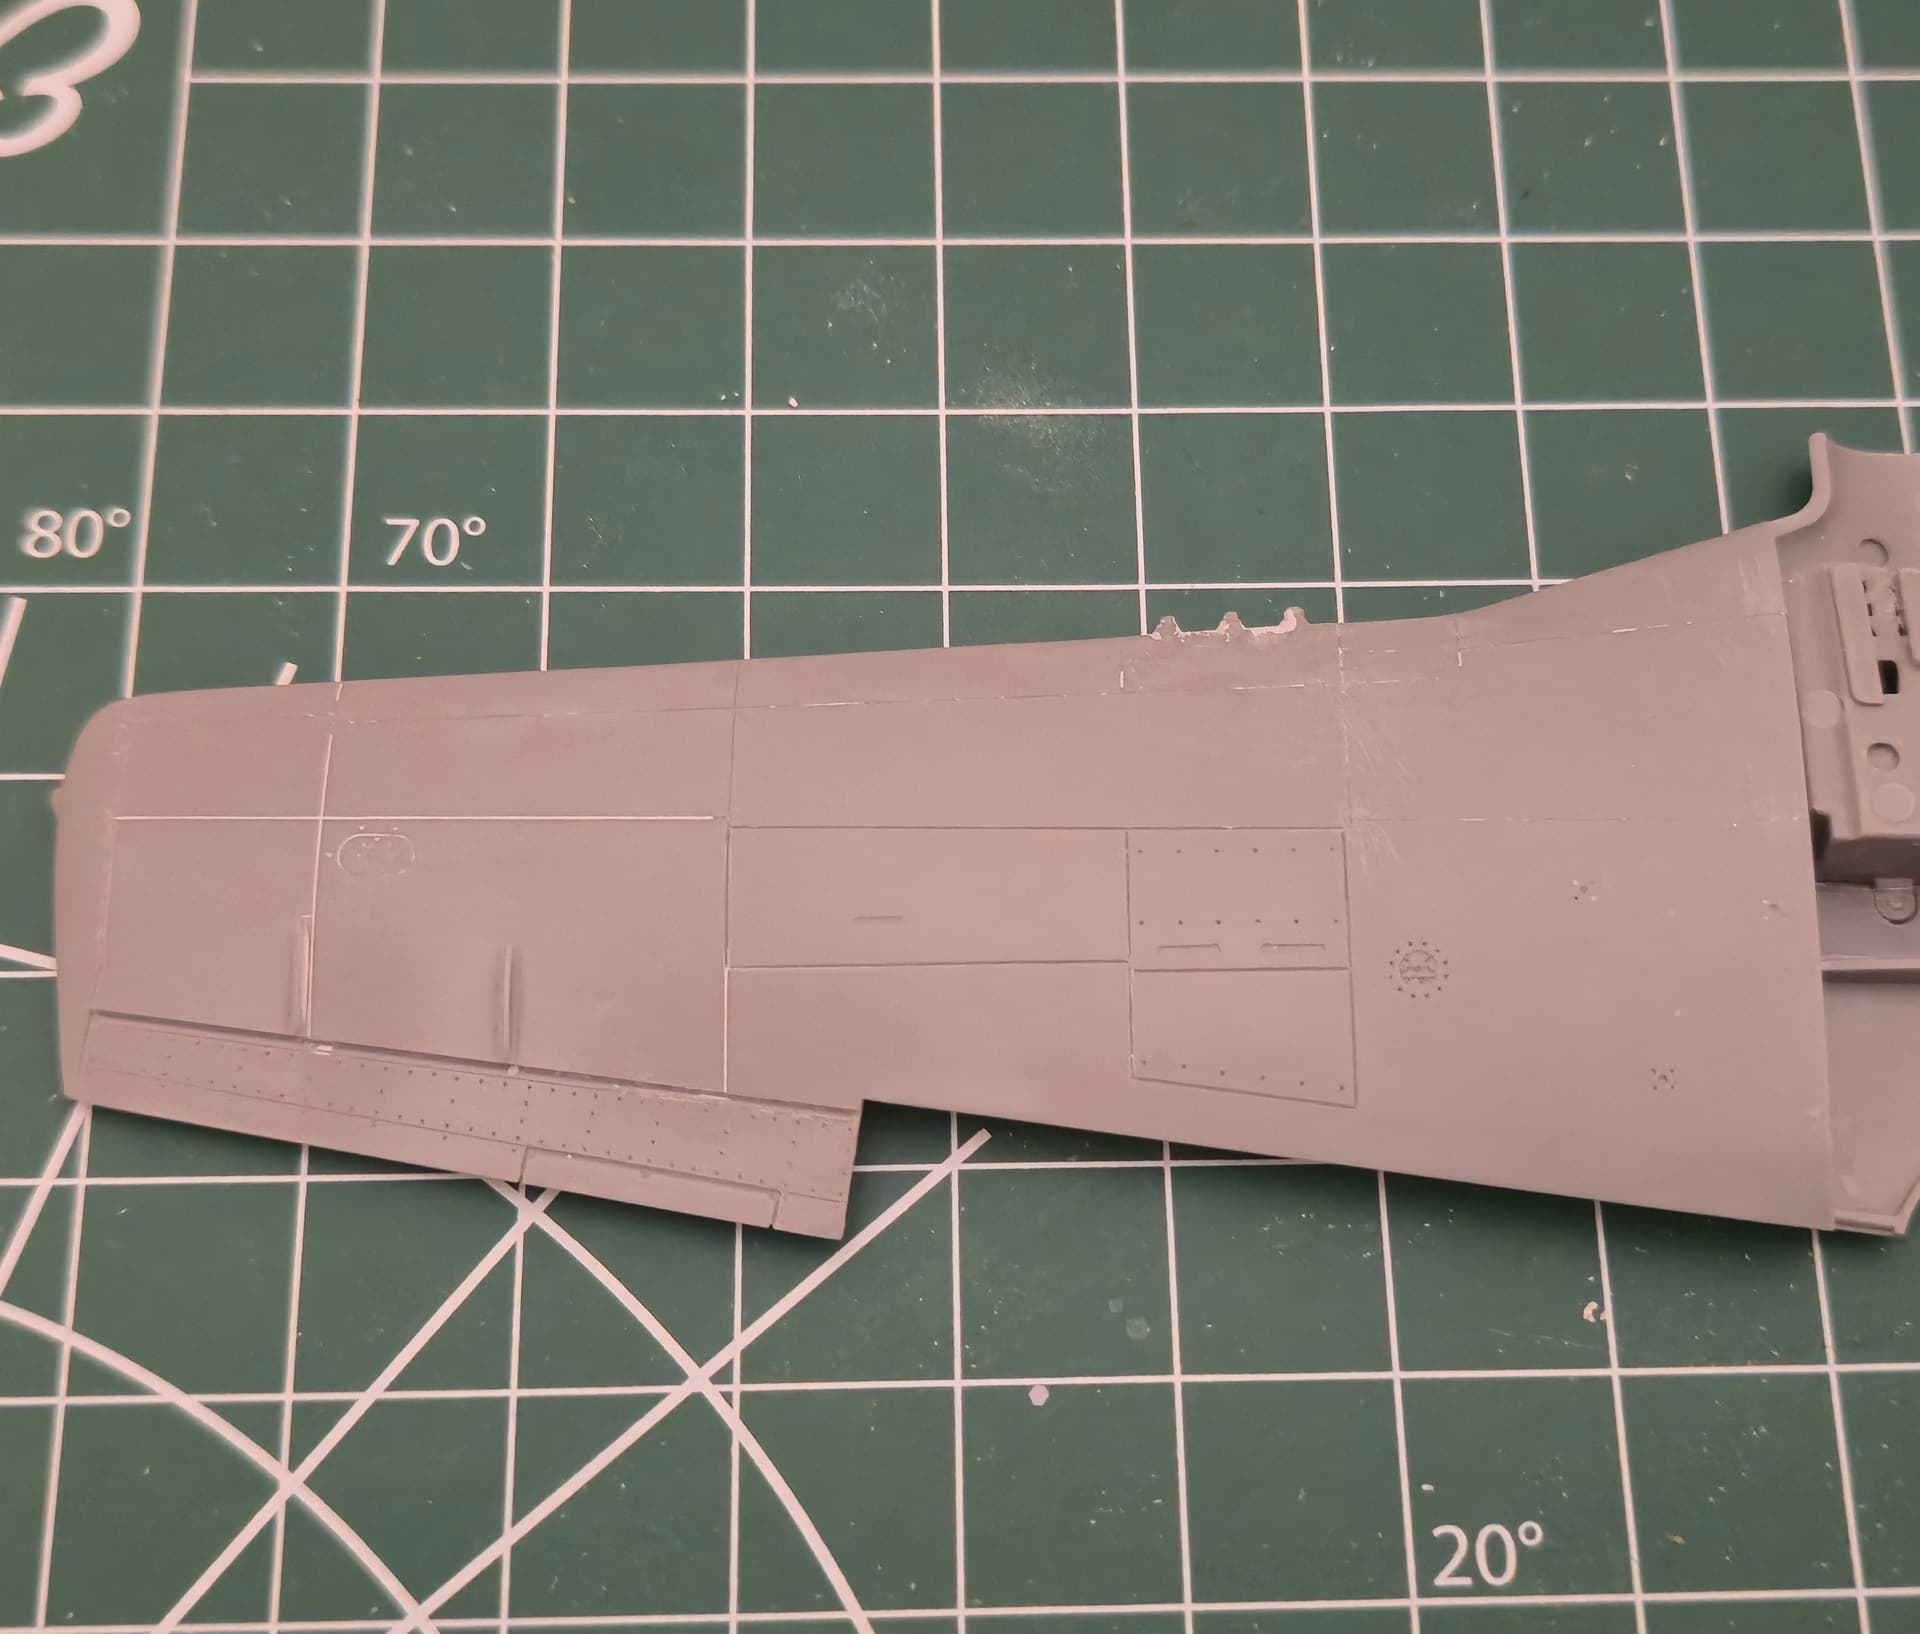
As for the flaps, Tamiya made them where you have the option to either have them in the up or down configuration.
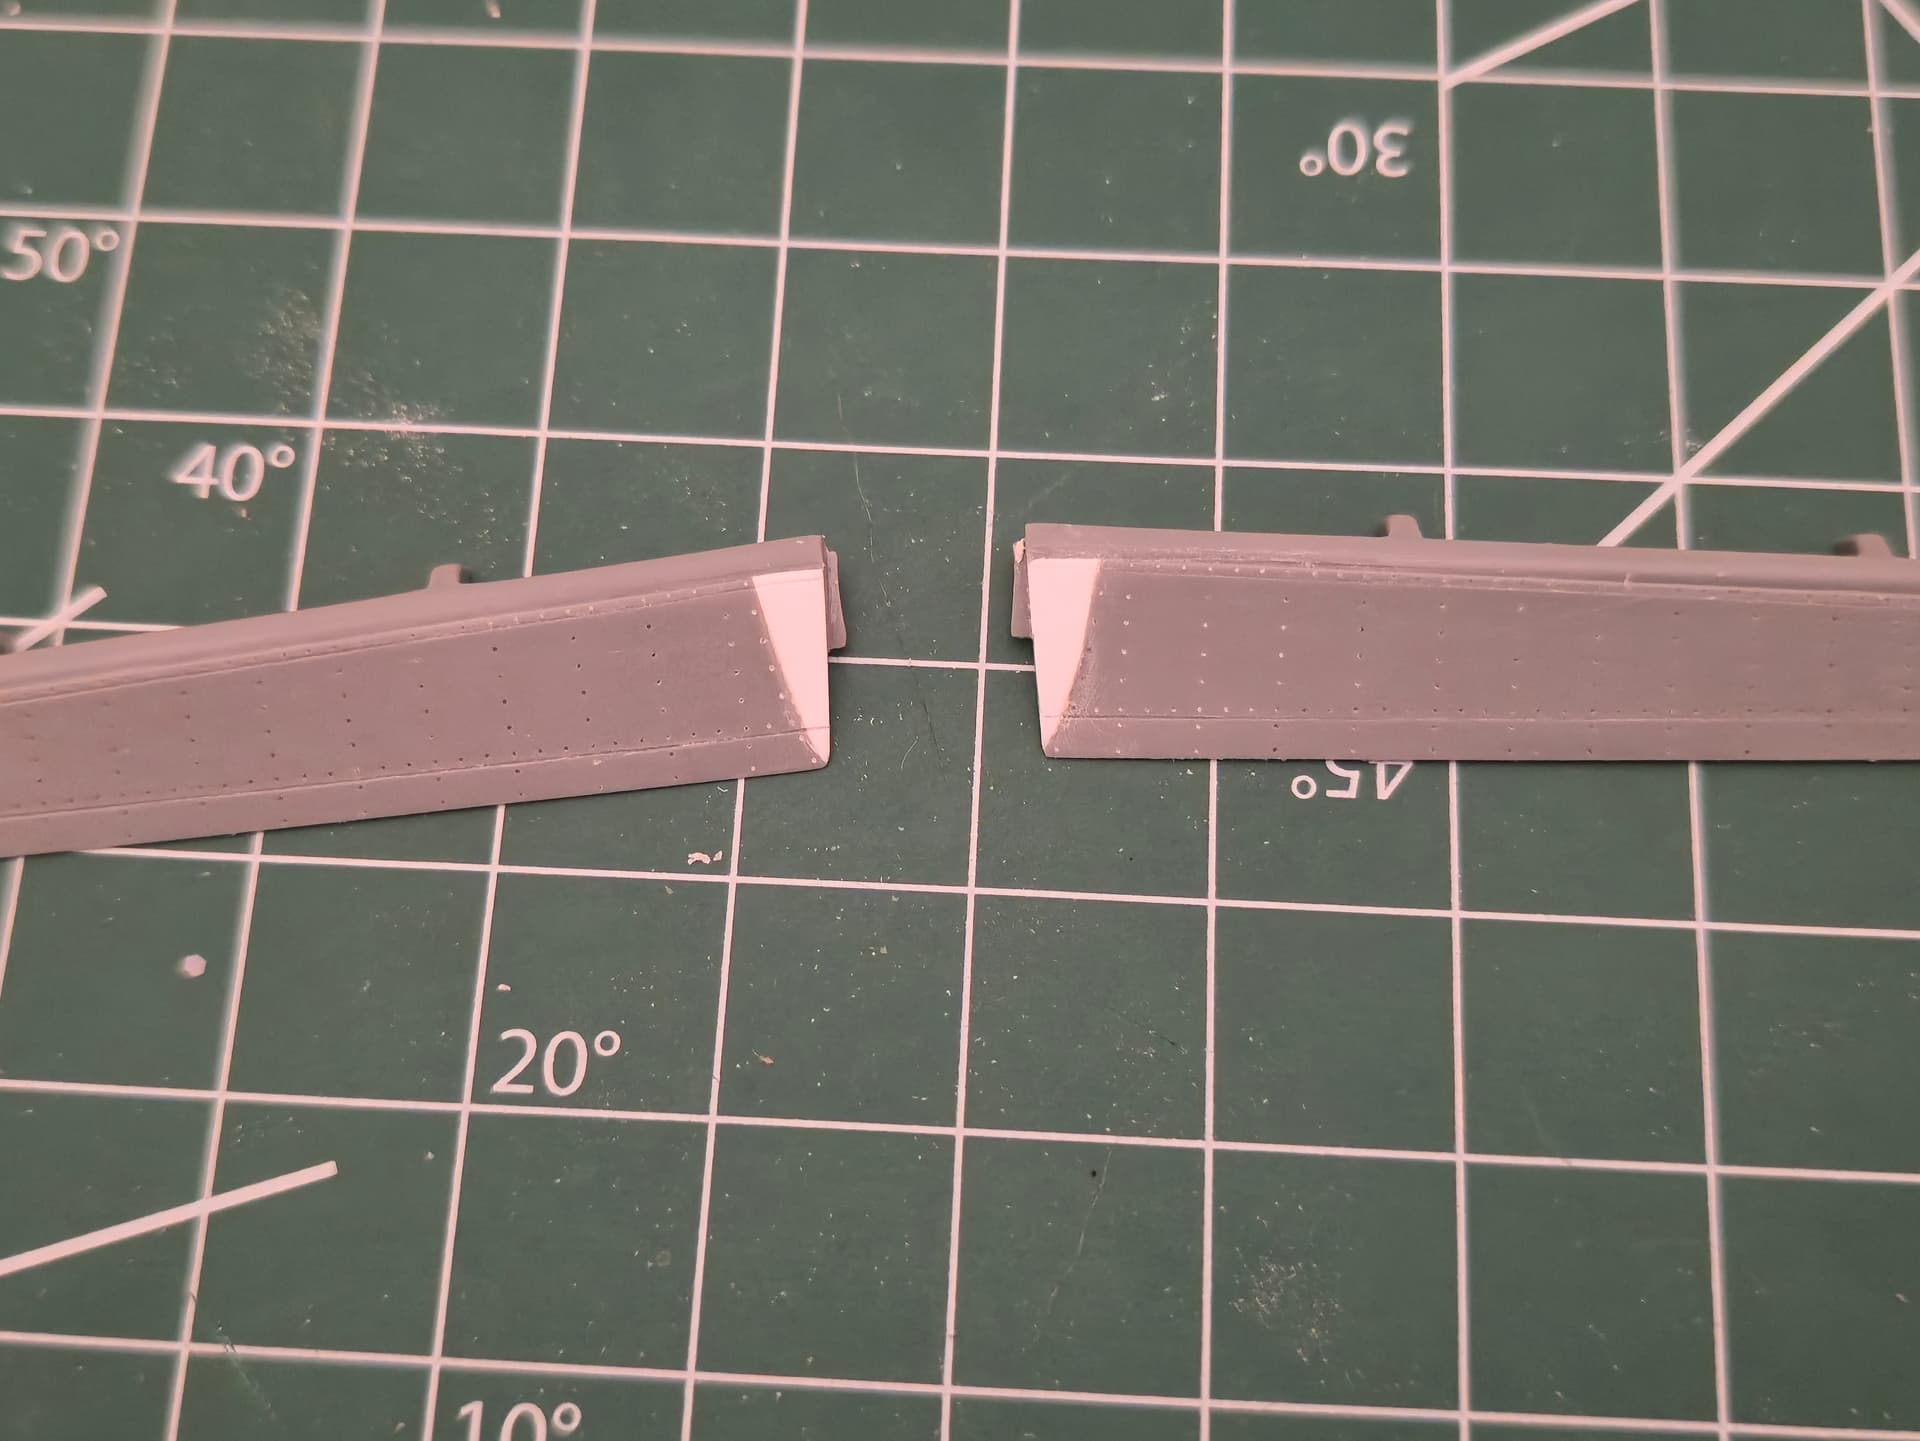
So Tamiya made that notch so that it wouldn’t interfere when in the up configuration.
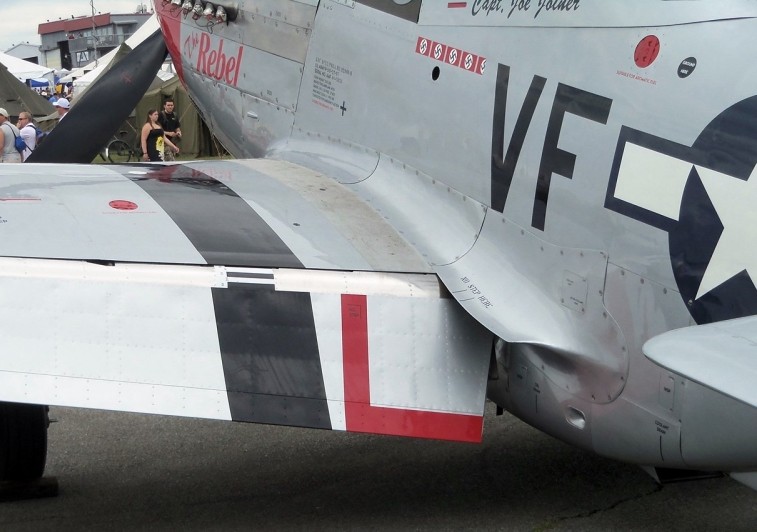
Here’s a photo of the Mustangs flap lowered and you can see the surface minus the indent.
Update 1
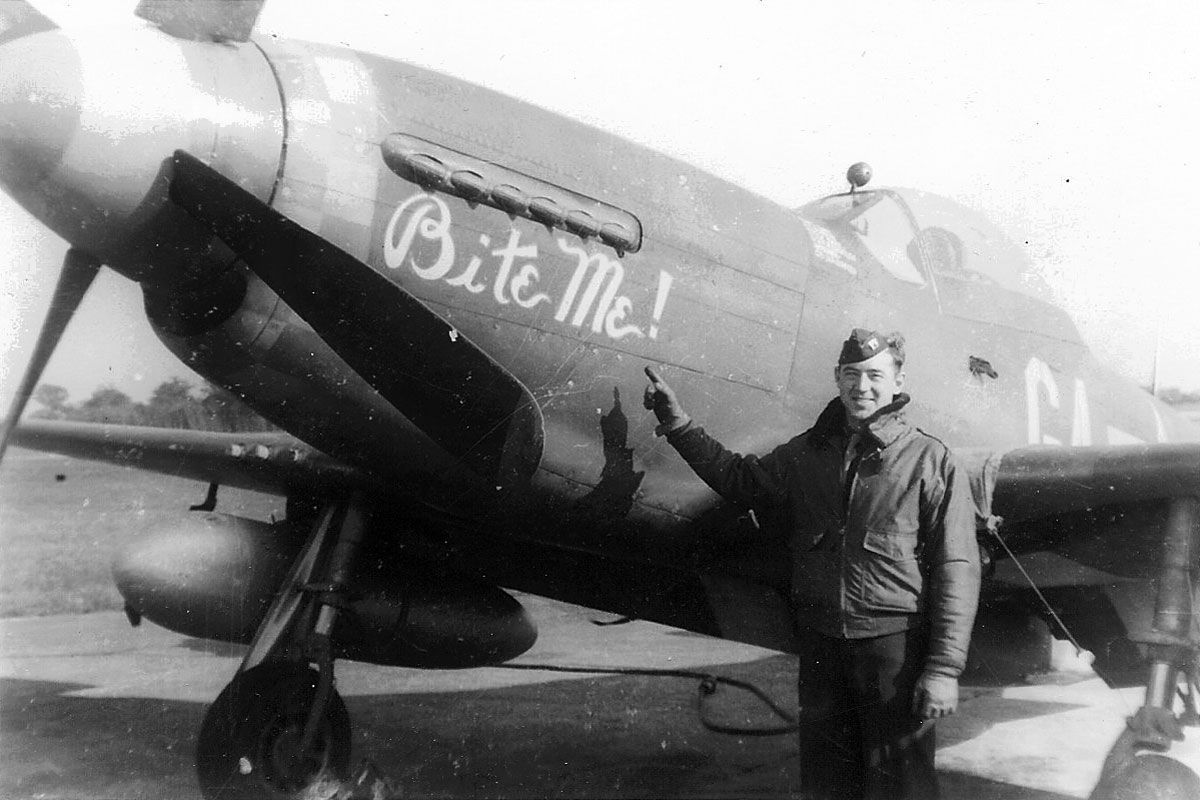
I didn’t really do much today at the bench. I went with a simplistic seat belt set up, nothing fancy, nothing over the top.
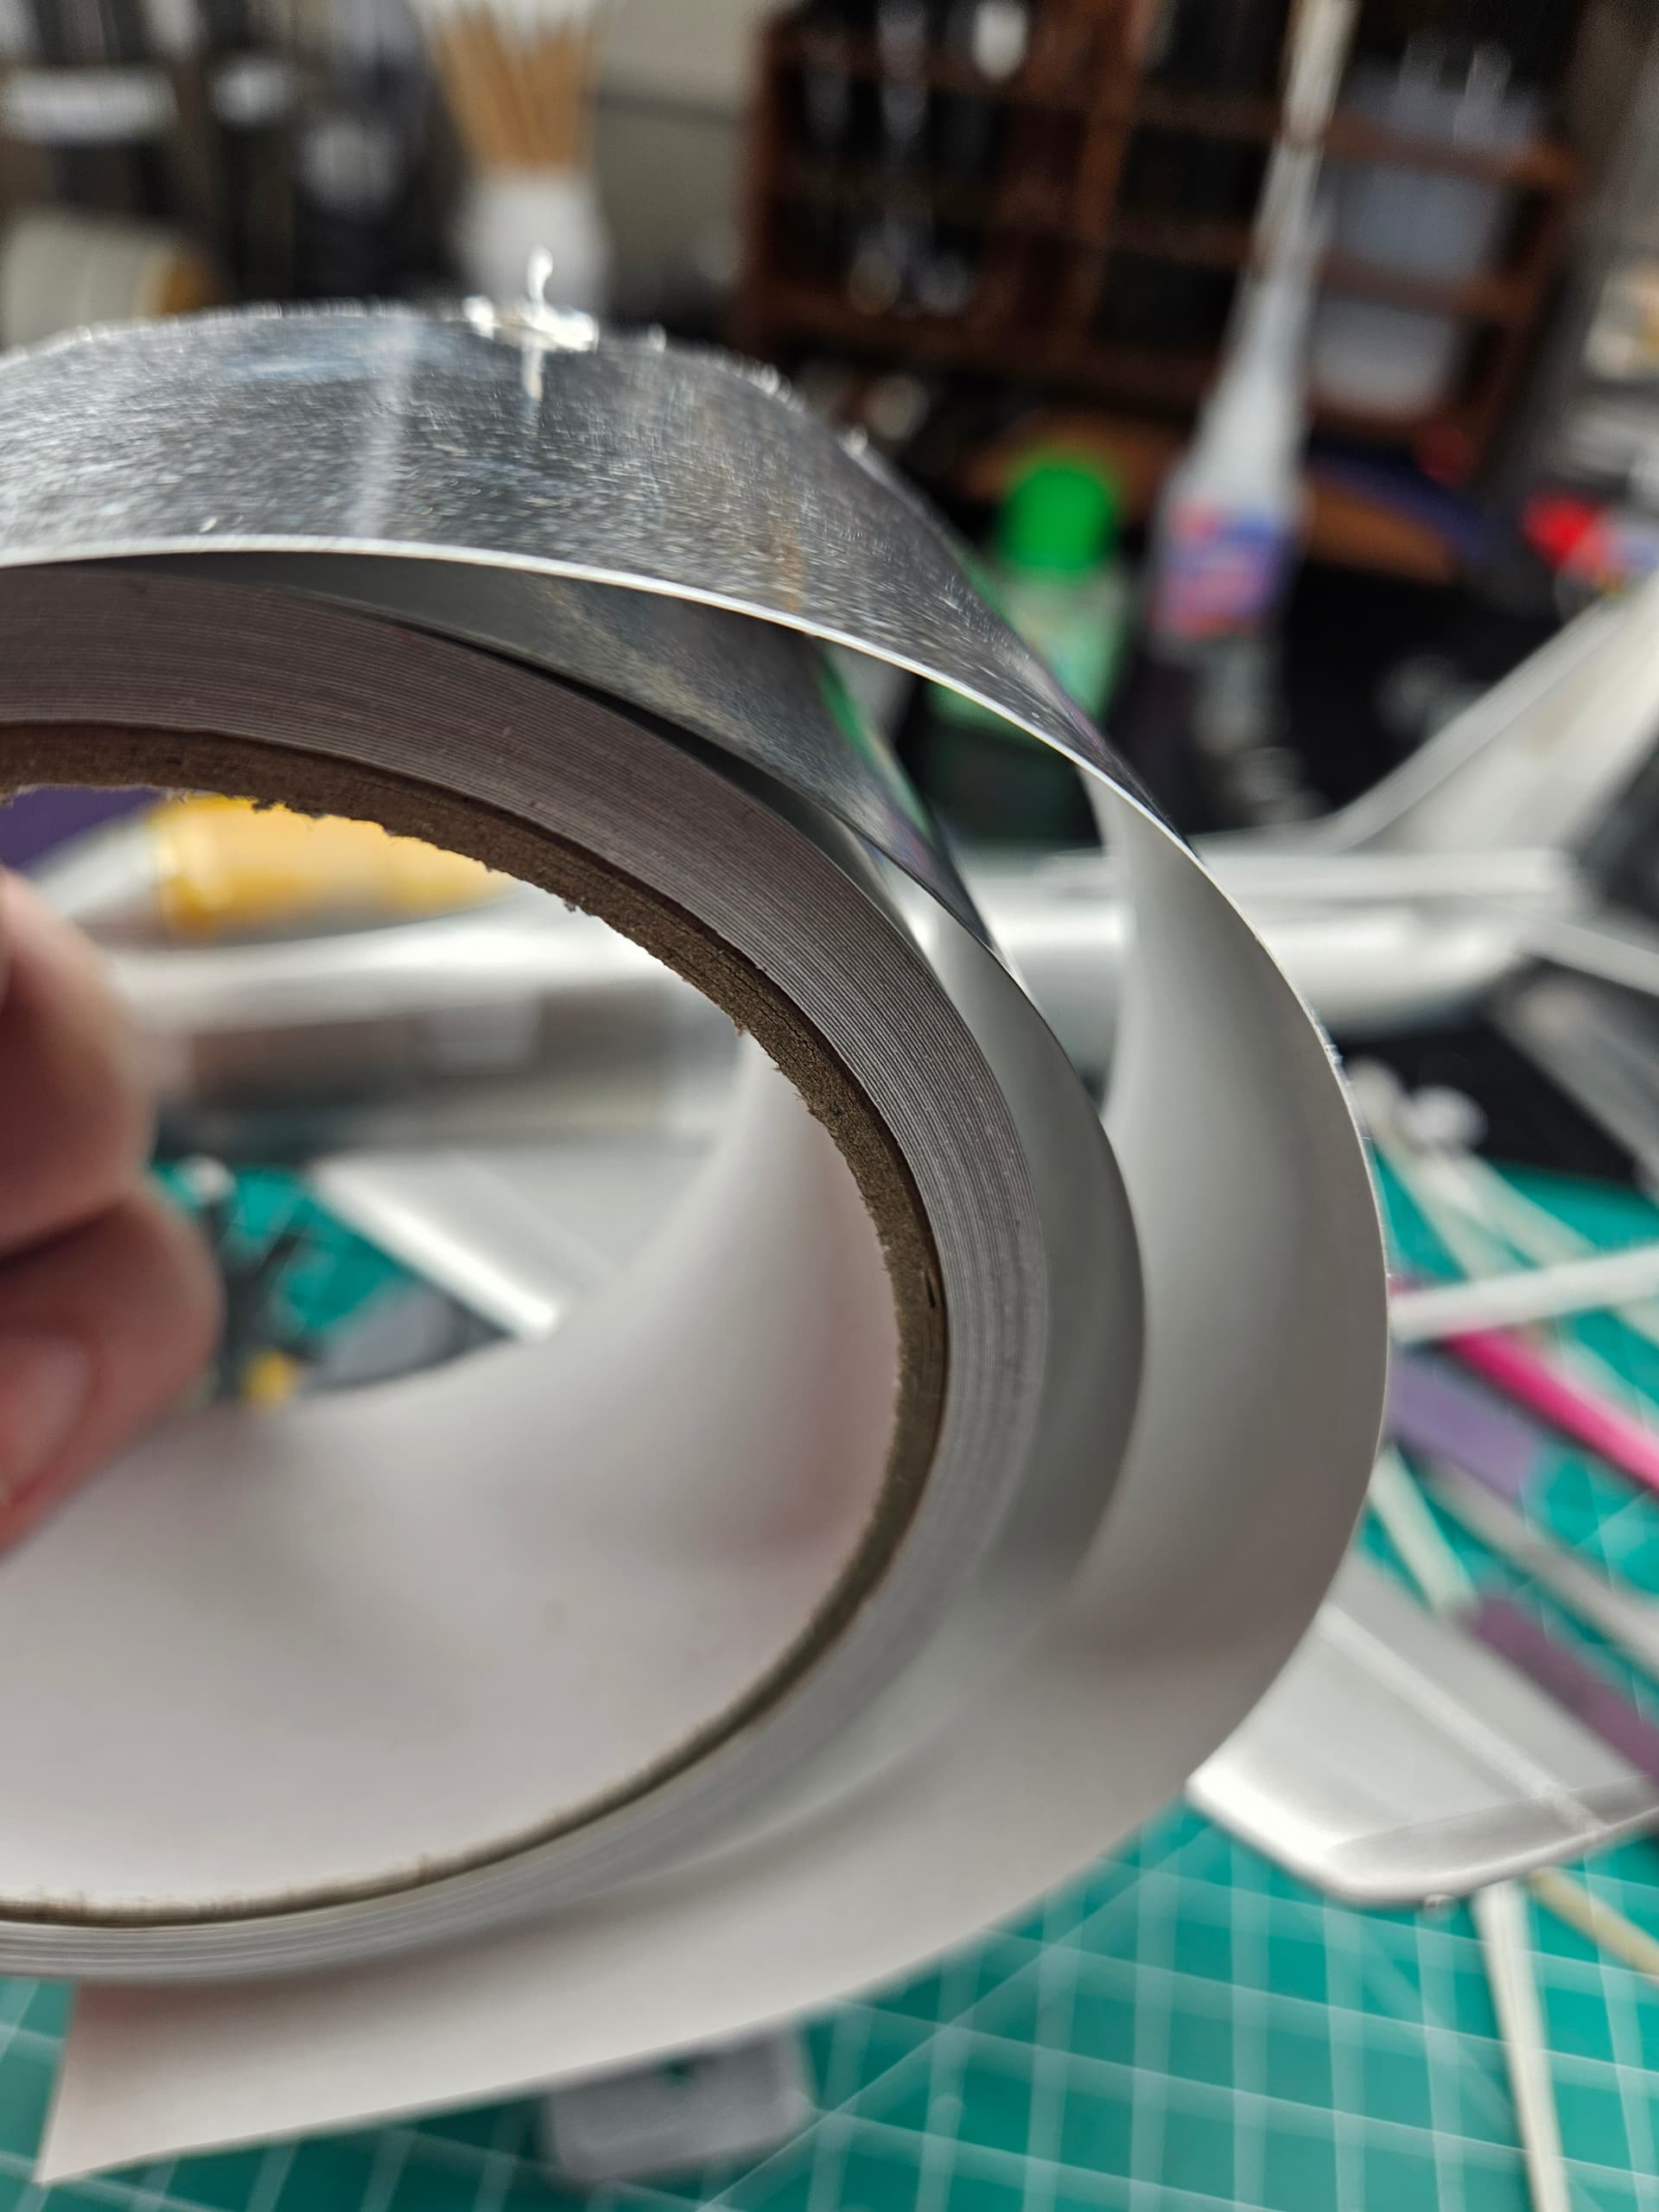
At the moment the technical name escapes me but this is essential aluminum foil tape thats used in the industry.
It’s not as forgiving as aluminum foil not as flexible, but I like it.
Some good model building work in evidence with this one. Am following.
I also enjoy hearing all the creative ways we talk ourselves into starting or buying or looking at…another kit.
Thanks for sharing, sir!
I totally have to agree with you but I do like Tamiya’s tape but when I cut up the PE seat belts for the buckles n latches, it’s easy to work with.
Metal tape is a tad thicker and I haven’t tried looping the tape through the loop holes. Maybe one of these nights, I’ll give it ago!
Happy Modeling,
Mike
Glad your following and hopefully I can keep a steady pace with the build without any interruptions.
When it comes to markings, it’s usually after doing some research but I figured I’d let my daughter give it ago haha
Anytime and you are most welcome!
Happy Modeling,
Mike
As I mentioned to Sam, I just haven’t tried incorporating the aluminum tape with photo etched buckles n latches yet.
The thickness is what I’m concerned with the not fitting properly.
I’ll figure that out hook or by crook!
Happy Modeling,
Mike
Hey Sam!
That tape appears to be on a thinner side to the tape that I’m using(+ or -).
Once the P-51 and the P-39 are completed, I’ll do some testing with the tape and see how easily it’ll be to work with the PE buckles/latches.
The one I used seems to be on the thicker side but I’ll definitely grab that tape from my hardware store.
At least by your pic, it’s definitely closer to Tamiya’s tape.
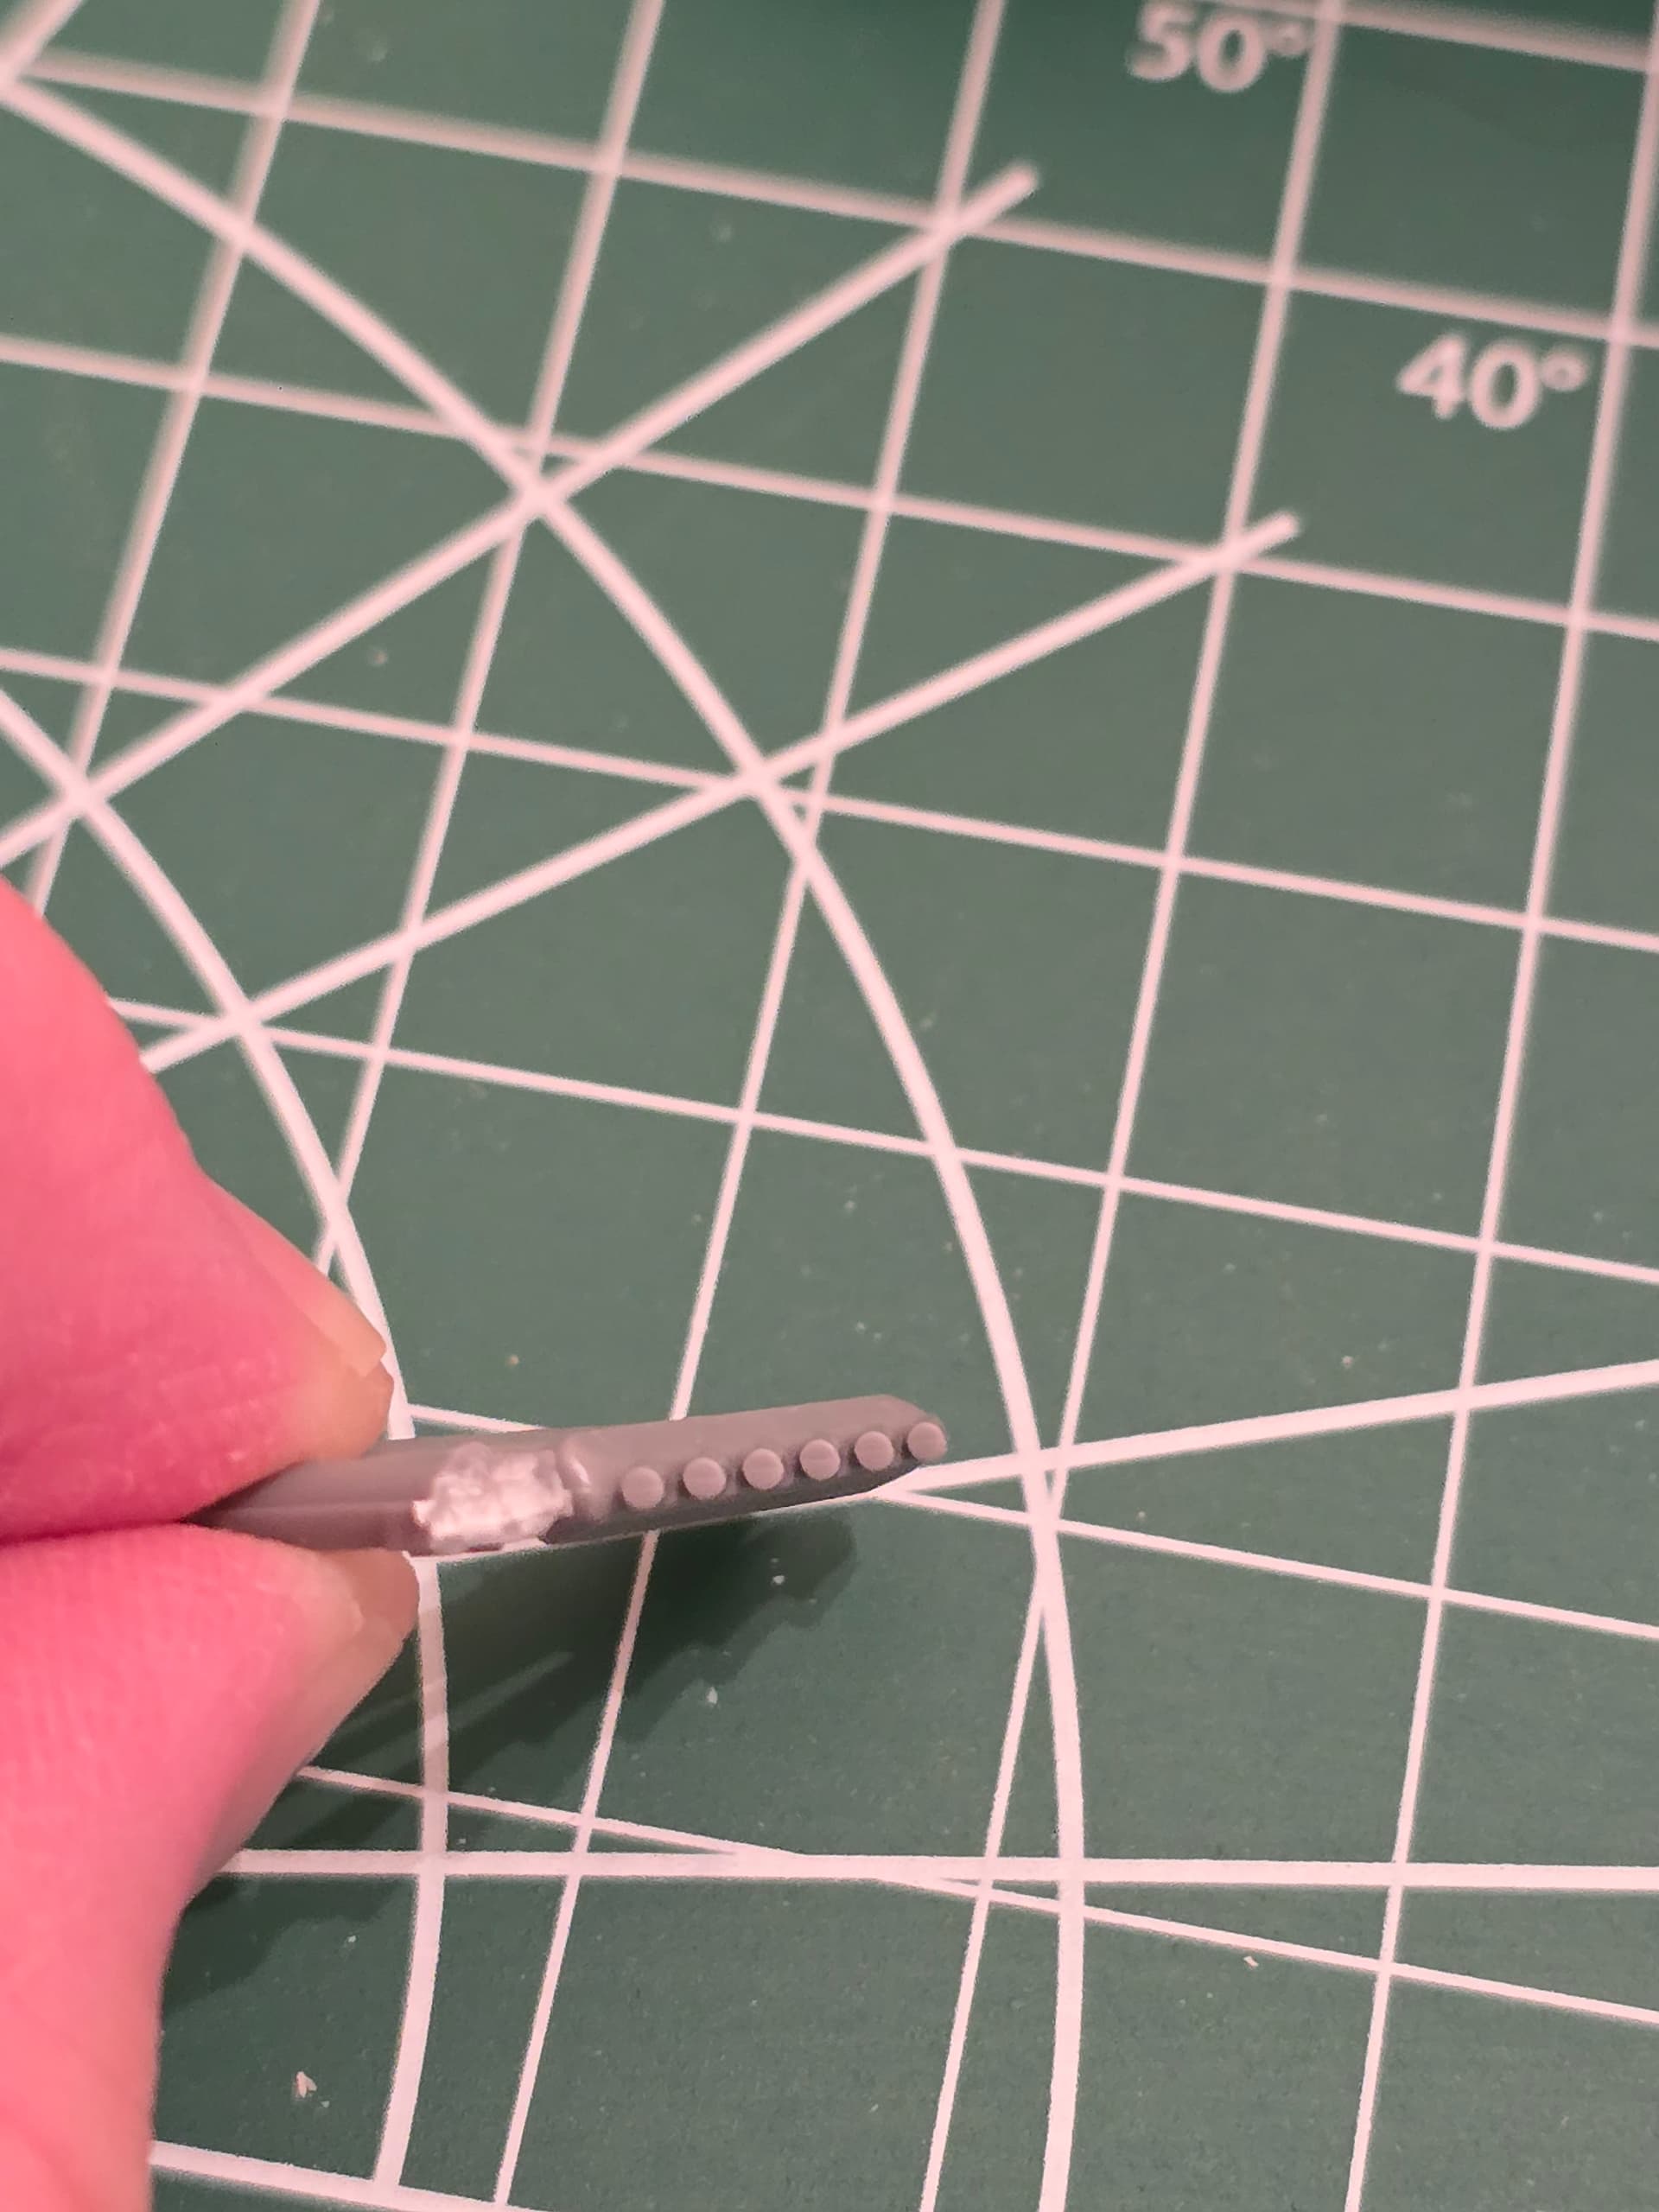
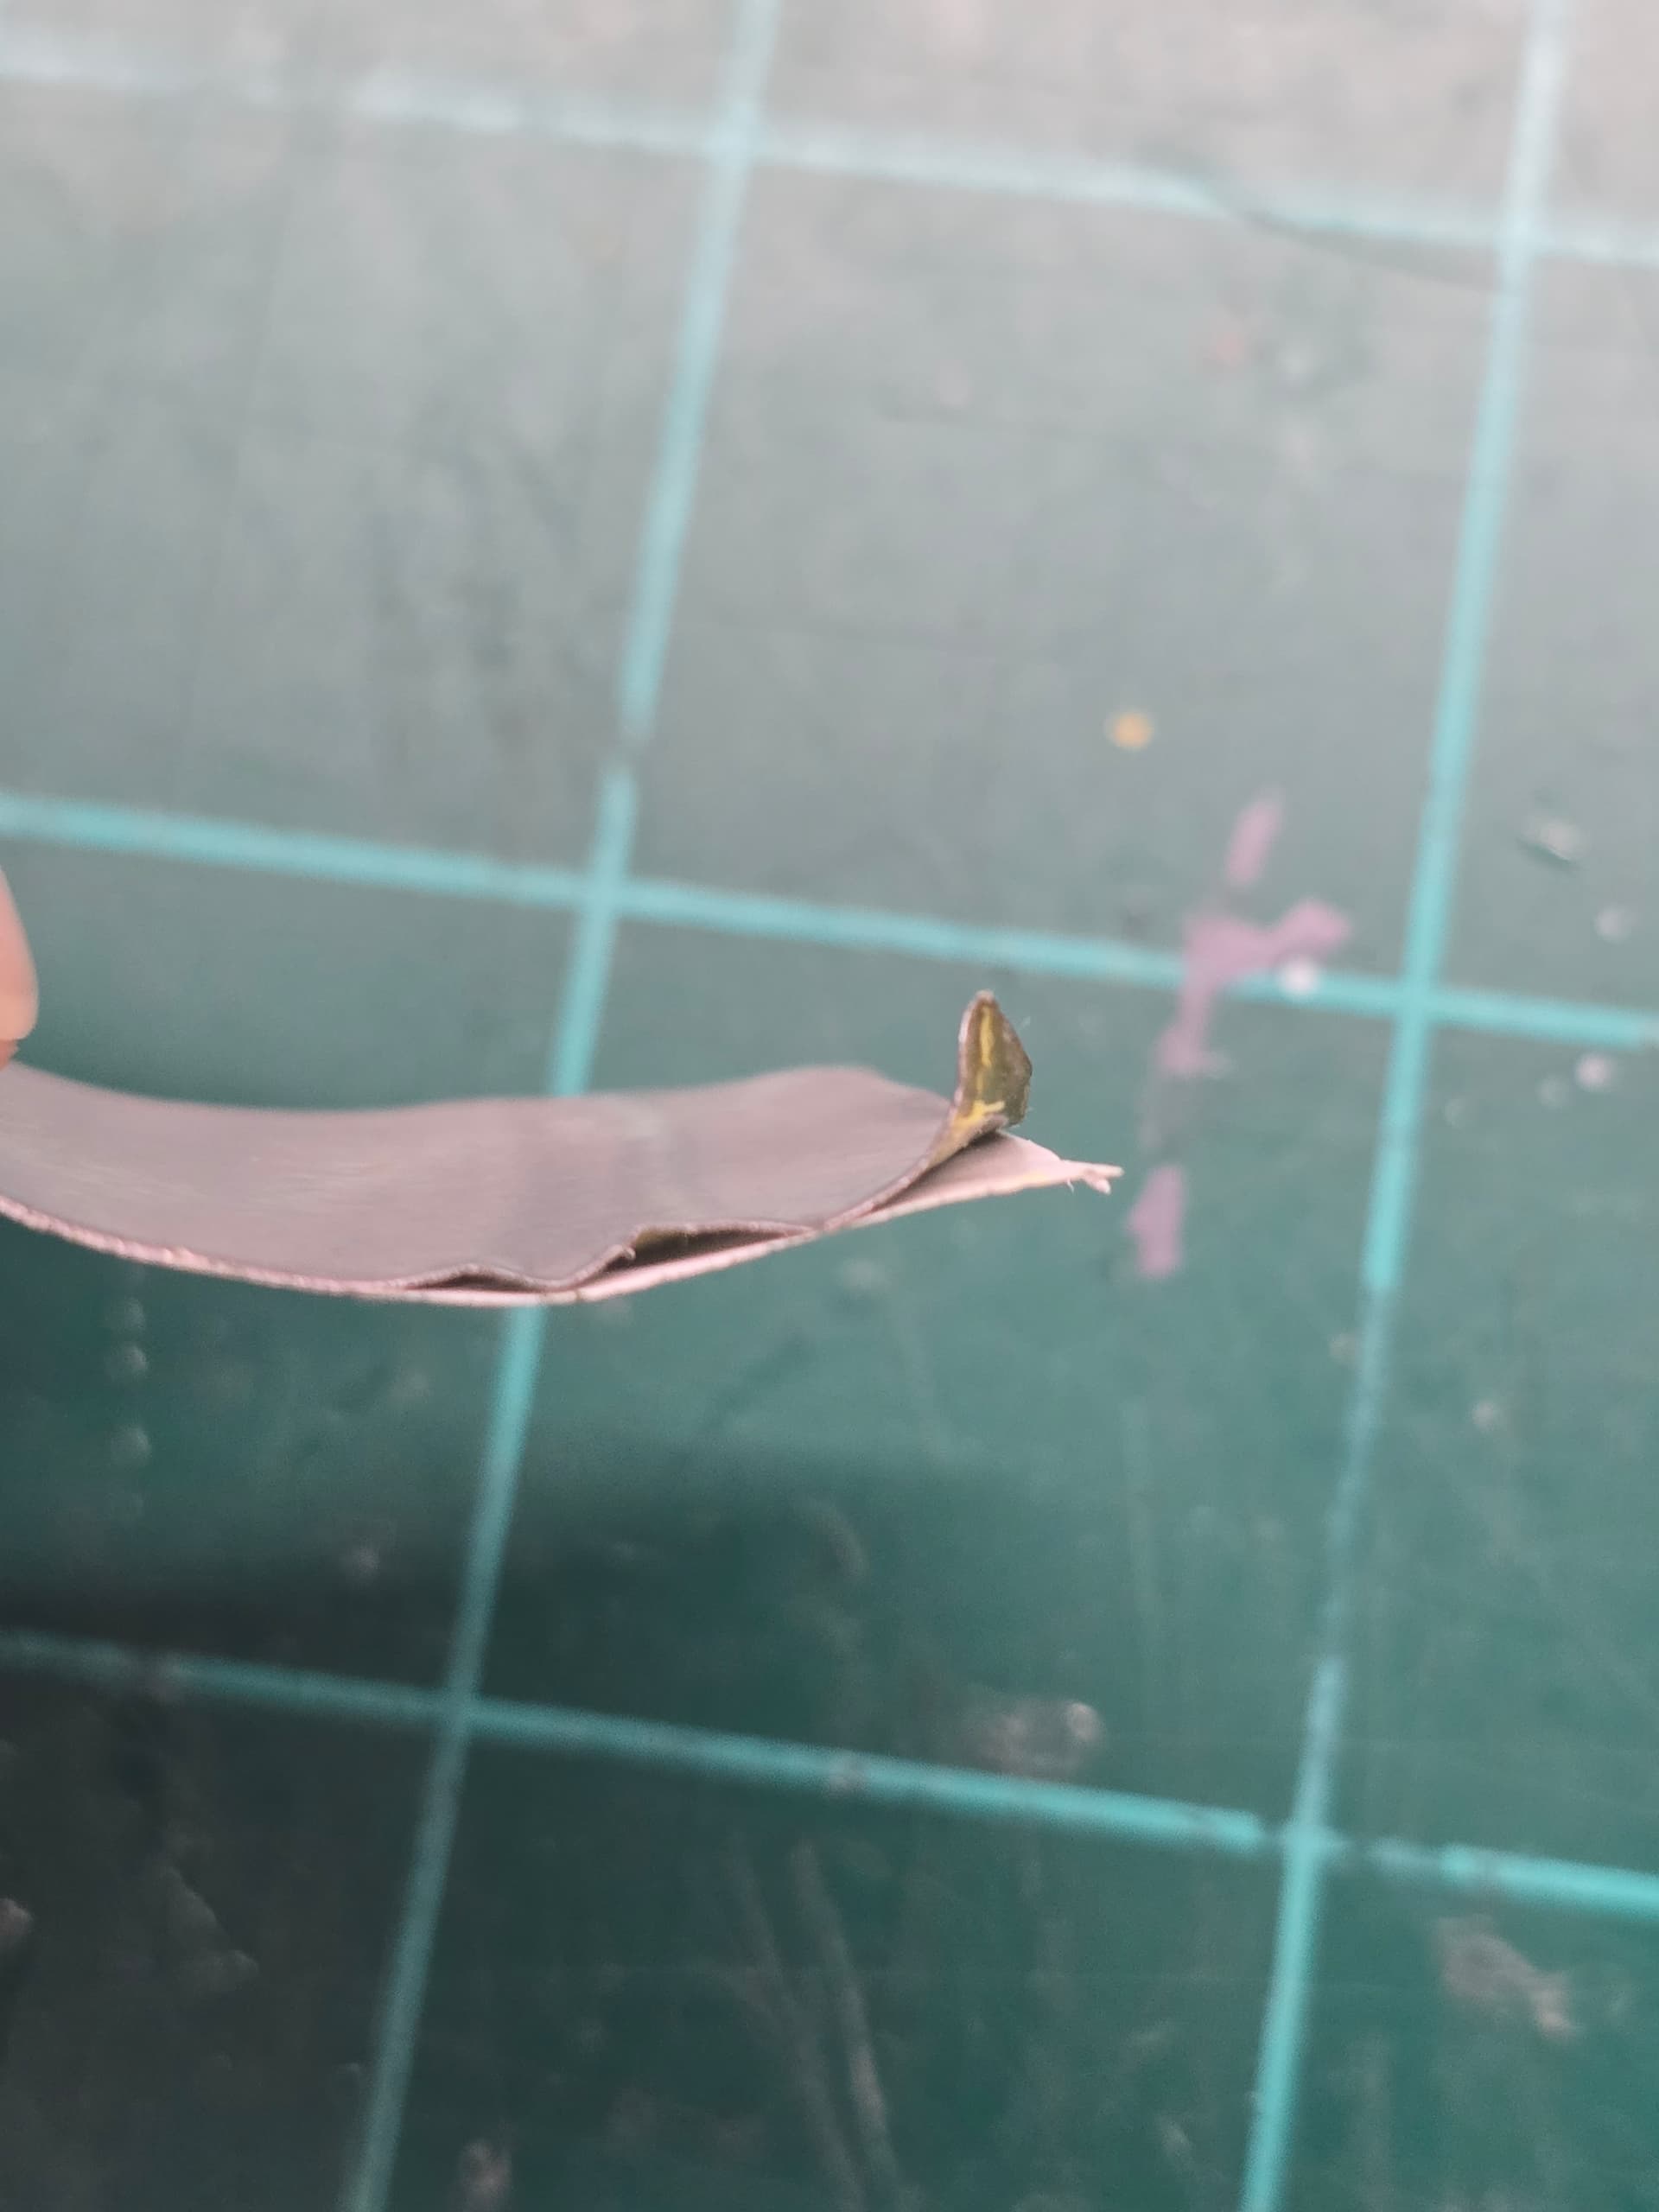
Here’s a scrap piece of my tape.
Hey PJ,
Either it be Tamiya’s tape or the aluminum tape, they both both lay down good.
Tamiya’s tape is less tacky and the aluminum tape is more on the sticky side but still easy to work with.
In regards to peeling, for as long as I have been using the Tamiya tape as “simple” straps, so far so good.
But with that being said, I lay down my tape prior to priming/painting so when I do go to paint, the paint creates a barrier and helps aid the tape from peeling.
Make sense
Happy Modeling,
Mike