Hell yeah! Looking good bud.
1 Like
Thank you thank you my good man, much appreciated!
Happy Modeling,
Mike
1 Like
Update 12
As long as the steam does not run out, I’ll be getting somewheres with this build!
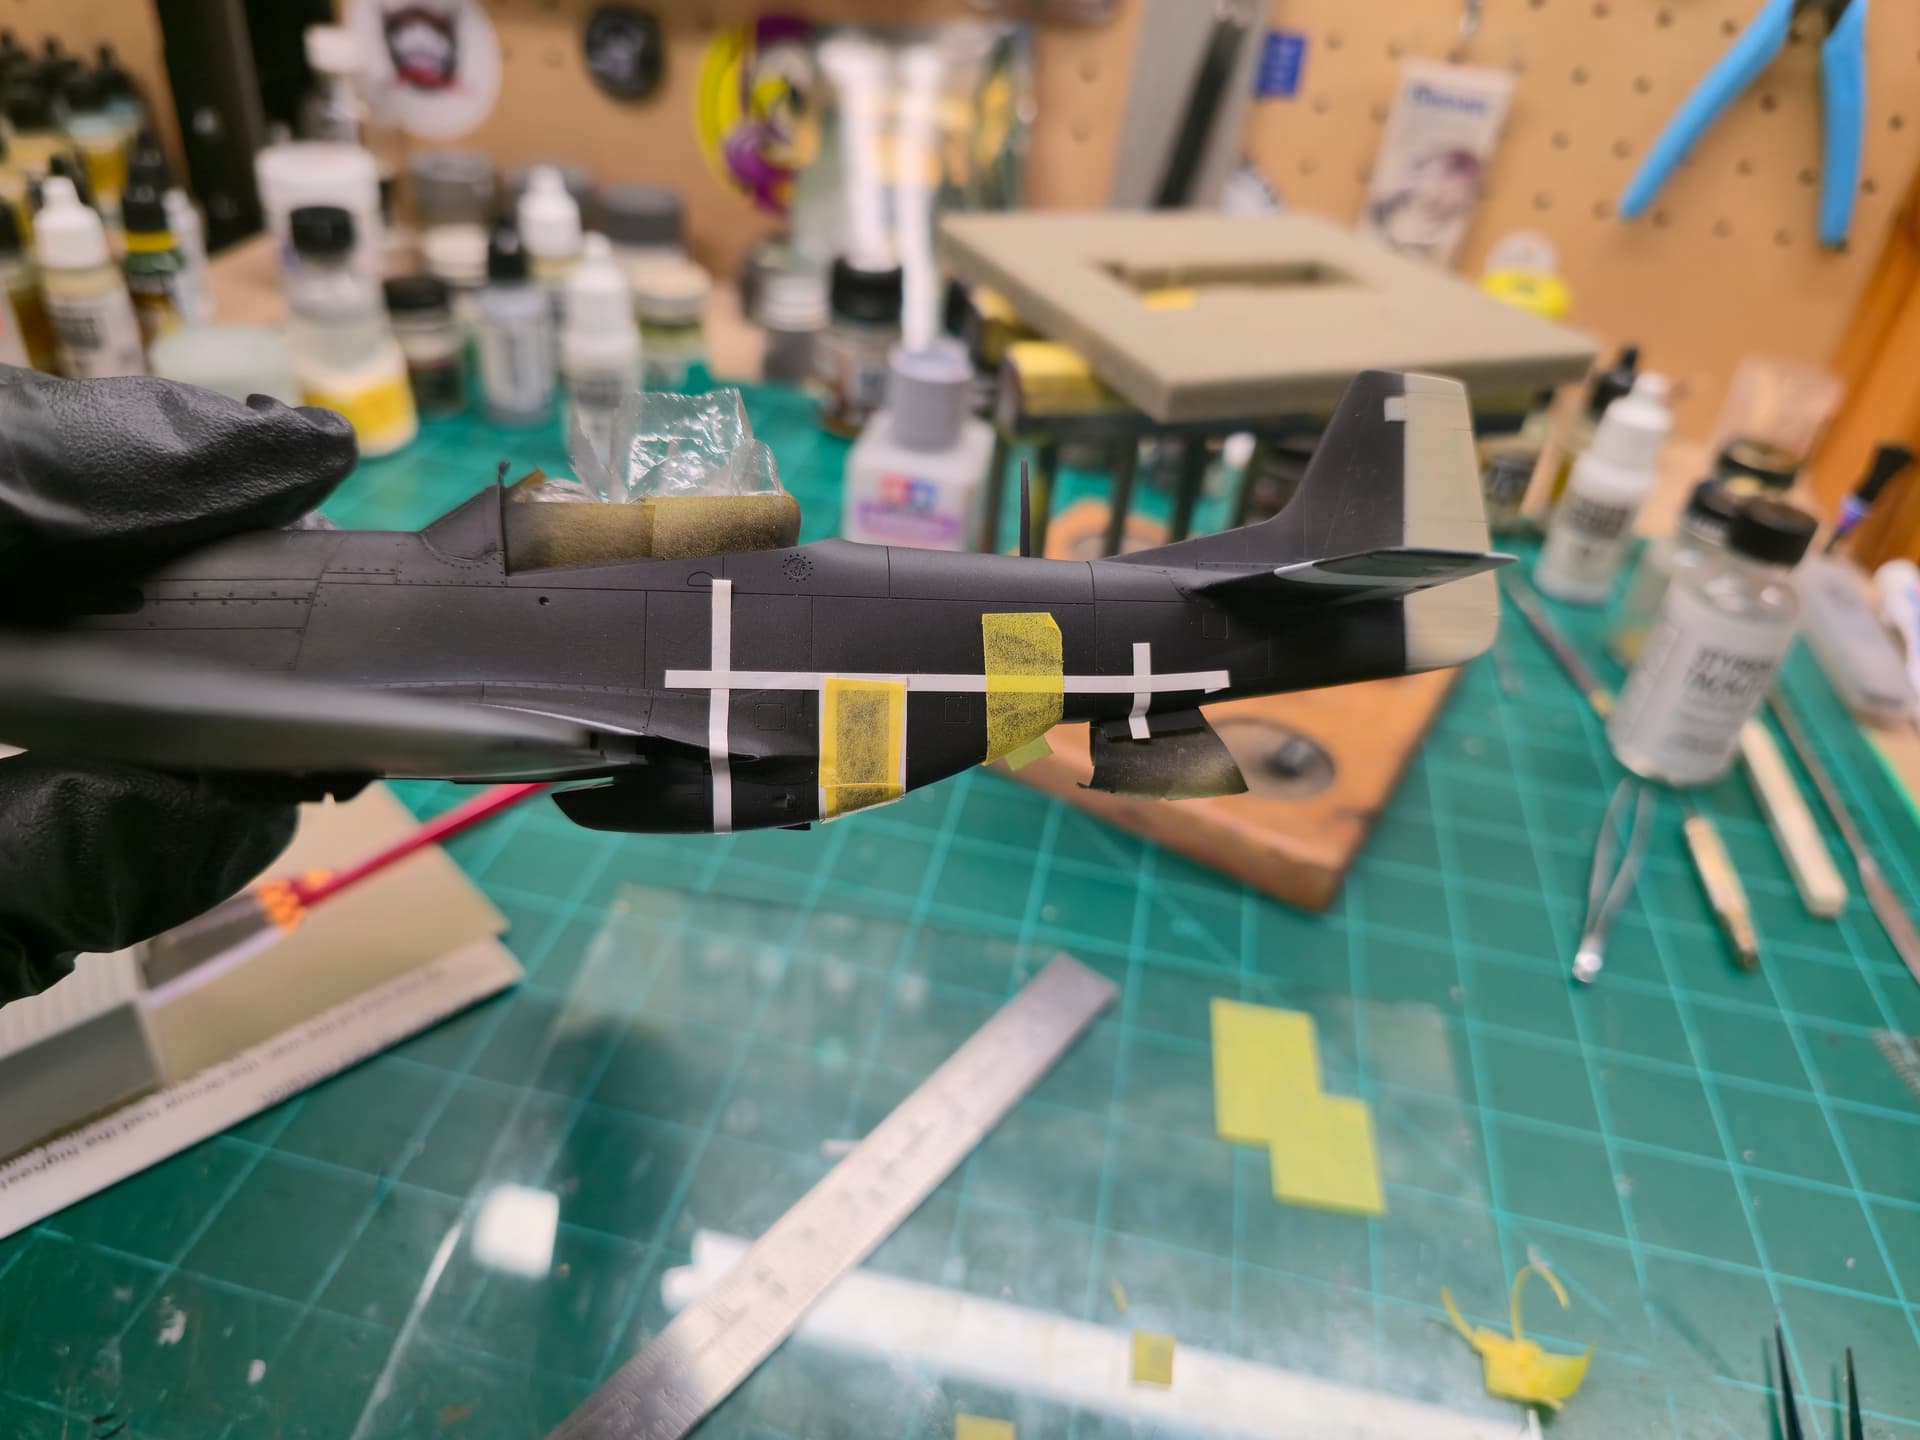
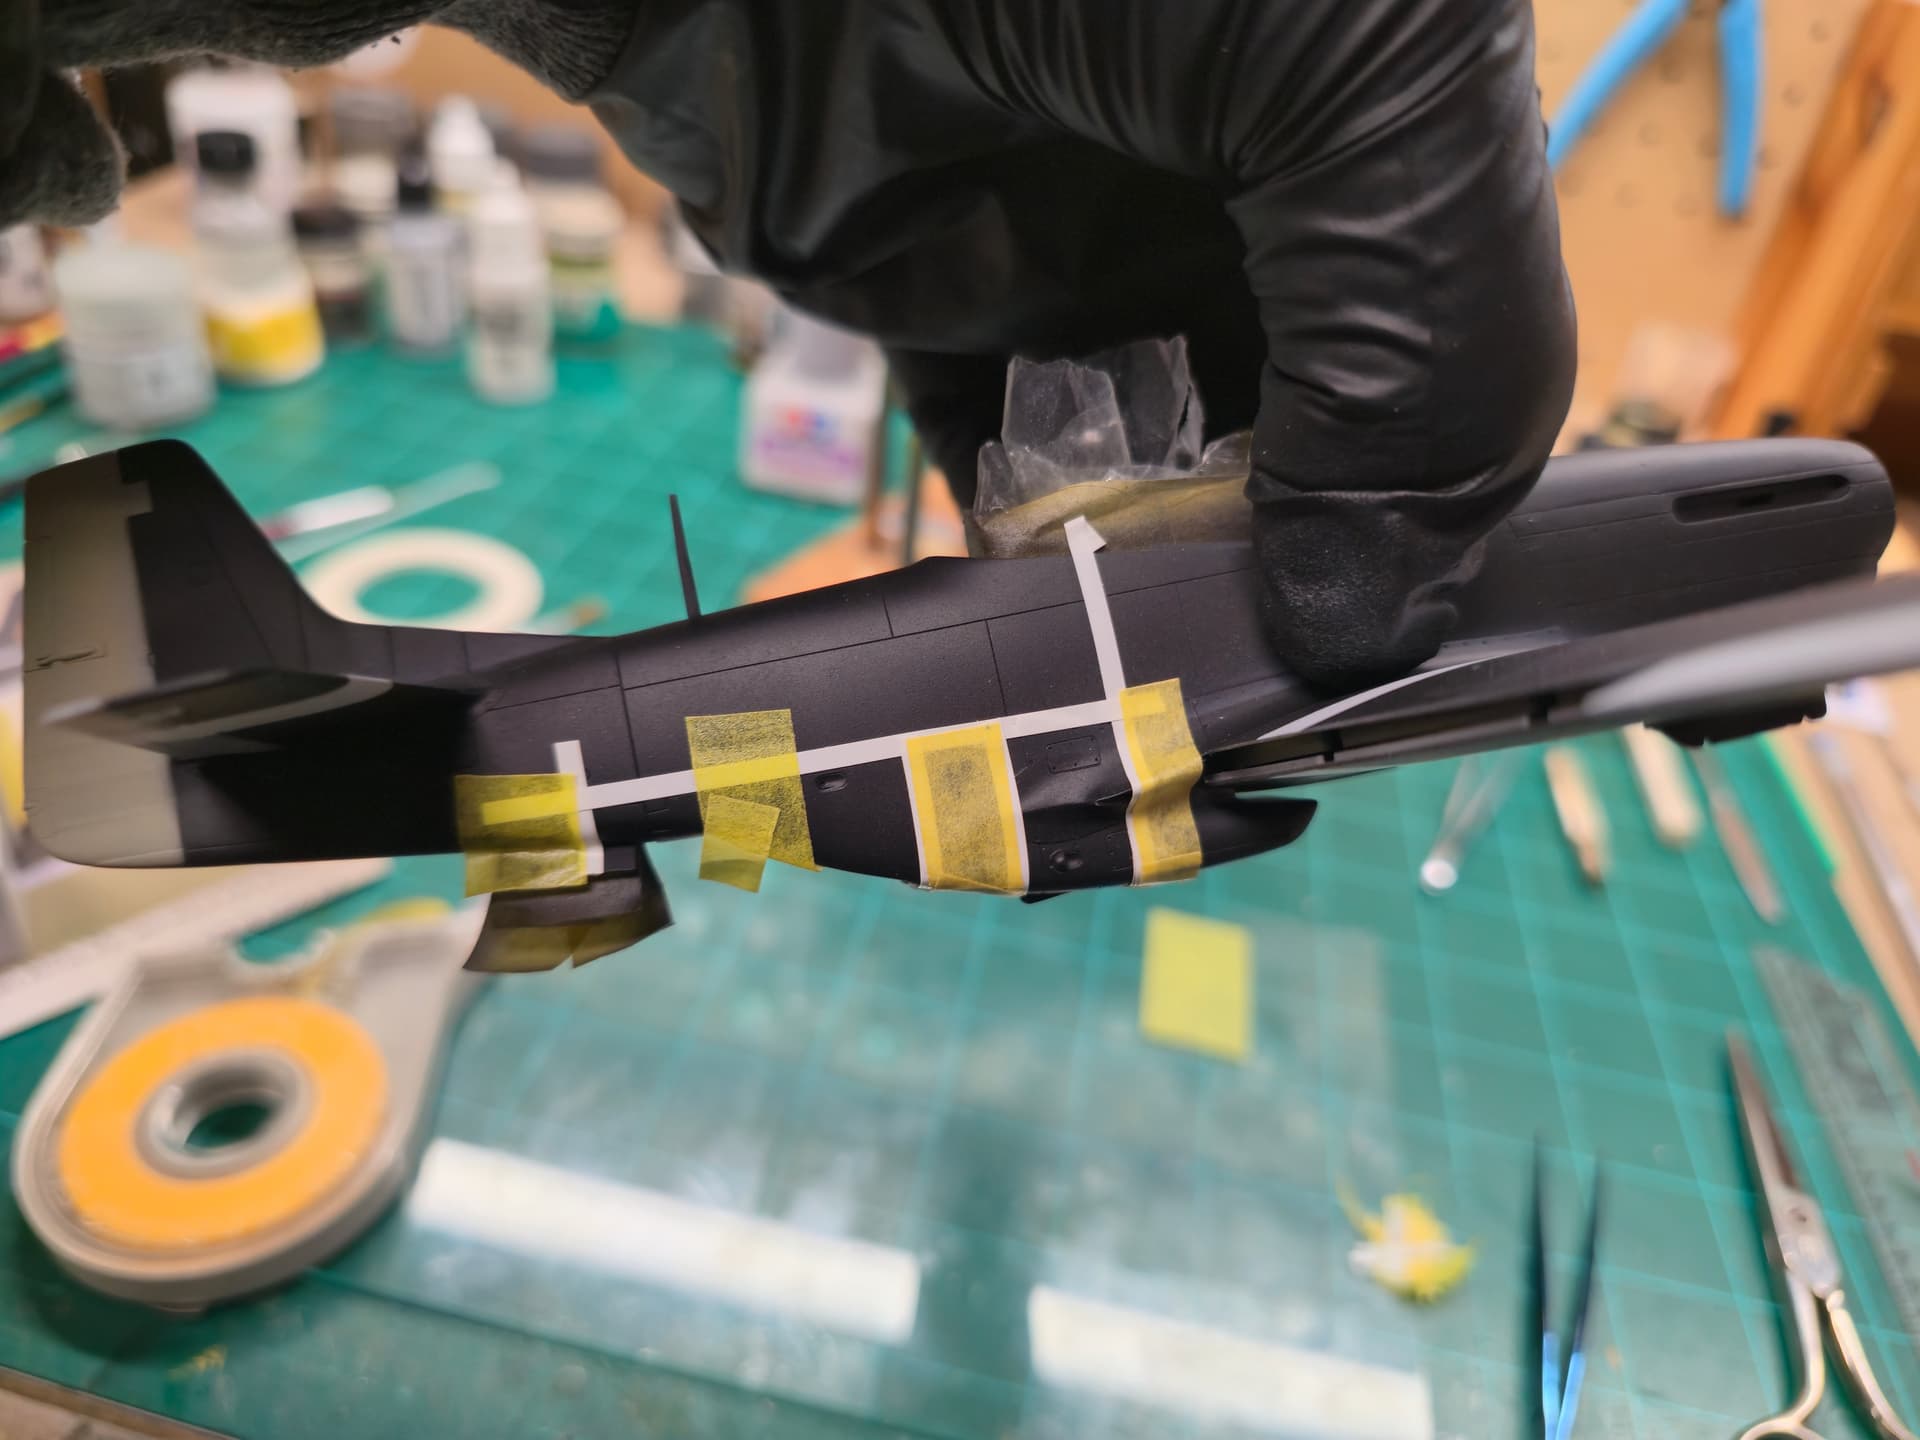
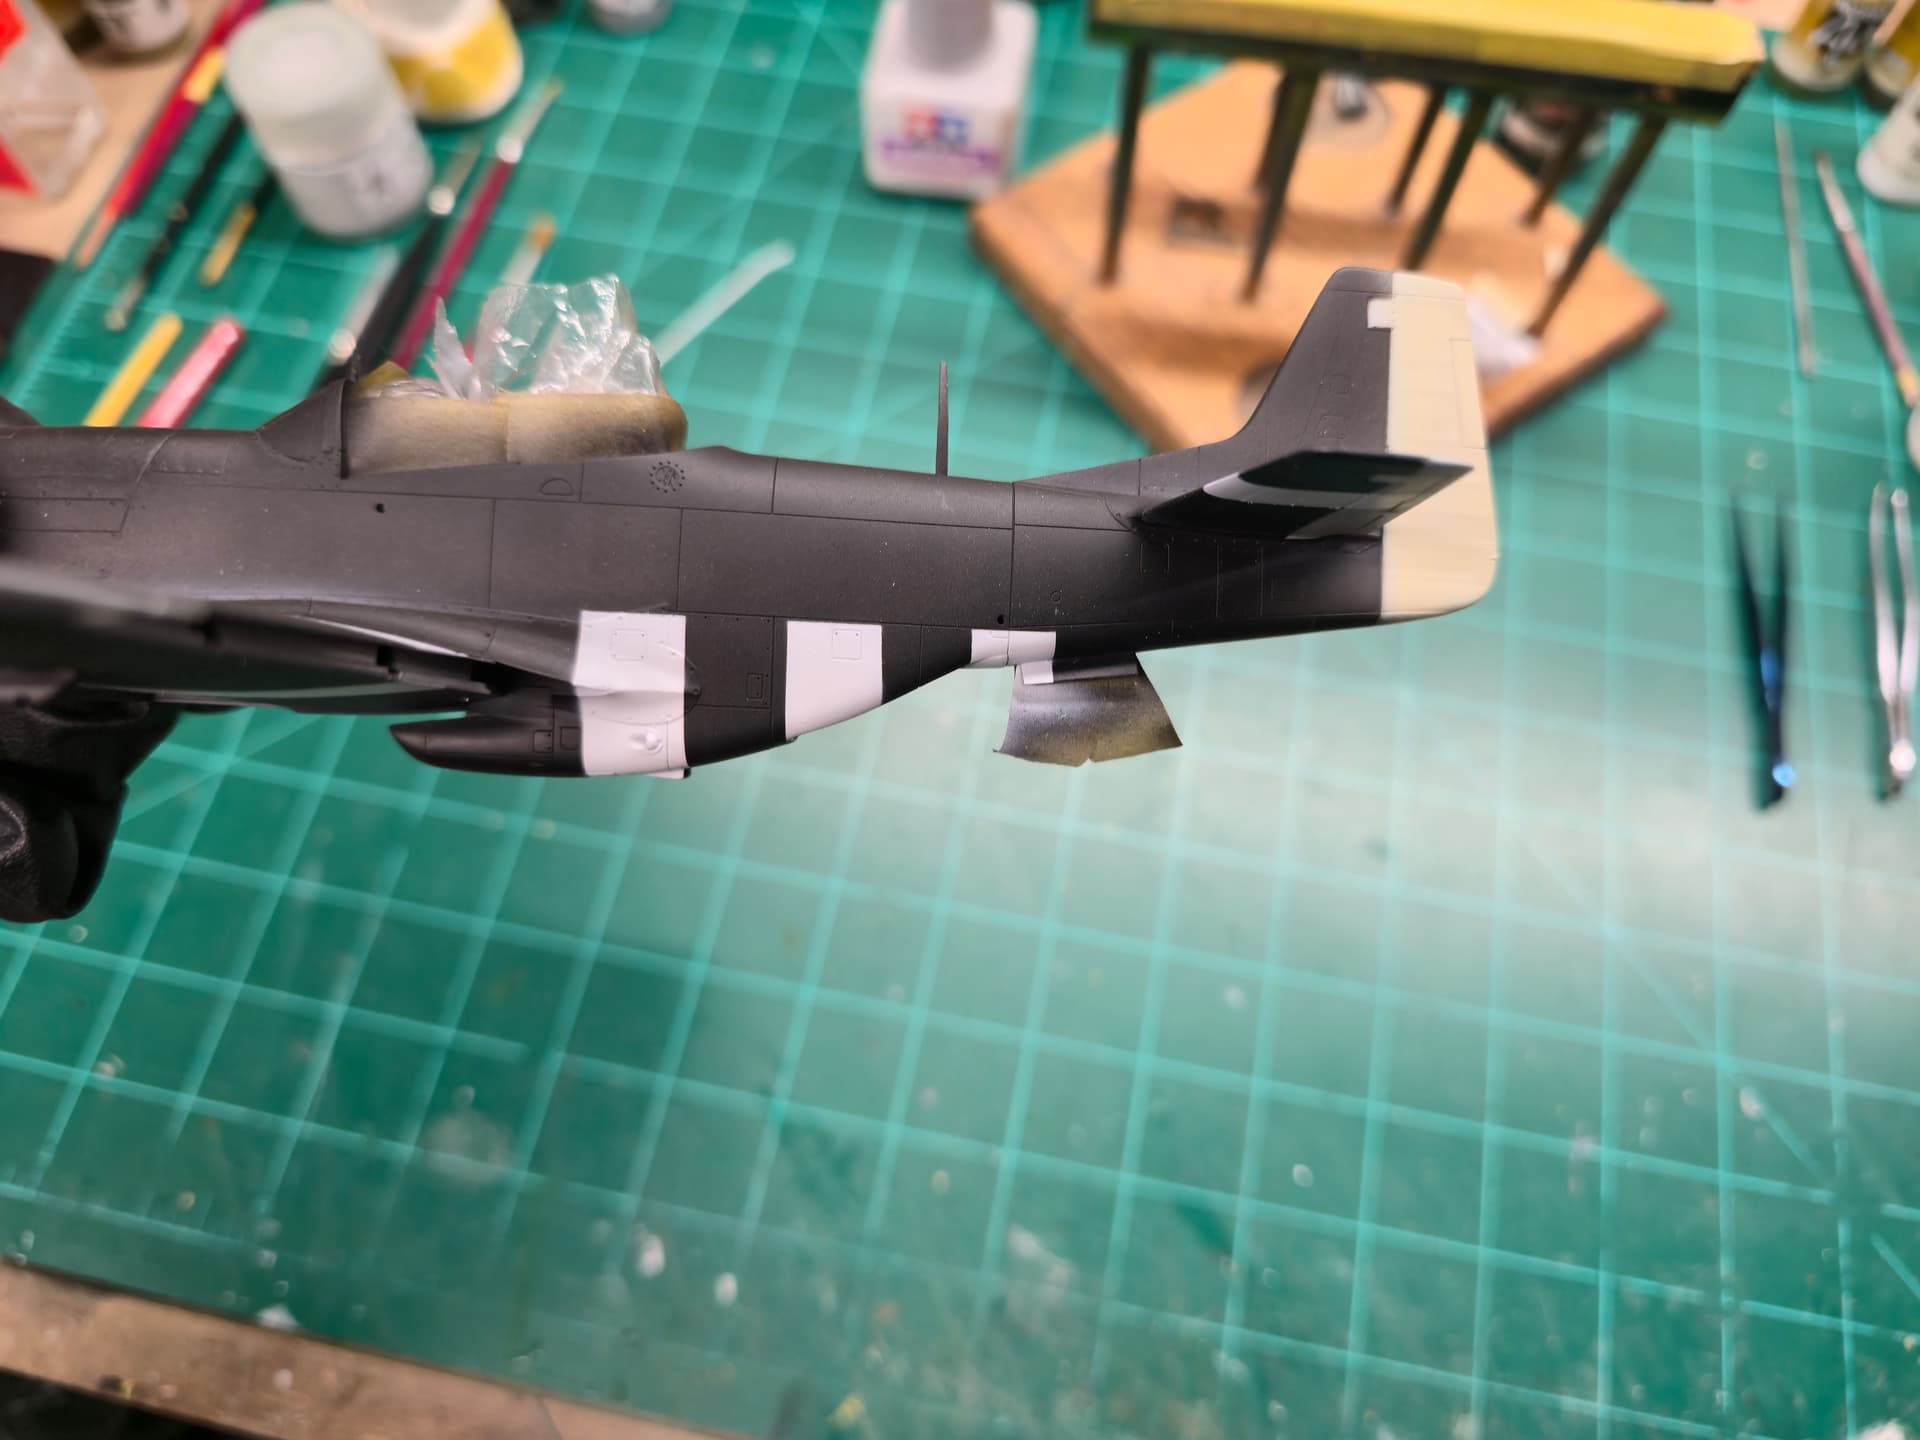
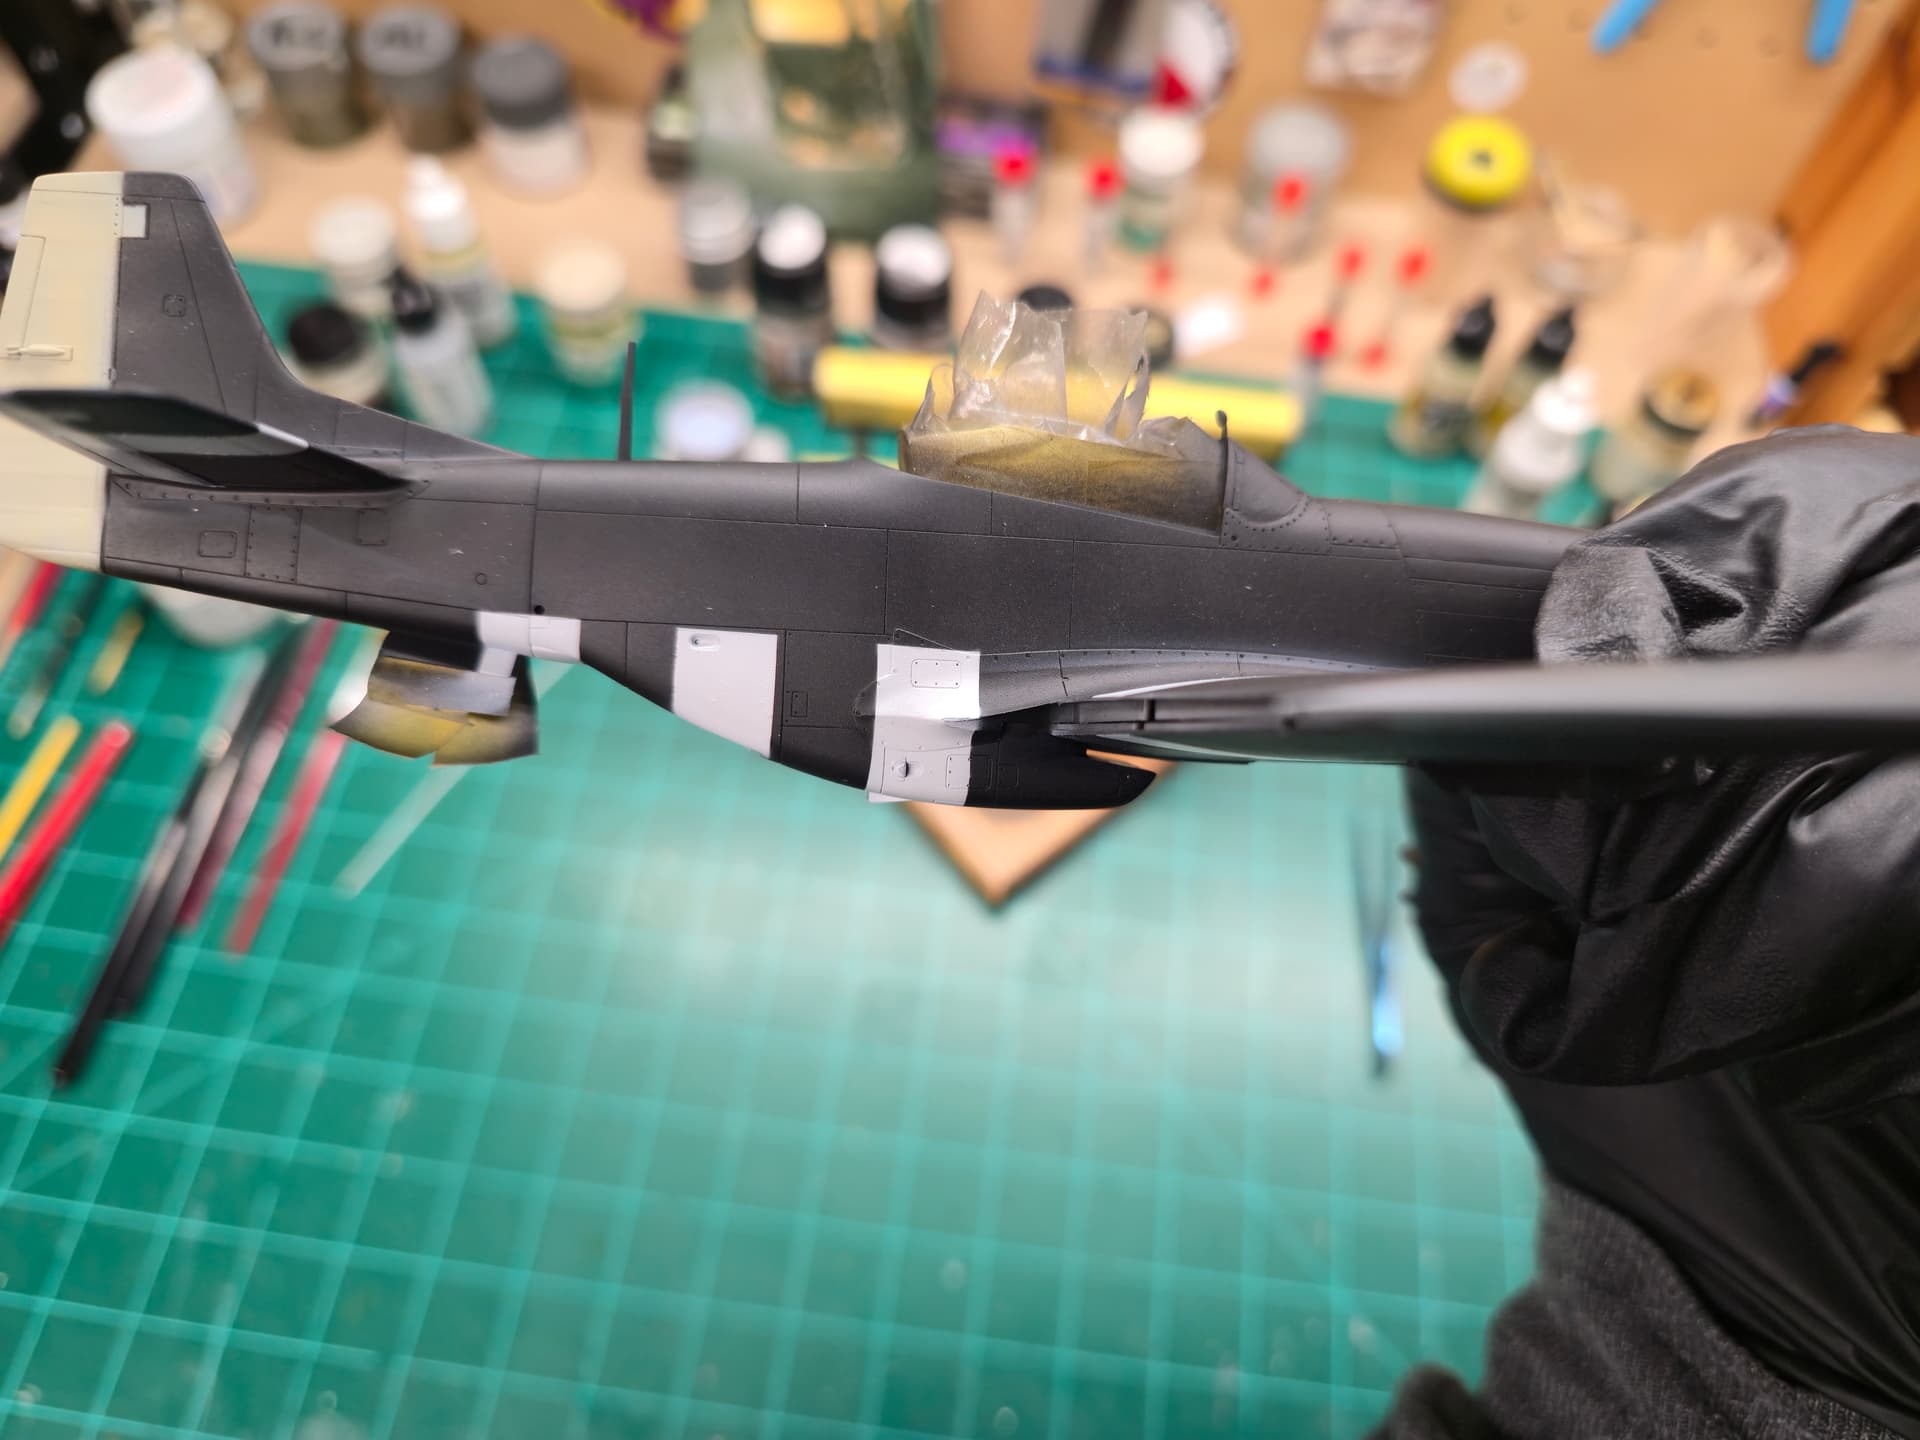
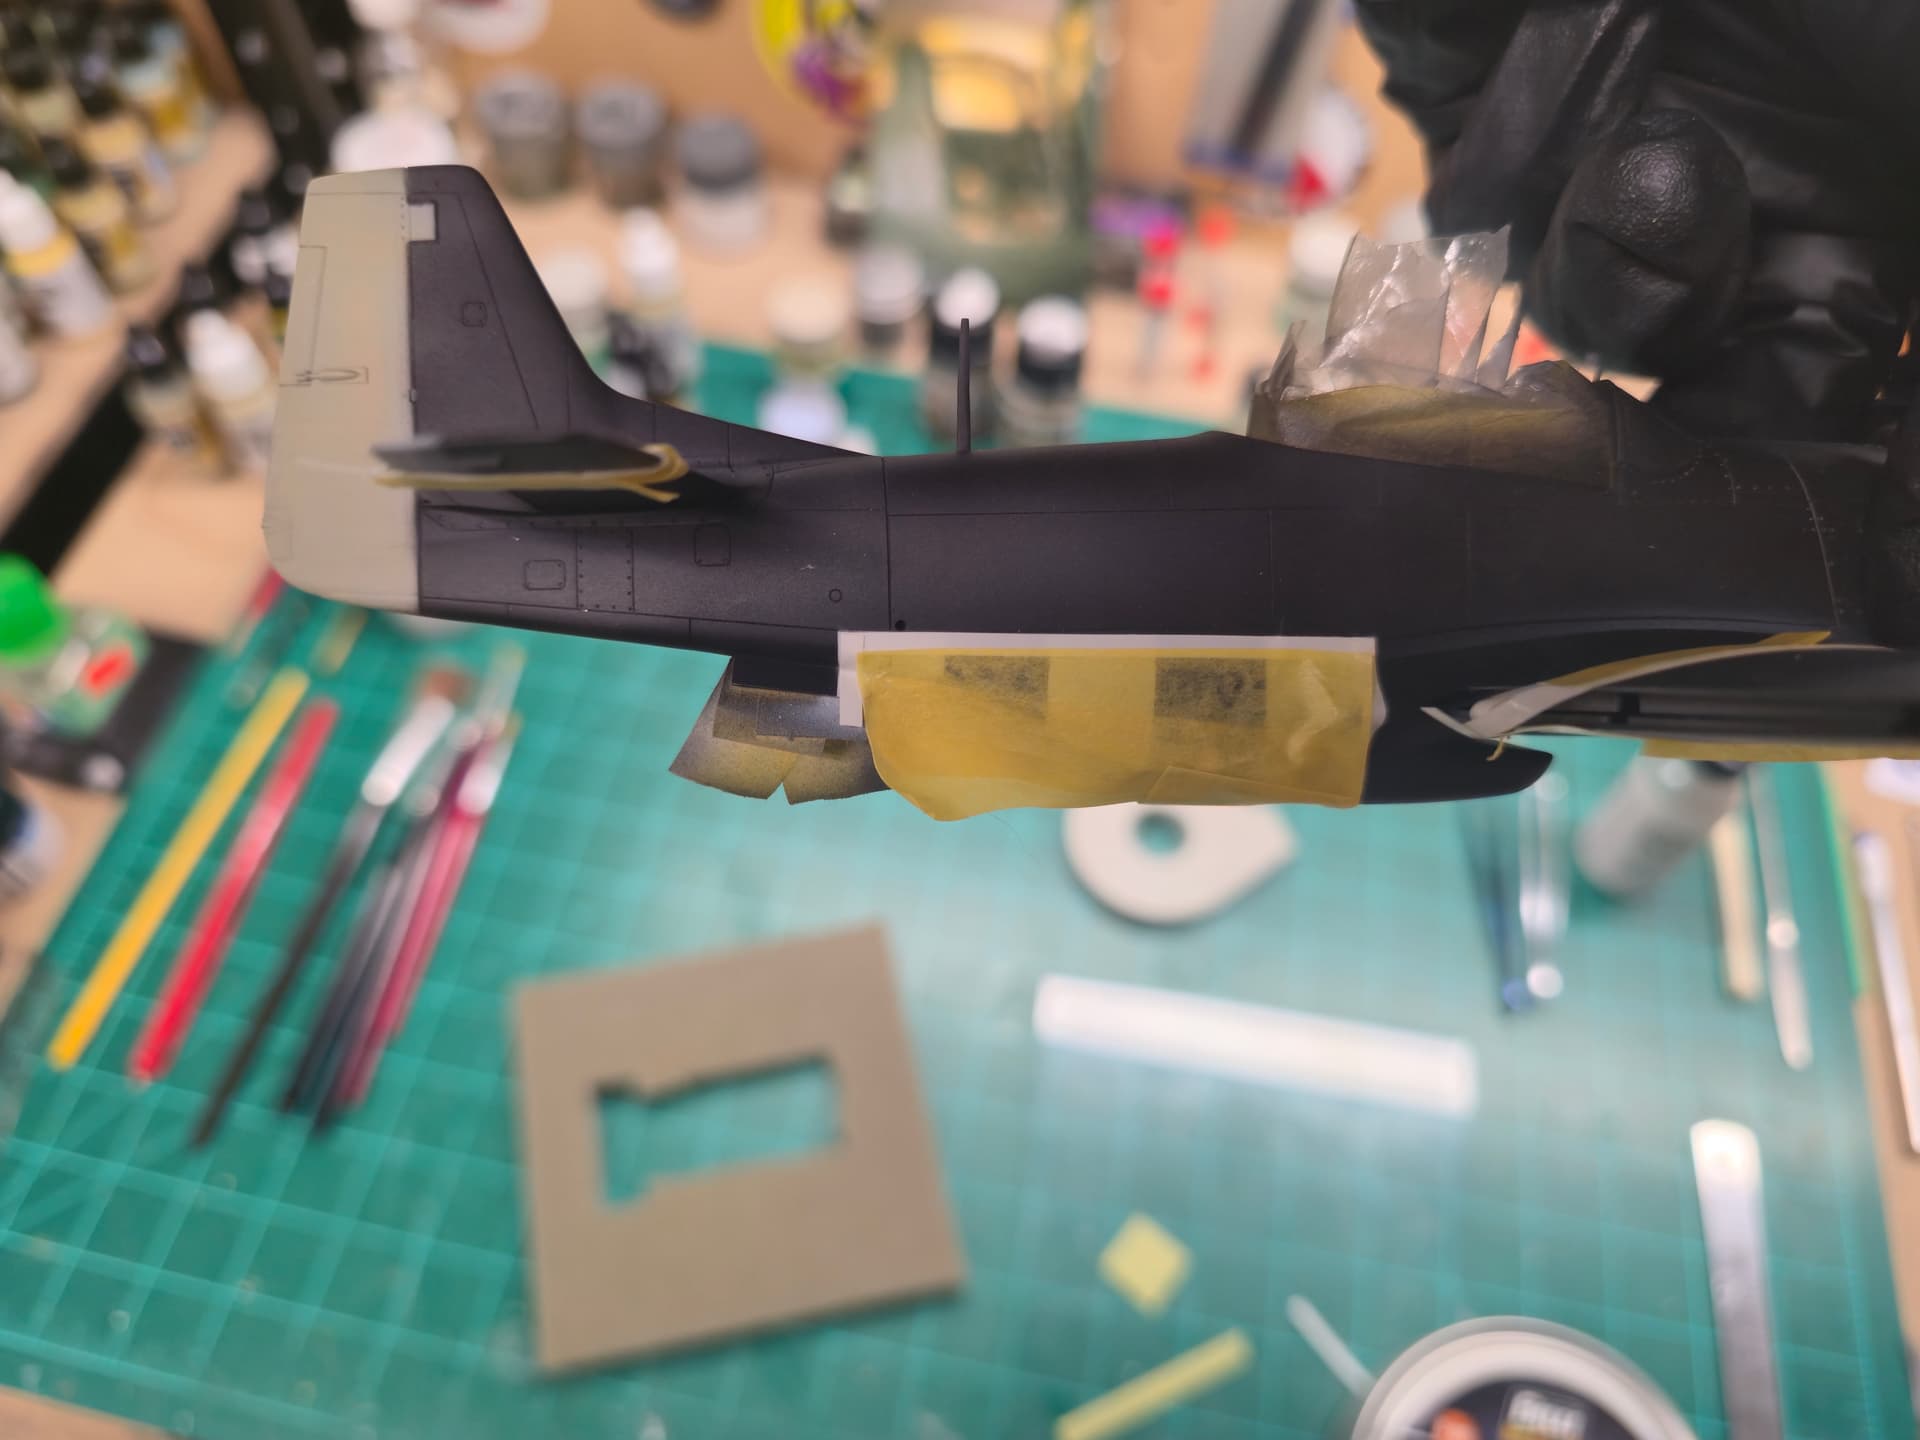
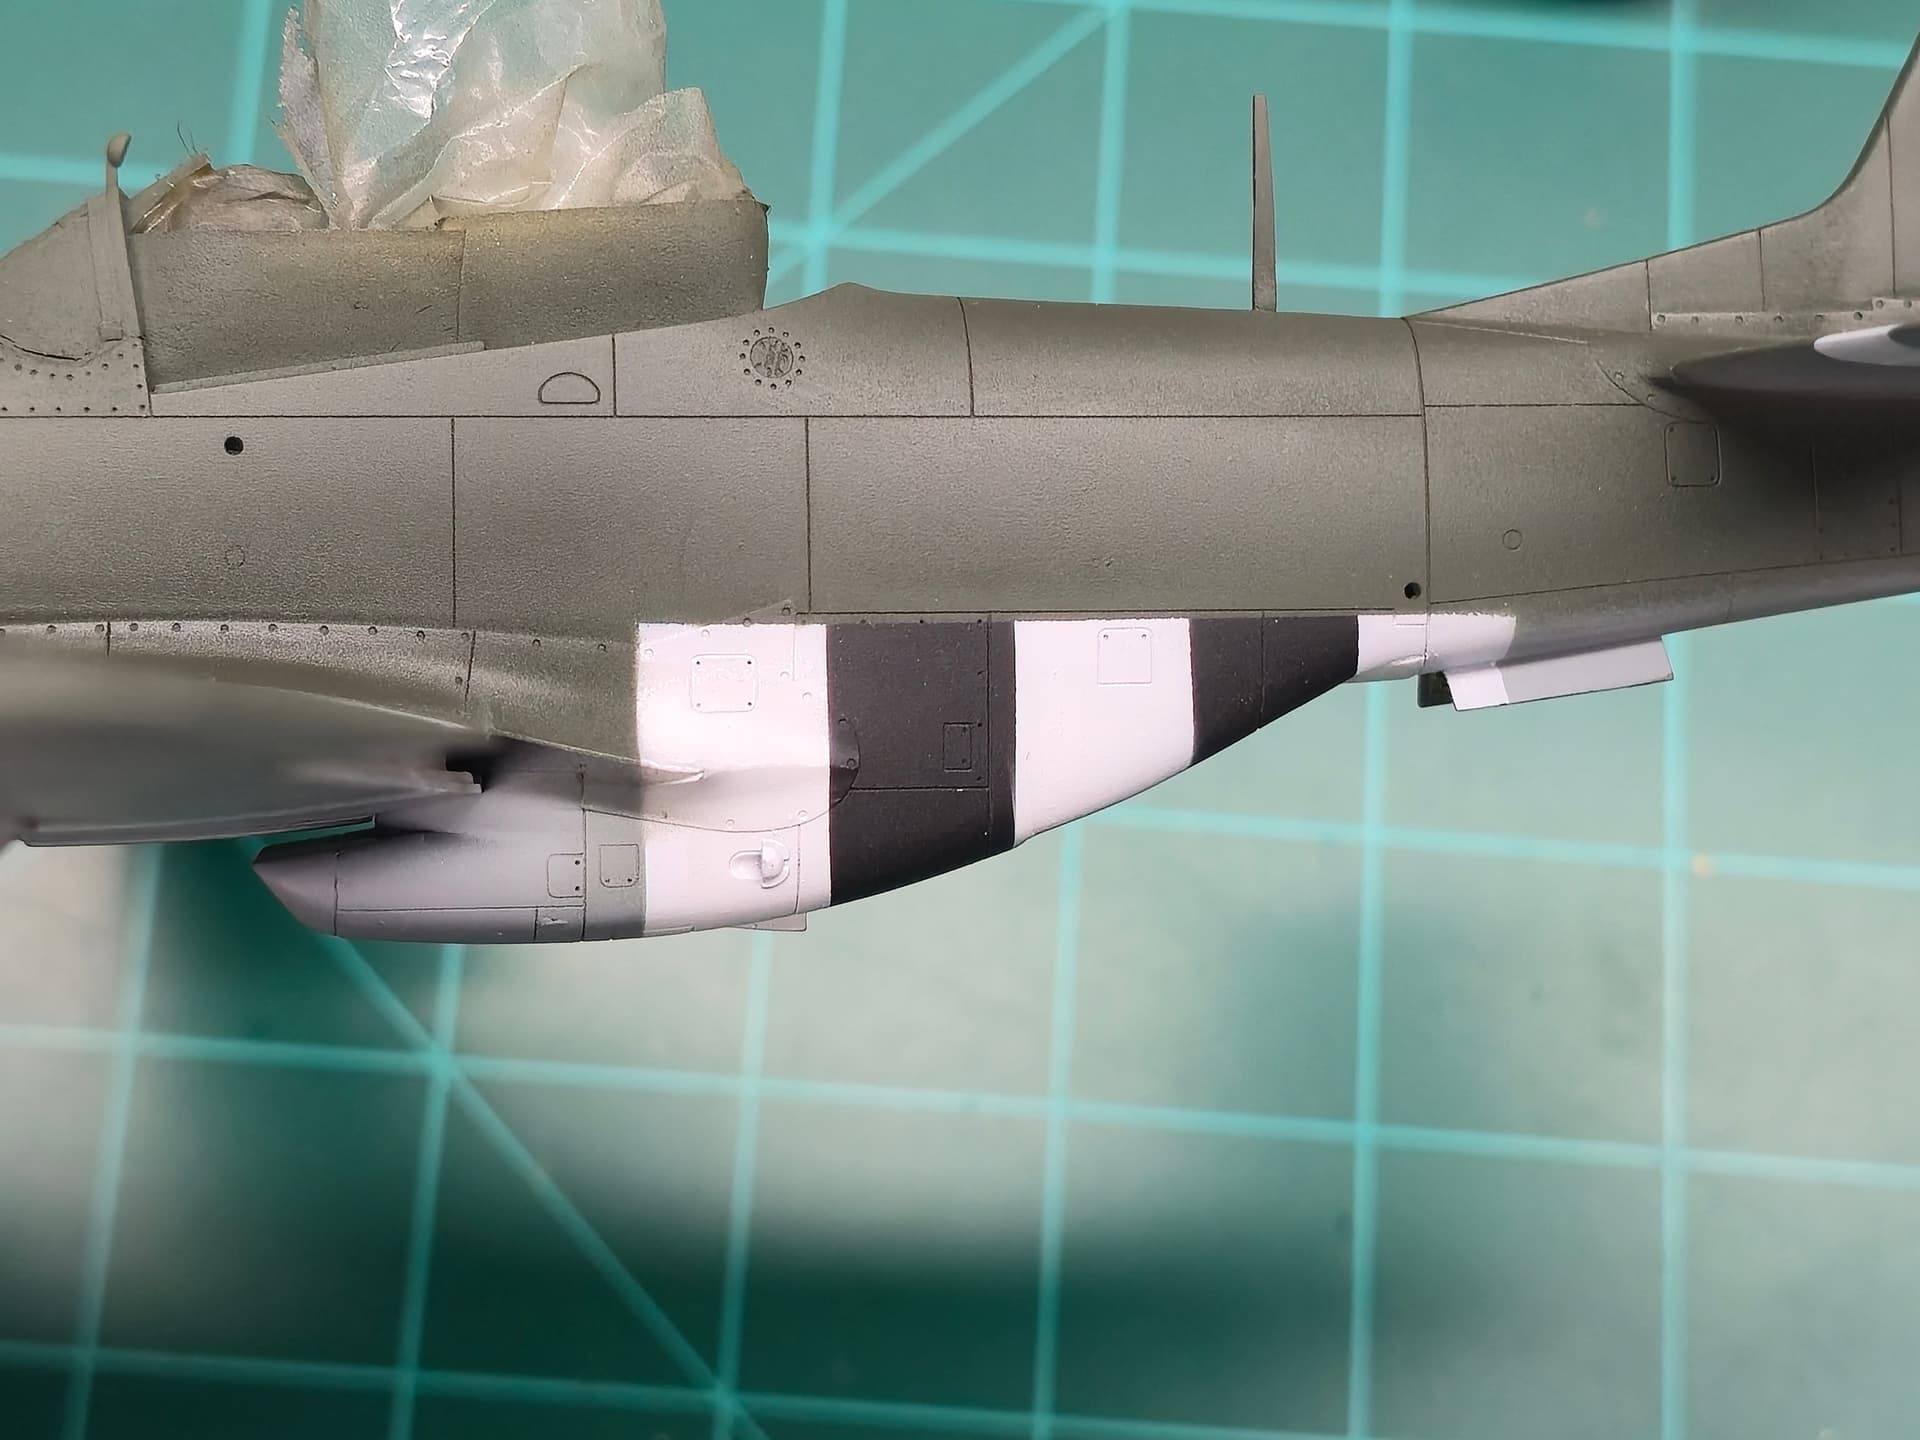
Yesterday, I was able mask off the invasion stripes and this morning, I got to apply the white.
So gar so good! Yes, they will not be perfect, but I like the results! Just a PITA masking especially when I’ll have to reverse mask when I go to apply the colors.
Happy Modeling,
Mike
3 Likes
Really nice job masking those stripes.
2 Likes
Thank you Tom!! It was a PITA but better this way then working with aftermarket invasion stripe decals.. Blah
Happy Modeling,
Mike
2 Likes
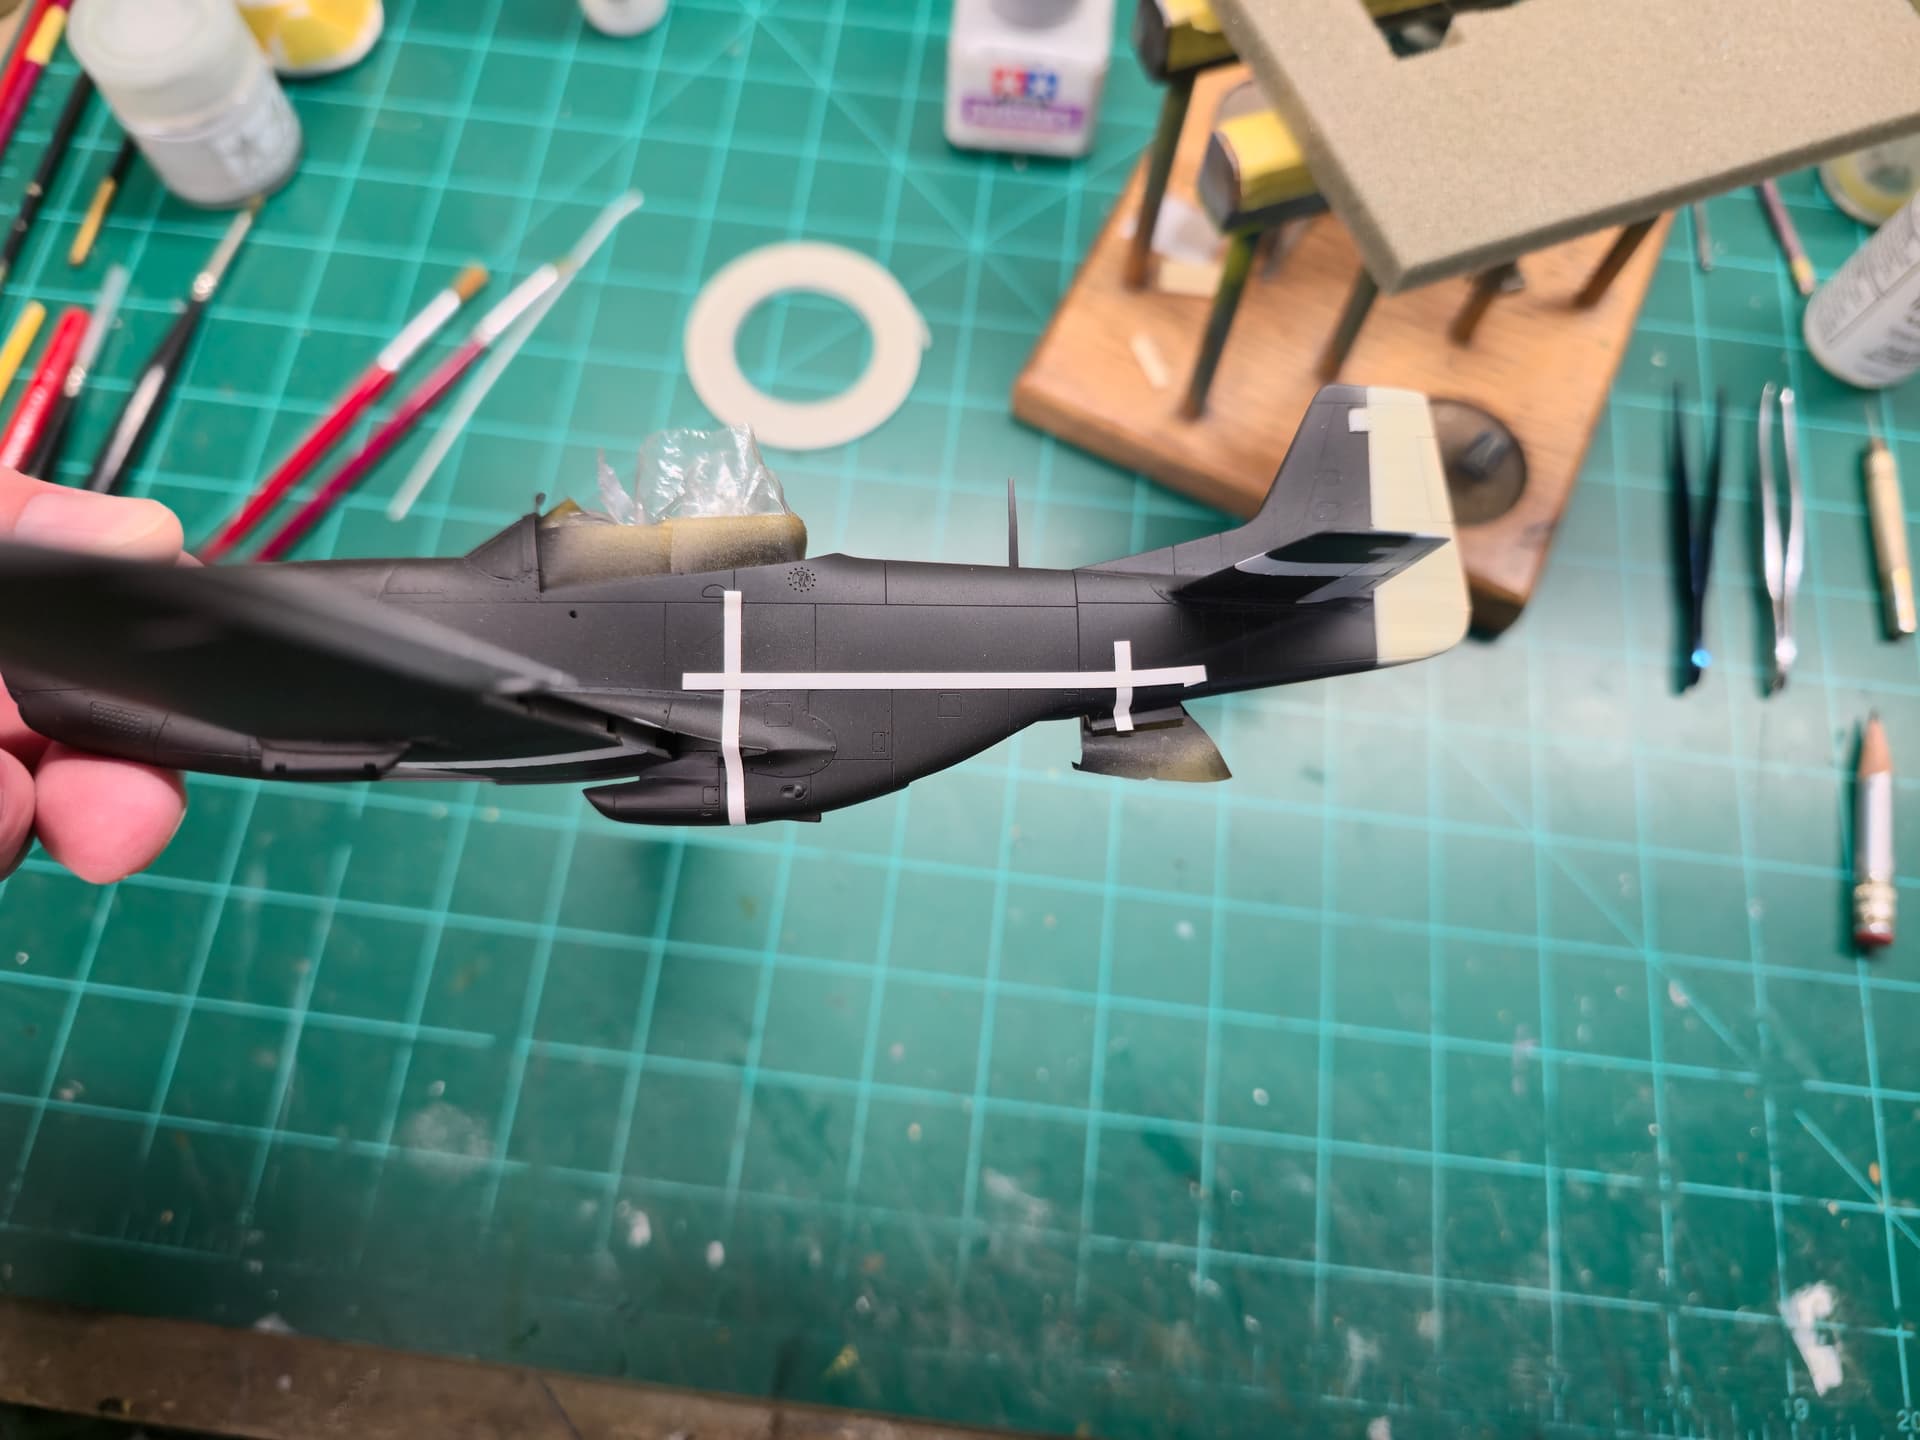
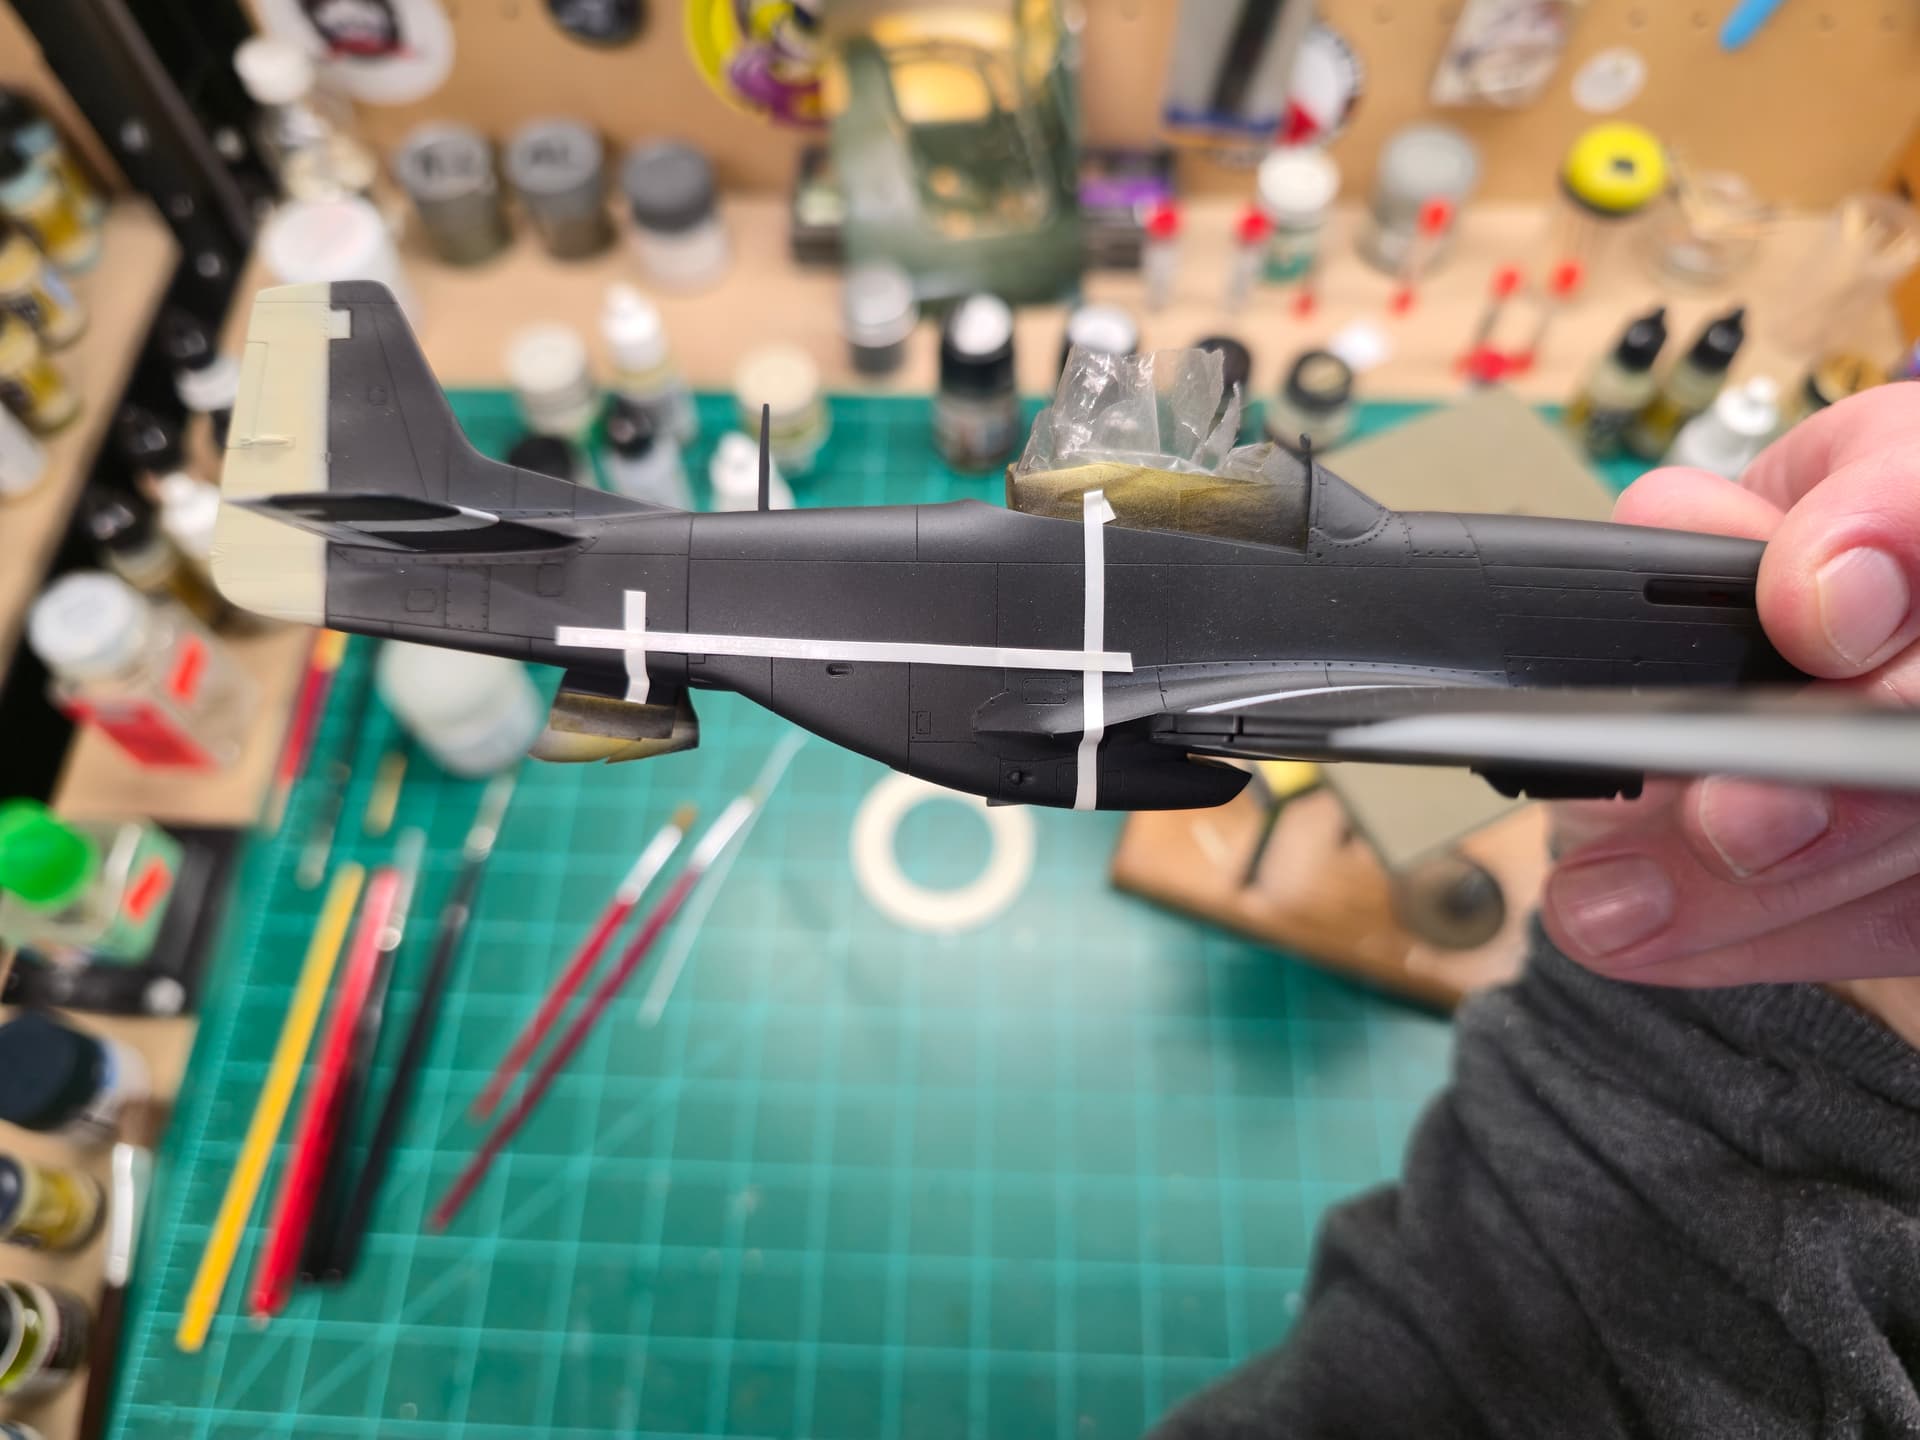
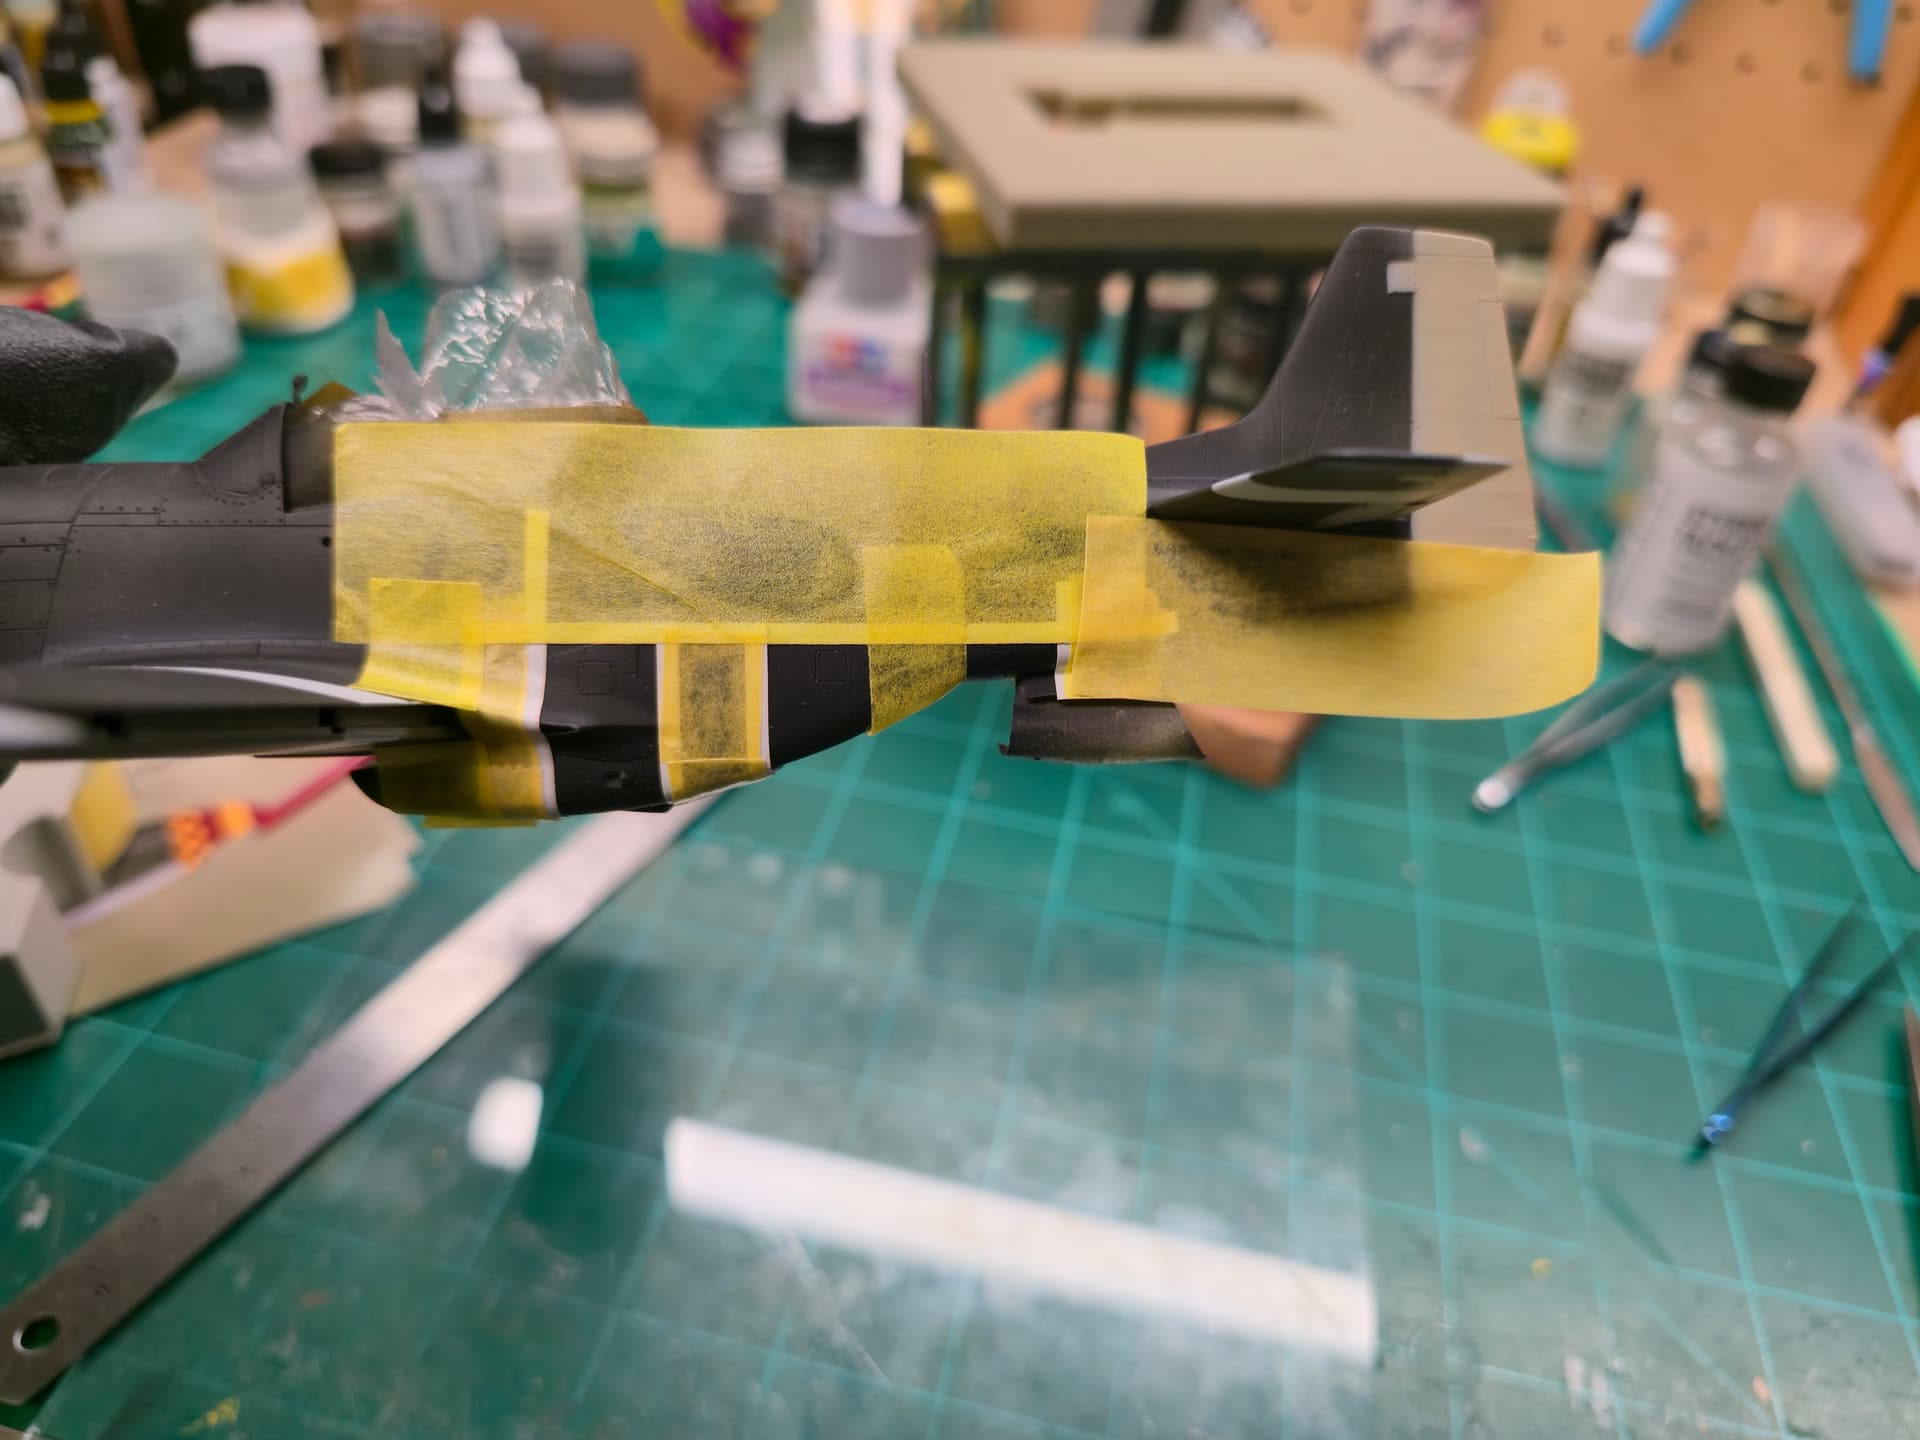
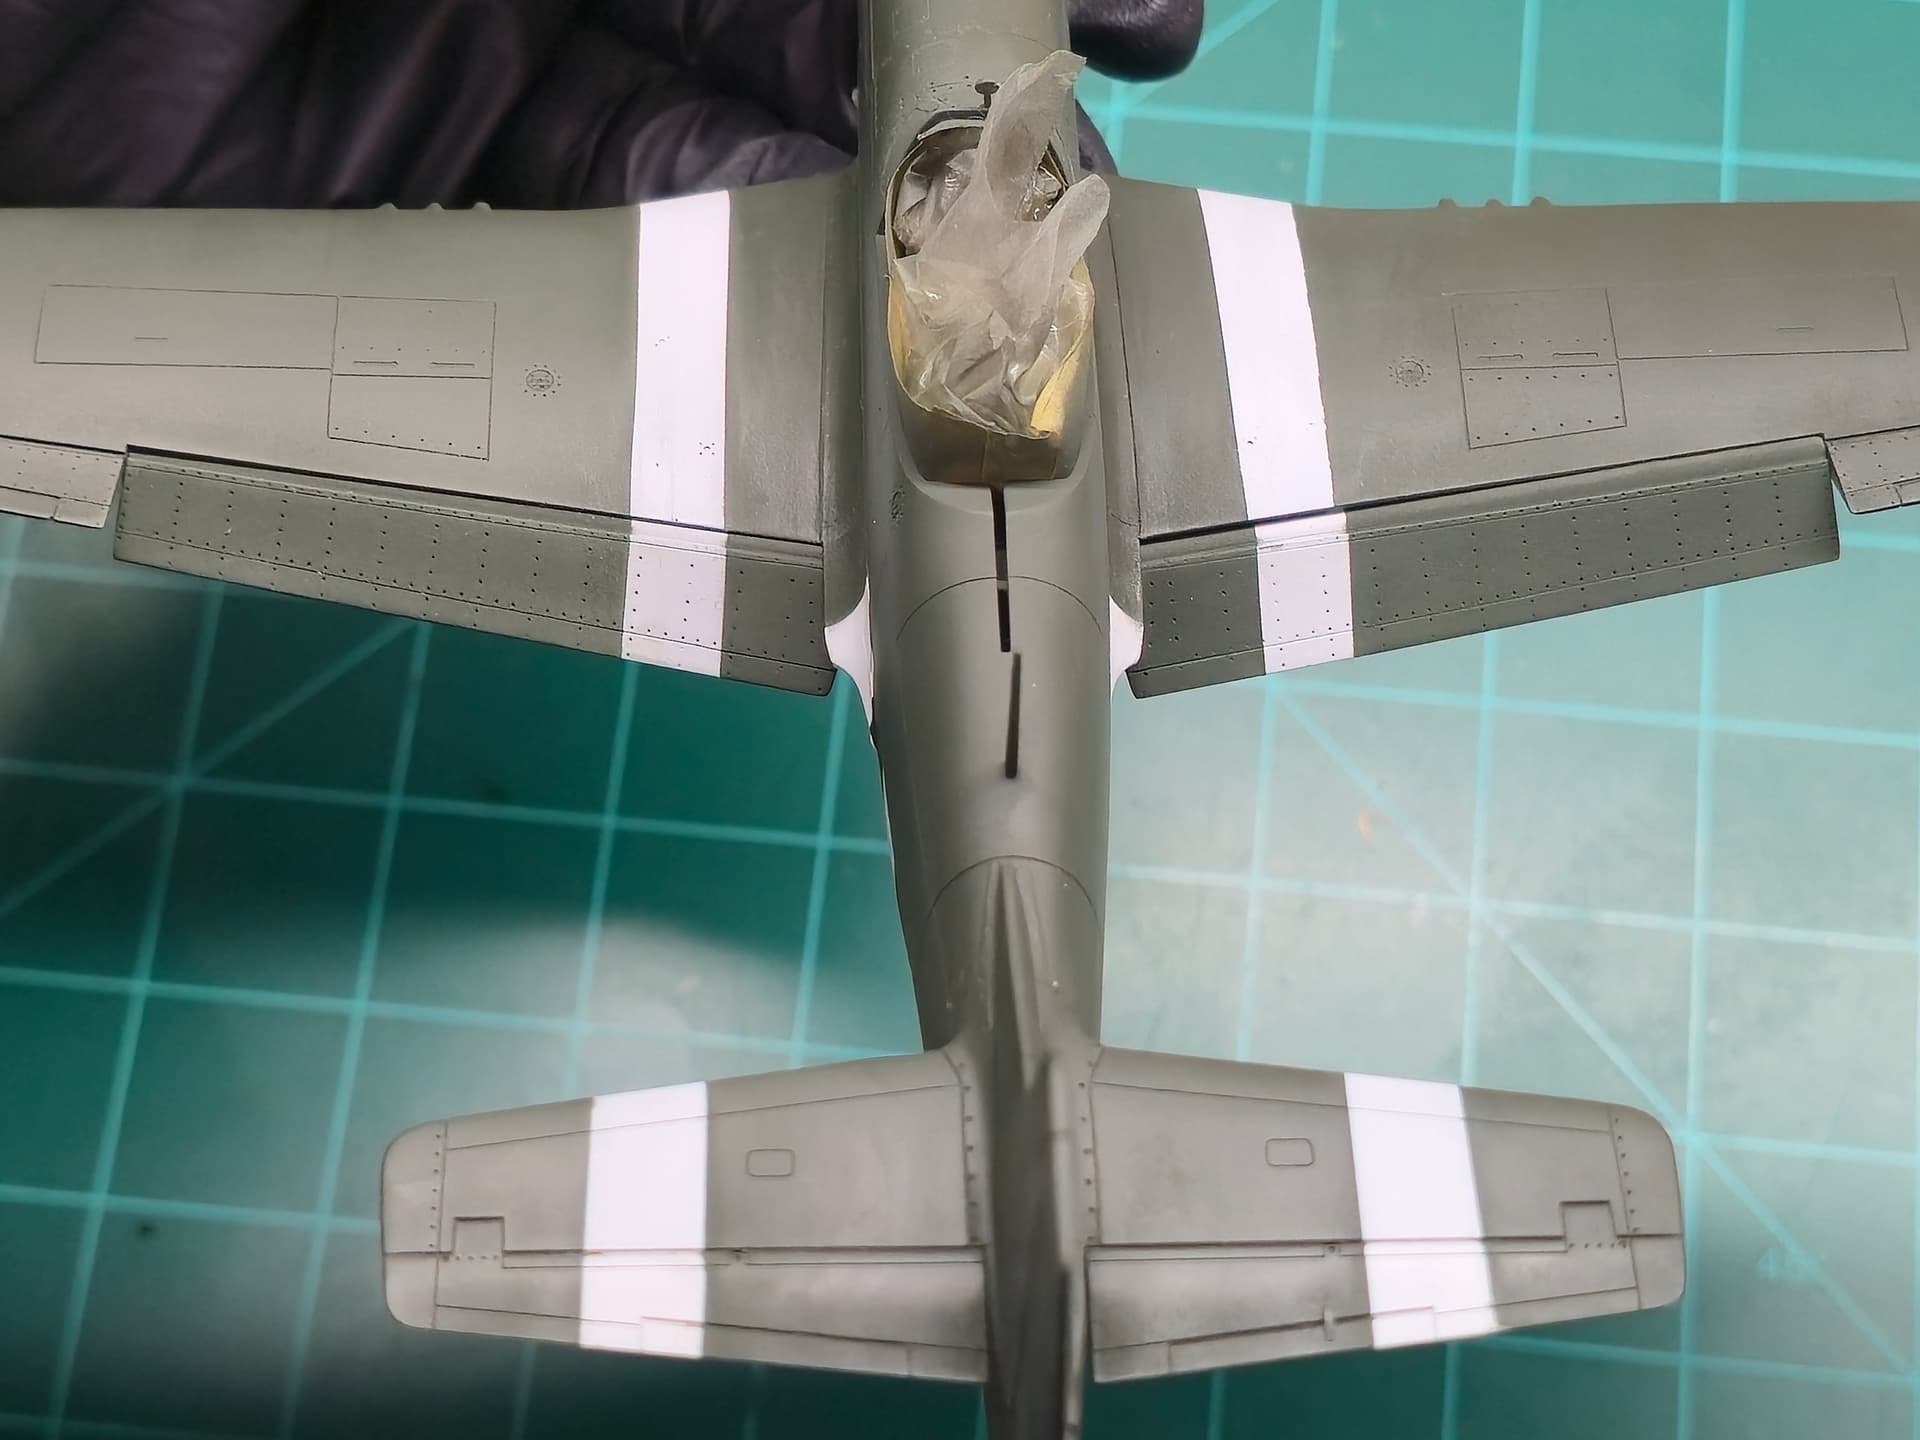
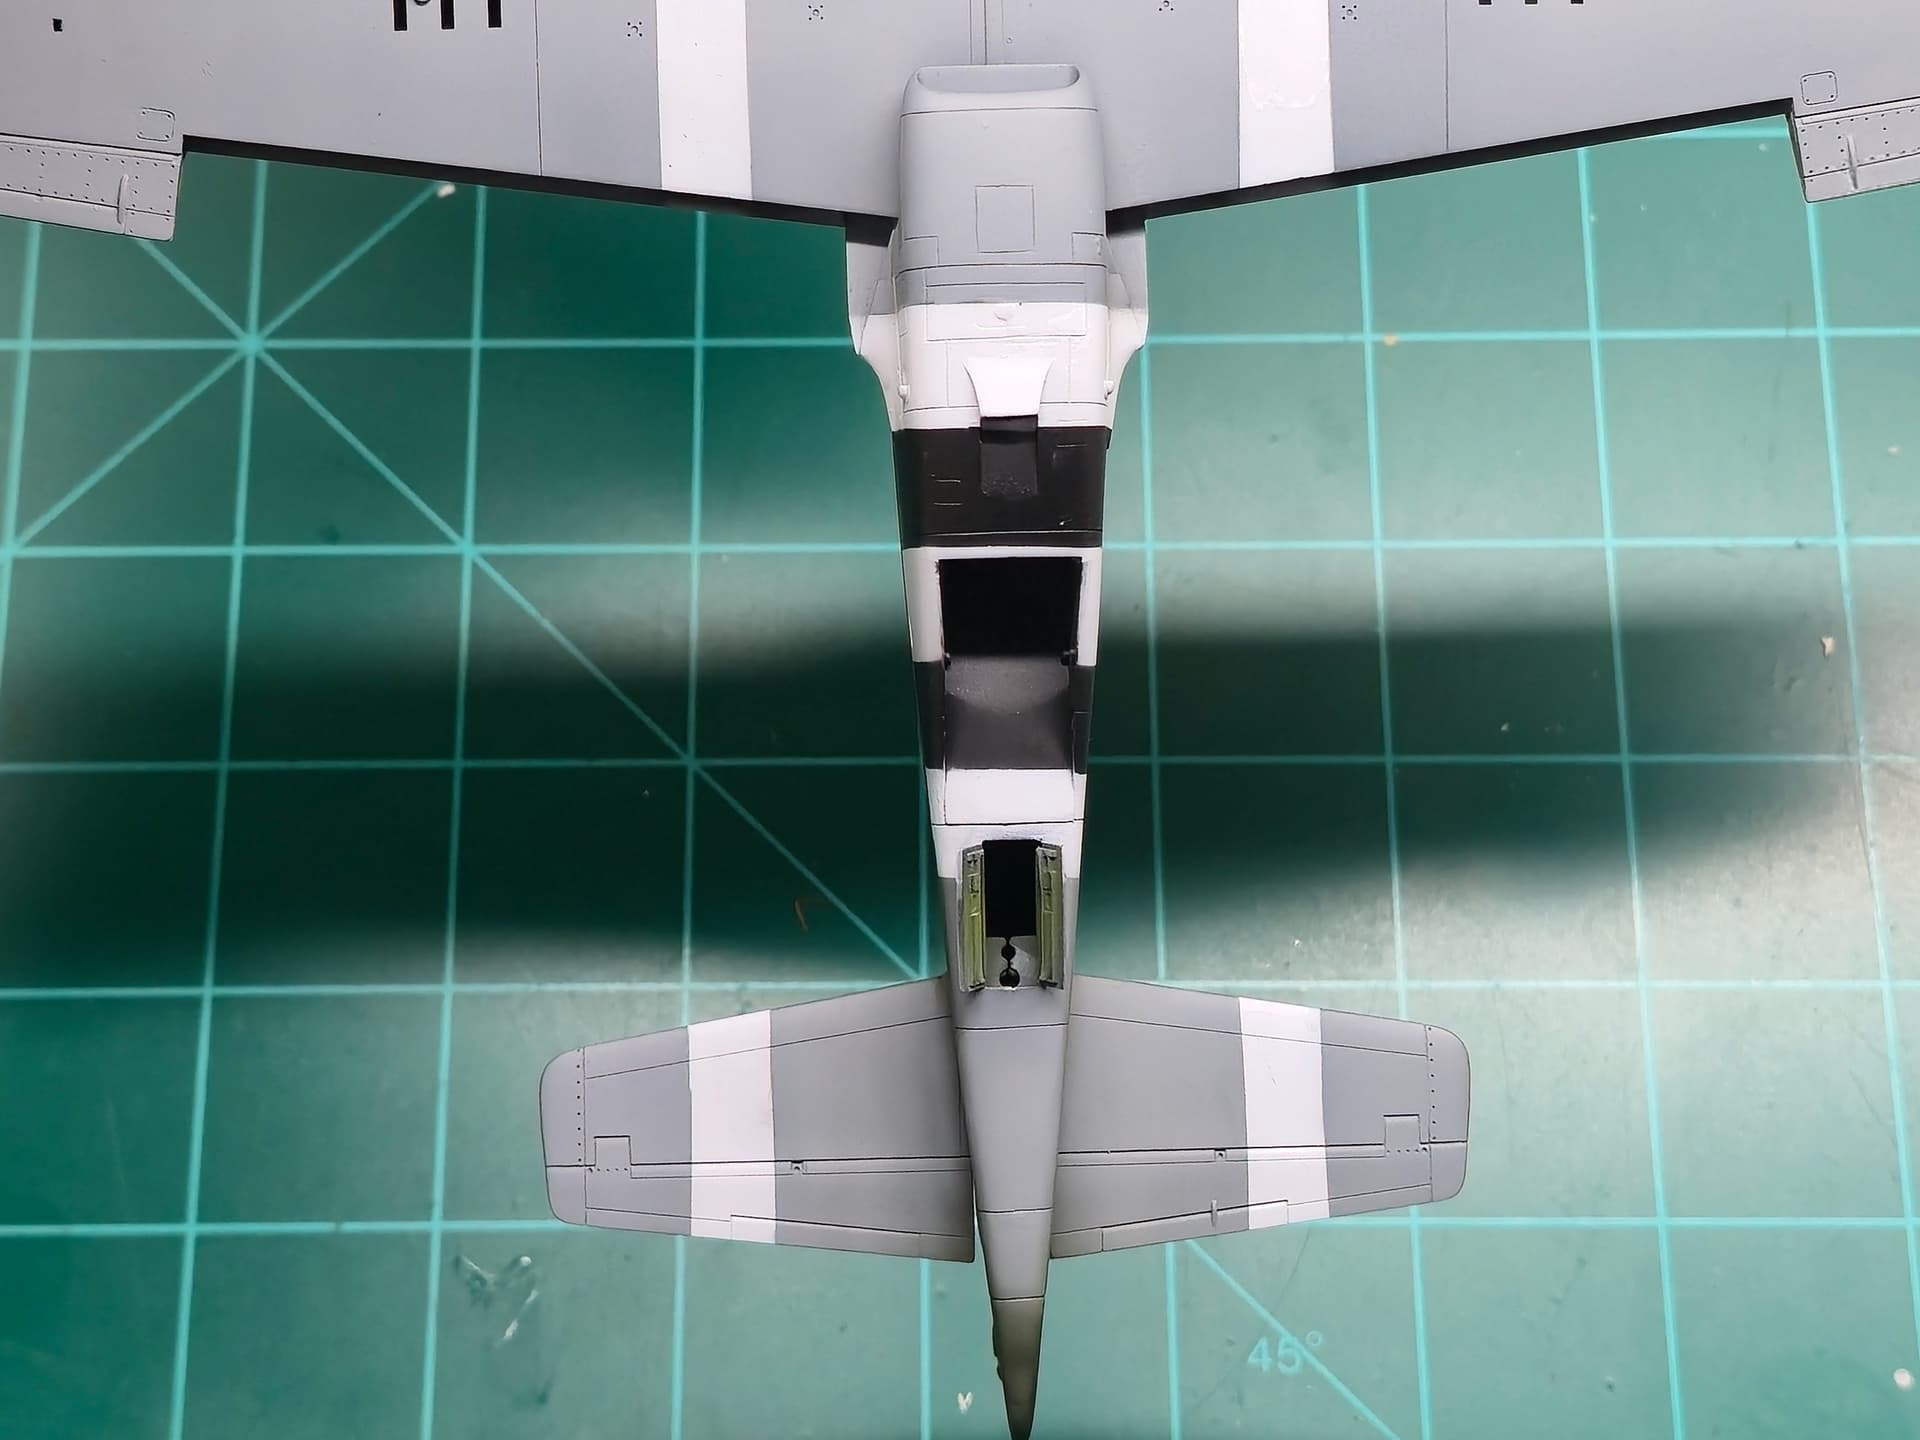
Update 13 - The reverse mask
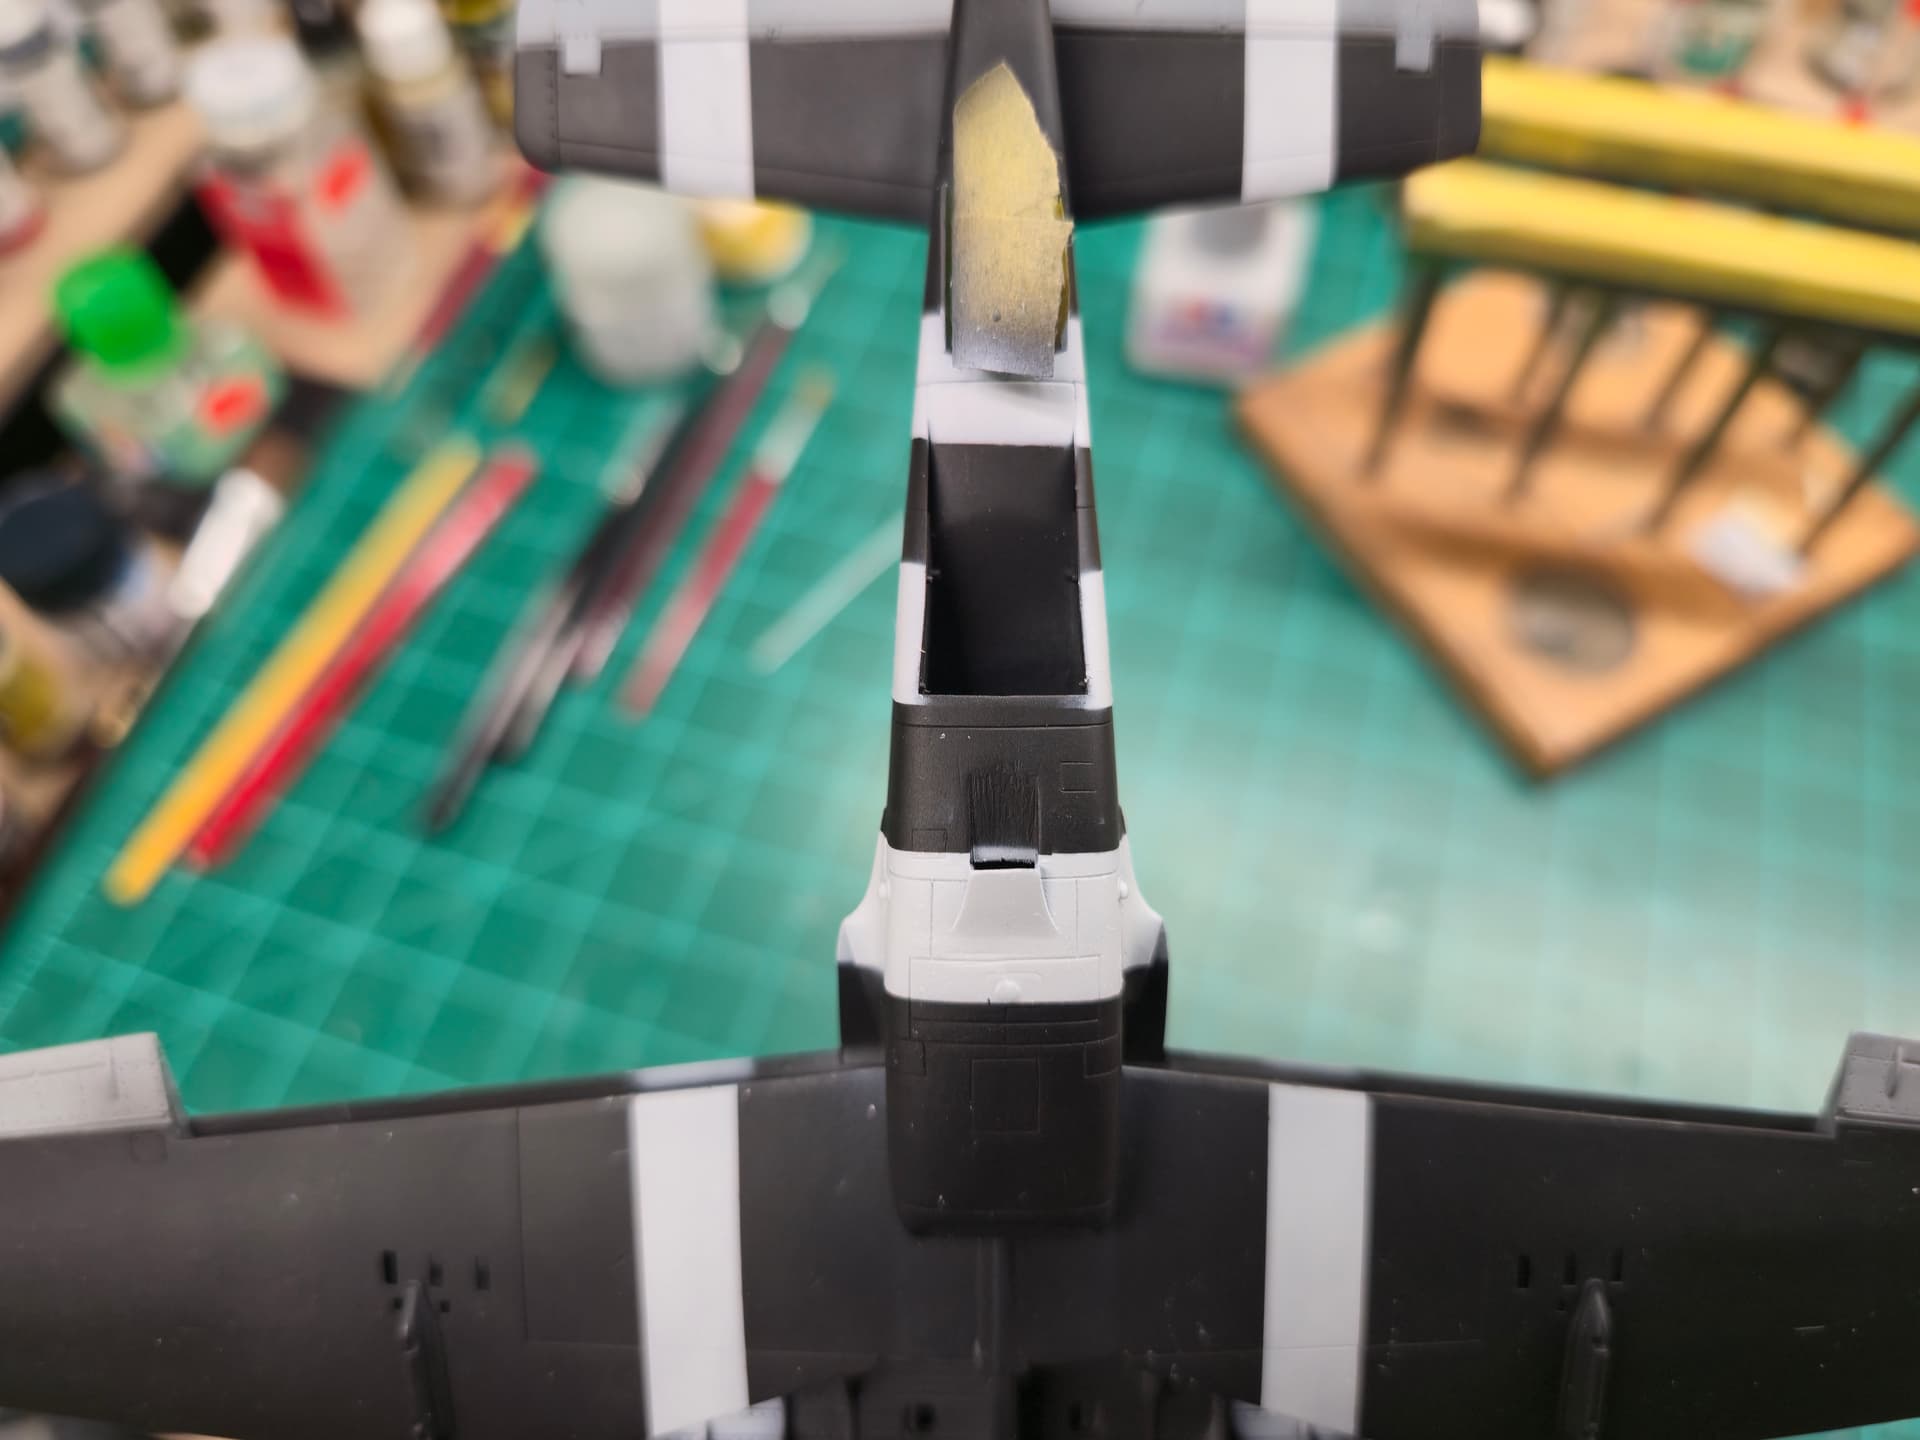
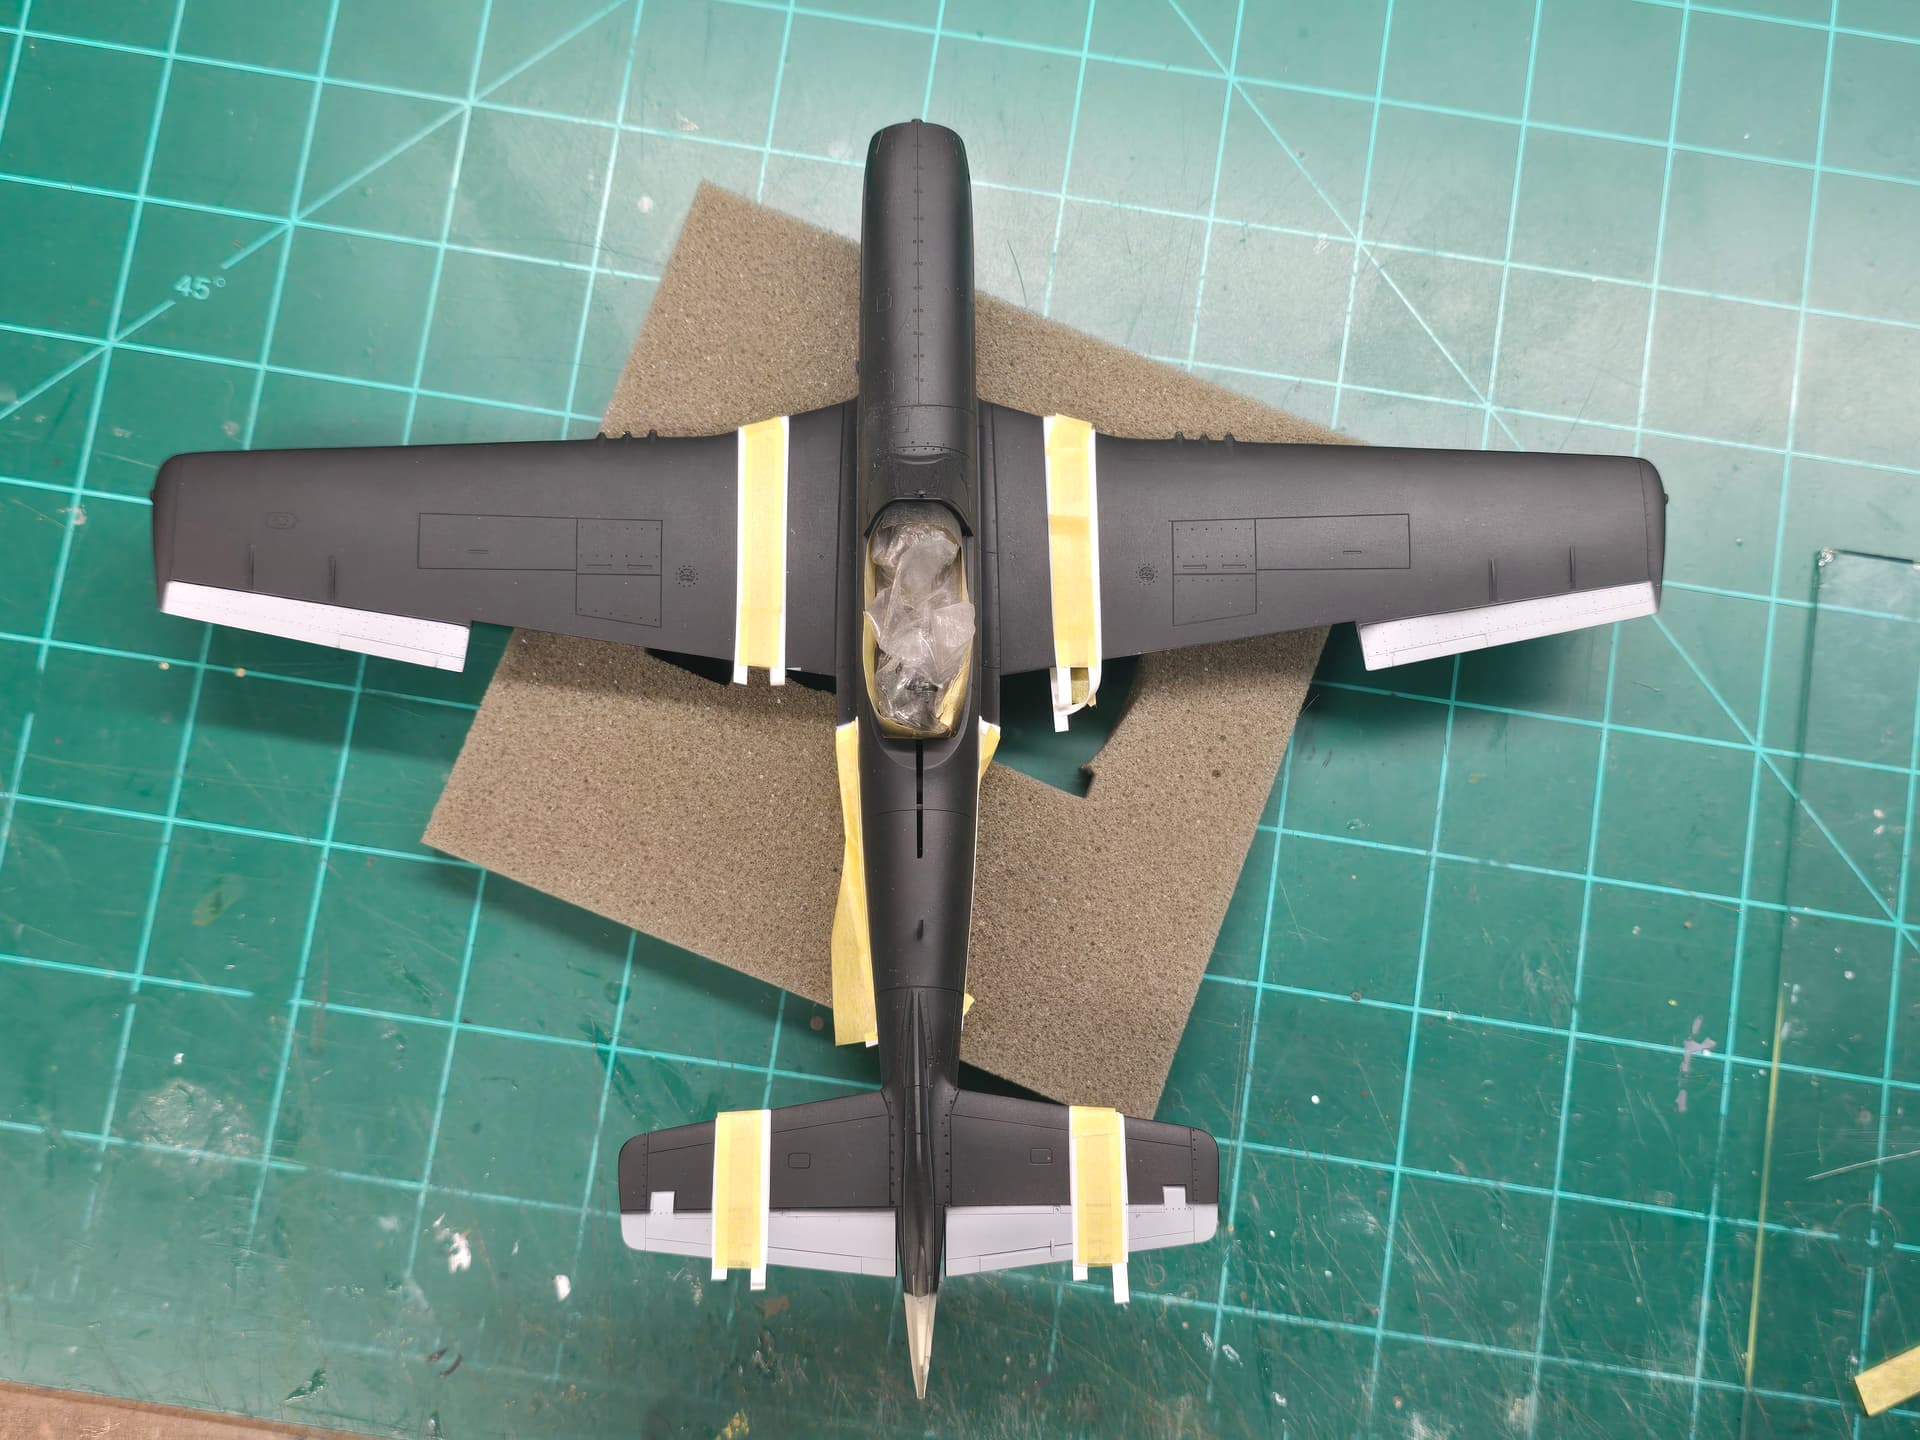
Not a whole lot went on yesterday but I had a chance to reverse mask the ID bands and invasion stripes. So far so good so I think I’m safe to move onto the colors!

Happy Modeling,
Mike
7 Likes
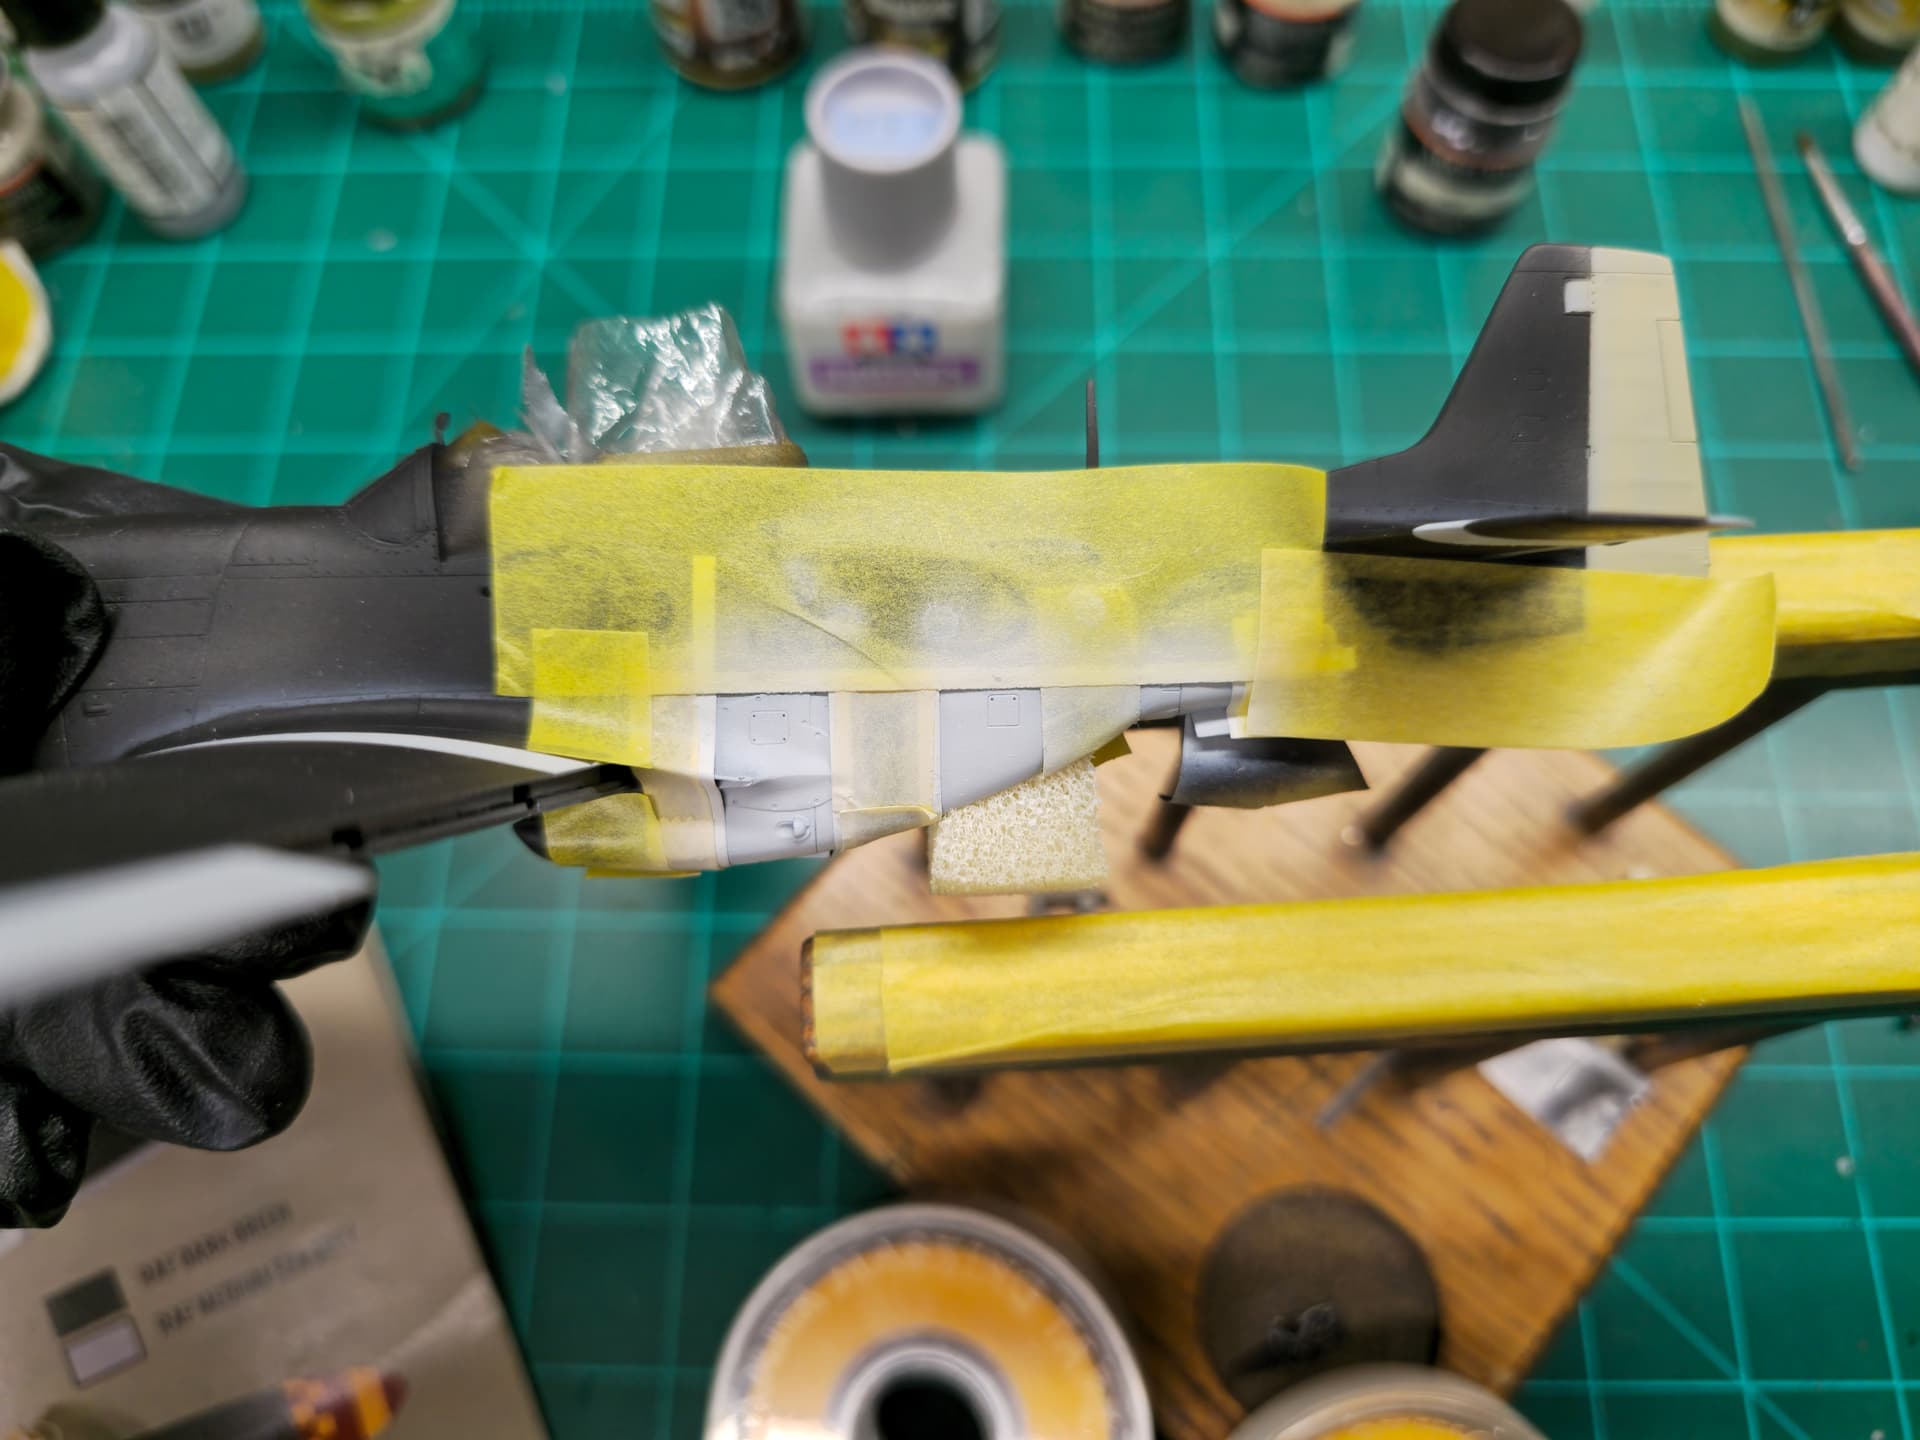
Update 14
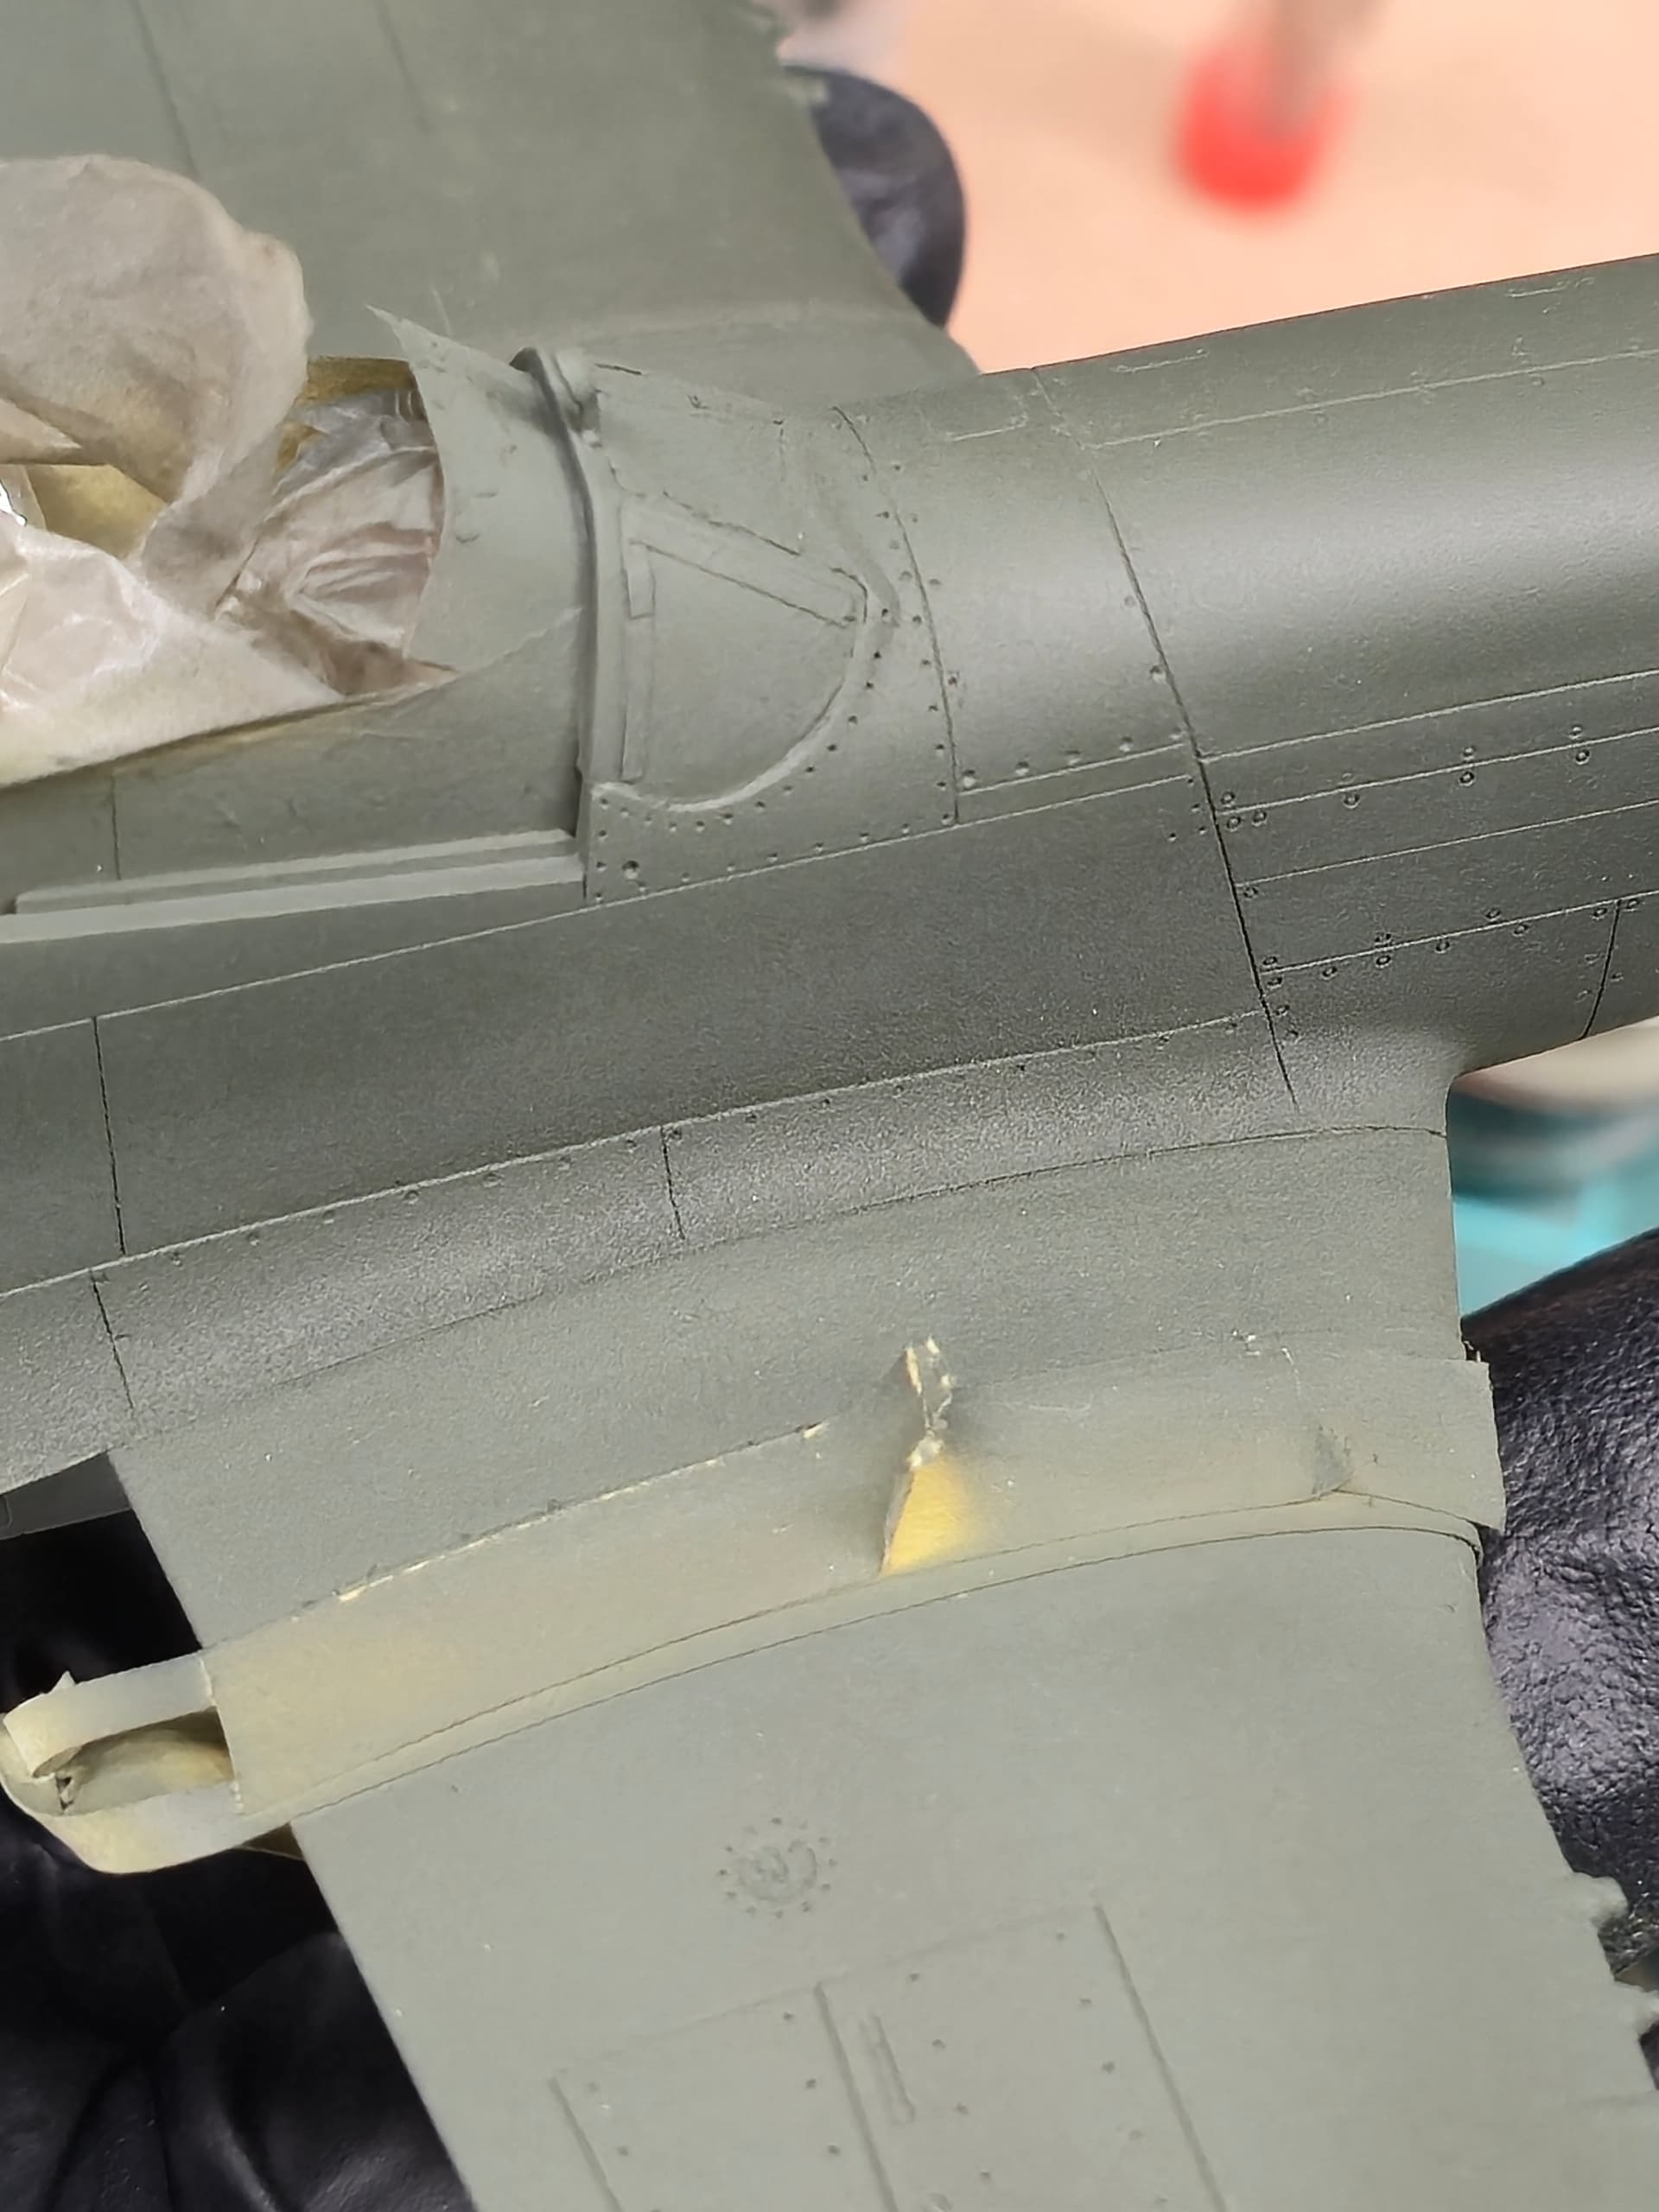
Good grief Charlie Brown.. Painting along and all of a sudden within the wing root, I noticed this blemish. It actually occurs on both sides along the wing.
Its on the order of a fine grain like texture and it follows the panels along the fuselage where it meets the wing. I am tryjng to figure out what could have gone wrong and or what did I do?
When airbrushing, my psi is right around 18, paint to thinner ratio is near 4:1 For this time of year, the humidity is around 34ish which is decent. If you go off of digital thermostat, it’s “ok” Temp is 68
Strictly using Vallejo Model Air. Also using a tack cloth in between AB’n to remove dust n what not.
I haven’t seen this in ages and I am clueless for once lol Can ya help a brother out?
Happy Modeling,
Mike
3 Likes
It’s hard to tell what I’m needing to see in your photo. Is it rough, as if you painted over dust or something similar?
Maybe get a high grit sanding pad to smooth it out then re-paint?
3 Likes
Sorry to see that Mike. I believe this happens when painting in corners, and how your airbrush is angled. When this happens to me, ( and it has happened several times painting in corners)I just wet sand the affected area with 1200, tack, then repaint.
3 Likes
Hey Steve!
Yeah, its not really evident in the pic but as mentioned in my post, it looks like a fine grain of sand in spots.
I use a tack cloth to wipe away any dust or the like before any paint session and if need be, during as well.
I am thinking that I was a bit high over the models surface area when AB’n.
Tonight, I’ll go over the spots with either a 4000 or 6000 grit sanding pad.
Fun joy!!
Happy Modeling,
Mike
2 Likes
Howdy Chris!
Thanks man.. Its funny though, my two latest builds, the A-4 and a P-51B I had no issues what so ever especially in the corners.
Like I mentioned to Steve, I am thinking more so when AB’n, I was spraying a bit higher above the surface than normal and so the paint was drying before hitting the surface.
Hence the weird grain like sand look. Tonight I’ll give it a once over and maybe even wet said with either a 4000/6000 grit sanding pad.
Well shall see and I’ll keep you guys posted! Thank you again Chris n Steve for the feedback, much appreciated!
Happy Modeling,
Mike
2 Likes
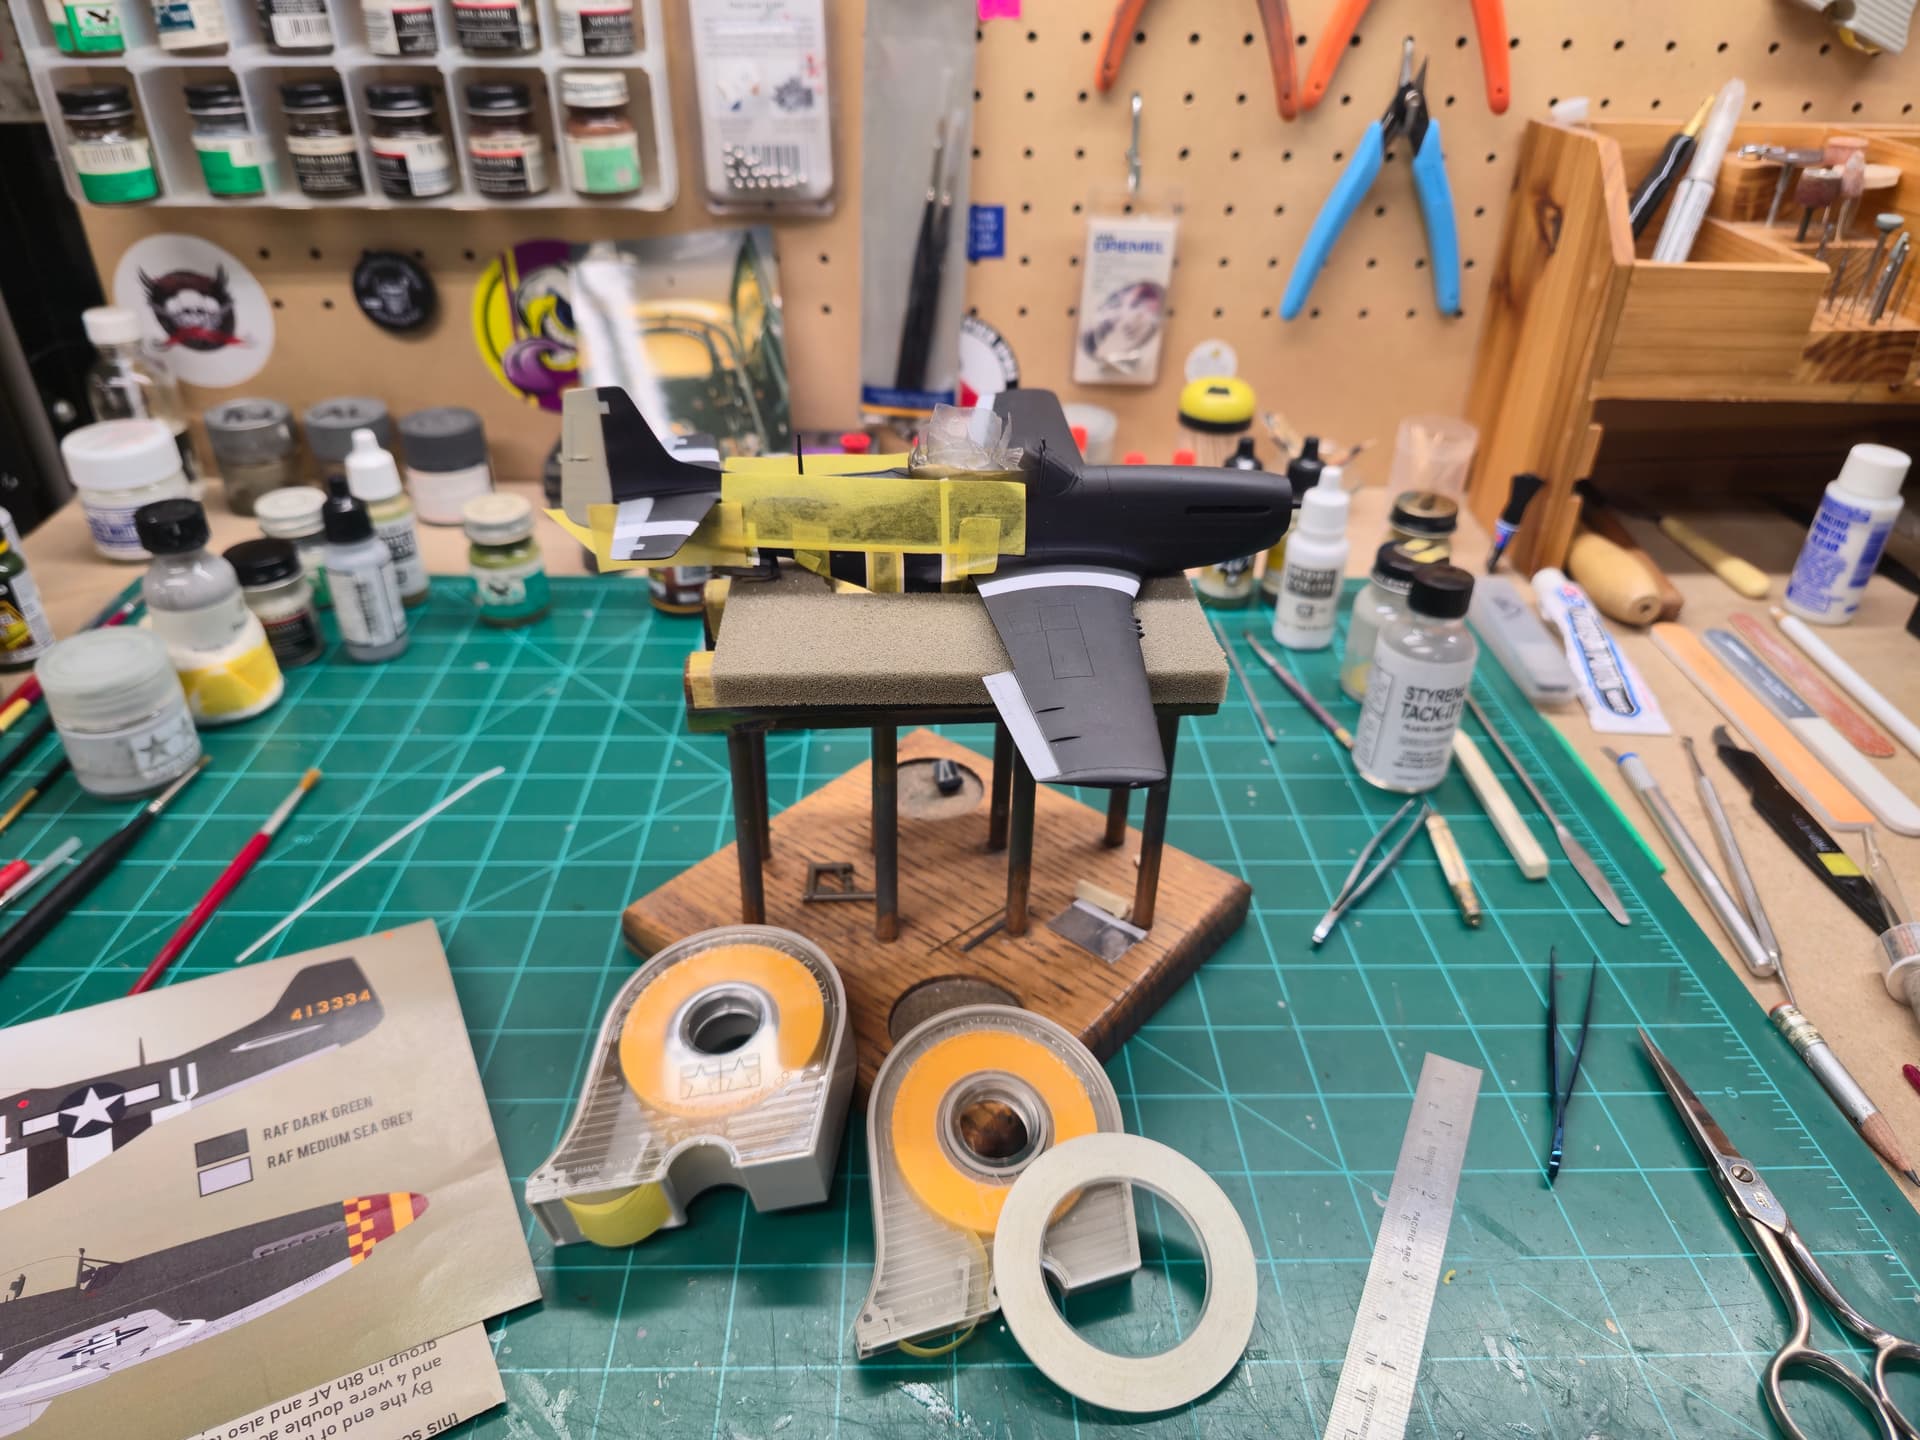
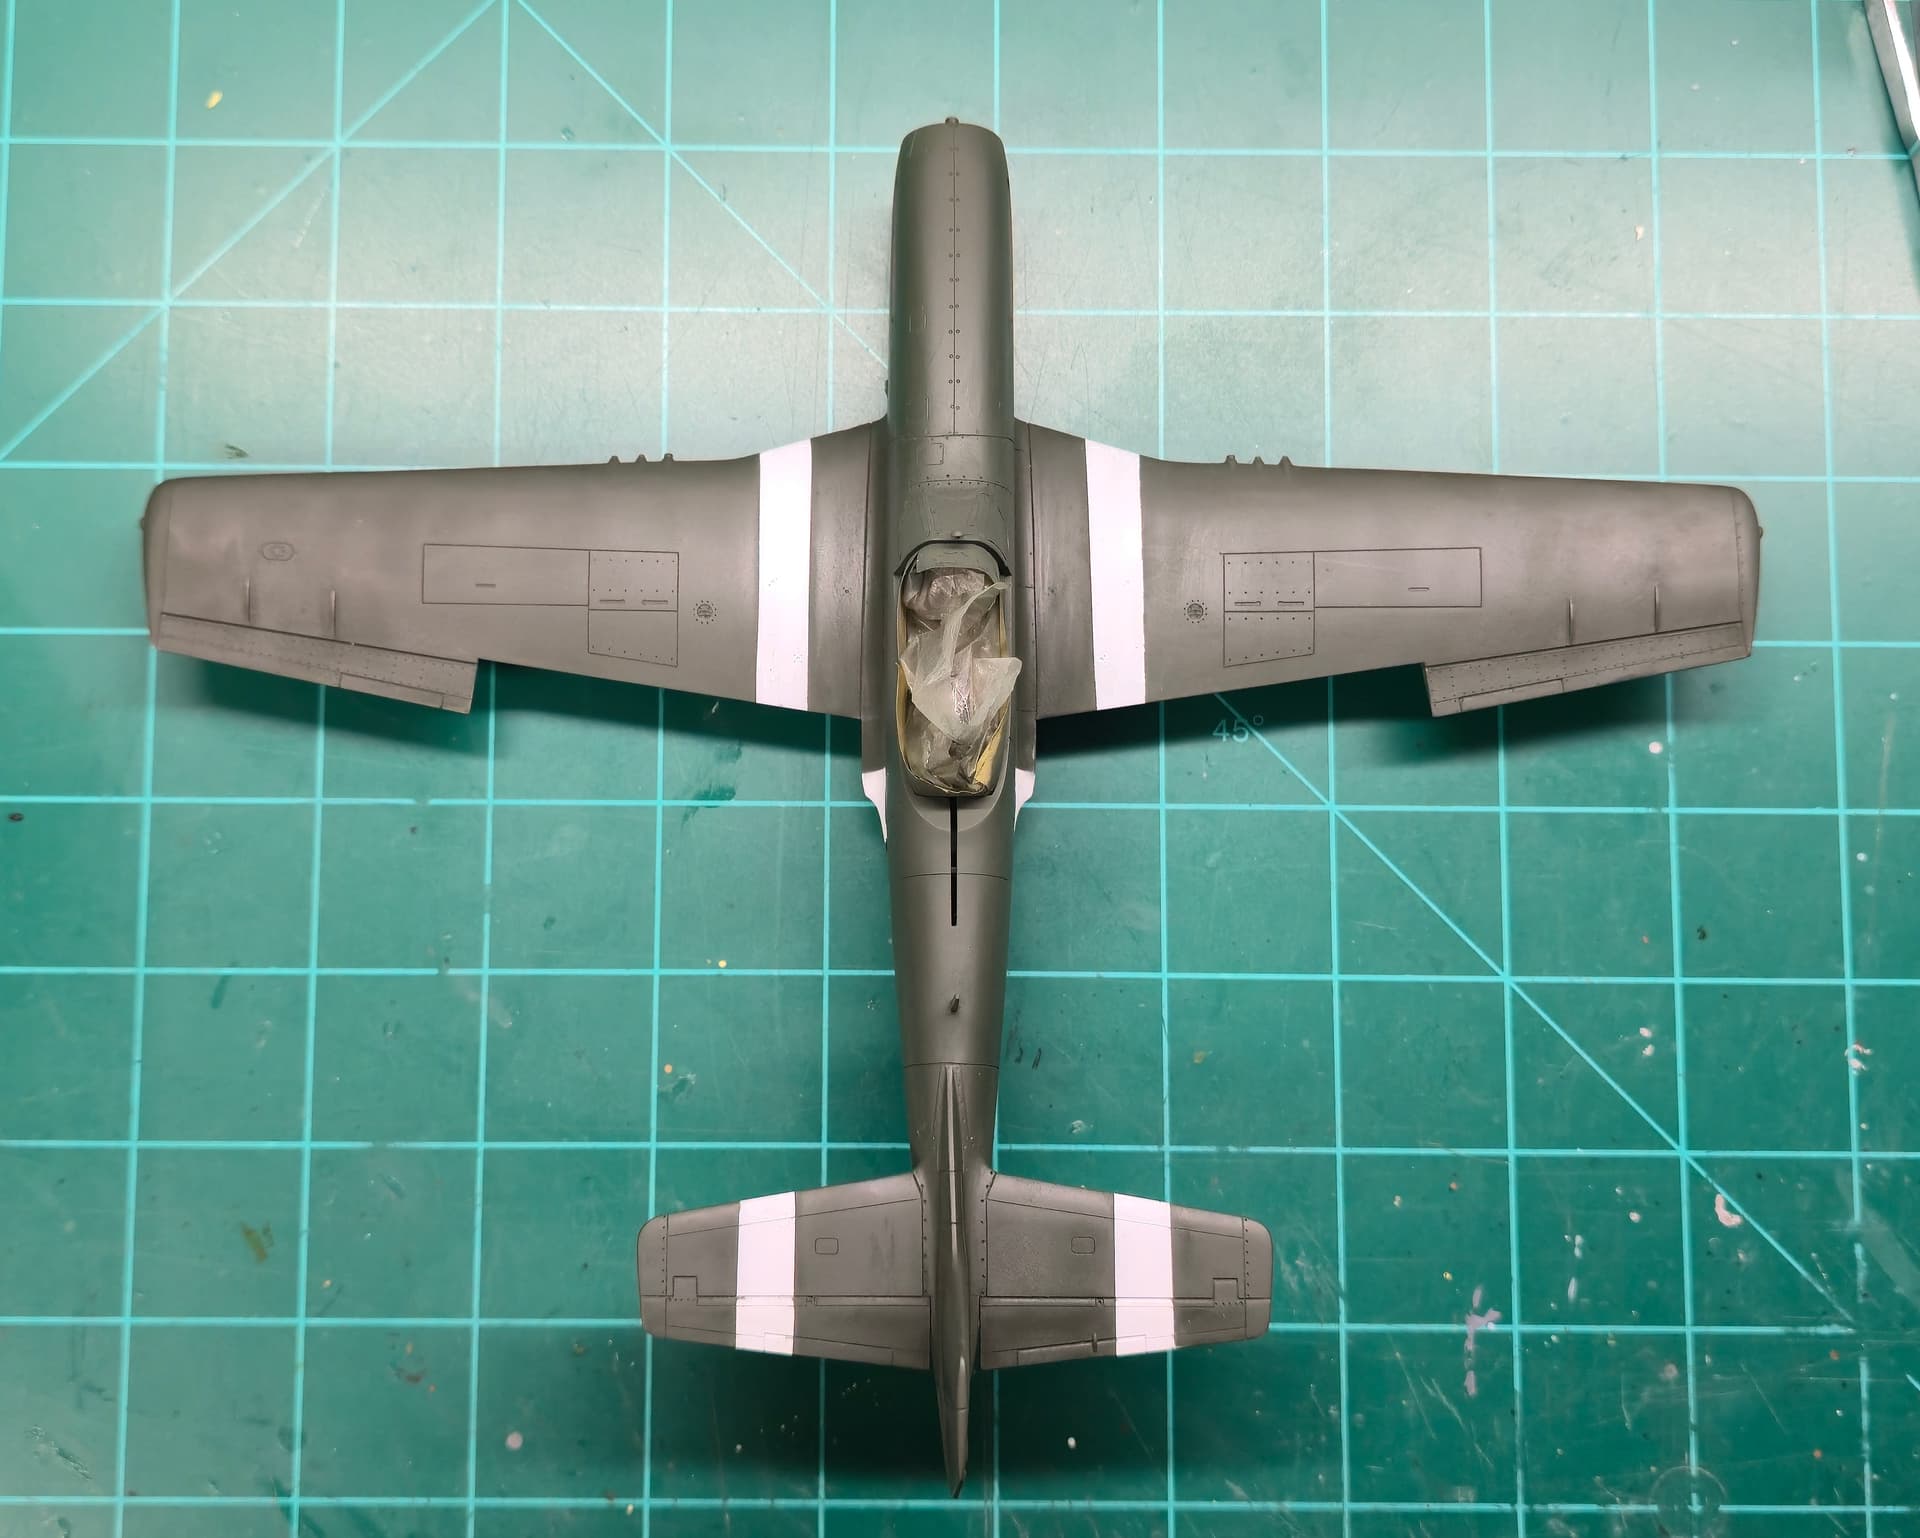
Update 15
I am pressing on and I am still baffled by the way the paint laid down.
I was able to wet sand the areas that were effected then reapplied the color in spots to at least hide those spots.
I certian areas, the graininess appeared but I used a tack cloth and was in closer to the surface with about 16psi.
Even though the paint is newer(within the last year), I am just wondering if something isn’t correct with the formula?
The other Vallejo Model Air colors I used for the base coat and the white for the stripes, is smooth like a babies behind…
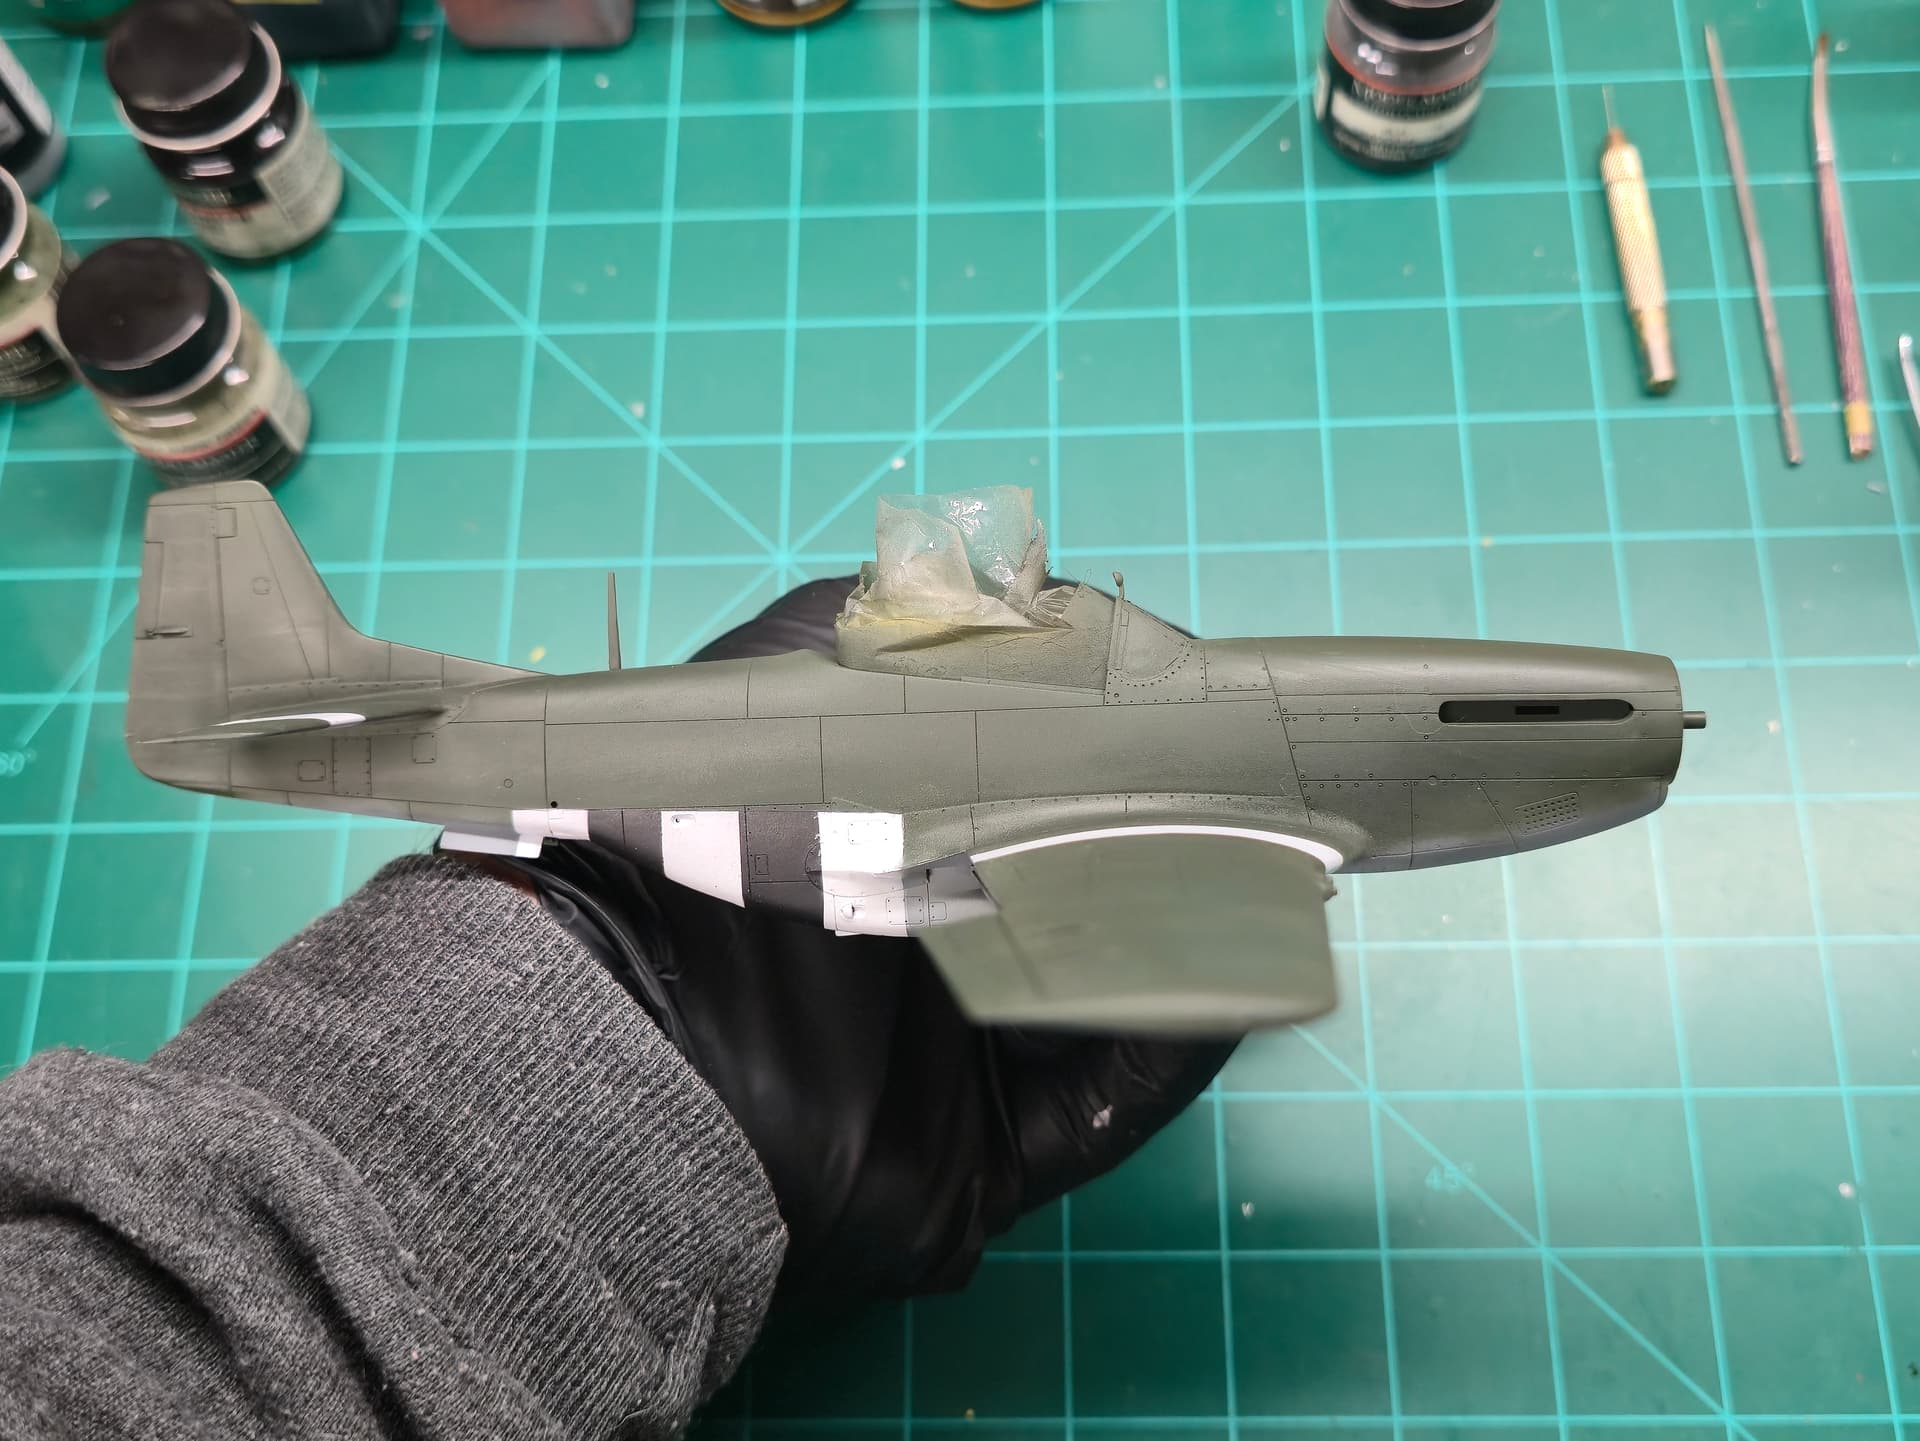
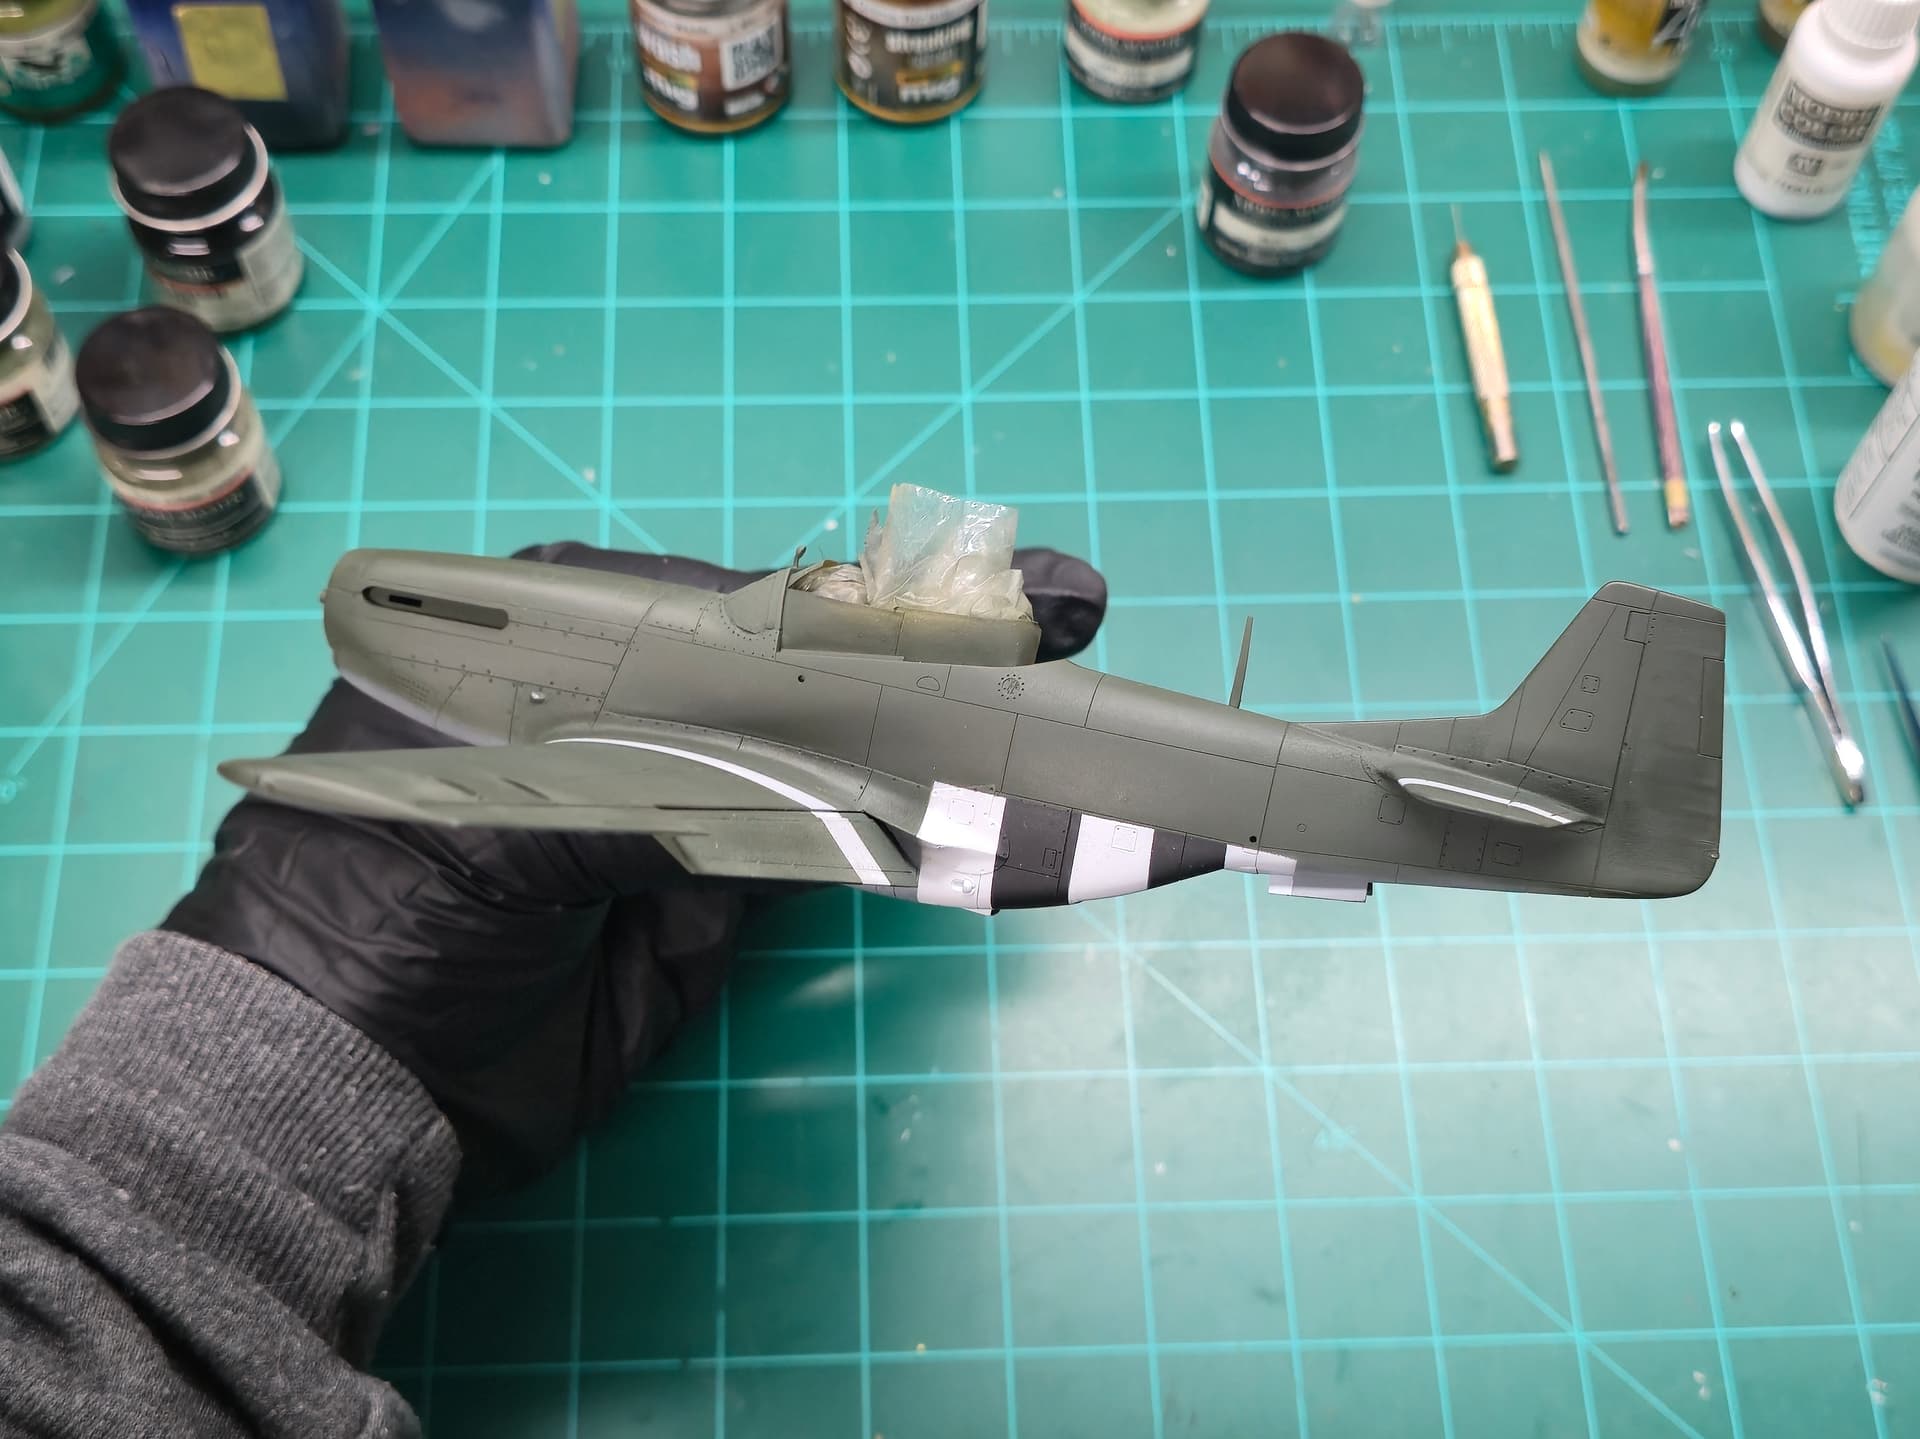
I eyed the ID bands on the flaps as you can tell as they are a little off.
That’s ok as this bird was painted in RAF colors so the bands would have been reapplied by the ground crew so I’m ok with it.
Over all pleased in how she’s turning out otherwise.

Happy Modeling,
Mike
6 Likes
Sometimes paints, especially out of an airbrush, do unaccountable things. I generally have very good luck with Vallejo Model Air, but the thinner I use is a mixture of their acrylic thinner, their flow improver, and their retarder medium… at a ratio that has been lost to the annals of history. When that bottle’s gone I’m in trouble.
Looks like you’ve recovered well, though, and I really love that dusty olive drab/dark green/RAF green/whatever they used at RAF Leiston that day.
2 Likes
Awesome work. I just commenced doing a 1/72 scale P-51D Mustang, and yes I’m doing it for the 332nd Fighter Group out of Ramitelli Airfield in Italy. I’d like to do more in 1/48 scale but I’m running out of room. So I guess I’ll stay with my F-14A Tomcat and F-105D Thunderchief ‘Thud’, in 1/48 scale. But no promises. ![]() Besides I have 1/72 scale A6M Zero, F4U Corsair, P-40B Warhawk & F-105D Thud.
Besides I have 1/72 scale A6M Zero, F4U Corsair, P-40B Warhawk & F-105D Thud.
Looks good, good luck along the way!![]()
1 Like
Hey Tom
I do as well but something happened which I can’t explain for once.
I’ve got to the point when airbrushing especially with the various paint brands, I know the ratio of paint to thinner(sometimes a retarder/flow enhancer) without thinking.
The modeling Gods must have been on my side that day as I was able to fix it. The effected areas my not be 100% but I’m happy with it!
Thank you, I believe I did!
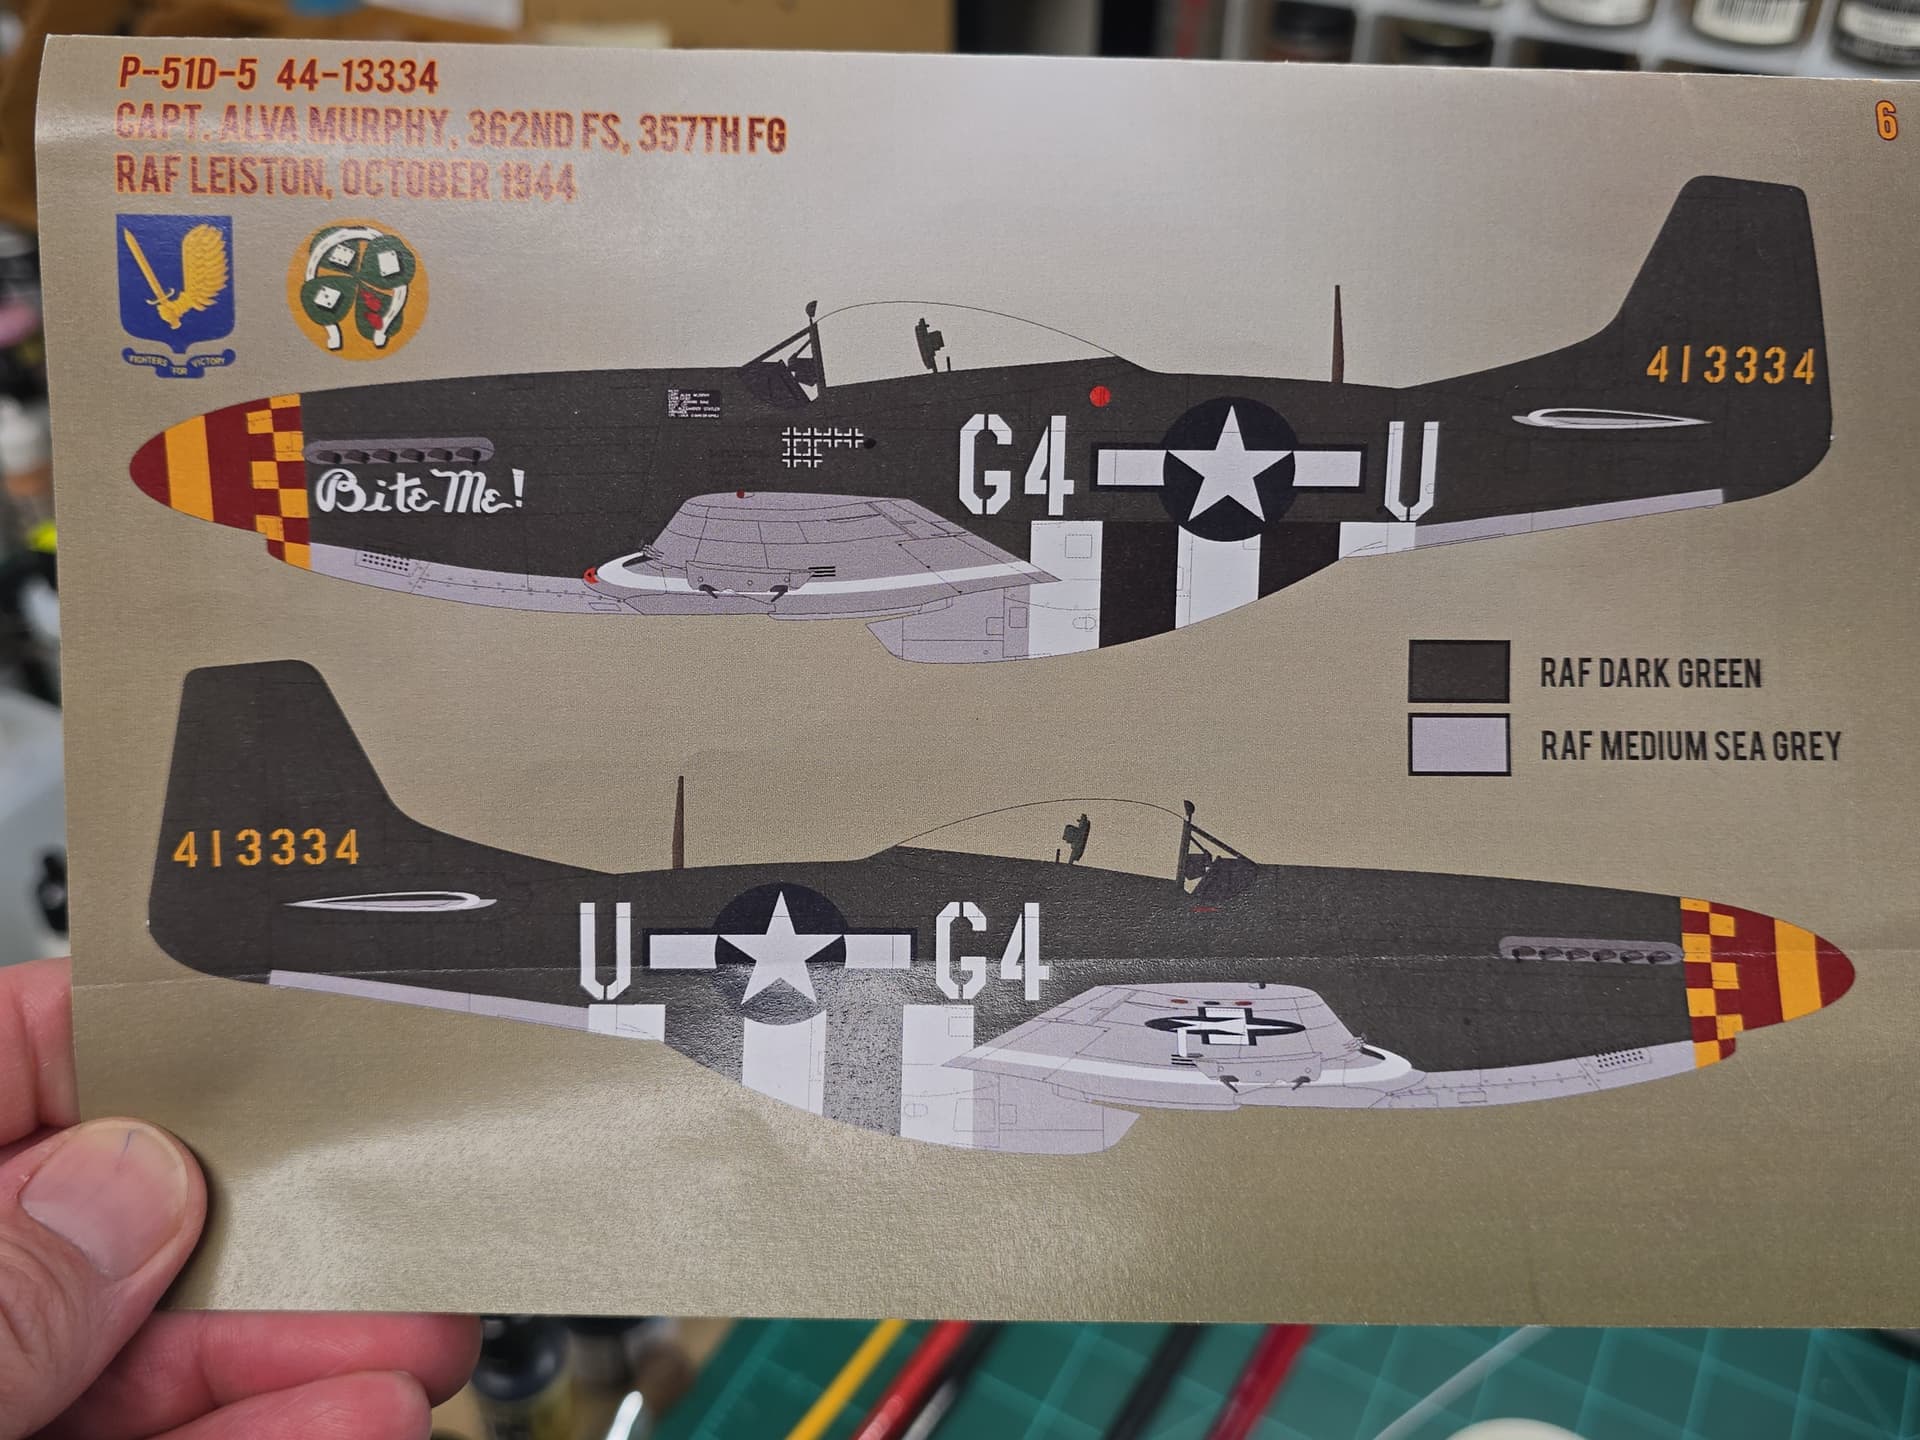
As for the color, it calls for RAF dark green. There is a million n one variants of RAF dark green out there and each one is different in some shadw or other.
So I went with RAL camo dark green as I liked the overall appearance.
I have to agree, those RAF colors look great on a Mustang!
Happy Modeling,
Mike
2 Likes
Hey Manuel!
Thank you so much, it’s greatly appreciated! The 357thFG is one of my favorite groups so when it comes to building Mustangs, I lean towards that group.
But at some point, I really want to do a 332nd P-51 along with 51 from the 339thFG. The later is the grandfather unit of the unit that’s based in my hometown, 107thFIG, now the 107th Attack Wing.
For fighters and such, I tend to do 1/48th but any medium to heavy bombers, 1/72nd.
Thank you once again Manuel!
Happy Modeling,
Mike
2 Likes
Looking seller, especially those wheels/tires.
1 Like