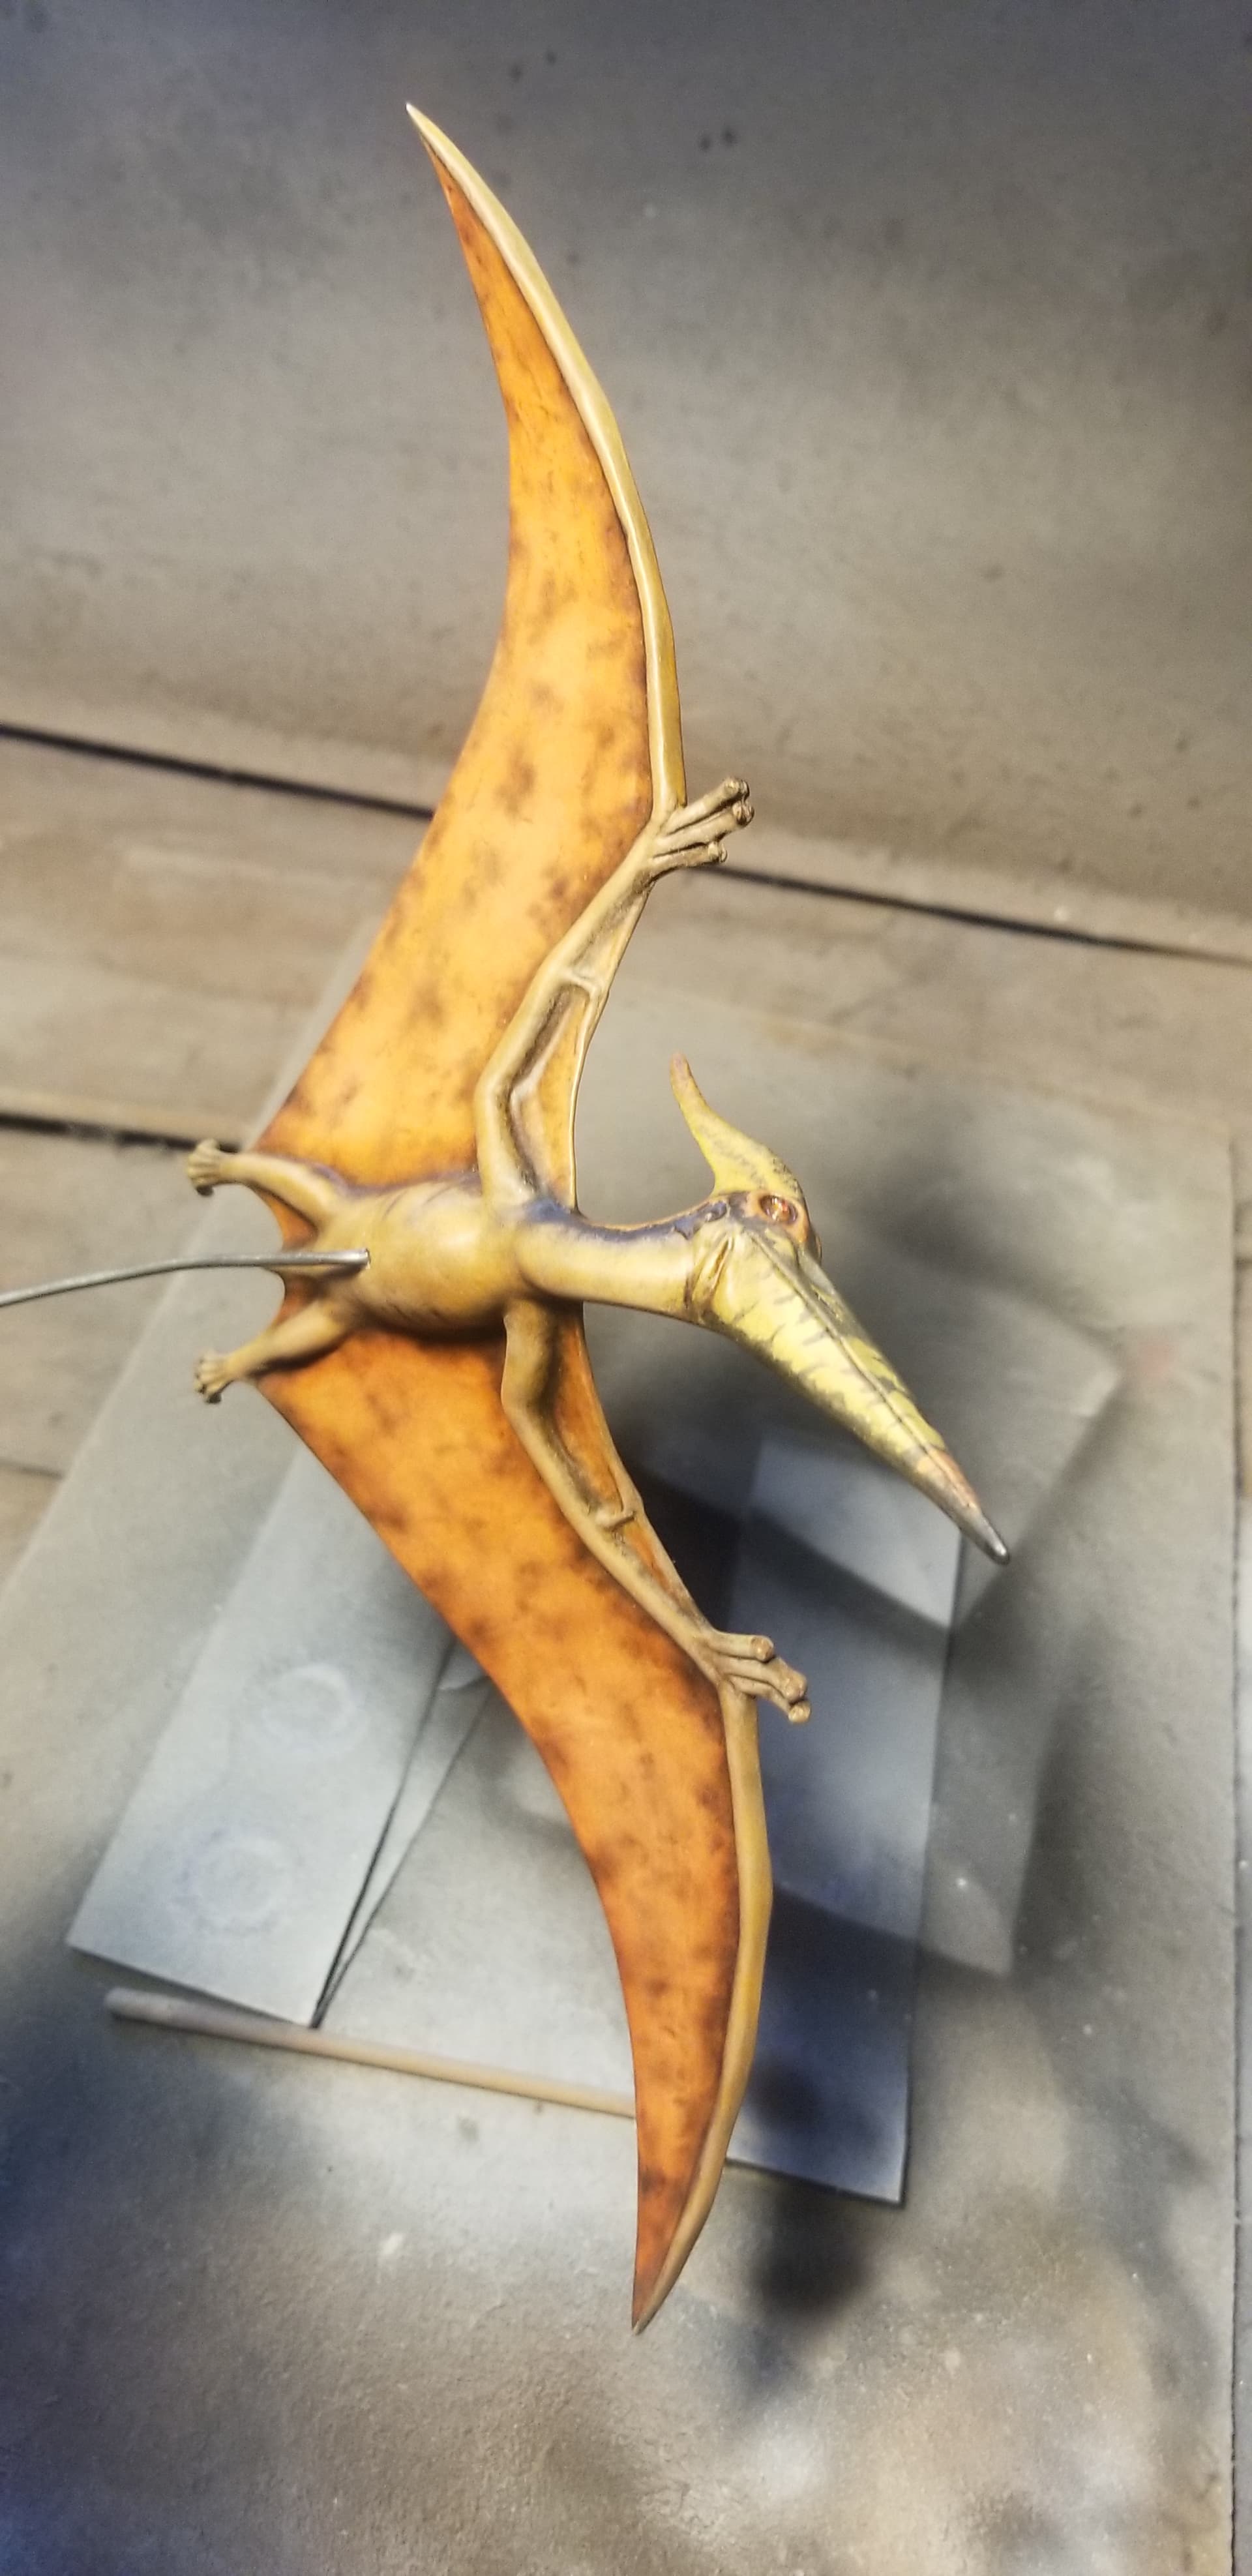
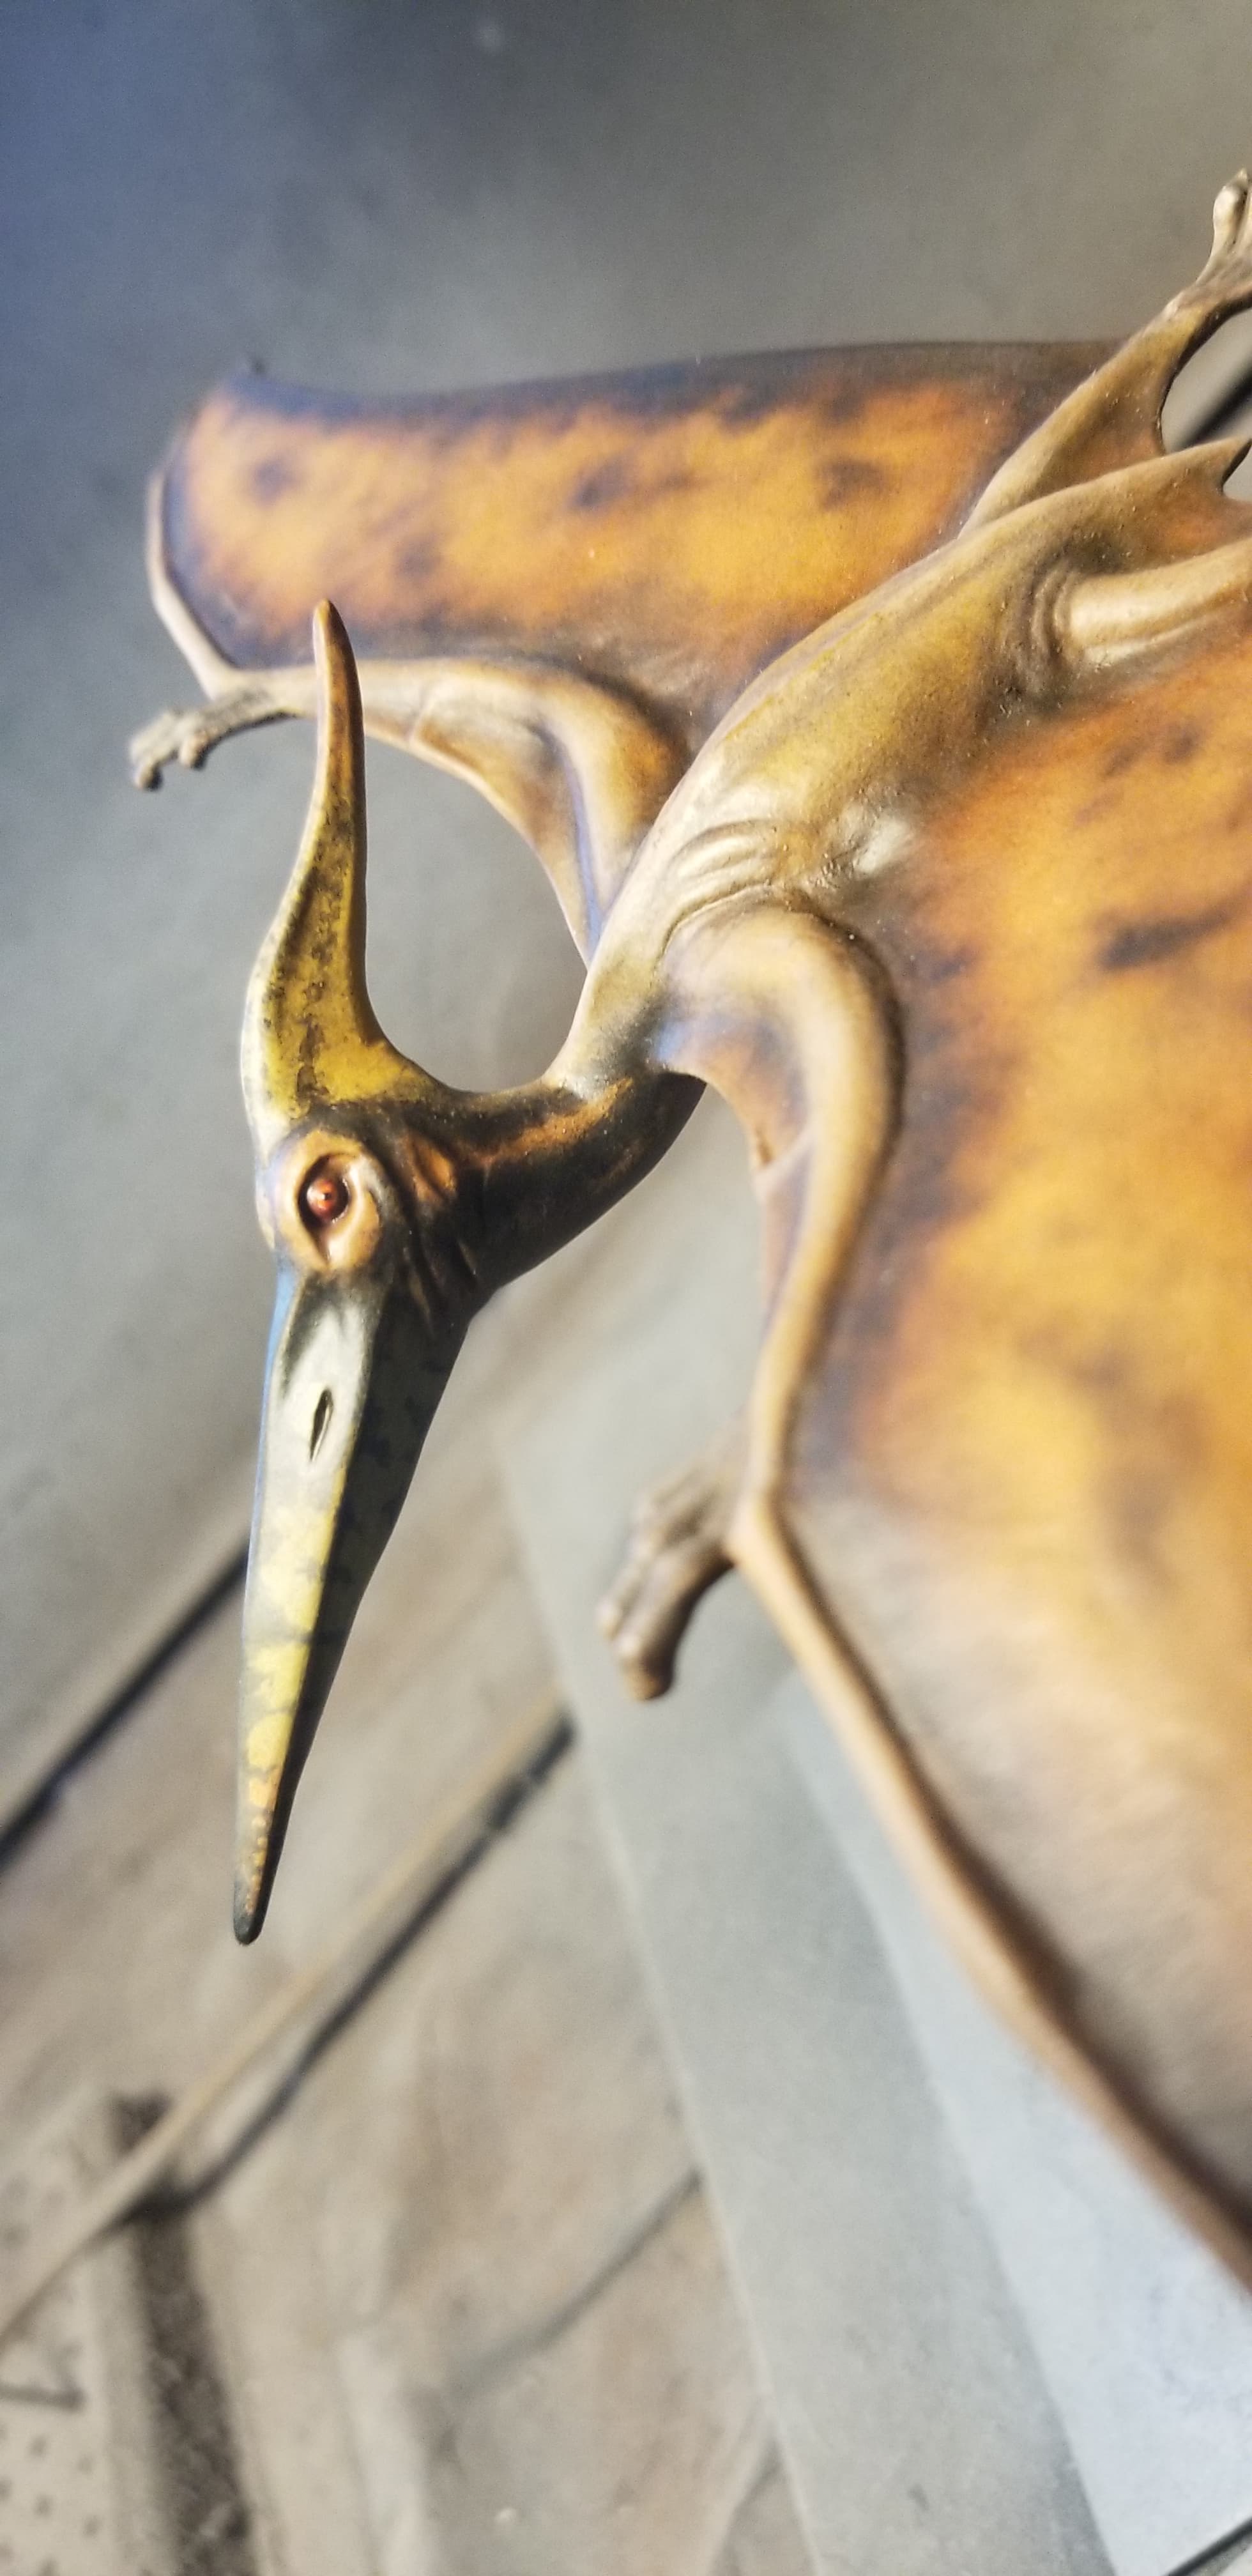
Tamiya Pteranodon

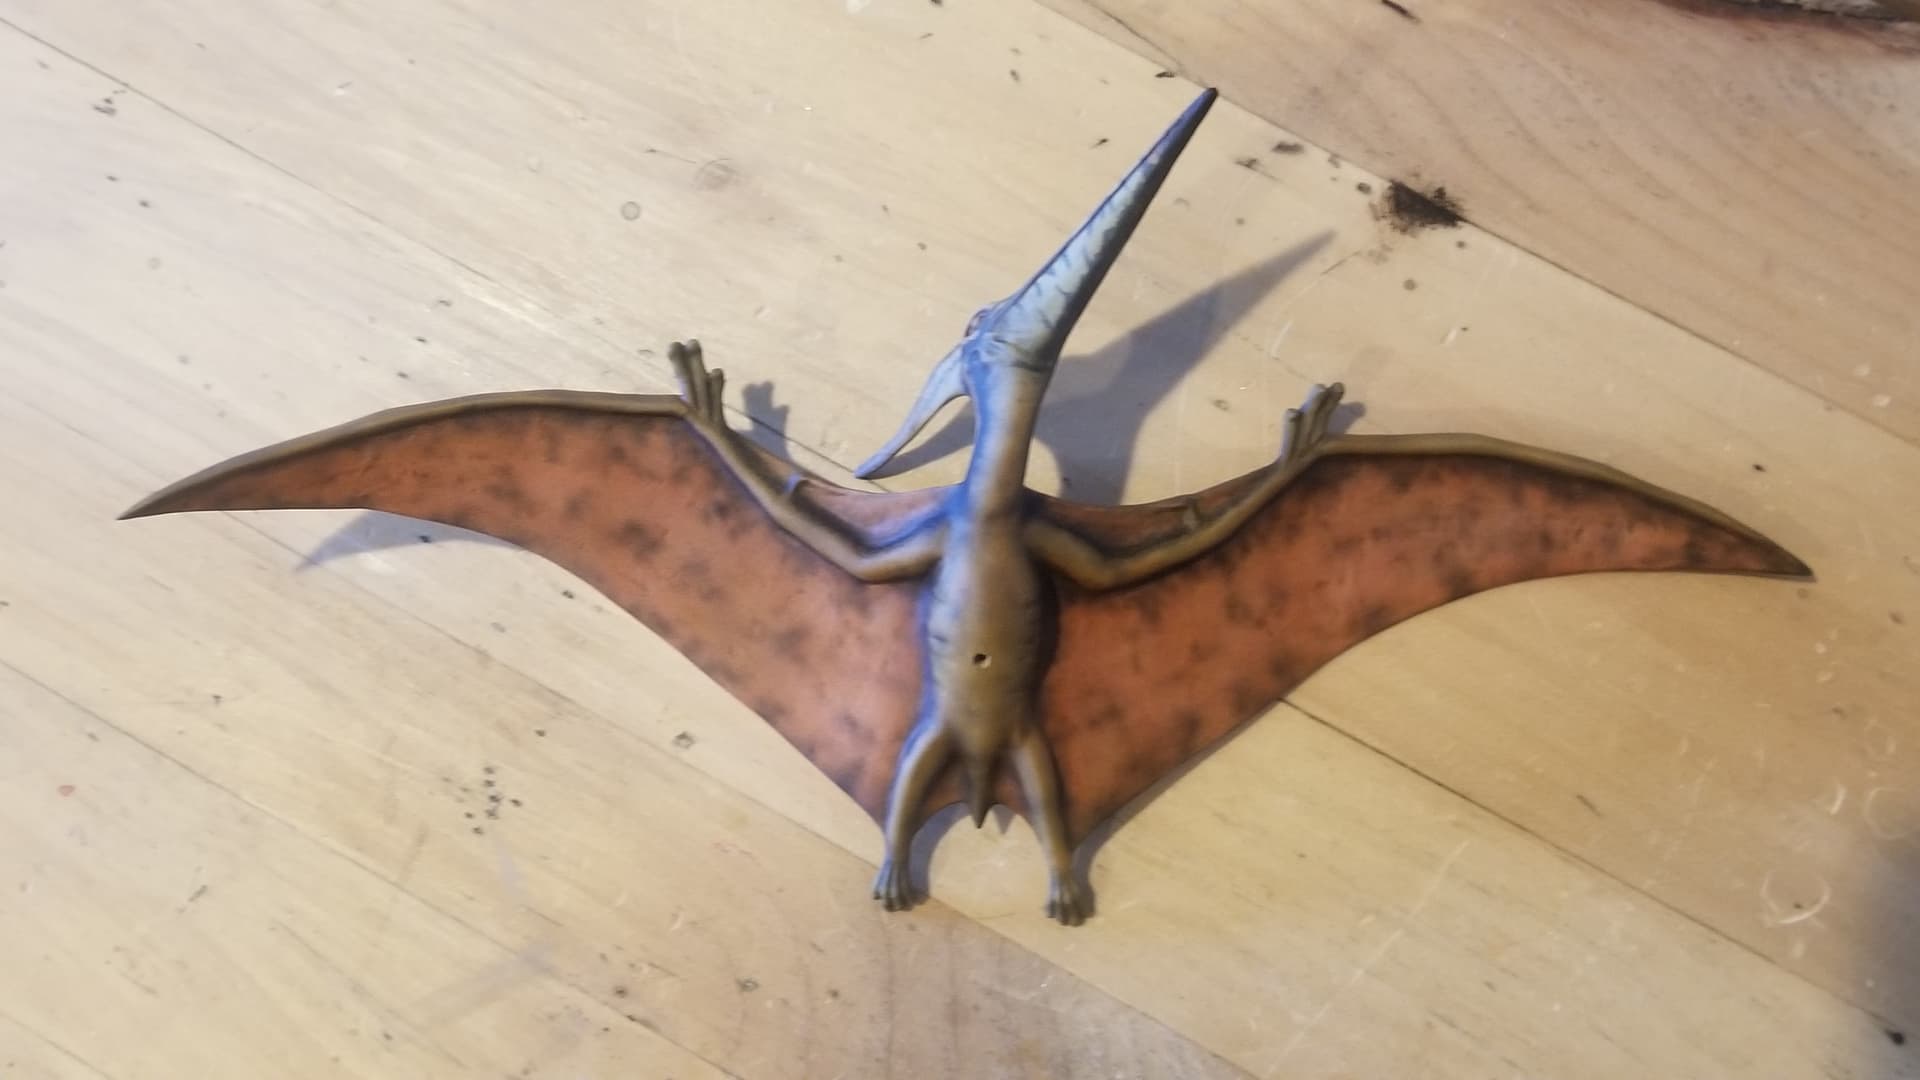
Got the venerable Pteranodon kit for my birthday. Complex kit - just 3 parts and the base! :smiling_face_with_sunglasses:

Interesting that it’s molded in a smoky clear. Maybe for the wing membrane, maybe just leftover styrene pellets.

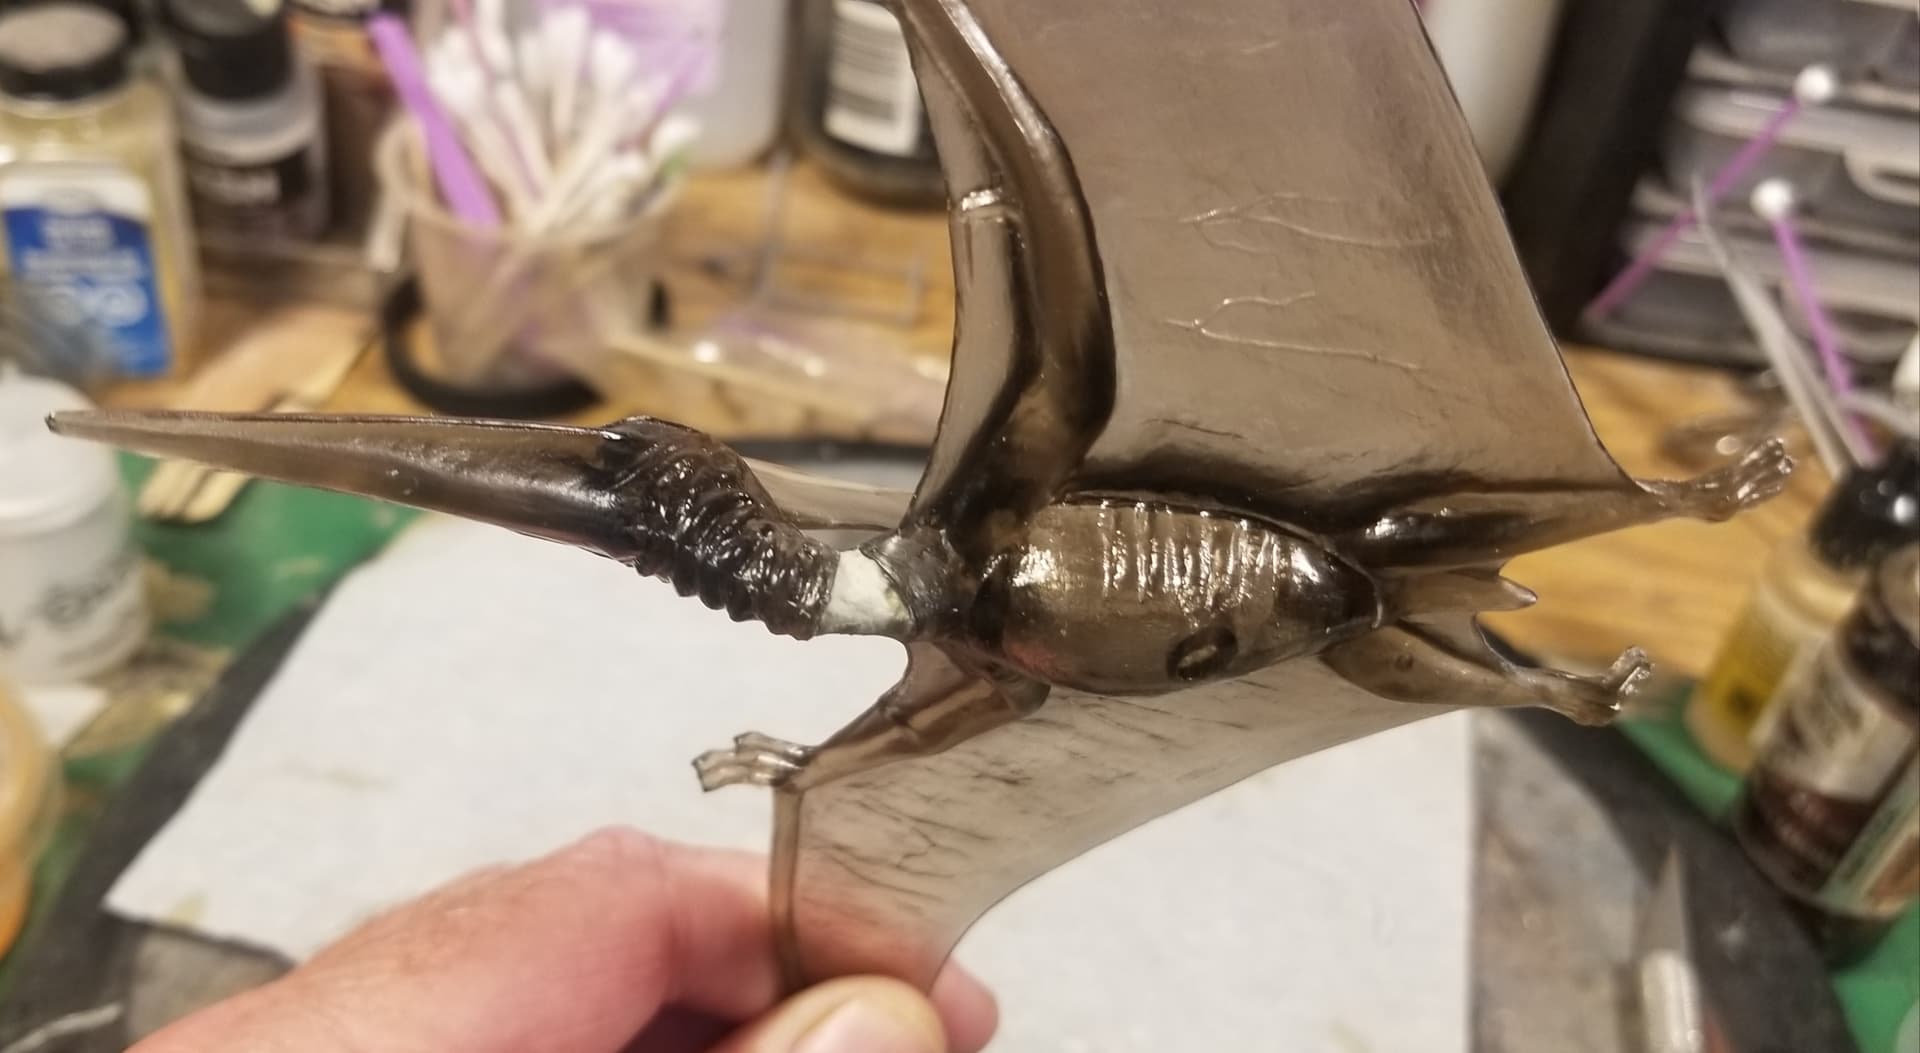
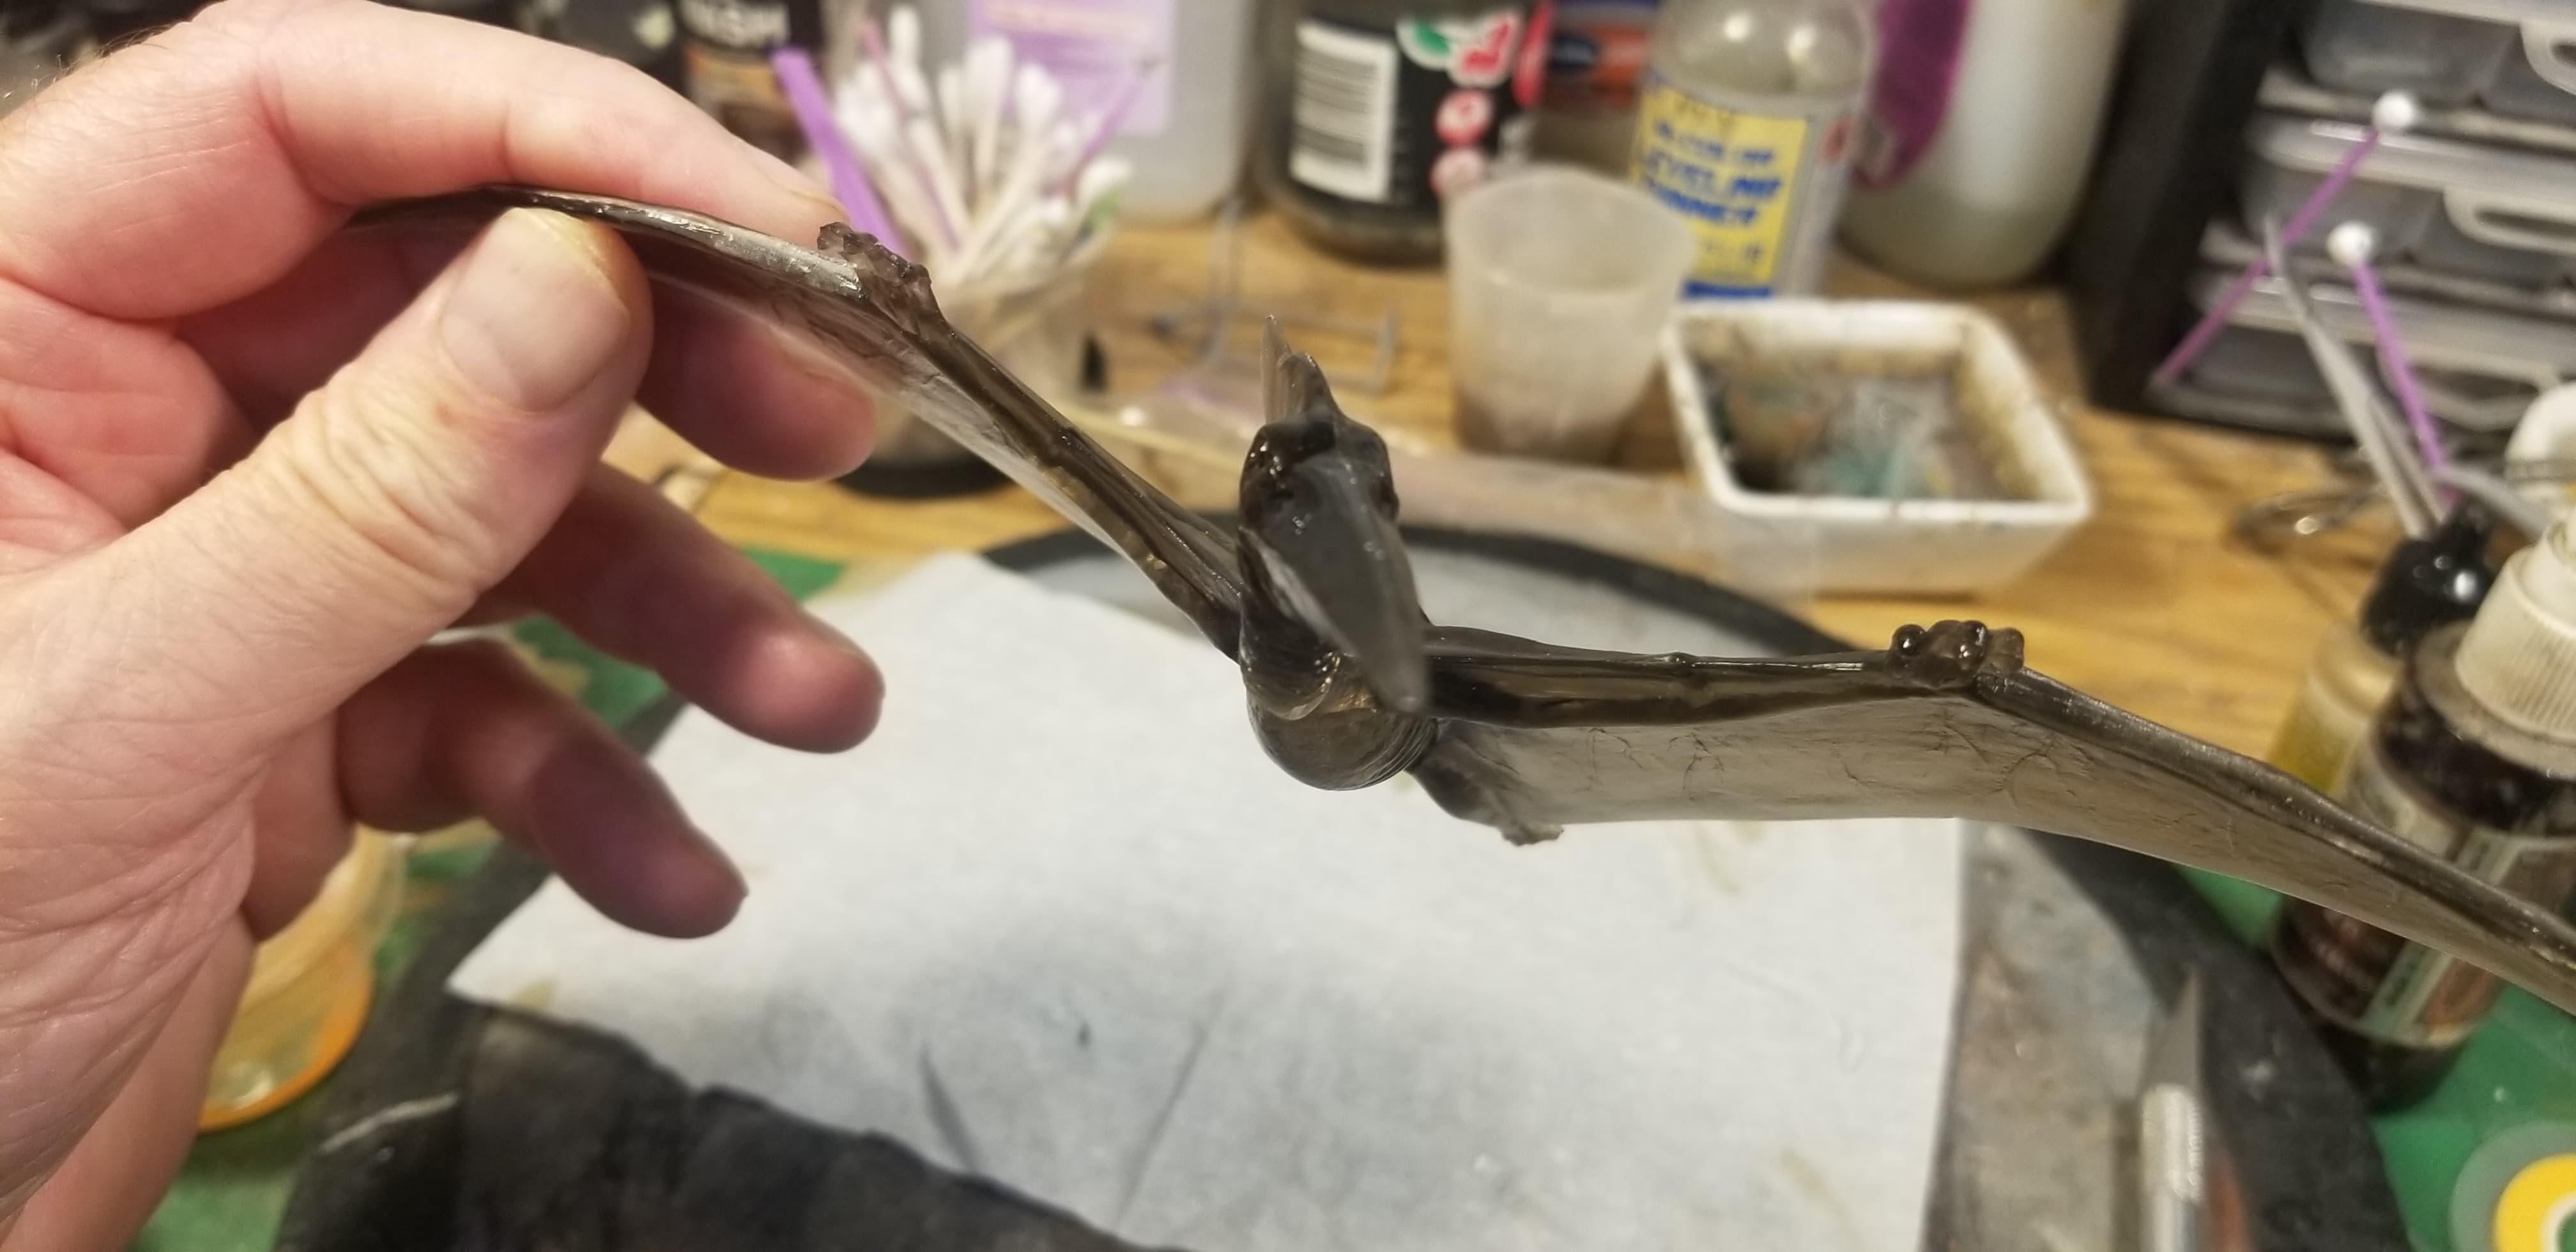
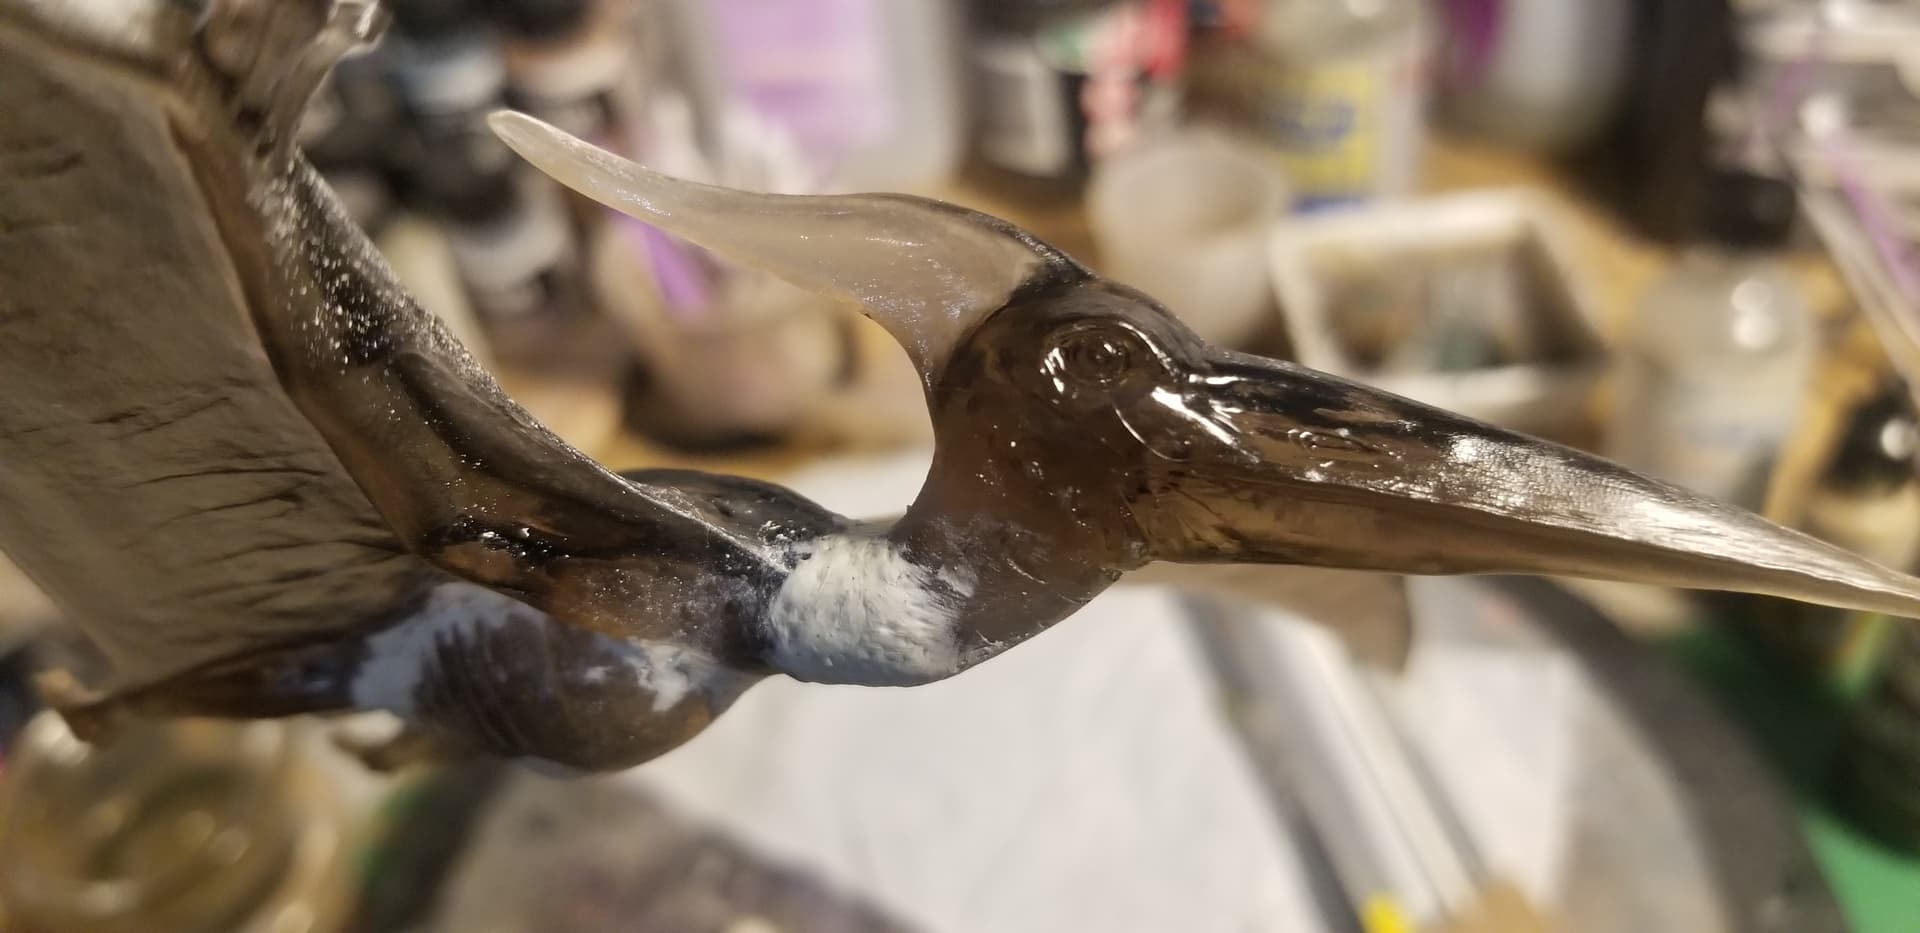
Never liked the position of the head looking down, so I decided to do some ‘surgery’ and reposition the head. Will fill in the gap with Aves Apoxie Sculpt.

First round of Aves to get the general position.

Alos repositioned the head to look off to the left vs. straight ahead.

18 Likes

Neat to take a ‘simple’ kit and mod it!! I rarely go to this subject, but will be checking back for progress.

2 Likes

Yeah, this is supposed to be a ‘palette cleanser’ build. :upside_down_face:

It’ll all come down to the paint job…

This is so cool! I’ll definitely be following your progress on this one.

2 Likes

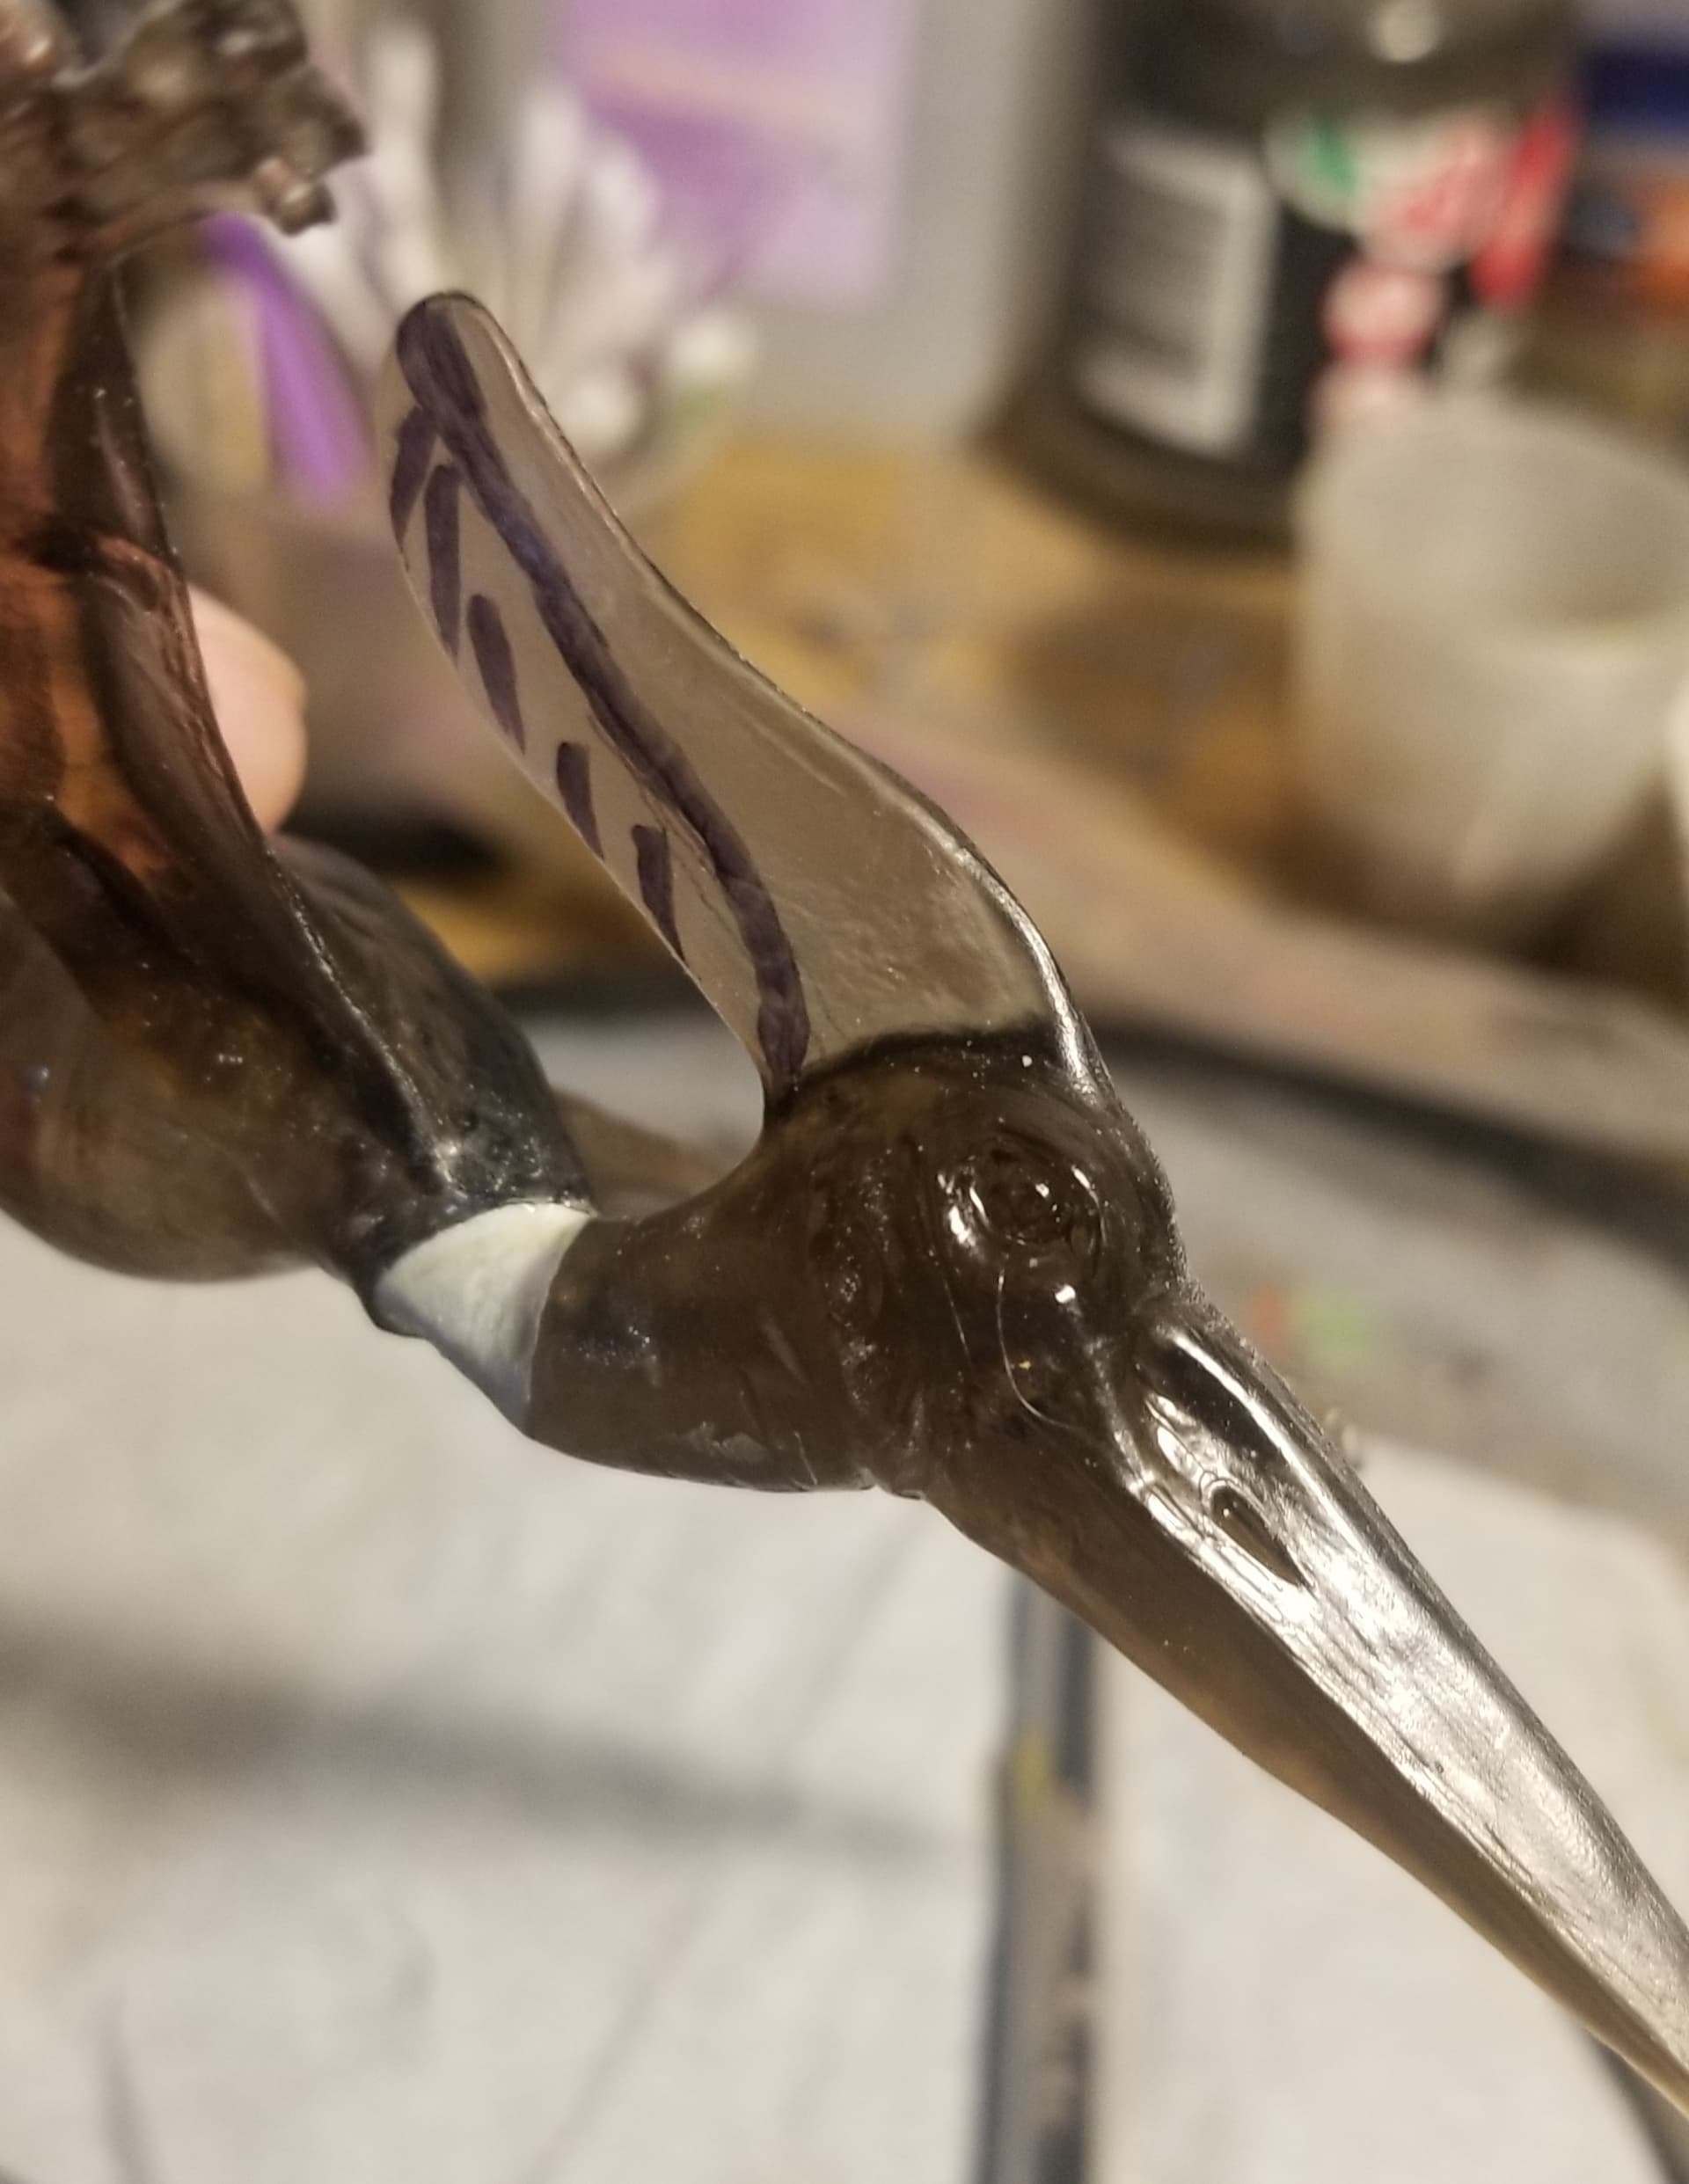
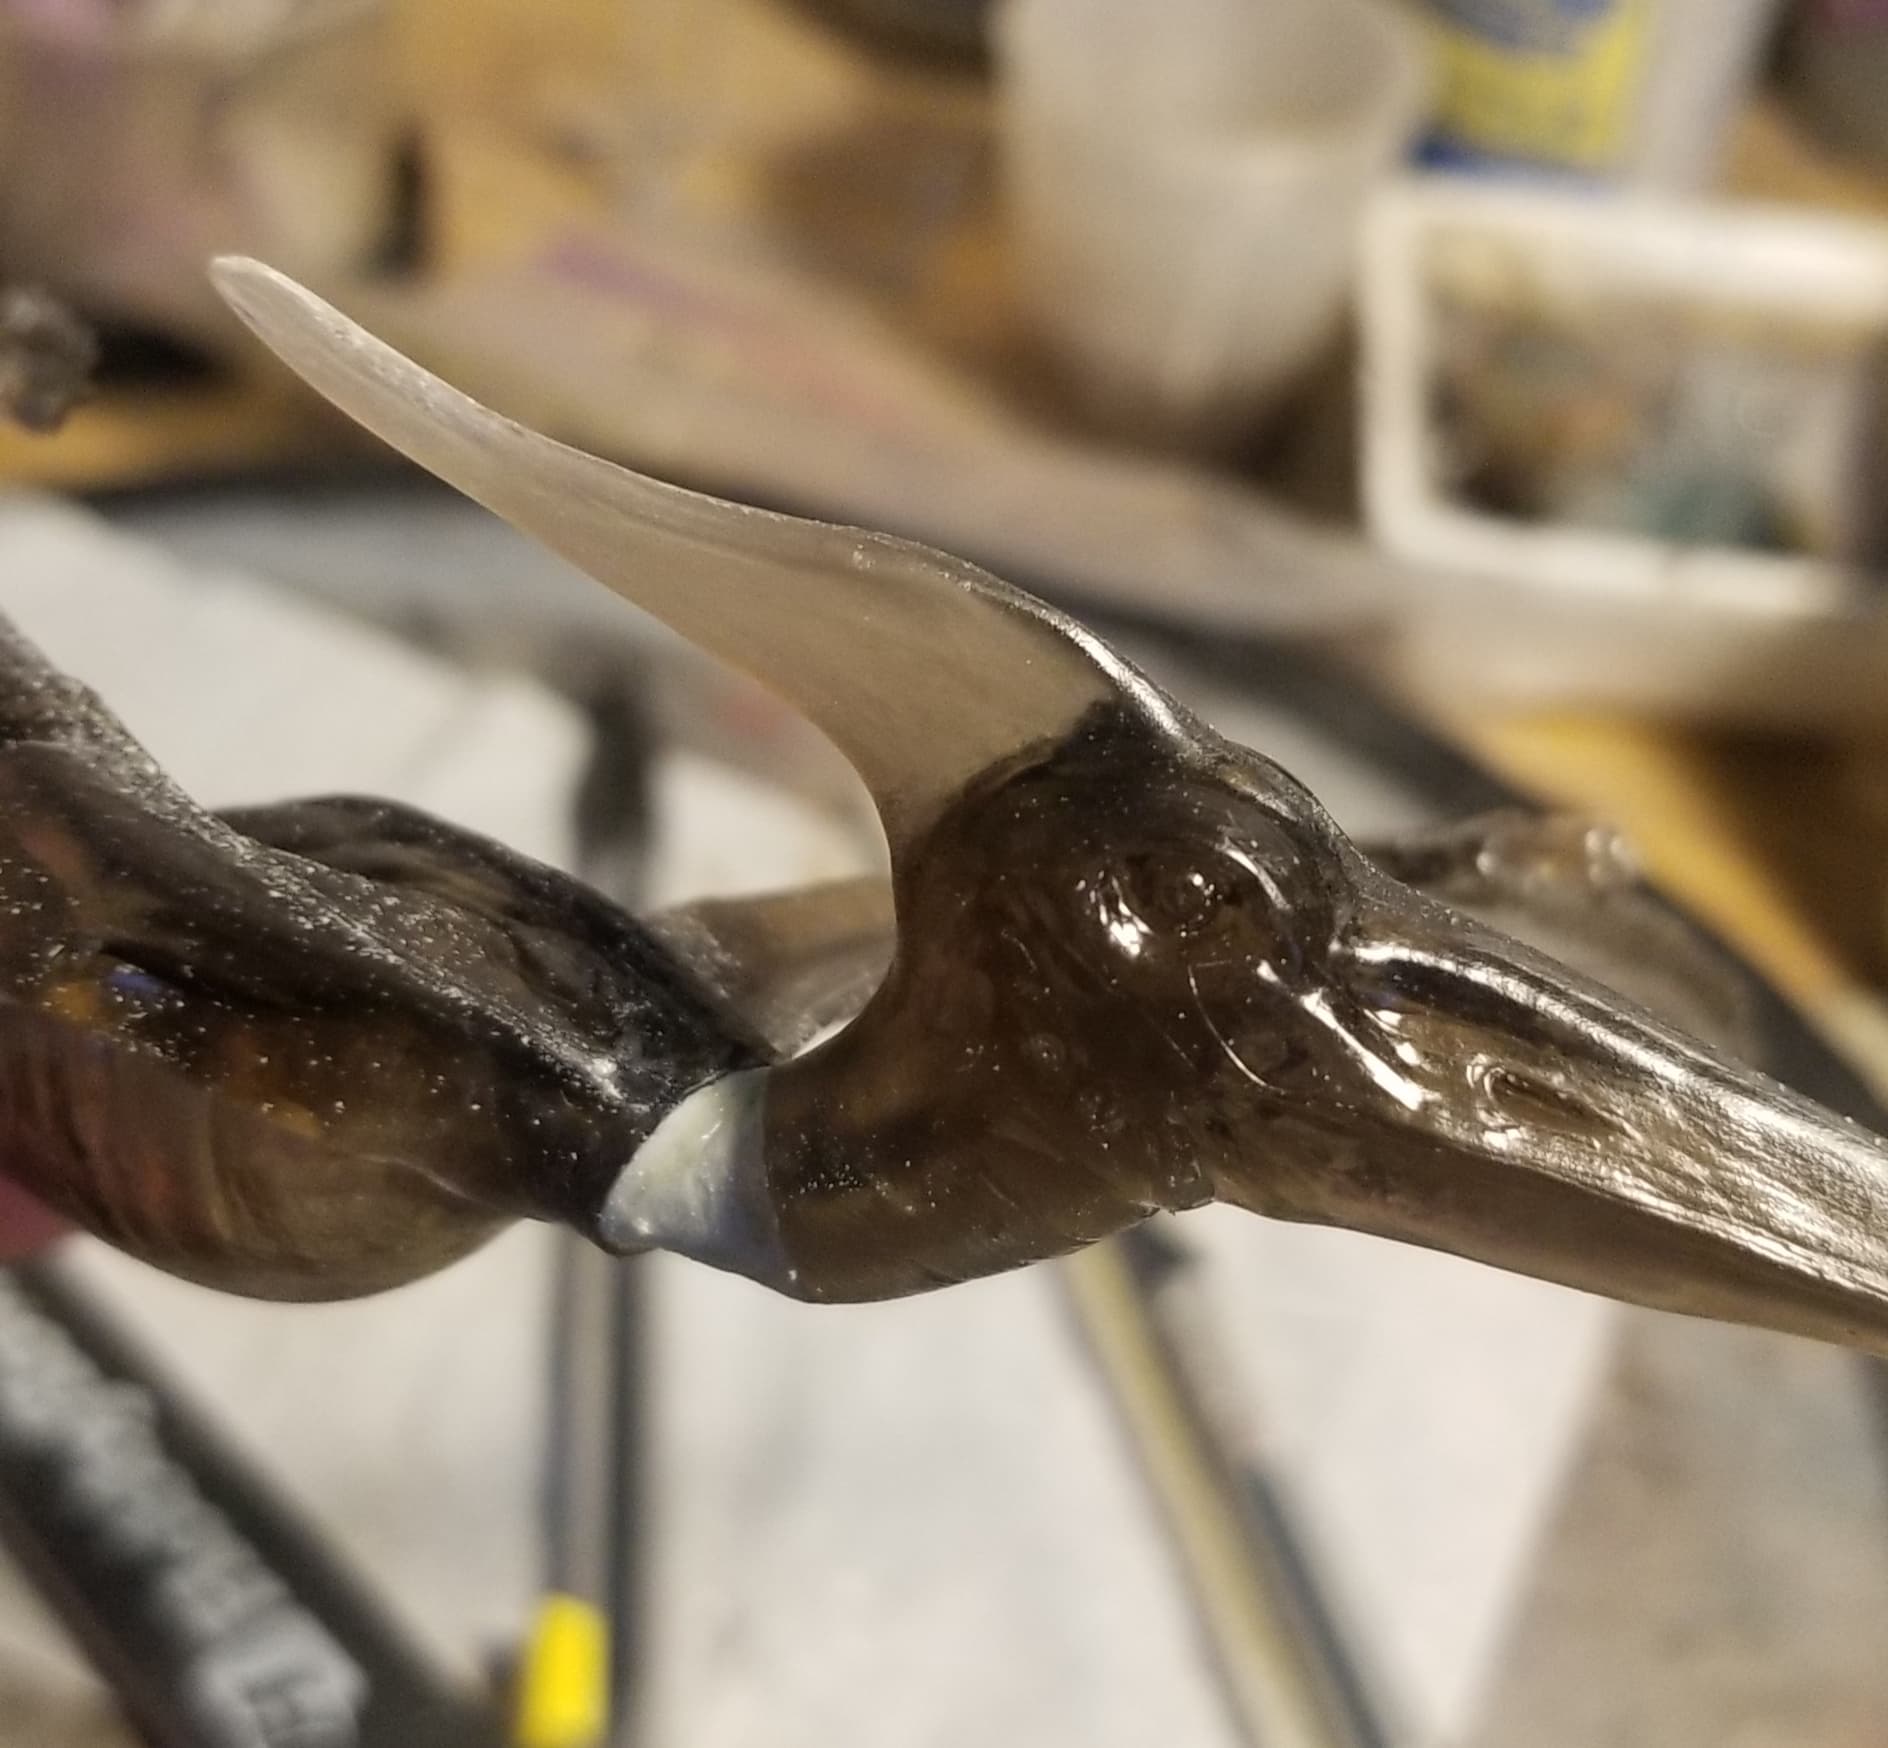
Didn’t like the shape of the cranial crest so decided to reshape. My Dremel made quick work of it!

7 Likes

Your Crest looks so much better along with the head repositioning.

2 Likes

Neck resculpted

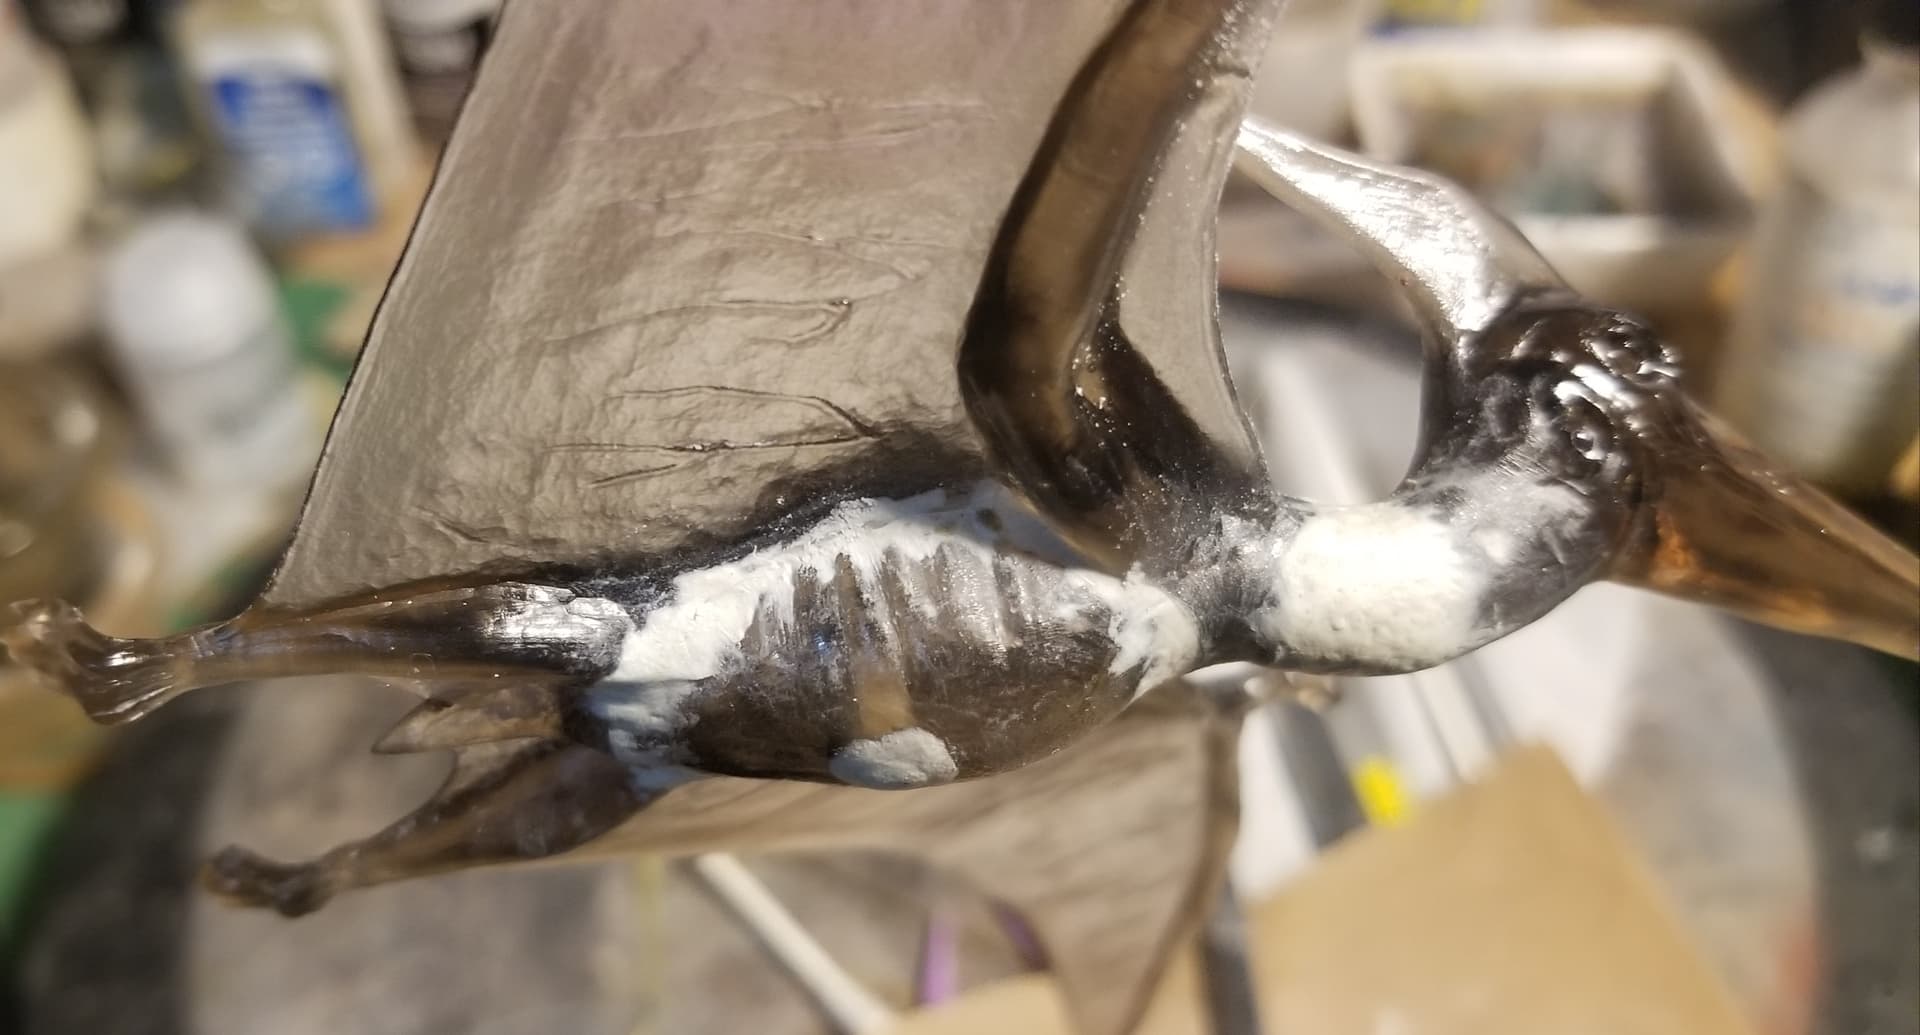
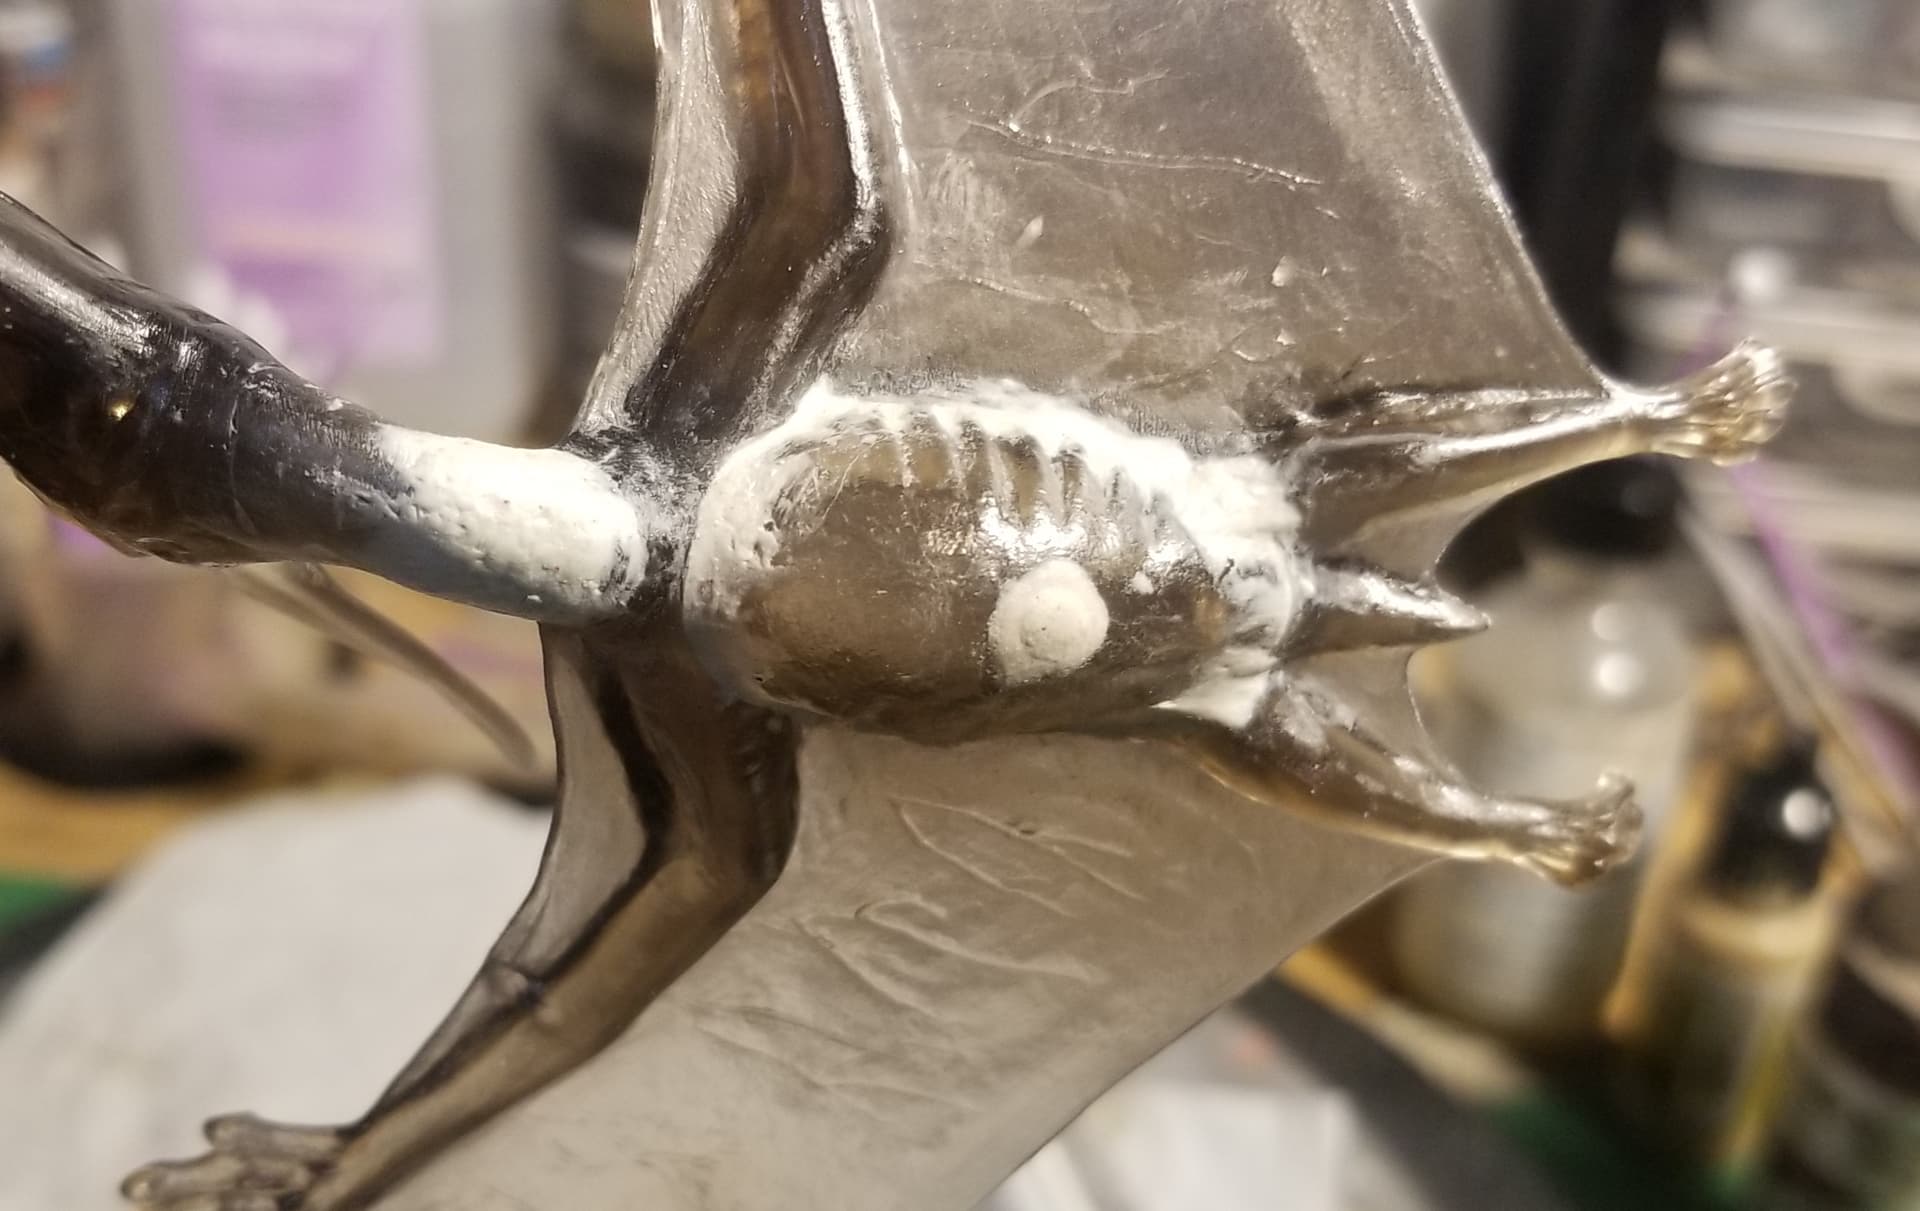
Body contouring. Filled in abdomen hole, will redrill later.


Now on to priming…

5 Likes

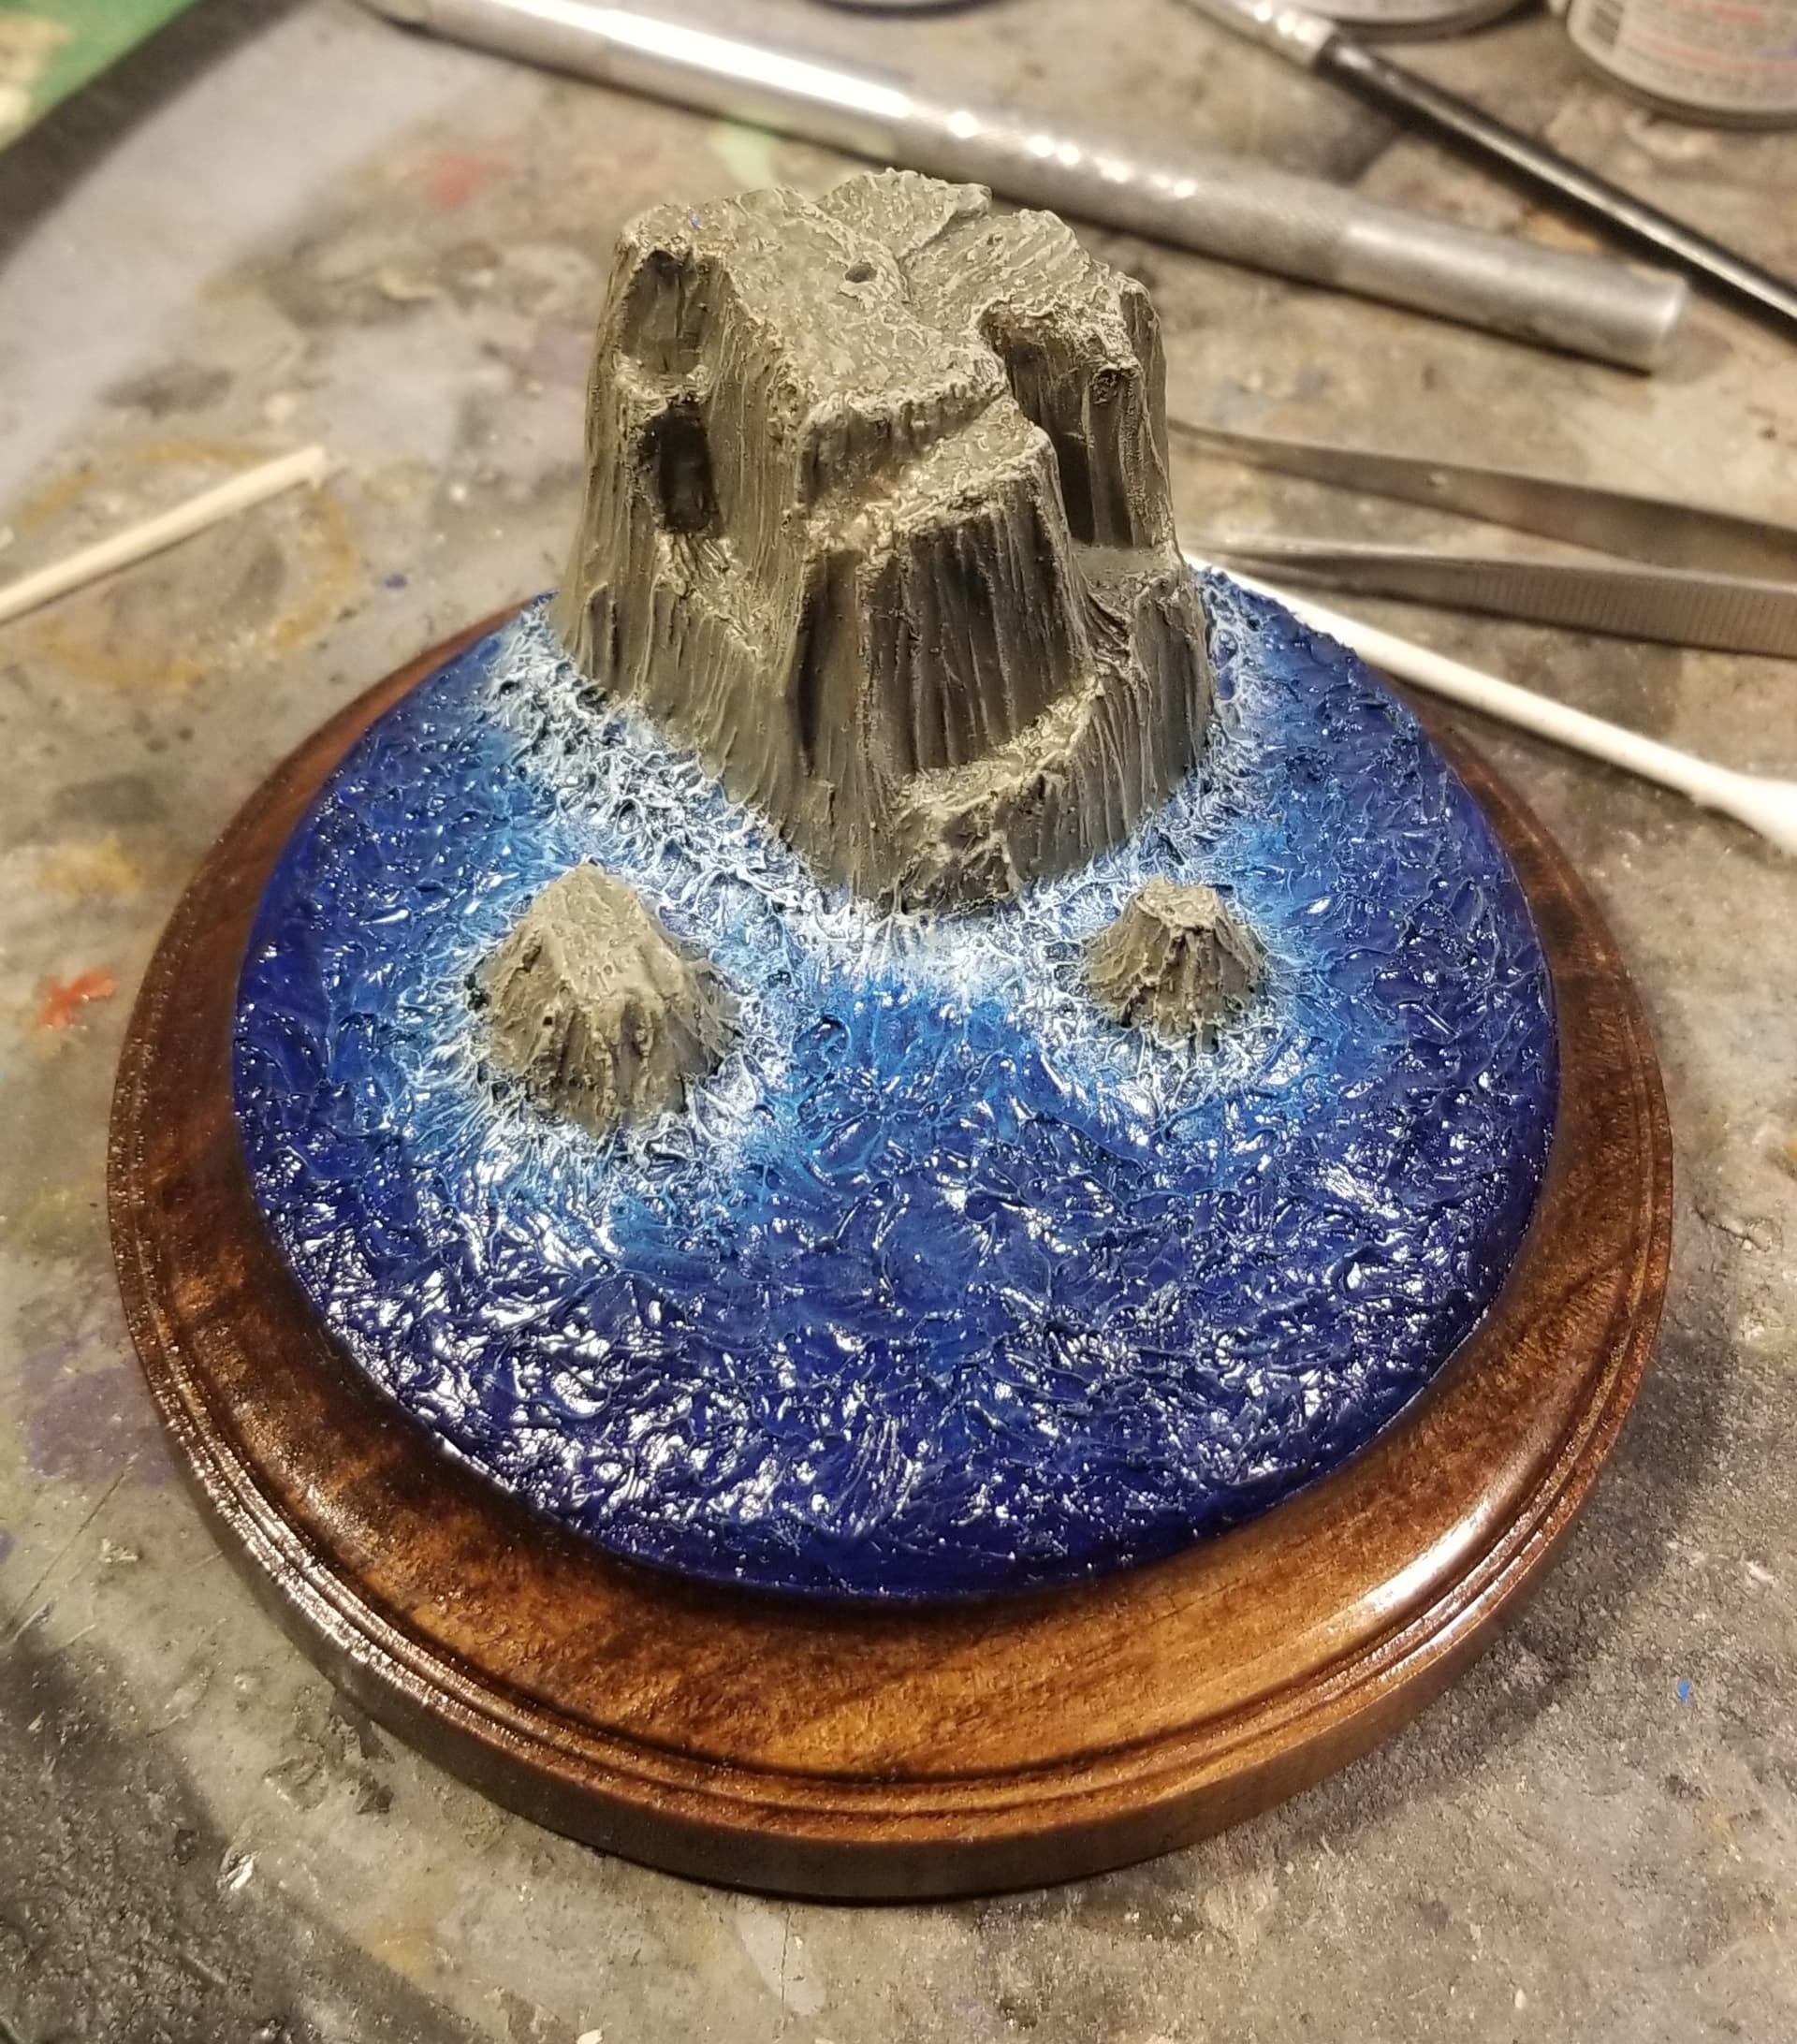
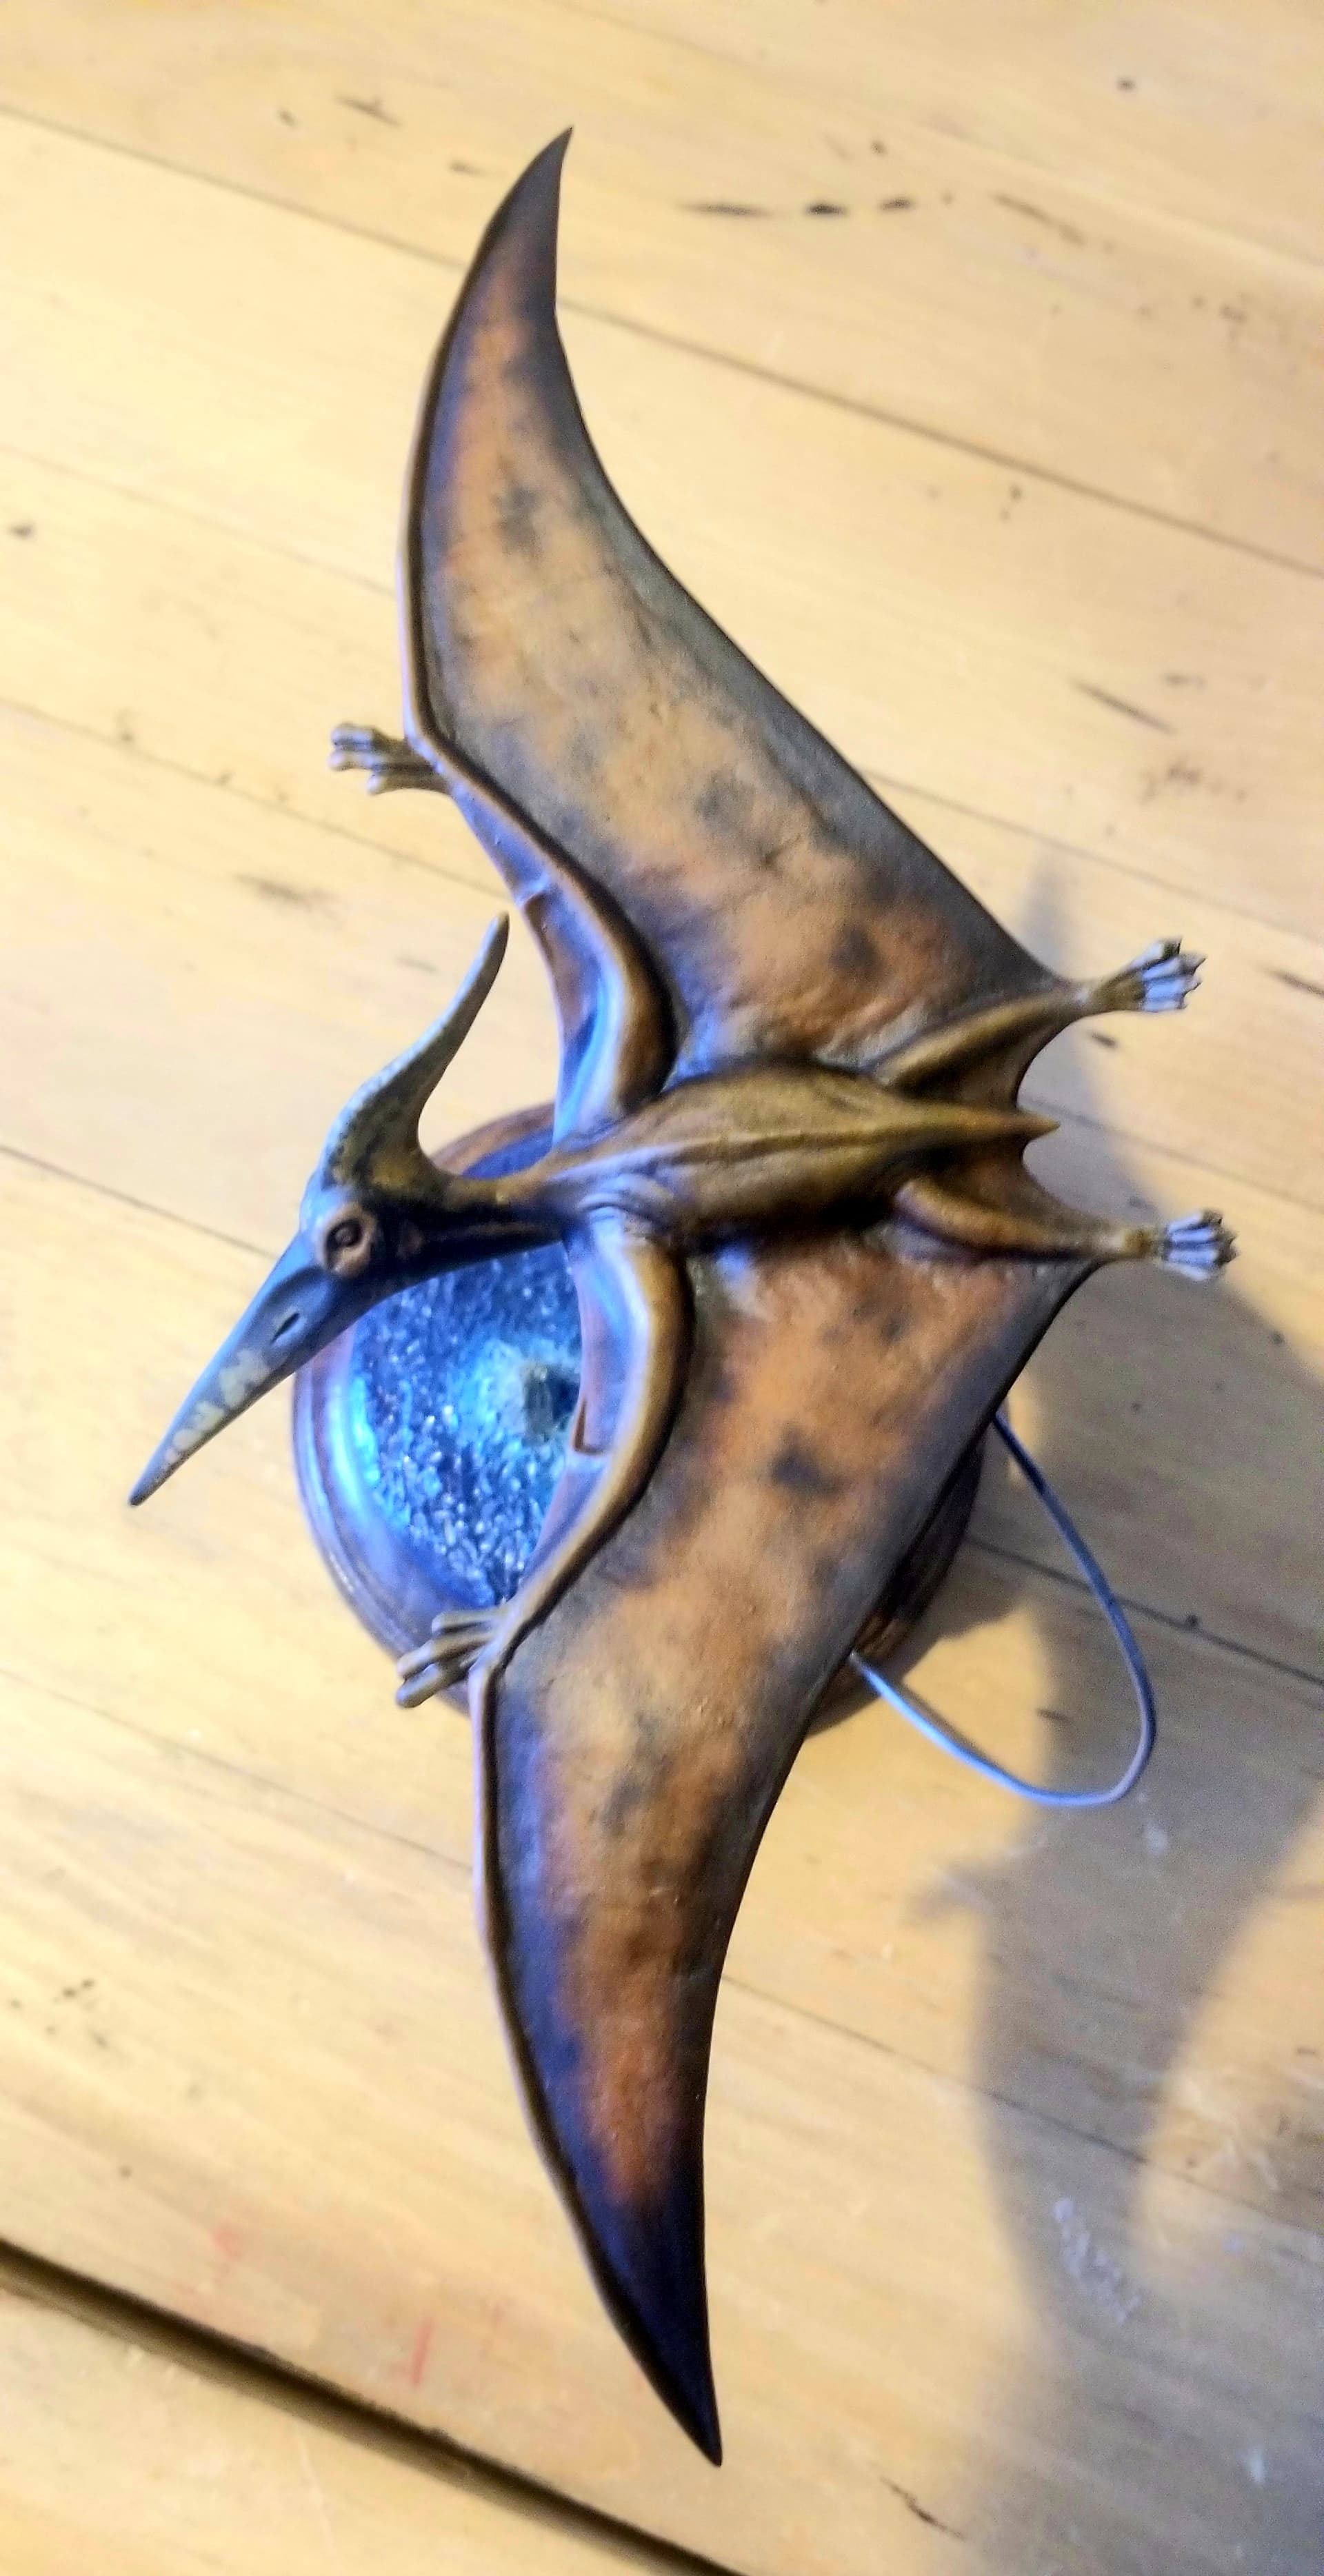
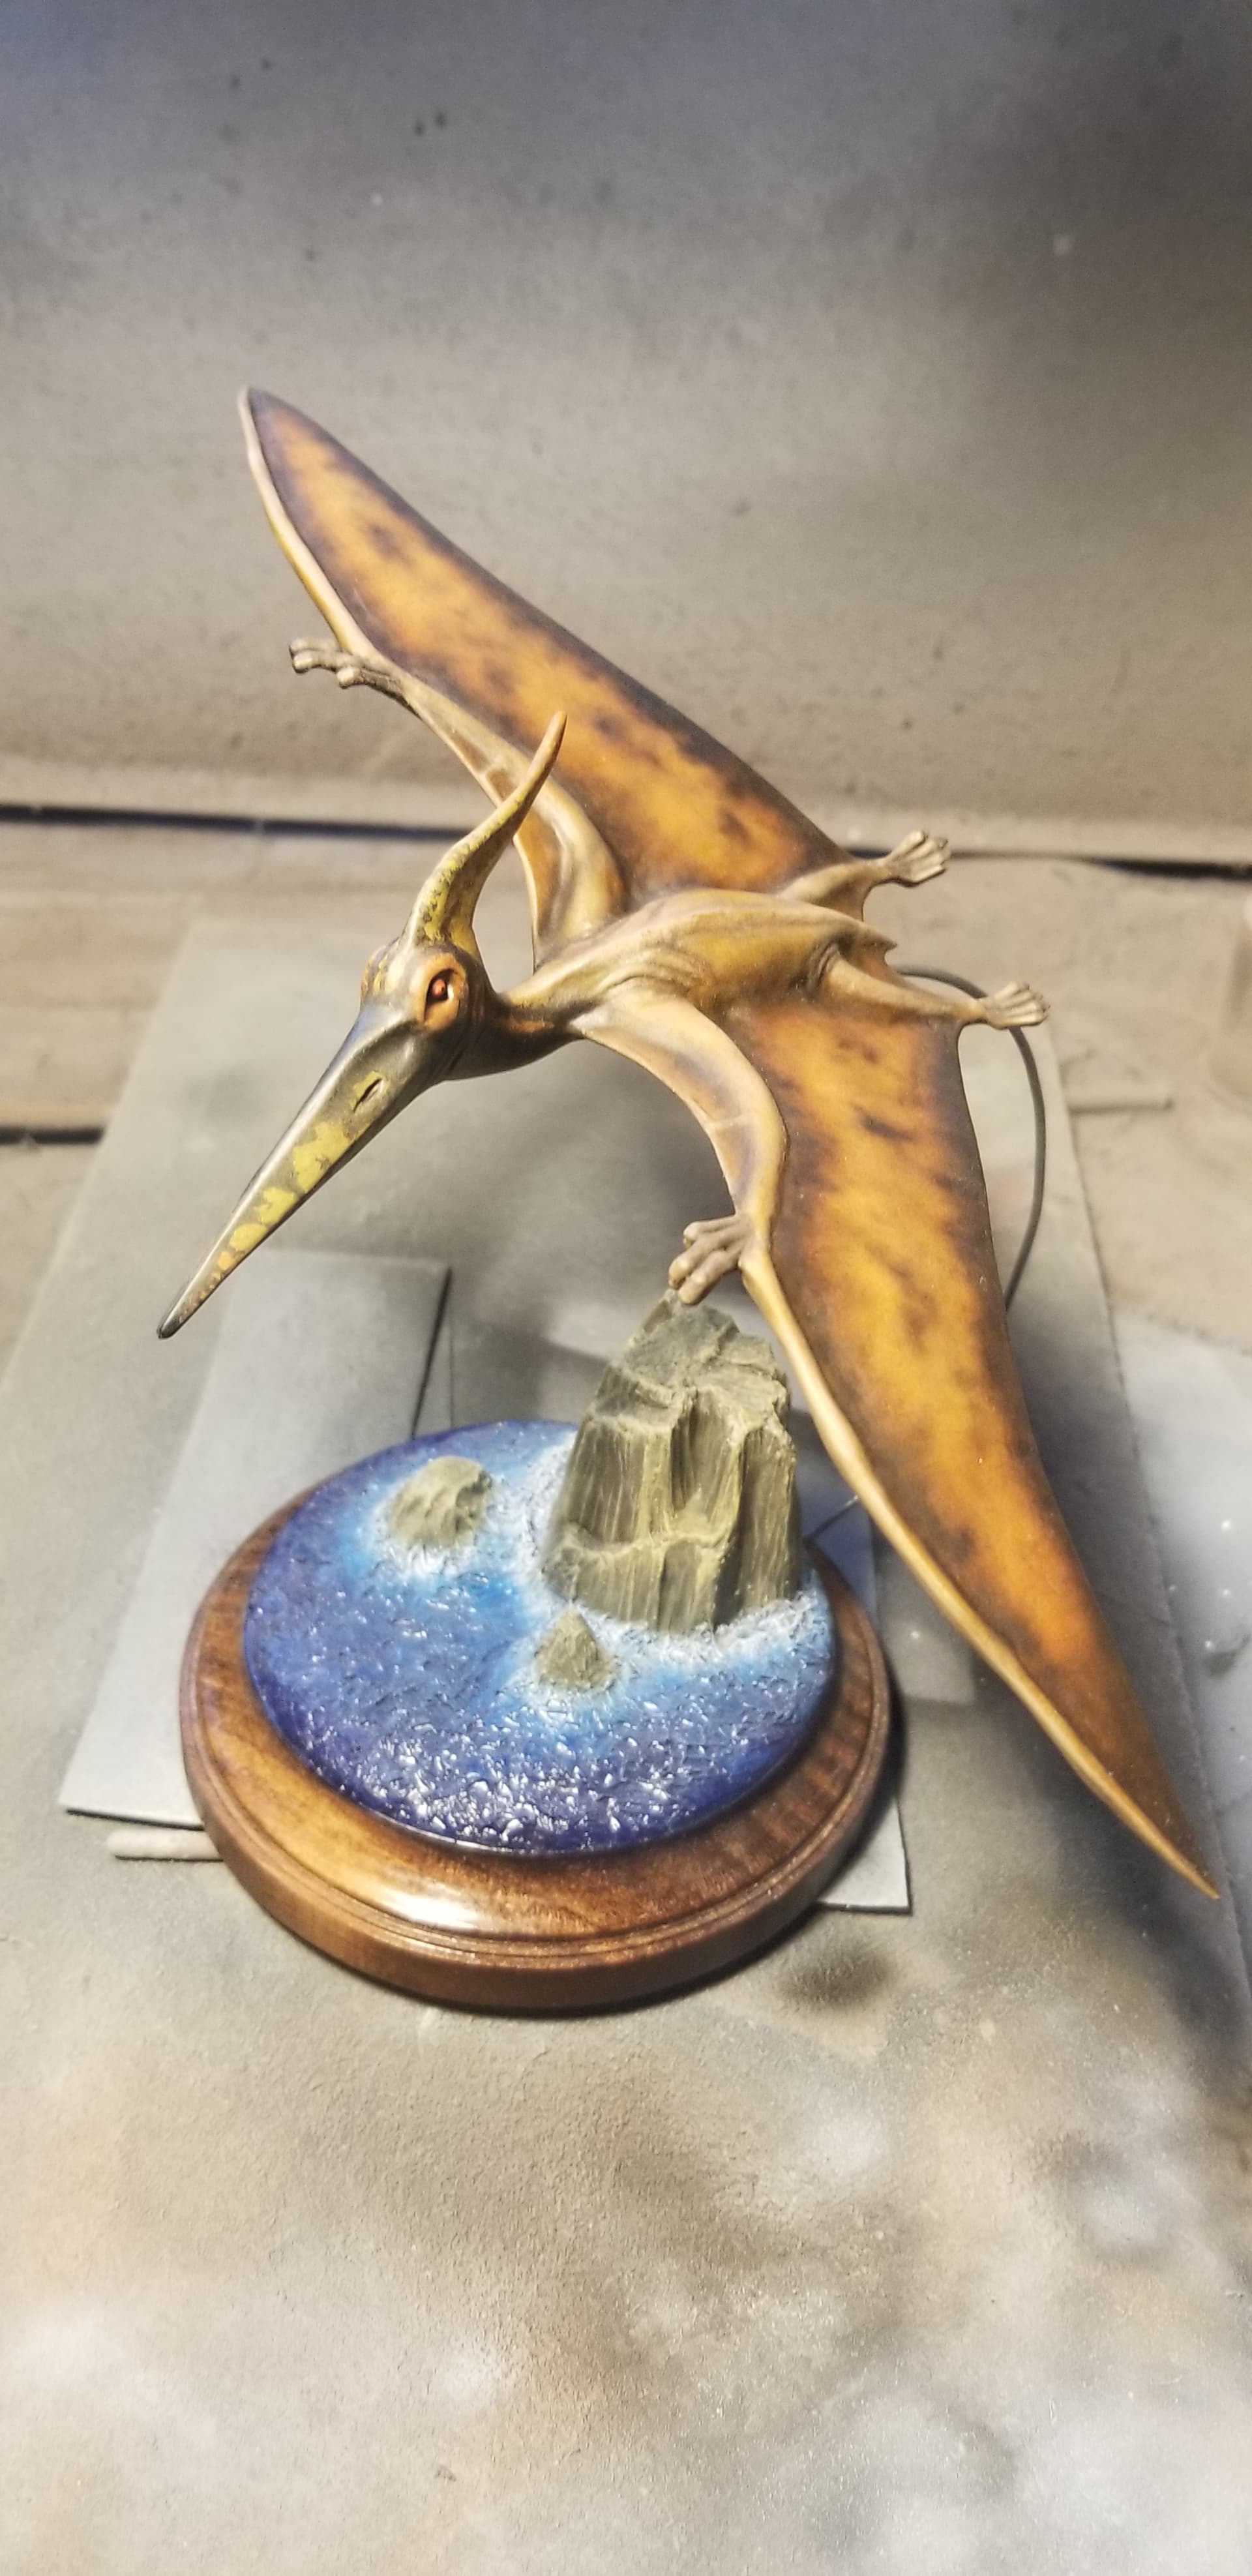
Did some work on the base. Added clear acrylic gloss gel for the water and then some drybrushing over the base colors.

1 Like

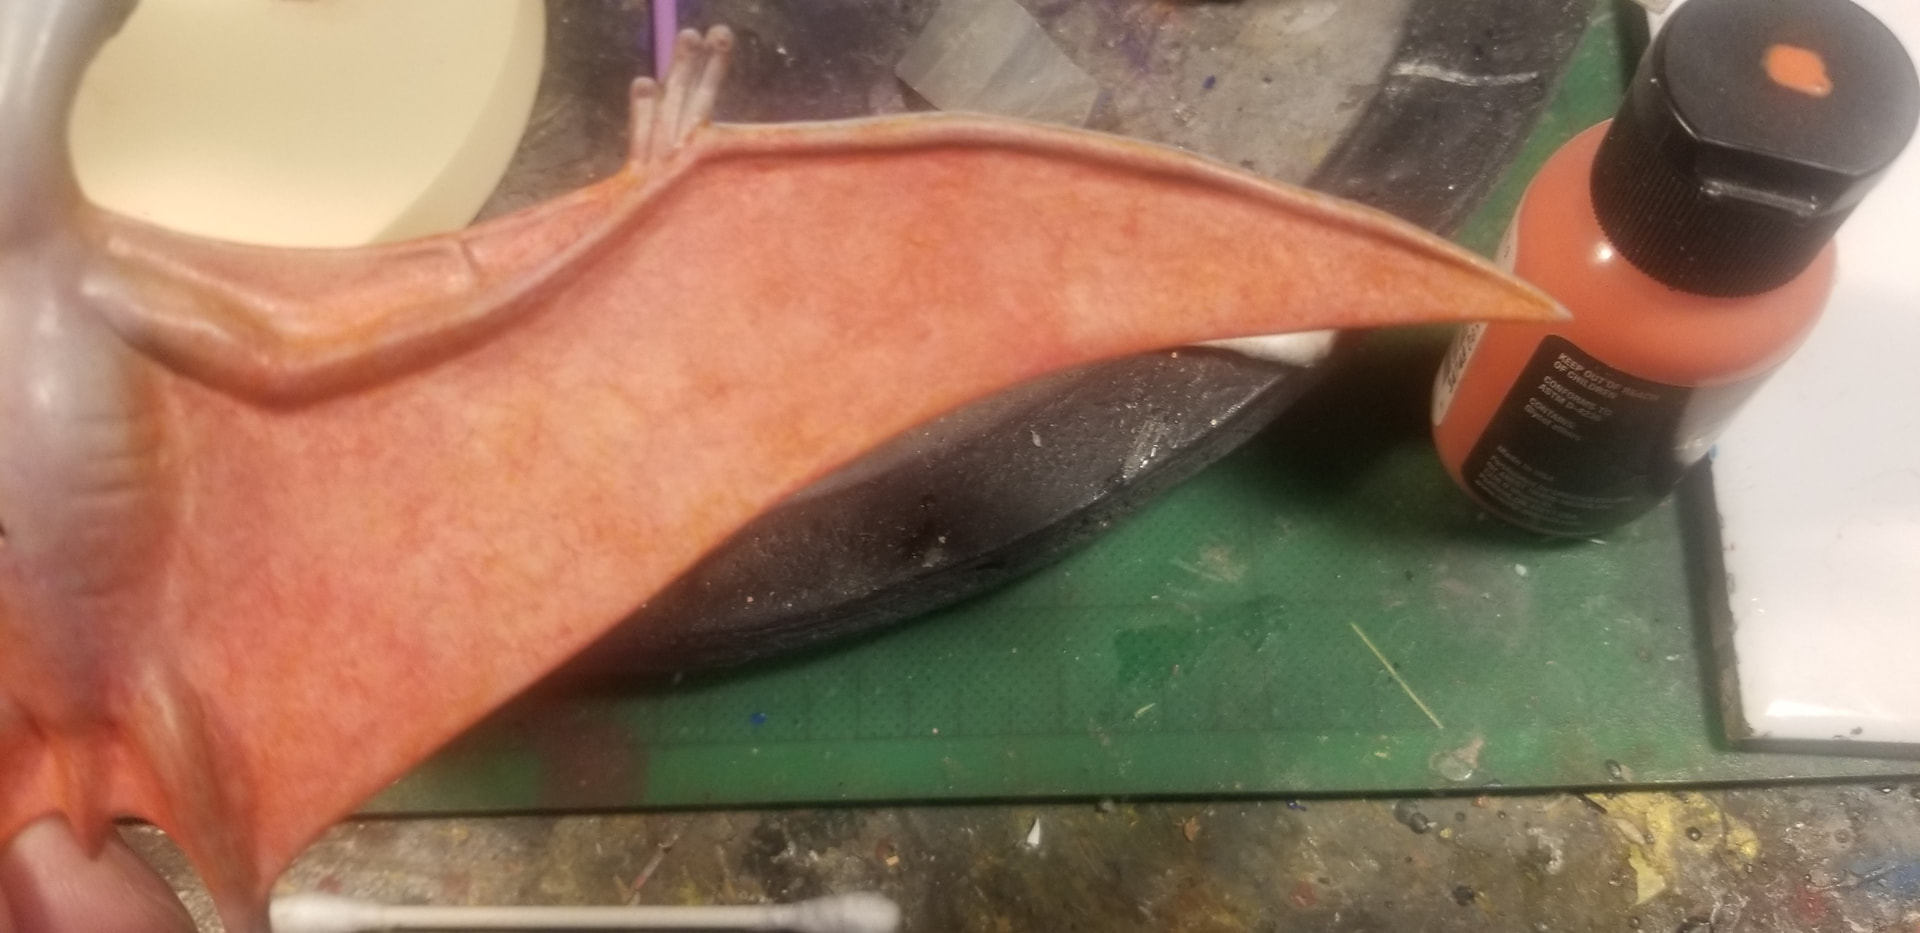
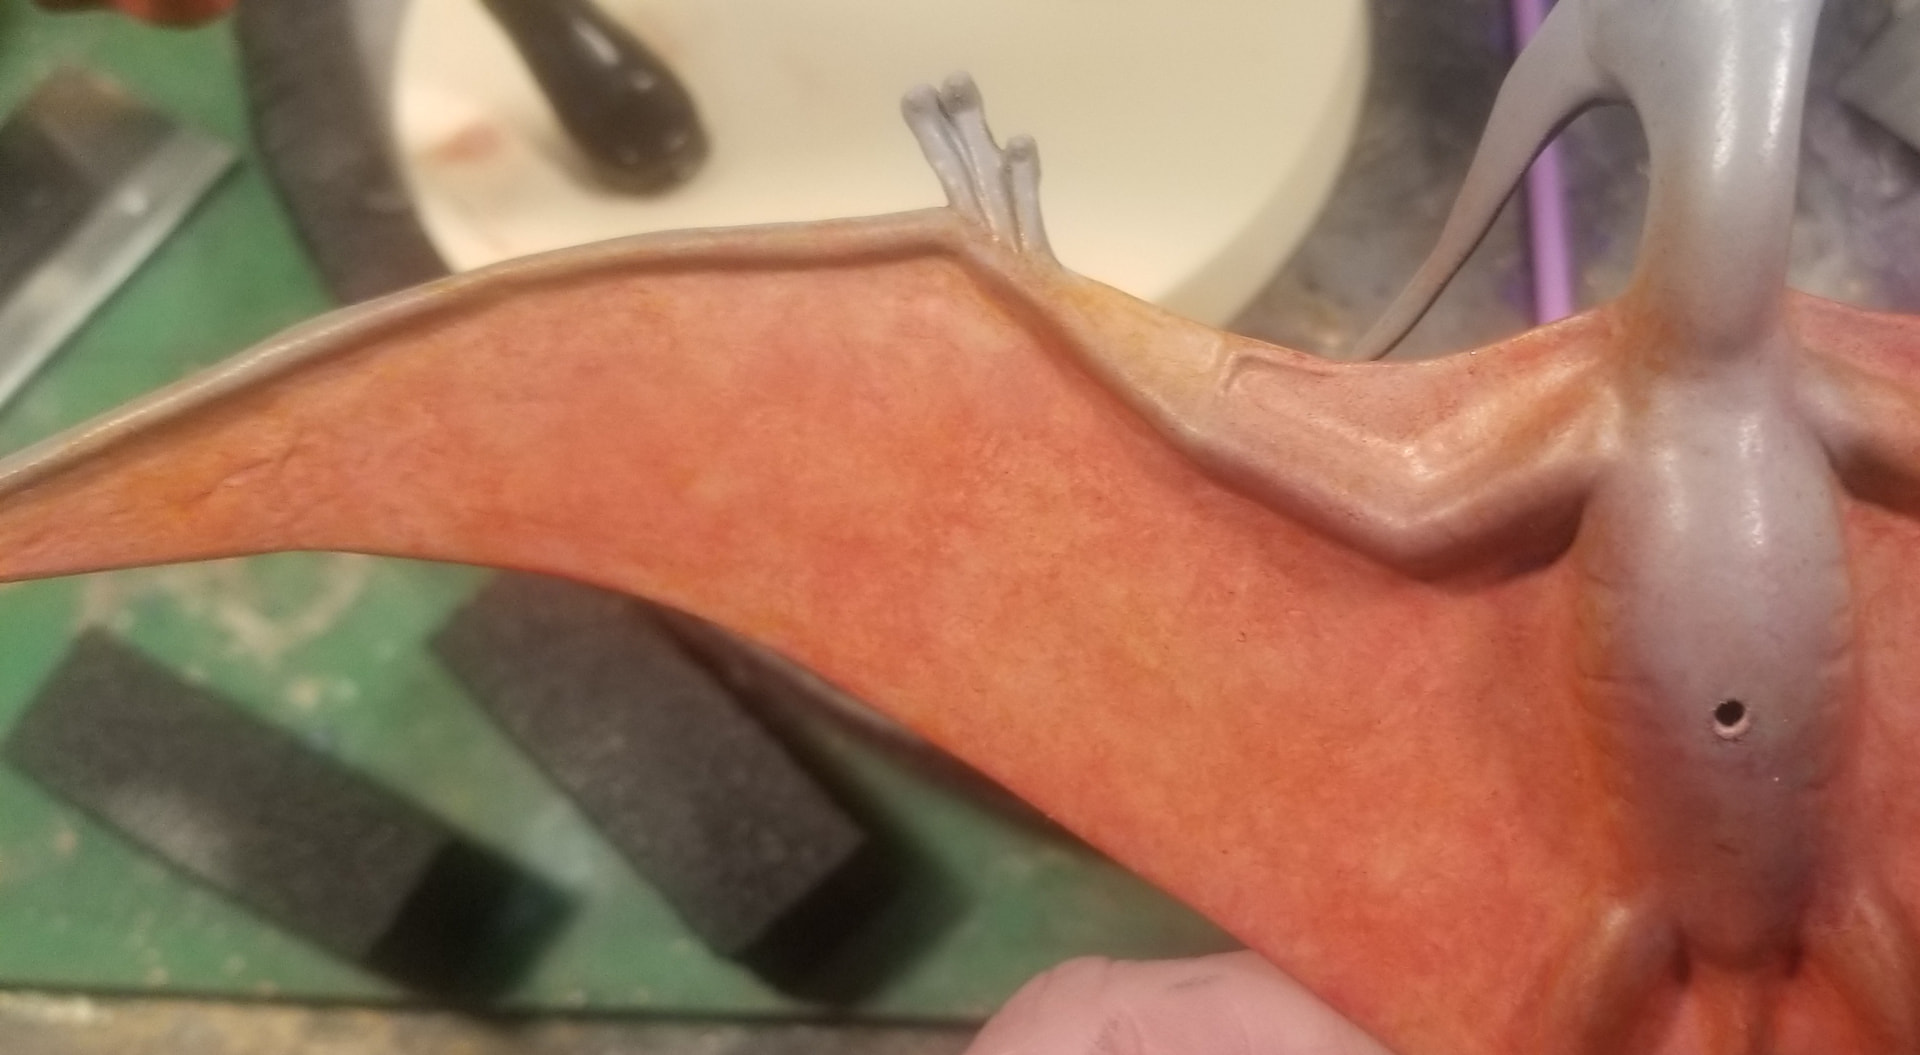
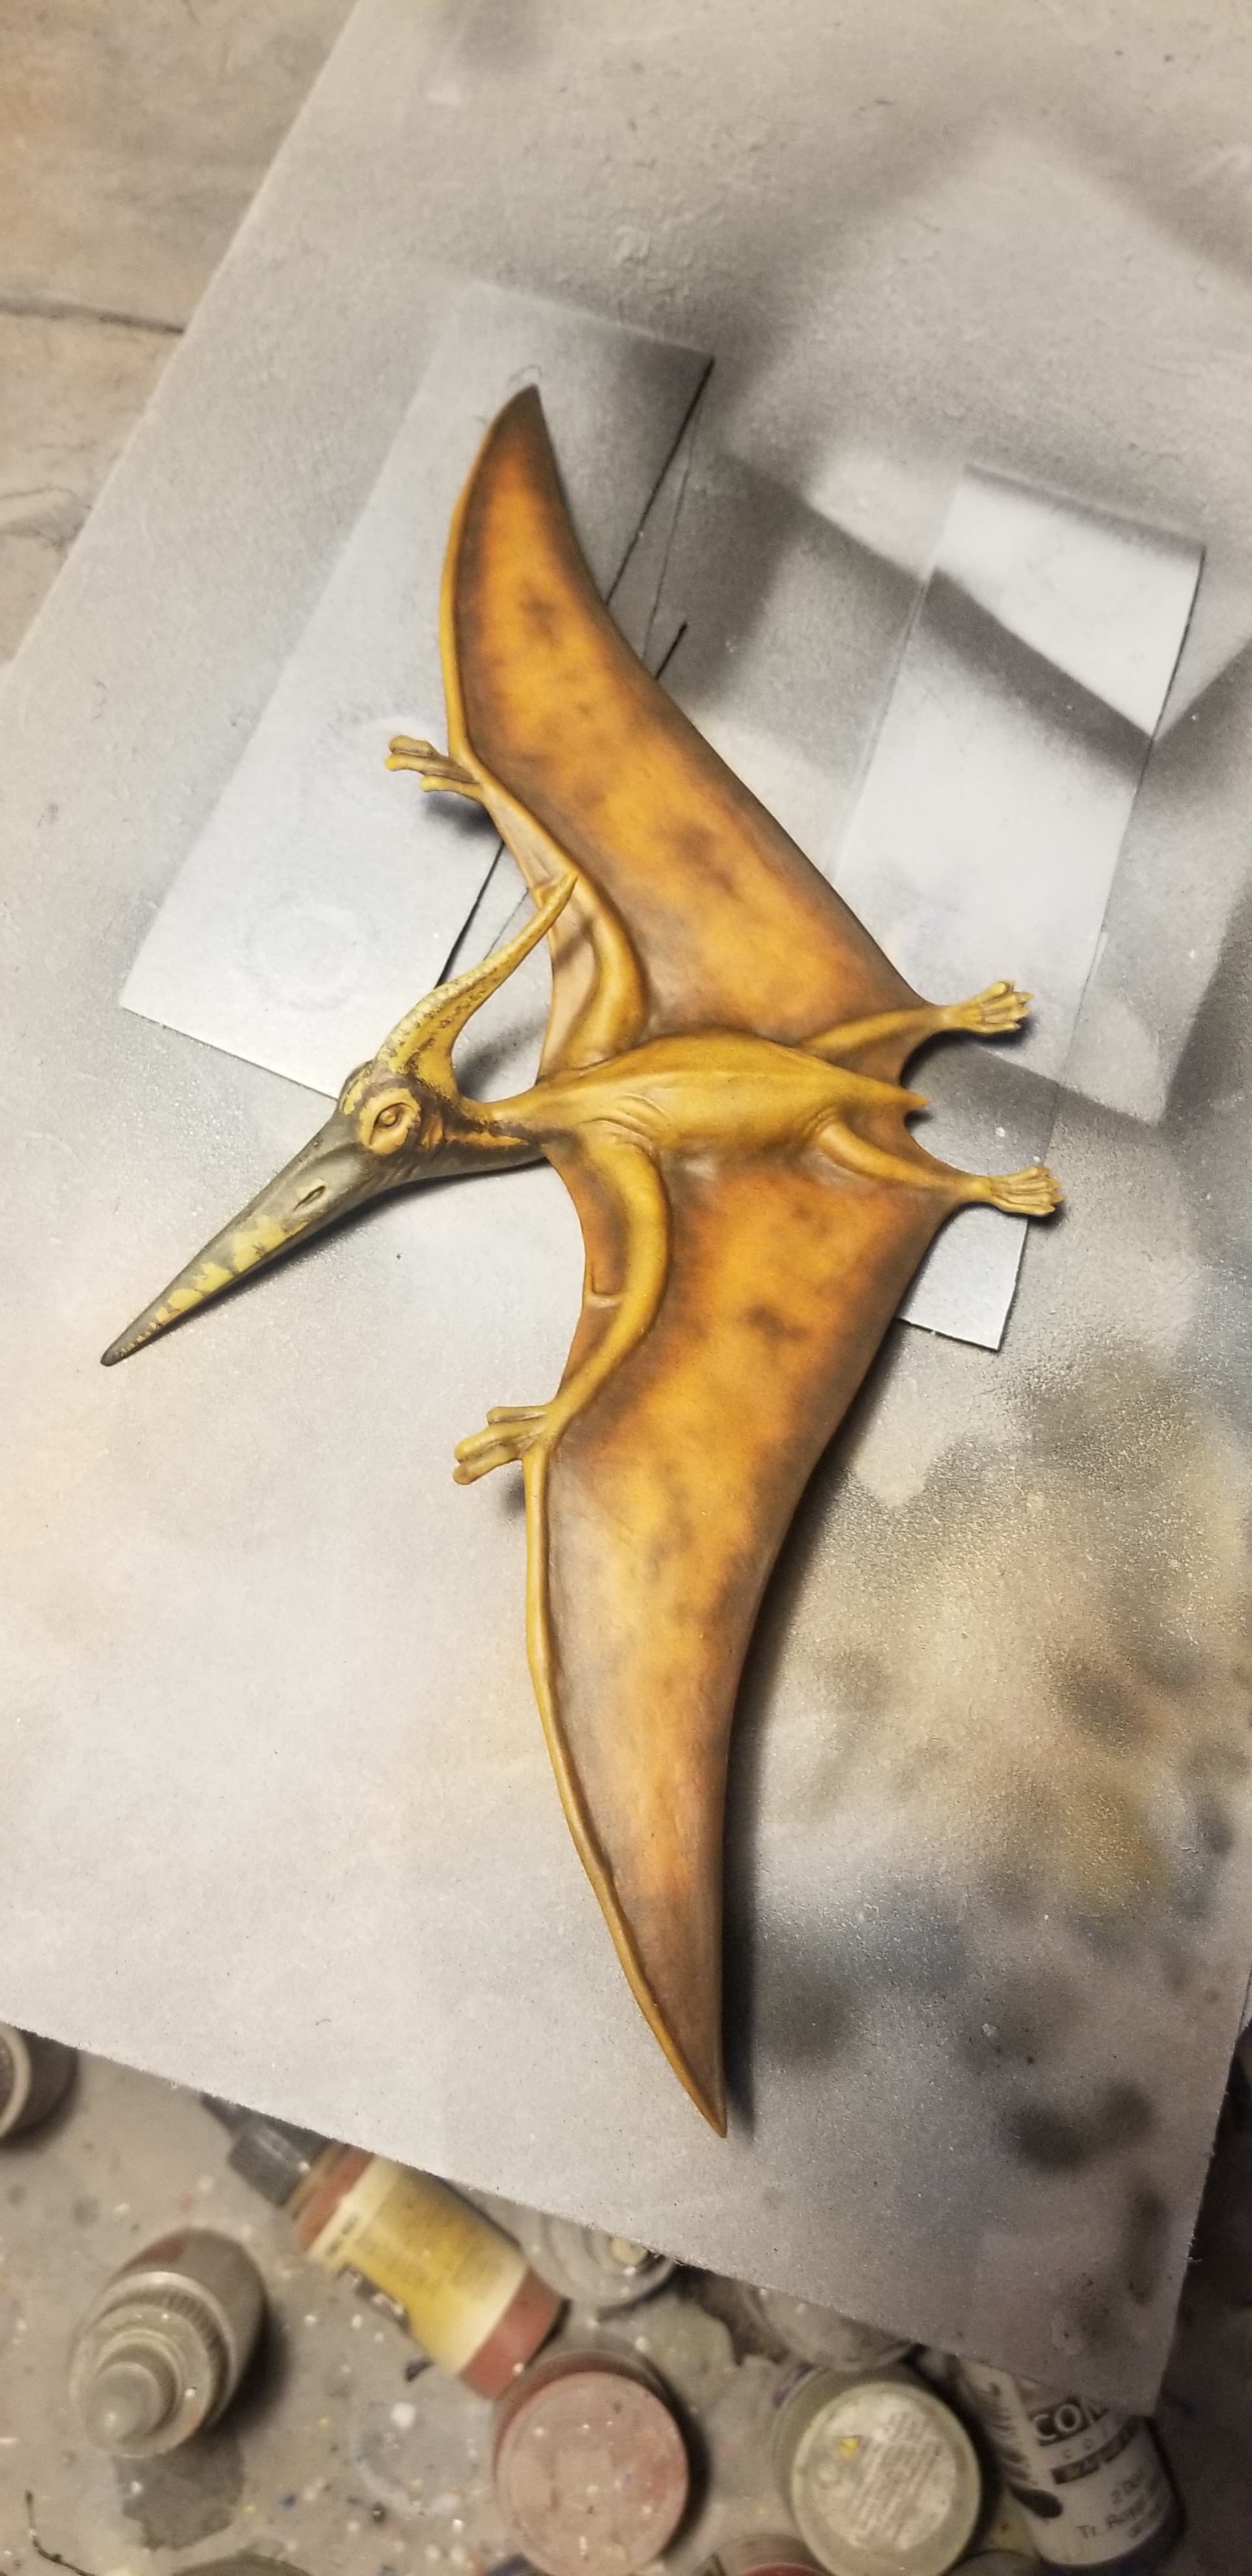
Trying a technique I learned from Rick Cantu years ago. Over a basecoat I sprayed transparent paint and then spritz Isopropyl alcohol to break up the paint into organic shapes. First layer was burnt umber then red. Think it turned out pretty good!


6 Likes

That technique makes for a “skin-like” appearance. Very interesting.

1 Like

Looking forward to seeing the final outcome. Your builds are always epic!

1 Like

Sorry it’s been a while since the last update, other projects got in the way. With WonderFest right around the corner, time to get this finished!

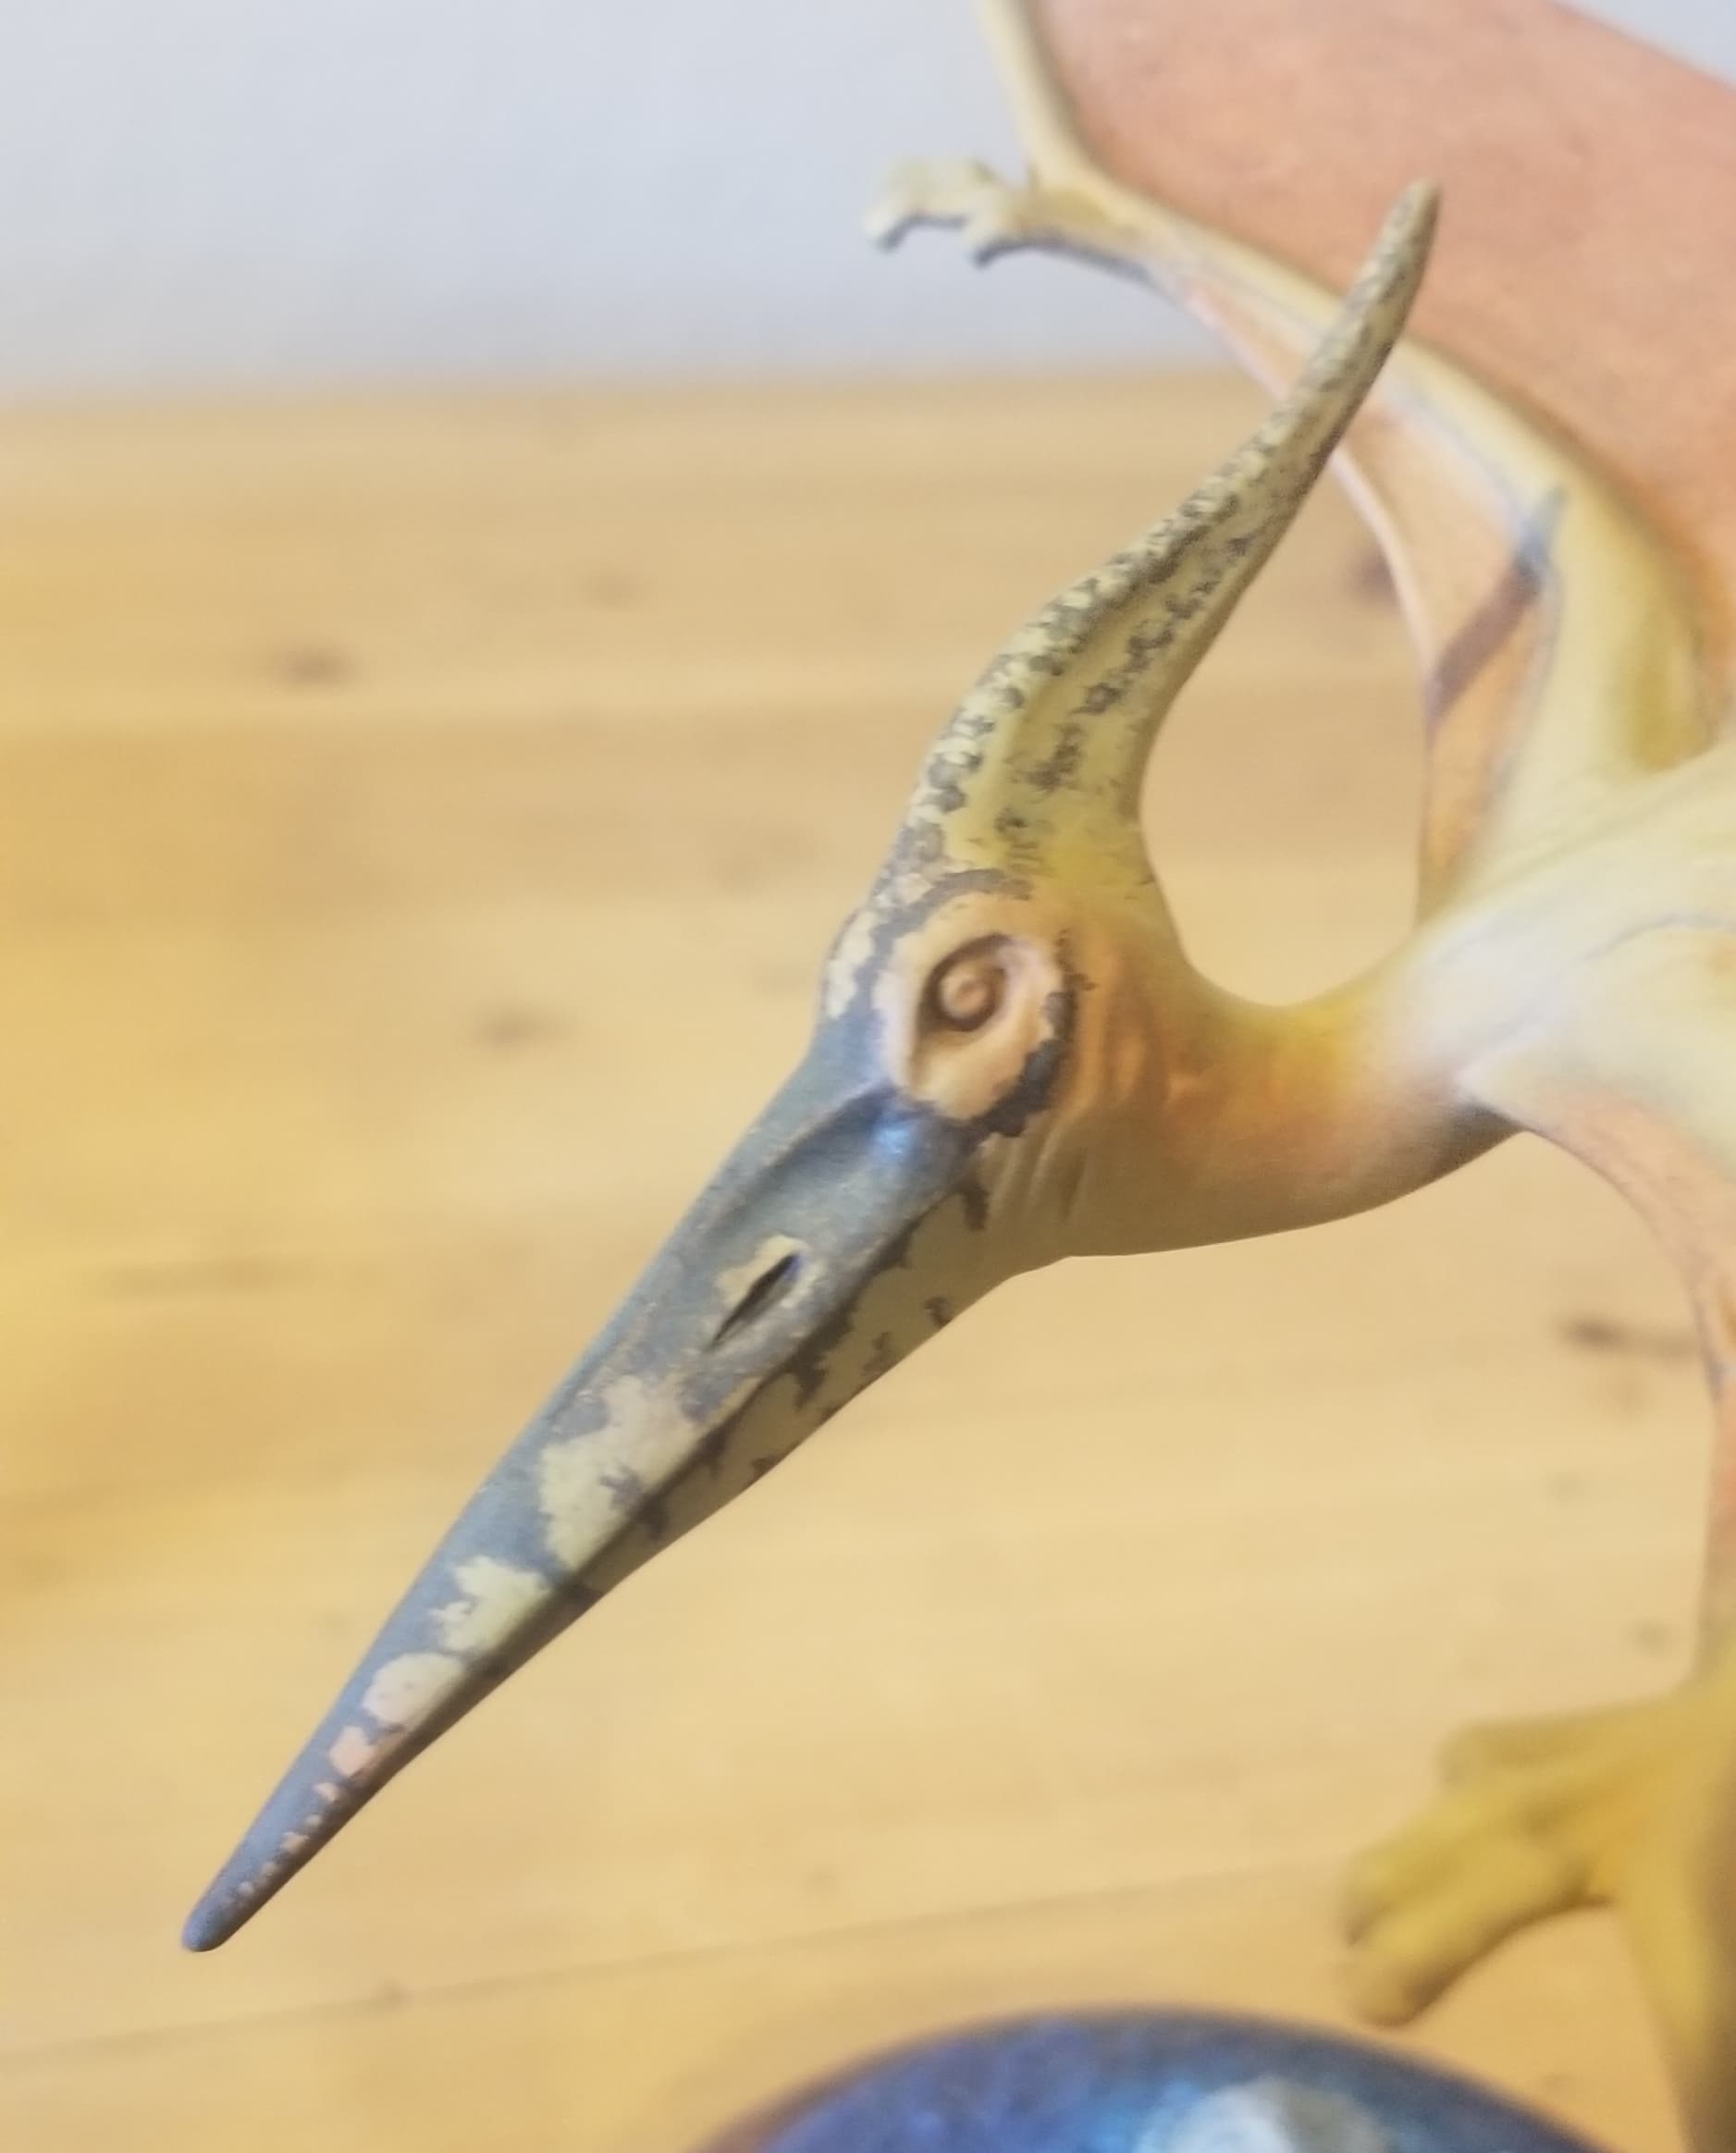
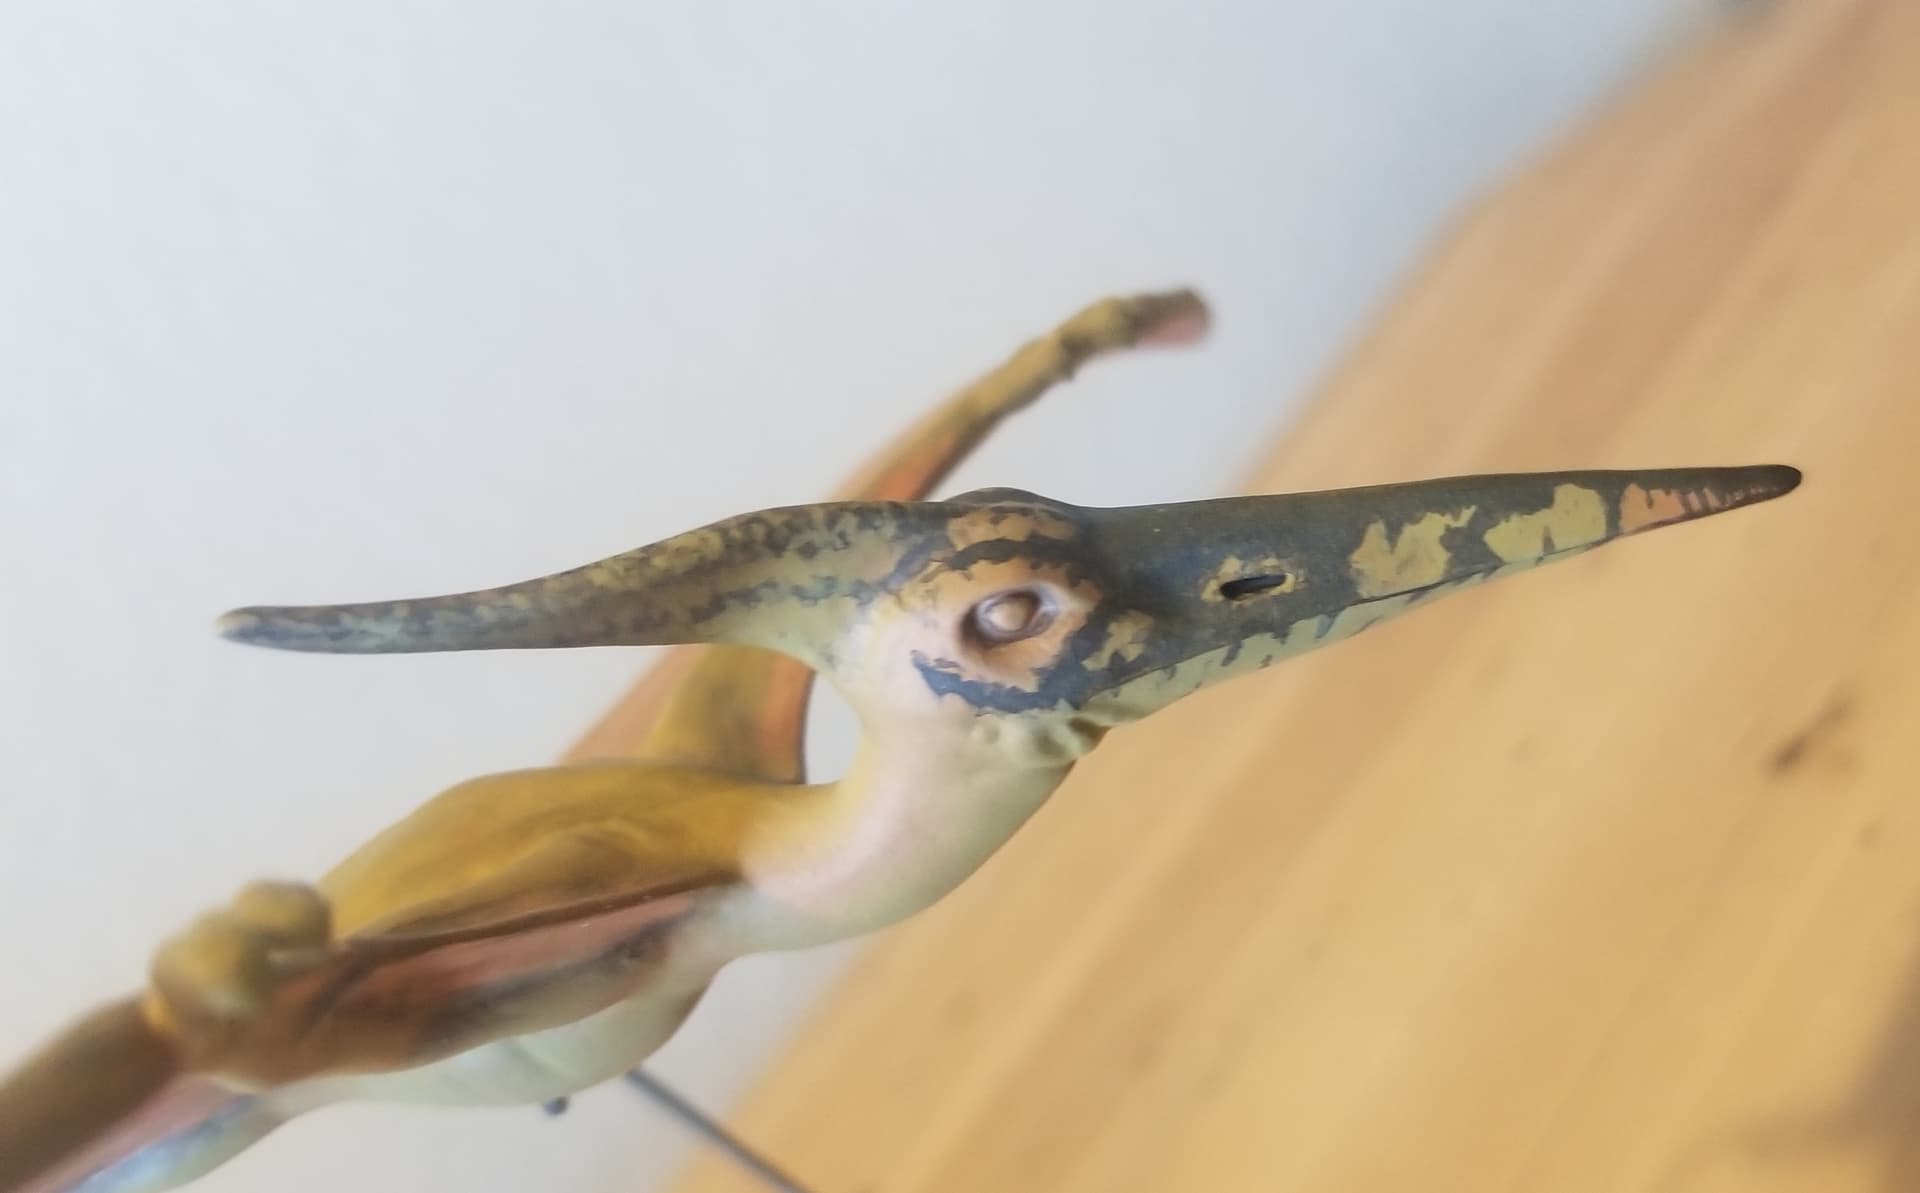
Finally decided on a paint scheme and started working on the head. Using Vallejo washes to build up the colors.


7 Likes

This is so cool! Great updates too.

Slowly building up colors…

4 Likes

Added some more black/brown to punch up the contrast.

Breaking up the pattern on the underside…

Almost at the finish line, need a little drybrushing to pick ot the highlights and detailing the eyes before calling it done!

3 Likes

Sticking a Jurassic fork in this and calling it done! Even though it was a simple kit, I had a blast painting it.

I decided to move the support wire to the back of the base vs. on top of the rock. I think it gives it a cleaner look…

“It’s Not What You Start With, It’s What You Do With It!”

6 Likes

That is some amazing airbrushing!!!

1 Like

Thanks. Been doing it for a ‘few’ years… :smiling_face_with_sunglasses:

It’s all about controlling your air pressure and paint viscosity.

1 Like

Jurassic fork. :rofl:

You’ve made some smart and clean updates and achieved a lovely paint job with an arguably tired dino mold. You may have to change your tag line to “Iwata Master” …

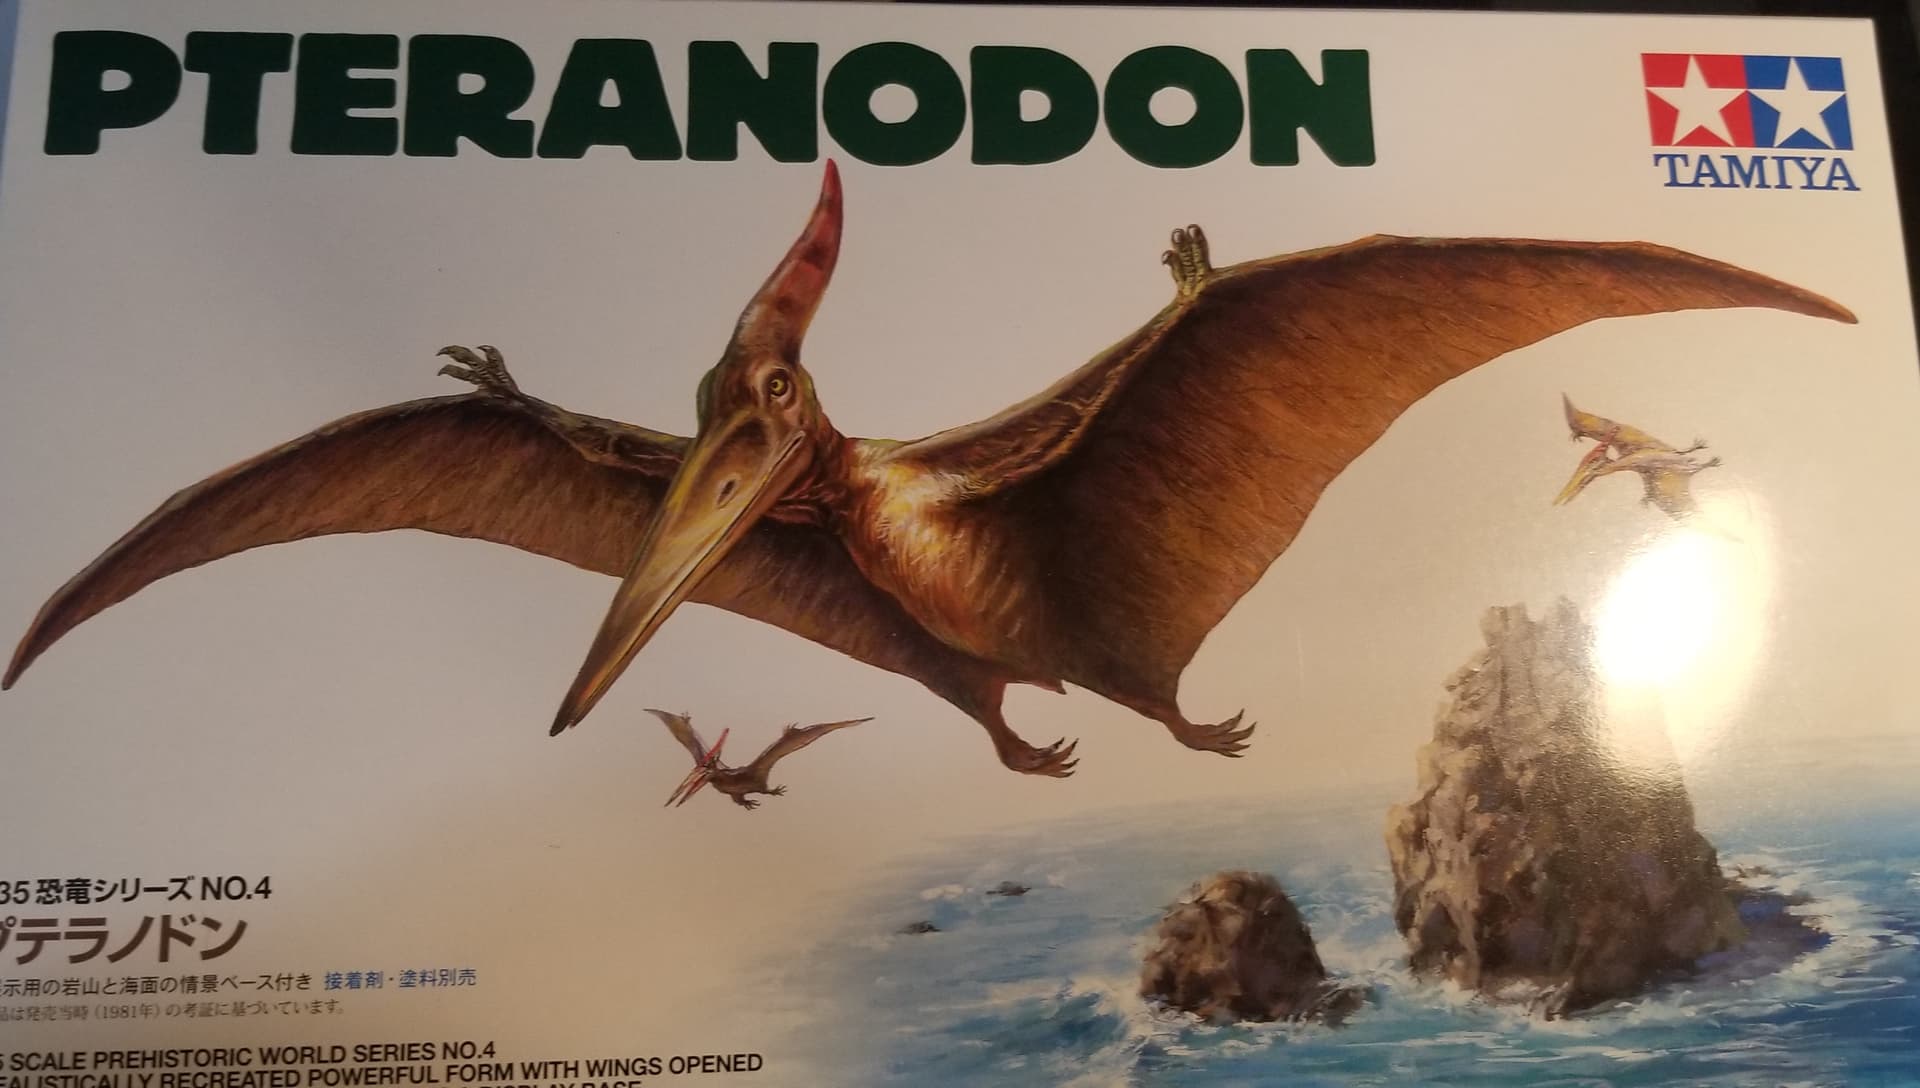
LOL - My Master keeps telling me that… :smiling_face_with_sunglasses: