Hey everyone This is my first build to put up on the site. I’ve been building for about 6 years now and am always learning and wanting to find new ideas and techs so any input is welcome thank you…
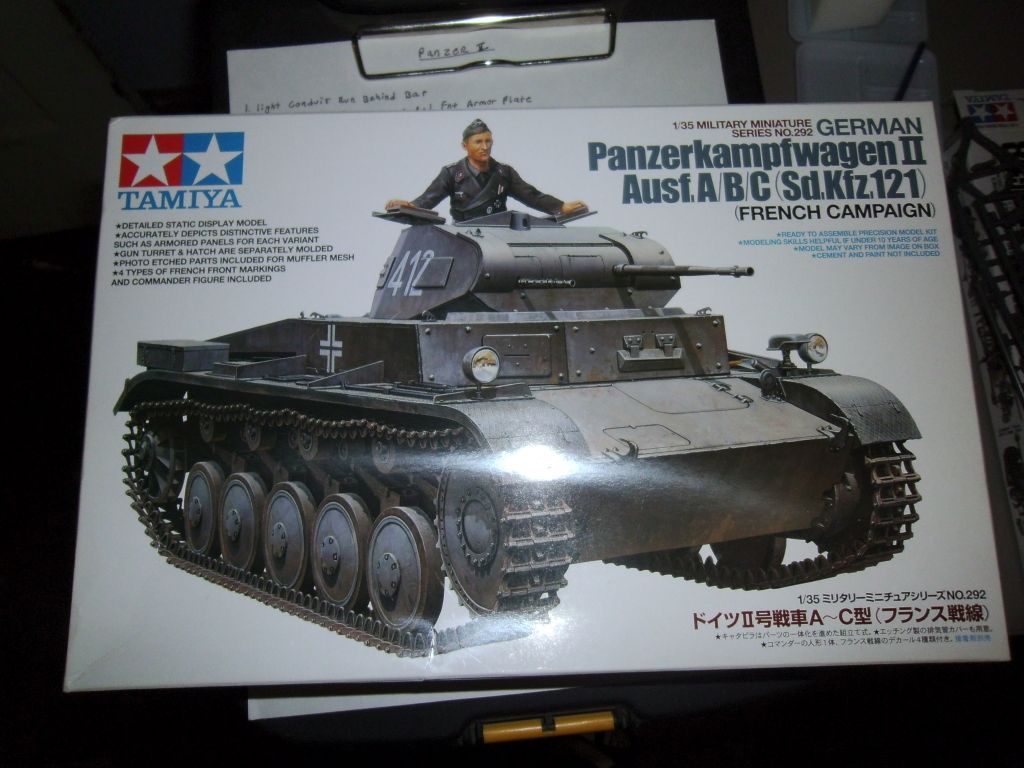
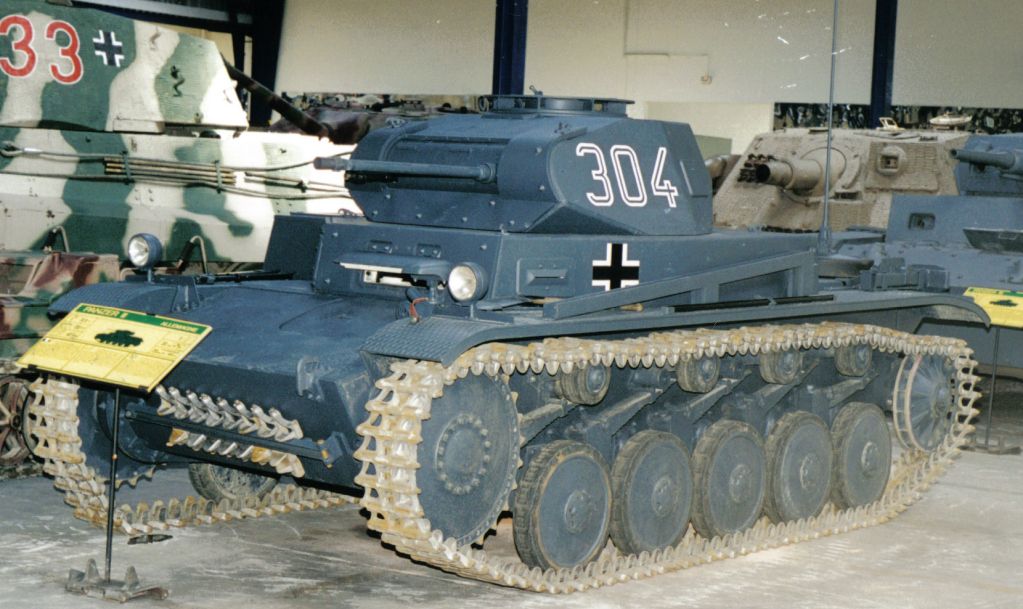
So here it is Tamiya Panzer II French Campaign. I know this kit isn’t to old but i have had it in my stash now for about 2 years. I thought this would be a nice break from aircraft models that i normally do… every now and then i get board with seeing planes it just repeats itself same reason why i never build cars… any way here is how the first of it has gone just getting the hull parts ruft in then will go back and fill any gaps add weld seams and conduit to the lights missing bolts etc… etc…
Looks like it’s off to a great start, these little kits are fun projects and the new-tooling that Tamiya put into them produces some sharp details. Look forward to seeing what you do with it. [Y]
I built this one fairly recently and it was a very easy and fun build so I’m sure you’ll have fun with it. There is also another one of these currently in production in the forums which is looking really good too. Keep us posted.
You’ll love this build! On this very page on the armour section I too am building the exact same kit - the link to my Blog is below. You’ll find that the guys have given me good photos and great links which helped me and should help you, too.
As you can see from my blog I’m well into my build of the ‘312’ Pz II which I think is an Ausf A? The yellow marking look good as opposed to bog standard white on grey! I also chose to use the early war Grey/Brown cammo scheme which really aids in helping the bland monotone grey scheme, which can be a pig to bring to life, look a bit different. It was also a scheme I was yet to try and I was very keen to give it a go.
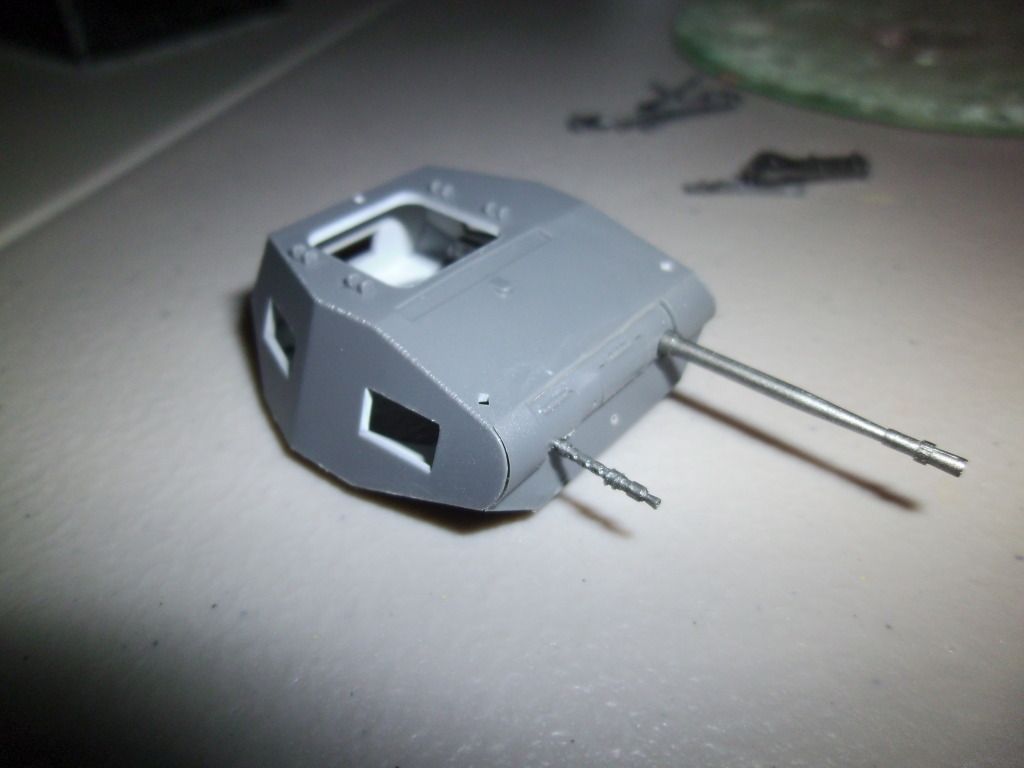
I found the new Tamiya kits to be excellent and their use of slide mouldings a welcome relief. Aftermarket wise I am using Friuls but they really are not needed as the tracks with the kit are excellent. I also decide on replacing the 20mm cannon barrel with a metal RB version - much better with a correct muzzle brake - and the MG34 is RB too, as is the antennae. The RB stuff is very cheap and comes highly recommended! I always use their stuff!
i was planing to do this straight from box but not sure have to see how things swing.
but i have heard a lot about the two tone camo but there was always a lot of arguing about it… found your blog the other night about yours and that made me decide to go with the grey/brown scheme on this one too… also the white air marking another thing that brings a lot of arguing but with that photo i seen on your blog i will be masking mine off too for that…
I have another build after i get this one done that I’m gona go all out on… i just picked this one for some what of a break lol
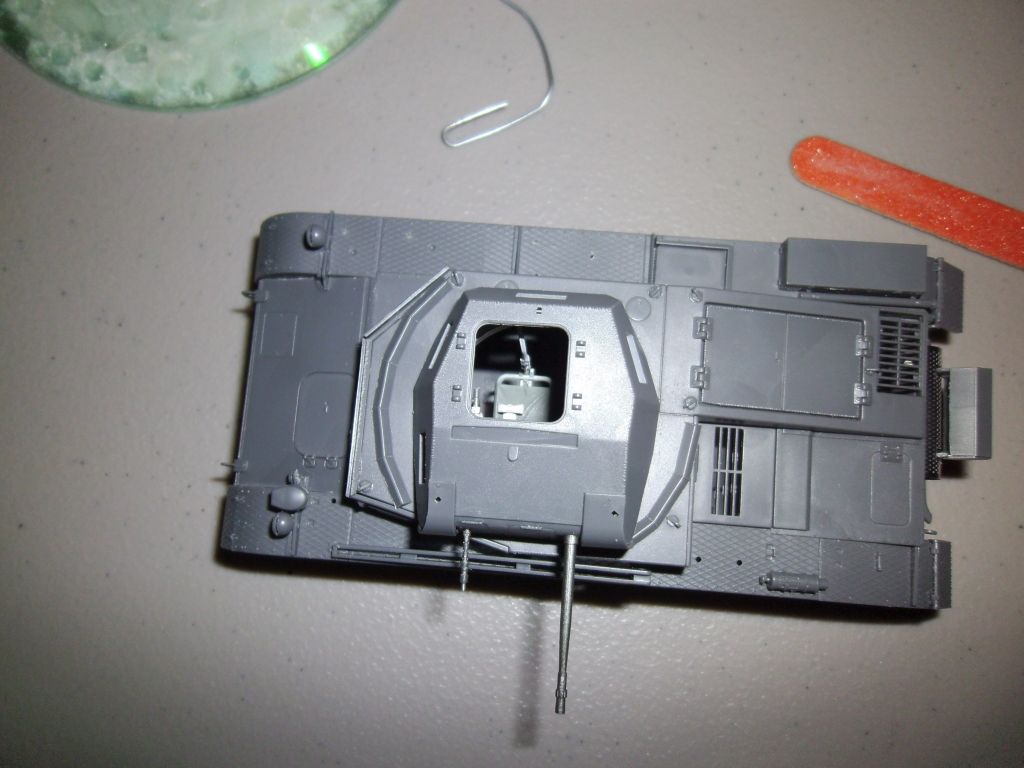
Painted the inside last night Tamiya white with just a touch of buff added to it to give it the off white almost egg shell color that they use
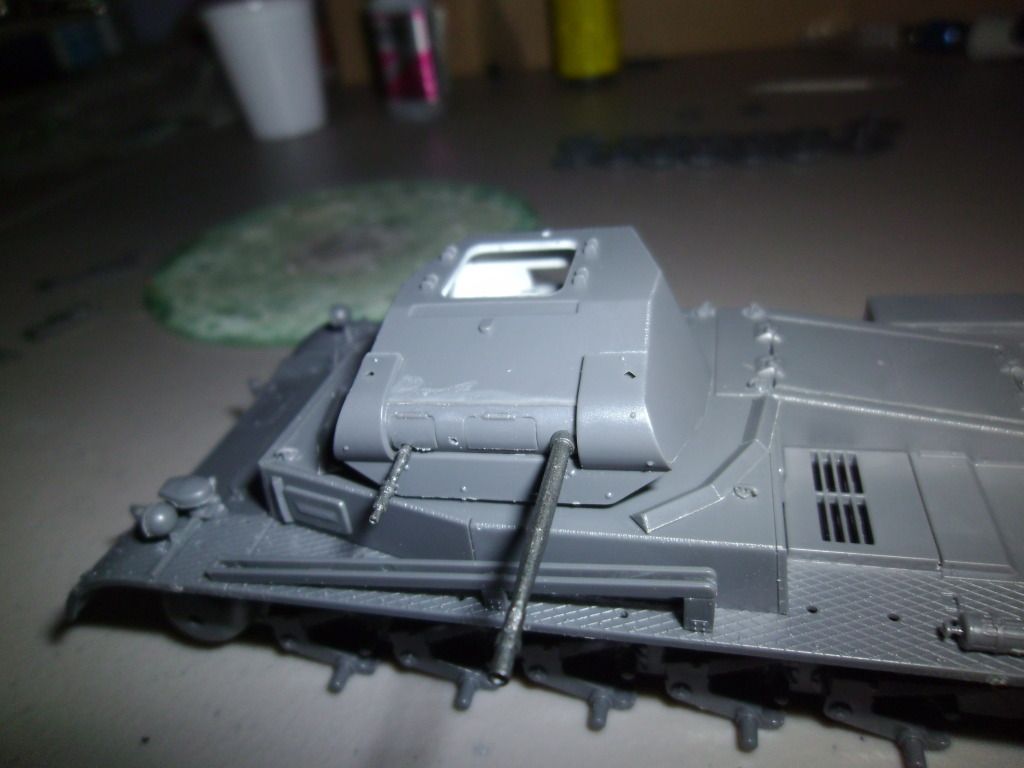
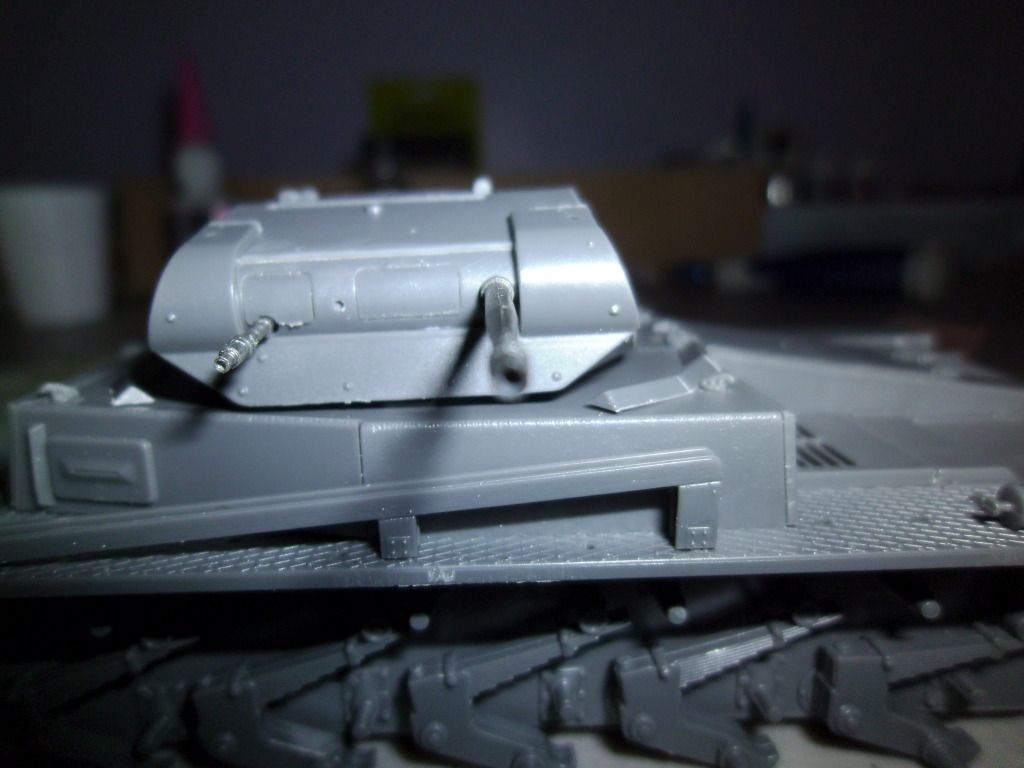
Then toady i got the turret fitted and the guns in place… I’m not sure if its just me but that was the hardest Tamiya piece I’ve ever put together i just couldn’t get it to line up for the longest time but finally it just clicked
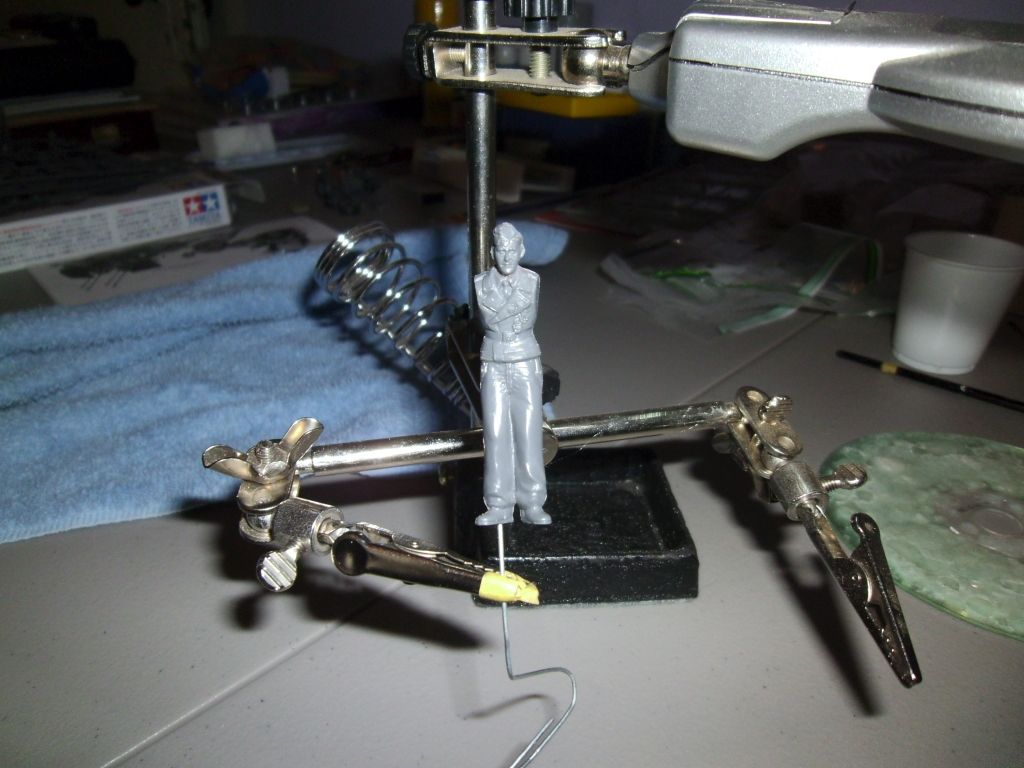
Not sure yet if I’m going to leave the turret open or not yet kinda want to use the commander figure that came with the kit but i also don’t want to paint him lol…
Again any feed back is appreciated be it good or bad
Moving right along with this one! If you want to leave the turret open but without the commander, you can always “hide” the missing rest of the hull detail on the inside by painting it flat black or similar. On the flip side, you’ll never know about the figure until you attempt it. Take the plunge and get your feet wet, you may discover that figure painting is just as much fun as vehicle painting! [;)]
Just paint the figure and see how you go. If you like it stick it in the turret, if not then just leave it out. I like to include figures in my builds because they give a sense of scale. It’s hard to tell how big a tank really is when it is on it’s own but when you include a figure in there it really does illustrate their size really well.
Thanks everyone for your input i think i will go ahead and see how far i get with the figure… I have to back to work tonight 3rd shift so my long weekend is over but i will try to get some time in at my bench today and post some progress
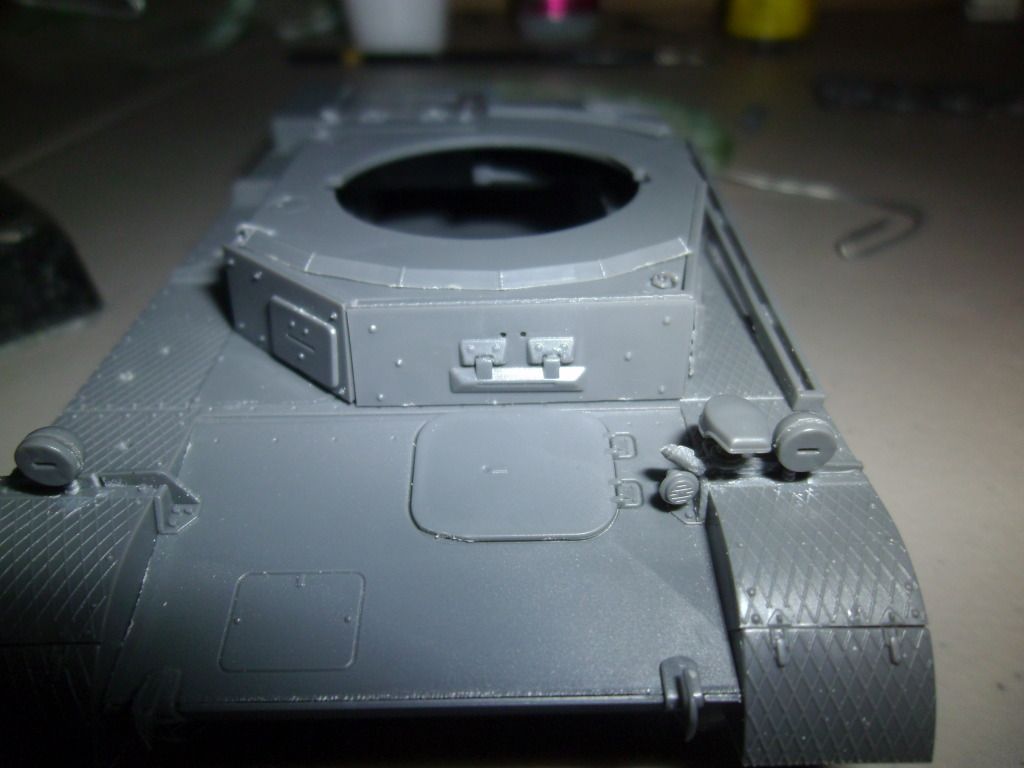
started by stretching some sprue to make weld seams. then brushed them with some tenax to soften them up and detailed them with the back of my knife.
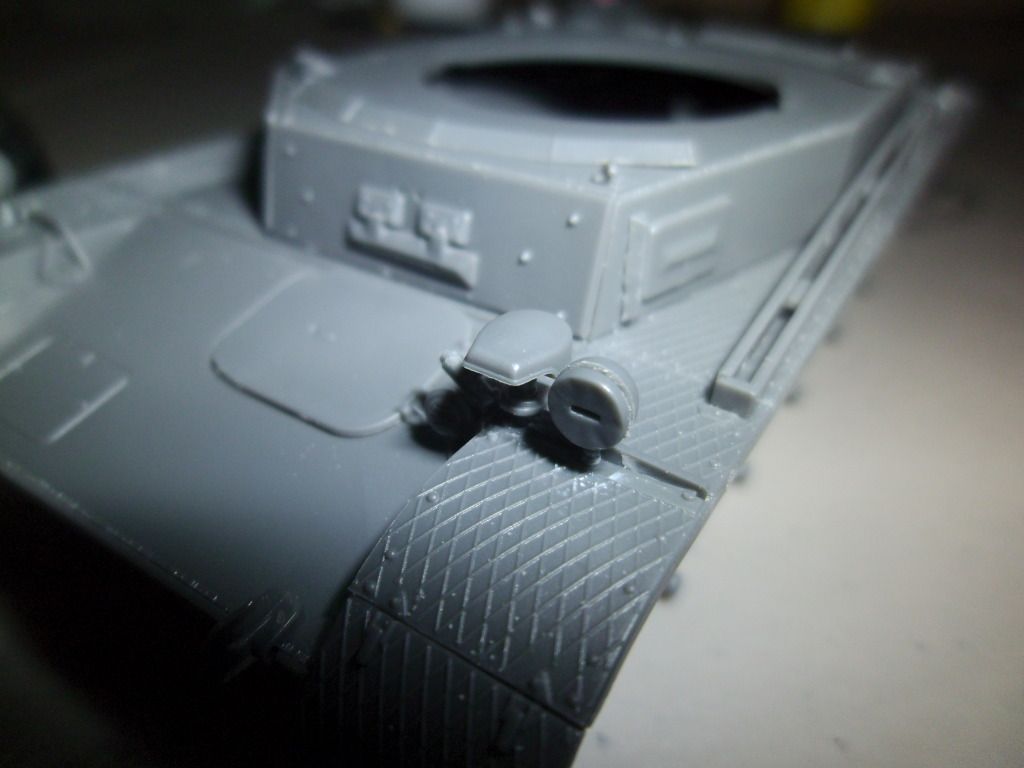
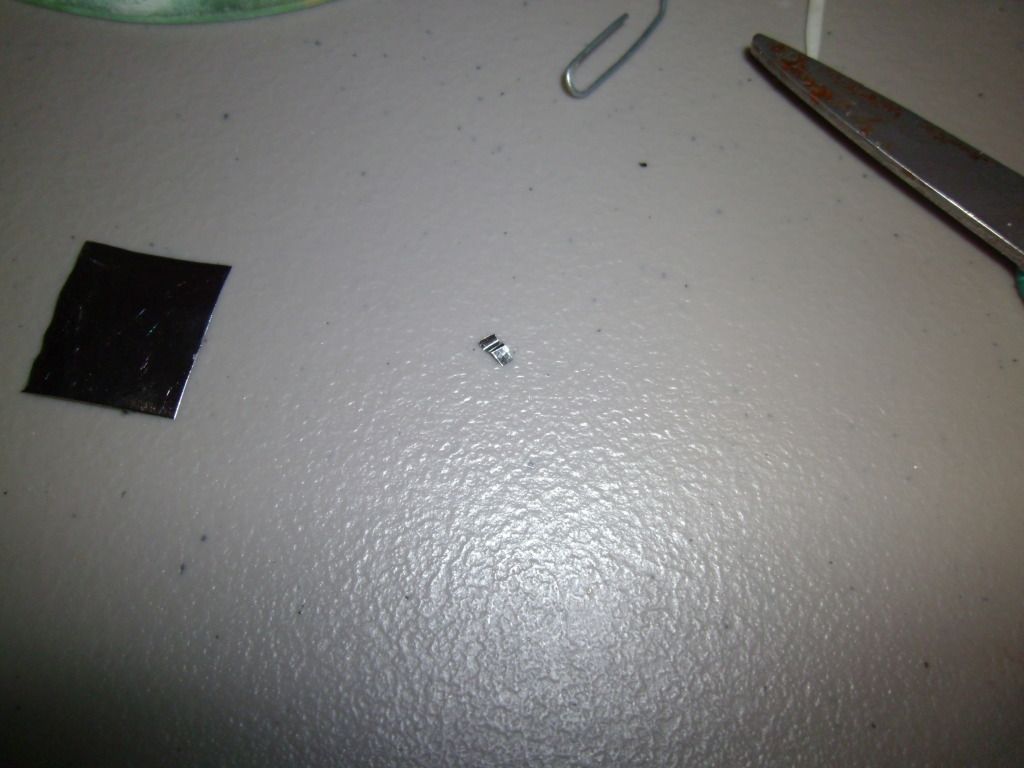
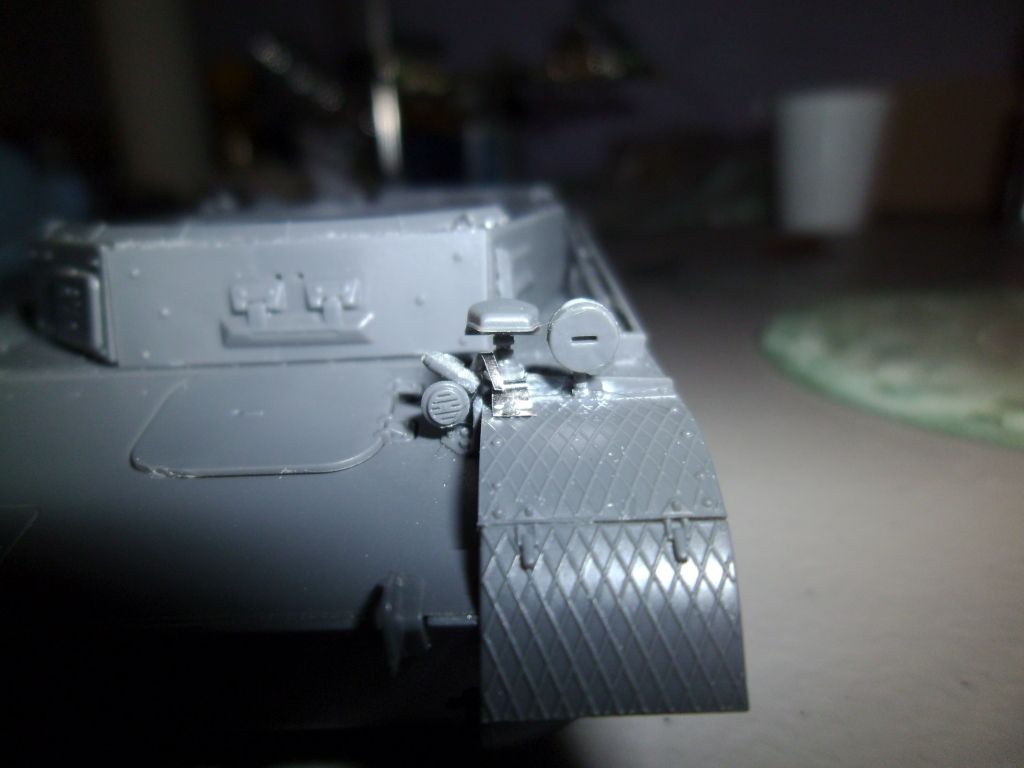
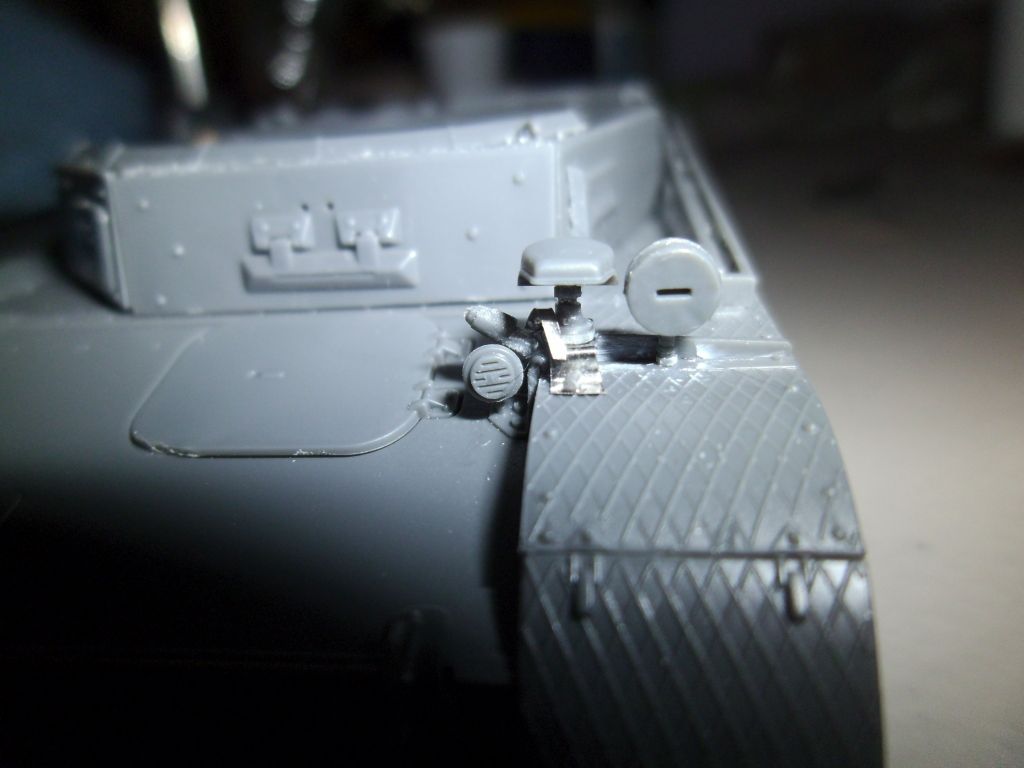
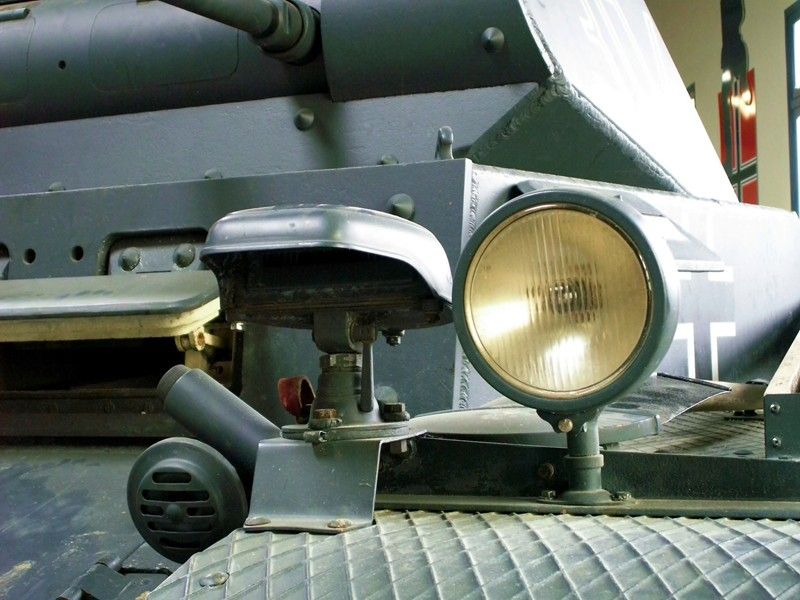
I had came close to screwing up and laying it over the bolted on armor that wasn’t welded to the rest of the tank but i caught it before the glue went on. I got all the weld seams around the hull and turret then started on making some corrections to the notek light bracket. I get this steel foil stuff at work that is really thin and holds its shape really good too. I used it to make the bracket and also to model a leather strap that a lot of my reference pics have in them thats also connected to the notek light. Not sure what its for if anyone knows i would be interested to know.
Here is the bracket i made
and there is the strap
also ran the conduit to the lights today too
my reference pics also show that the bracket had two bolts holding it down but i could only get one on it every time i cut a piece that was small enough it would go flying out of my tweezers into oblivion lol
That’s fascinating…the strap isn’t a detail I can find any evidence of in the reference photos in several different books I have on the Pz II…doesn’t mean there wouldn’t be one used but for exactly what seems to be a little mysterious given it’s placement. I wonder if that’s something the museum added? It wouldn’t be the first time…
It was a bad day all around today got the panzer primed but kept having trouble with my airbrush not wanting to syphon i kicked up the psi but that still didn’t work either so i got through getting the body primed tore it down and soaked it in mineral spirits then cleaned it all out really good hopefully i can get it working better tomorrow… Wish i had a gravity feed brush right now!! Then i just happened to look over and realized that after all that i forgot to prime the road wheels while i still had paint ready… But the good news is when the airbrush was working it was going good and even