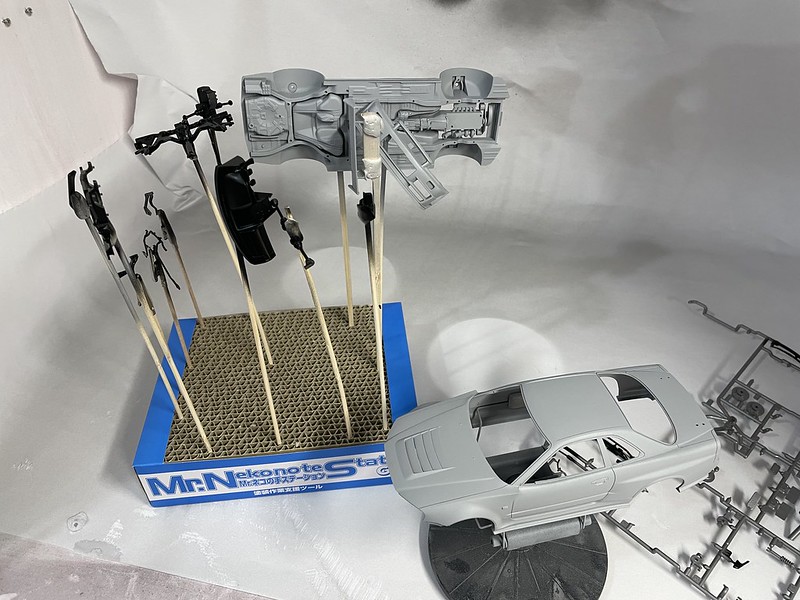
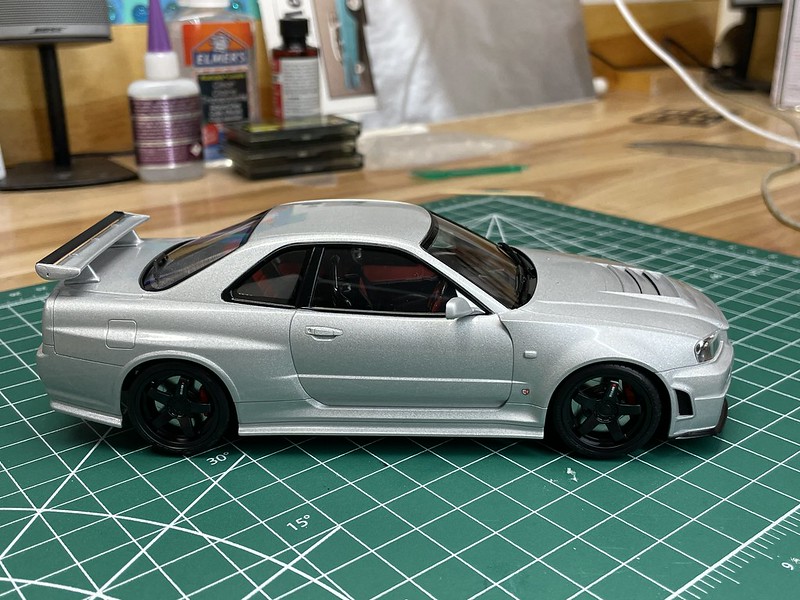
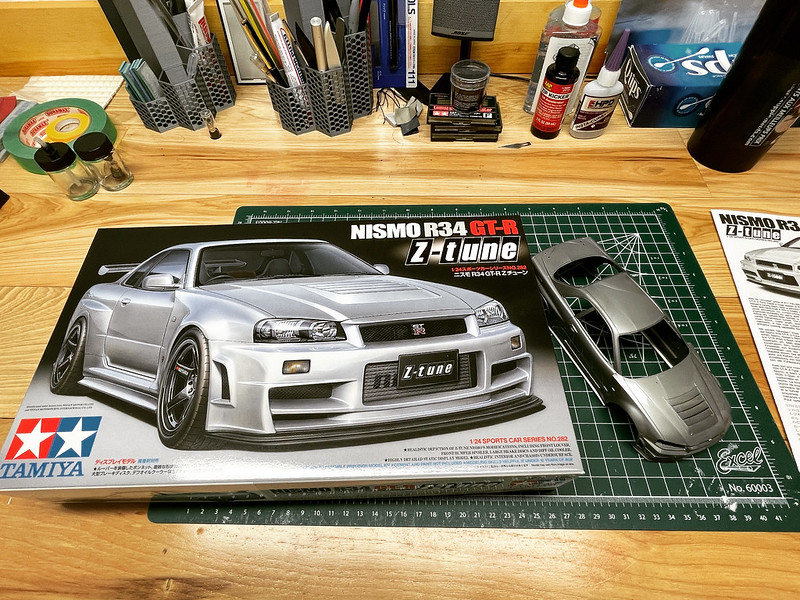
Well so much for posting progress pictures. I managed to finish this kit in 2 weeks, I thought I’d be at it for months like my previous 2 kits.
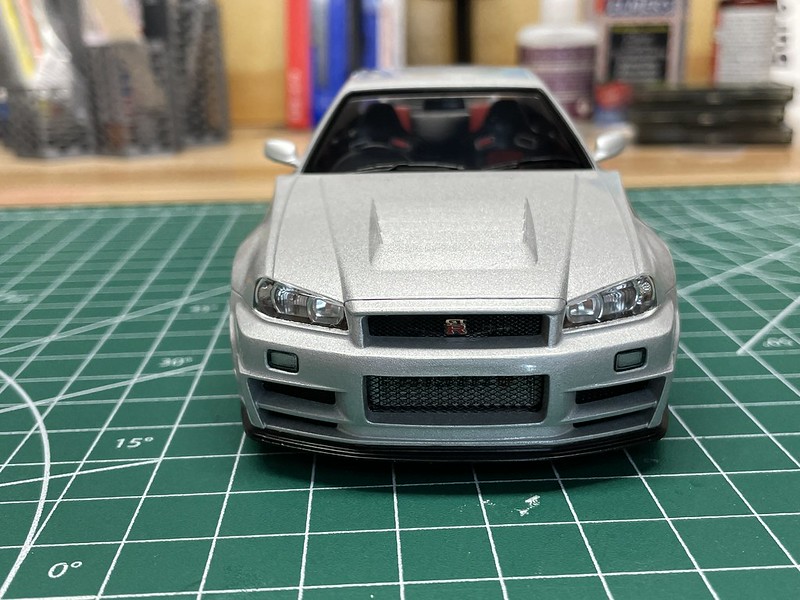
Overall it’s a really good quality kit, went together flawlessly and I’m glad I went with the photoetch kit, some nice touches.
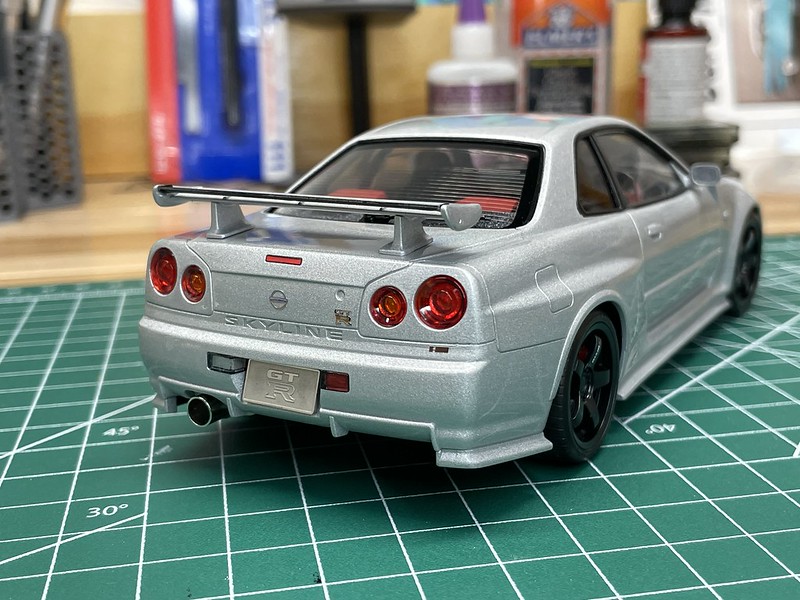
I had two spots of clear peel off with the masking tape (while doing windows) but they were so small it’s not worth doing anything about it.
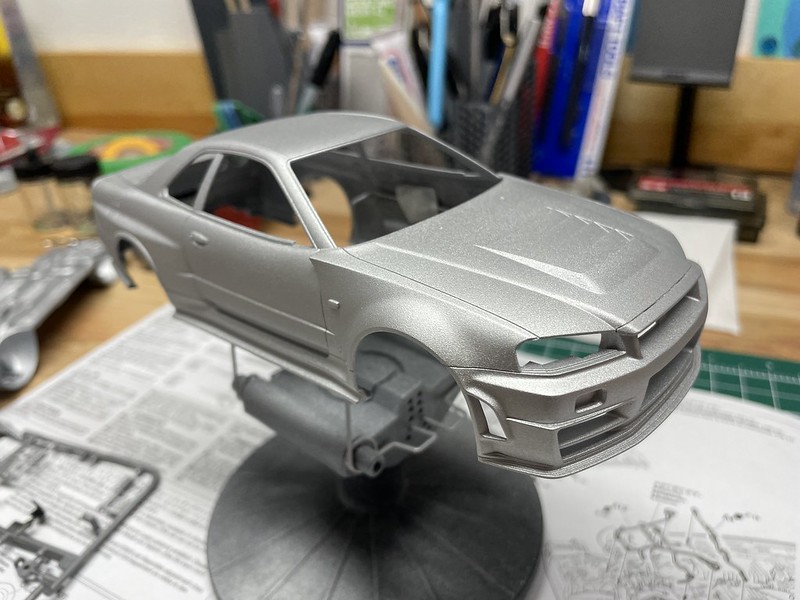
I also cracked the body while shaking it off to dry, I was holding it by the hood and shook it, and heard the crack. It repaired very easily though but was a bit of a scare.
 IMG_6534 by barry.goss, on Flickr
 IMG_6535 by barry.goss, on Flickr
 IMG_6536 by barry.goss, on Flickr
 IMG_6537 by barry.goss, on Flickr
 IMG_6533 by barry.goss, on Flickr
 E9651978-BF7D-49D7-B3A1-D4A8DC0DE02D by barry.goss, on Flickr
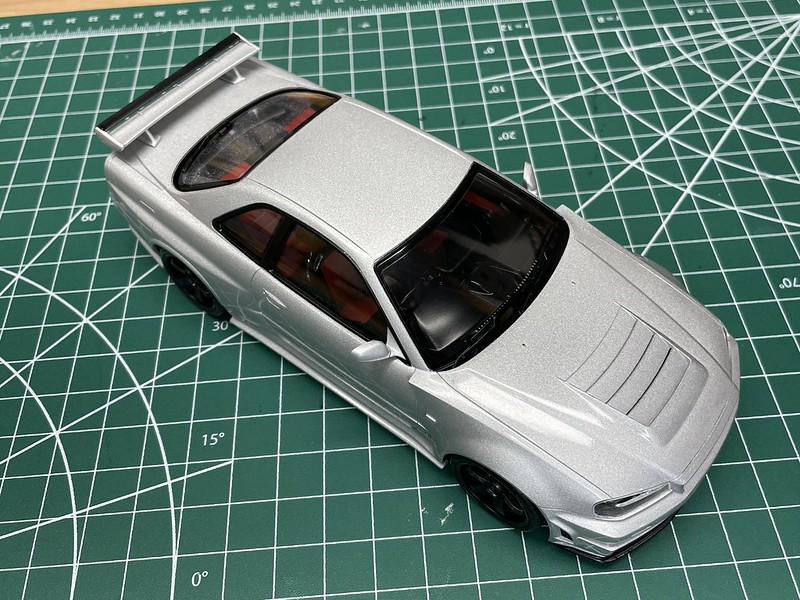
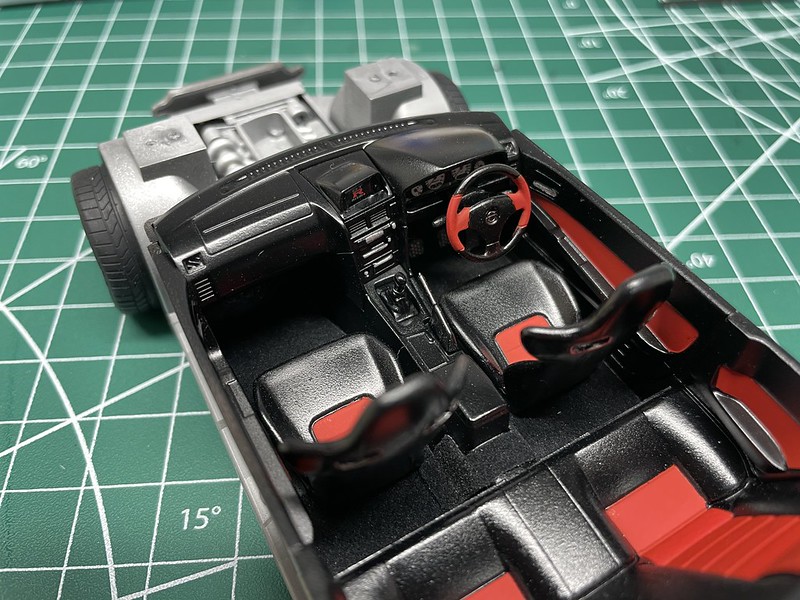
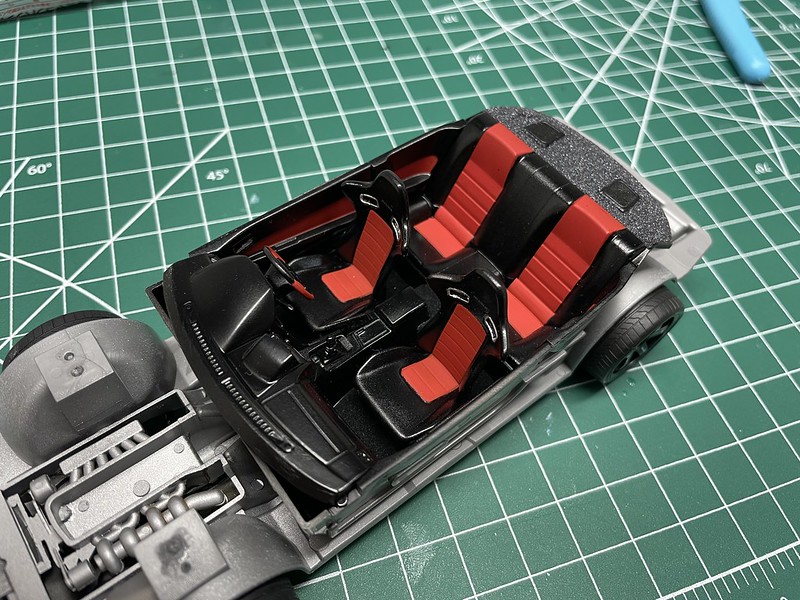
The semi-gloss black sprayed a bit weird for the interior, maybe not enough thinner. Not really noticeable now that the body is on.
 IMG_6530 by barry.goss, on Flickr
 IMG_6529 by barry.goss, on Flickr
 BBD1002A-805C-4C64-B5D4-1811A13B1FFE by barry.goss, on Flickr
 IMG_6541 by barry.goss, on Flickr
I used adhesive backed metal foil for the exhaust heat shields on the body:
 IMG_6466 by barry.goss, on Flickr
 IMG_6538 by barry.goss, on Flickr
 IMG_6539 by barry.goss, on Flickr
 69284AED-65A3-4C32-A449-CE3042EE846B by barry.goss, on Flickr