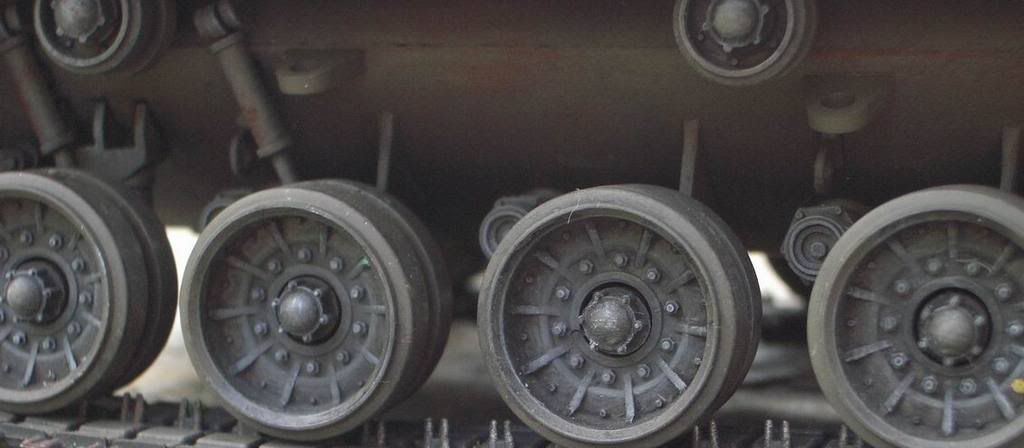
Well, we can start with the kit itself. The most glaring issue with all the Tamiya M60 based kits is the suspension. The roadarm index is too high, because the Tamiya people took measurements from a tank that did not have a powerpack, in short the hull needs to sit lower. The second big issue with the A2 is the lack of the “bulged” hull below the rear grille doors. This was a modification to accomodate a compressor and tanks…called the CBSS, or closed breech scavenger system. This system blew compressed air (1500psi) thru the breech and out the tube after every shot, to clear the burnt paper left from the combustible cartridge case on the 152mm ammunition.
Gino (heavy Arty) has built an excellent A2, do a forum search for some views on how he tackled this bulge situation.
On to your build.
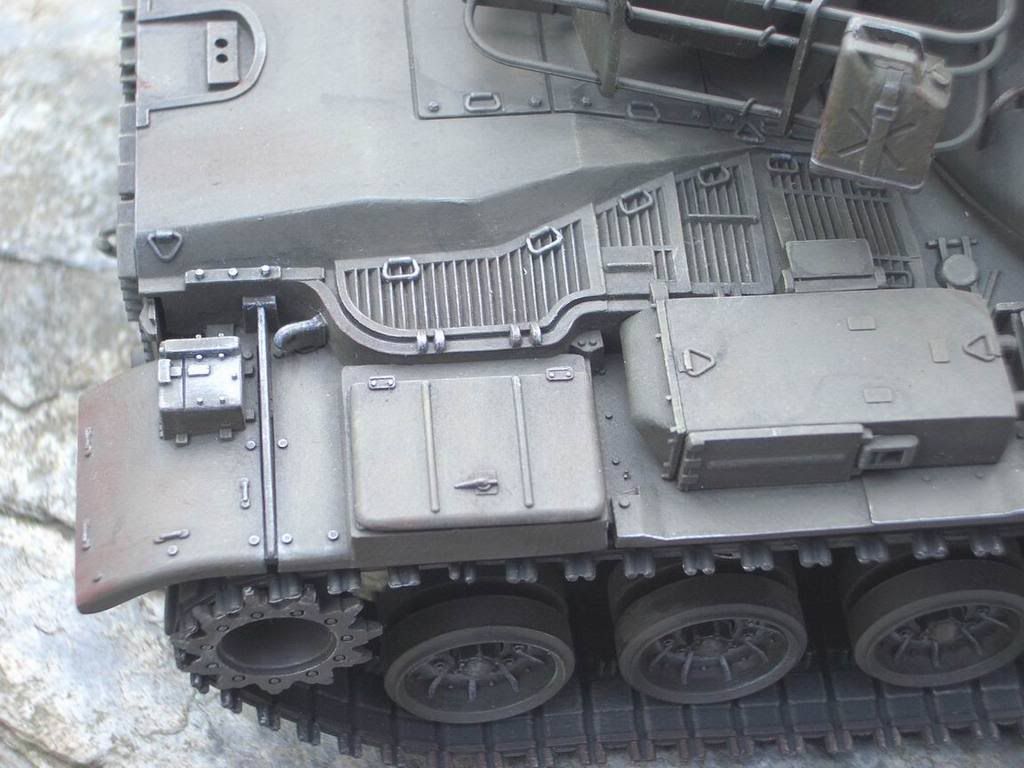
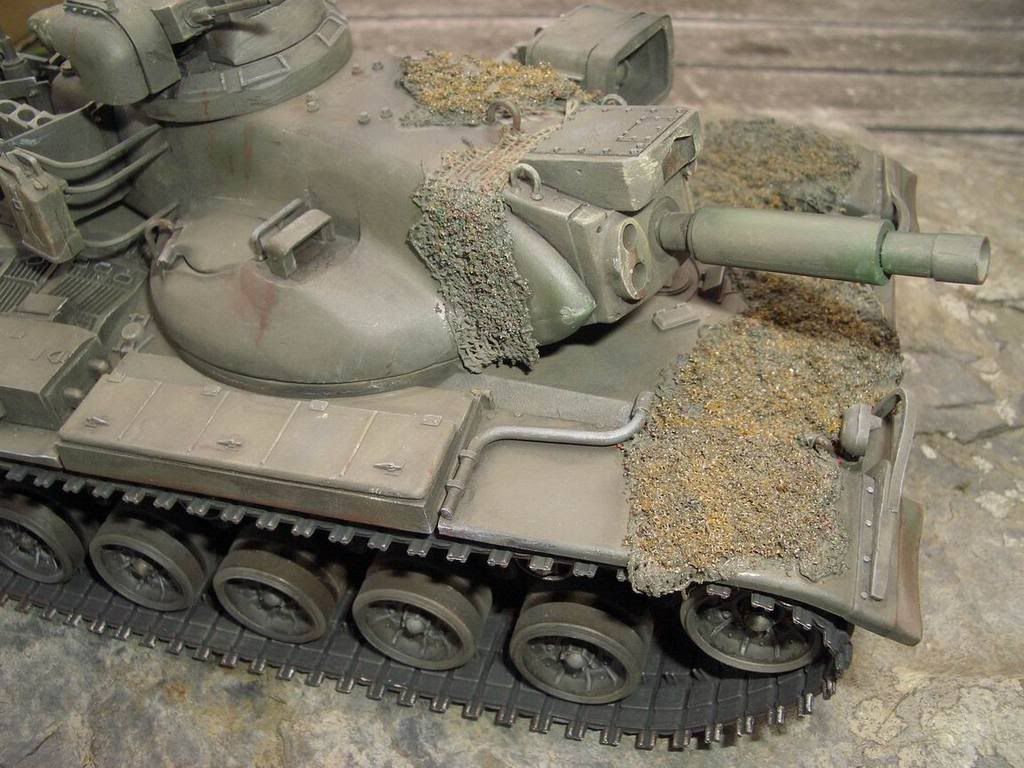
the bustle rack(s) need screening installed (see pics below)
the Commanders cupola should have a palsticanvas cover over the machine gun elevation area.
drill out the end of the heater exhaust pipe (tube on r/s of the hull), and weather this with some light rust (a lot of heat here)
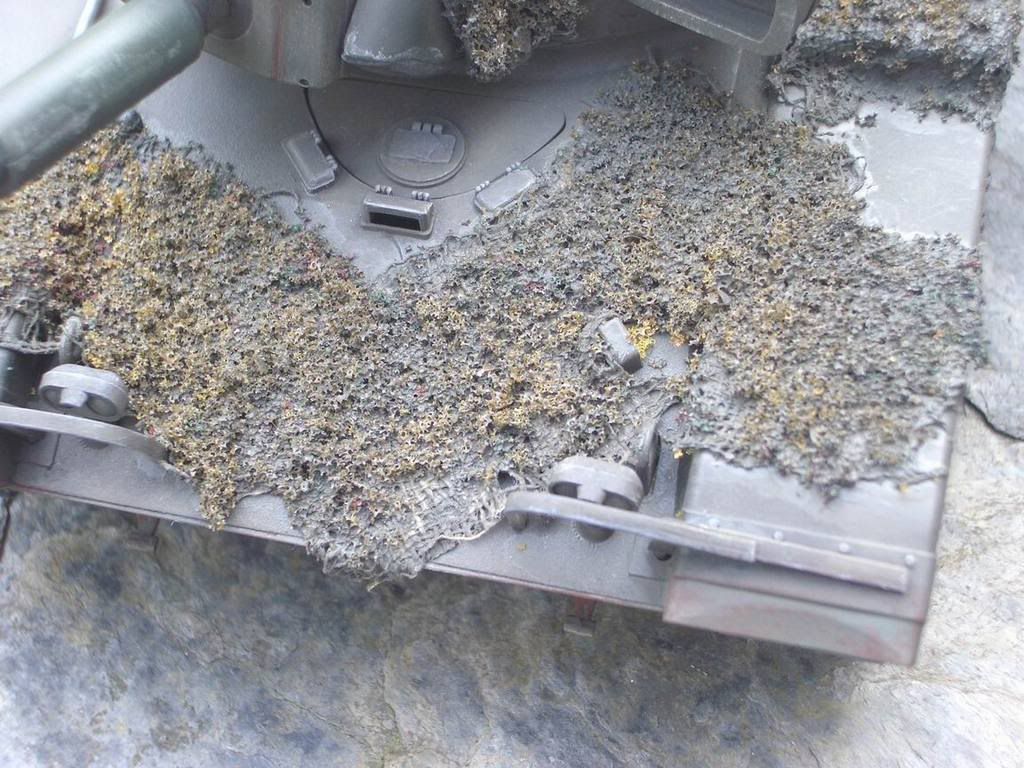
The cammo net was not really used, it’s an option but not a NATO issue net
The headlights should have one clear side and one IR (dark dark red/black) lens
The searchlight when mounted should have the cable ran and connected to the appendage on top of the turret. Also, the inside of the searchlight cavity should be reflective, and there should be a plexiglass window protecting the innards. A canvascover was issued with the tank, this can be portrayed installed in the ready position if you wish.
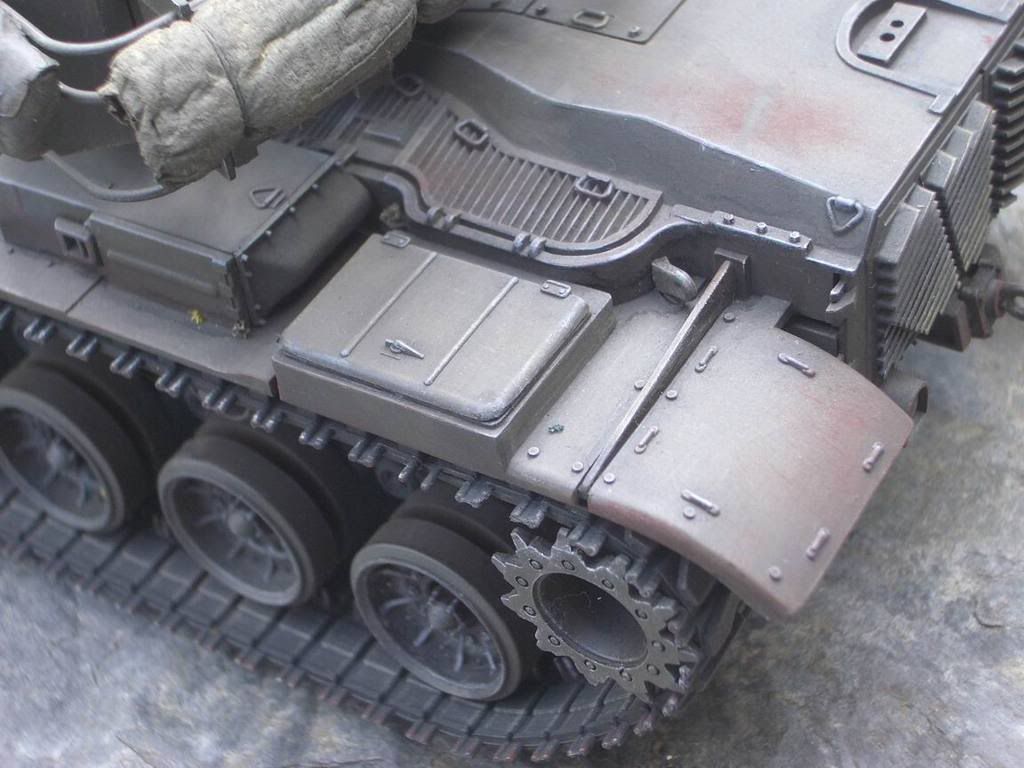
Throw the track in the trash. It is incorrect in that the center guides are in the wrong position, the should be between the blocks, not between the pads. AFV makes an excellent set of replacements.
The mantlet as well is missing its plasticanvas cover
The commanders cupola vision blocks should be painted in, or replaced with clear plastic, (this requires removing the existing plastic).
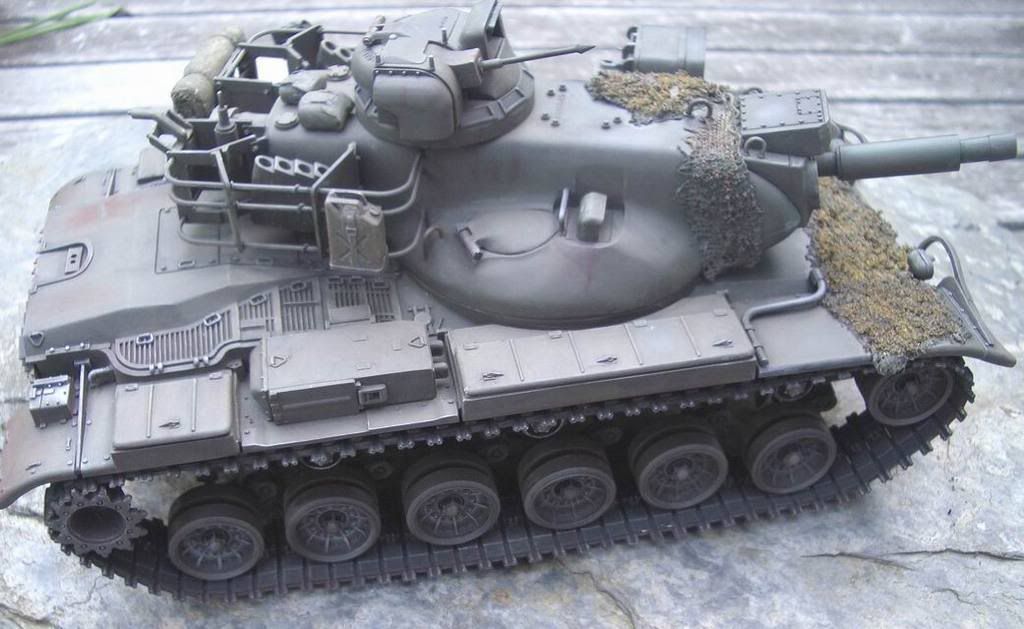
Here are some reference picks from my days on the M60A2 in Germany, this will give you an idea what the real thig looks like in the field:
Kind of a foggy shot, but here is how the CBSS bulge should look:
I have some photos of an M60A2 from the AAF Tank Musuem in Virginia. These might help better illustrate the points mentioned above. Just click on the link below if you’re interested.
Steve pretty much covered it and was a big help when I was doing mine. To add to his pointers, you should also fill in the “U”-shaped depression for the travel lock on the rear deck for a standard M60A1 or A3 as well. For the CBSS, I acquired a resin piece from Robert Skipper. It looks excellent and fits perfectly. Also, I scrapped the Tamiya hull and went with the much better Esci M60A3 hull, running gear, and tracks. All I used from the Tamiya kit was the turret shell and commander’s cupola.
If you look at the pic that I showed you earlier, you will see that the U shaped depression is still there, just no mounting block for the travel lock. Some tanks had no depression, some had it. I think this was a “transitional” feature carried over from prototype. This photo was copied from the TM - 10 manual. So you may be OK accuracy wise either way, just remove the block with the mounting holes.
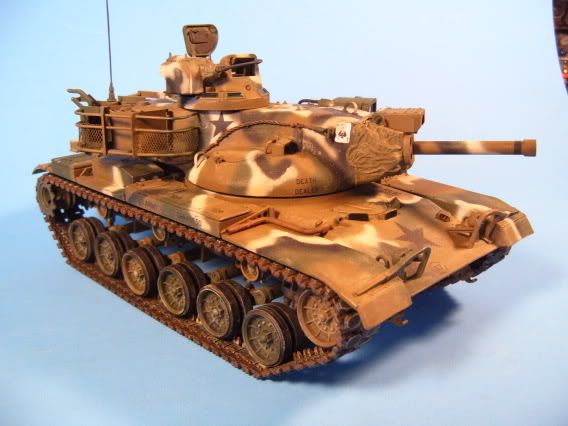
Hey Gino, just wanted to chime in and say that’s a stunning rendition of your M60a2 there; love the MERDC scheme! Love the playing cards on the furret!
Crockett, that site you gave there rocks, man…I bookmarked it for my 1/72 Esci m60a2–boy that’s gonna be a project, whenever I get to it! (Single molded road wheels and all!)
BTW, Johan–ya woulda “fooled” me–I think your tank looks pretty good “as is”; looks a lot like my old a2 that I built oh,…12-13 years ago?! I built it OOB, so I guess we’re in the same boat! Maybe I’ll keep my eye out for another one at the next show…
HEY CROCKETT! How prevalent WAS the MERDC scheme on these A2’s?
While you’re at it, toss out those useless, horrible Tamiya two handled gerry cans. If you don’t know anything else about accuracy issues with this tank, those pieces of offal will still stand out.
I’ll also second the vote for the AFV workable track.